Me Love You Long Time, House Special Chicken!!

I was craving Chinese food last night. I actually crave it often! Want to know why? Well that’s because I live very close to a Chinese restaurant, like 5 minutes walking distance, and a lot of time when I’m outside, I can smell what they’re cooking. And it smells so good! So yesterday as I got out of my car, I was overwhelmed by the aromas wafting my way and decided that Chinese food must be had by all, well, at least all the people in my house.

Again, I’m going to mention budget friendly. This is my thing people. I like to recreate dishes that I’ve eaten at restaurants, and spend a fraction of what it costs to eat out. Now don’t get me wrong, going out for a meal is great. You have someone else waiting on you, someone else cooking the food for you and someone else cleaning it all up too. But there’s also that price tag at the end that pays for all those services. At home, I’m all those people, waitress, chef and dishwasher. But on the bright side, I am saving a lot of money, still eating a delicious meal, and bonus, I can wear my pajamas if I want to. If you enjoy cooking like I do, this isn’t a bad deal at all. And if you want less work? Have your husband or kids do the dishes. I prefer to do my own dishes as I have serious issues with my dishwasher. Like, I don’t like anyone touching it, or loading it. I am the only person who knows how to load it efficiently. I can come to your house and show you how to efficiently load yours too?? I’ve actually done this before. I’m sorry, you know who you are.

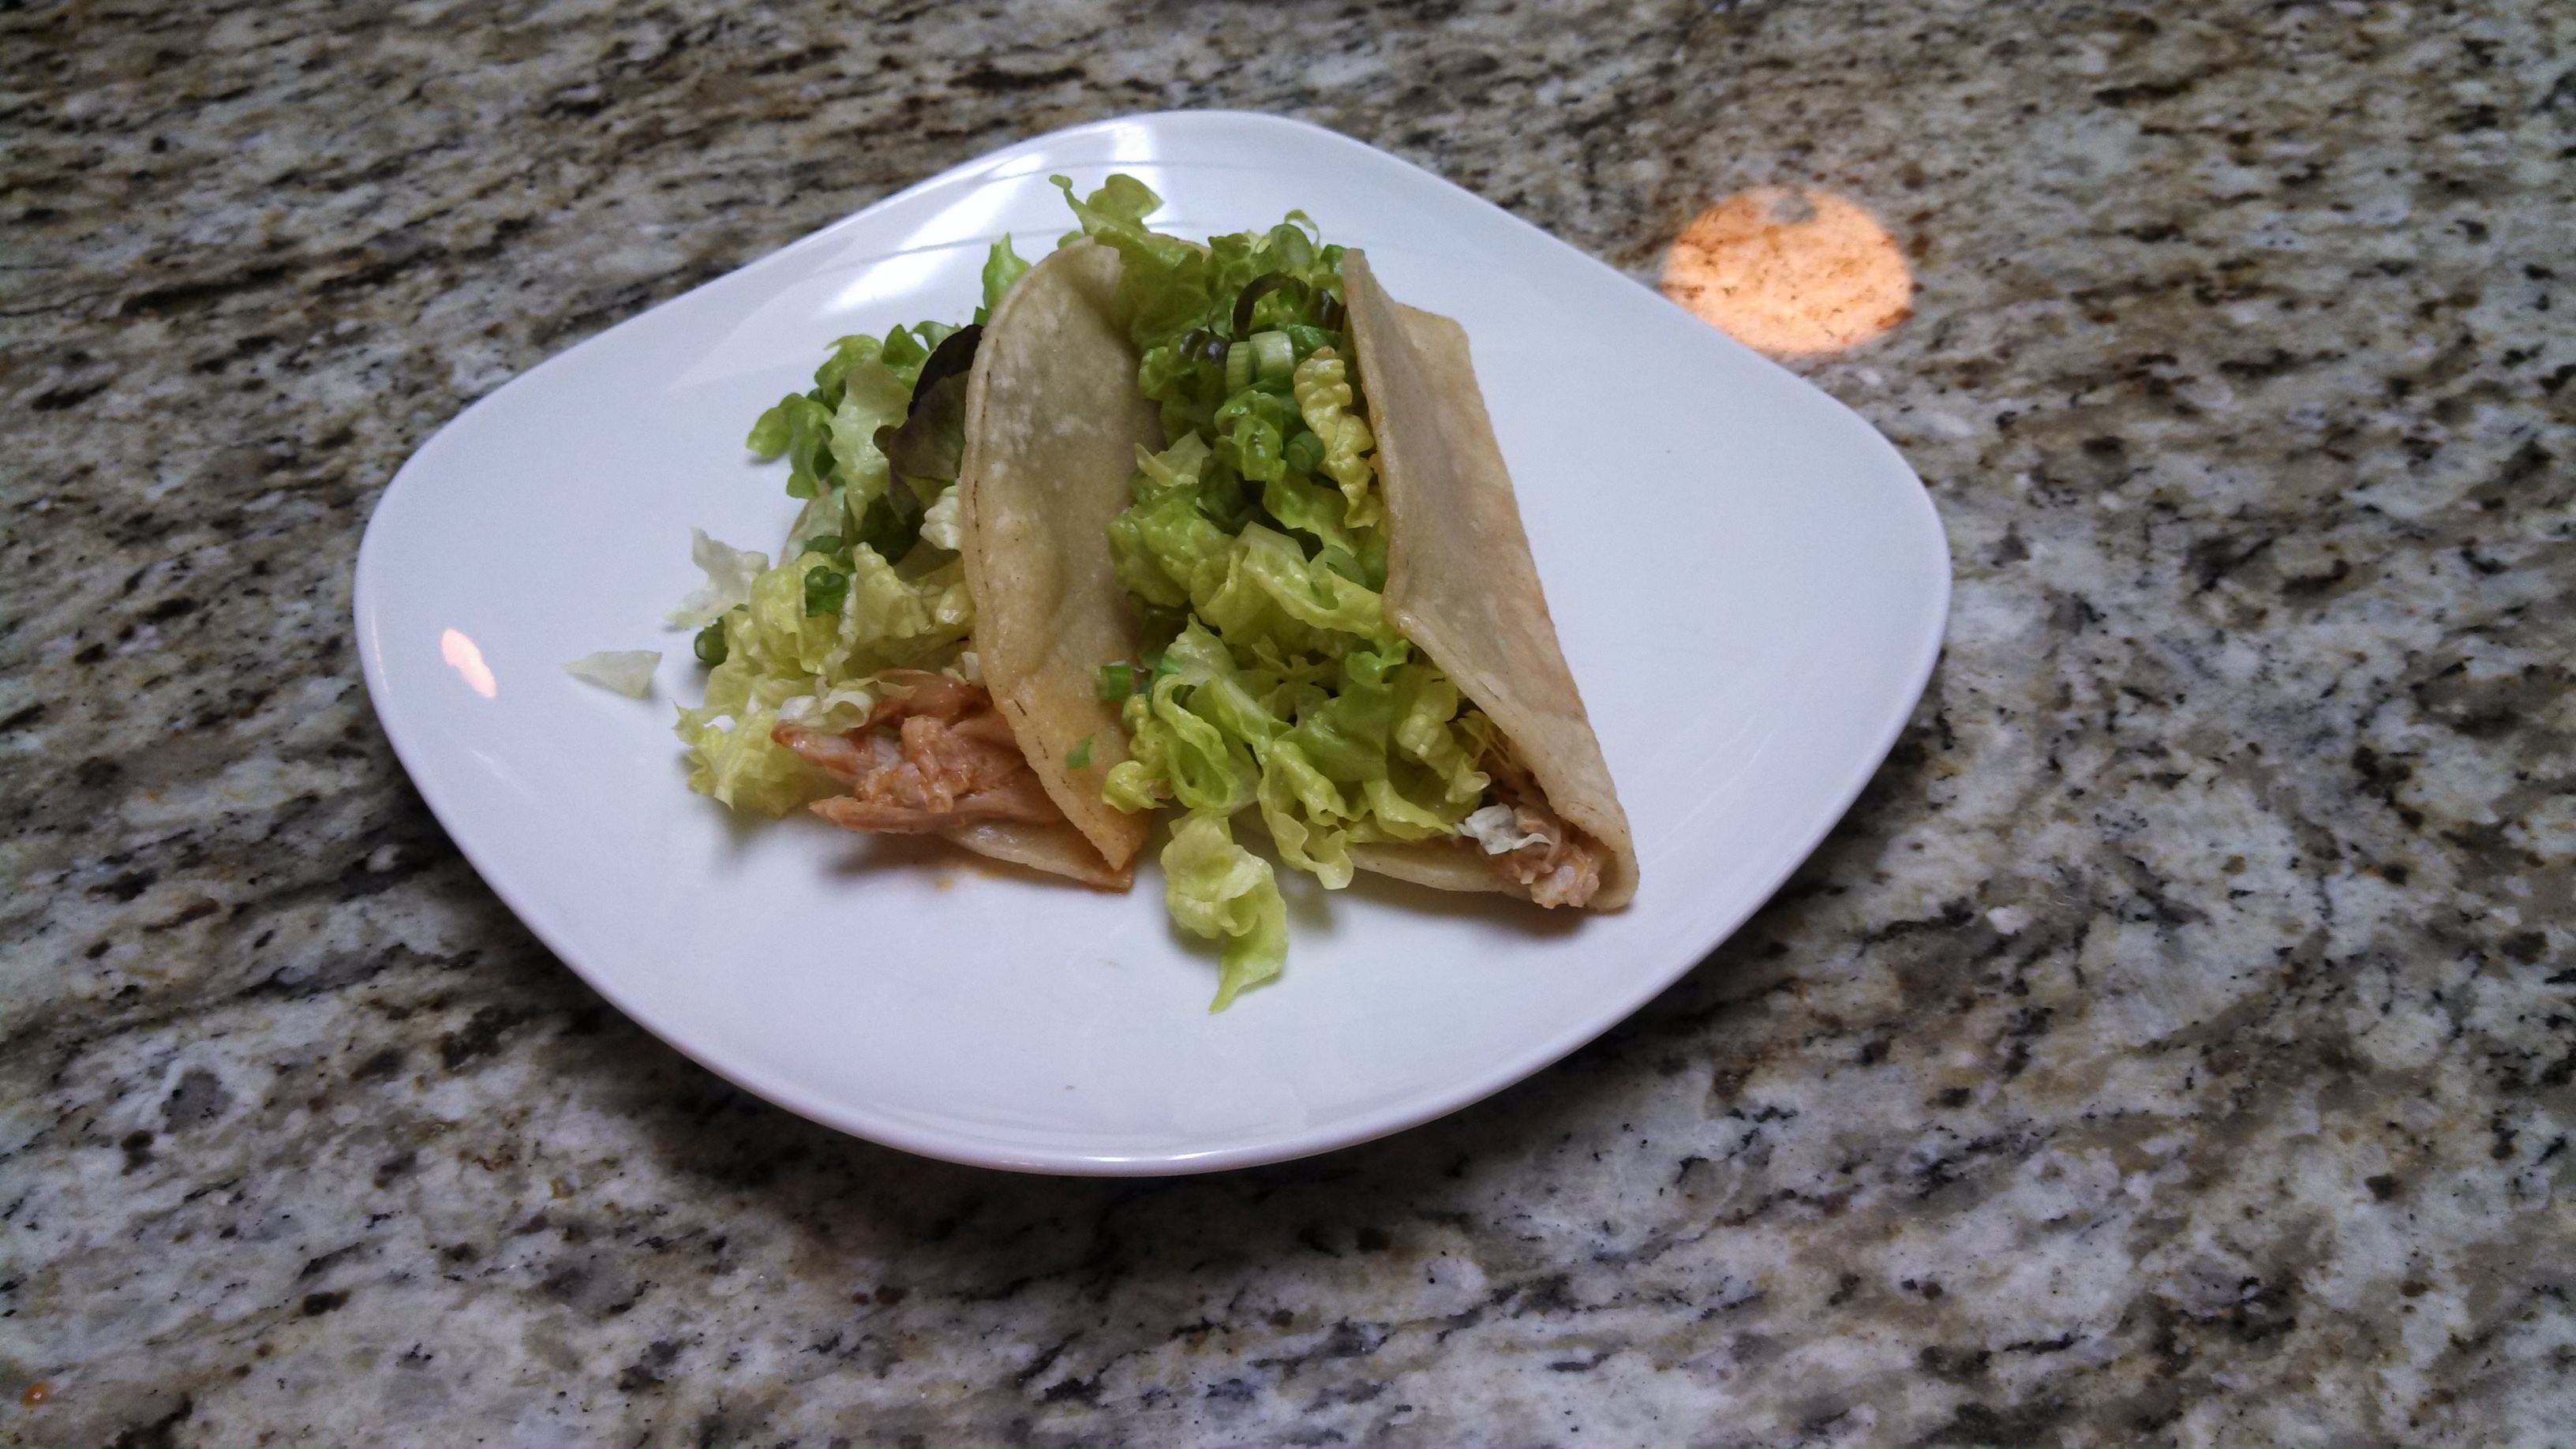
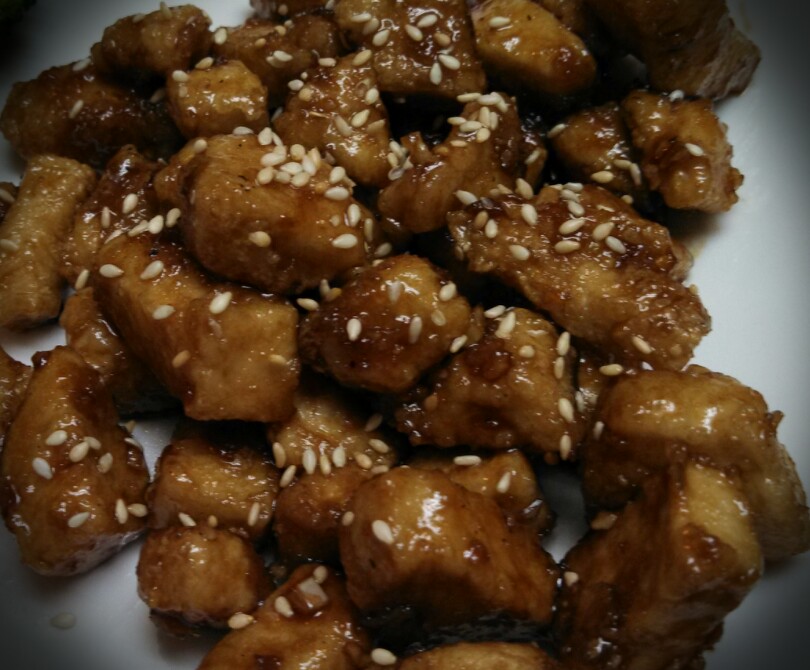
So, this recipe is for House Special Chicken, and if you’ve ordered Chinese take out before, you know about this dish. If you’ve never had it before, think along the salty and sweet lines. And you will get those restaurant flavors at home with this recipe, I promise!

house special chicken 2

Where are the green onions, you ask? Well, I never claimed to be perfect!

House Special Chicken

  • 3/4 c. soy sauce
  • 1/2 c. packed brown sugar
  • 1/2 tsp. onion powder
  • 1/4 tsp. ground mustard
  • 1/4 tsp. white pepper
  • 1/2 inch piece fresh ginger, minced (omit this if you’re not a ginger lover)
  • 3 cloves garlic, minced
  • 1/2 tsp. sriracha
  • 1 -1 1/2 lbs. boneless skinless chicken breasts, cut into 1/2 inch cubes
  • Canola oil
  • Cornstarch
  • 2 green onions, sliced
  • Toasted sesame seeds

Whisk the first 8 ingredients together and set aside. Heat approximately 1/2 inch of oil (this is a shallow fry) in a skillet, on medium high. (I used a 12 inch cast iron skillet) Dredge chicken cubes in cornstarch, and shake off excess. (I used 1/2 a box of cornstarch and it was a perfect amount) Add chicken to heated oil and shallow fry for approximately 3-4 minutes, stirring the chicken around to make sure it evenly cooks. You will have to cook the chicken in at least 2 batches, depending on the size of your skillet. Using a metal slotted spoon, set cooked chicken aside. When done cooking all of your chicken, heat a separate pan (a wok works perfectly for this), and add sauce. Heat to boiling, and carefully add cooked chicken. Add sliced green onions and stir to coat. You can add toasted sesame seeds, if you would like, either in the pan or when you plate. Also, if you like things spicy, red chili flakes would be great in this!

house special chicken
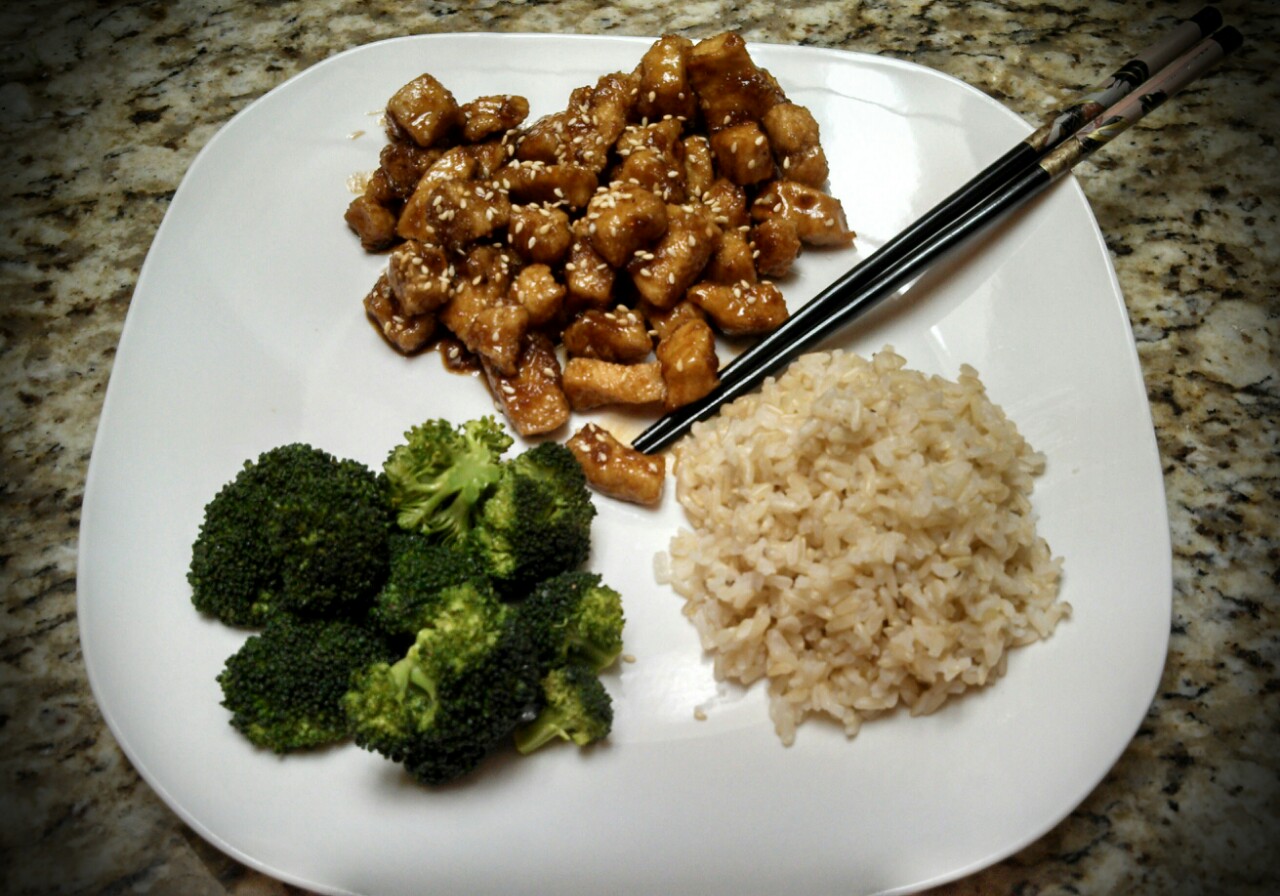
Voila! It looks like you ordered that in a restaurant. Oh, me love you long time house special chicken. Hope you love it long time too!

Advertisement

Ranch dip/dressing

Who doesn’t like ranch? I’m sure there are some of you weirdos folks out there, but most people love it! In case you weren’t aware of this little tidbit, homemade dressing tastes a lot better than bottled. It’s pretty easy and the benefit is, it’s fresh! And most likely, you will have most of the ingredients to make dressing in your pantry or fridge. You can also say, hey I made that, instead of, hey I bought that at the grocery store and took off the cap for you. Seriously, which one is more impressive?

A bell pepper makes a great vessel for serving your ranch dip

A bell pepper makes a great ranch dip vessel. Prettier than a bowl, huh?

Now, this recipe is primarily for a dip. However, you can add more milk to it to thin it out a little more for dressing. However, I like my ranch dressing a little on the thick side so this recipe works well for me. It tastes delicious as a dip for veggies, chicken strips or nuggets, or on your favorite green salad. Try it, you’ll like! (If you know what show that’s from, bonus points for you.)

Ranch dip/dressing

  • 1 c. plain greek yogurt
  • 3/4 c. mayonnaise
  • 1 tbsp. worcestershire
  • 1/4 tbsp. red wine vinegar
  • 1 tsp. frozen basil cube, melted (ever see these in the frozen section of the grocery store? love ’em!) or 1/2 tsp. dried basil
  • 1/2 tsp. dried thyme
  • 1/2 tsp. dried dill
  • 1/4 tsp. salt
  • 1/4 tsp. pepper
  • 1 green onion, thinly sliced
  • 1 garlic clove, finely chopped
  • 1 1/2 tbsp. milk (more can be added if you like your dressing thinner)

Whisk all ingredients together and refrigerate. Best if served after it has set awhile. Let those flavors meld together! And if you think it’s too thin, it will set up further in the fridge. Enjoy!

ranch dressing

The Insta-OOPS Incident

Have you ever looked at someone’s profile on Facebook that you were NOT friends with? Done it on Instagram too? Are you nodding your head right now? Thought so! This my friends, is what most people loosely term “Facebook stalking”, or in this situation, “Instagram stalking”. Most of us are guilty of doing this a time or two with no one being the wiser. Unfortunately, that’s not always the case.

Recently a single friend of mine, who we will call “Rebecca Phalanges”, stopped by for a little visit. She told me she had started dating someone. Me being the curious person I am, asked to see a picture of him, “Let me see his Facebook.” I said. Rebecca told me she would show me a picture of him from his Instagram. So she handed over her phone and I started looking. Now somewhere during all of this, she informed me that she wasn’t actually “following” him and had not asked to be his Facebook friend. “Why?” was my first question. She said that in a new relationship, it’s much too soon to follow someone or friend them. Hmmm… well I’ve been with my husband for 12 years, so what “Rebecca” was saying was complete foreign territory to me. I told her I thought that was pretty stupid. That would be the first thing I’d do! And then you can always “unfollow” or “unfriend” them if things don’t work out, right? “No, it’s too soon!” She said.

Here is my daughter re-enacting my shock to what I had done.

Here is my daughter re-enacting my shock to what I had done.

So I continued to scroll through on her phone looking at pictures of this new man in her life, when all of a sudden a HEART appeared on one of the pictures. A heart! OH MY GOSH! Oh no! For all of you that are not familiar with Instagram, you double tap a picture to “like” it, and a heart appears. This then notifies said owner of picture that you, with your username, (in this case, “Rebecca’s” user name is pretty obvious as to who she is) like their picture. I didn’t say anything for a moment because I didn’t know why that had happened. I had just been scrolling! But as I sat there and the panic inside me slowly started to build, I knew I had to say something. I turned to Rebecca and said “Um, a heart just appeared on one of his pictures, I think I accidentally liked it” or something along those lines. OOPS!

She was not happy to say the least. To make it worse, I had liked a picture of him and his dad which would make her look super crazy.Rebecca quickly grabbed the phone and looked at it, “YOU LIKED IT! WHY DID YOU DO THAT?” In my defense, her phone is much fancier than mine. I have a super cheap introductory smartphone and hers must be incredibly sensitive to swiping motions! Mine takes some major tapping to make that heart appear. I felt so bad though! I told her to unlike it and do it fast.

Now, we’ve never found out if this guy ever knew that she had “liked” his picture. It all happened so fast. I still can’t believe I did it. I felt bad but it was really funny.

So I guess the moral of the story is, don’t spy! Or don’t let me use your phone. Either way, I guess Rebecca learned something that day! 🙂

Olé! Olé! Olé! Olé!

The essentials to starting your fiesta off right

The essentials to starting your fiesta off right

Craving Mexican food? Me too. Don’t feel like spending upwards of $50 at a restaurant? ME NEITHER! Well I’m no math wizard, but those ingredients to your left sure look like they cost a lot less than $50. And that right there, turns into shredded chicken that you can use in tacos, burritos, quesadillas, nachos, or whatever your Mexican food craving little heart desires.

Here’s the breakdown as best as I can manage. I only used four of those chicken thighs and the entire package was under $5. That bell pepper was $.50, and I used half of it. The three pound bag of organic onions cost me $2.99 and I used half of one onion. One stick of celery? Cheap! A can of tomato sauce, cheap! You get the idea. I’d venture to say this whole meal cost me under $7 to make, which fed my family of five, and had enough leftovers to make a burrito for Adam to take to work the next day. But wait, we still have shredded chicken left over. Can you really beat that? I didn’t think so. So what are you waiting for?

Time to eat!

Time to eat!

Shredded Chicken

  • 4-6 boneless, skinless chicken thighs (I highly recommend thighs, I’m not a big fan of chicken breasts in the slow cooker)
  • 1/2 onion, chopped
  • 1/2 green bell pepper, chopped
  • 1 celery stick, chopped
  • 1/2 c. tomato sauce, or one of those smaller cans
  • 1 tsp. chicken base
  • 1 tsp. garlic powder, or 1-2 garlic cloves, chopped
  • 2 tsp. ground cumin

Place all ingredients in your slow cooker. Cover and cook on low for 8 hours, or high for 3-4 hours. Shred with a fork when it’s done. Olé!

Taco Tuesday anyone?

Making your own laundry detergent

detergentSo I’m sure you’ve seen this on Pinterest. I noticed it a couple of years ago and thought it was a pretty cool idea. I tried quite a few of the different recipes.  I made my own body wash, dishwasher detergent (which I don’t recommend) and laundry detergent. By far, the most successful was the homemade laundry detergent.

I’ve been using this recipe now for almost two years and I highly recommend it. It’s so incredibly economical, I really could never see myself going back to buying detergent at the store. This is an approximation, but it costs around $6 for a SIX MONTH SUPPLY.

As for the storage containers to keep all of this detergent in, I recommend that you save those really durable store bought laundry detergent containers. They have that handy spout for dispensing and I have not had one leak or break. I will typically also use 1 gallon milk containers, but I have had a couple of those leak/explode, especially when it’s super hot out. So be careful if using those. Another good type of container is a 2 liter soda bottle, or any other juice bottle.

detergent container

This is obviously not lemonade. Keep out of reach of children!!

To get this recipe, check out the My Li’l Pumpkin Patch blog. It is very detailed, with a price breakdown and pictures to guide you along the way. However, I do have to add that when I make this recipe, it only takes about 10 minutes for the soap to melt, and not the 45 minutes stated in that blog.

Hope you like the recipe, and all the money you will be saving!

Brown Sugar & Balsamic Green Beans

green beansSomething you should know about me that’s SUPER important is that I do not like to measure! I rarely measure anything when I’m cooking. As Rachael Ray would say, eyeball it! I’m a firm believer in eyeballing. It’s much easier for me to cook that way. As for baking, well, I’m no baker or pastry chef. Must be that measuring thing coming into play… Anyways, because of this blog, I am trying to be as exact as possible with my measurements to make it easy on anyone trying out my recipes. And luckily, I got out my measuring spoons and measuring cup to give you exact amounts today!

As with most cooking, I think it’s mostly a method or technique, and not necessarily about a recipe. If you’ve got the method down, it will usually come together in the end. I usually stick with garlic powder, salt and pepper for my veggie cooking, but this recipe has something a little special, and it’s called brown sugar and balsamic.

My neighbor told me that her mother-in-law loves her fresh green beans with balsamic and sugar. She then told me how she makes them. They sounded great but I wanted to speed up the recipe a bit (shortcut!) so this is what I came up with.

green beans 2Brown Sugar & Balsamic Green Beans

  • 1 lb. fresh green beans, rinsed and trimmed
  • 3/4 c. chicken broth
  • 1 tbsp. butter
  • 2 tbsp. brown sugar
  • 1 tbsp. balsamic vinegar

Butter goes in the pan (I like using a cast iron skillet for this). On medium heat, let it melt. Add your trimmed and clean green beans. Stir to coat the beans with the butter. At this point, I turn up the heat to medium high. Add the chicken broth. It should sizzle! Cover with a lid, but not all the way. Leave the lid a bit to the side to let a little bit of steam escape. Leave the heat at medium to medium high and let cook for about 15 minutes. You can check to see if the green beans are tender by sticking a fork in them. Once they’re tender, take the lid off and let cook until the chicken broth is almost evaporated. Push green beans to the side and add in the brown sugar to the remaining broth and see it melt! Then add the balsamic. It should almost become syrupy. Stir it all together. That’s it. Dinner side dish, DONE!

Time to hulk out and drink GREEN

fruitSo first off, let me start off by informing all of you that I am NOT a photographer. I don’t know about lighting, angles or anything like that. But it’s a picture, you get the idea….hopefully! That being said, on to the matter at hand, JUICE! And green juice!

So I finally bought a juice extractor. We’d been thinking about it for awhile but after the first of the year, like so many others, my husband Adam decided it was time to get extra healthy. Enter juice extractor. I bought what I would call an introductory juicer. I really wanted this extra cool juicer that I saw Giada use but my budget and hers are nowhere near being close, so beginner juicer it was! Fortunately, I’m really happy with it so far.

So I’m very new to the world of juicing but I have heard that the greener, the better. I’ve been experimenting and came up with this delicious juice. If you have picky kids, like my ultra picky middle daughter, they will be put off by the color of this drink. If they can get over that hump, they will really enjoy this, and it’s GOOD for you. But maybe don’t tell them that last part. On a happy note though, my other two girls really like this so give it a try people.

First off, my juice extractor recommends that you peel citrus fruit. So I do just that. Aside from that minor inconvenience, juicing is pretty easy and fairly quick. I did a lot of research before buying my juicer, and according to a lot of people, carrots should always be last to go in because their remnants can tend to block the juicer causing less juice to come out of your other fruits and veggies. Also I cannot fit a whole apple down the chute so I core it and cut it, depending on the size of the apple. And the juicier type of apple, the better.  Those are the basics. It’s now time to juice.

green juice

Green Juice

3 oranges, peeled

1 lemon, peeled

1 apple, cored and cut to fit the chute (I used a large red delicious)

3-5 large kale leaves

2 carrots

Put all the ingredients through your juicer/extractor, stir and pour over ice. Should make approximately two cups, or two drinks, depending on the size and juiciness of your fruit.

Welcome!!!

Welcome to my, mainly about food, blog. I want to share some great recipes with all of you, but be warned, I’m not a professional chef. Just a mom that has a passion for food and feeding her family. In addition to the food talk, I plan on also sharing some budget friendly tips and tricks that are really helpful when you are a single income family. For all you stay at home moms, this is the blog for you.

welcome-mat