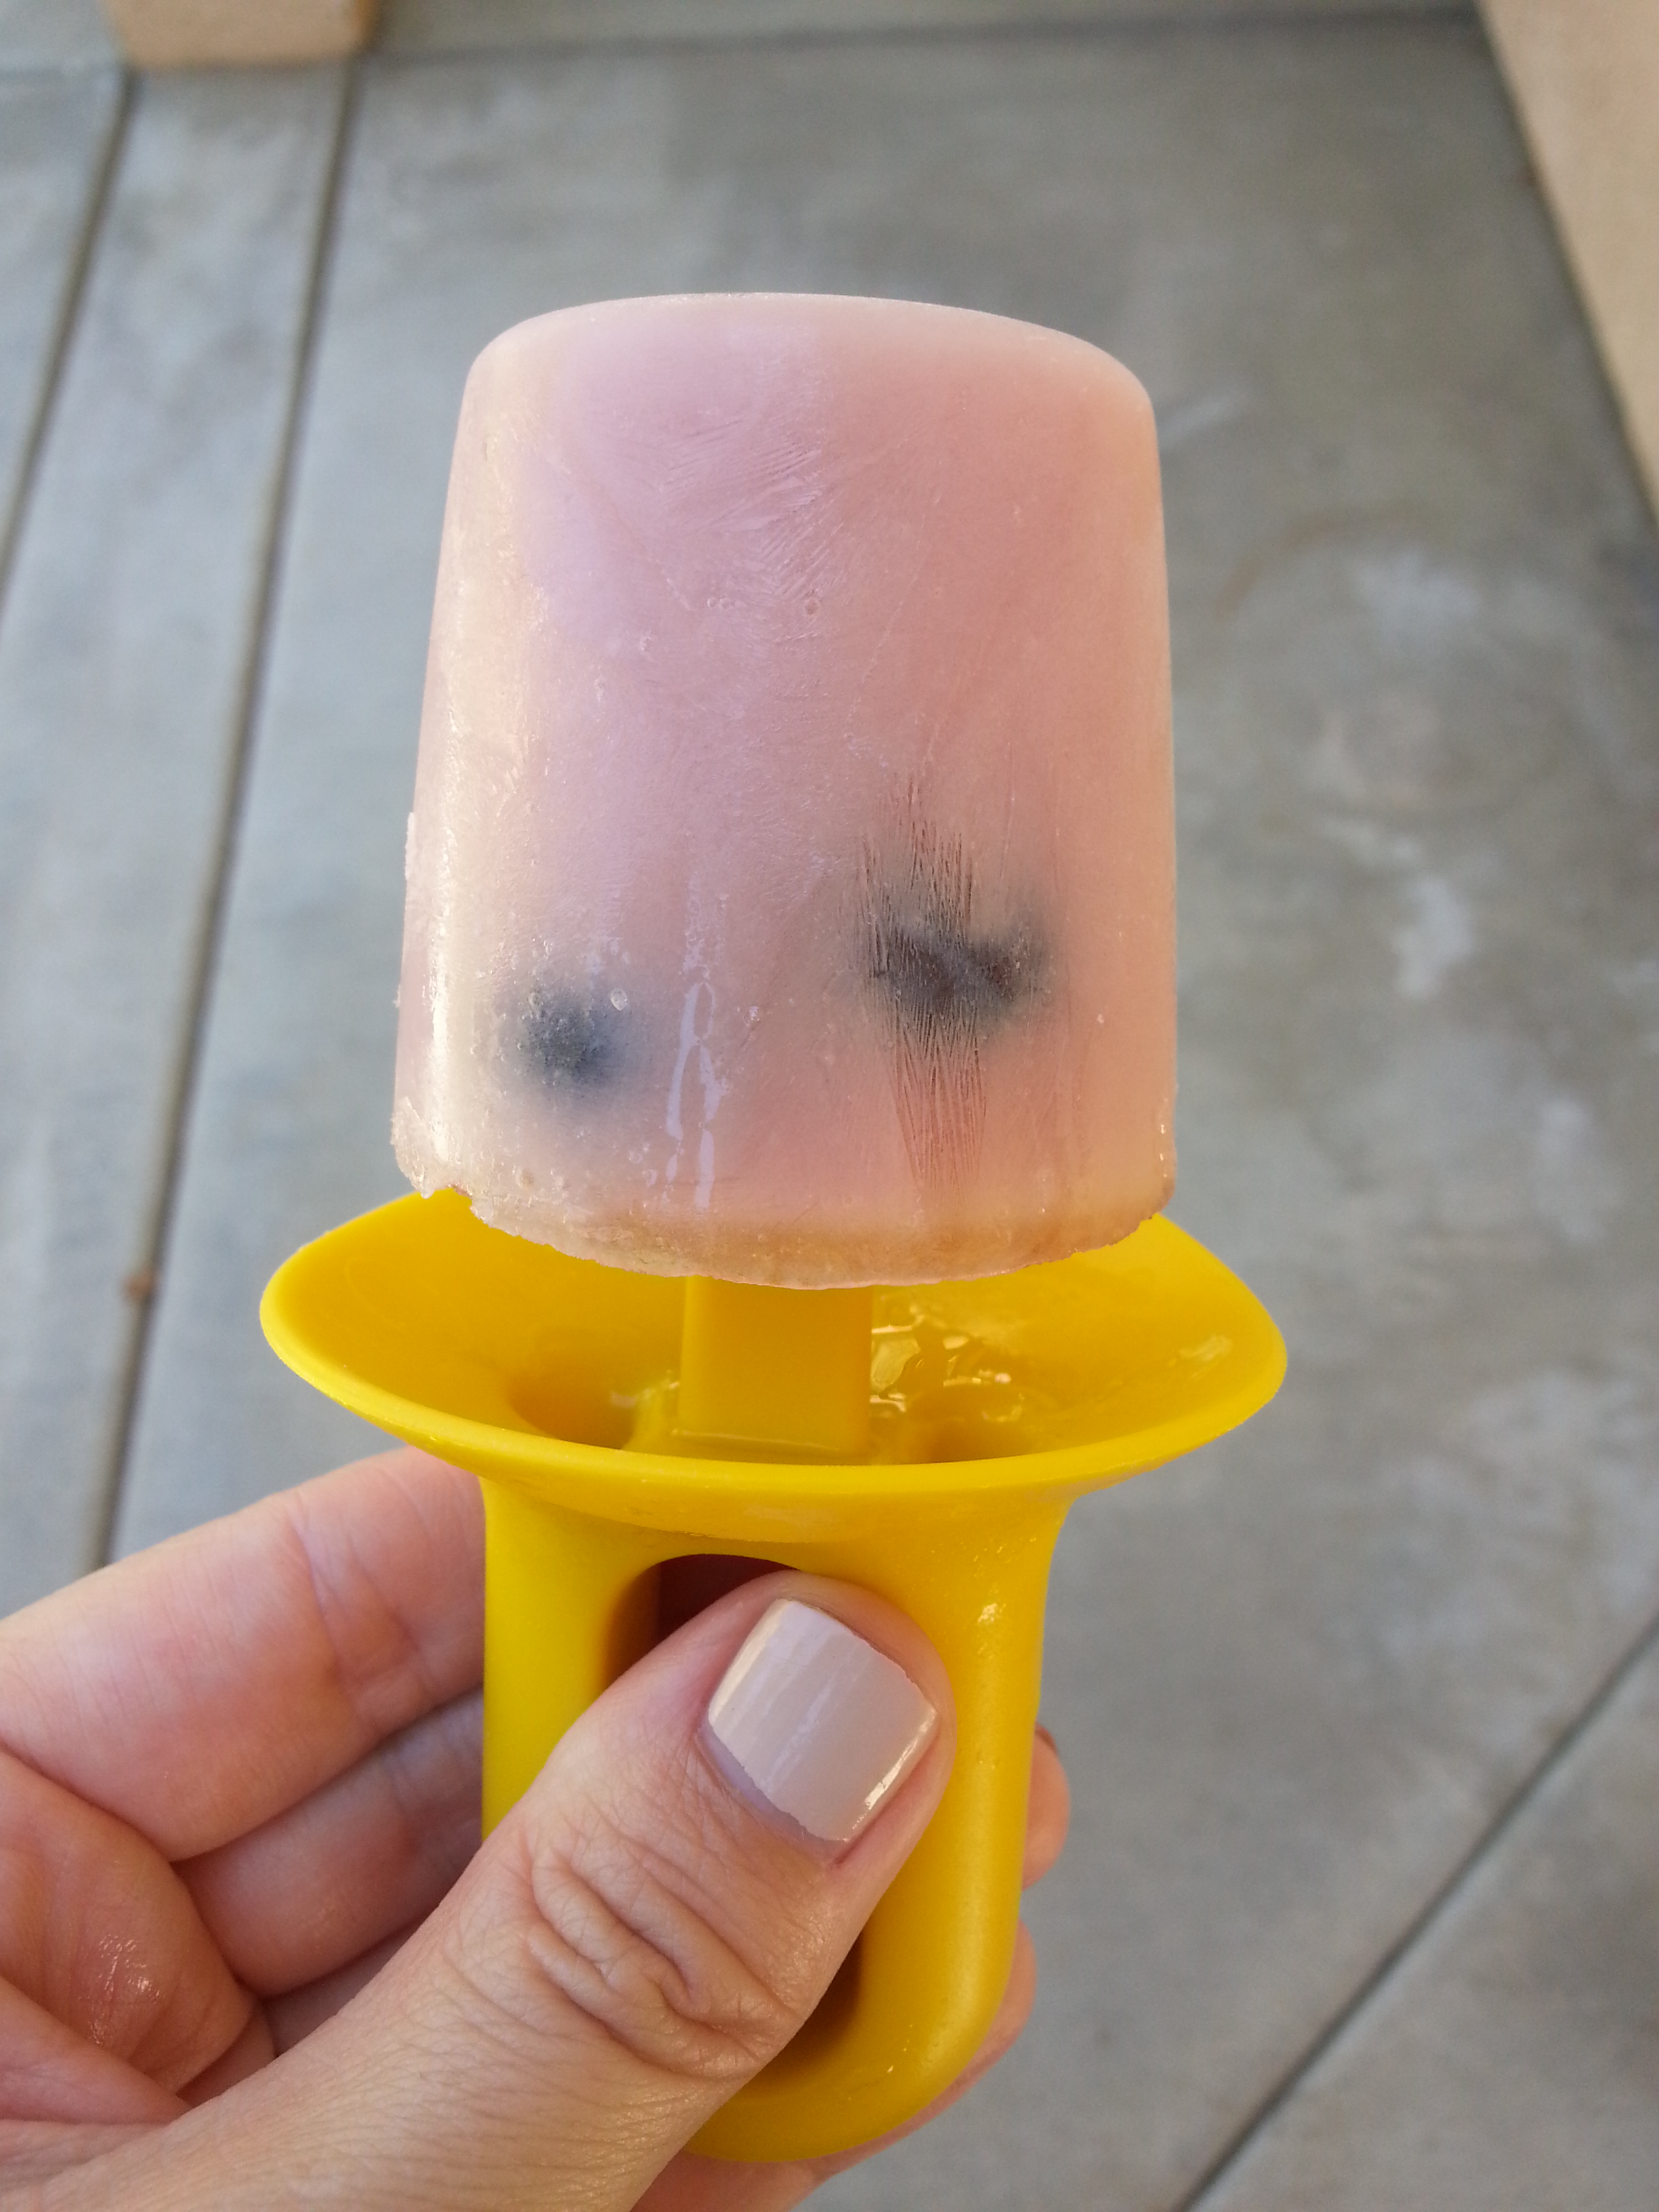
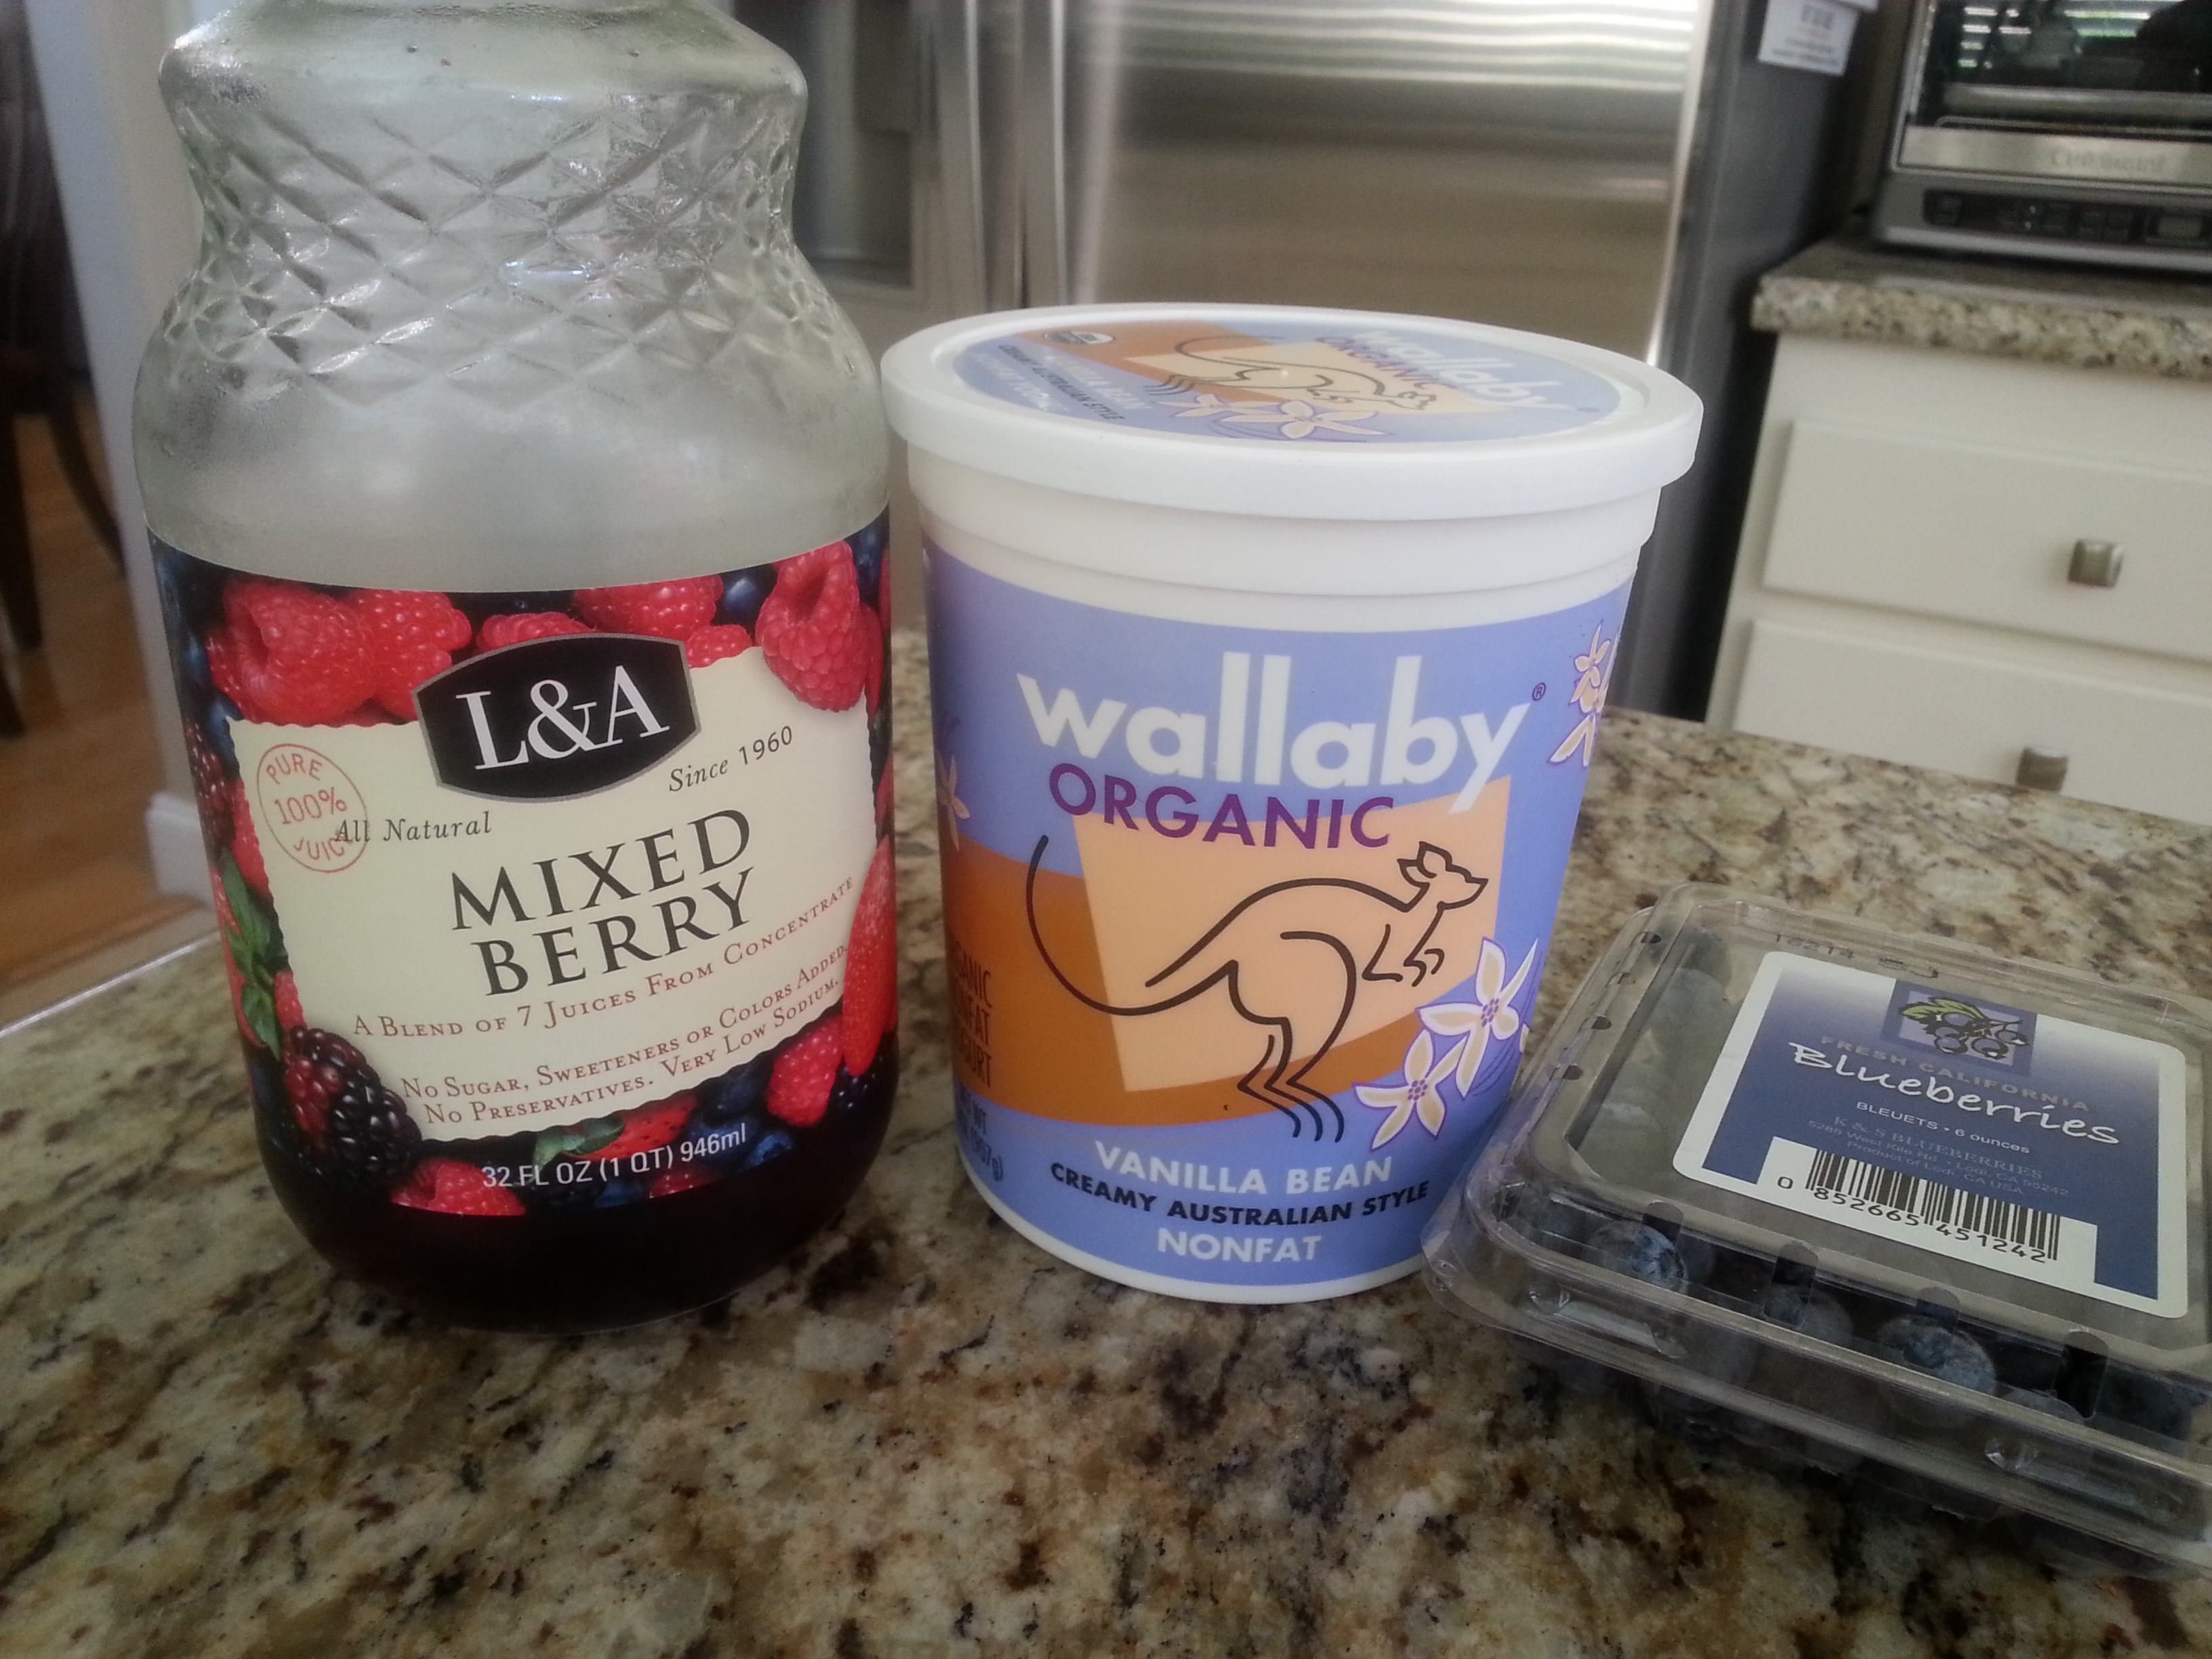
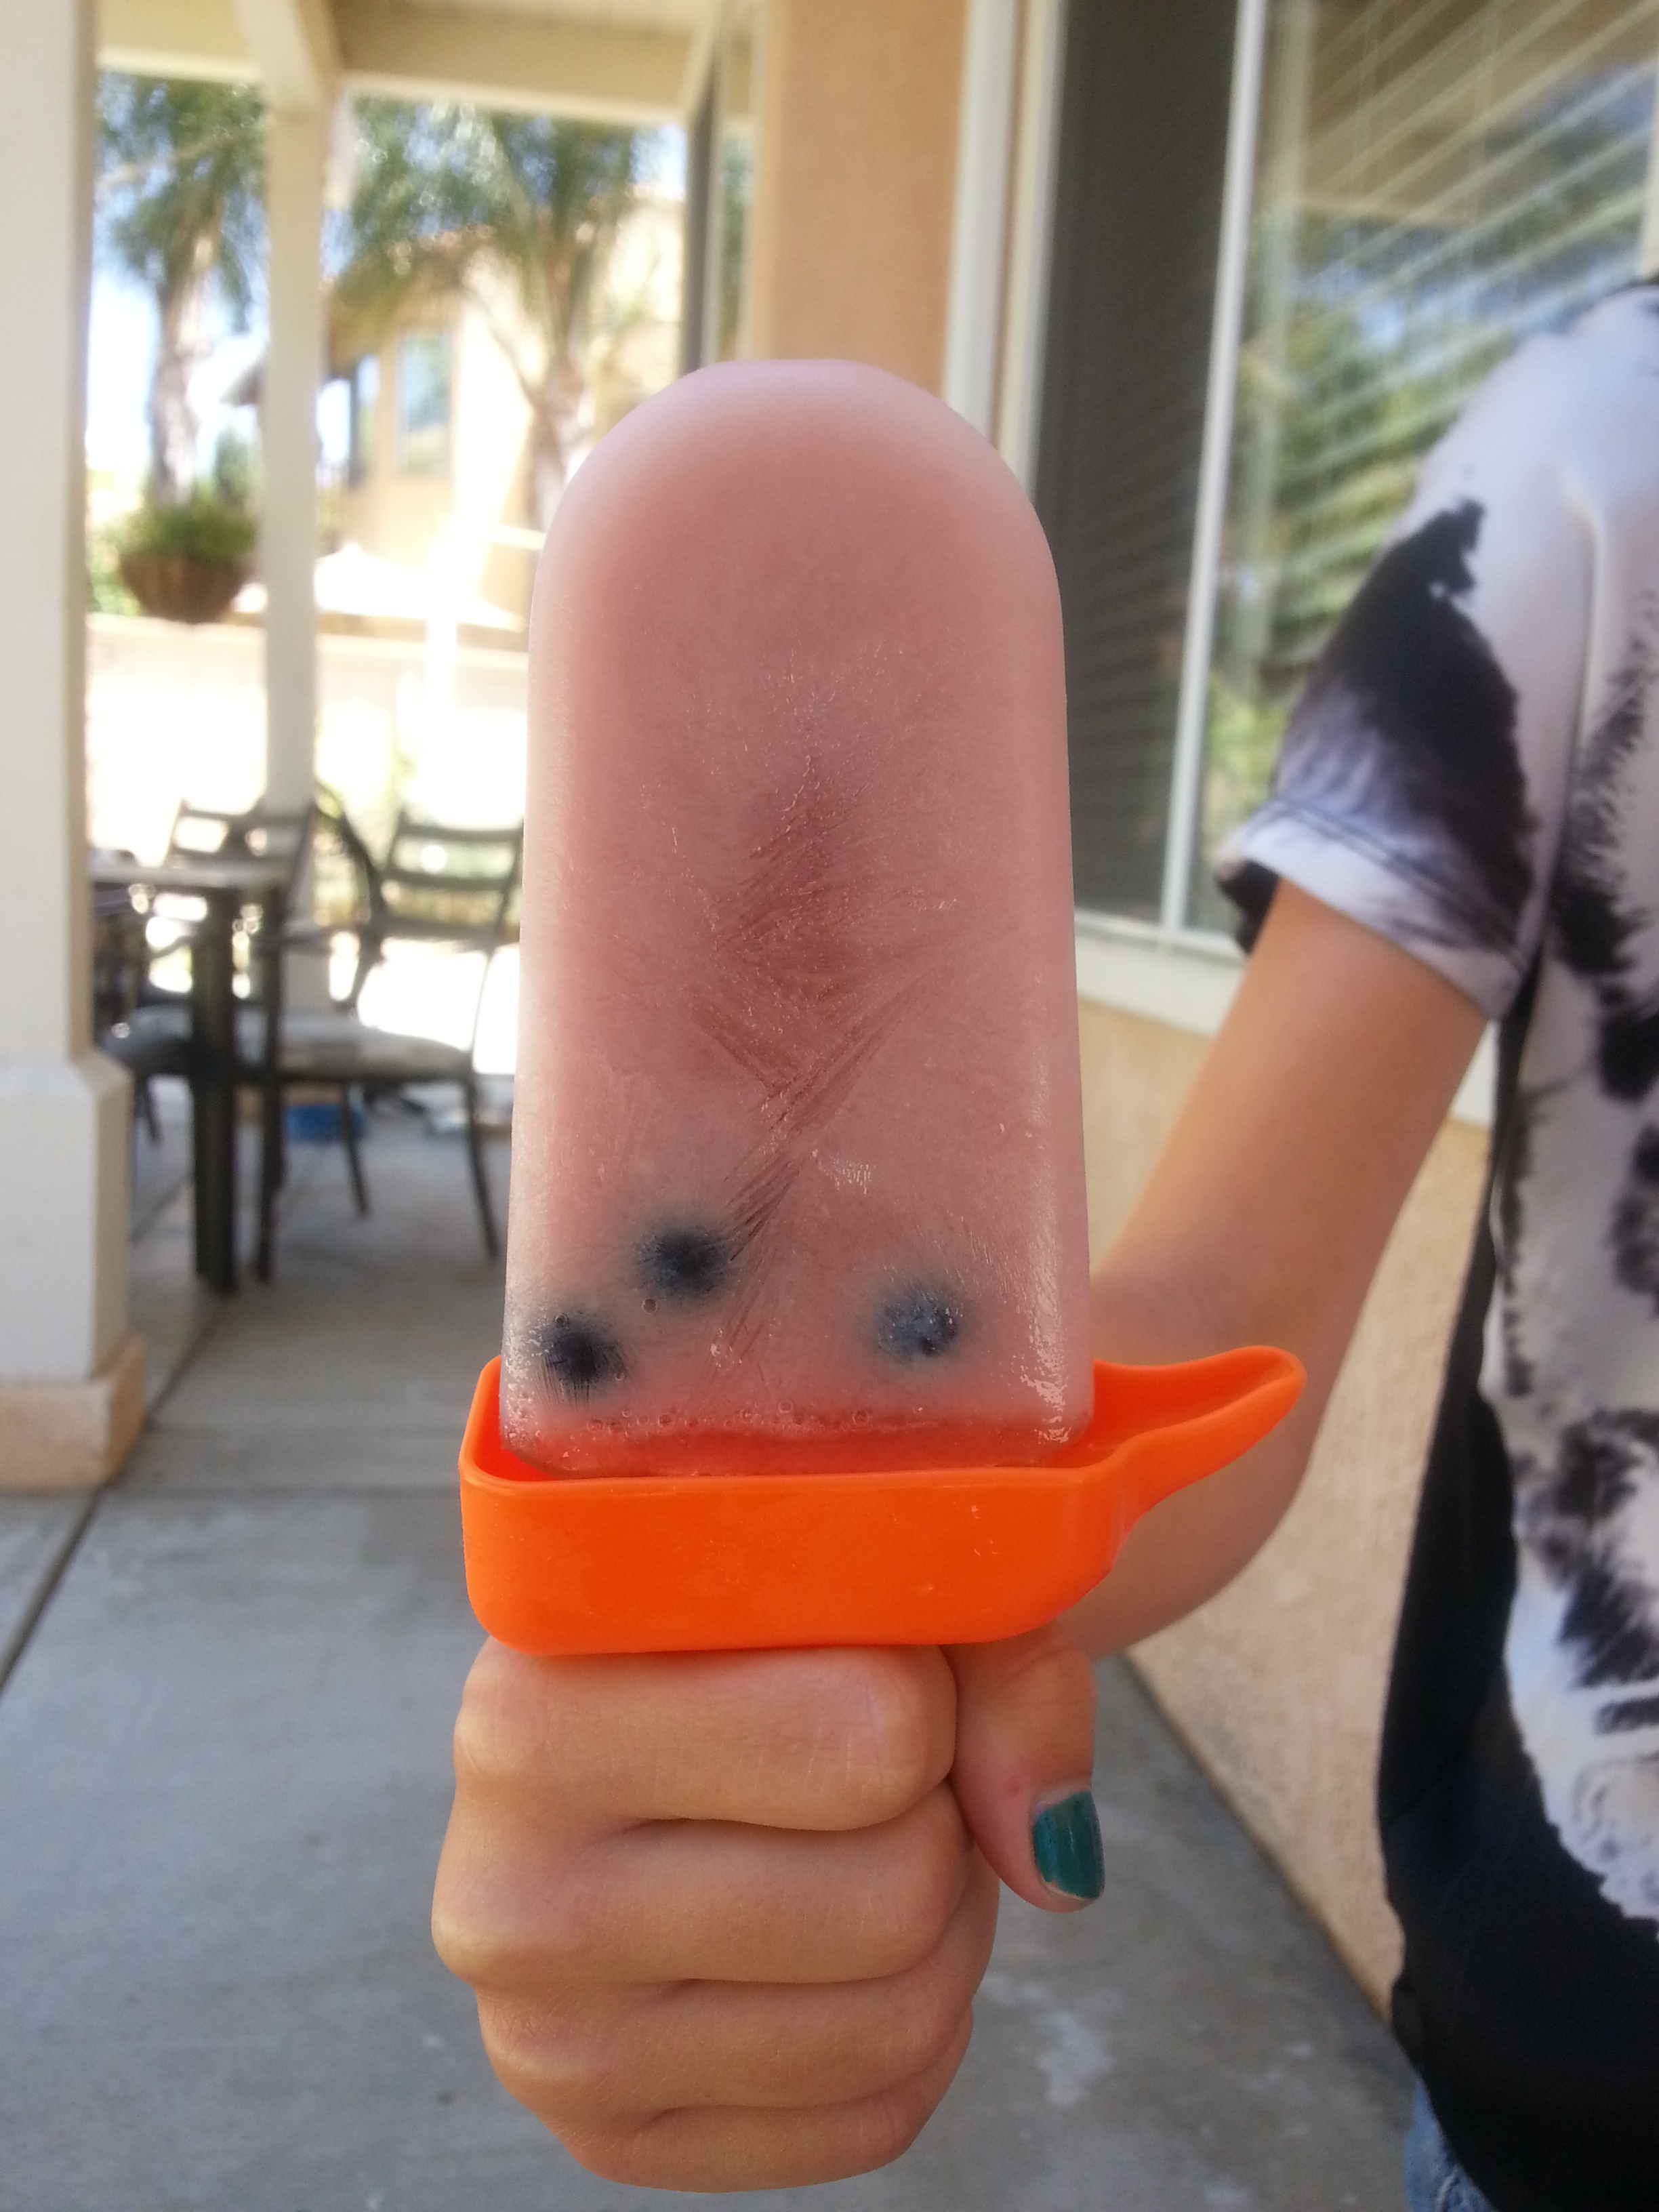
With this beautiful weather we’ve been enjoying, I thought it would be nice to spend a family evening at the pool and have some dinner while we were down there. Luckily for us, our community pool is just 10 houses down from us and is usually pretty quiet. We ended up having the place to ourselves during our dinner and after dinner swim. I wanted to have something that wasn’t too heavy for dinner and would be easy to transport too, so….
BOOM! Chicken Salad. This recipe turned out really good. I’m proud of it 🙂 It will definitely be my go to chicken salad from now on. My friend told me she never makes chicken salad because it doesn’t turn out as good as she was hoping for and I felt that same way about it too. Until now. This time, it turned out just as I had expected.
This is the long version. It took me almost 2 hours from start to finish. Don’t be scared! That was just the chicken cooking (and mine was frozen) that took up most of the time. But if you need a shortcut, I recommend buying a pre-cooked rotisserie chicken from your local grocery store. However, I am going to emphasize that the way this chicken cooks, REALLY, and I mean REALLY, adds such a good flavor. And while the chicken cooks, it makes your house smell like Thanksgiving. That’s a good thing!
Almond Chicken Salad
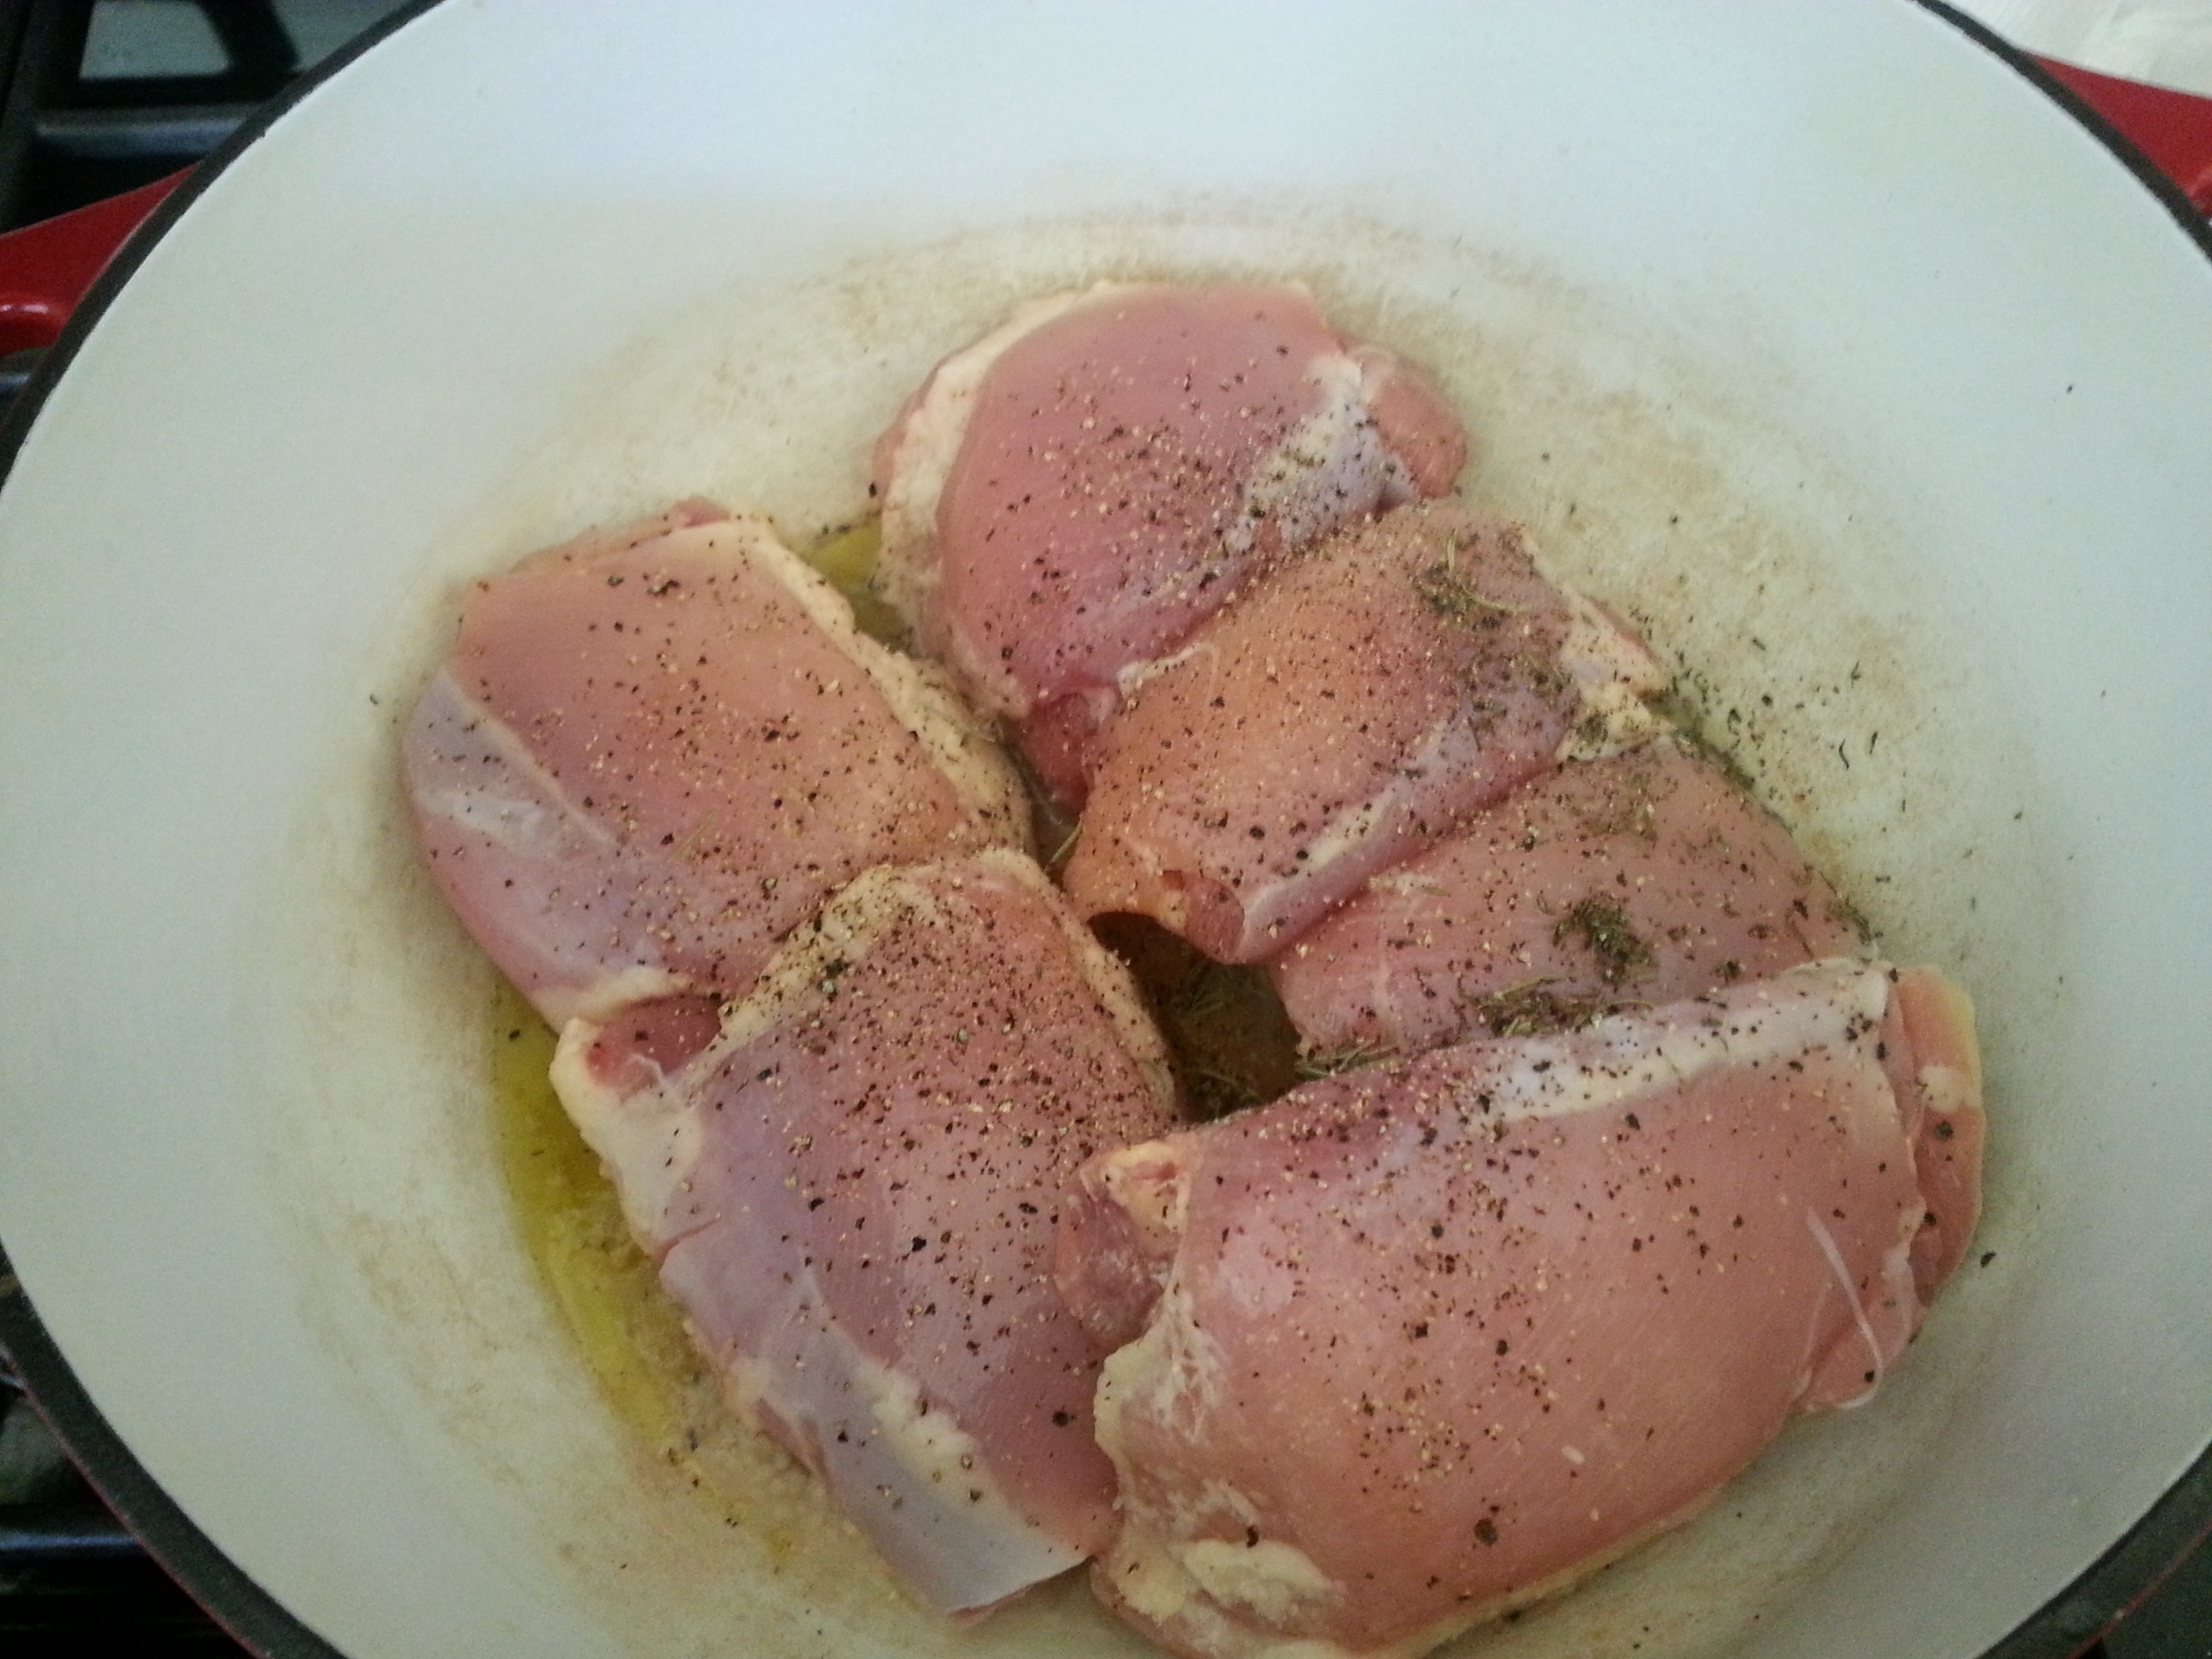
- 6 boneless, skinless chicken thighs (approximately 1 1/2 pounds)
- 1 tbsp. olive oil
- 2 cloves garlic, minced
- 1 tsp. each salt, ground pepper, dried thyme and dried rosemary
- 1/2 c. water
- Juice of 1/2 lemon
- 1/4 c. onion, finely chopped
- 2 celery stalks, chopped
- 1 c. frozen green peas, thawed
- 3/4 c. slivered almonds
- 1 3/4 c. mayo
- Salt and ground pepper, to taste
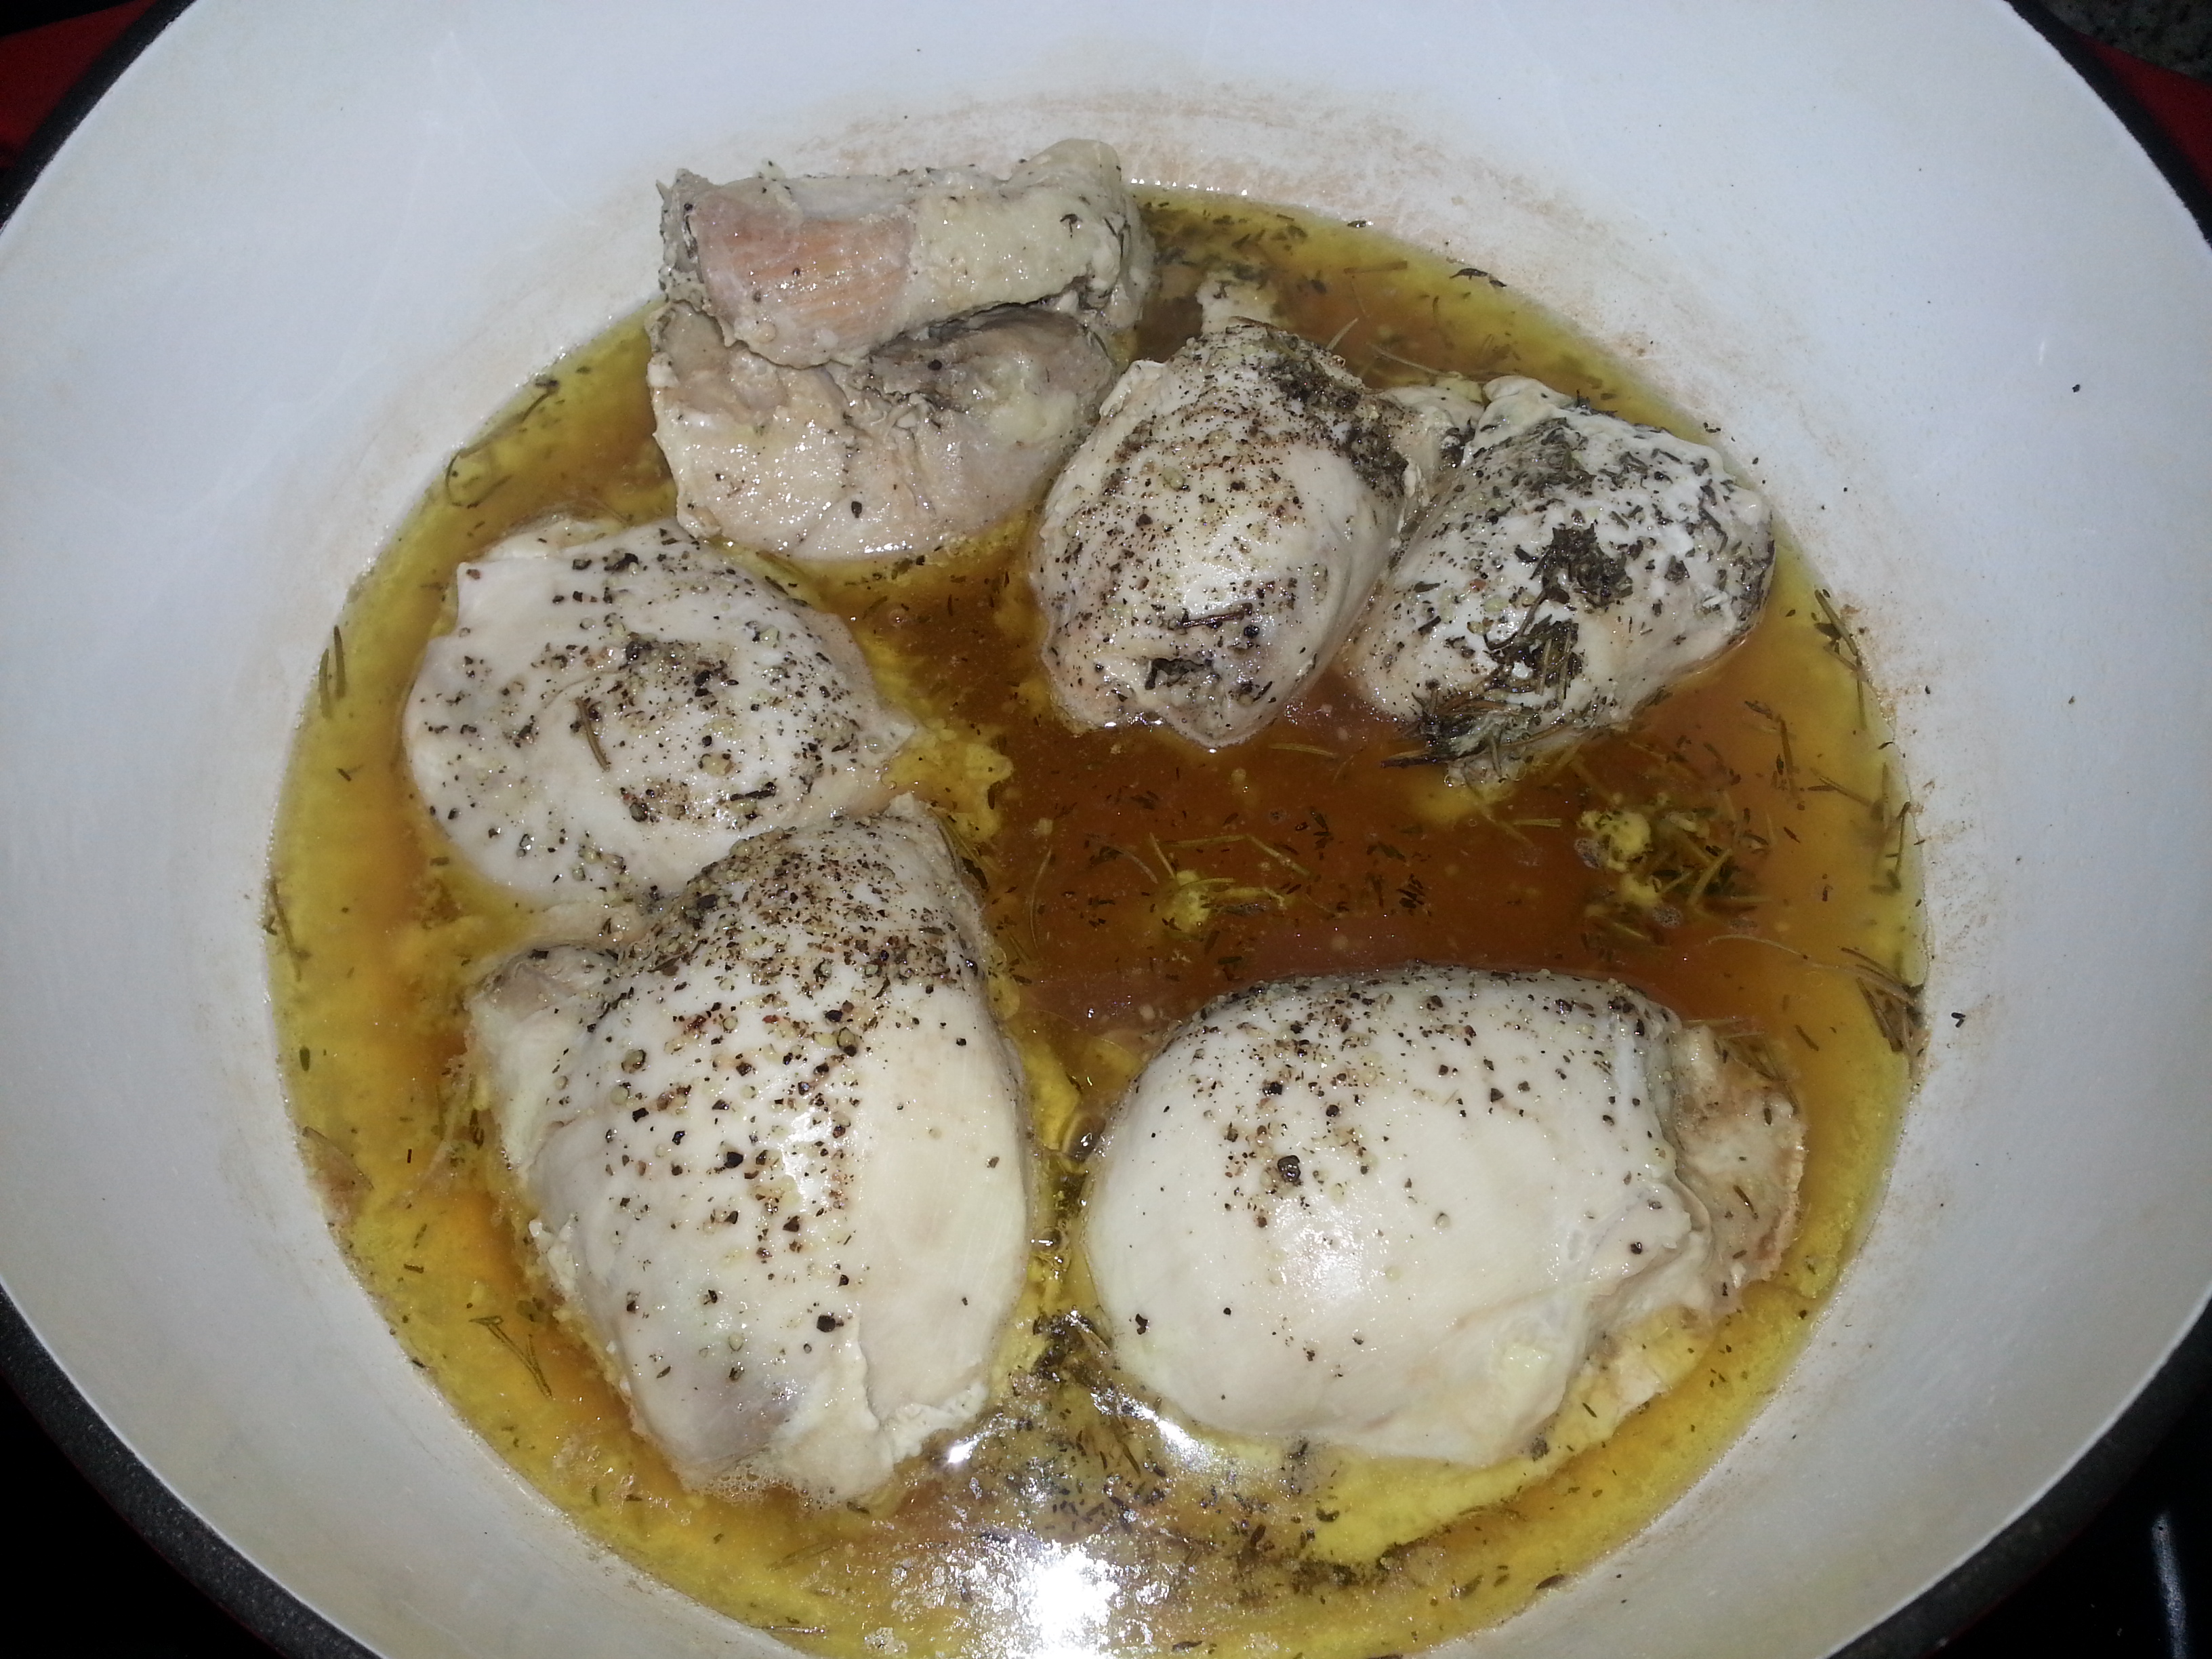
Heat a Dutch oven or a pot over medium heat. Add oil. Once heated, add garlic and sauté for approximately 30 seconds. Add chicken, water, salt, pepper, thyme and rosemary. Bring to a boil and reduce heat to a simmer. Cover and cook for 1 hour if the chicken has been thawed. 1 1/2 hours if the chicken is frozen.
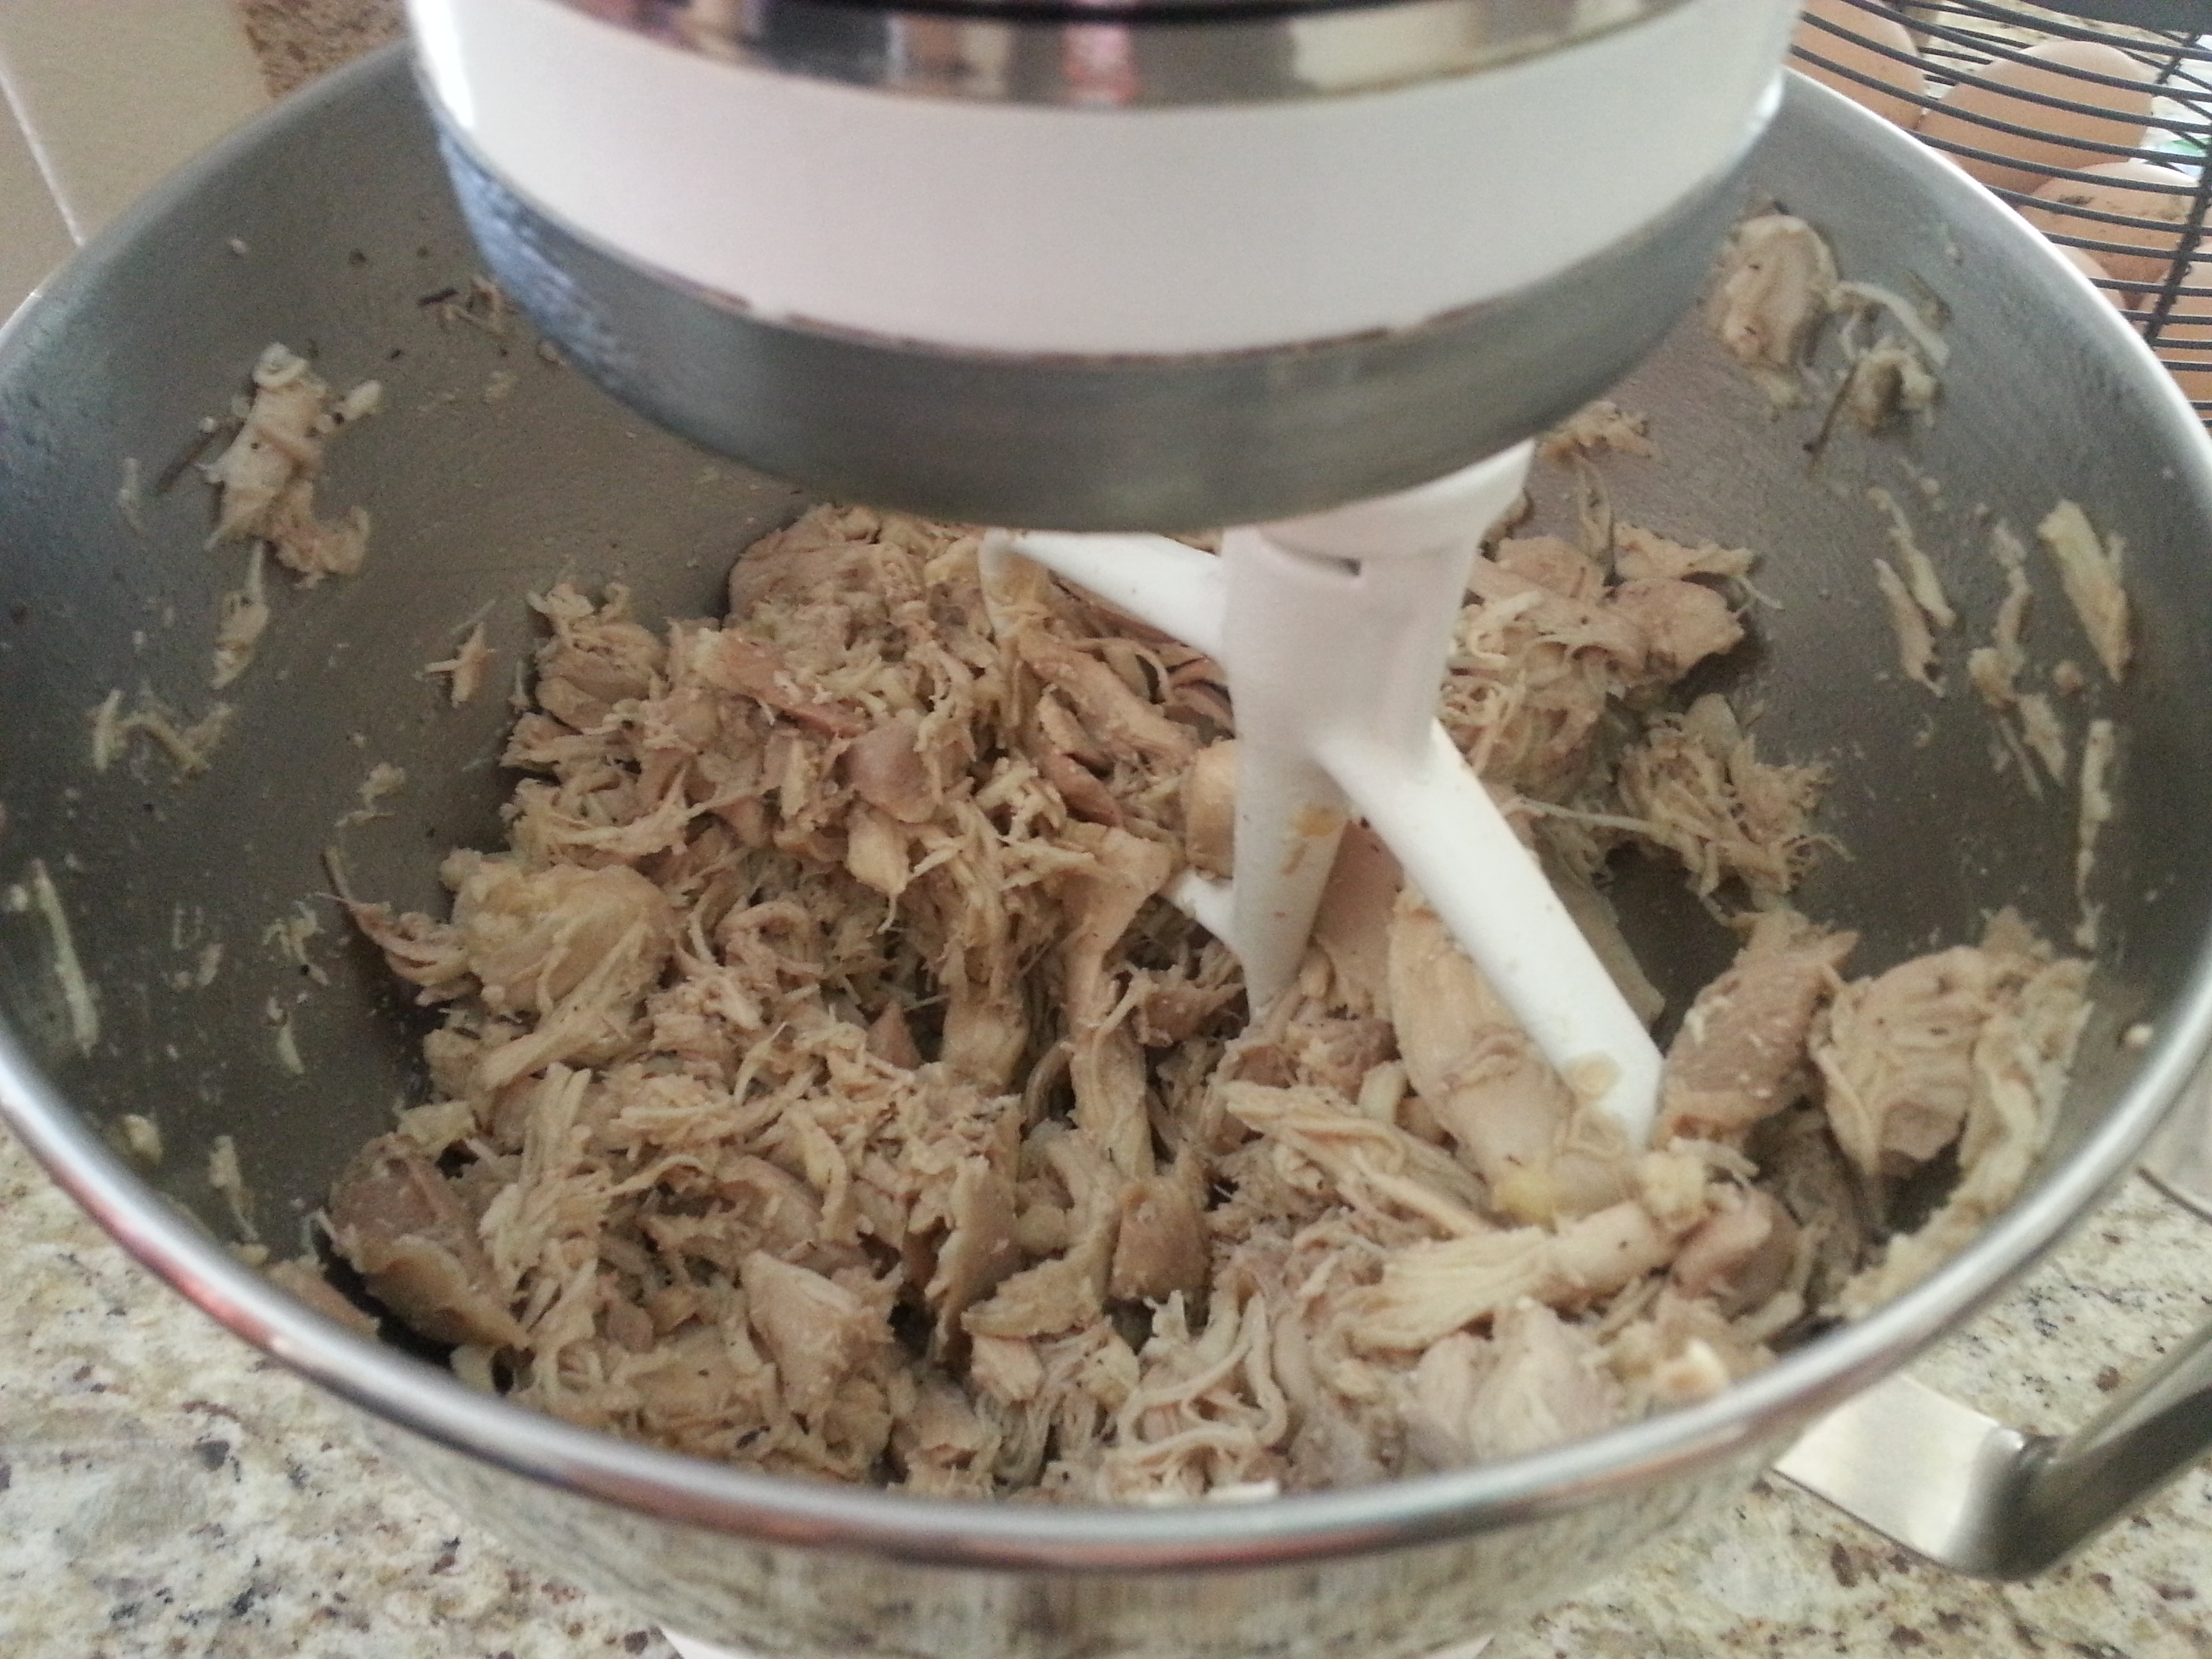
Once cooked, remove chicken to the bowl of a stand mixer. Let cool for a few minutes. Using the paddle attachment, turn your stand mixer onto stir. This will shred your chicken for you perfectly. If you don’t own a stand mixer, no worries. You’re just going to have to go about it the good ole fashioned way! Just put your chicken in a bowl, use two forks and shred away.
Once chicken has completely cooled, add the rest of the ingredients and stir until combined. Refrigerate until ready to eat.


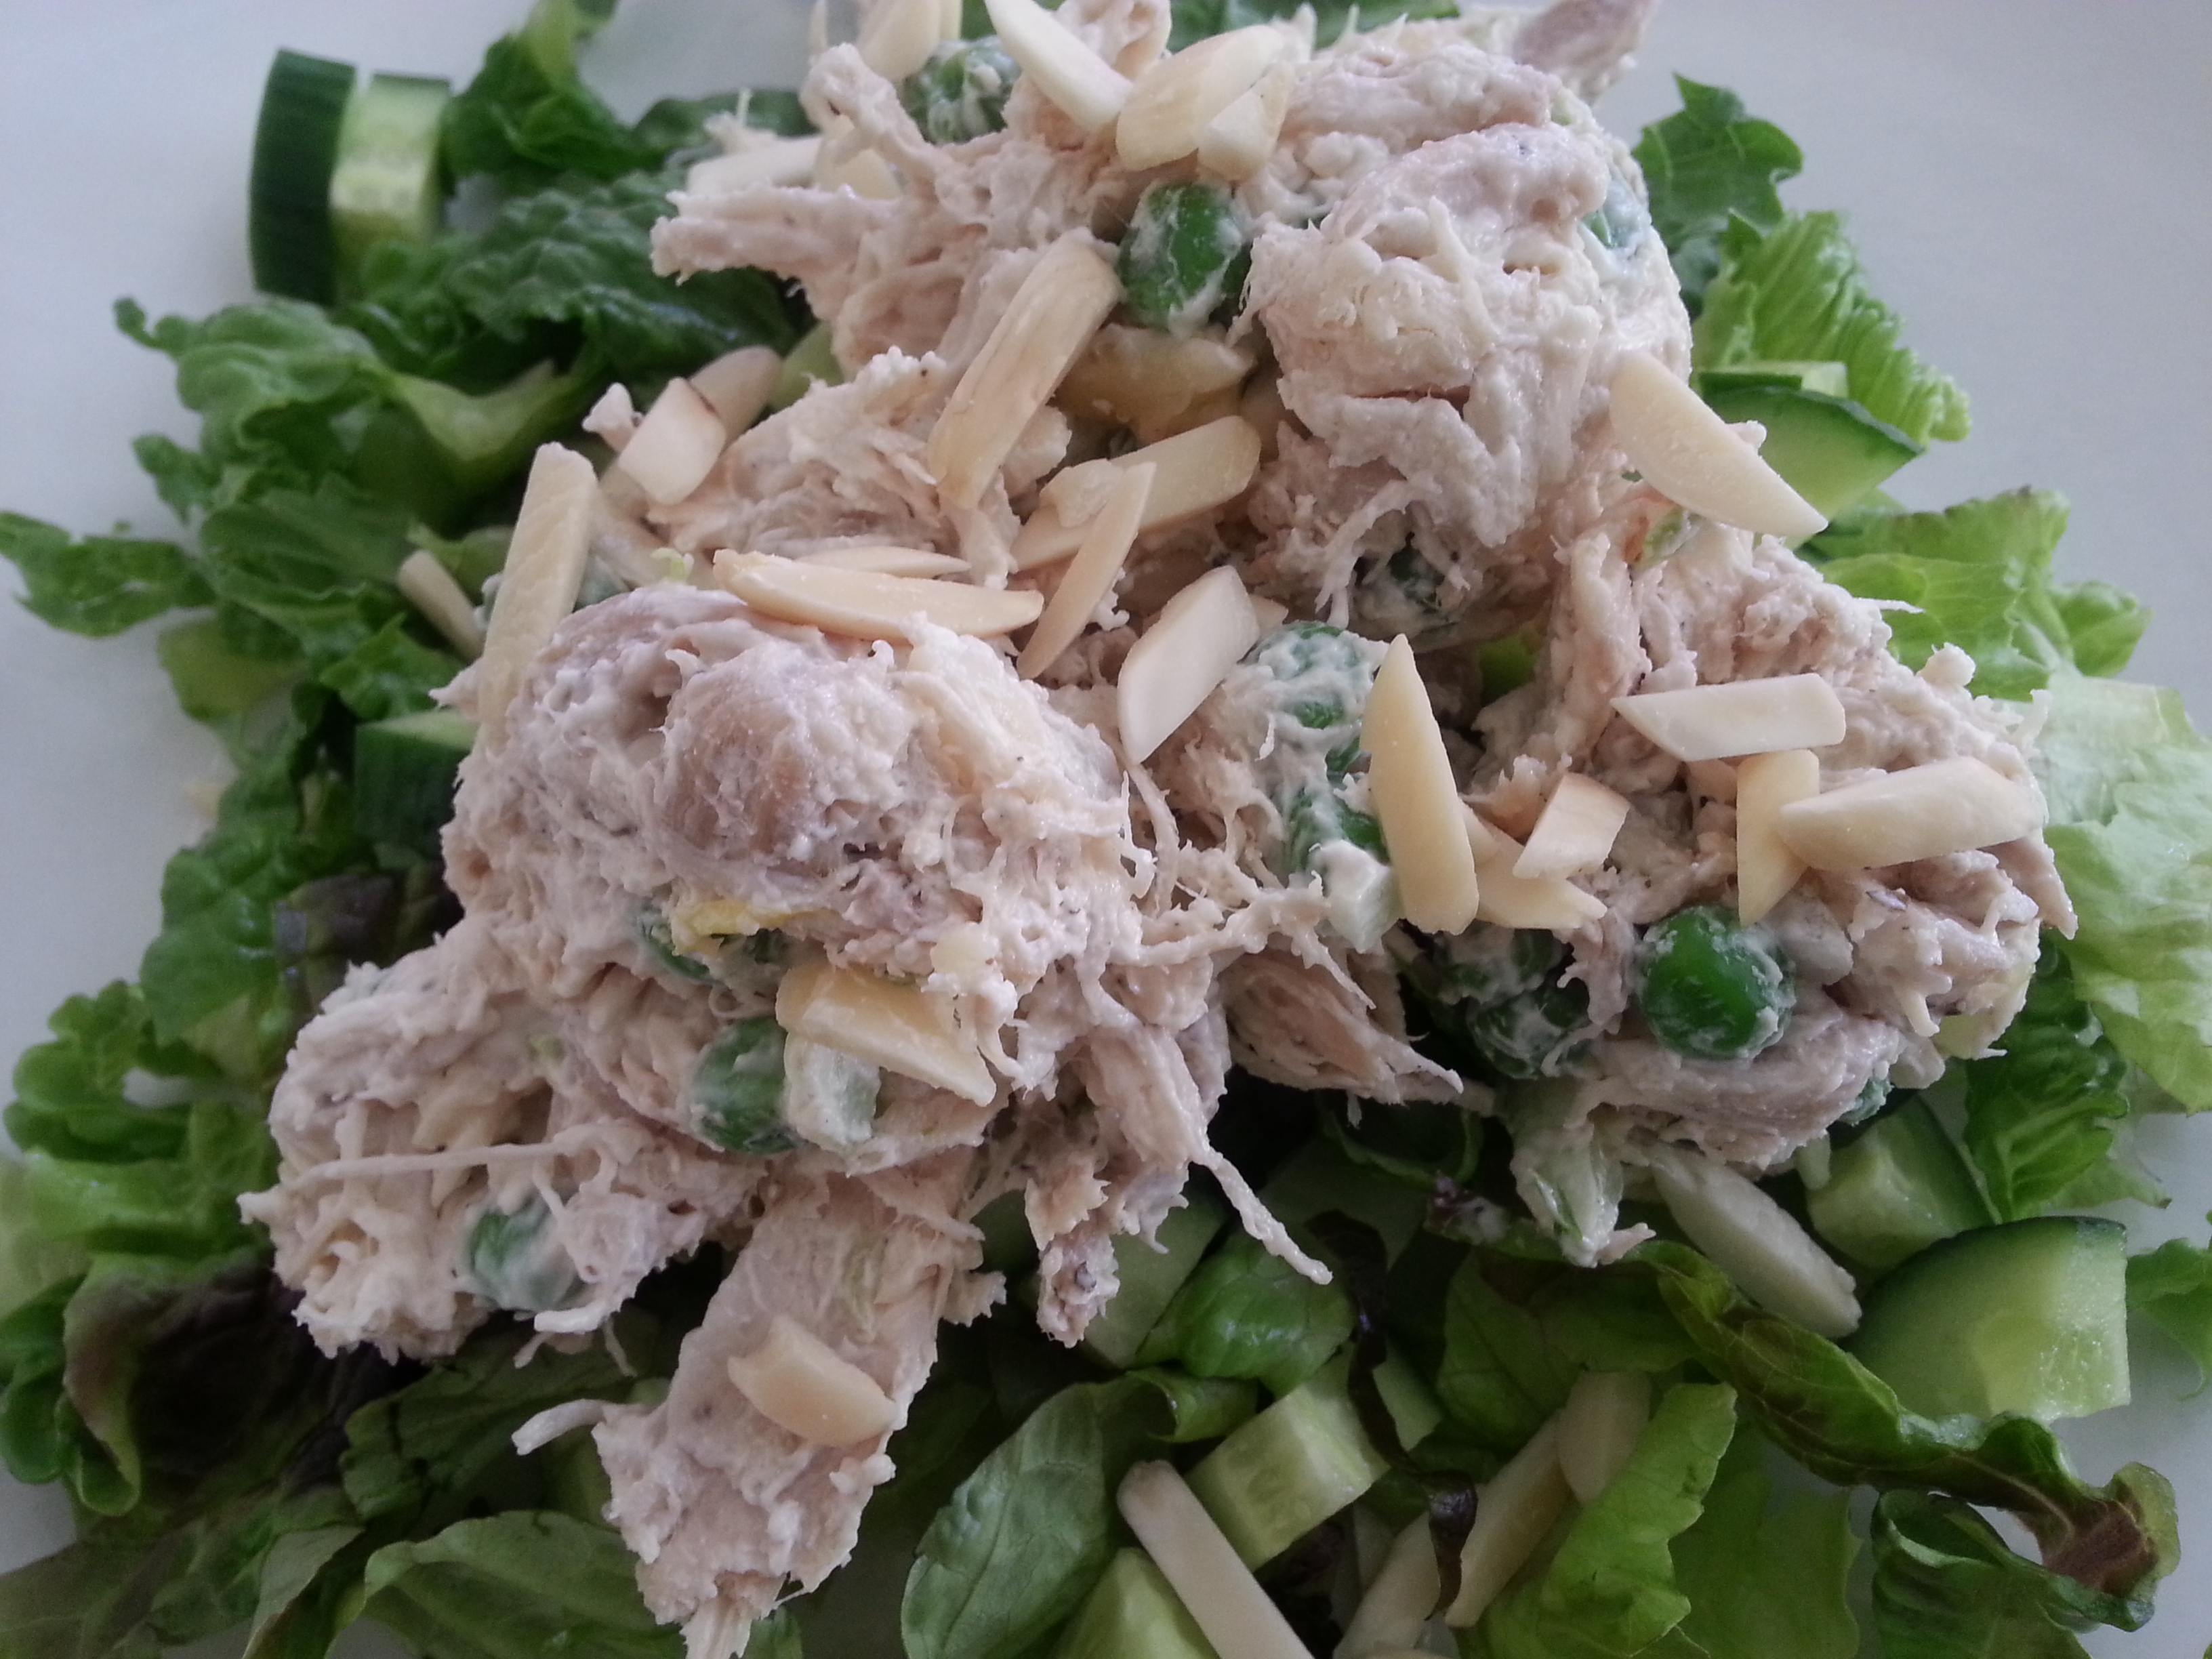
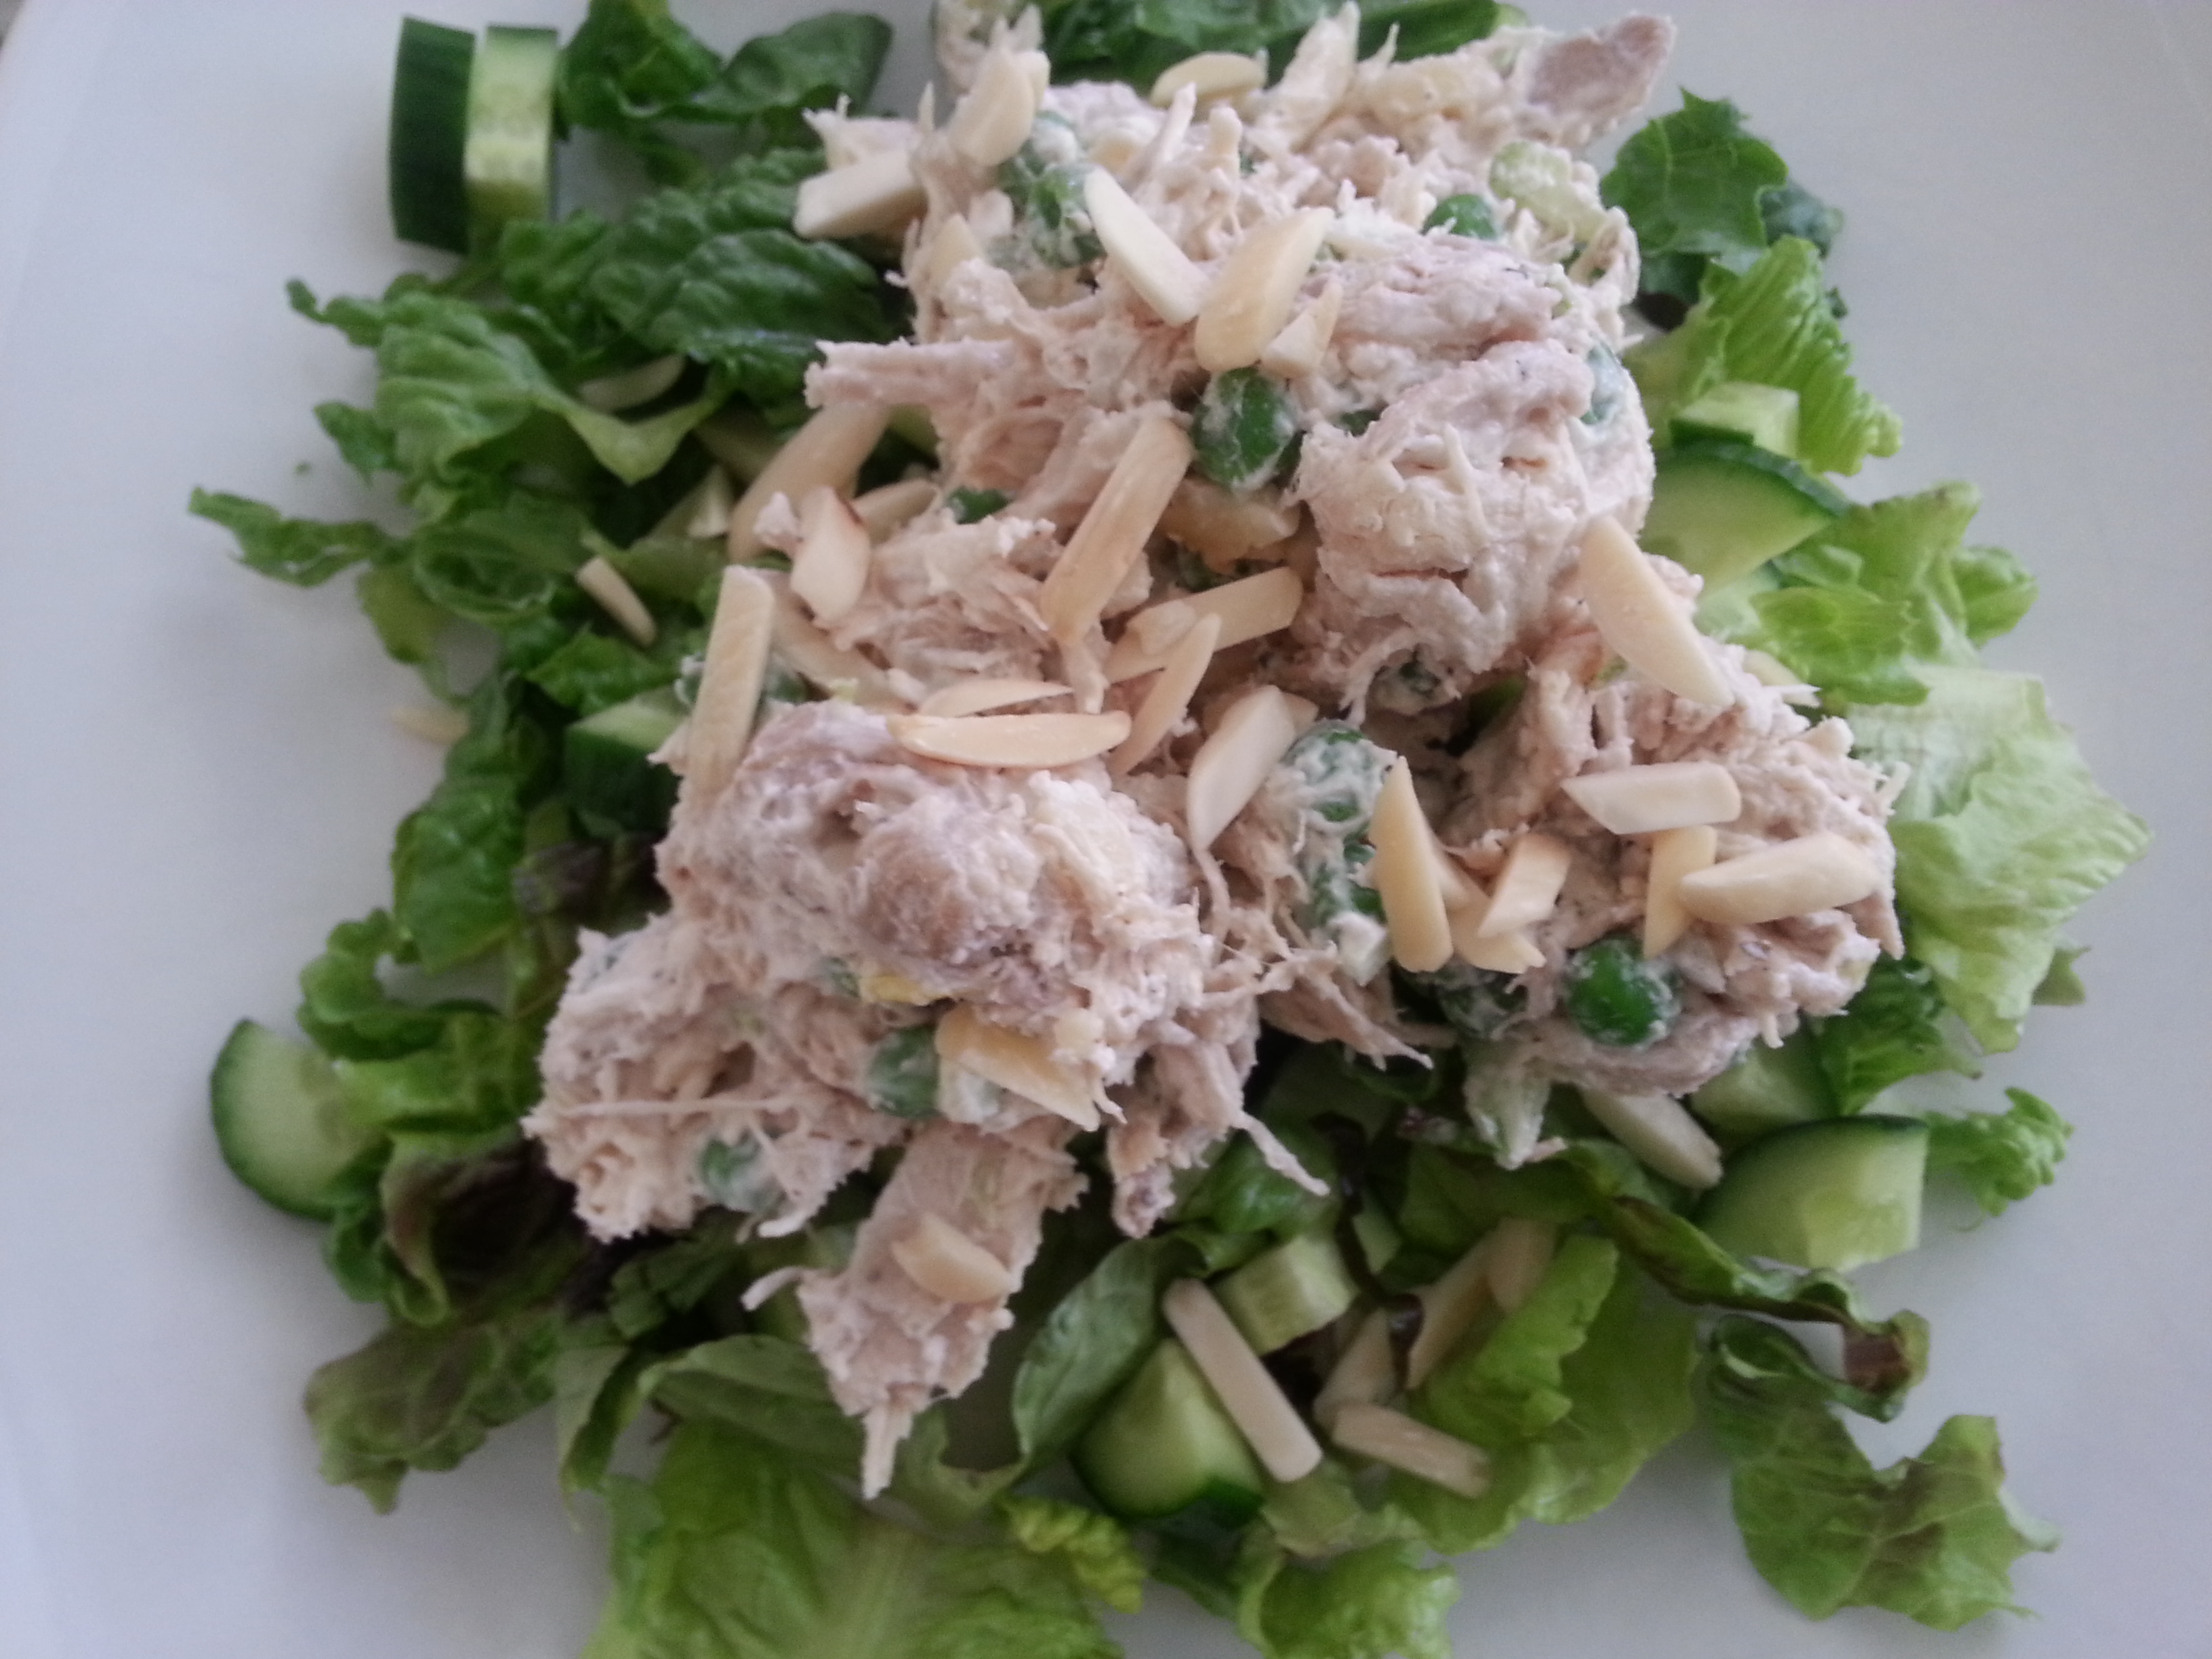
 I served this chicken salad as a “salad”. I did romaine and red leaf lettuce mixed together and scooped some of the chicken salad and placed on top. I also added some cucumbers to my lettuce to give it an extra crunch and garnished with extra slivered almonds. The chicken salad would also be great on a sandwich roll, or in a tortilla wrap.
So yummy, and such a great summertime meal!
P.S. Don’t throw away that leftover liquid. I skimmed the fat, strained it, put it in the freezer and now I have 1 1/2 cups of homemade chicken broth. Lucky me 🙂
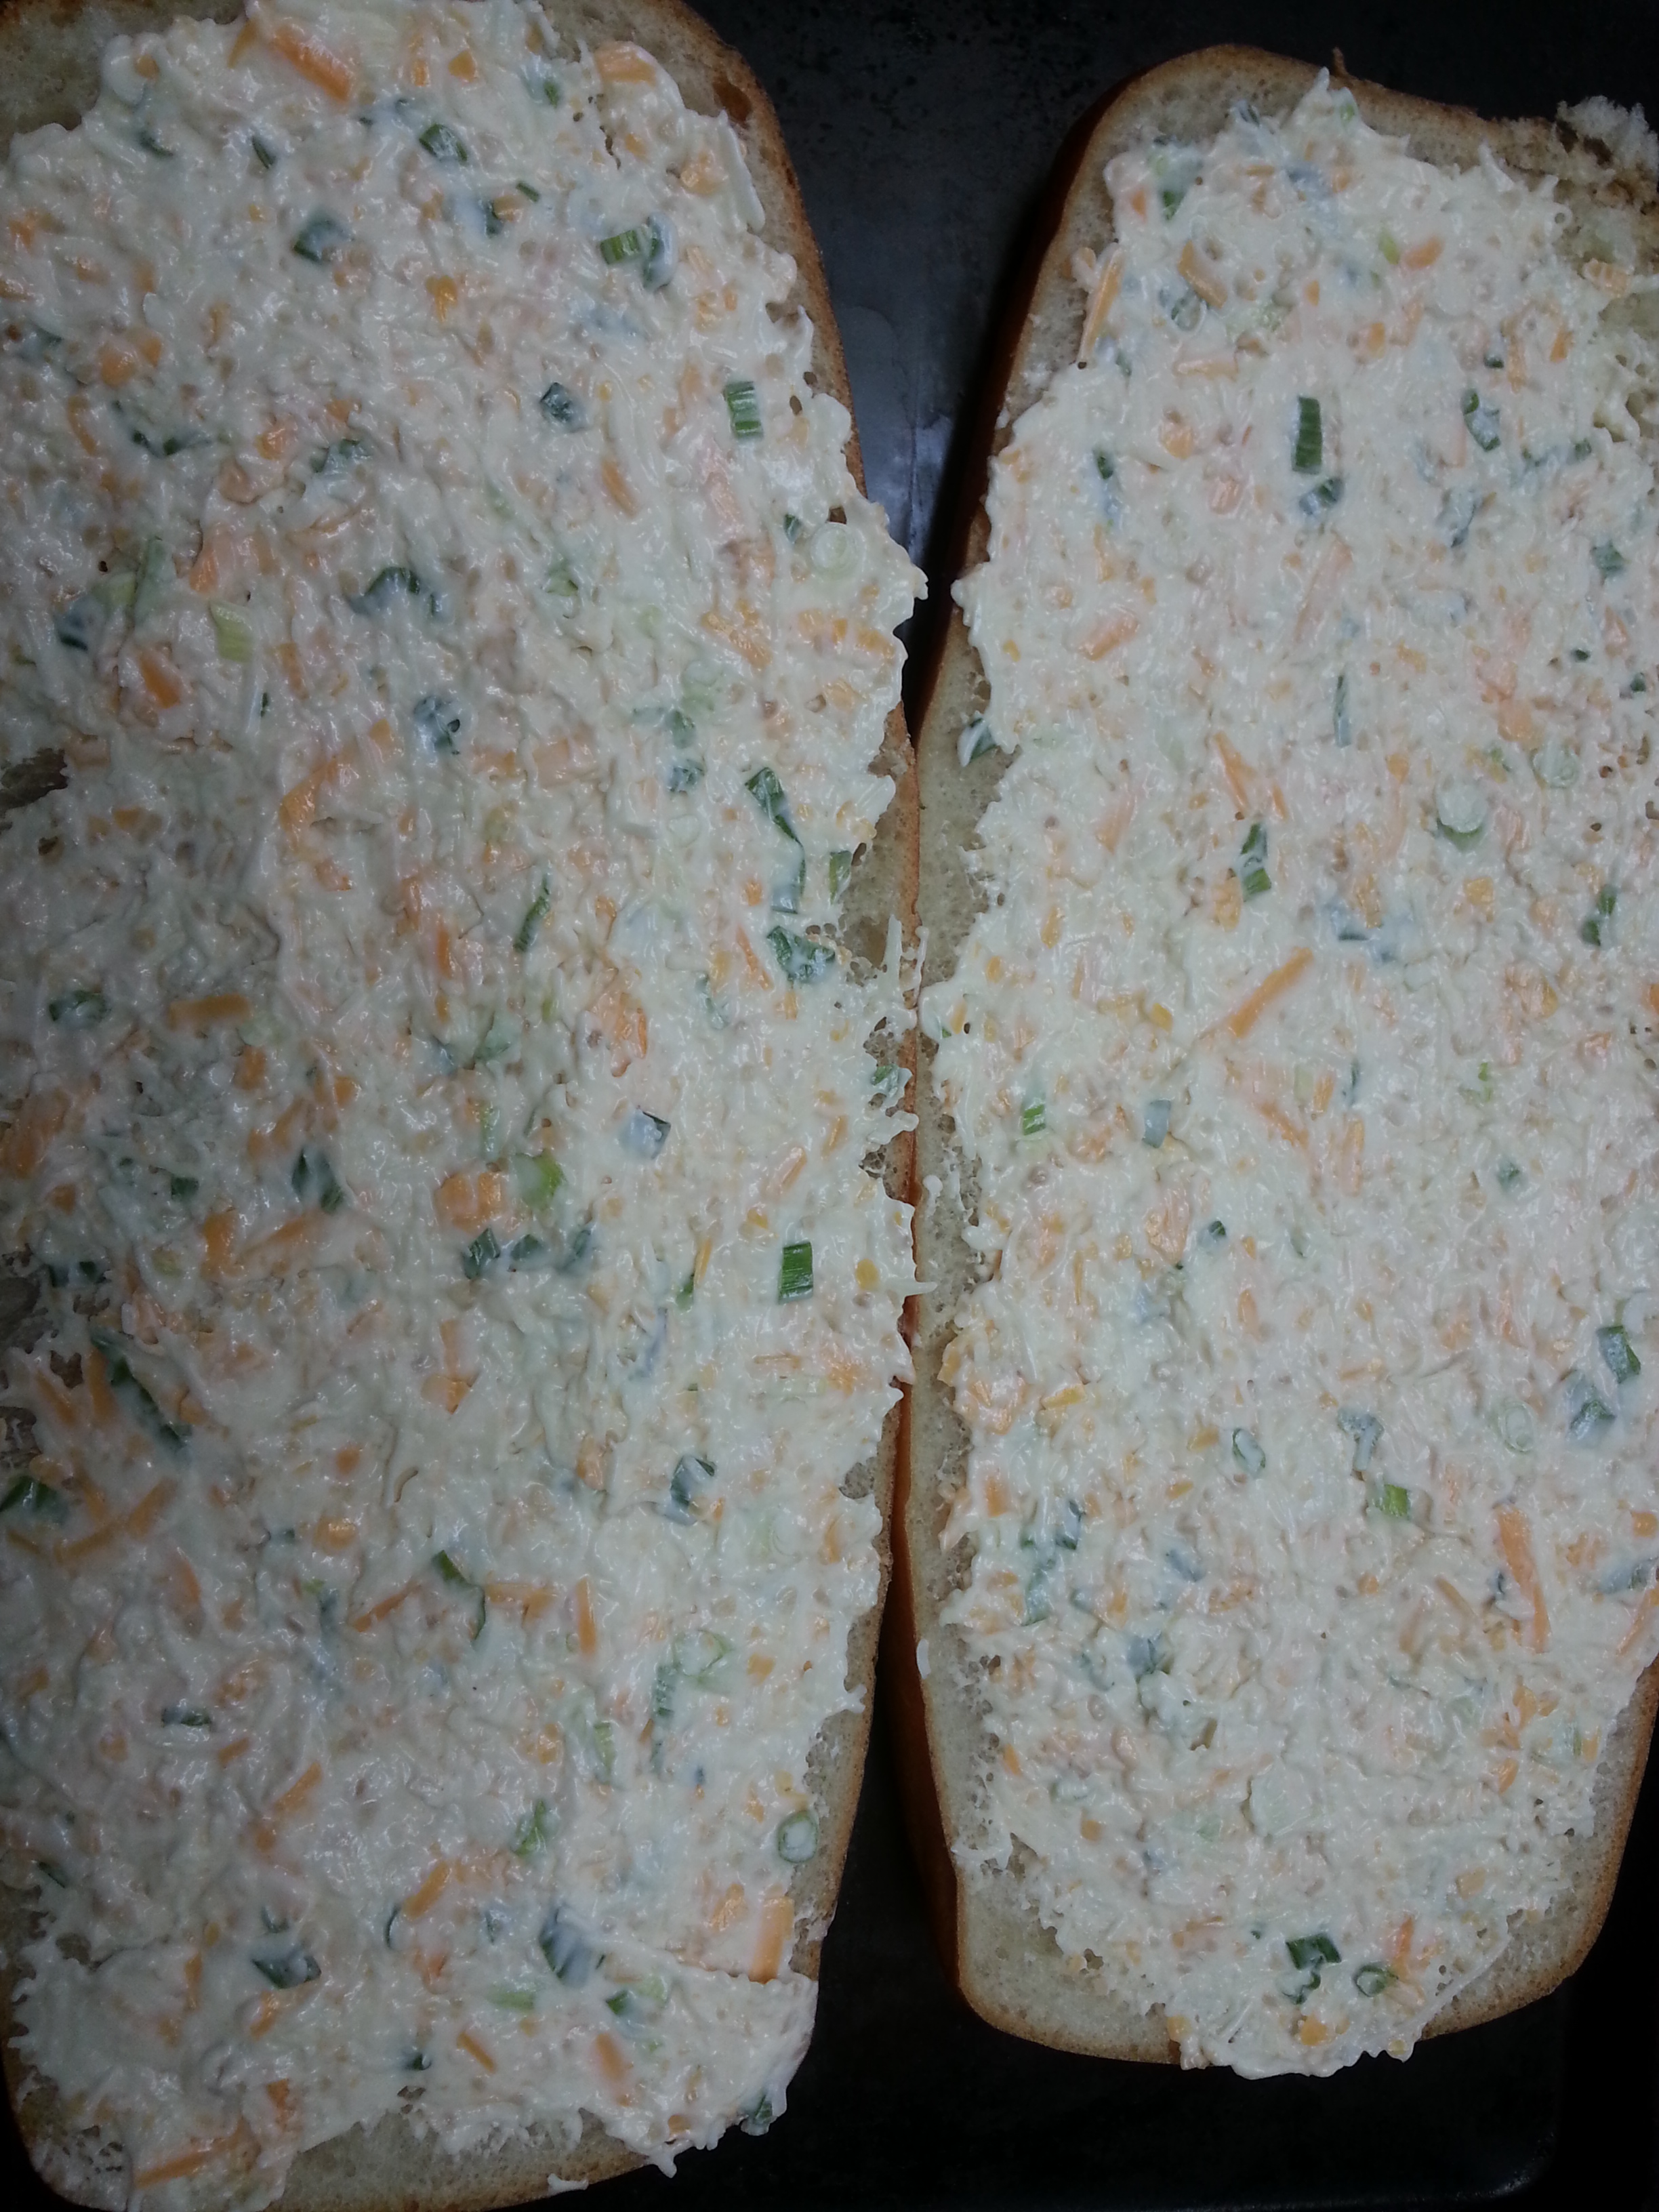
 This bread was first introduced to me many years ago by my Aunt. So good! First off, it’s bread and with me being a carb-a-holic, that’s a huge YES please. Second, it has mayonnaise in it. I am a huge lover of mayo. It’s a sick addiction. Third, it has garlic. I also love me some garlic.
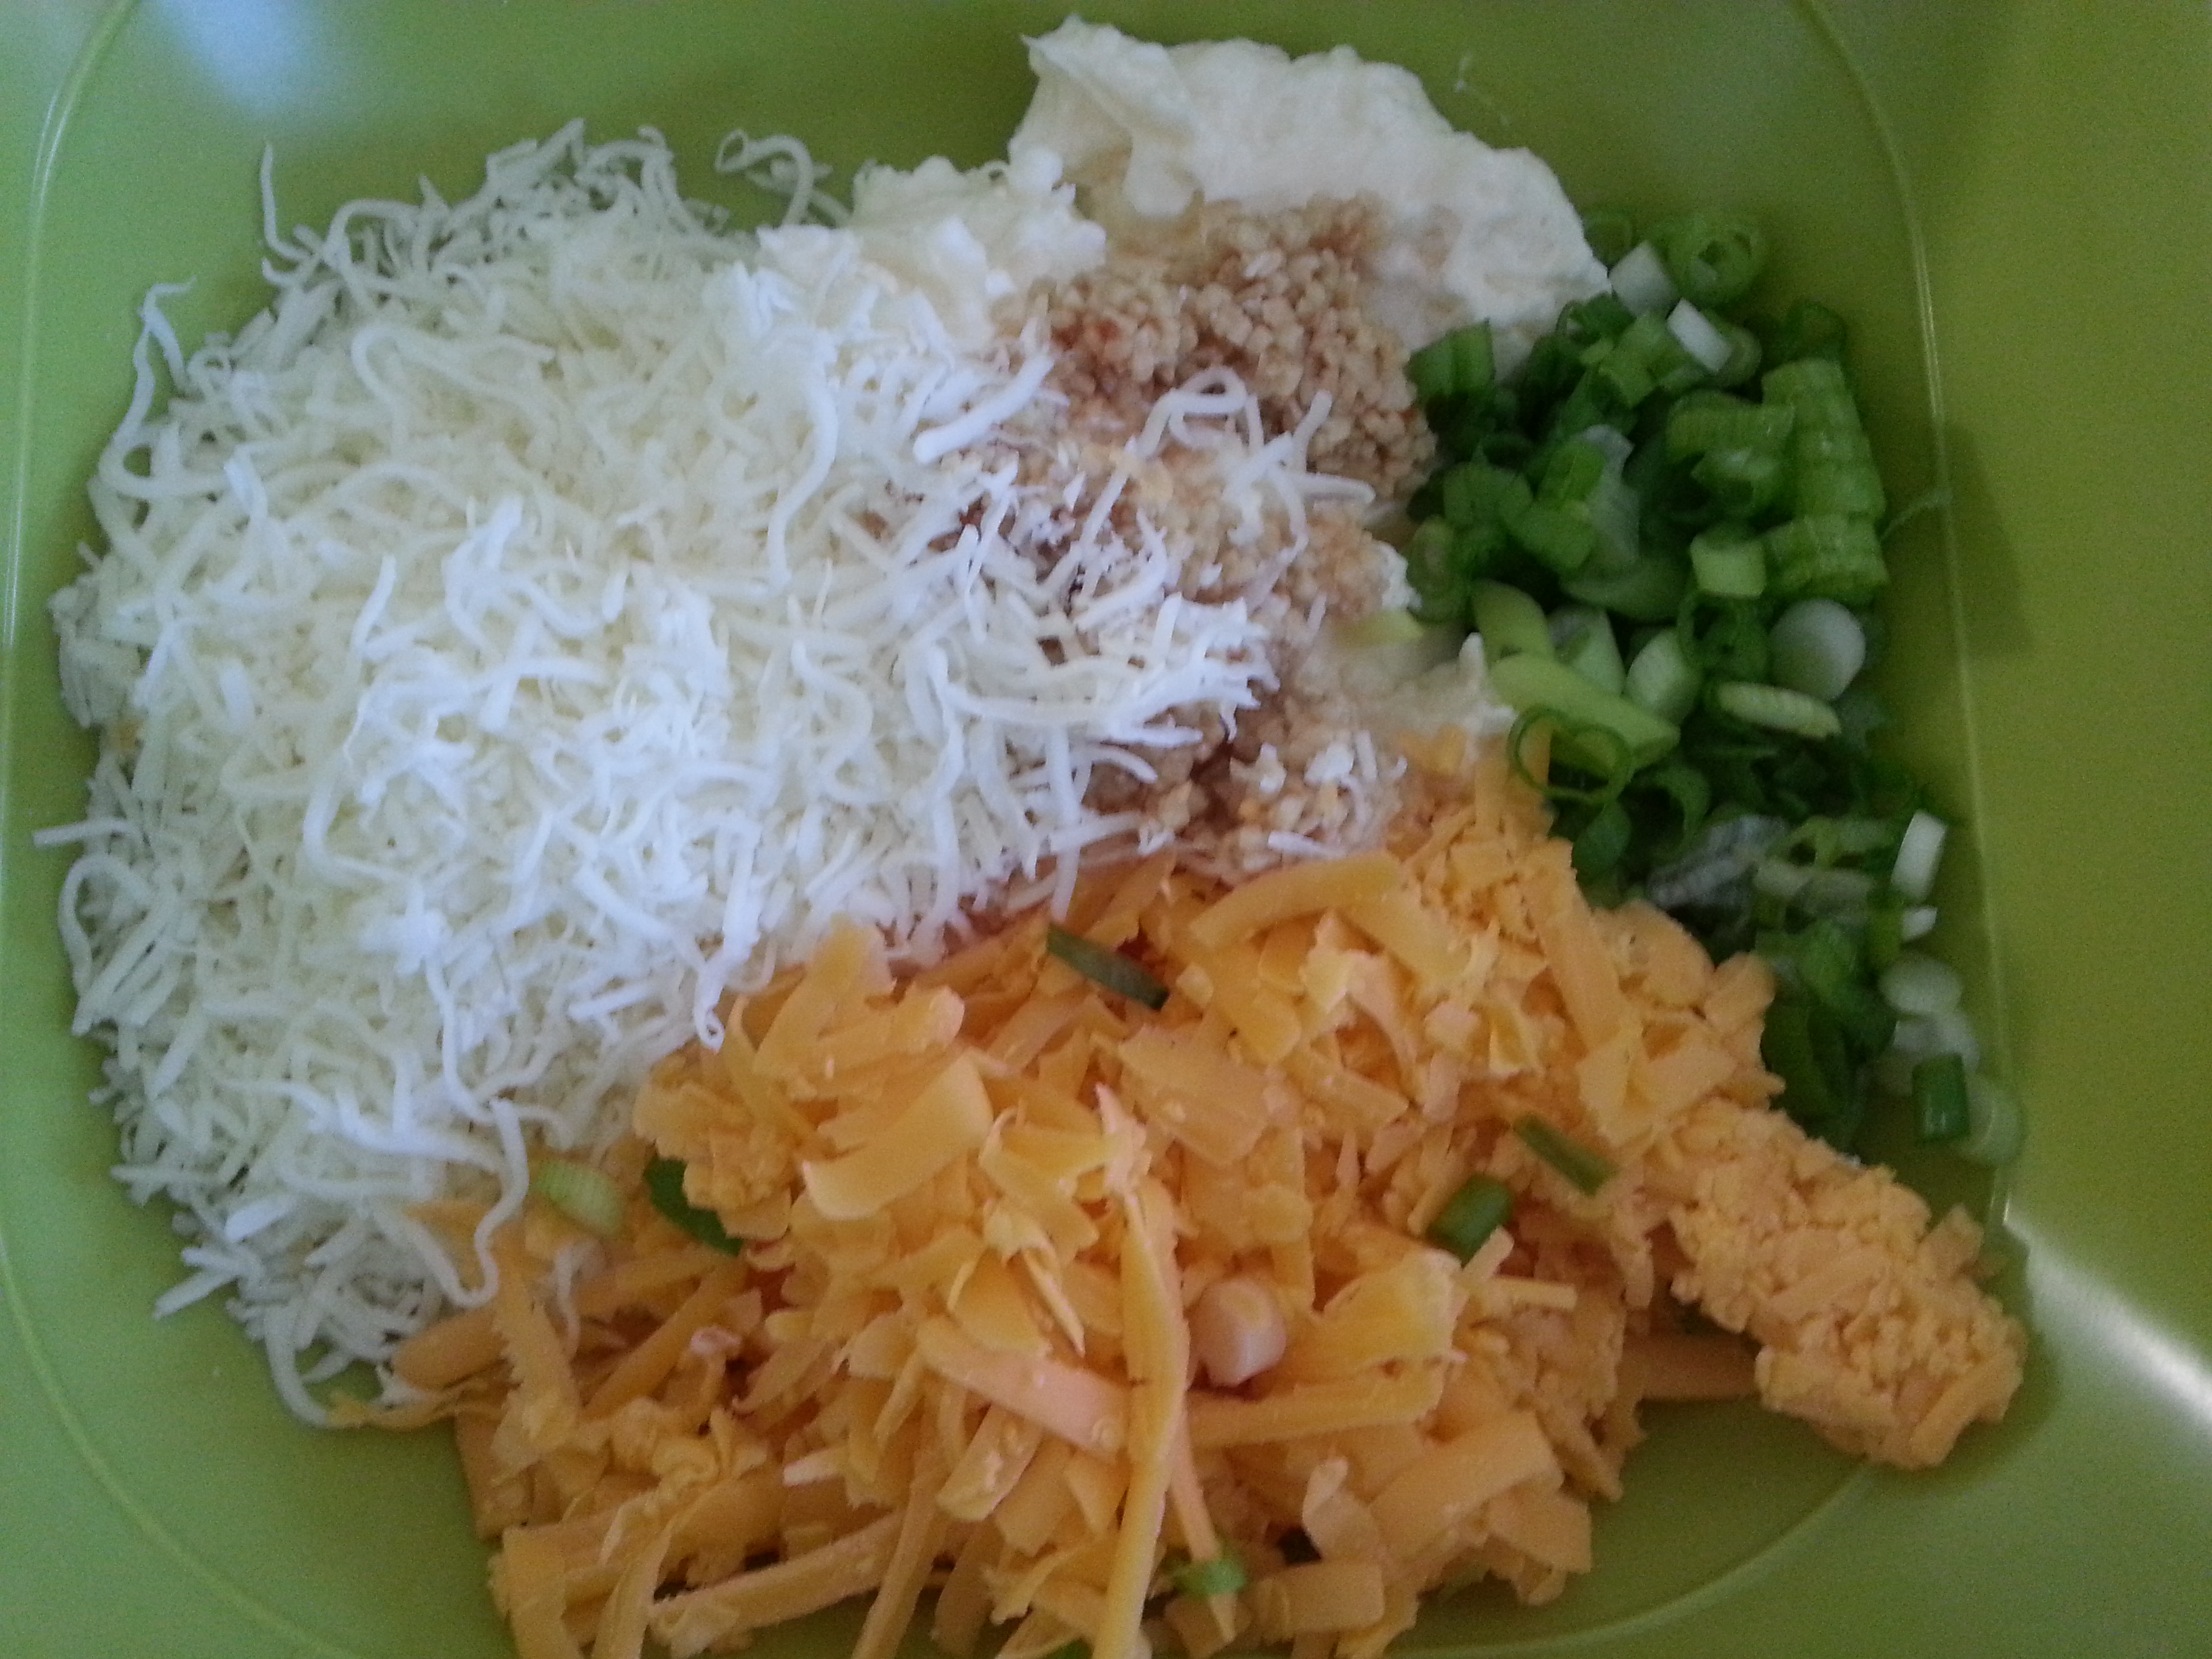
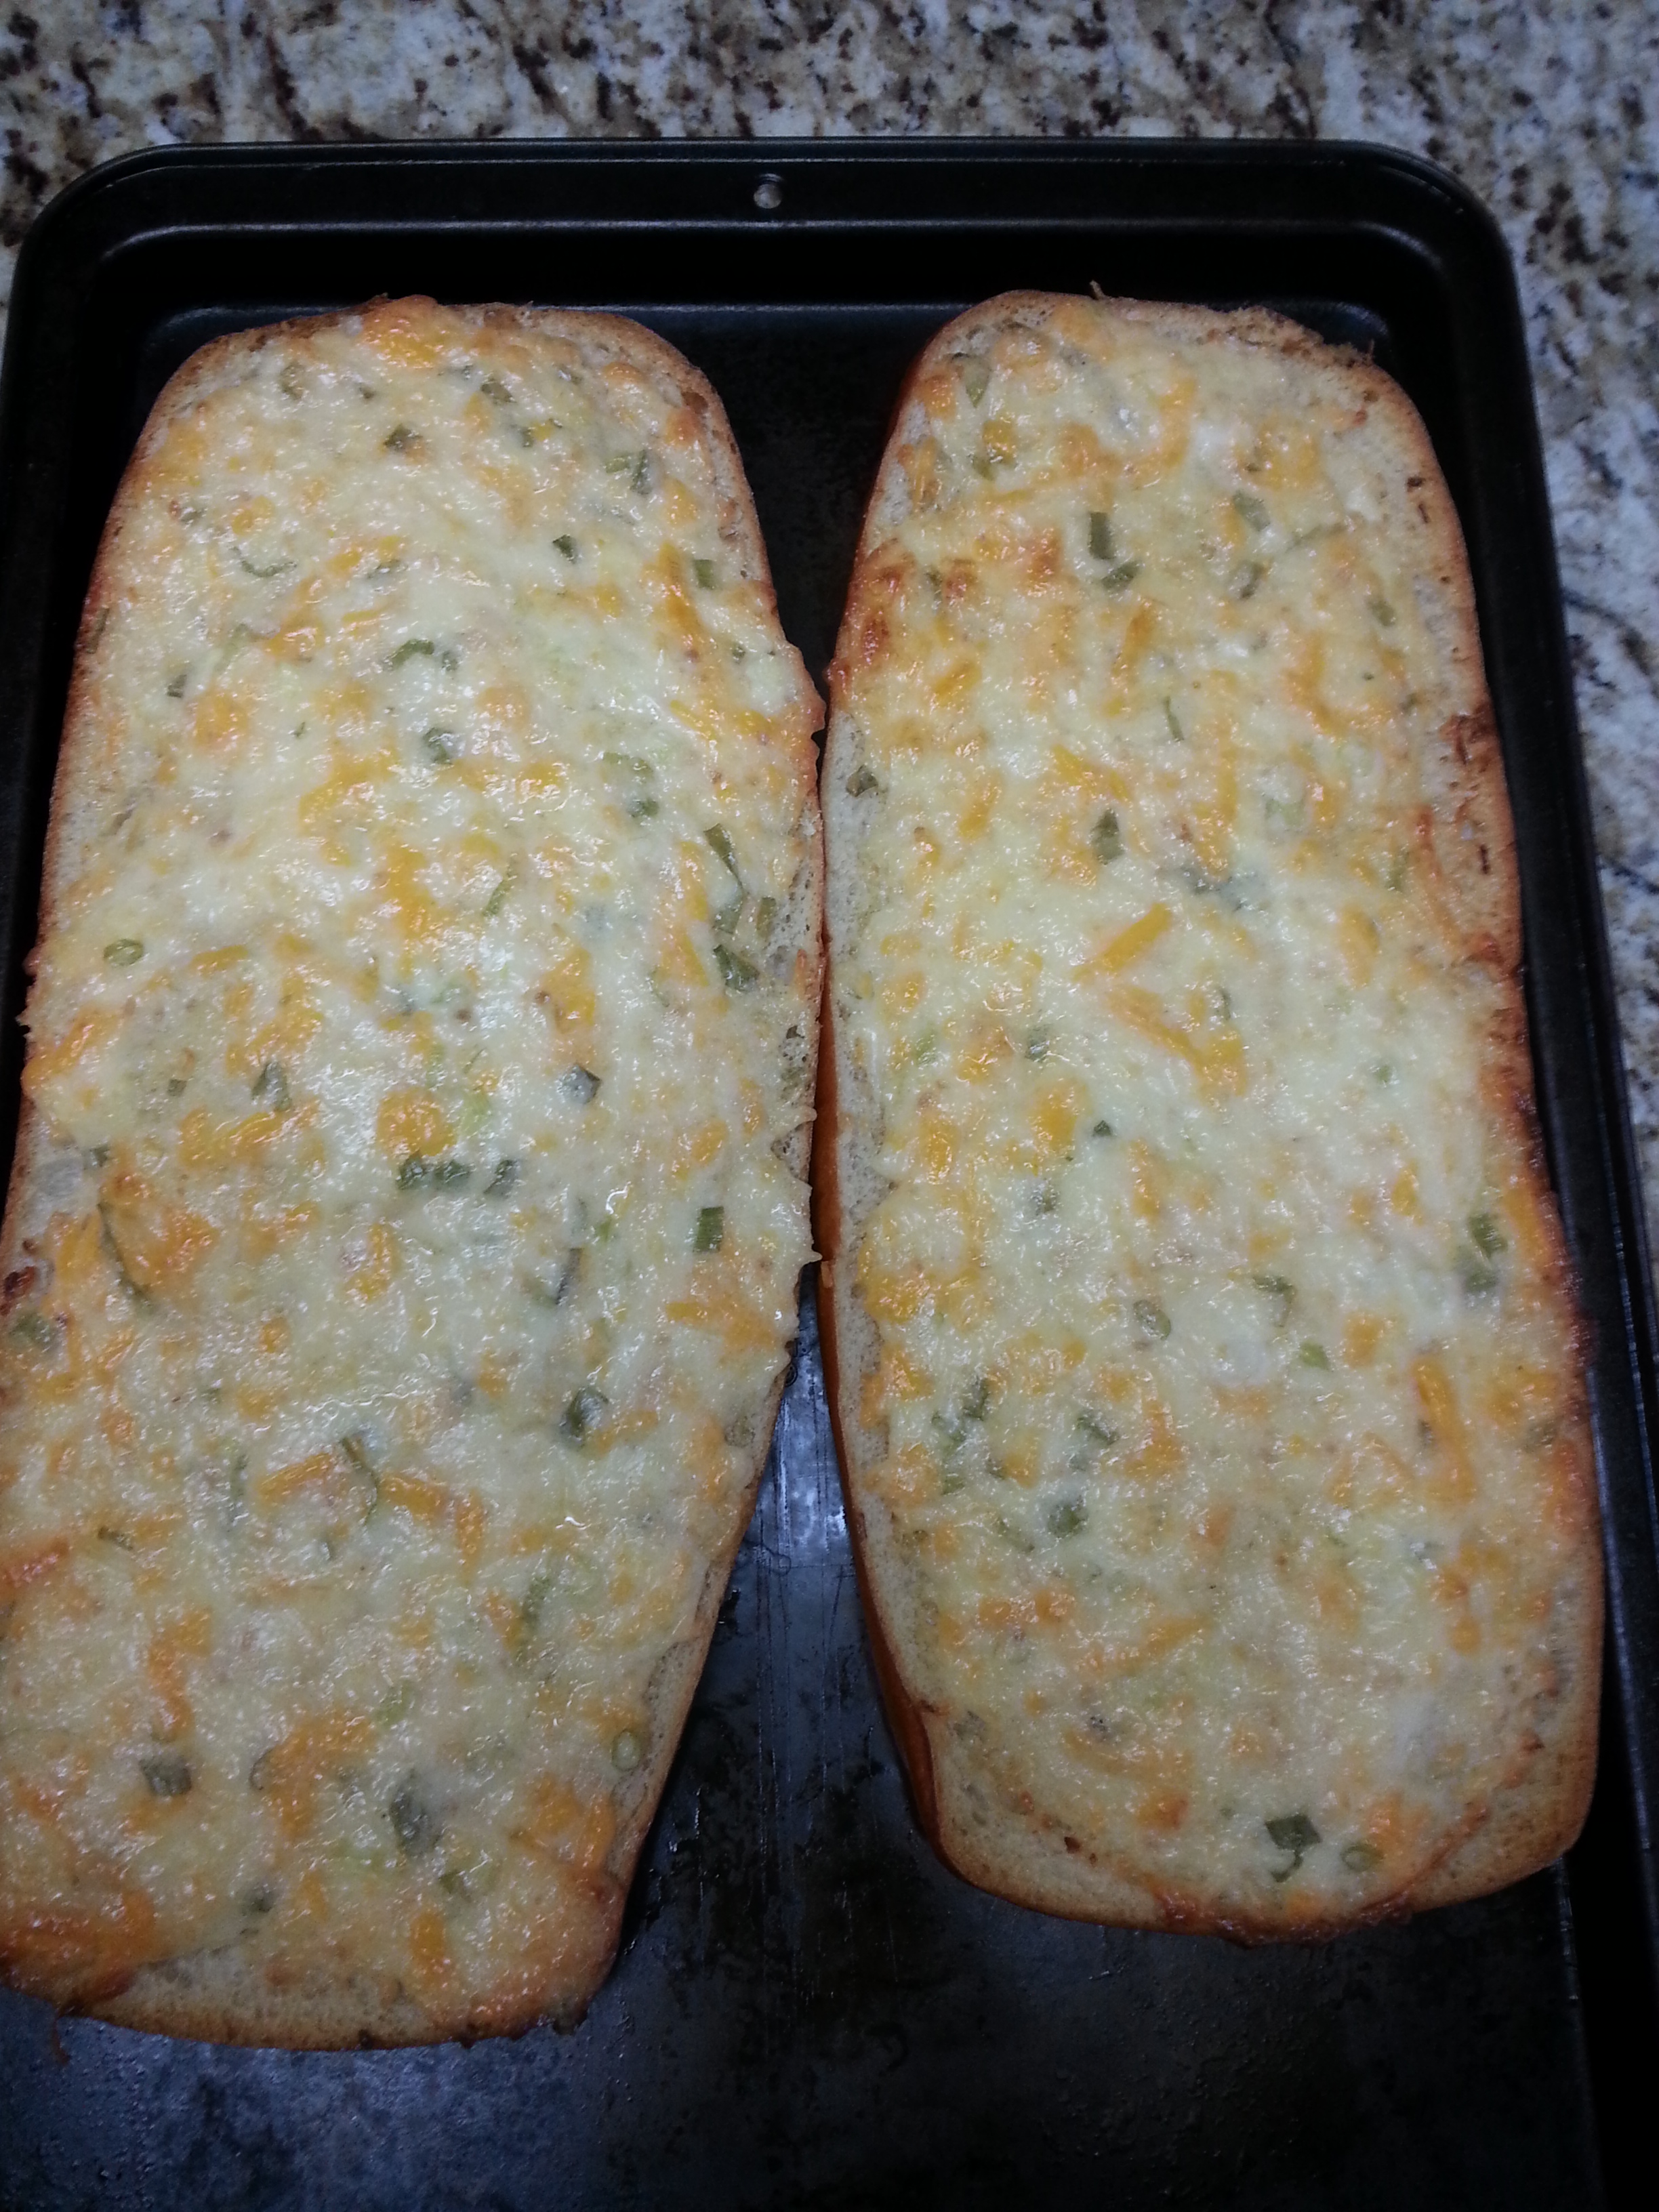
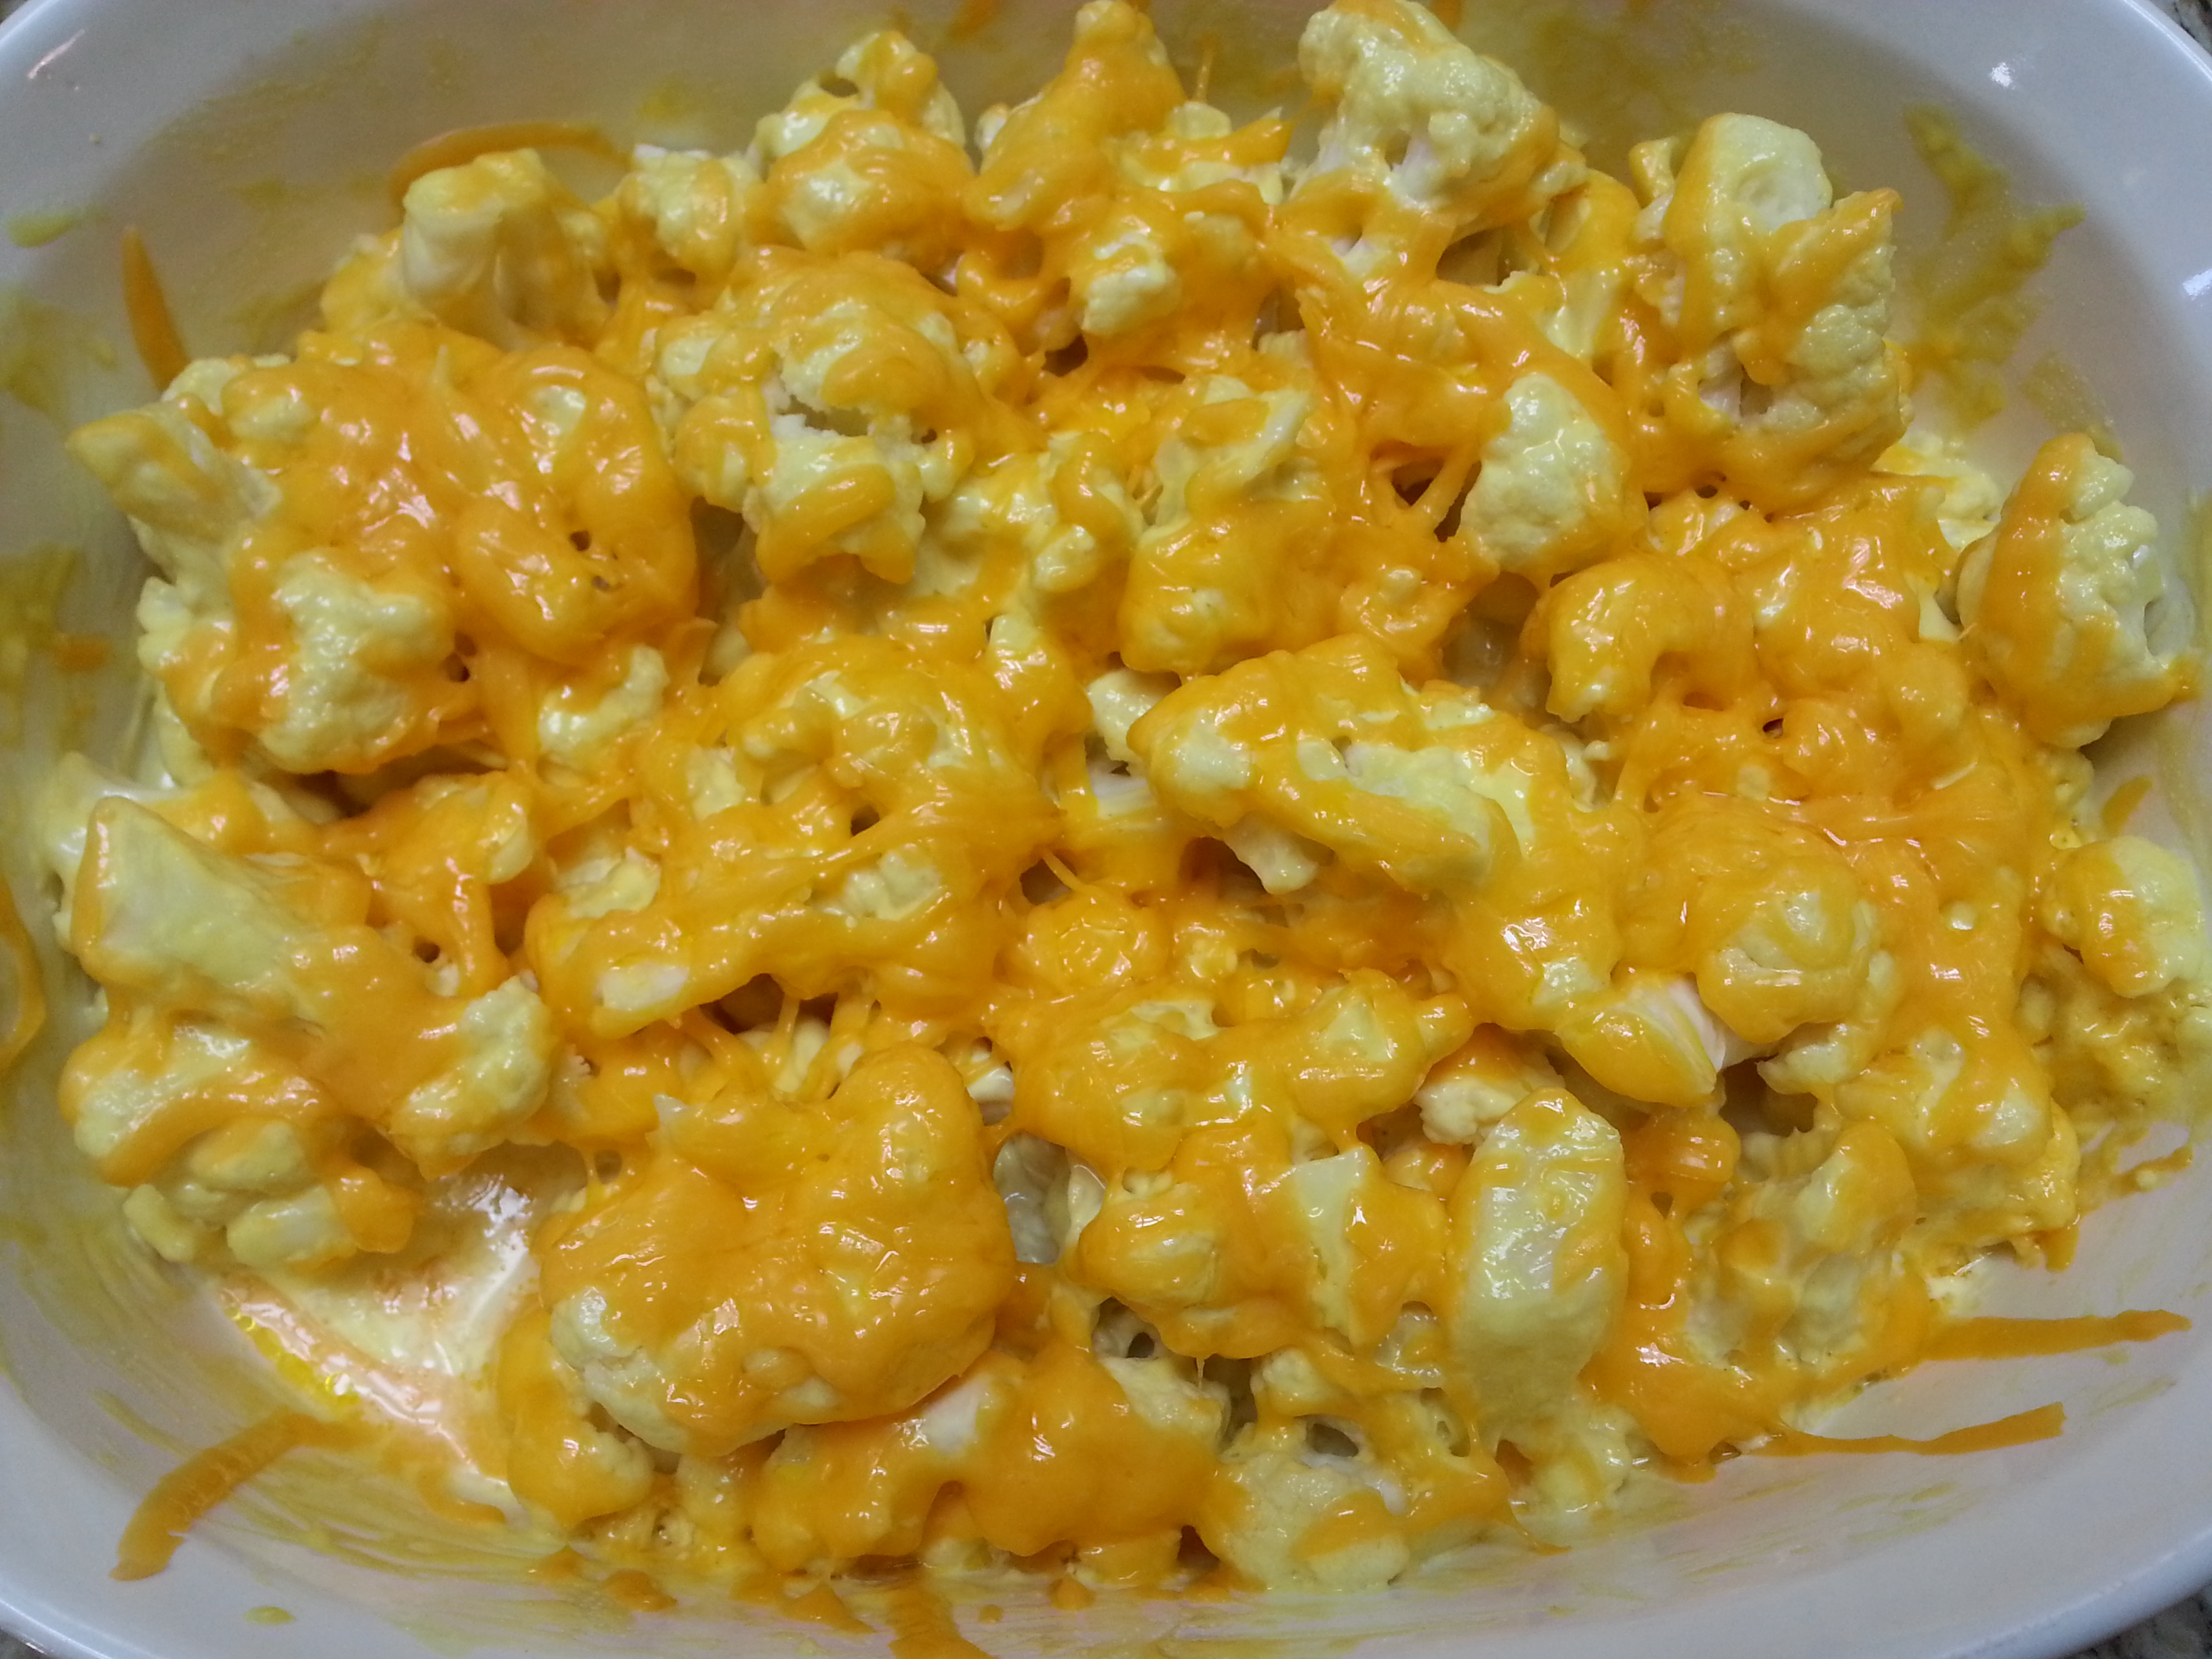
 This bread is gooey, melty, rich and delicious. Enjoy!!!