 One of my favorite foods is fried zucchini! For many years, I was on the hunt for the perfect burger and fried zucchini. Because of course, they’re an awesome combo. I’ve found many I like, but let’s just say my quest still continues.
So of course I’ve resorted to making my own at home. Minus the fry. But not minus the crunch! If these weren’t crisp, they wouldn’t be worth making in my opinion. “Fried” zucchini has to be crispy and have that special crunch. And although this recipe is a little time consuming (but hey, anything that has to be dredged and breaded is!) it’s totally worth the time it takes. My family inhales this every single time I make it. There’s the proof that it’s worth the time. And we’ve taken a vote in my house and it’s unanimous that we all prefer the “coin” shape as opposed to “sticks”. Why is that? Just because…
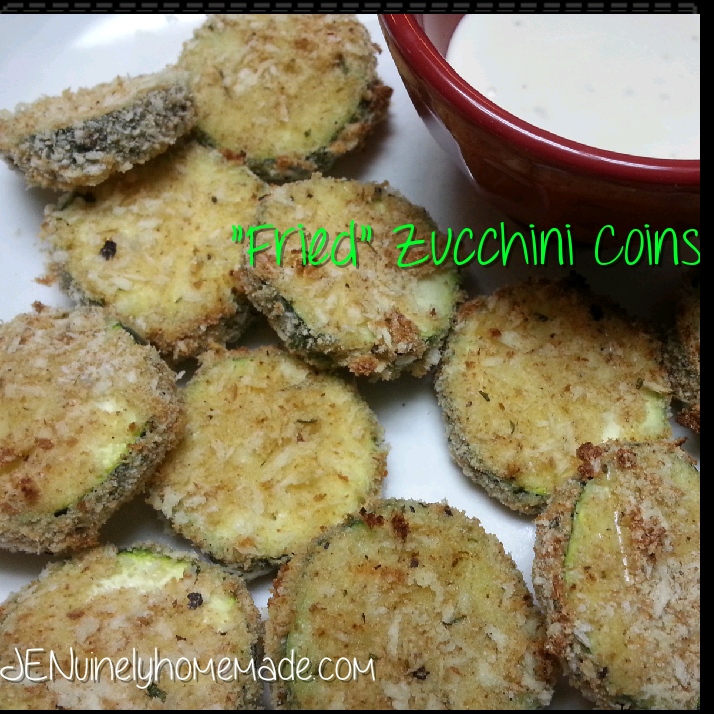
“Fried” Zucchini Coins
- 2 large zucchini (or 3 small) cut into 1/4″ coins
- 3/4 c. flour
- 2 eggs plus 2 tbsp. milk, whisked together
- 3/4 c. Italian seasoned bread crumbs
- A heaping 1/2 c. panko crumbs
- Pinch of garlic powder and black pepper
- Grated parmesan cheese, optional
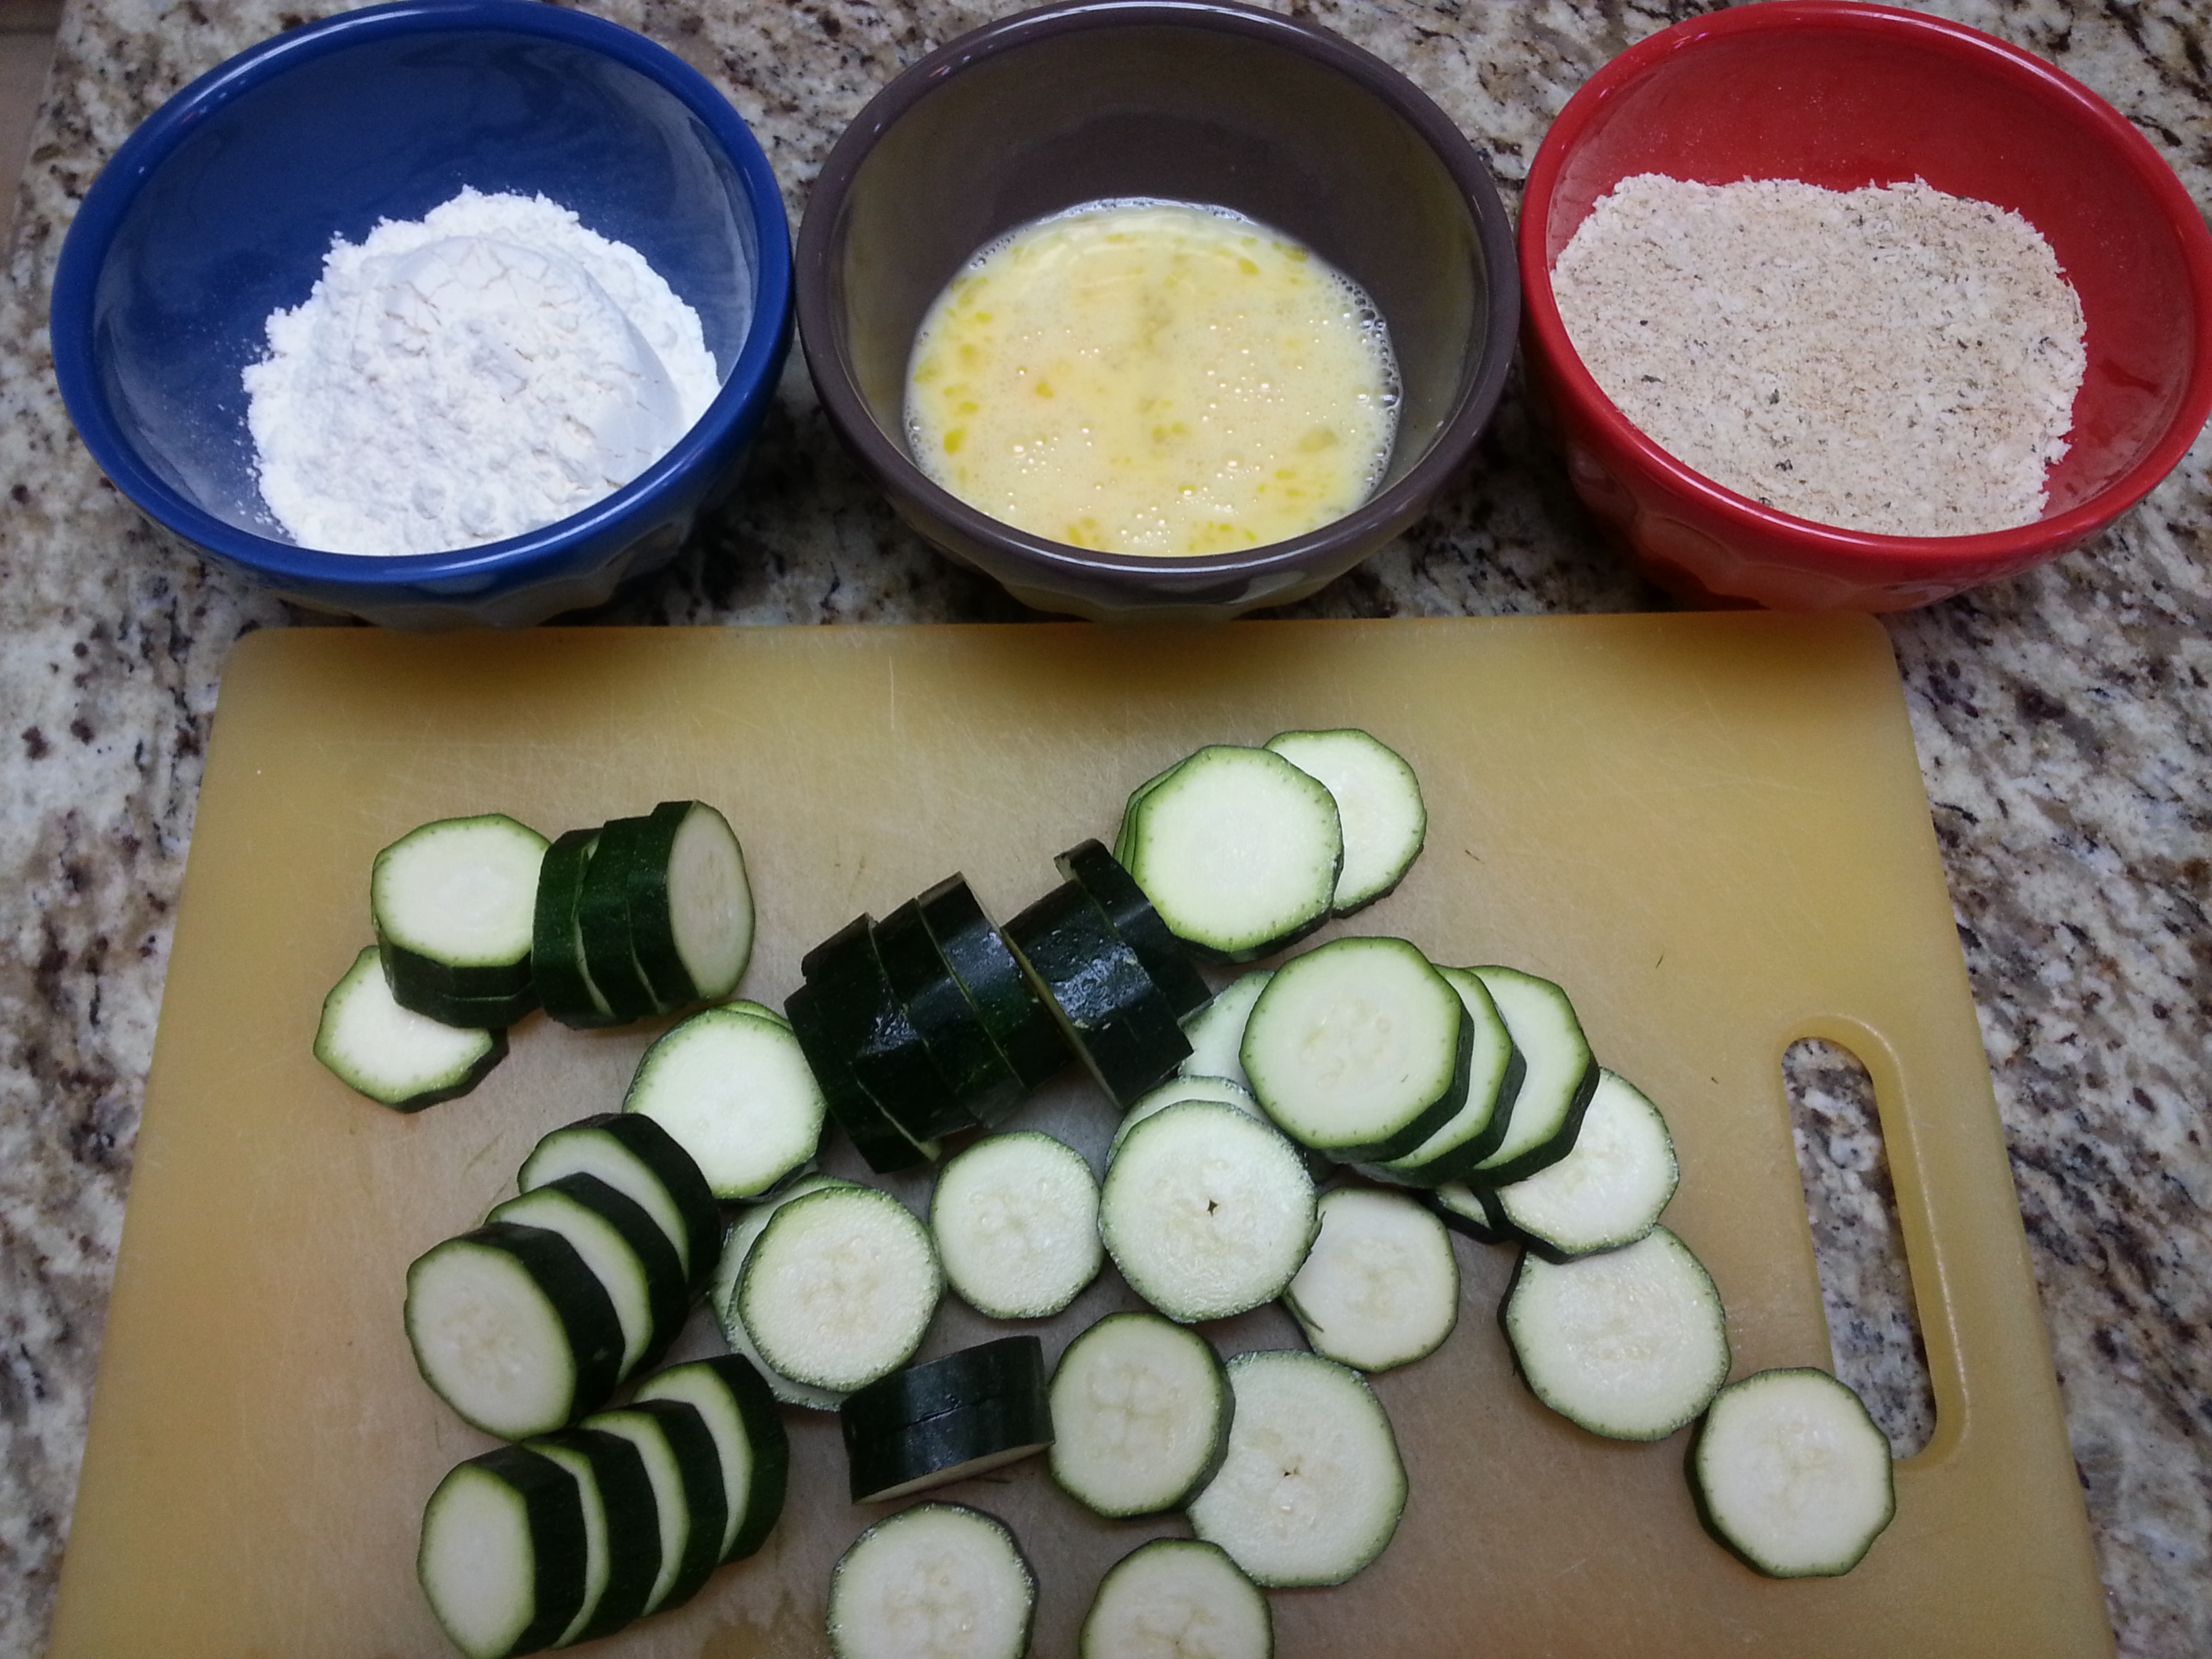
Preheat oven to 400 degrees. Spray a cooking sheet generously with cooking spray. I used a tray that fit into the cooking sheet but after trying it once, I prefer to just lay the zucchini directly onto the sheet. In three separate bowls, add flour to one. Then add the eggs & milk to another, whisking together. And in the last bowl, add both types of bread crumbs, along with the seasonings. Stir to combine. Then set up your dredging bowls as shown in the picture.
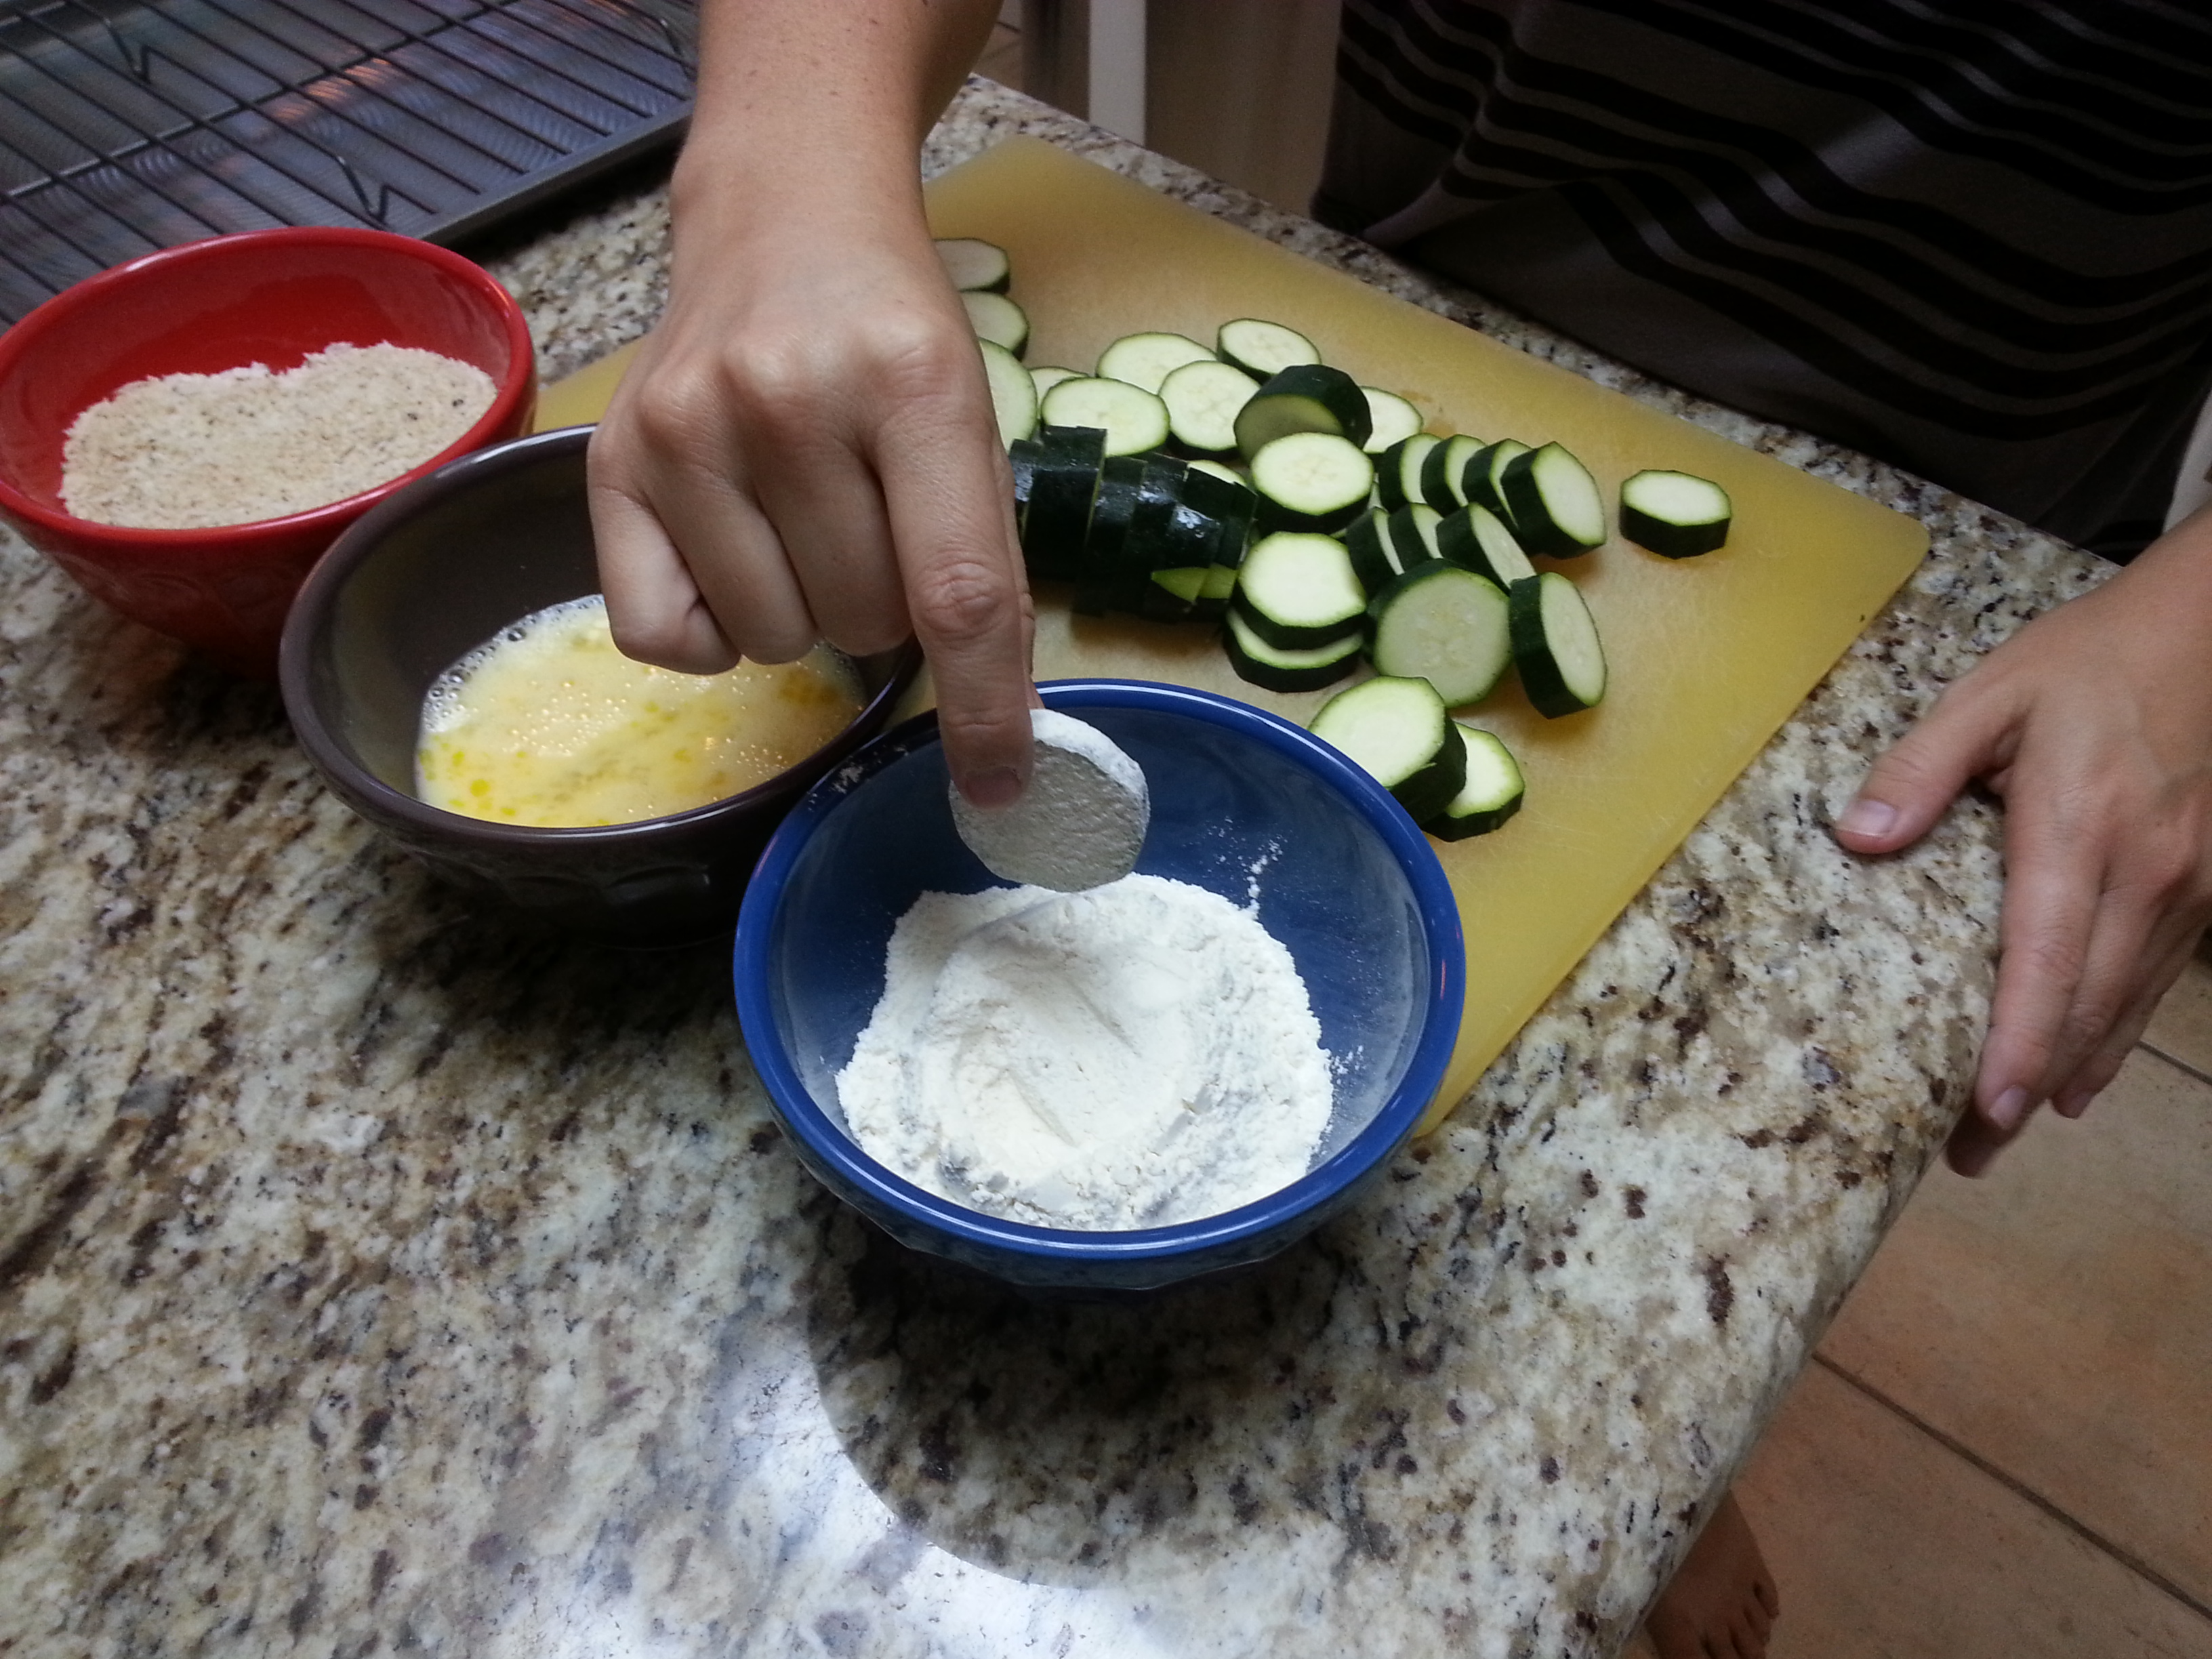
 Take one piece of zucchini, roll it in the flour and then gently shake the excess off. Add the zucchini to the egg wash, making sure to coat the entire piece. Then take out of the wash and add to the bread crumbs, pressing to adhere the crumbs to the zucchini. Lay on the sheet and then continue this process with each piece of zucchini.
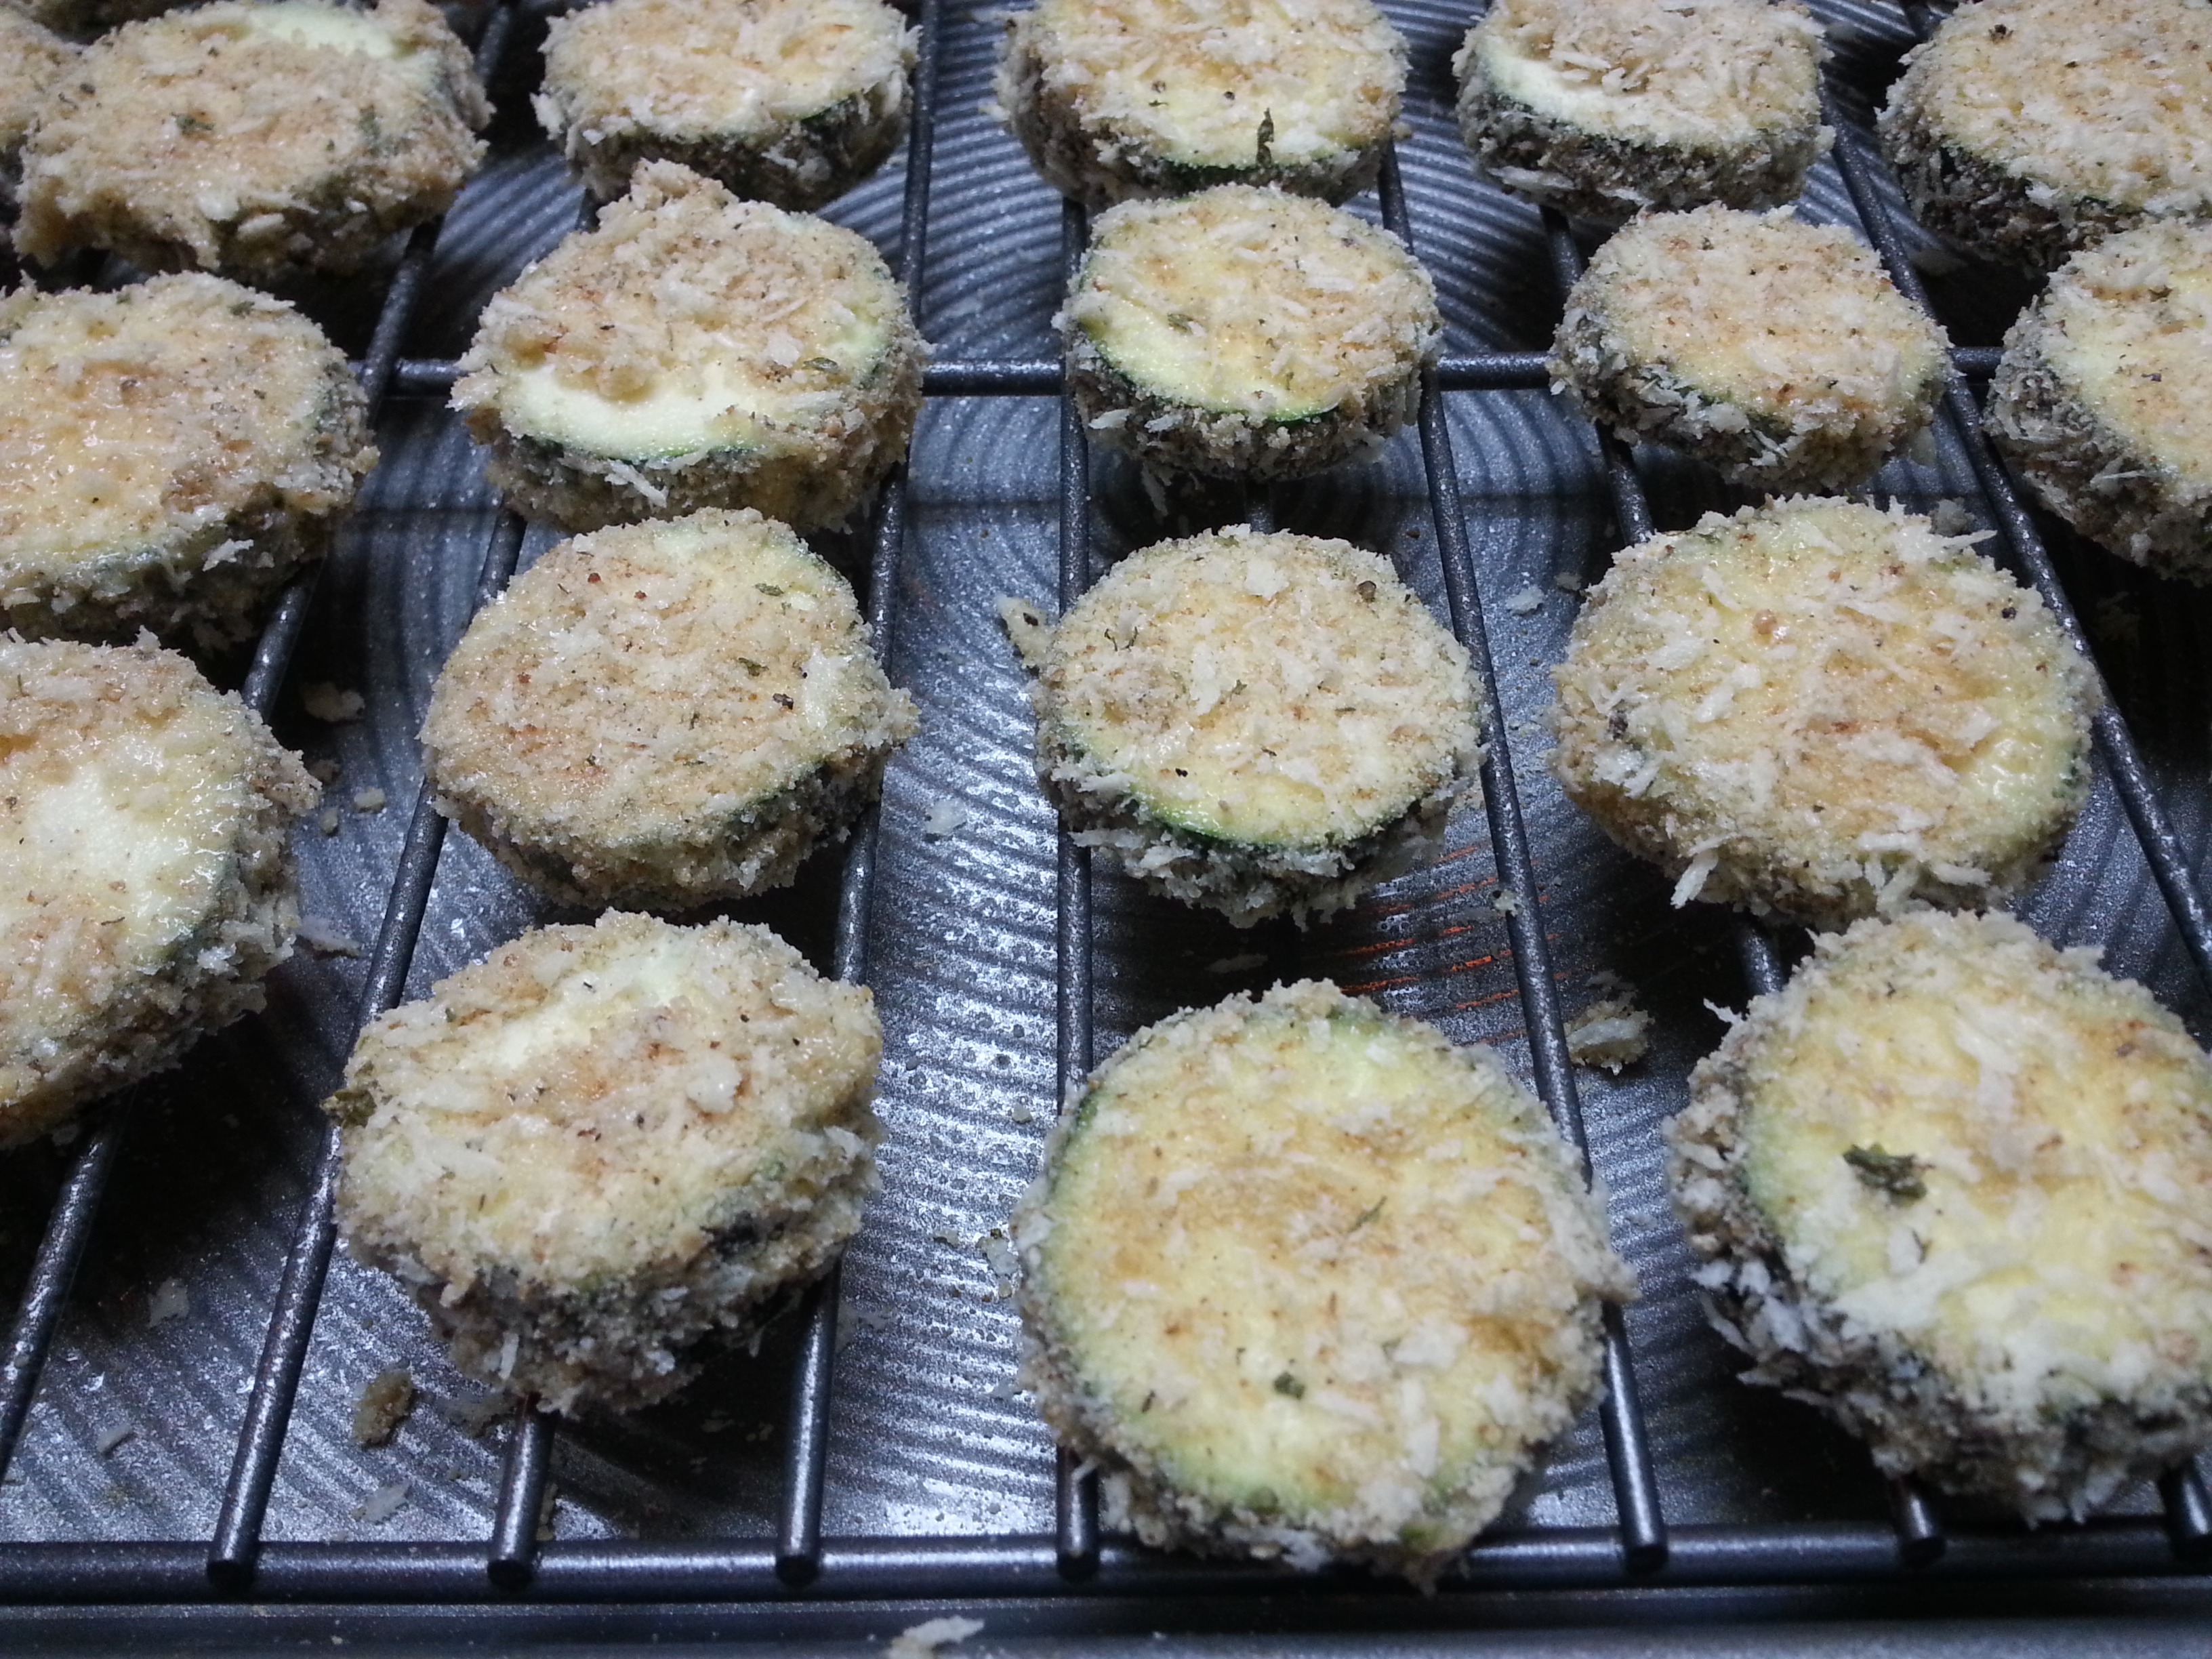
When completed breading, spray generously with cooking spray and put in the oven for 10 minutes. Flip each zucchini coin over and then continue cooking for another 7-10 minutes. This really depends if your oven cooks fast or slow. When zucchini is done, place on a plate and sprinkle with grated Parmesan cheese if you’d like. Serve immediately.
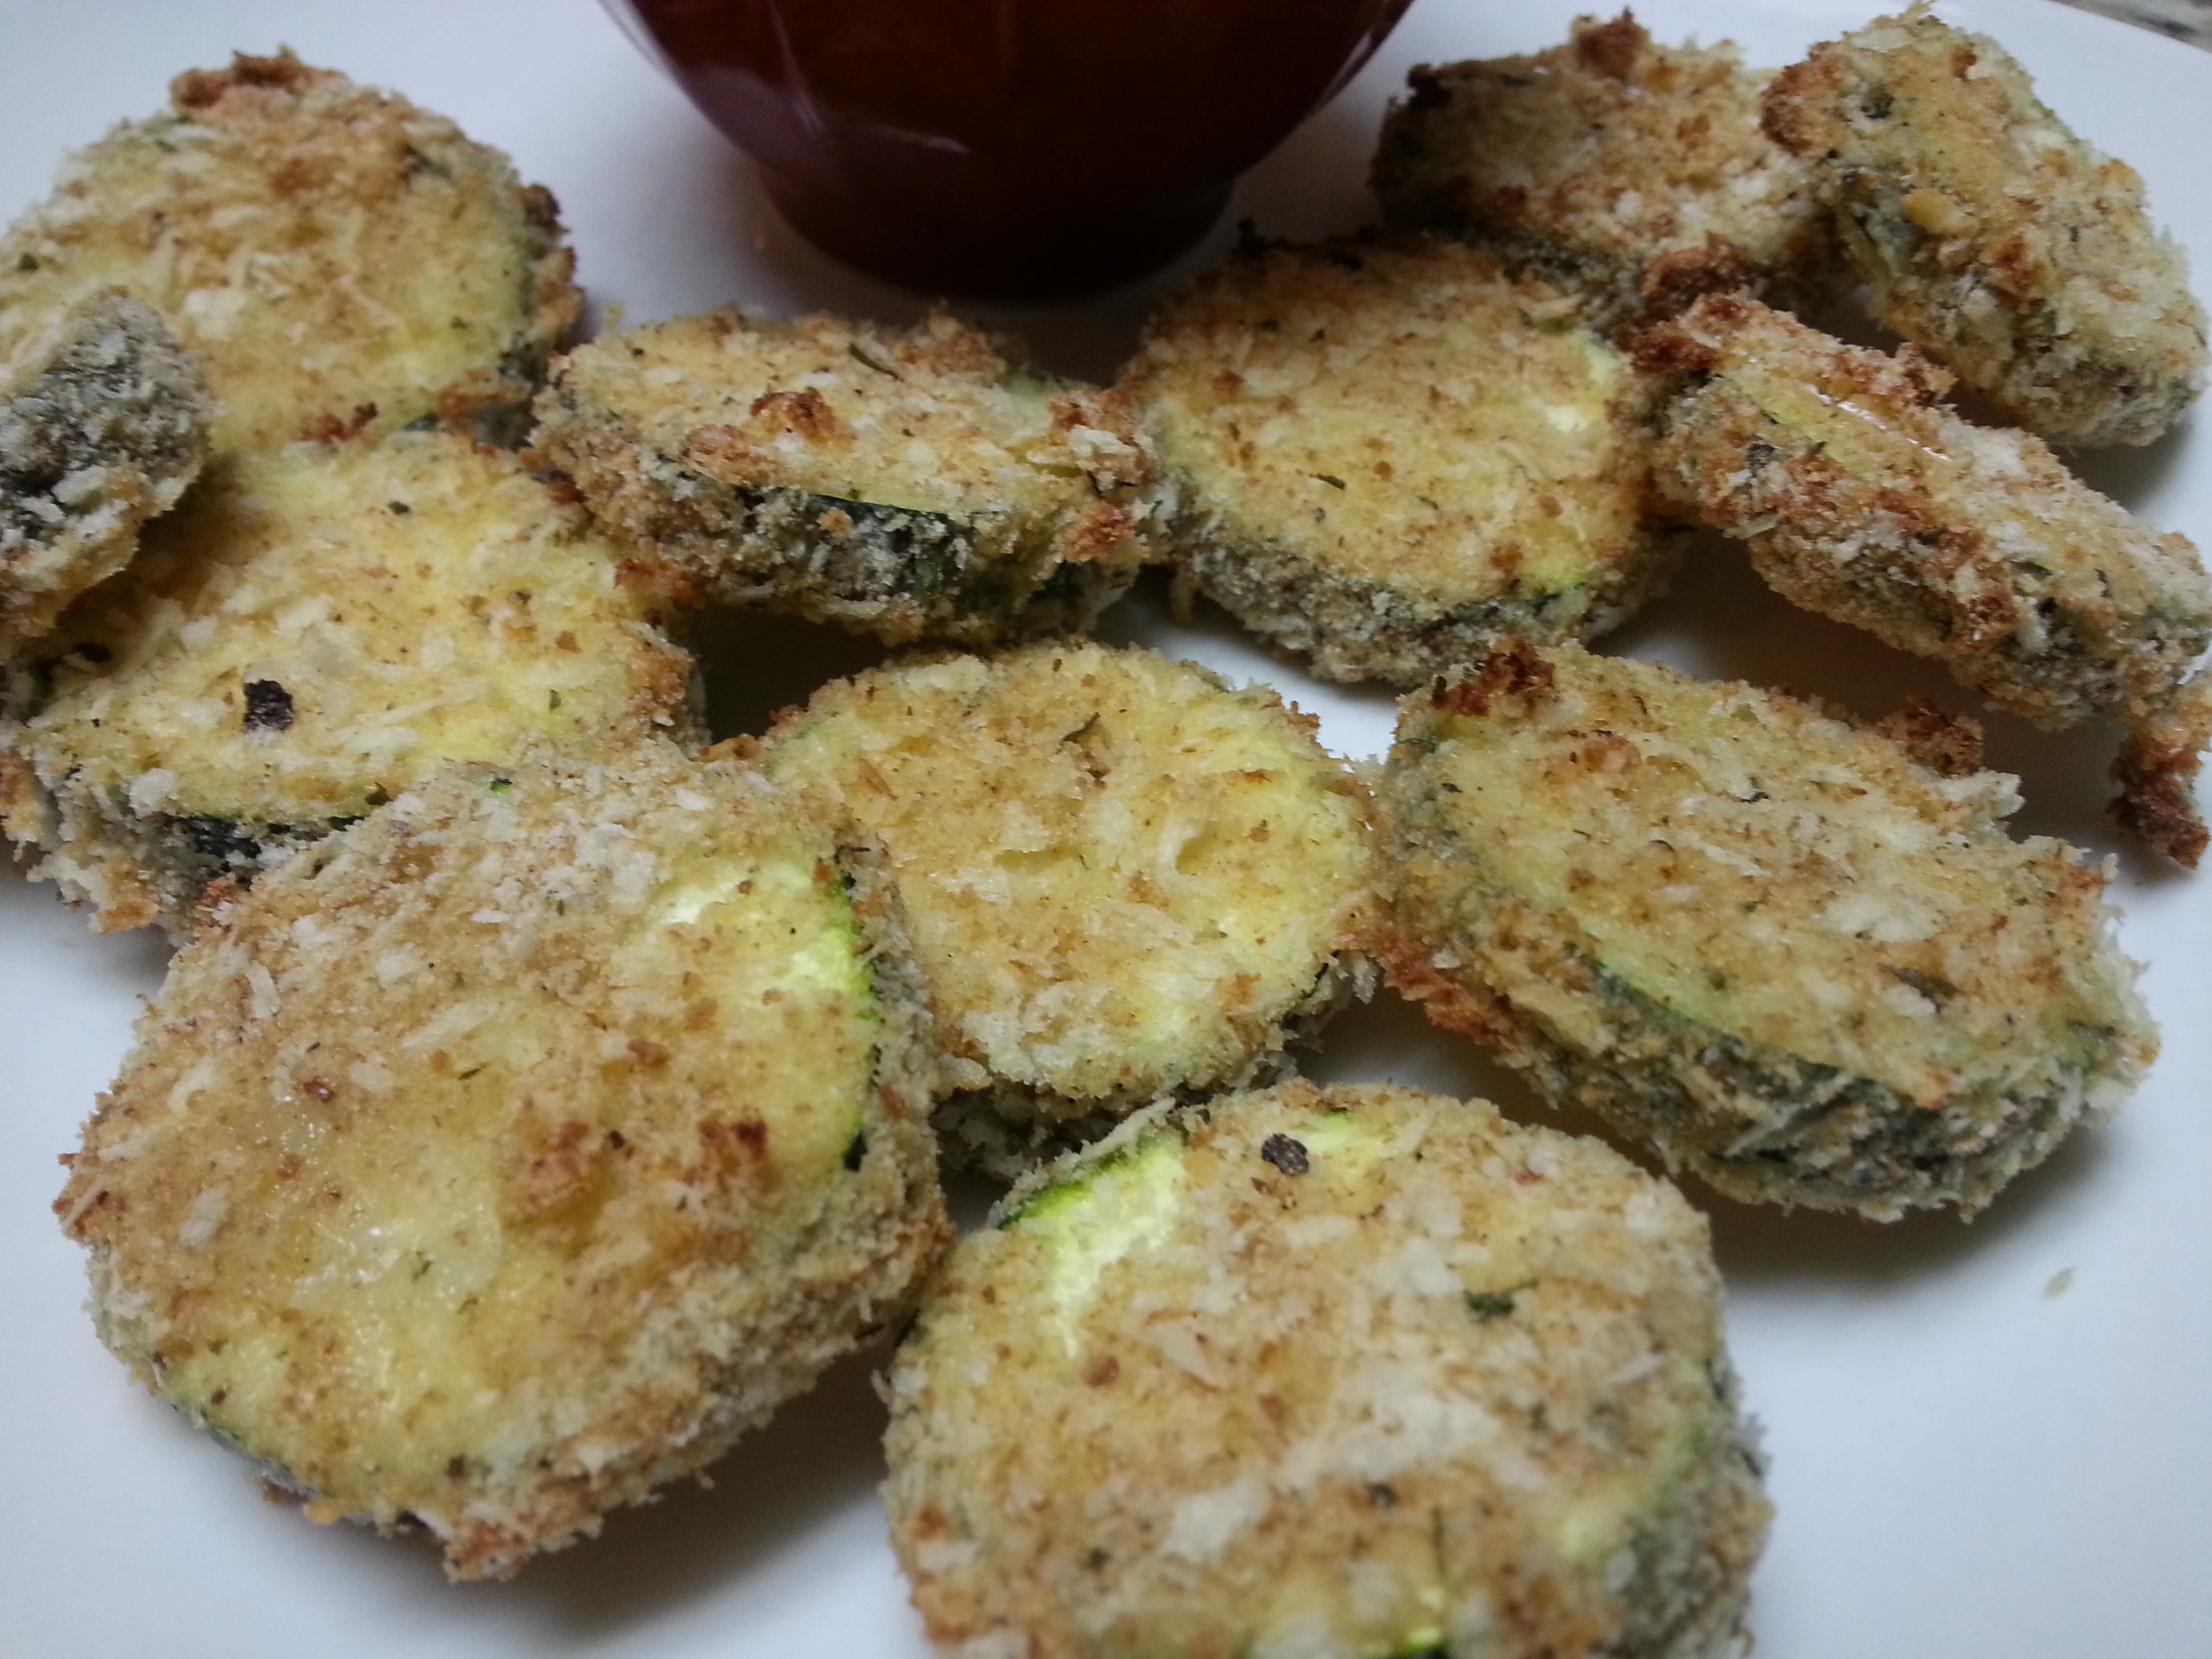 Since this is baked and not fried, you will not get the traditional brown fried look. This zucchini slightly browns but still has that amazing crunch. Serve it with ranch dressing to dip it in. There is literally no other way to eat “fried” zucchini. I think it’s illegal to eat it without ranch.