Cheesy Cabbage Casserole

cc 8These pictures are old! Like, Christmas time old! But, I’ve made this recipe so many times since and just haven’t posted it. Until now!

Don’t turn your nose up at it! I happen to LOVE cabbage. As does my husband. I know some people don’t like it cooked at all, but if you’re one of “them” people, this recipe will change your mind and bring you to the cooked cabbage side.

Not only does this go well with a holiday meal, but it also goes great with a weeknight dinner. Especially steak. It’s a ttttttaaaadddd rich (AKA fattening) but momma needs to indulge sometimes!

Cheesy Cabbage Casserole (adapted from Taste of Home)

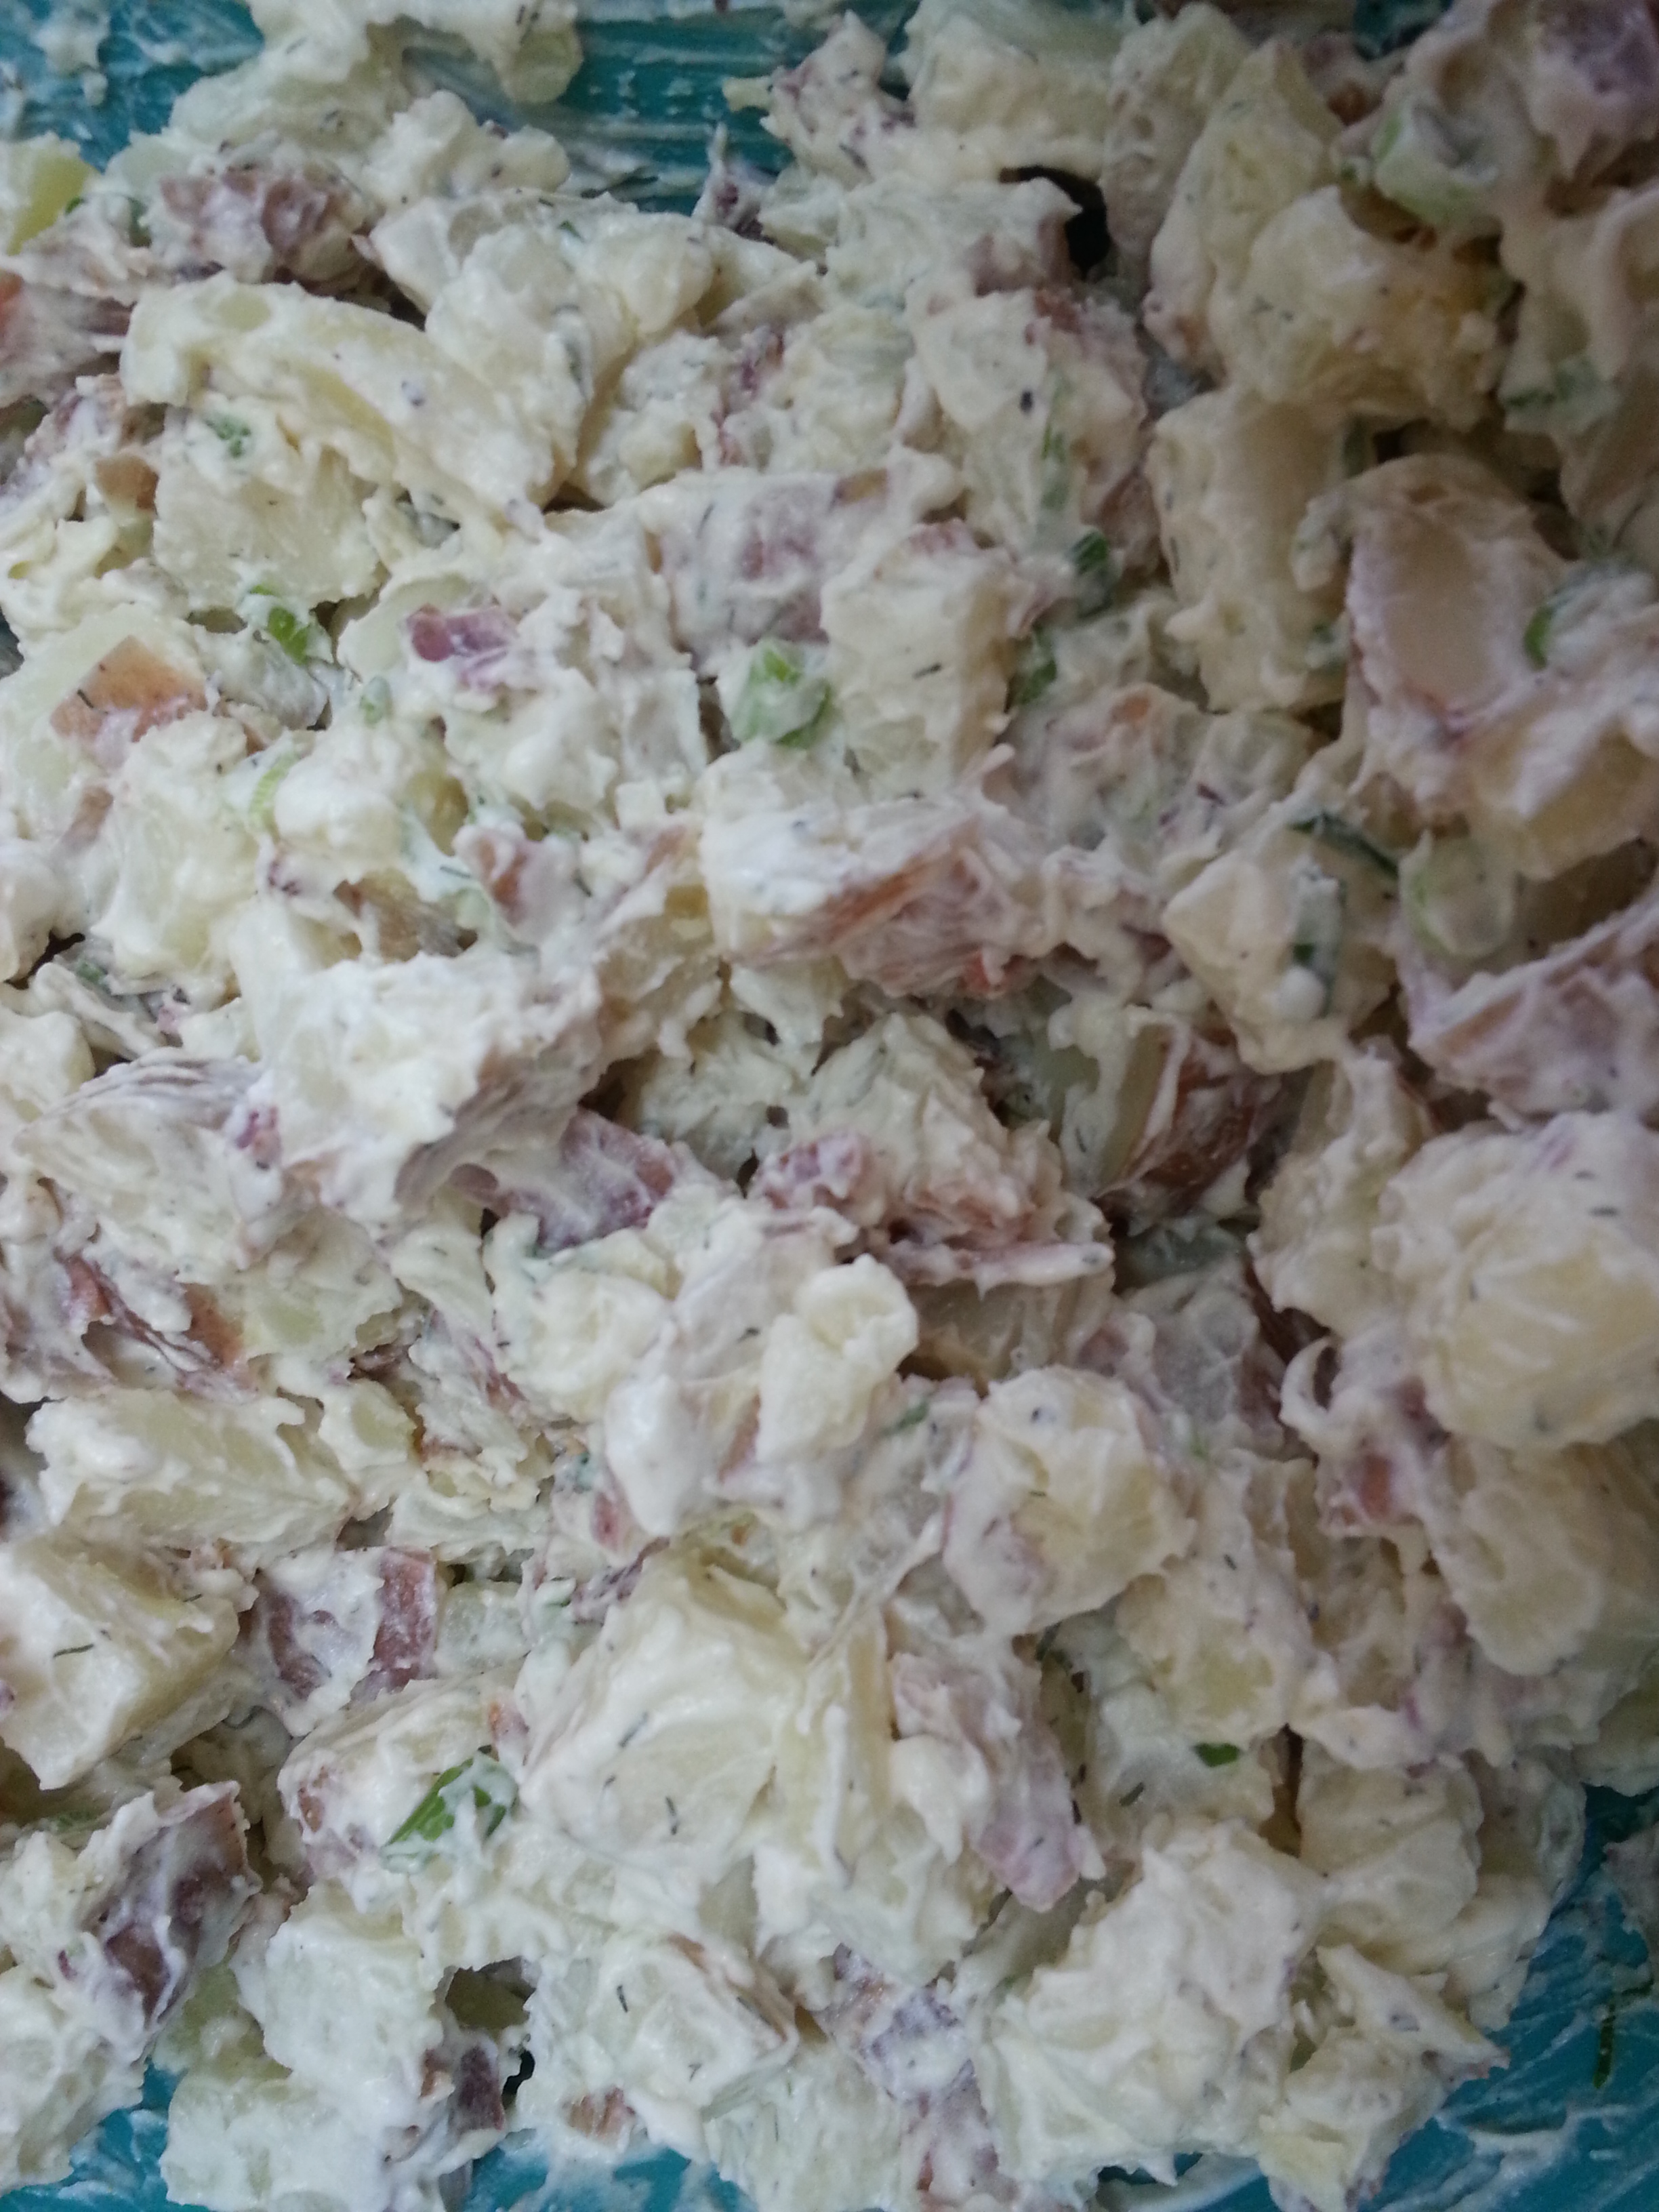
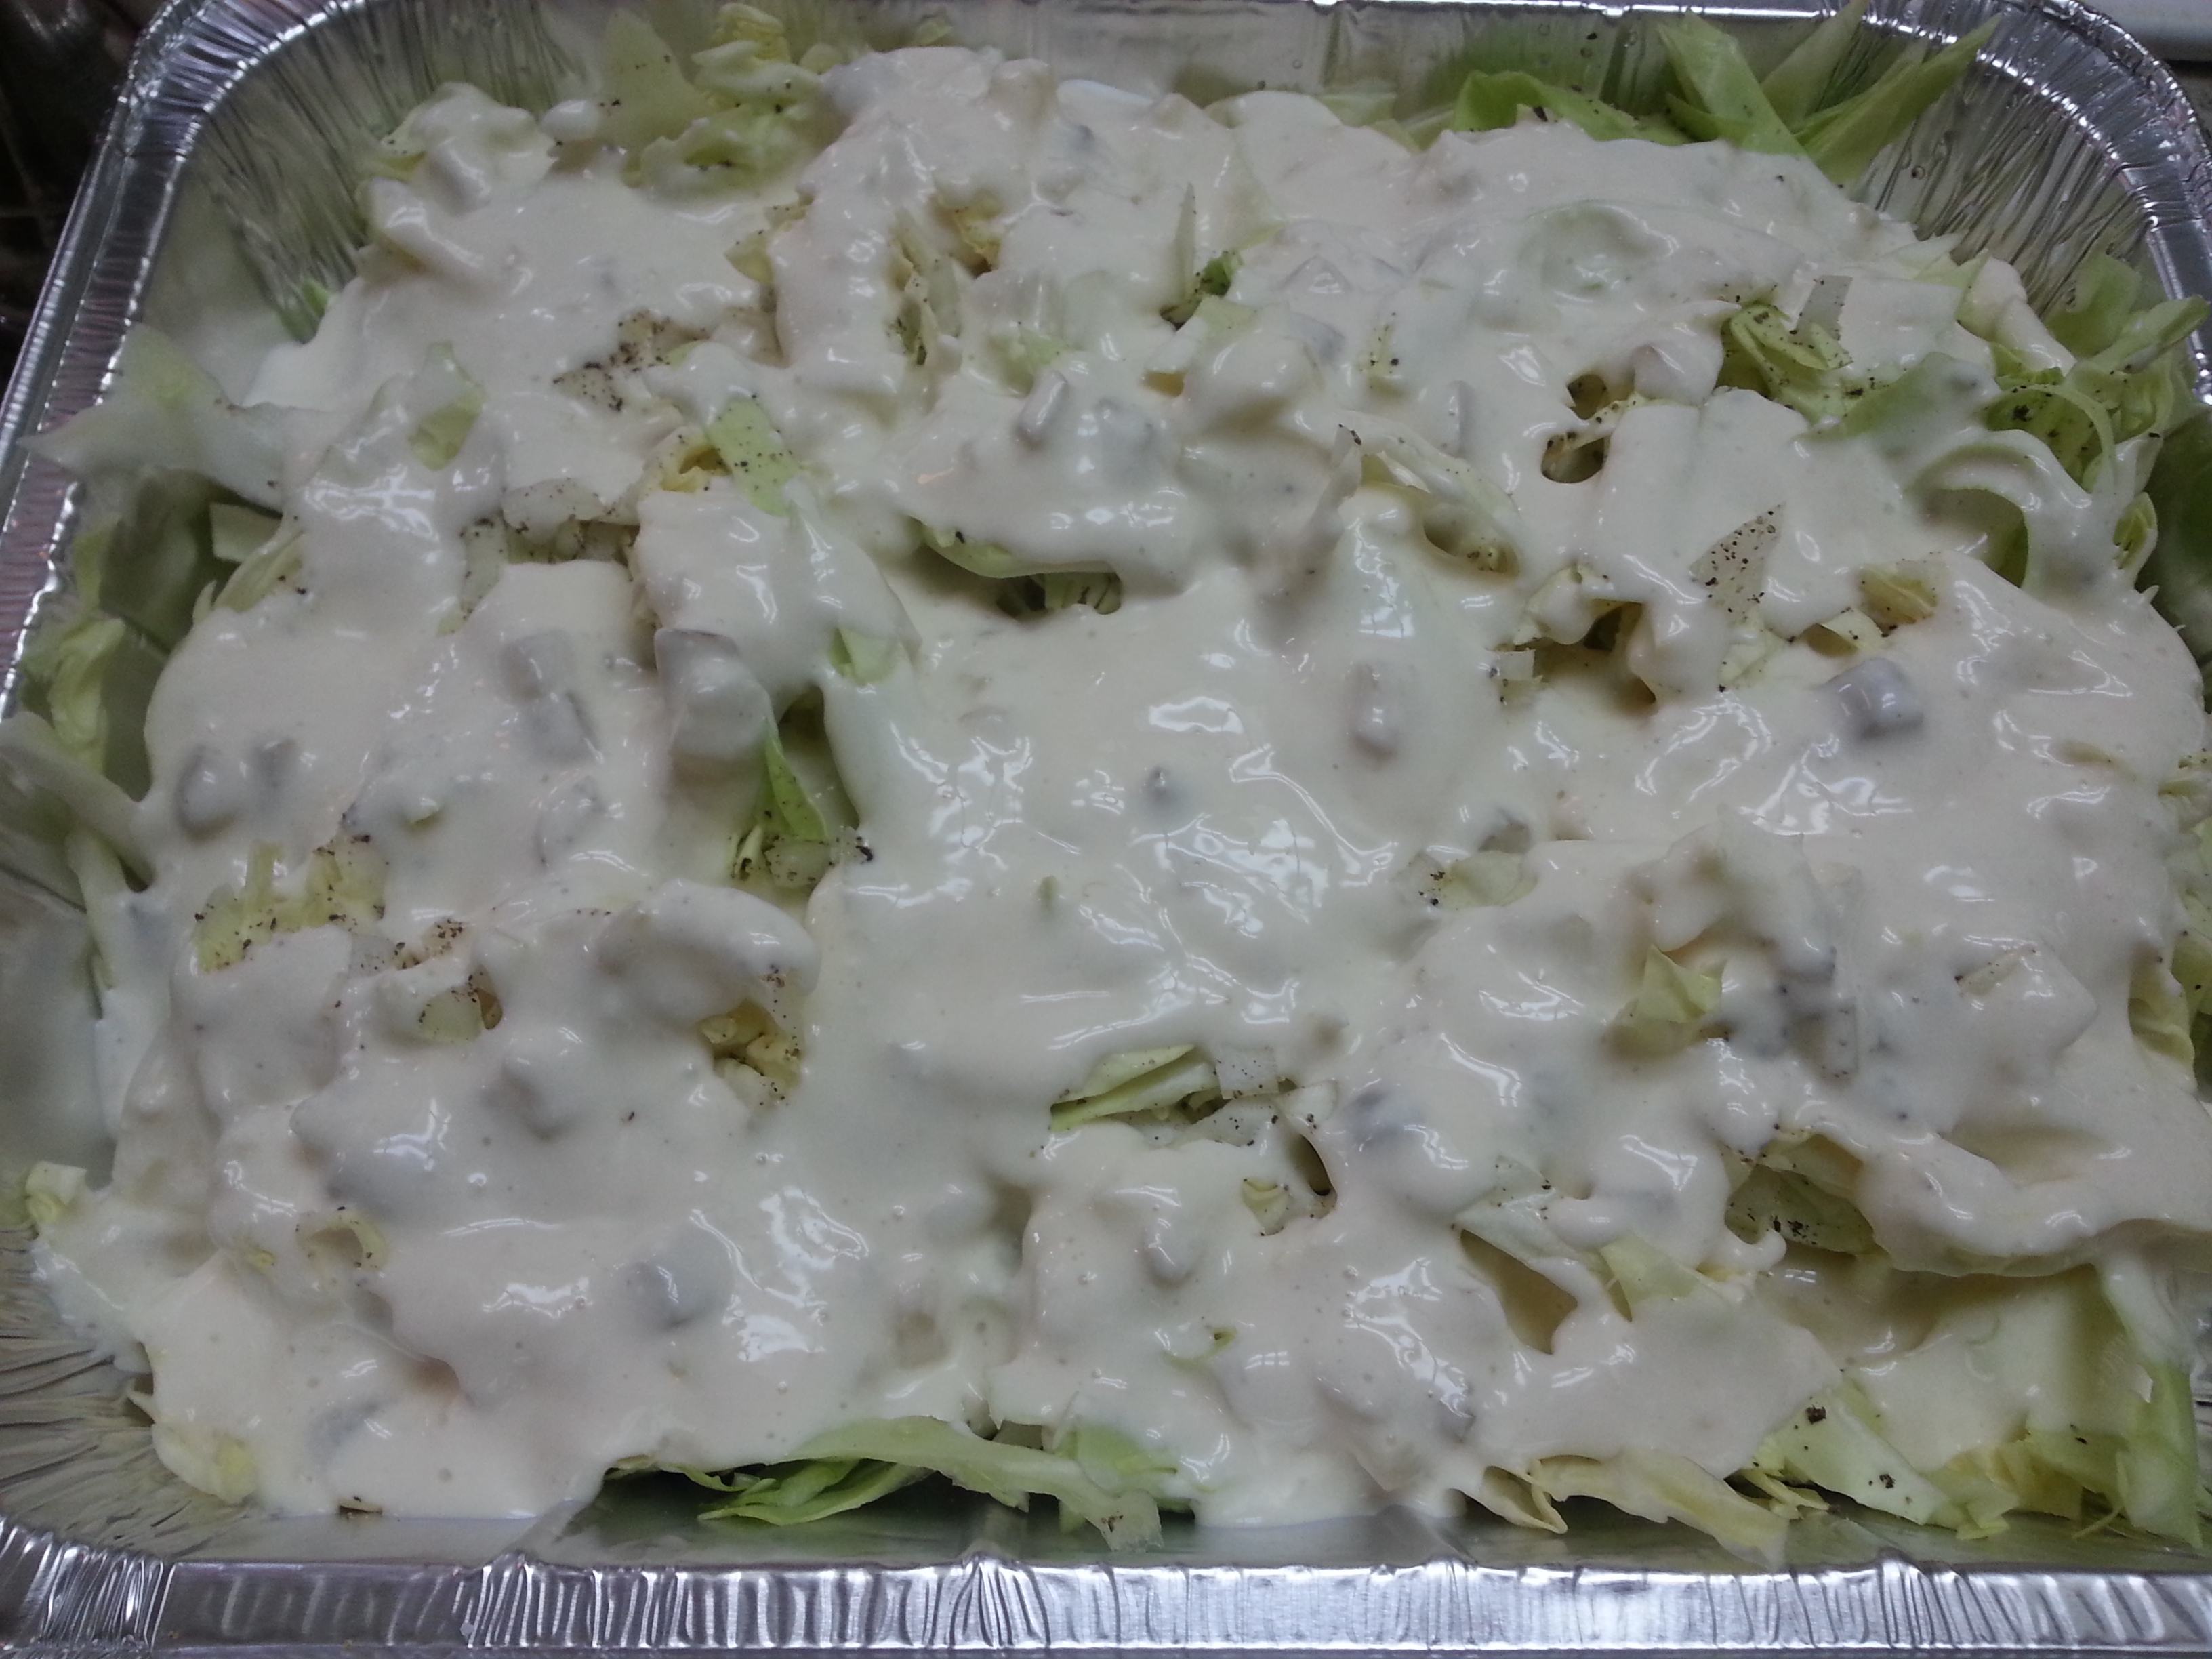
  • 1 head green cabbage, roughly shredded
  • 1/4 c. white or yellow onion, chopped
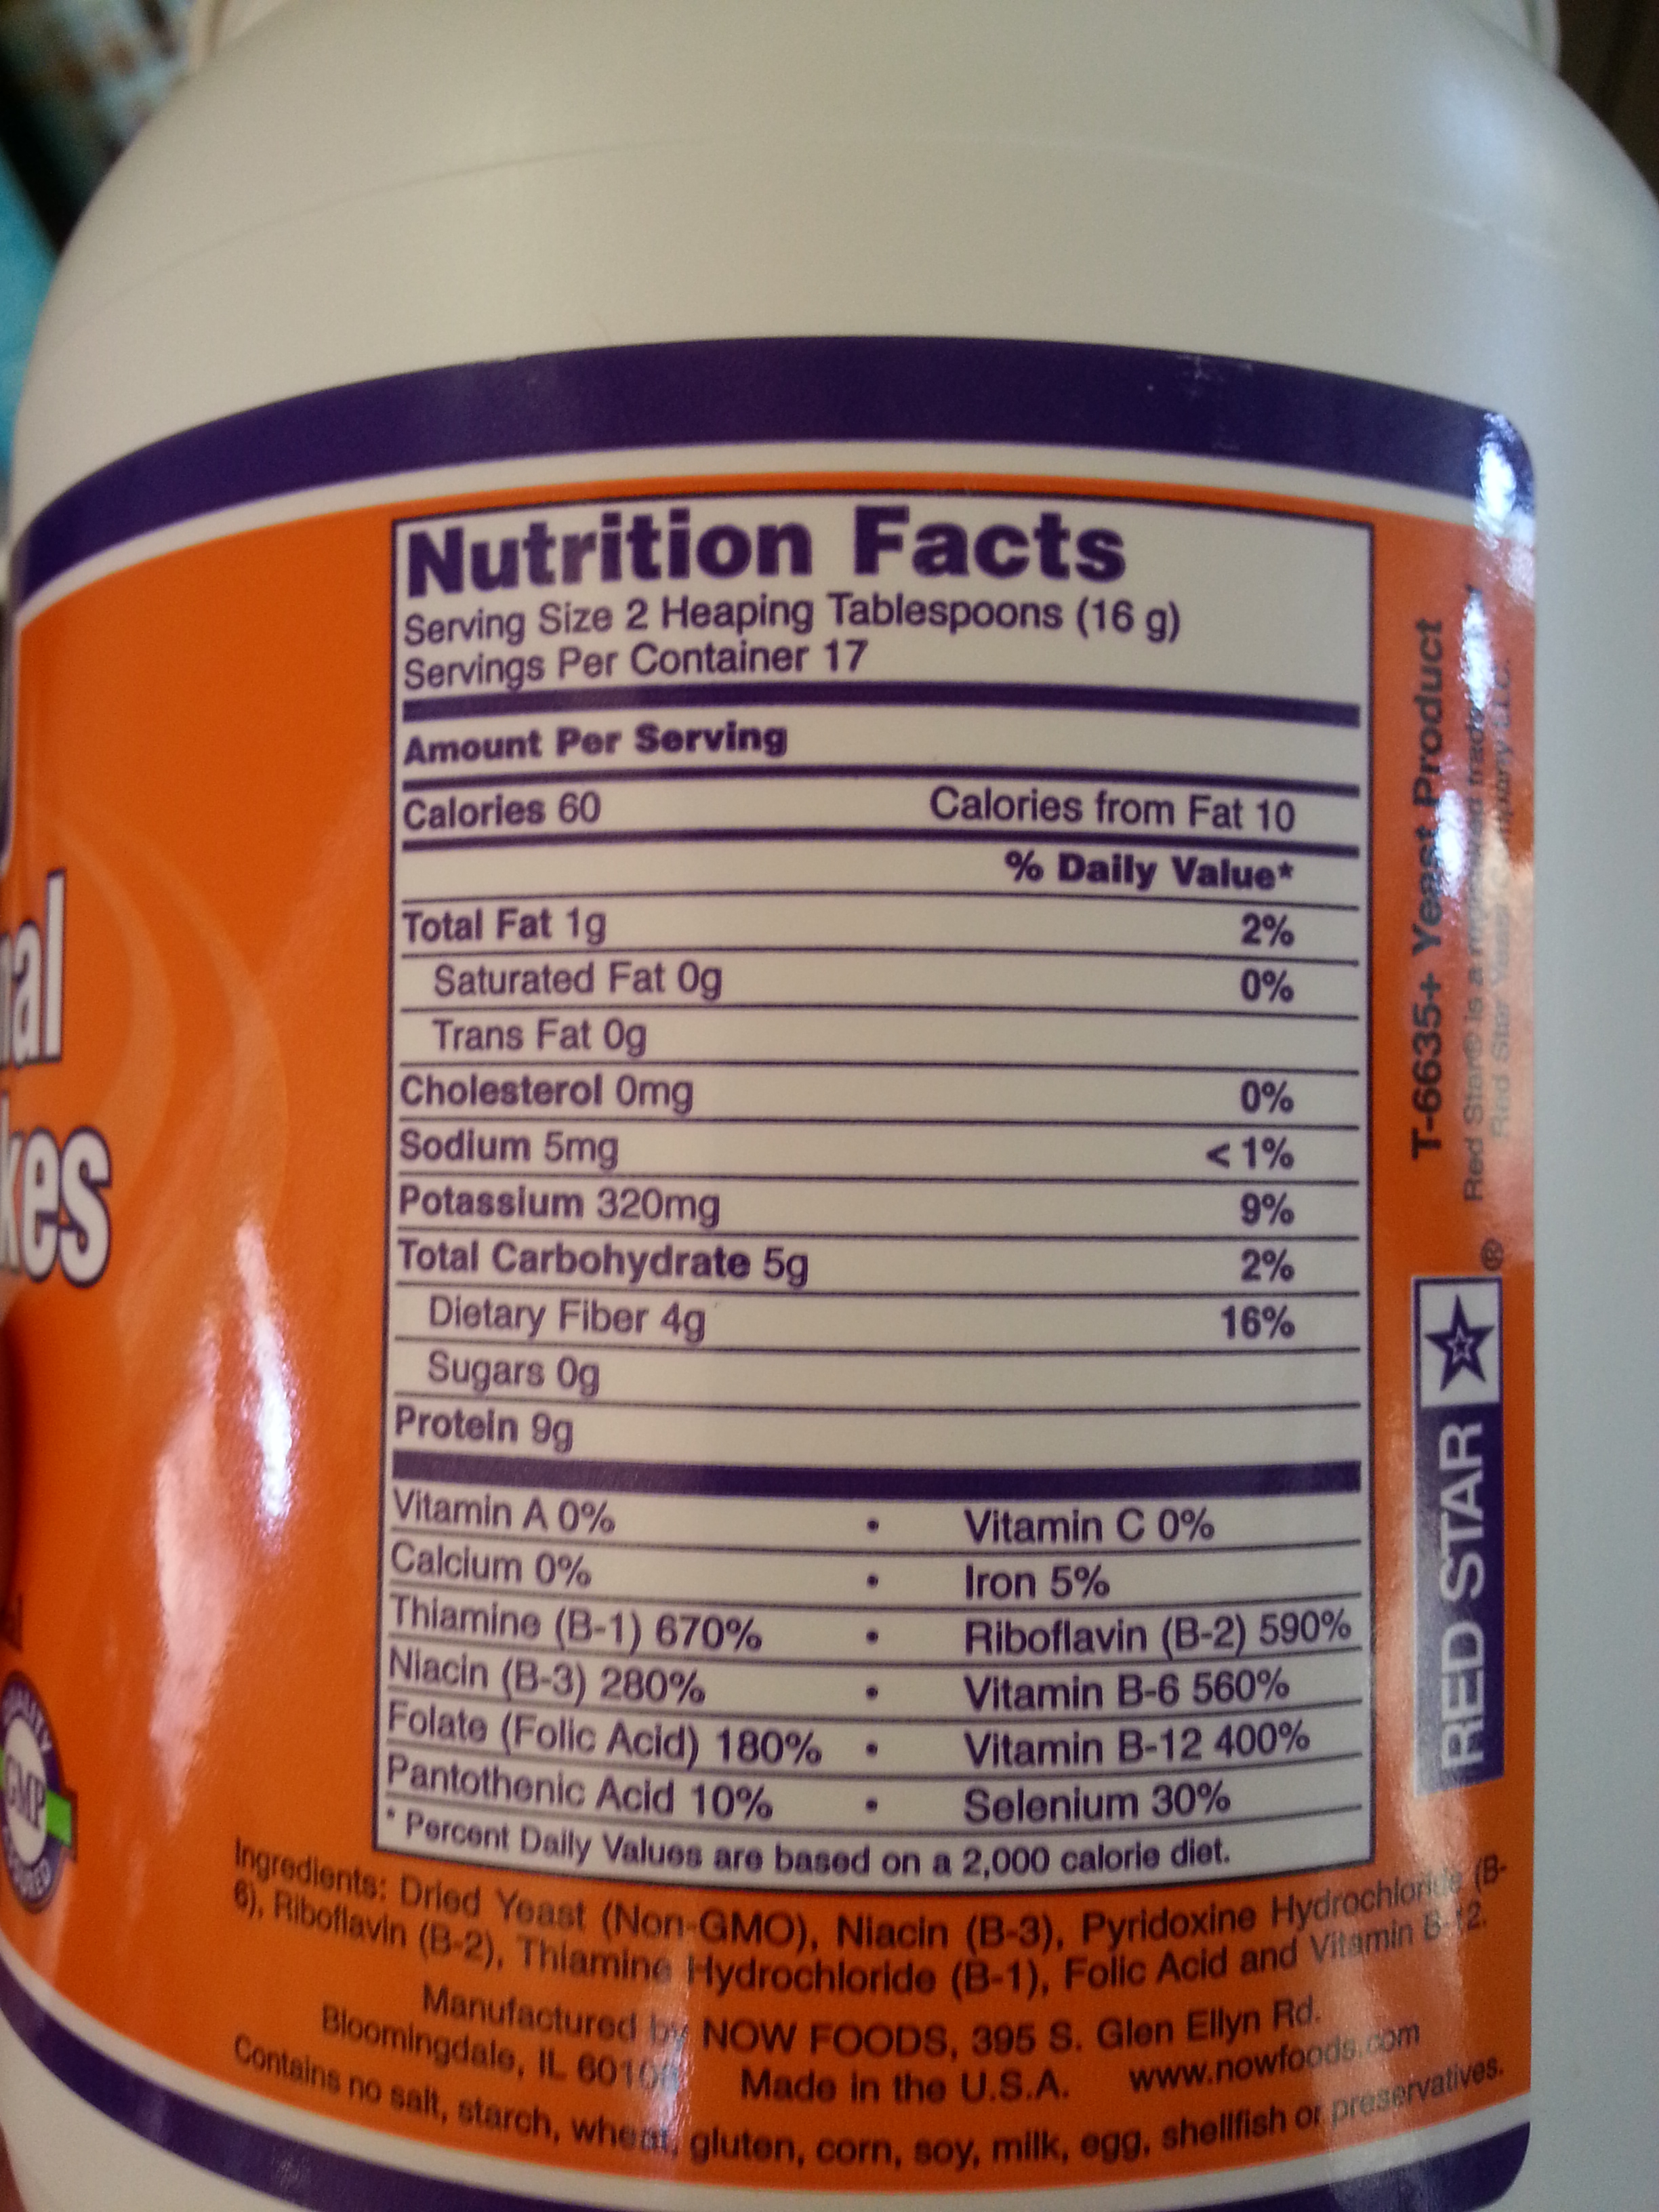
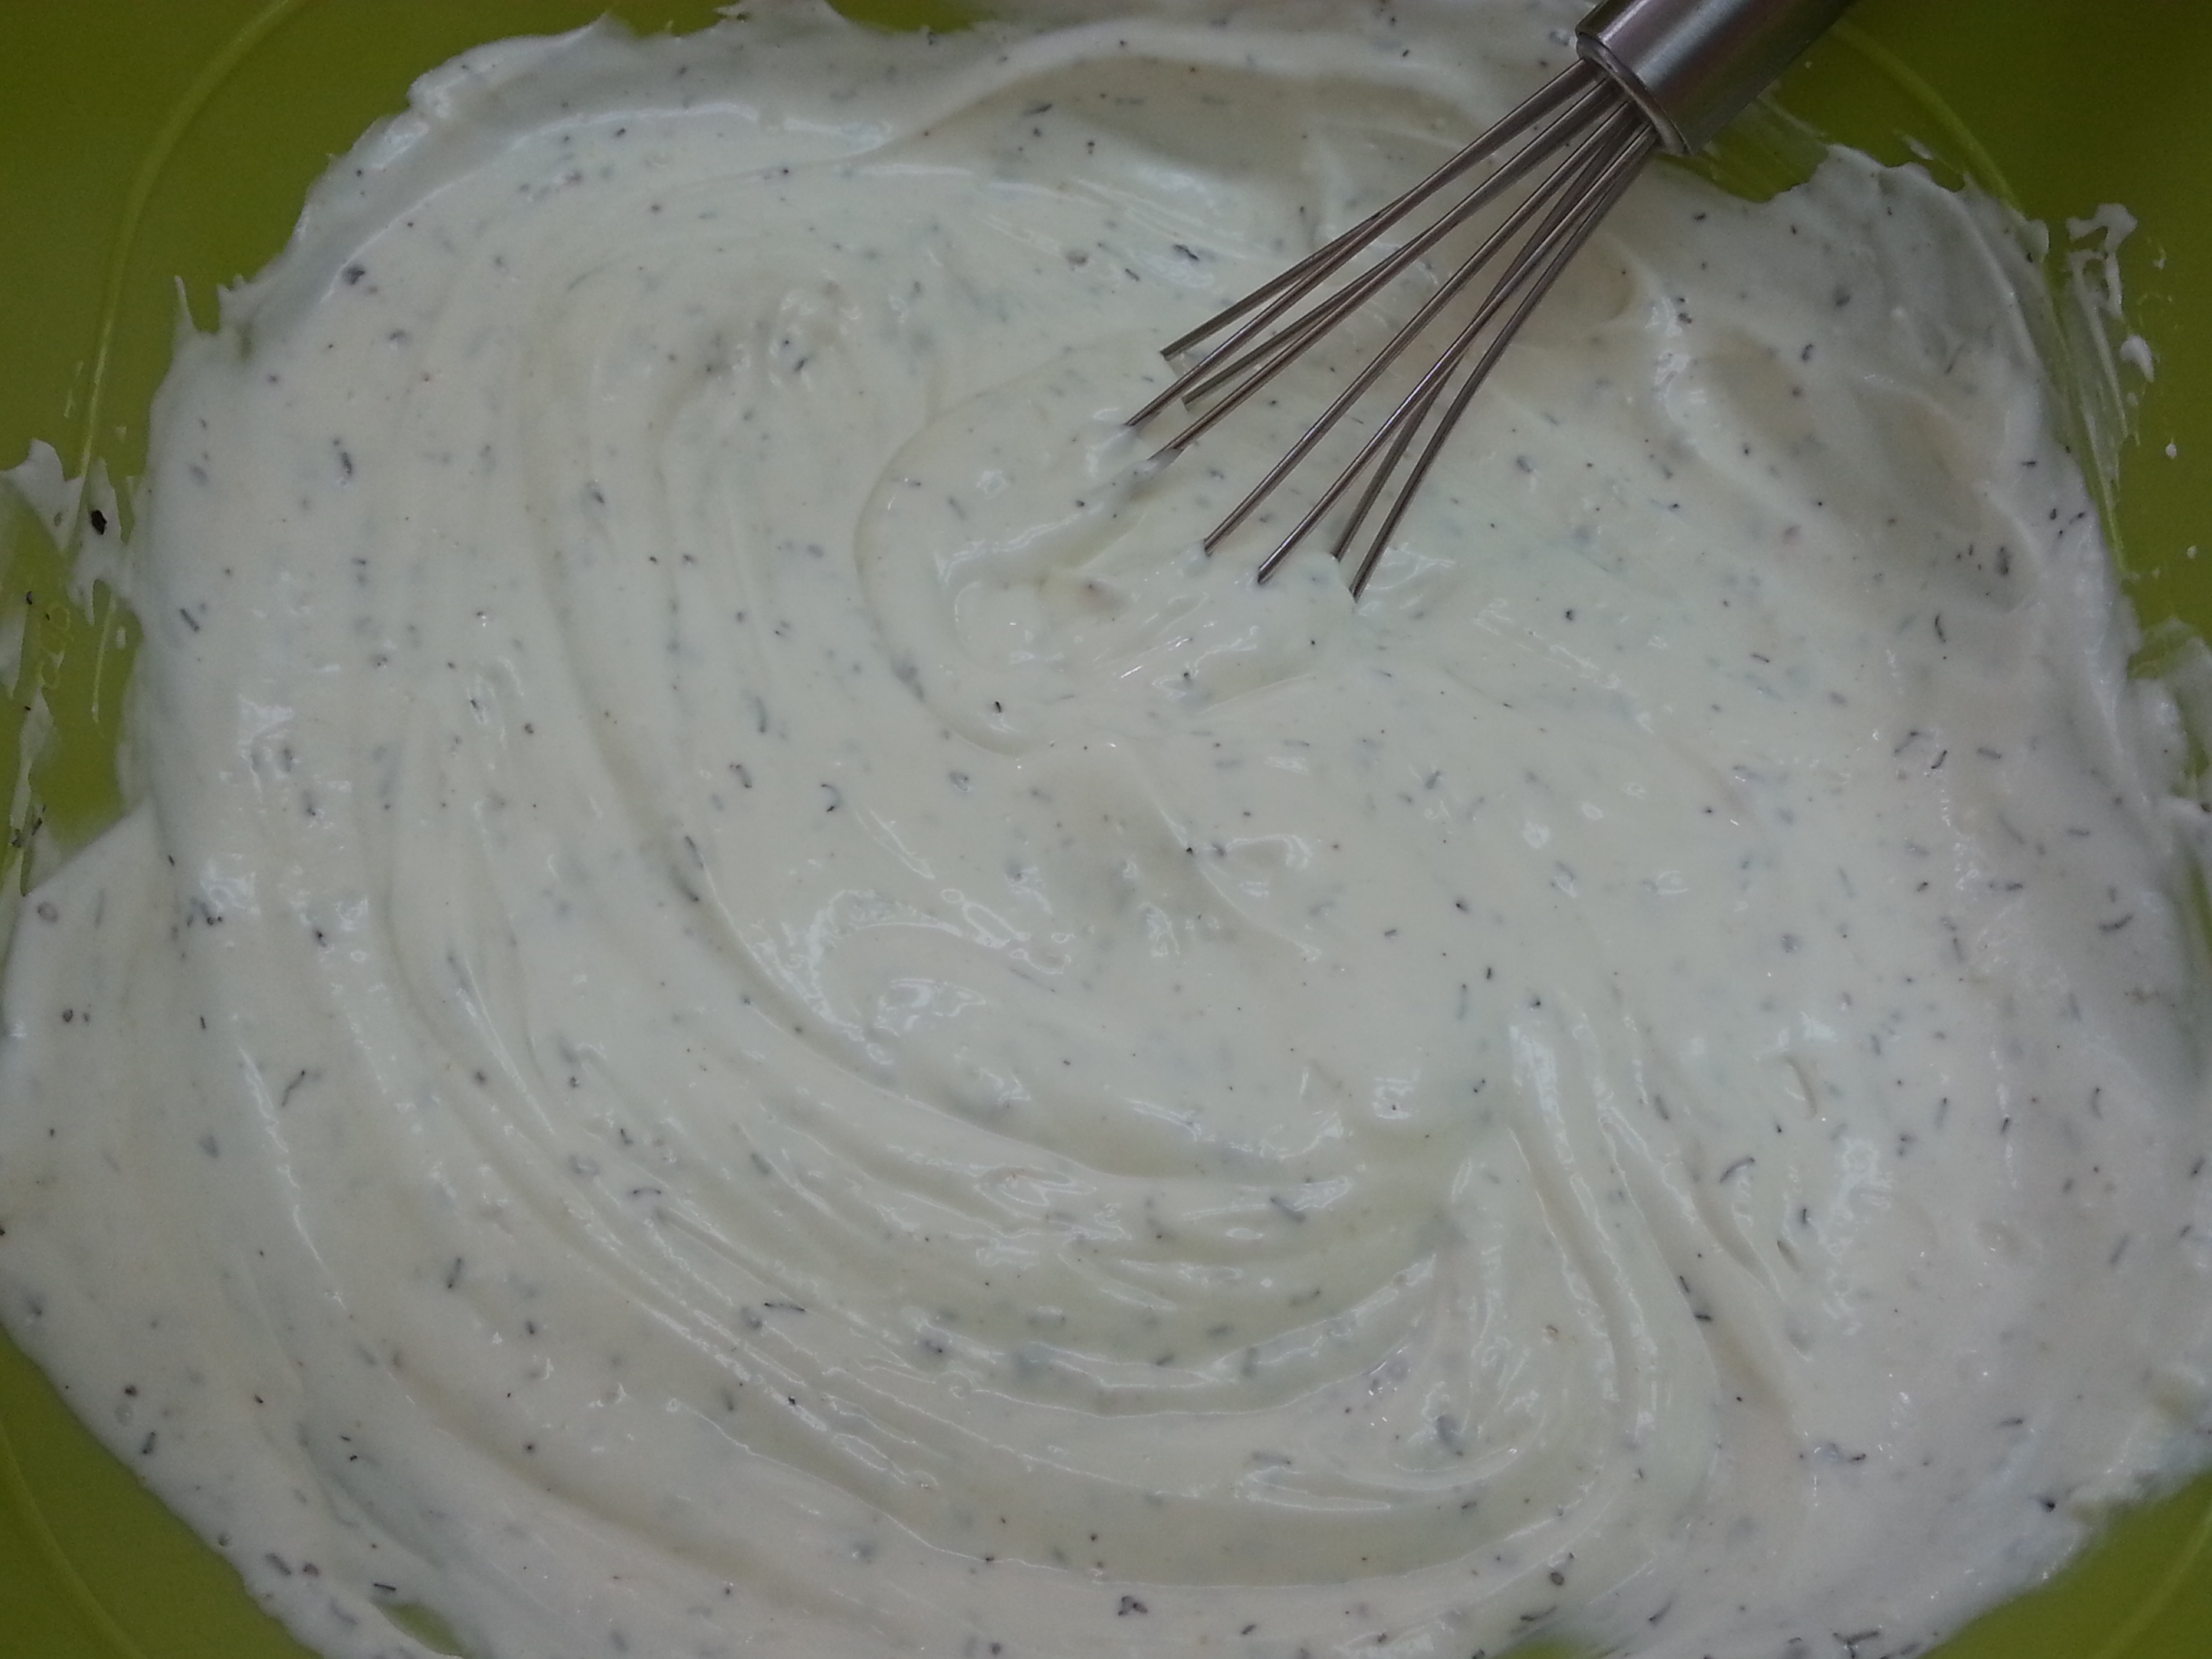
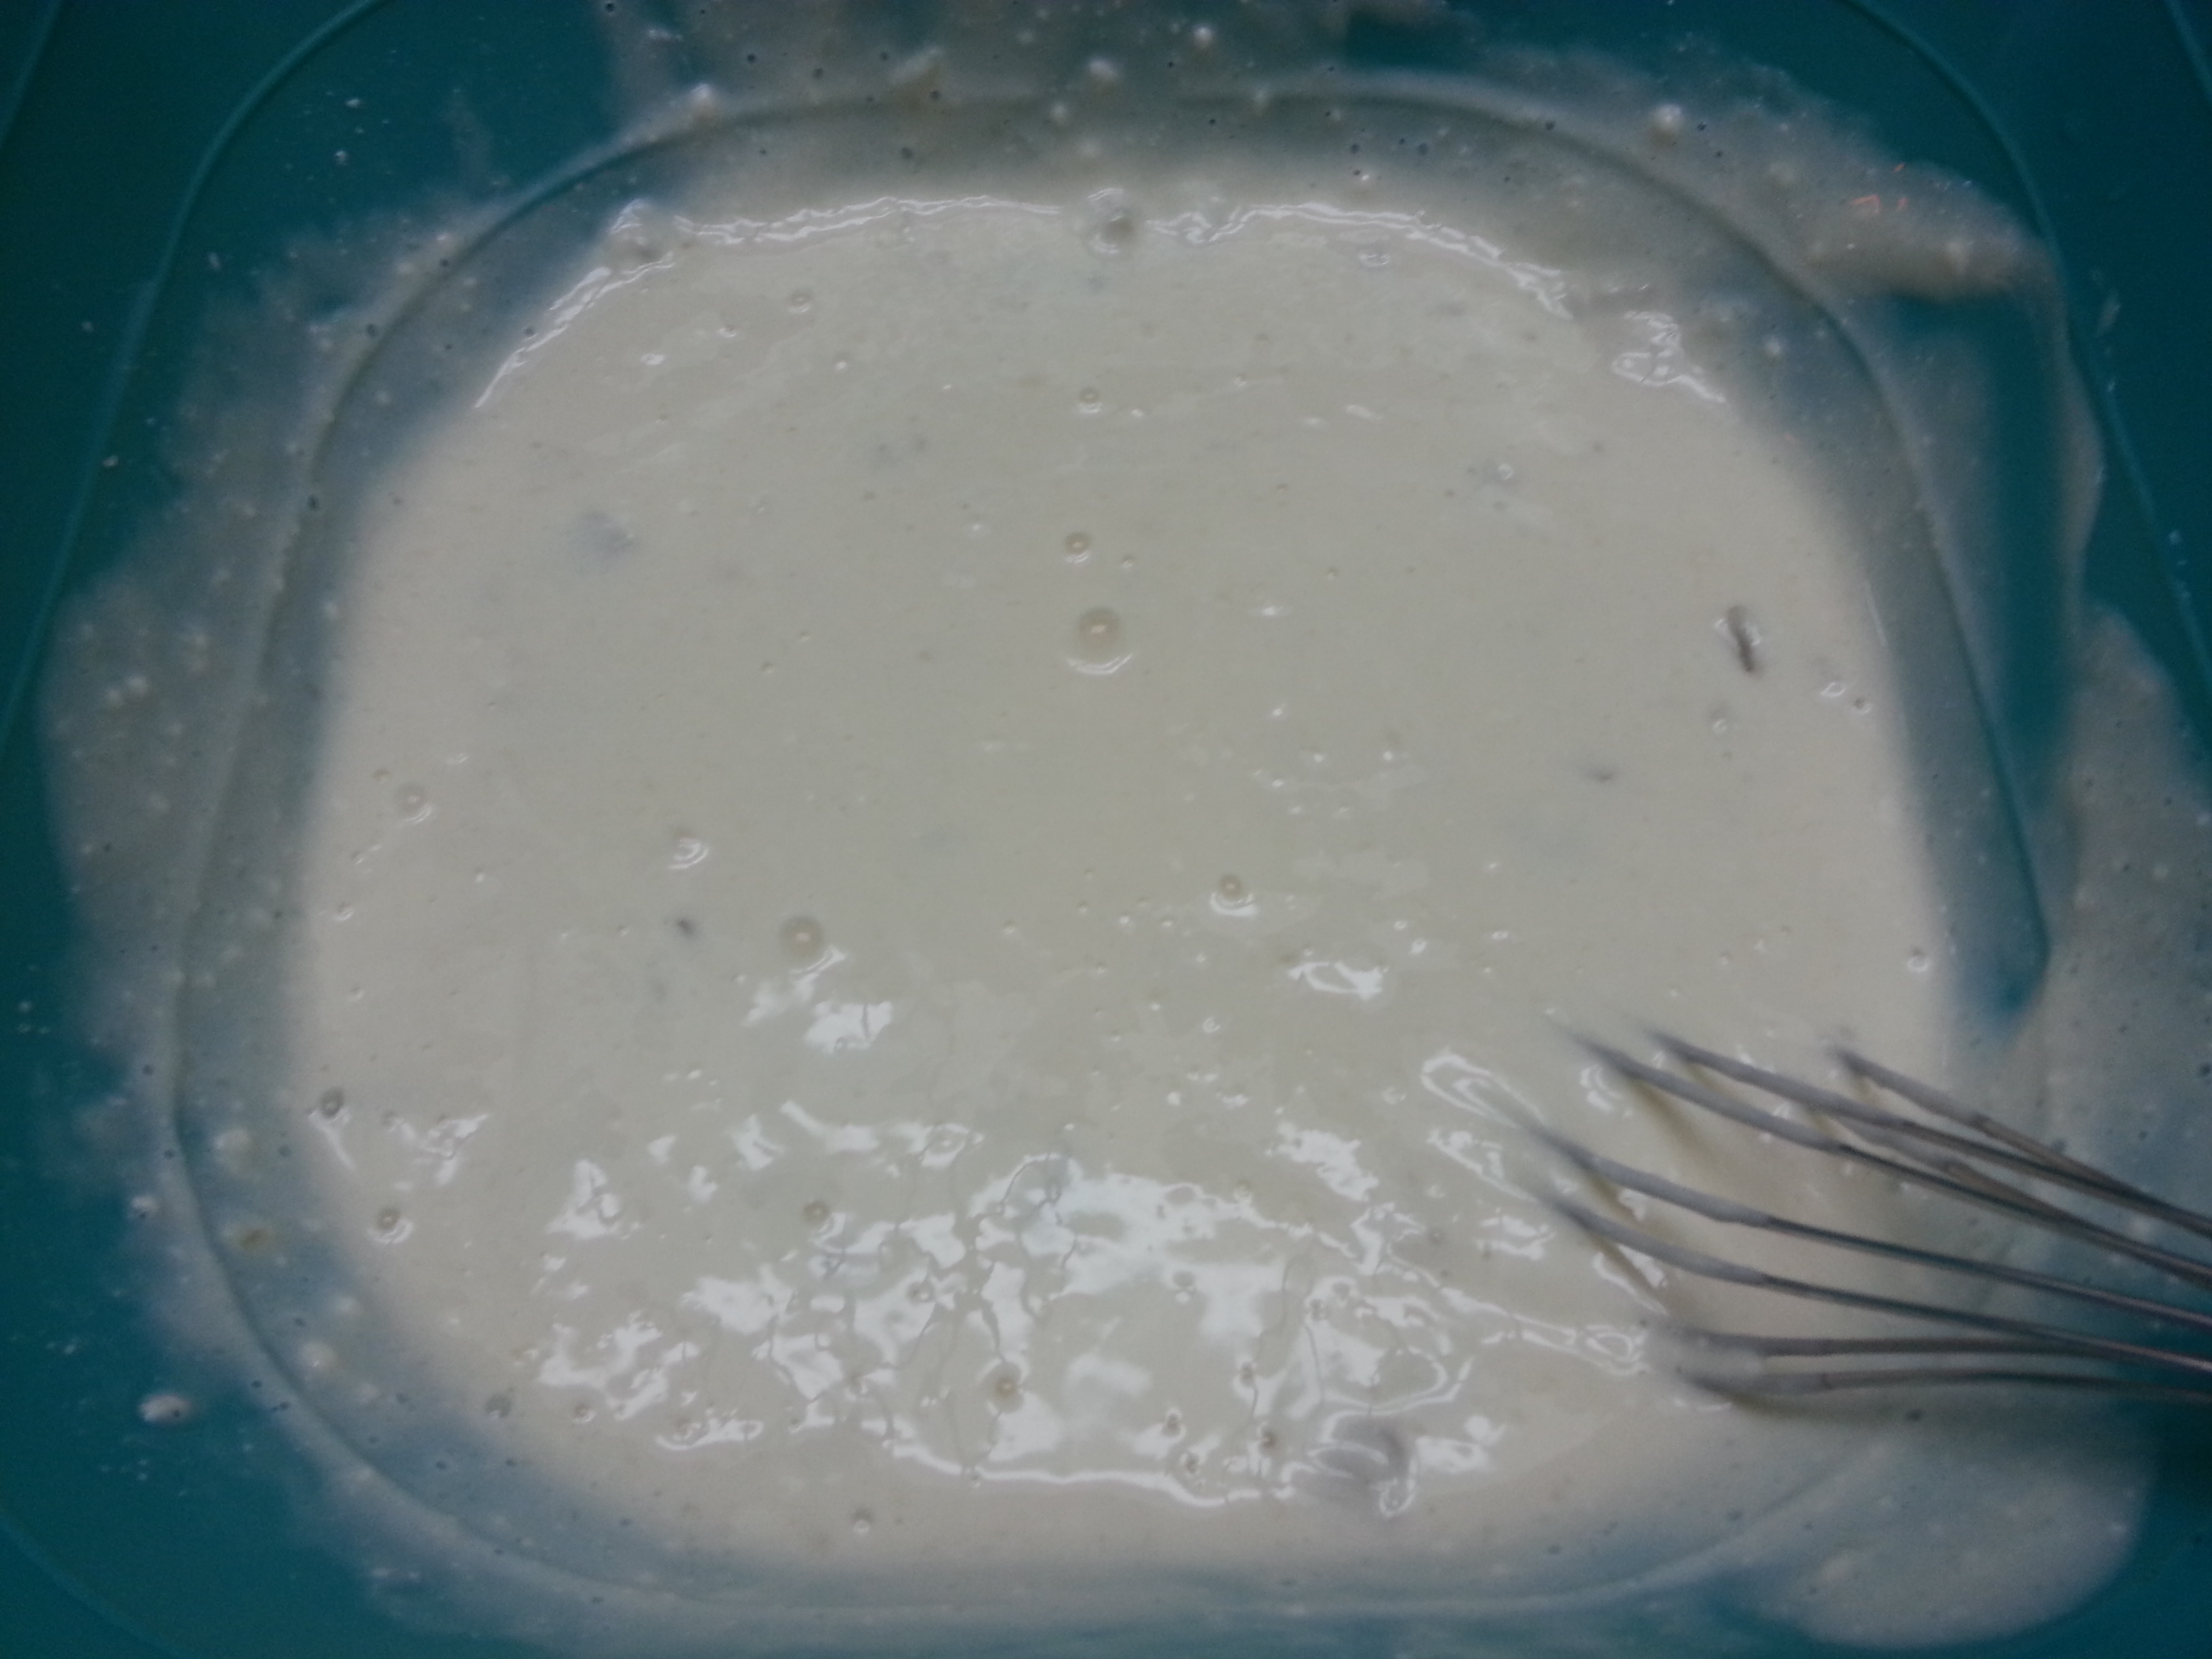
  • 1 can cream of celery soup
  • 1 c. milk
  • 1/3 c. mayo
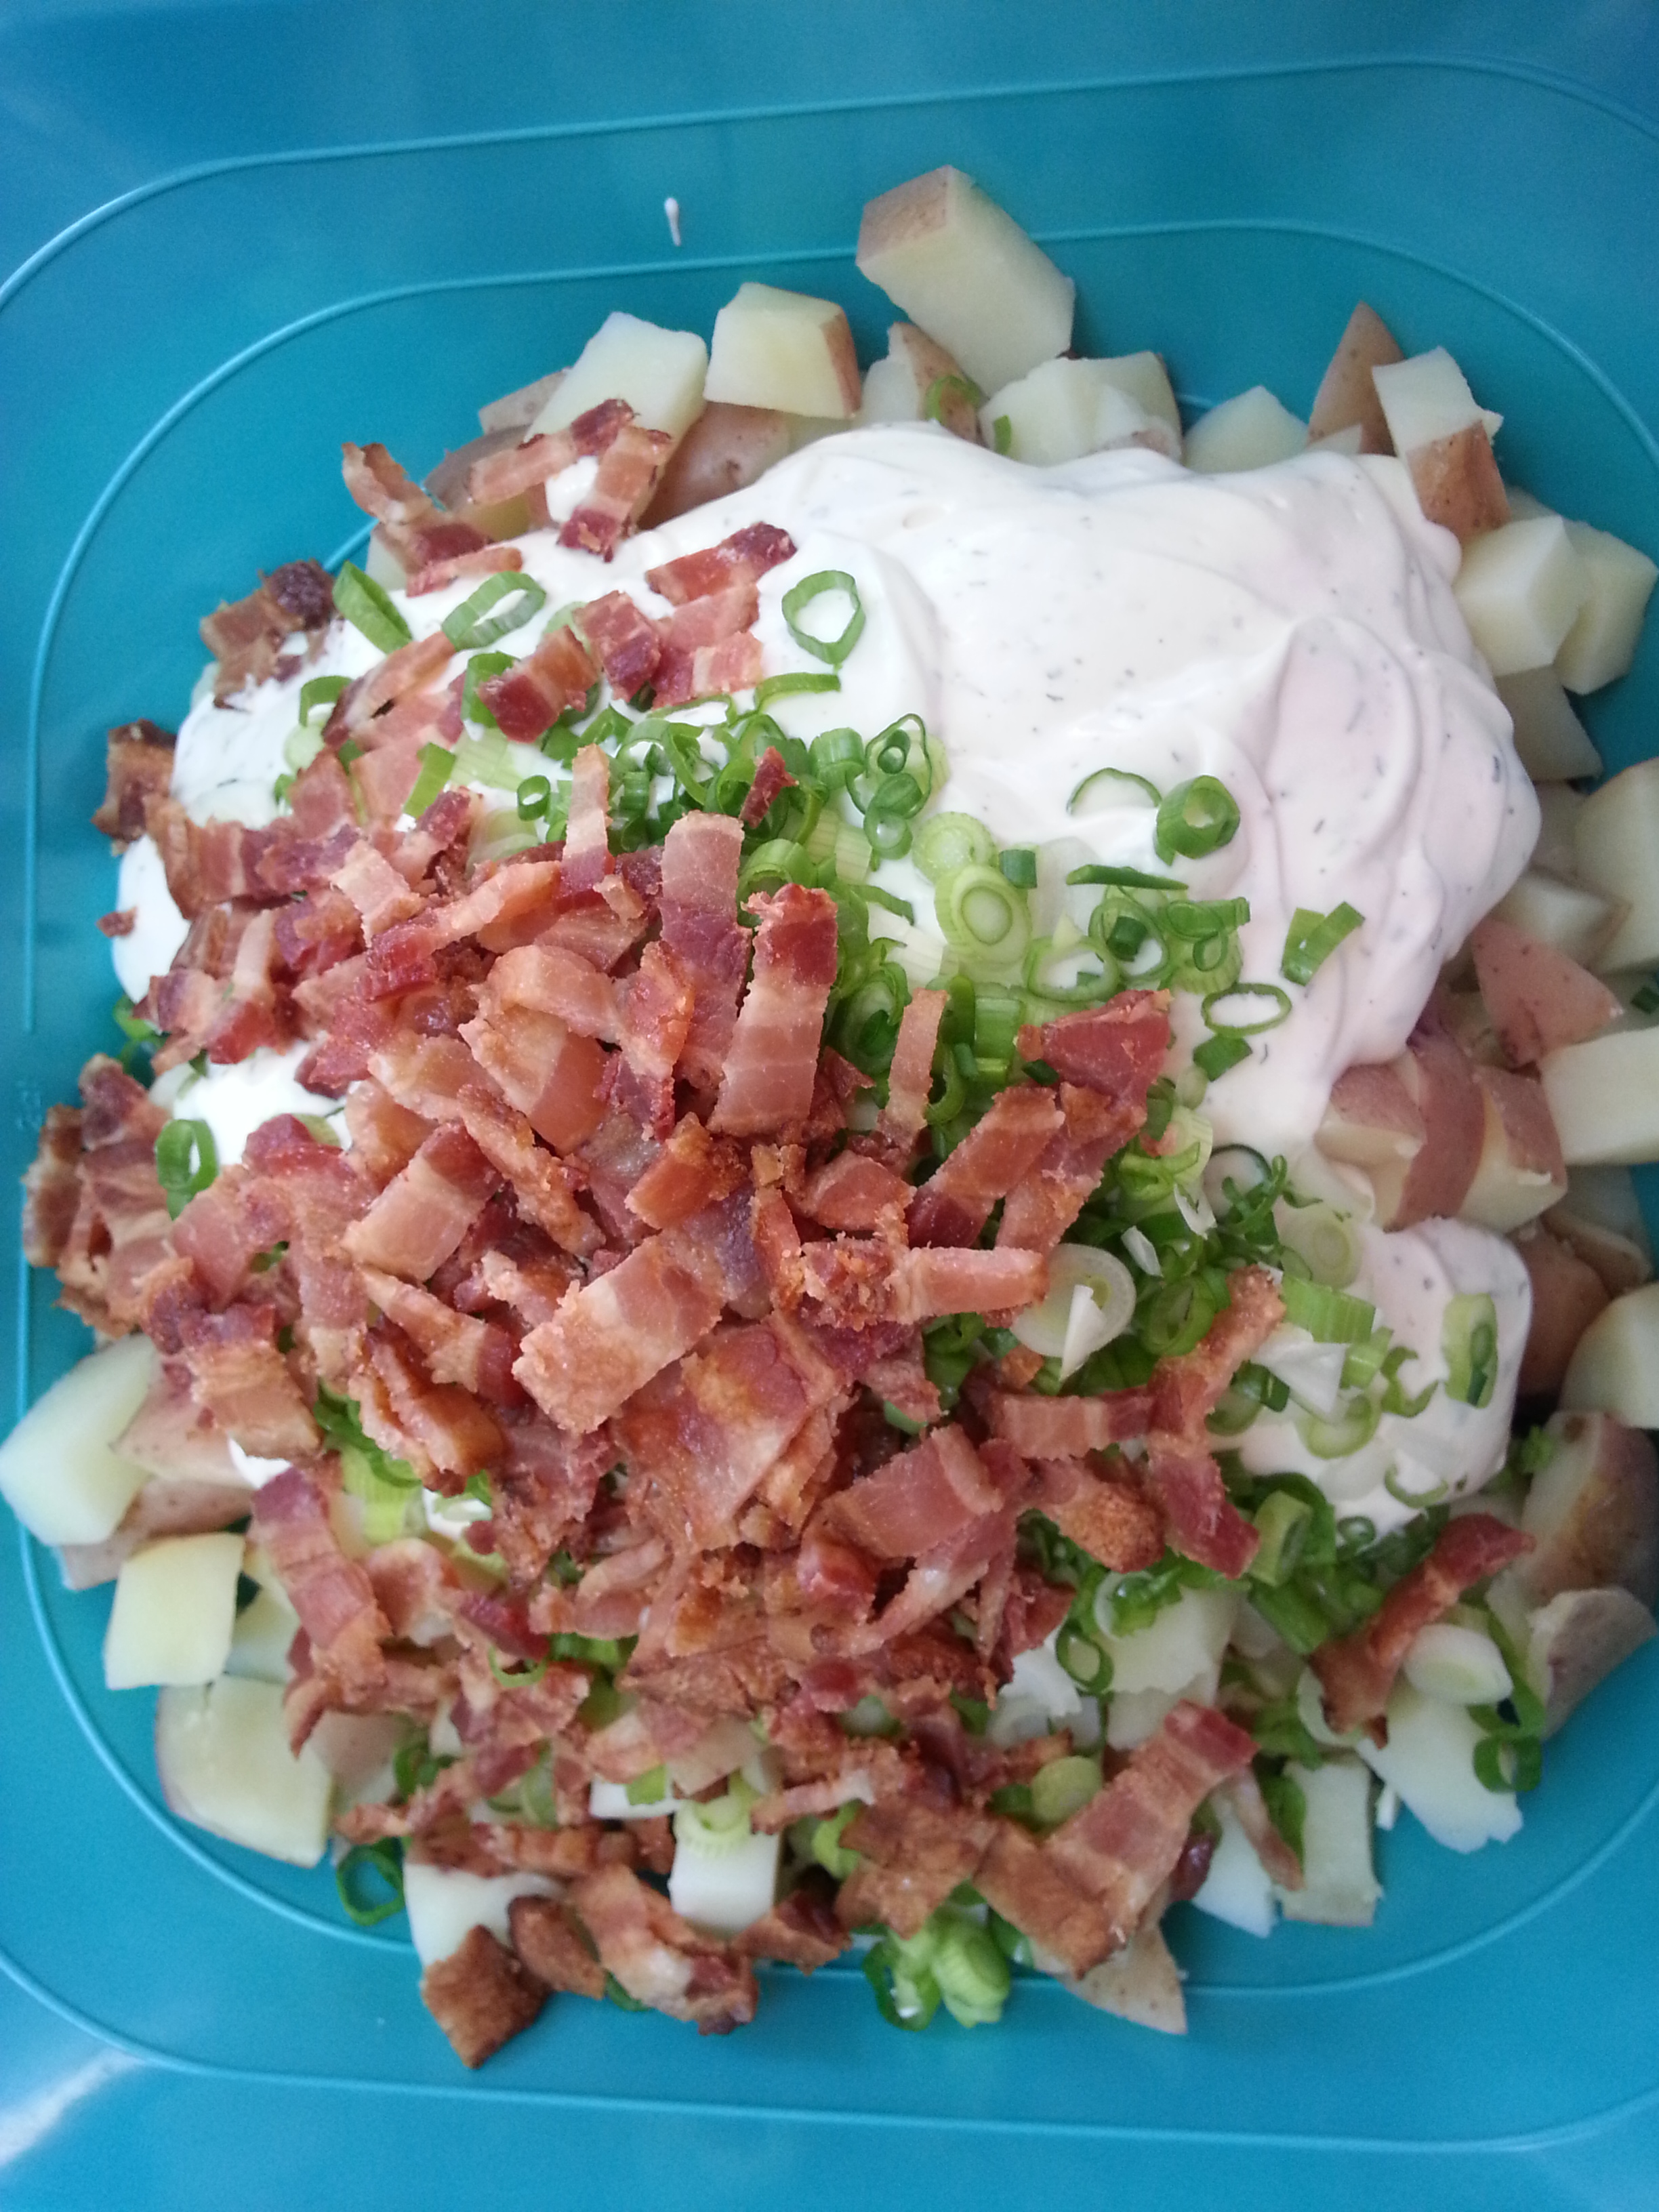
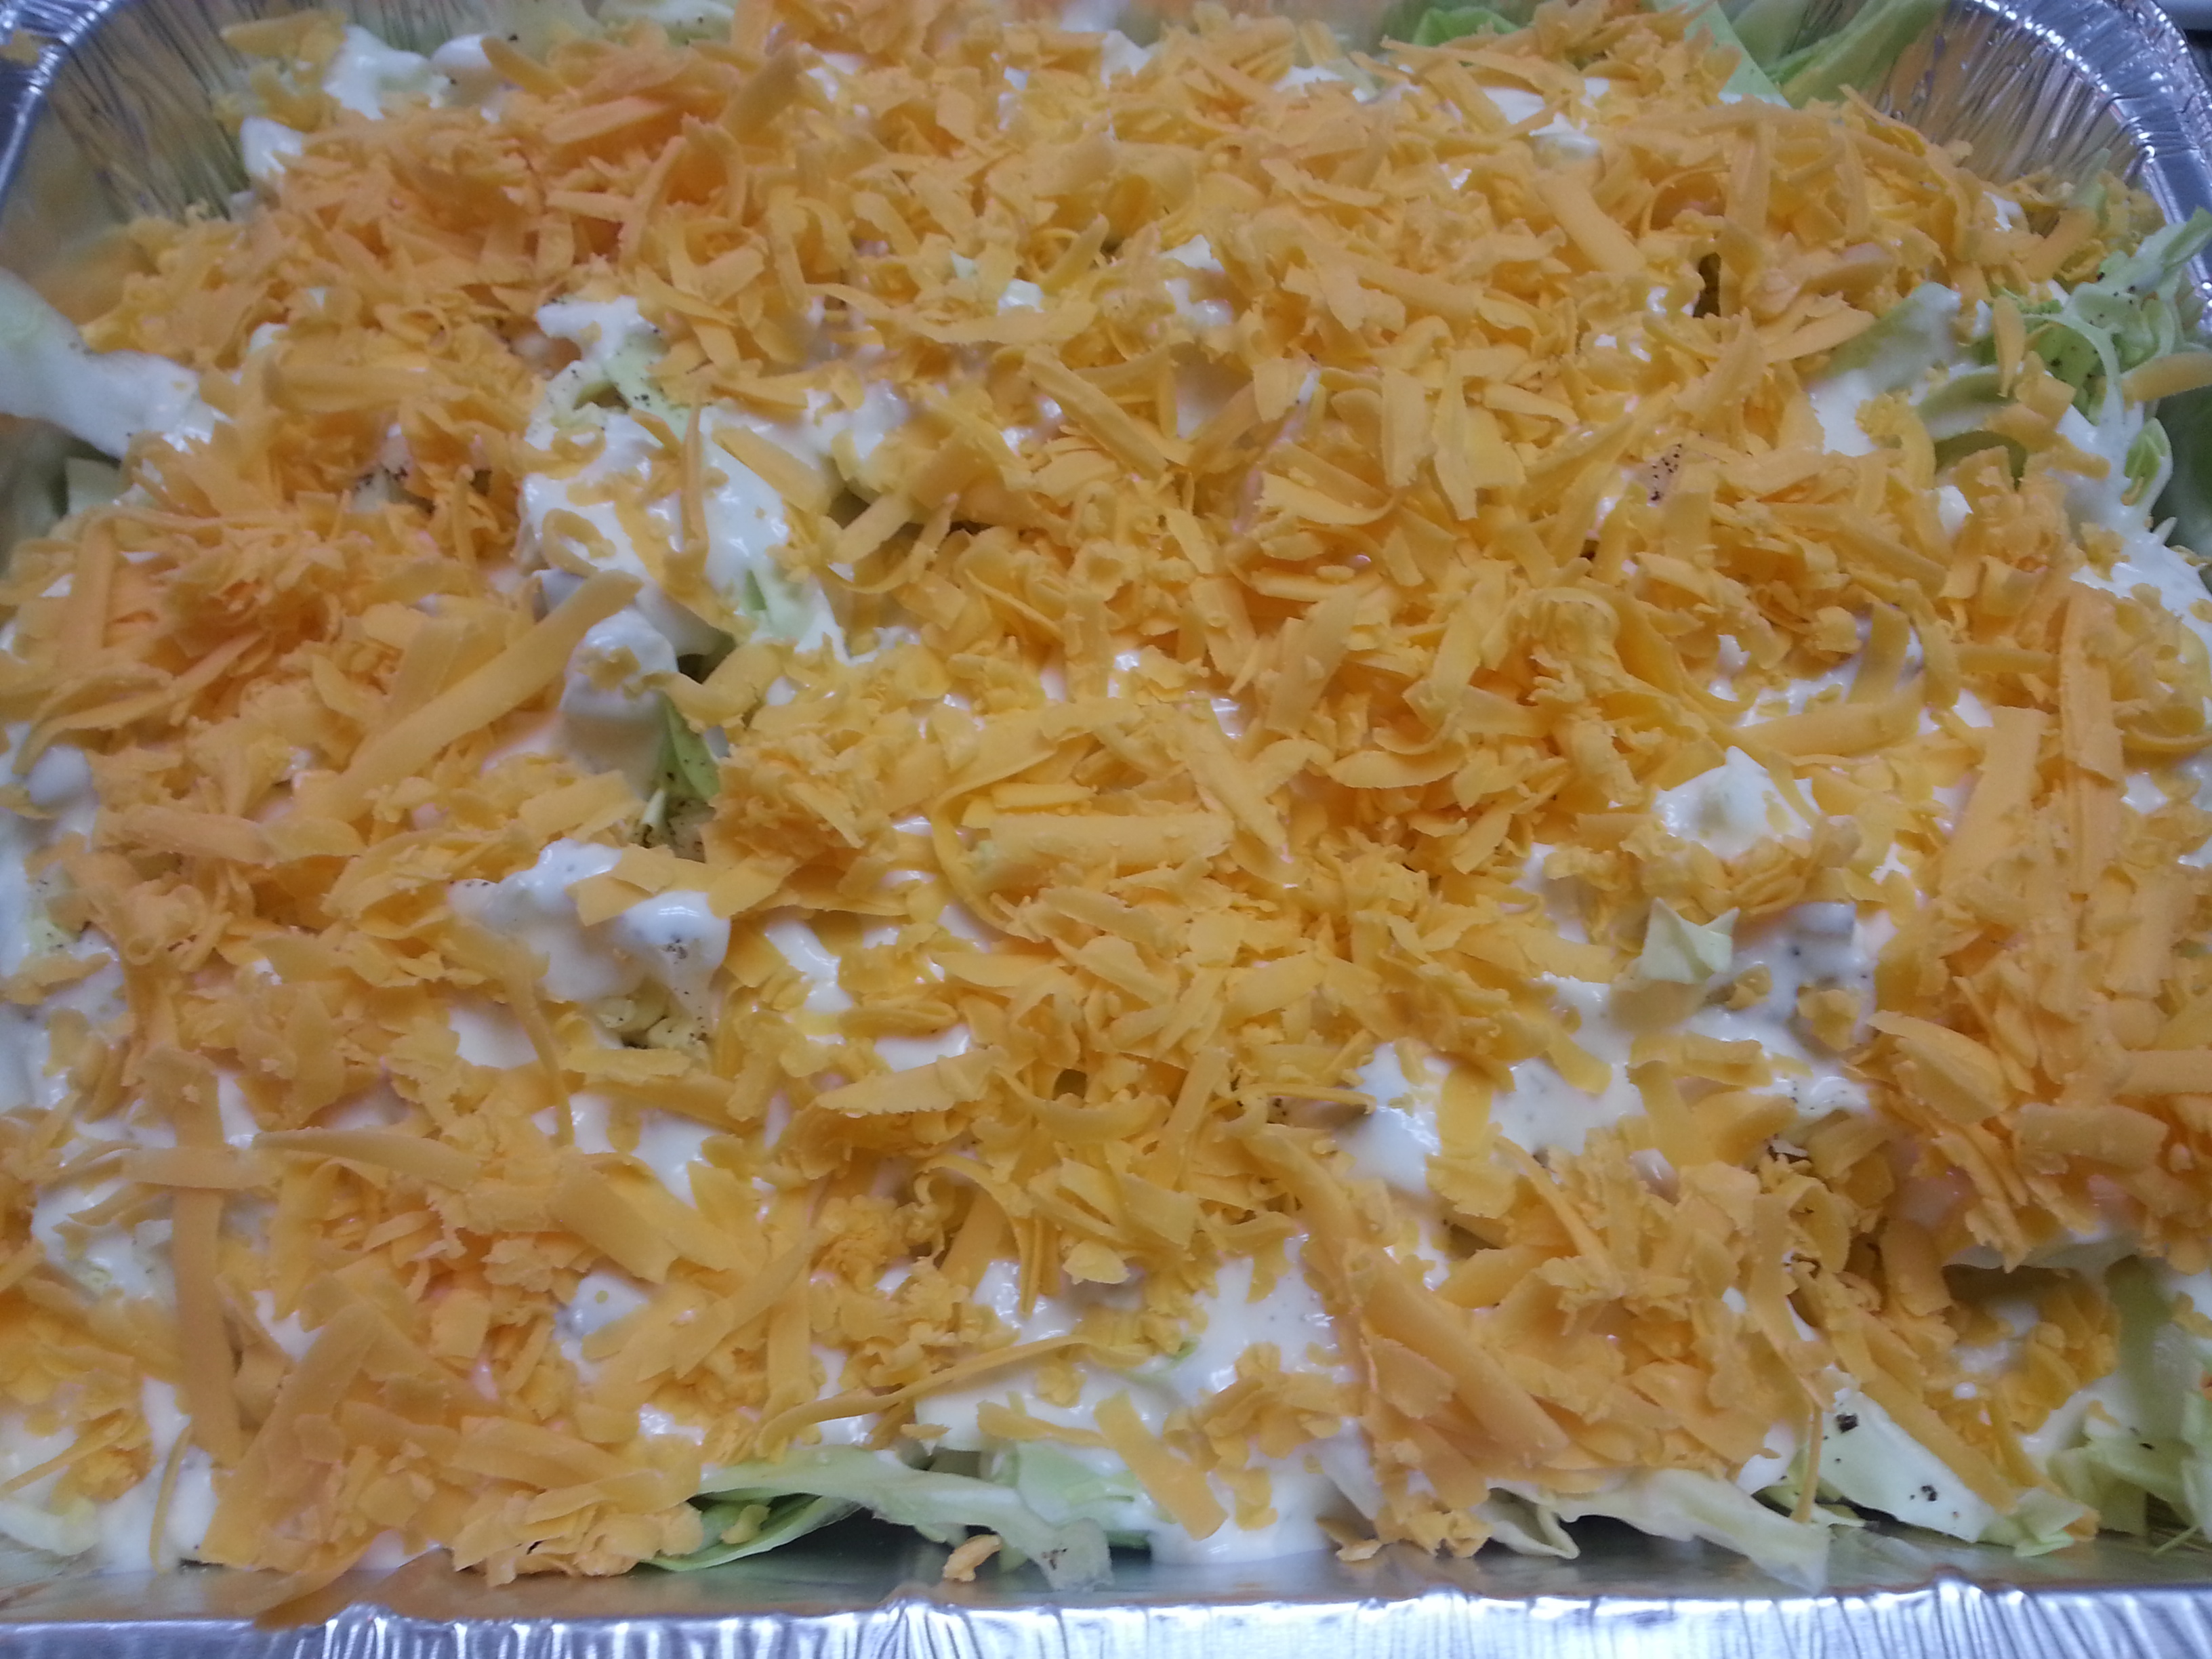
  • 1 c. shredded cheddar cheese
  • 1/2 c. panko crumbs
  • 1/4 tsp. each salt & pepper

Preheat your oven to 350 degrees. Spray a 9×13″ dish with cooking spray. Add in the shredded cabbage. Sprinkle the onion evenly over the top of the cabbage. Next, add the salt and pepper.

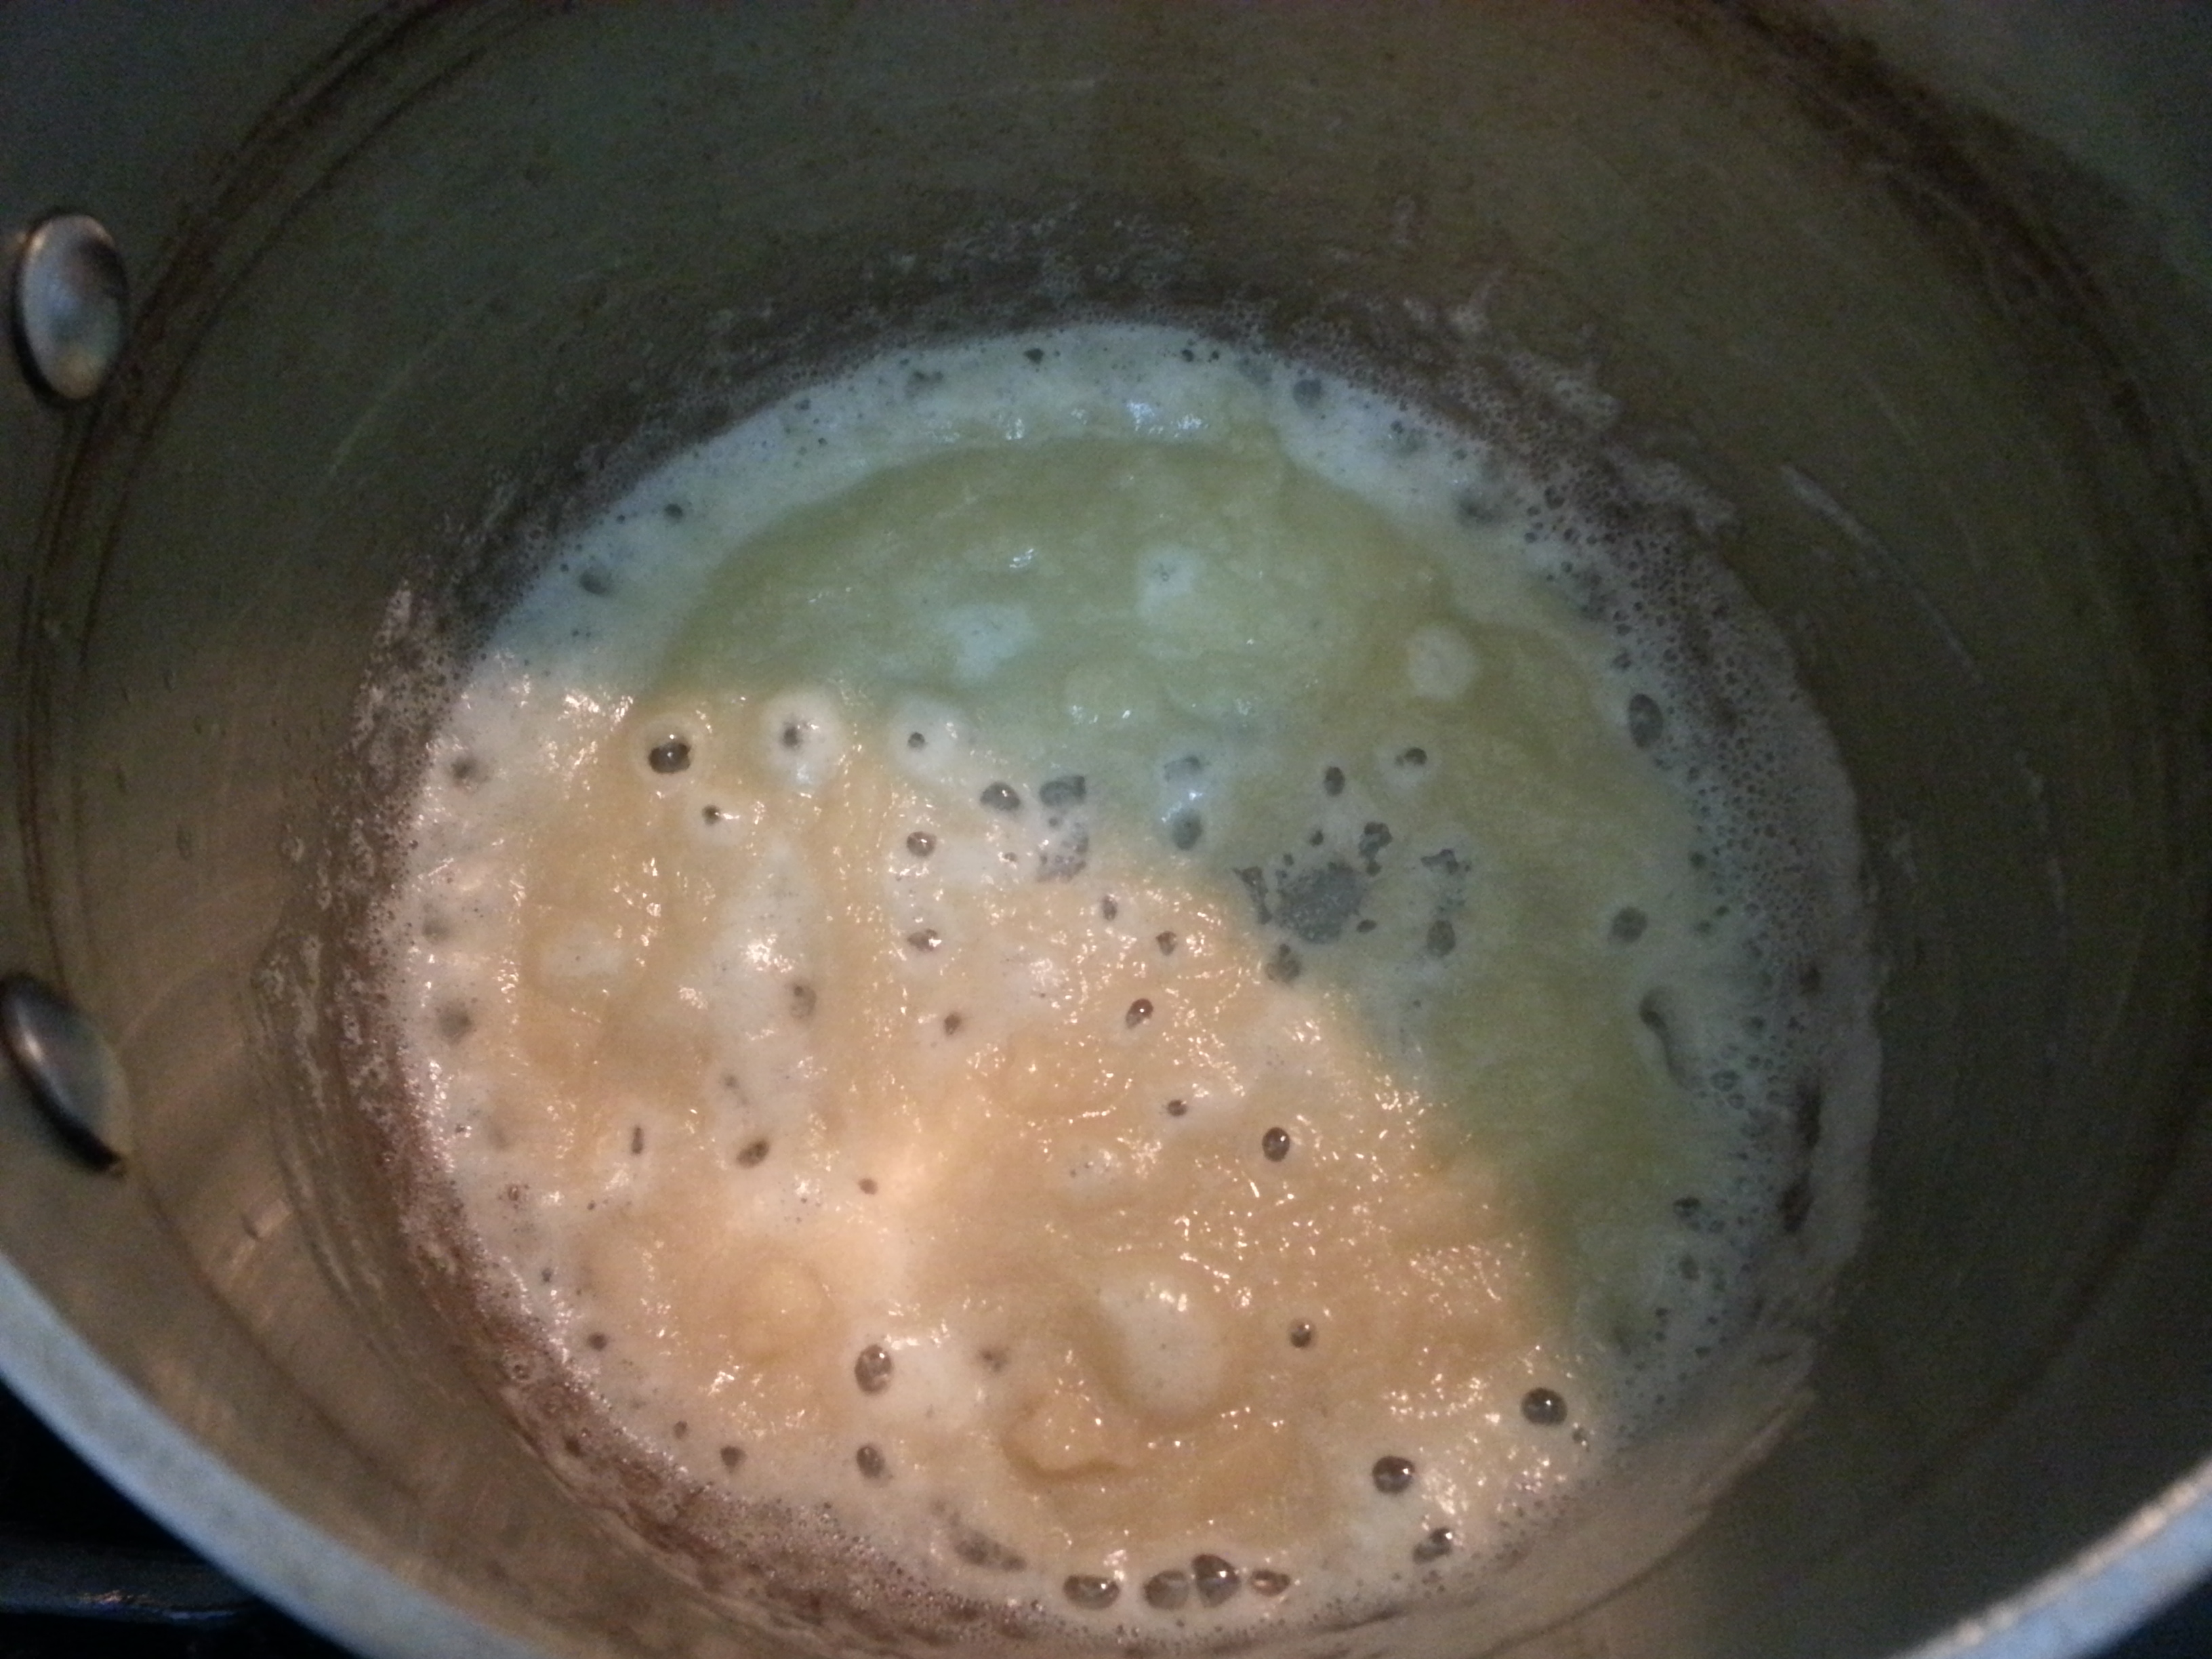
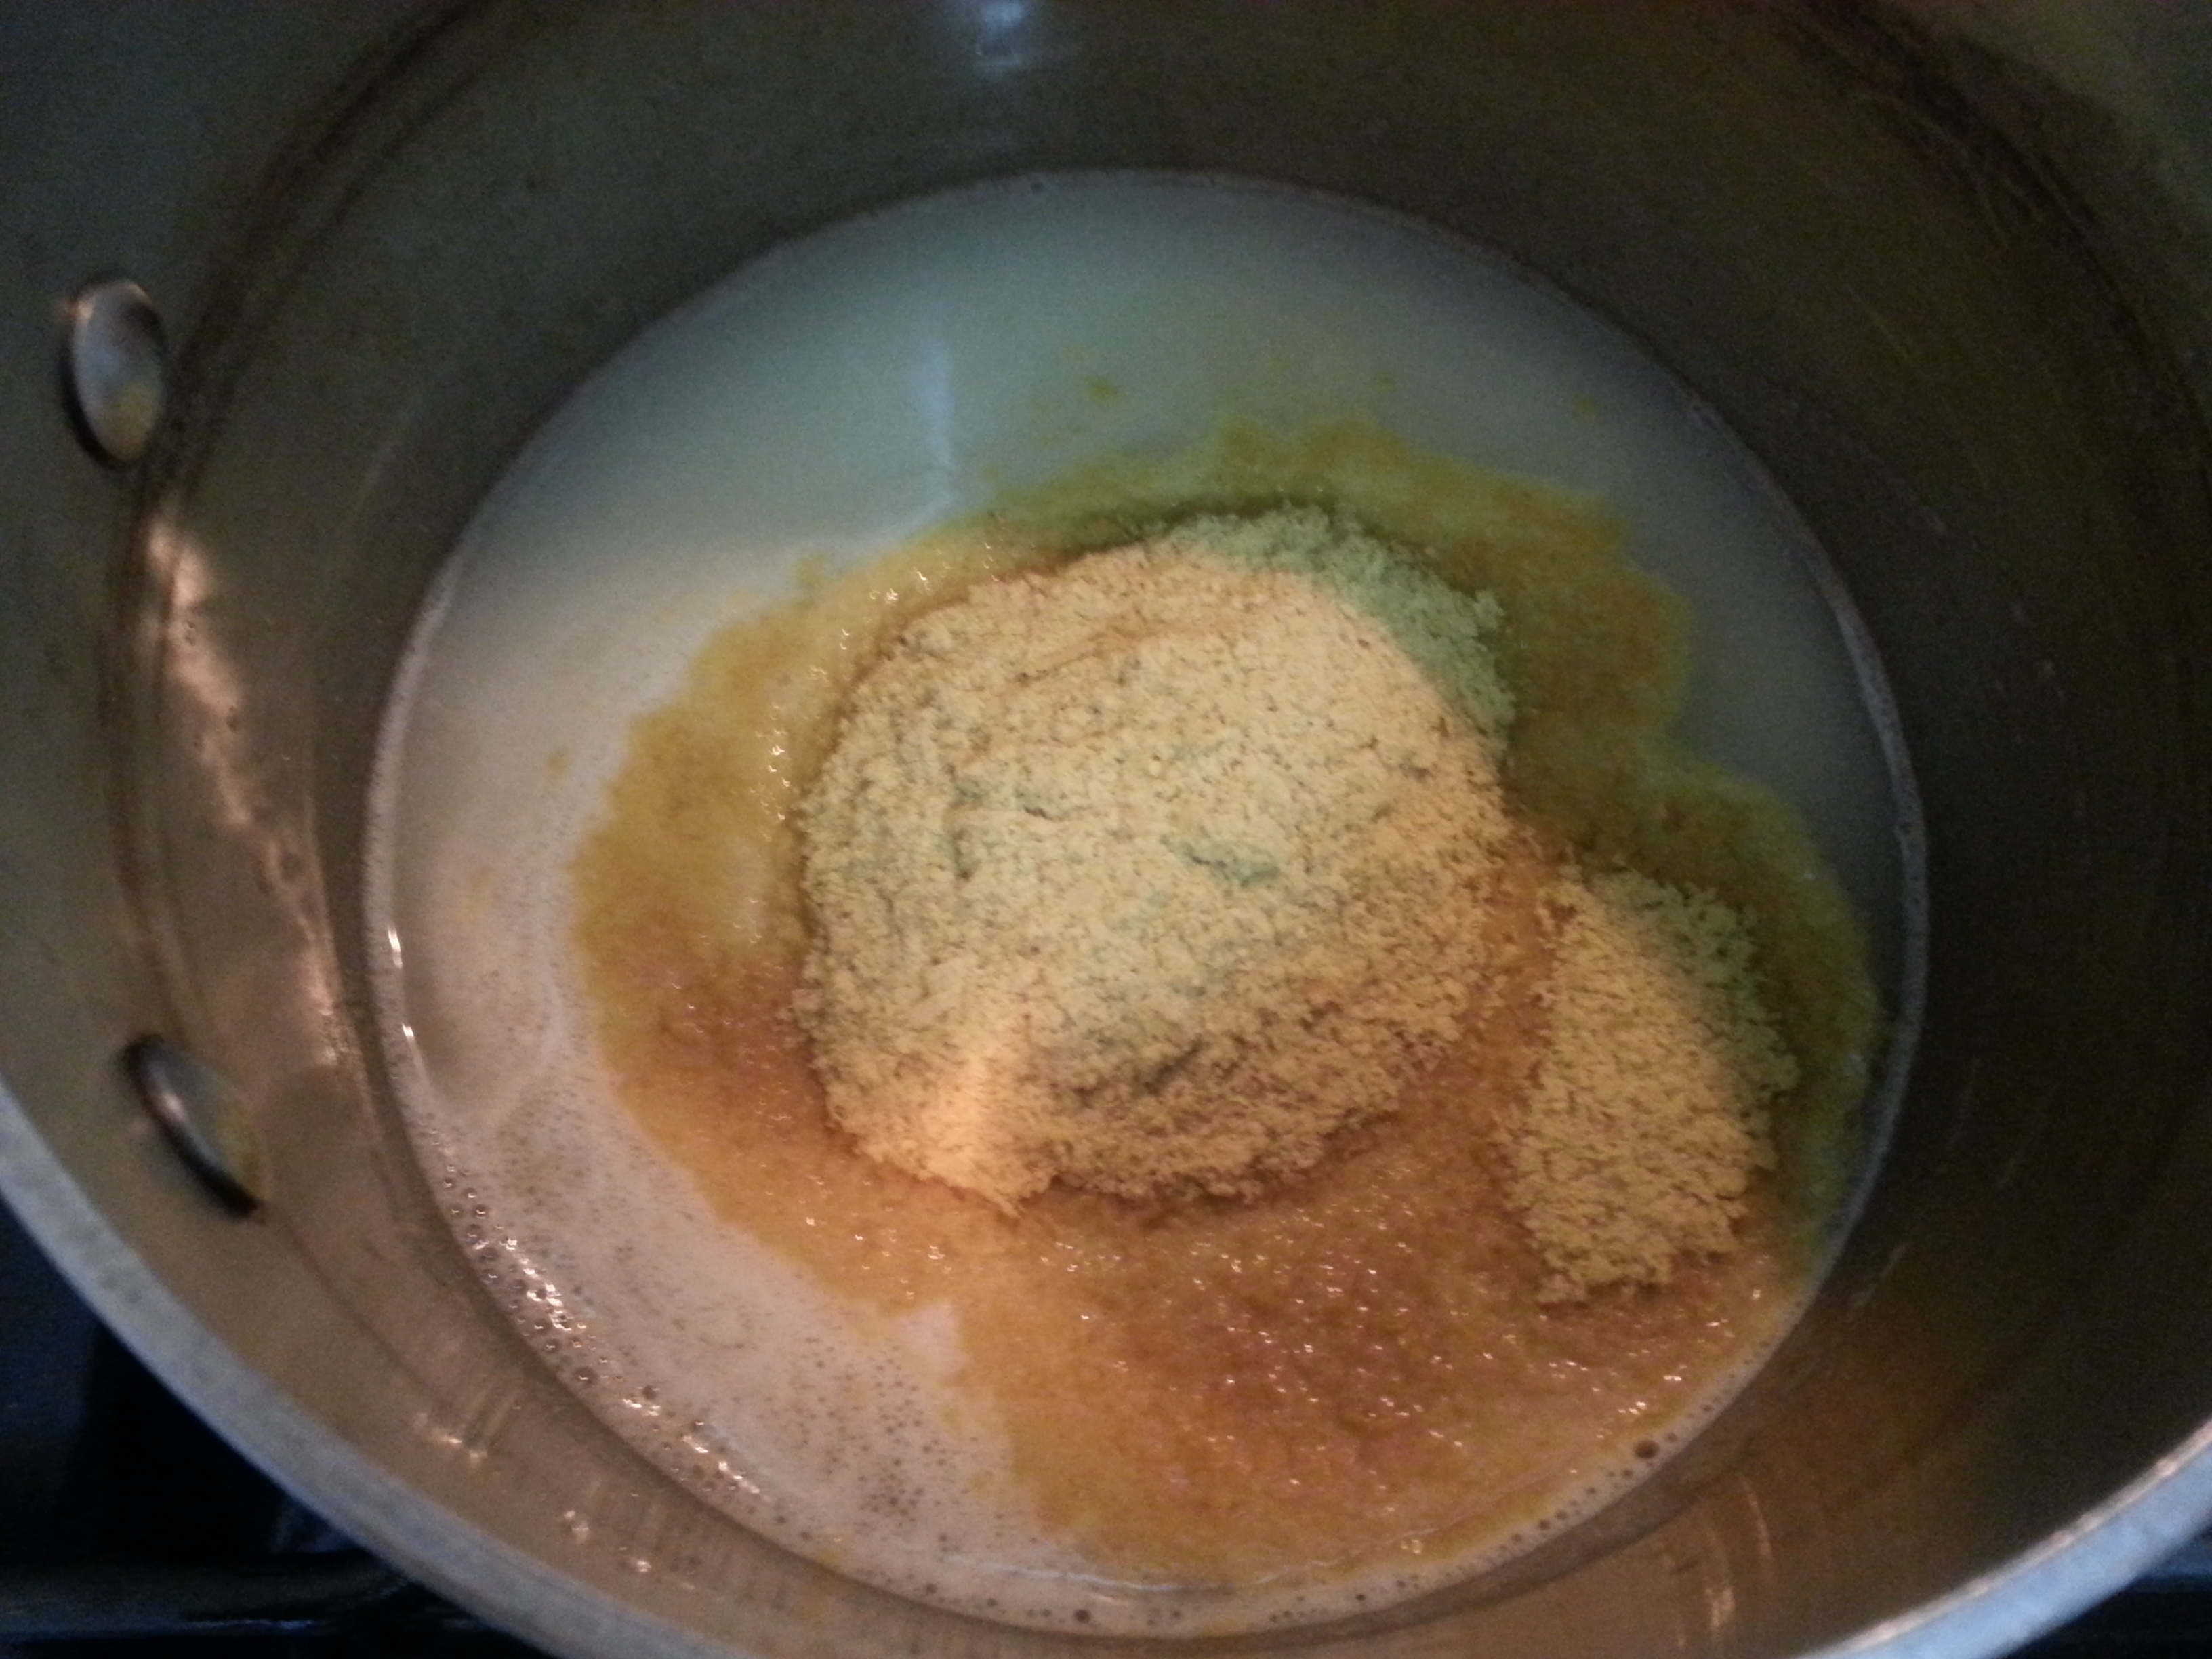
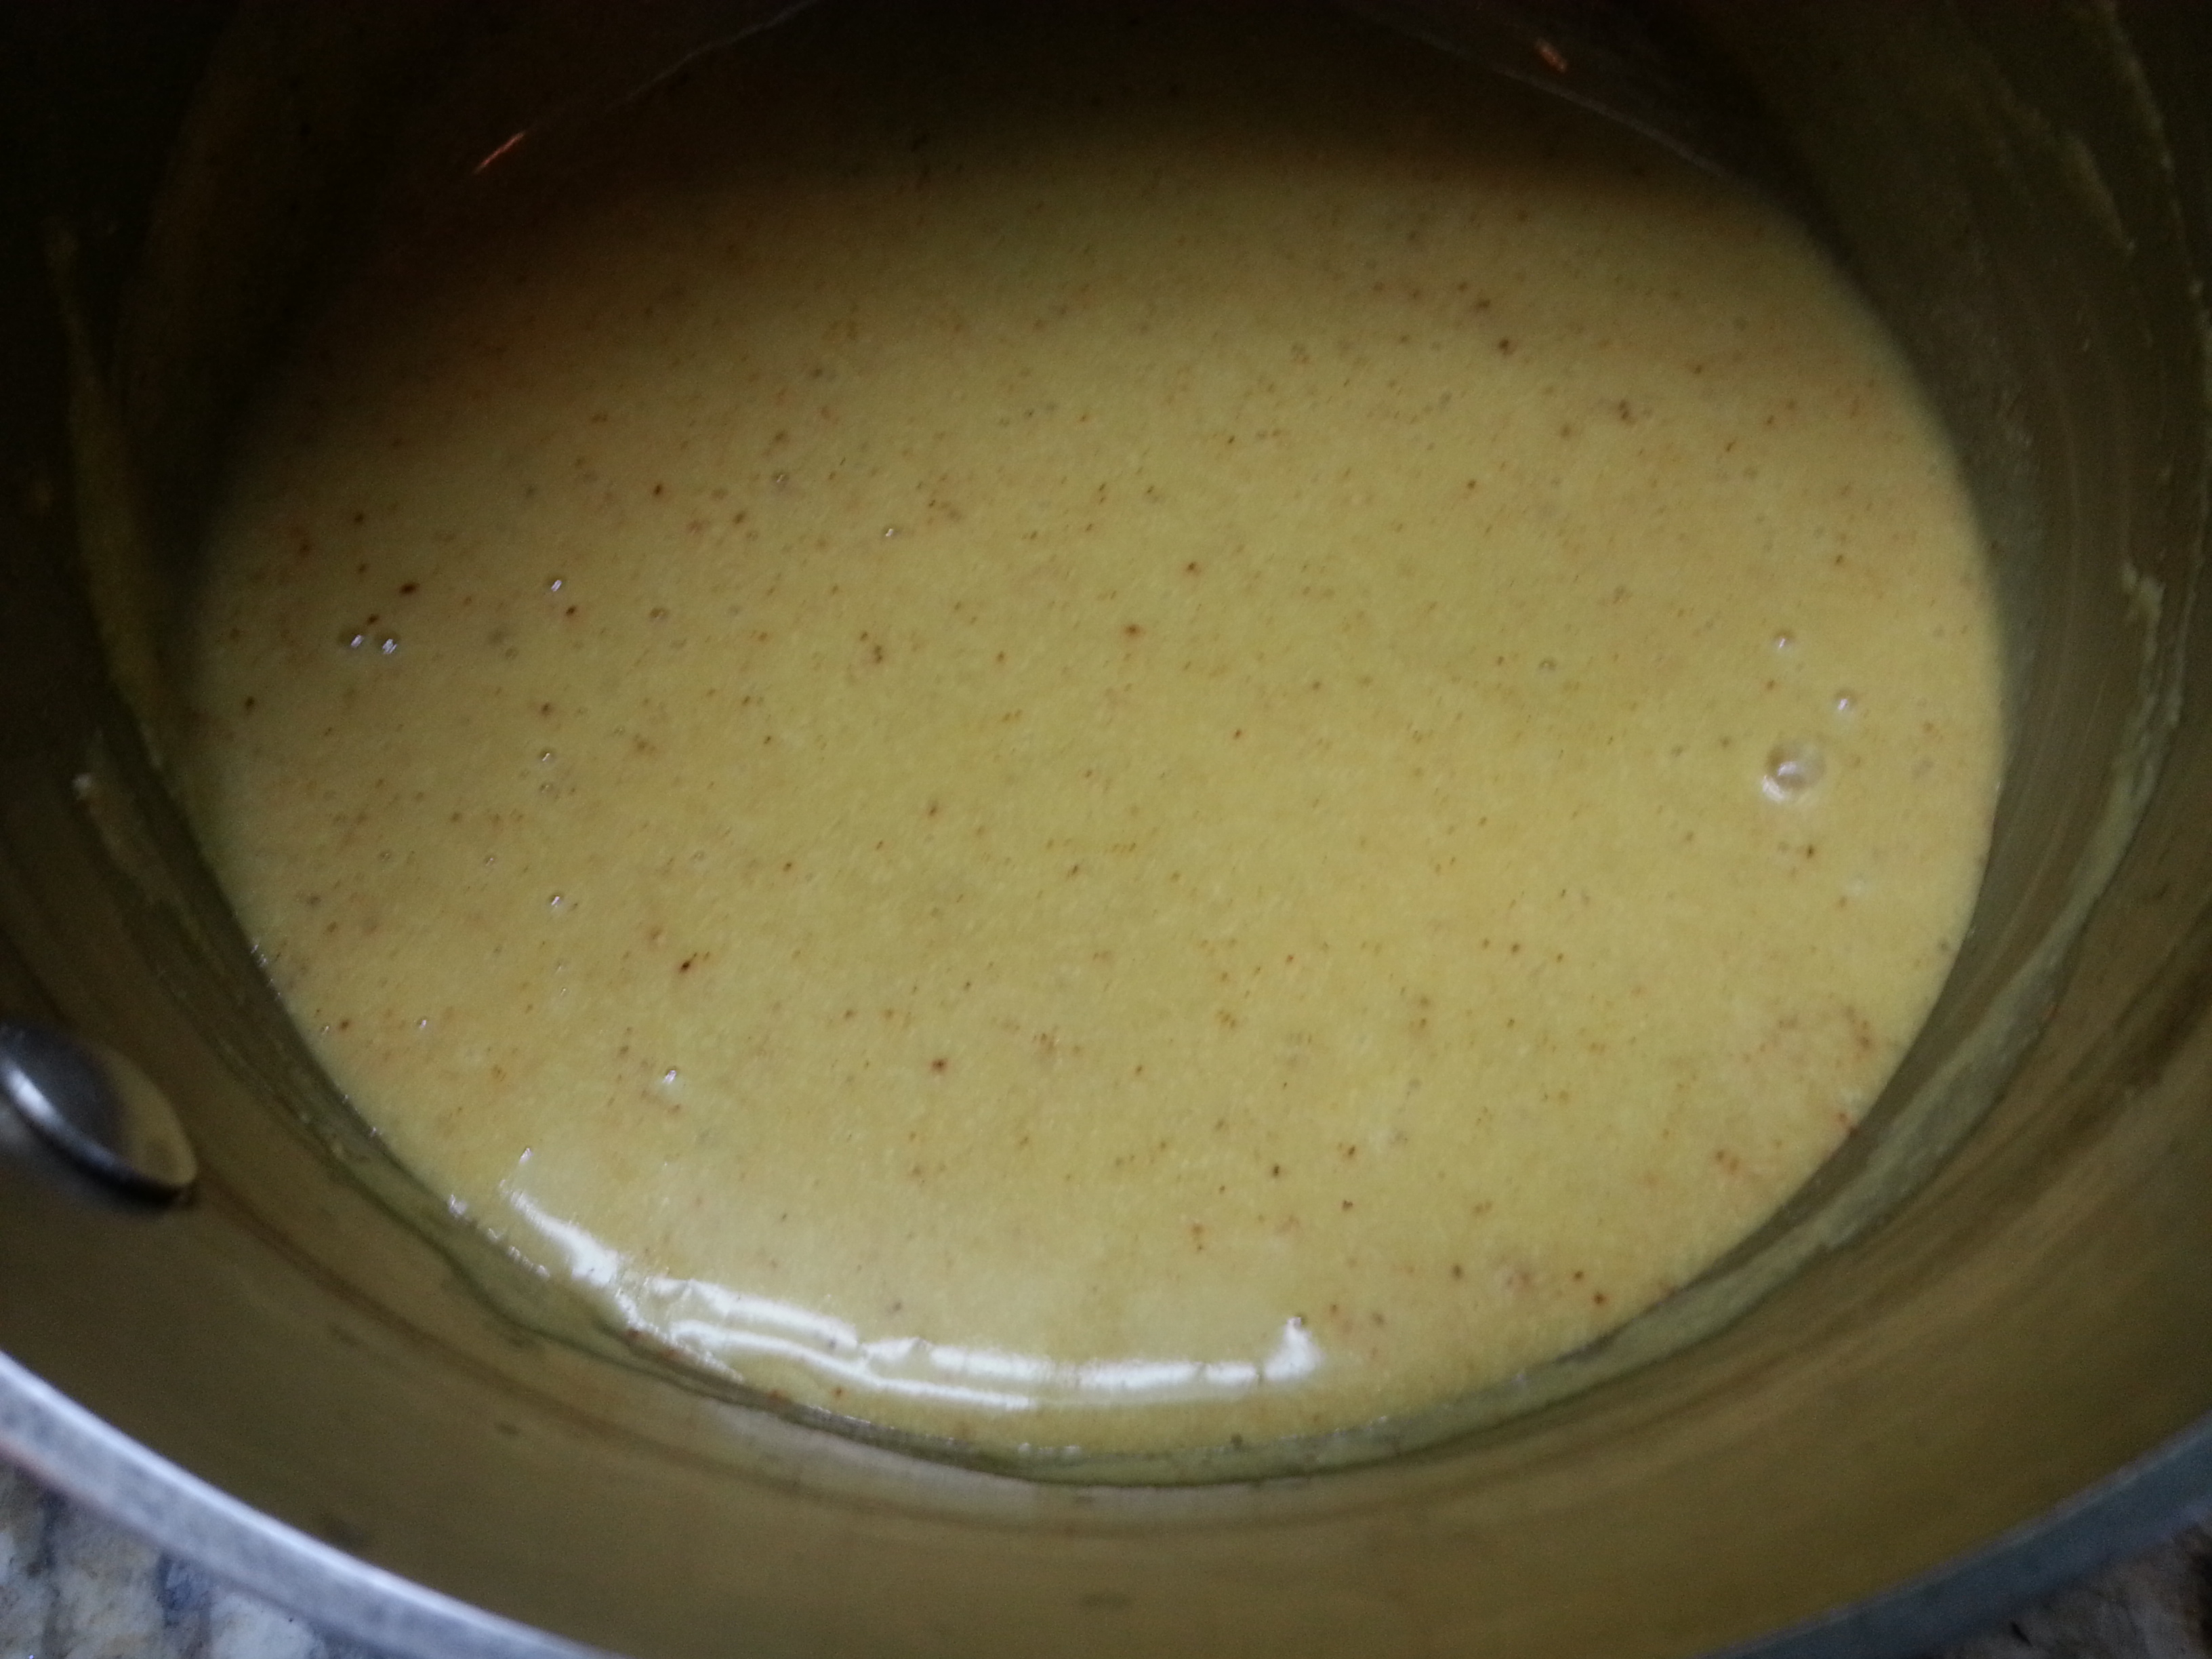
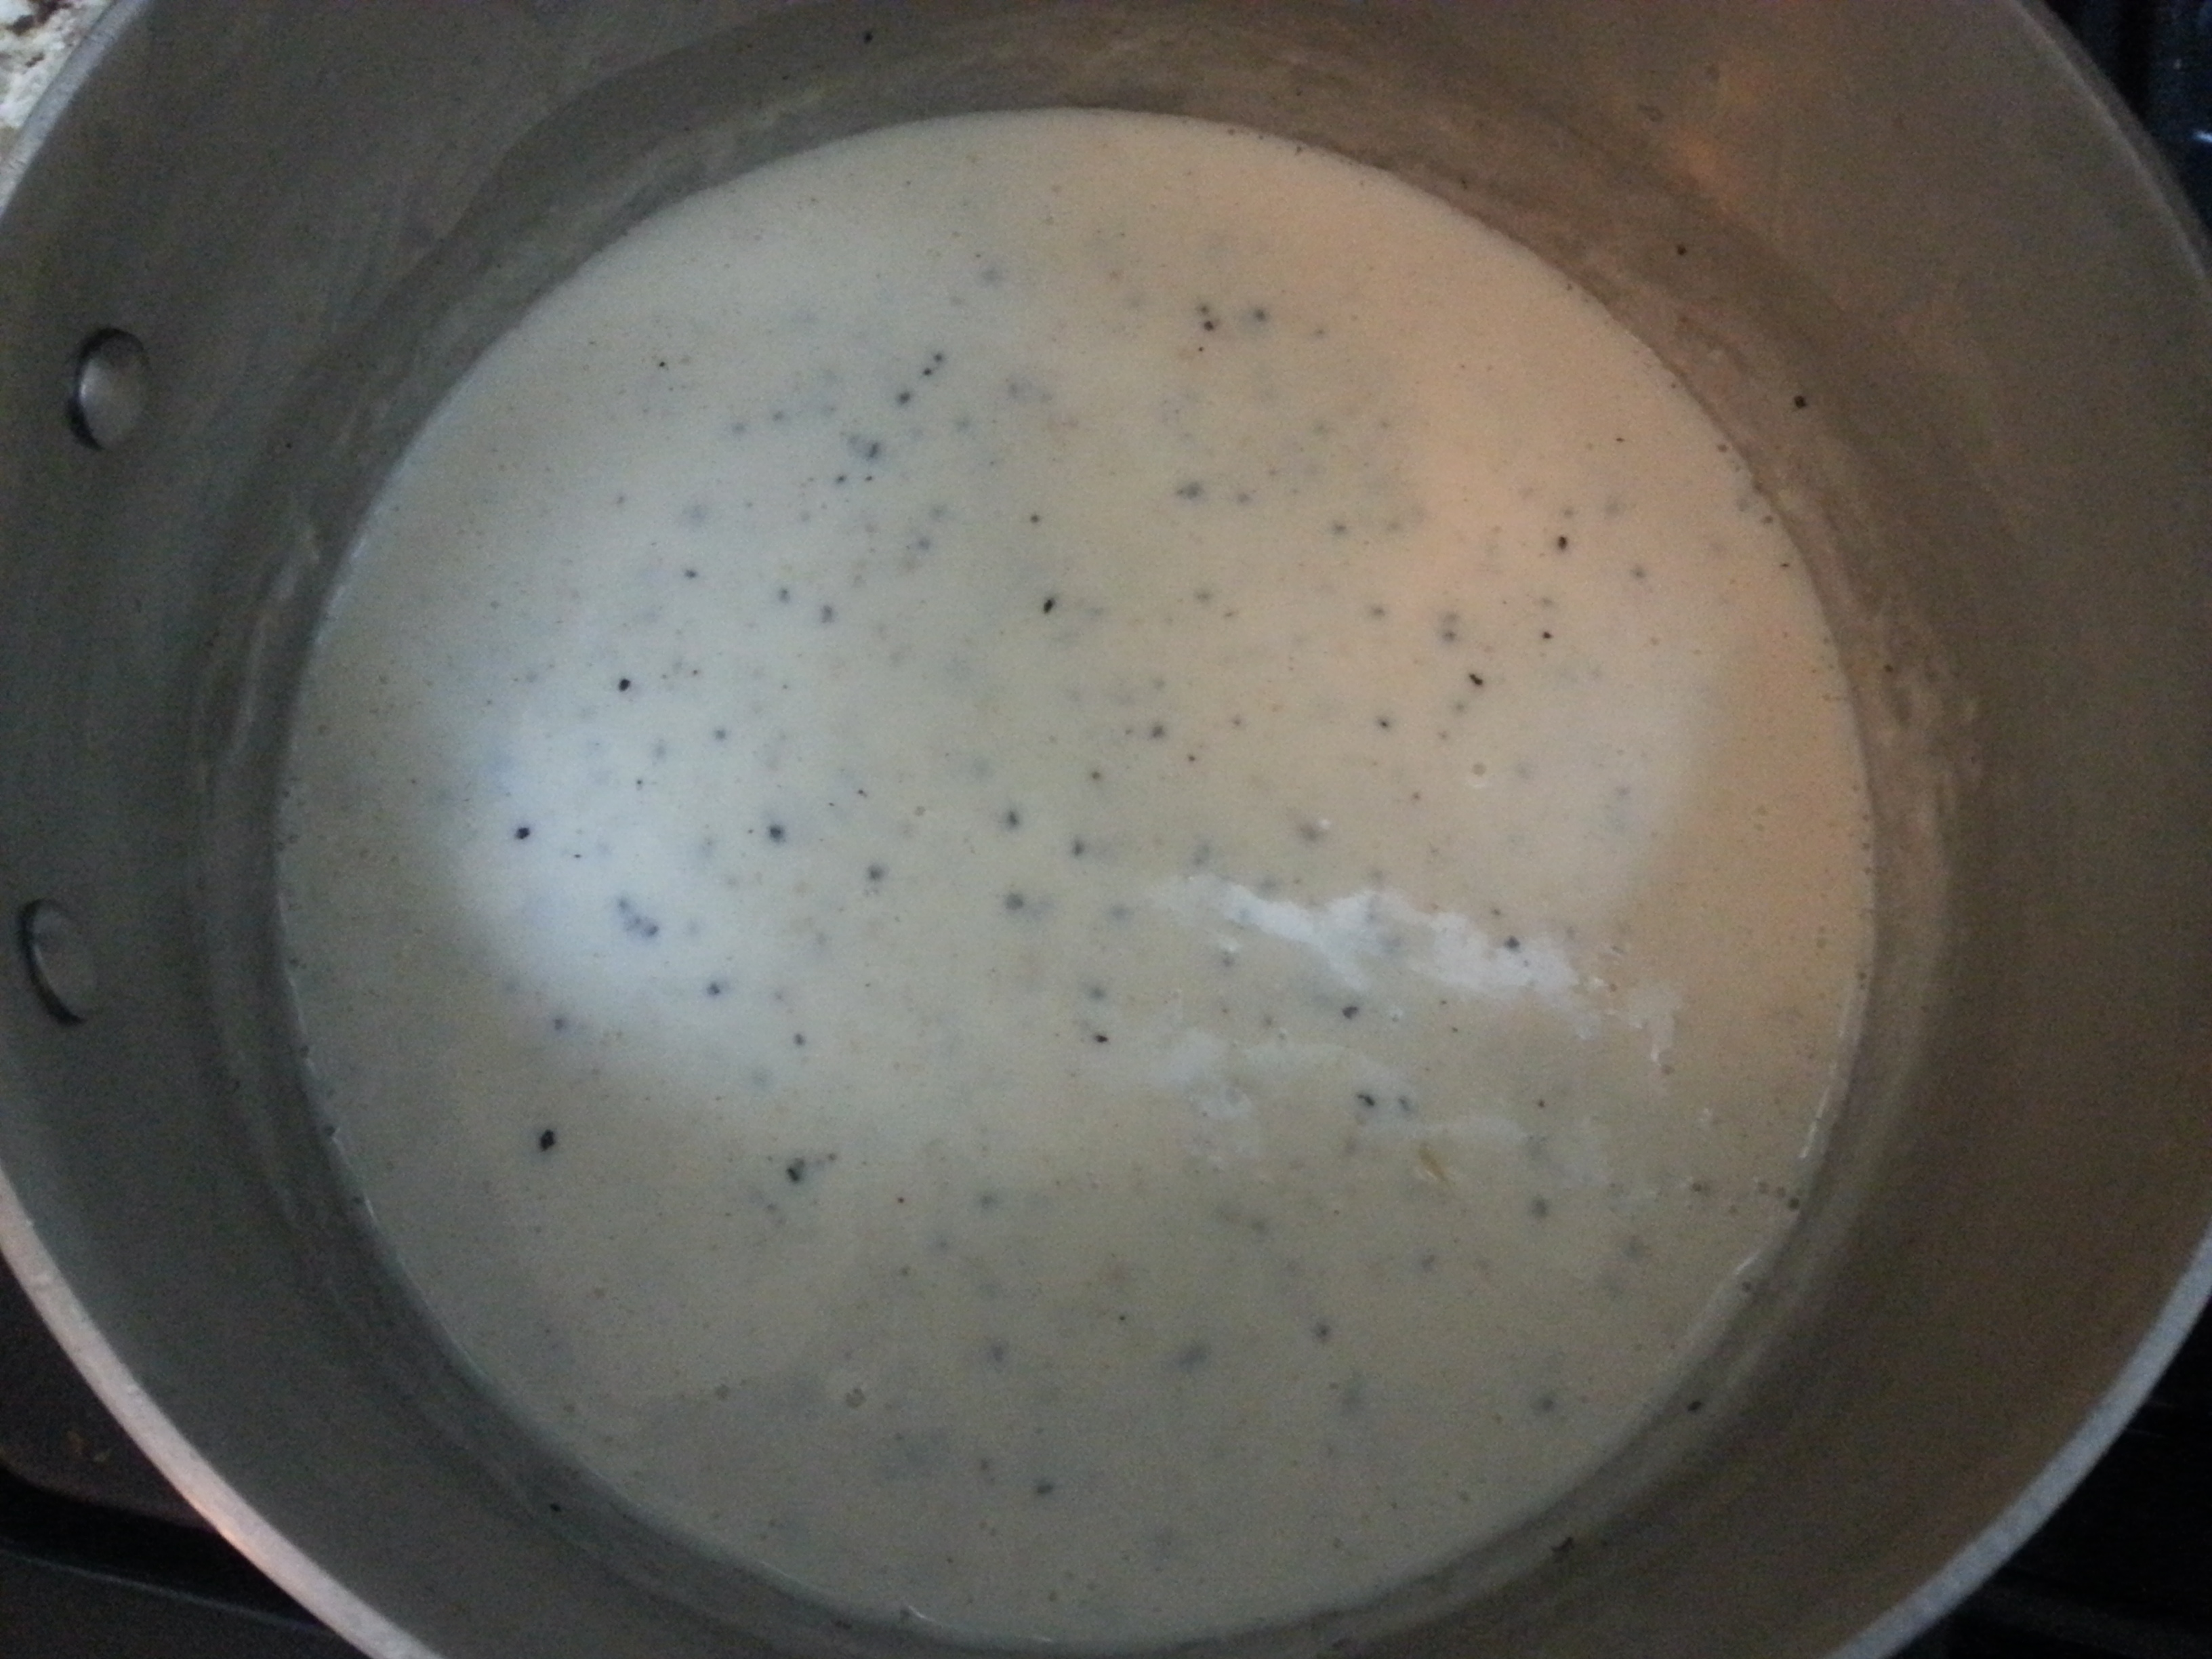
In a bowl, whisk together the soup, milk and mayo. Pour evenly over the cabbage mixture. Sprinkle cheese evenly over the top, then finish with the panko crumbs.

Bake for 30-40 minutes.

cabbage casserole 2cabbage casserolecc 3cc 4cc 5cc 6cc 7
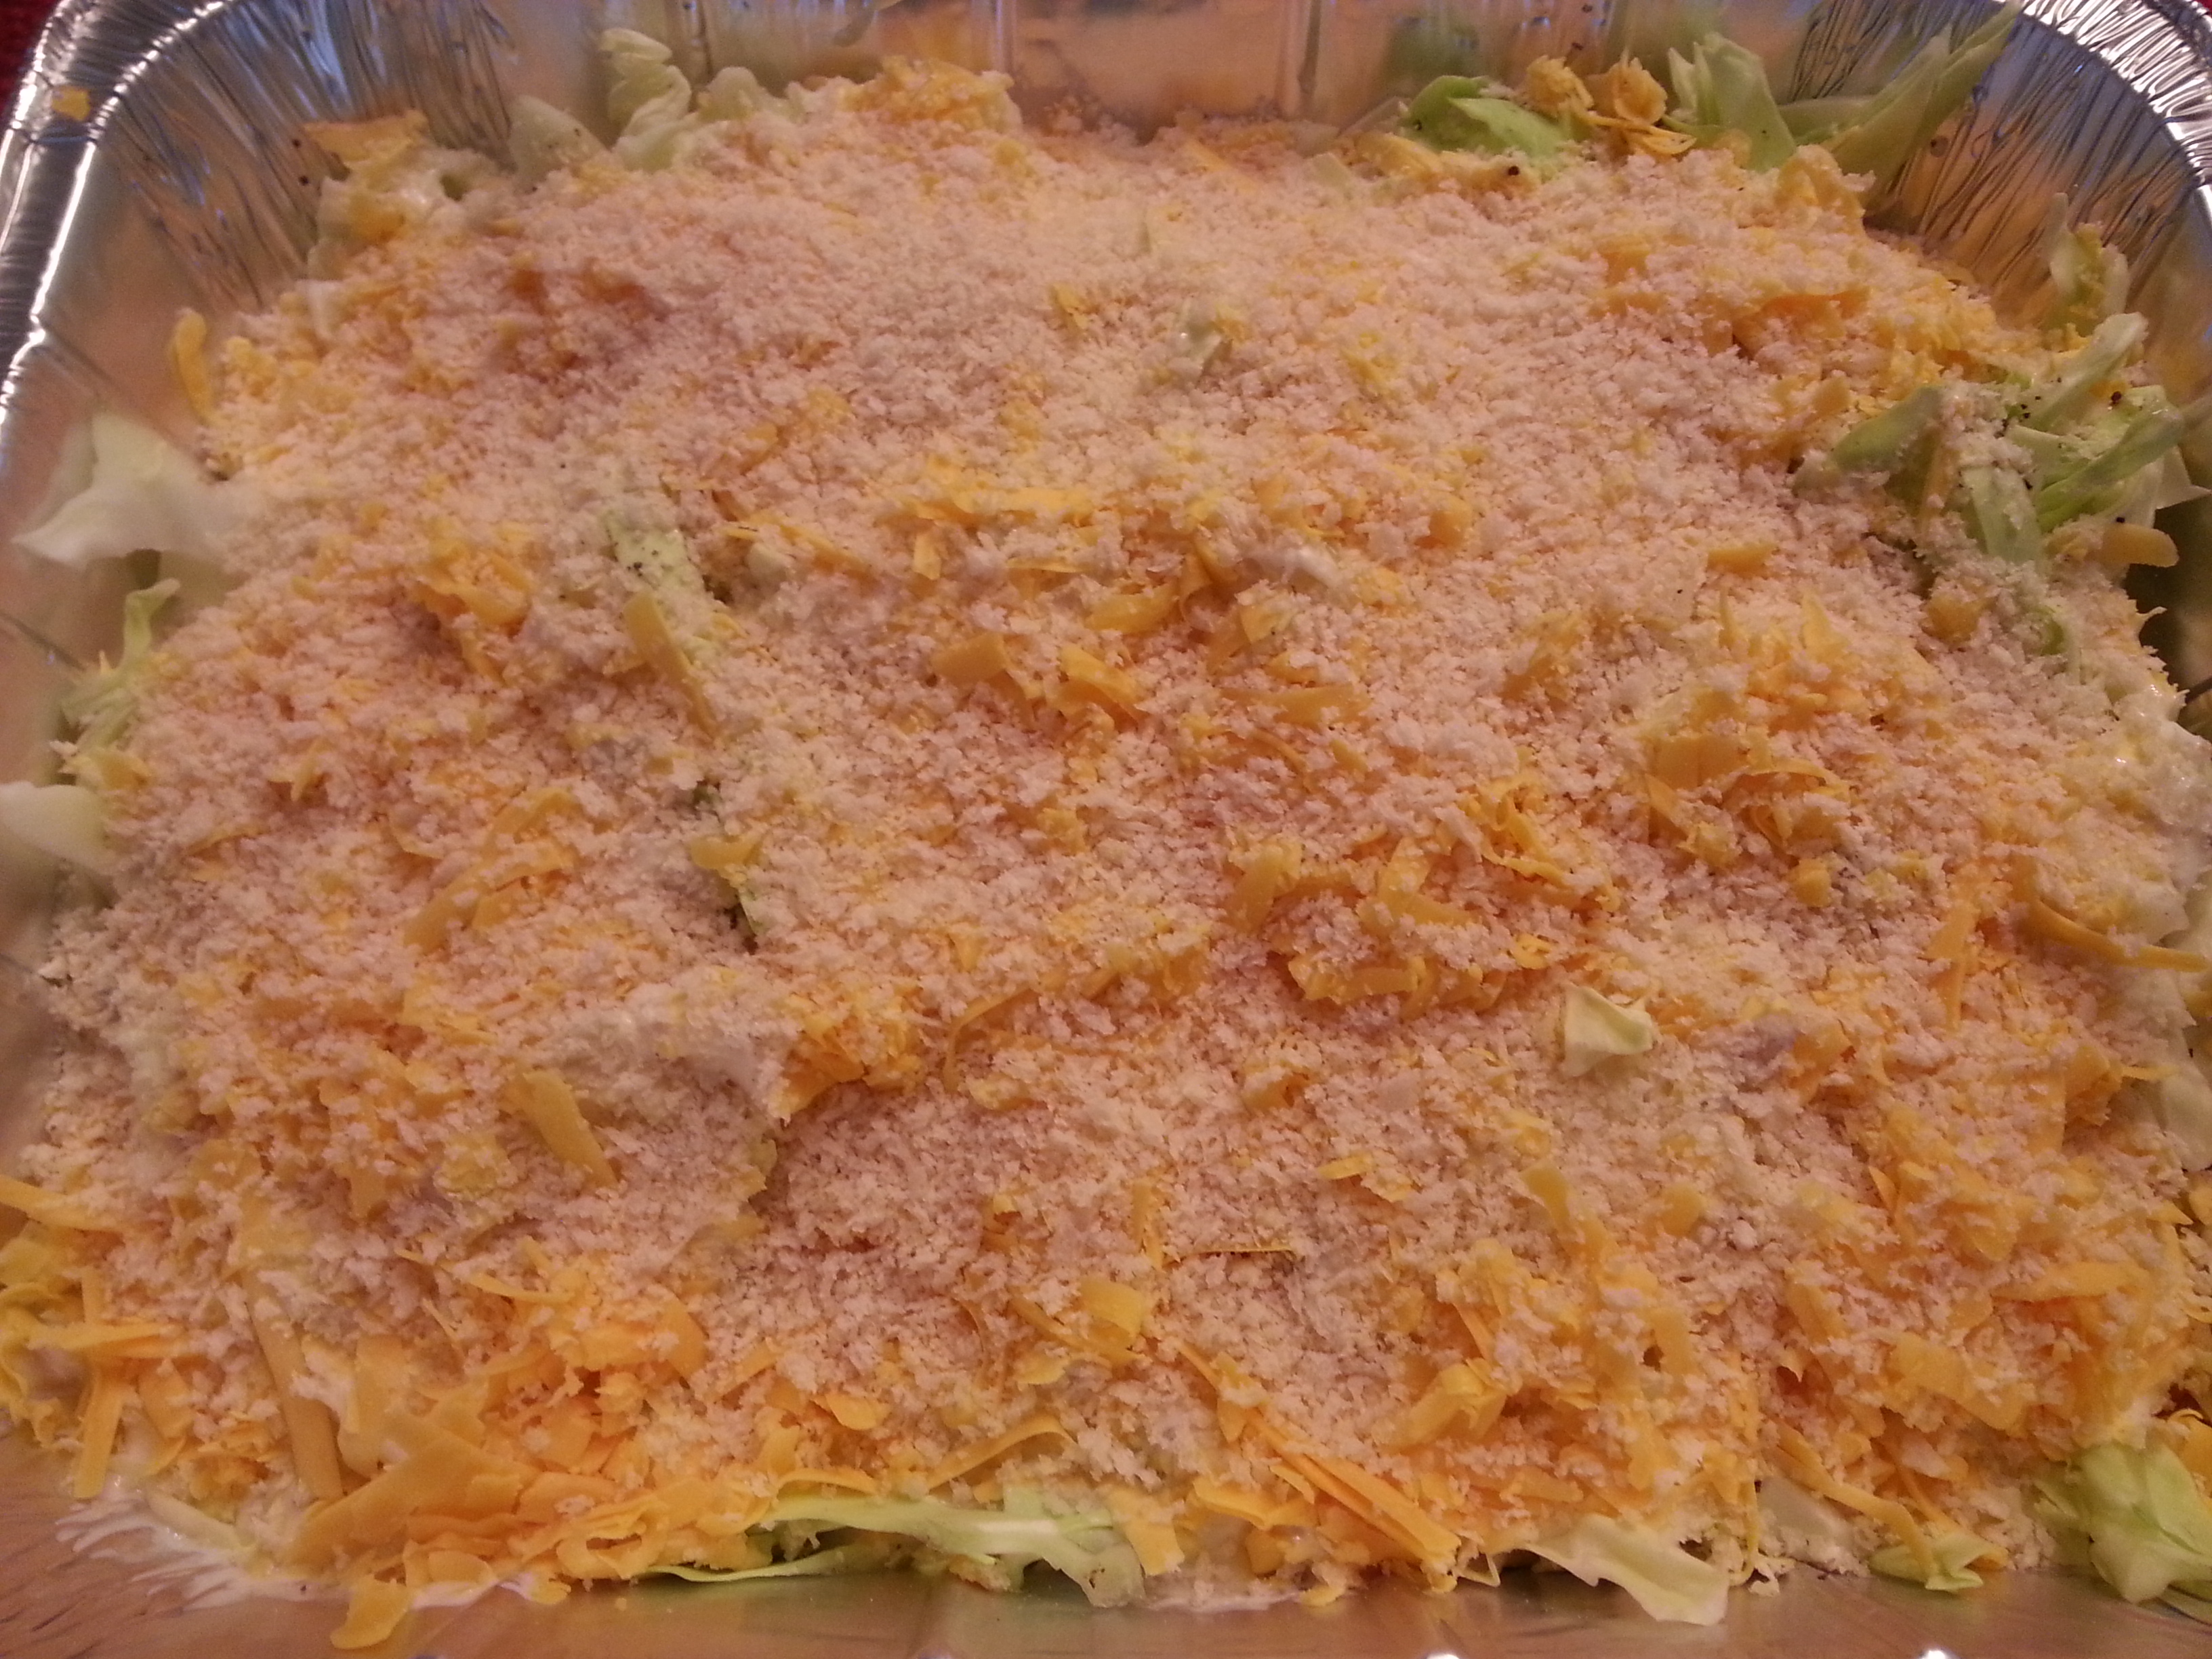
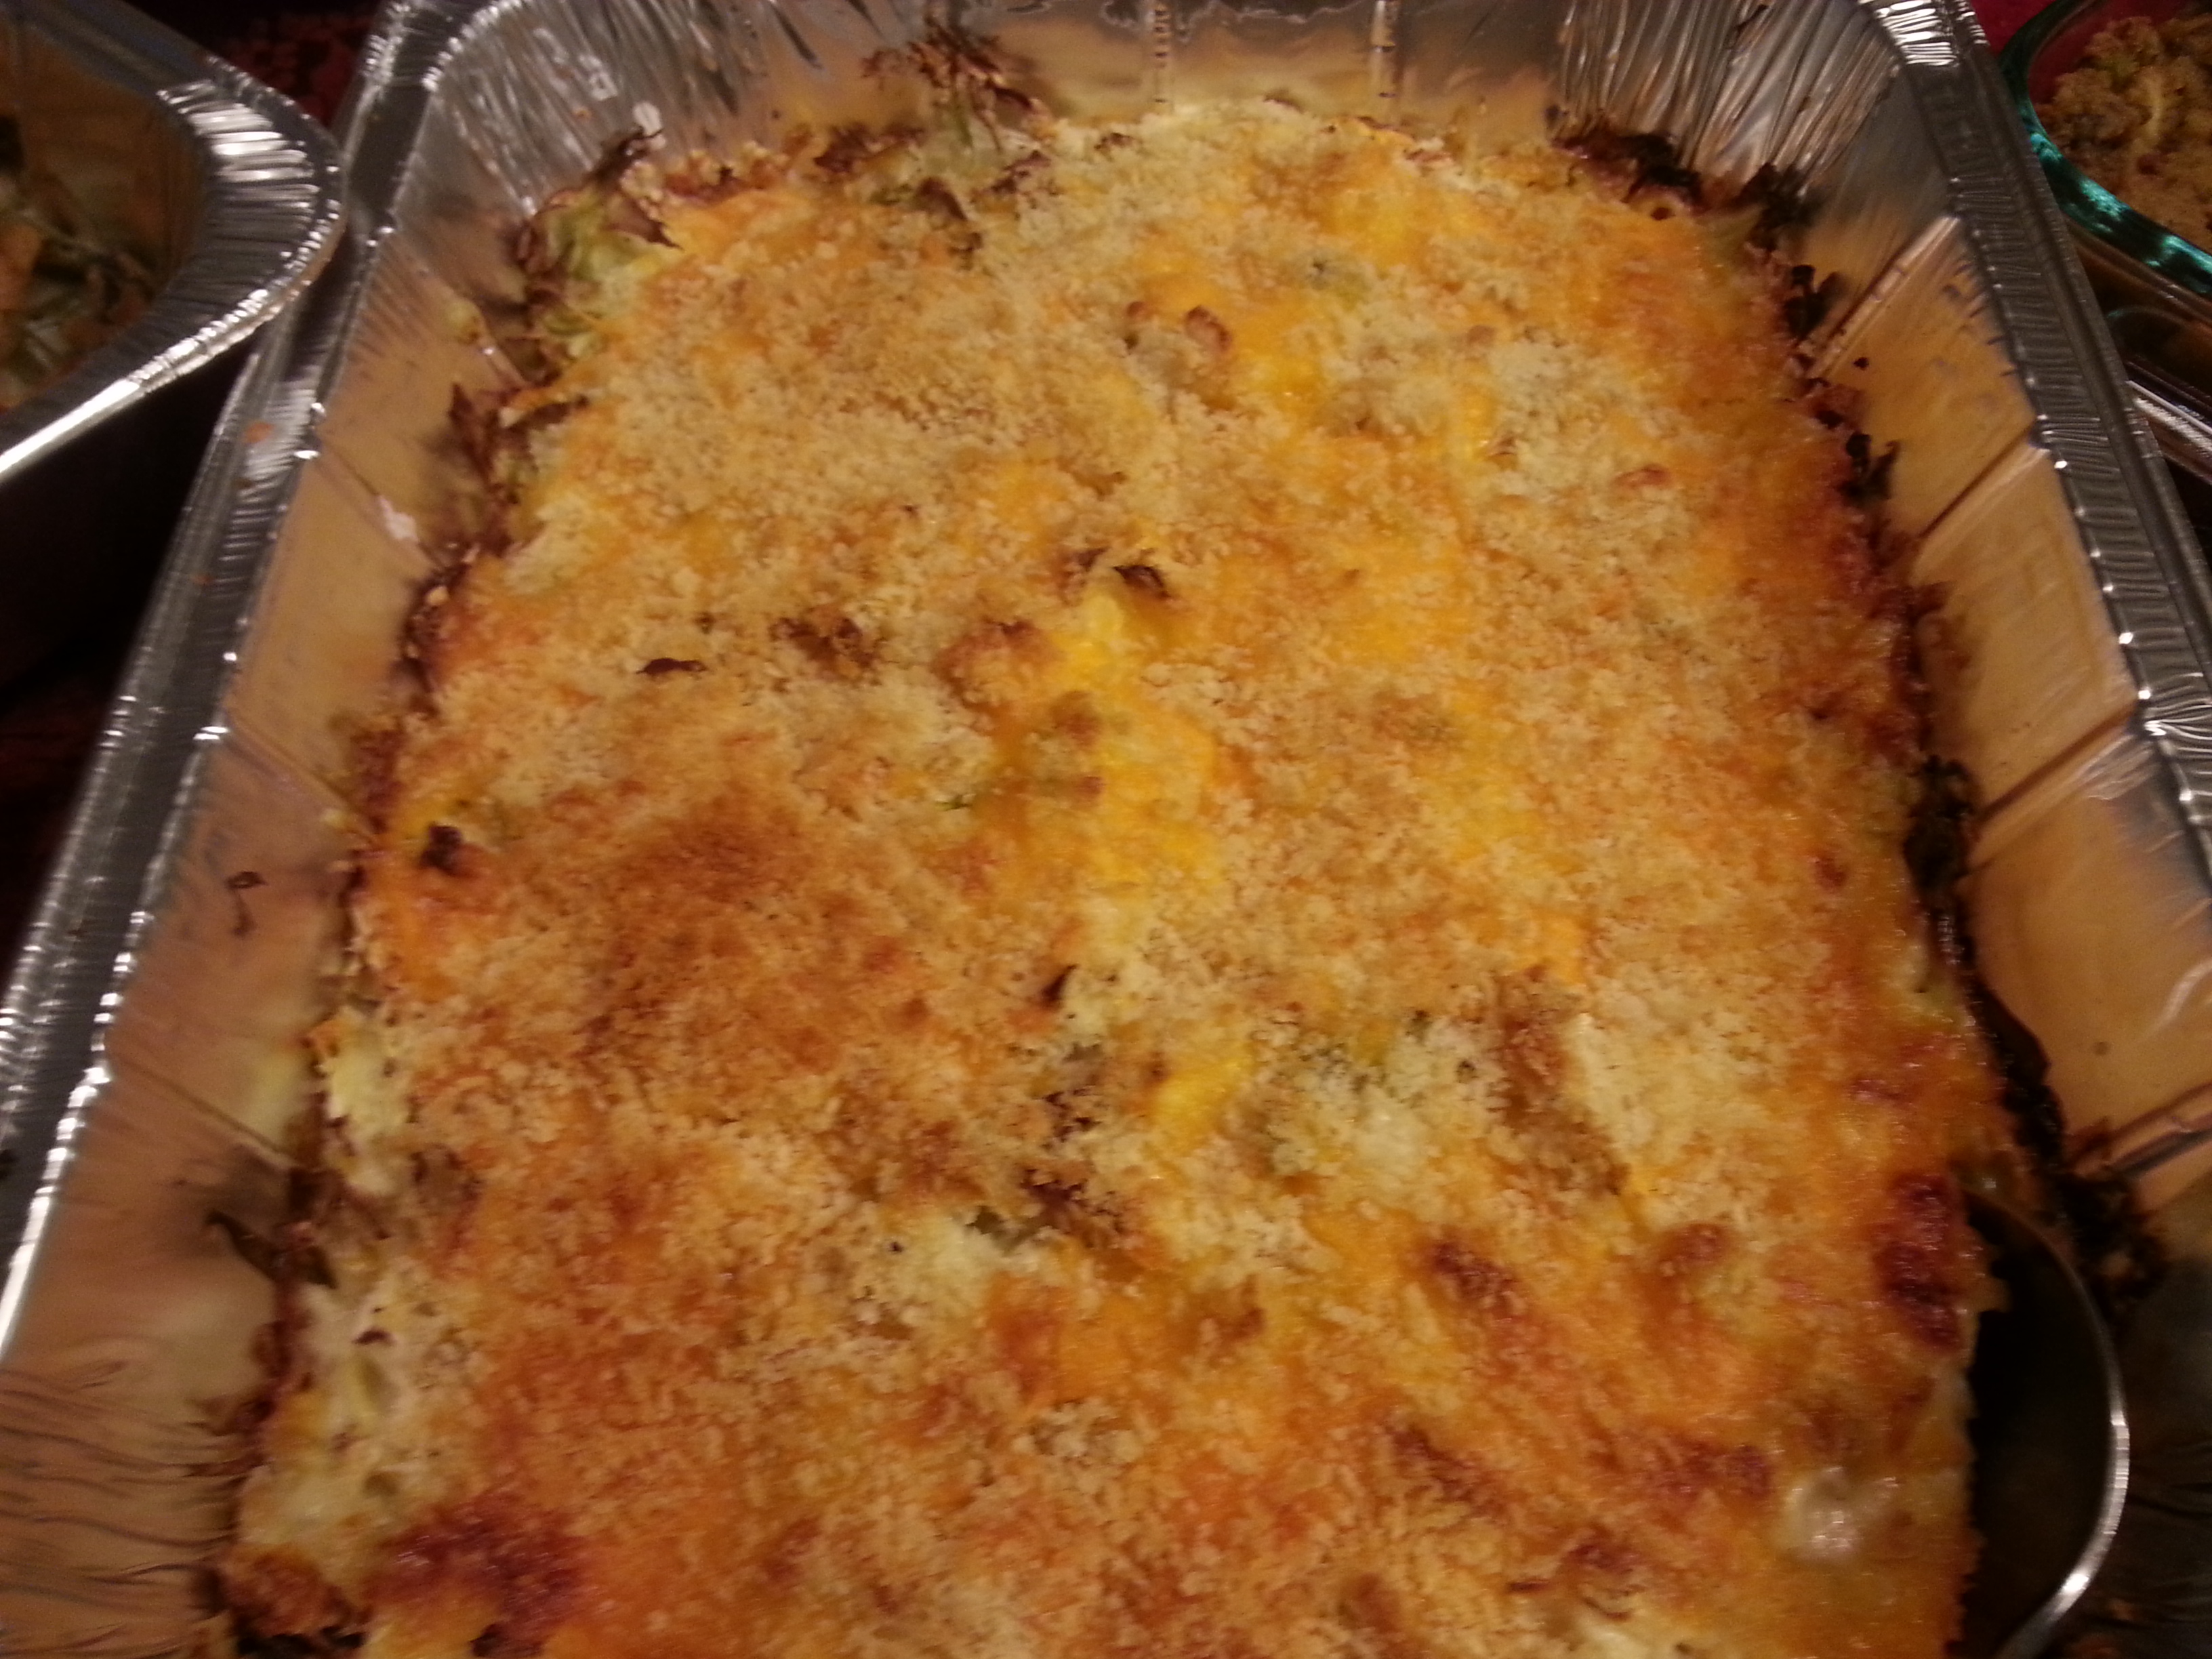
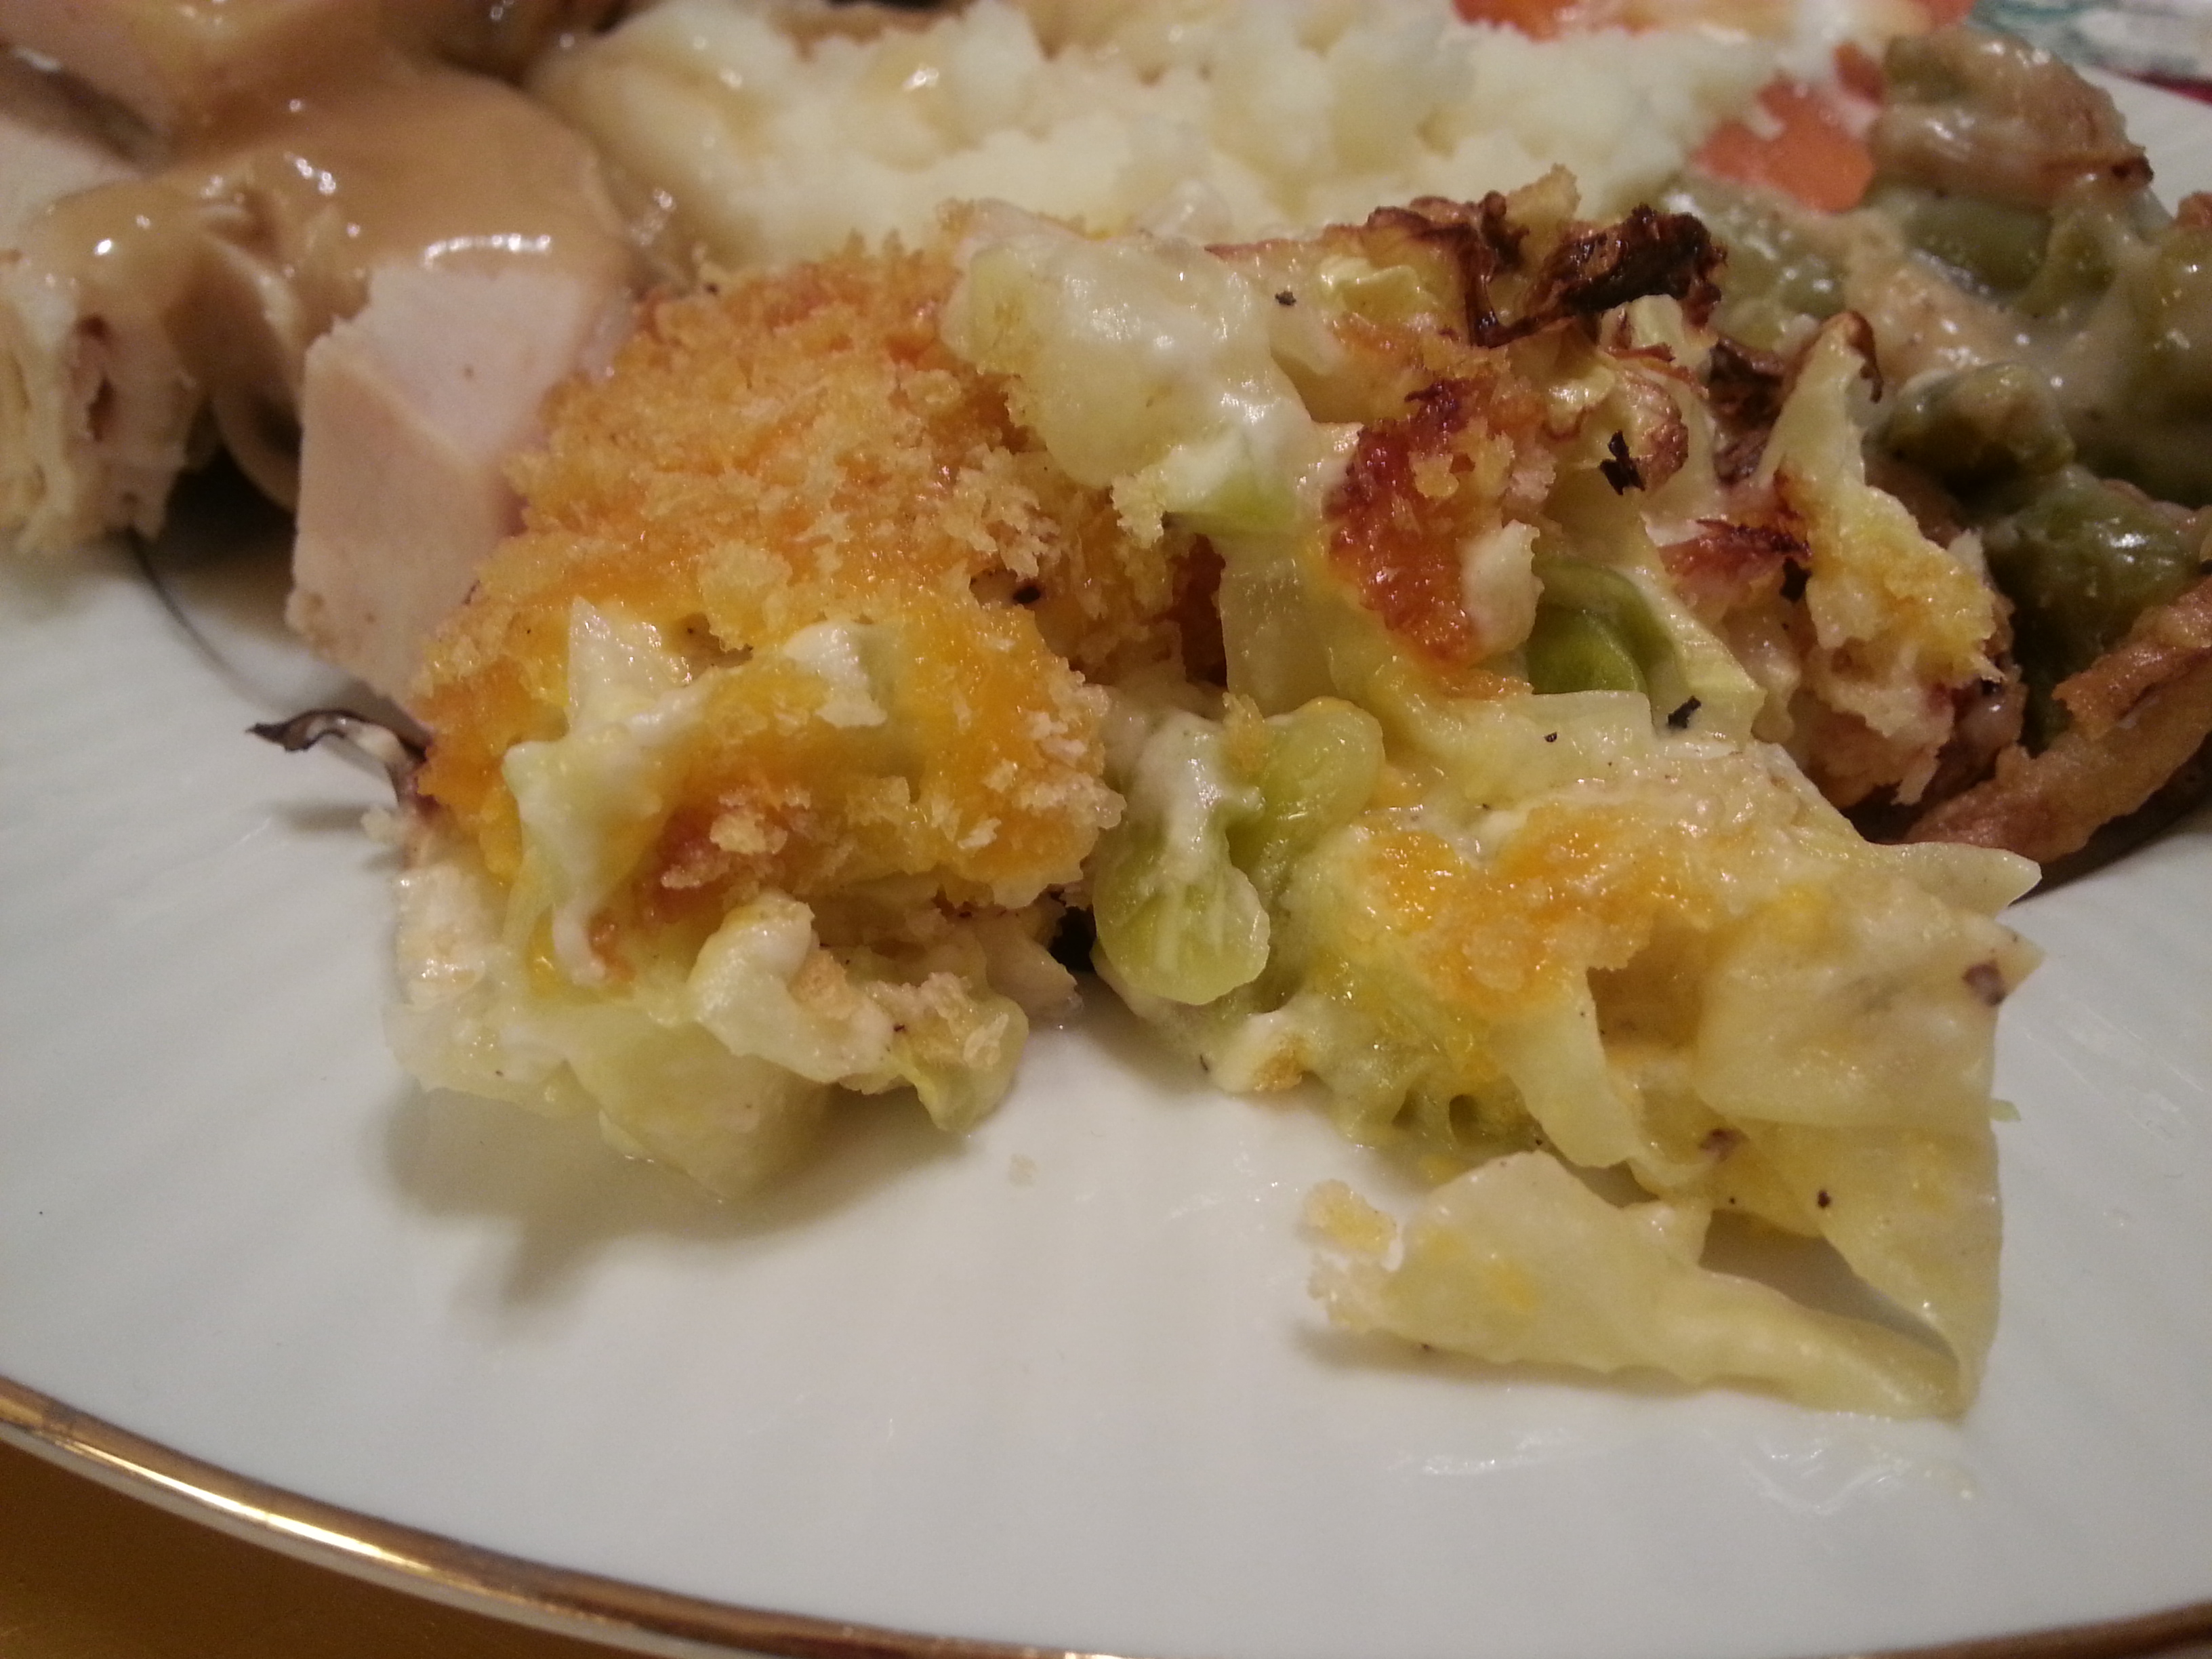
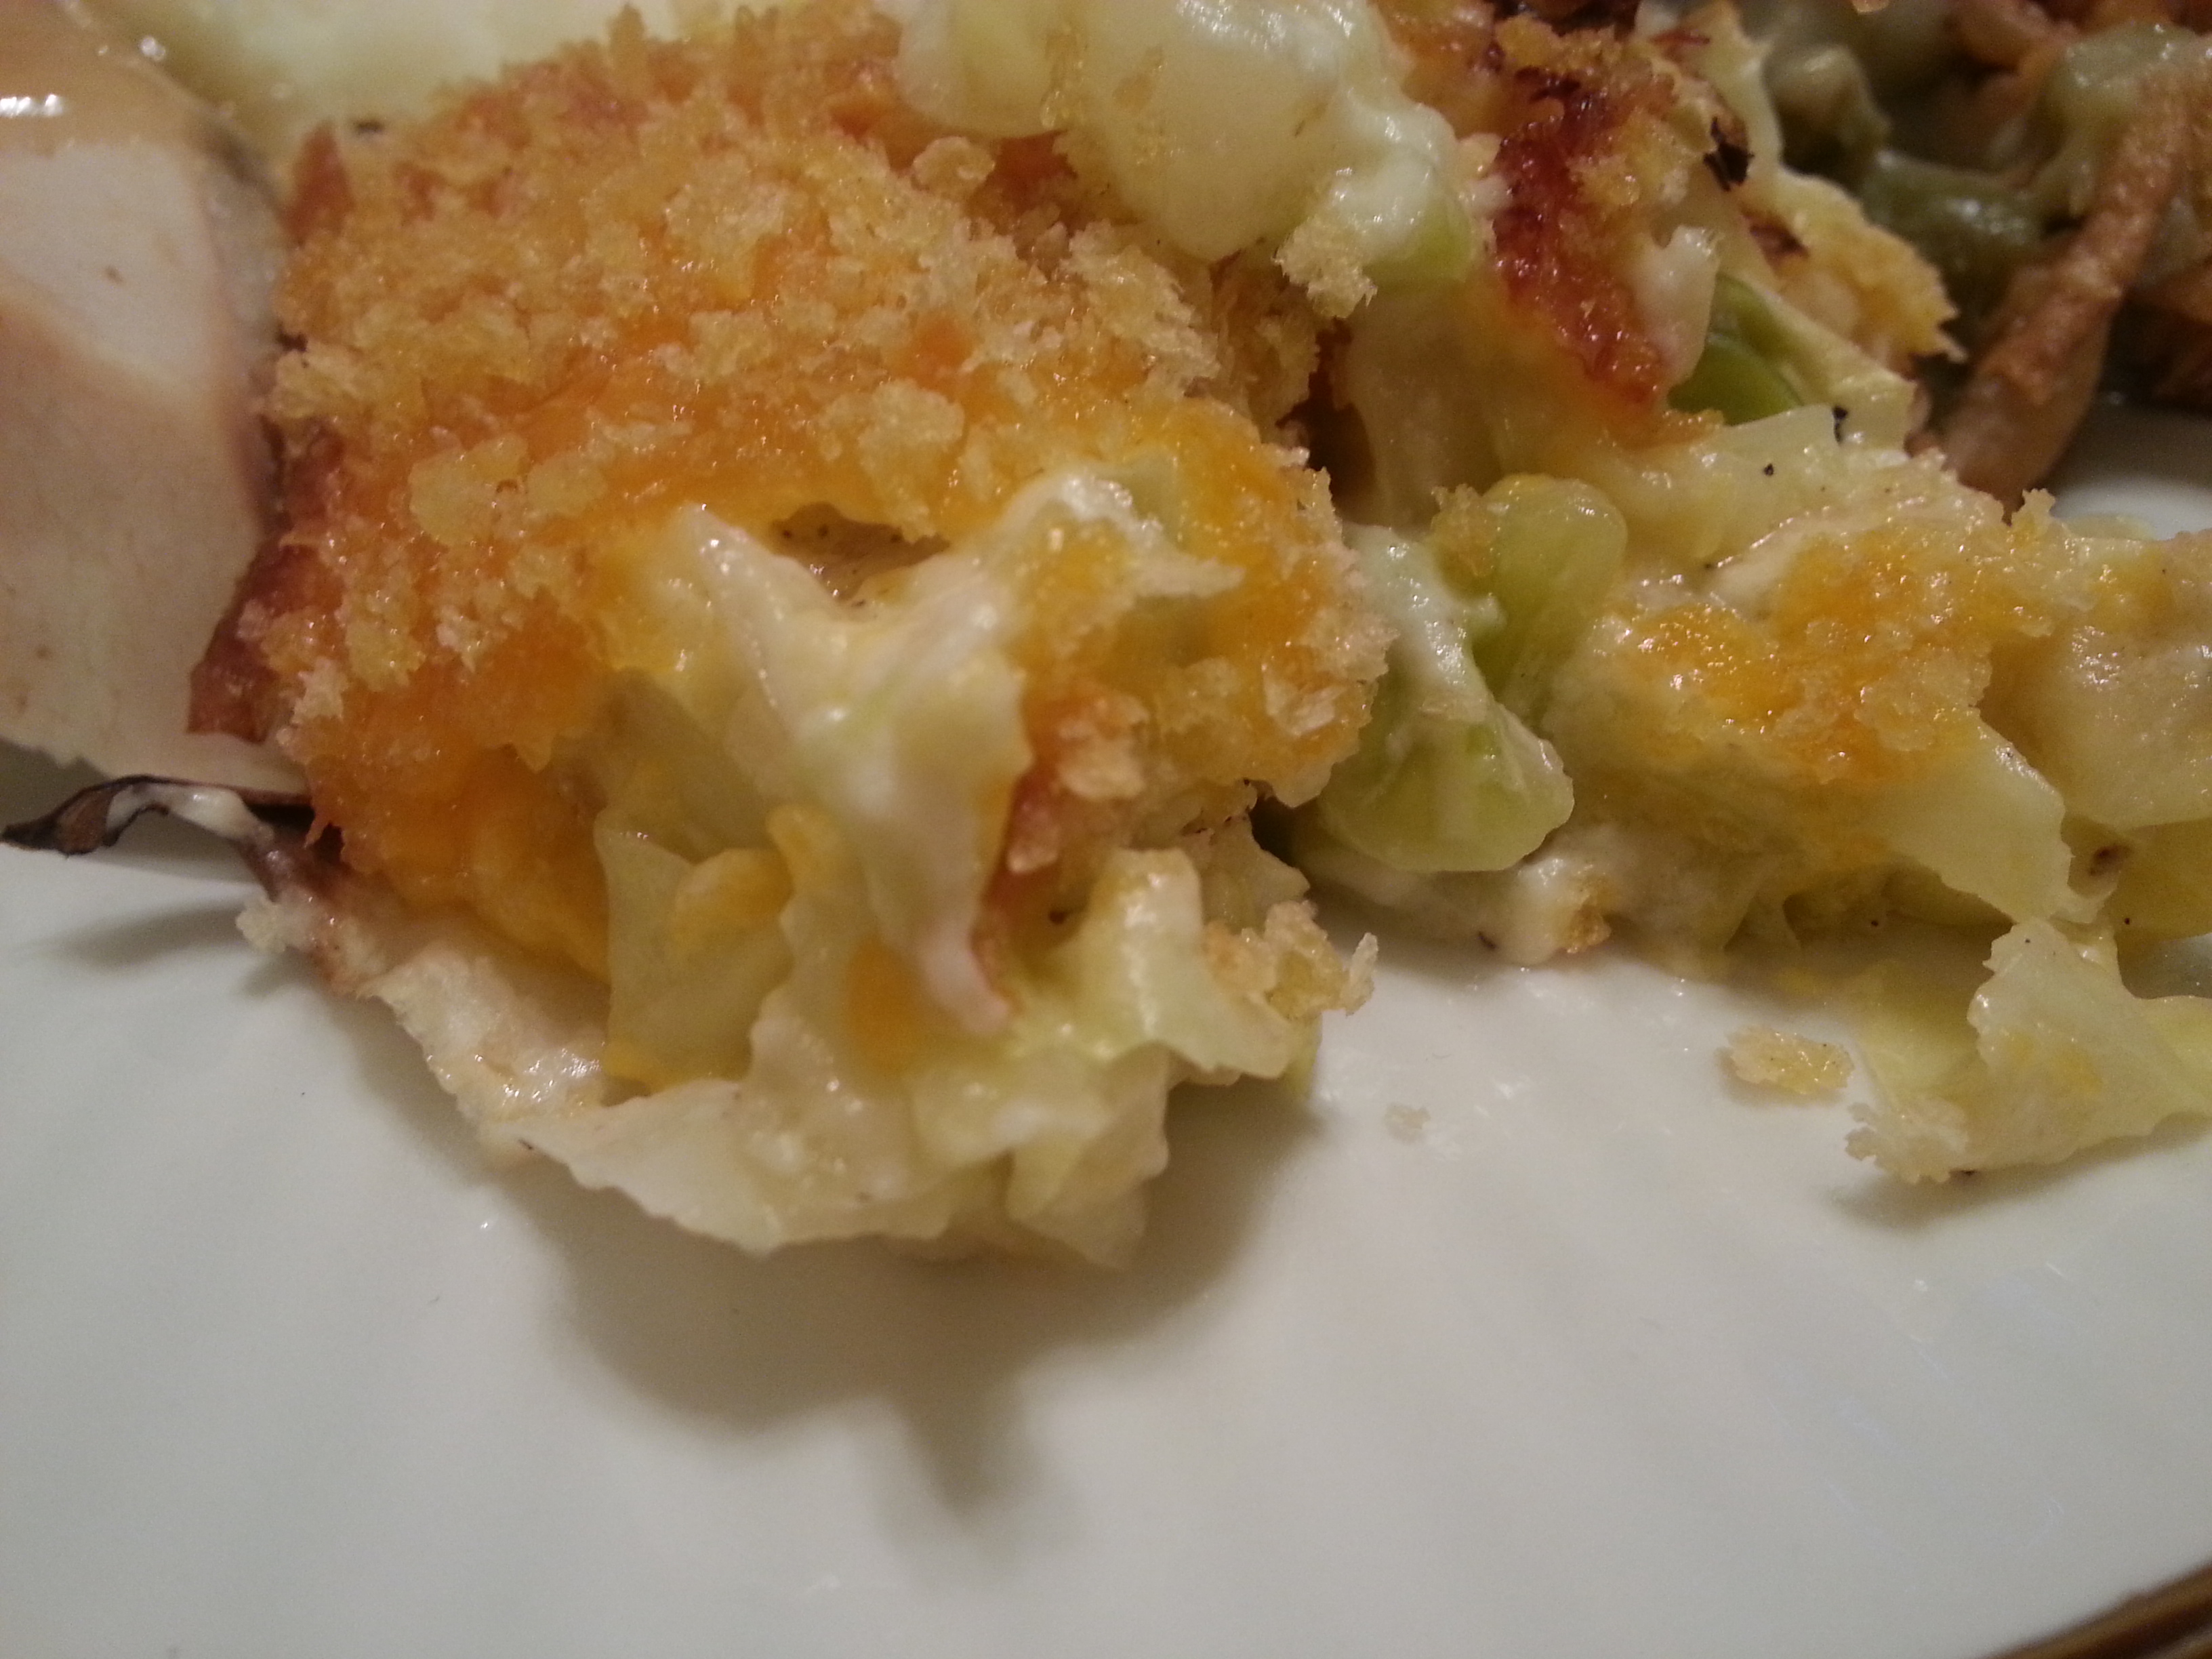
The cheese and panko make for a delicious crust on the top. What a great combo. Yum!

This can also be made ahead of time, even the day before. I just wait and add the panko crumbs right before I pop it into the oven.

My parents have requested this dish when we’ve gone to their house for dinner and guess what? It’s the ONE dish that’s eaten the most. Surprising right? Not really. Because once you make it, you’ll understand the need to devour this!

Advertisement

Spanish Rice

spanish rice 3I haven’t posted in over a week, which isn’t like me! But, as you hopefully read a little while back, our new little venture, Hanky Planky, has been keeping us super busy. And that’s a good thing. But between that, my daily transcription job, a three week cold that turned into bronchitis, my three kids and one of them starting softball (I’m team mom, again!), I’ve been a tad bit occupied. Aside from that though, here’s a good one for you.

You all know my love for Mexican food runs deep. It’s a craving that can never truly be satisfied because I could literally eat Mexican food every day. And with this rice recipe, your international meal will be complete!

My mom has made this recipe for as far back as I can remember. She’s always called it Spanish Rice, but since it’s always served with Mexican food, maybe it’s actually Mexican rice? Whatever it is, it’s so, so good! But, and I haven’t told her this yet (Hi Mom!), I changed her recipe. Just slightly though! And it was out of convenience that turned into a blessing in disguise. That change is the carrots. Our favorite Mexican restaurant serves their rice with carrots in it, and they’ve got some pretty good rice. So since the original recipe called for tomatoes and I didn’t have any, I opted to add in carrots in their place instead. And yep, this is the way I’ll make it from now on. Try it Mom!!!

Spanish Rice

  • 1 tbsp. bacon drippings or canola/vegetable oil
  • 1 c. white rice
  • 1 garlic clove, minced
  • 1/2 tsp. salt
  • 1 1/2 c. water
  • 1/4 c. tomato sauce
  • 1 green onion, sliced
  • 1/4 c. carrots, chopped
  • 1/4 tsp. each cumin & ground black pepper

In a small to medium pot, heat on medium low. Add the bacon drippings or oil. Once melted, add in the white rice. Stir to coat the rice with the oil. Continue to stir the rice occasionally to keep it from burning. Make sure to keep heat on low, and do this for about 5 minutes.

Add in the garlic and salt. Stir together. Then add in the rest of the ingredients. Stir and turn heat up to medium/medium-high. Once it comes to a boil, put a lid on it and reduce heat to low (simmer). Cook for 22 minutes. Stir and serve.

spanish ricespanish rice 2Now that you have this recipe and my refried bean one too, what’s stopping you from making an authentic Mexican meal at home? Nothing, so get in that kitchen!

“Fried” Zucchini Coins

fried zucc One of my favorite foods is fried zucchini! For many years, I was on the hunt for the perfect burger and fried zucchini. Because of course, they’re an awesome combo. I’ve found many I like, but let’s just say my quest still continues.

So of course I’ve resorted to making my own at home. Minus the fry. But not minus the crunch! If these weren’t crisp, they wouldn’t be worth making in my opinion. “Fried” zucchini has to be crispy and have that special crunch. And although this recipe is a little time consuming (but hey, anything that has to be dredged and breaded is!) it’s totally worth the time it takes. My family inhales this every single time I make it. There’s the proof that it’s worth the time. And we’ve taken a vote in my house and it’s unanimous that we all prefer the “coin” shape as opposed to “sticks”. Why is that? Just because…

“Fried” Zucchini Coins

  • 2 large zucchini (or 3 small) cut into 1/4″ coins
  • 3/4 c. flour
  • 2 eggs plus 2 tbsp. milk, whisked together
  • 3/4 c. Italian seasoned bread crumbs
  • A heaping 1/2 c. panko crumbs
  • Pinch of garlic powder and black pepper
  • Grated parmesan cheese, optional

Preheat oven to 400 degrees. Spray a cooking sheet generously with cooking spray. I used a tray that fit into the cooking sheet but after trying it once, I prefer to just lay the zucchini directly onto the sheet. In three separate bowls, add flour to one. Then add the eggs & milk to another, whisking together. And in the last bowl, add both types of bread crumbs, along with the seasonings. Stir to combine. Then set up your dredging bowls as shown in the picture.

fried zucc 5Take one piece of zucchini, roll it in the flour and then gently shake the excess off. Add the zucchini to the egg wash, making sure to coat the entire piece. Then take out of the wash and add to the bread crumbs, pressing to adhere the crumbs to the zucchini. Lay on the sheet and then continue this process with each piece of zucchini.

When completed breading, spray generously with cooking spray and put in the oven for 10 minutes. Flip each zucchini coin over and then continue cooking for another 7-10 minutes. This really depends if your oven cooks fast or slow. When zucchini is done, place on a plate and sprinkle with grated Parmesan cheese if you’d like. Serve immediately.

fried zucc 4fried zucc 3fried zucc 2Since this is baked and not fried, you will not get the traditional brown fried look. This zucchini slightly browns but still has that amazing crunch. Serve it with ranch dressing to dip it in. There is literally no other way to eat “fried” zucchini. I think it’s illegal to eat it without ranch.

Refried Beans

refried beansSomething that used to intimidate me? Dried beans. Yes, dried beans. As silly as it sounds! I’ve always been a canned bean kind of girl and it wasn’t until a couple of years ago that I decided to give dried beans a go.

I knew they were time consuming (soaking them and cook time). But what I didn’t was that they are actually incredibly easy to make. And so much better tasting than their canned counterparts. And even though you’re supposed to soak them, it’s not a requirement.

Truth be told, I’ve had quite the trials with my refried beans. There have been many a time where I’ve added way too much salt and they were basically inedible. Or I didn’t let them cook long enough, and they really weren’t as tender as they needed to be. But lo and behold, here’s a recipe that works.

These “refried” beans taste pretty authentic. I use quotes because they are not traditional (no lard involved) however, if you can get that authentic taste at home, I consider it a win. I’ll say it before and I’ll say it again, getting authentic international flavor at home is hard to accomplish. I think that’s why so many people go out to eat, because you can’t get that same flavor at home. But here you go. Make this and you’ll feel like you’re at a Mexican restaurant. That’s in your very own kitchen.

Refried Beans

  • 2-2 1/2 cups dried pinto beans
  • 1 smoked ham hock
  • 1/2 white or yellow onion, chopped
  • 3 garlic cloves, minced
  • 1 tsp. salt
  • 1 tsp. ground cumin
  • 1/4 tsp. ground pepper
  • 1 tomato, chopped
  • 1 tbsp. bacon grease

Rinse the beans. Add to a large pot (I use my Dutch oven) and fill with water to just about 1″ above the beans. Let soak. If you don’t have the time or you just simply don’t remember this, that’s okay. I think the longest I’ve ever let my beans soak is about 4 hours.

Add the ham hock to the pot. Heat the pot on high until it comes to a boil. Cover with a lid, and reduce to a simmer for 3 hours if beans were soaked, about 4 hours if beans were not soaked. Make sure to check on these a couple times throughout the cooking time to make sure the water hasn’t evaporated. If you feel the water level is too low, you can add a little more water to the pot.

Remove lid and stir in the rest of the ingredients, except the bacon grease. Cover with a lid and let simmer for an additional hour.

After the hour is up, mash lightly (I use a potato masher) until your desired consistency and stir in the bacon grease until it melts. You can leave the ham hock in and mash around it or remove and discard. My dad loves them so when he’s over, the ham hock is his. But I just use it to flavor the beans. Also, if you feel the beans are too runny, you can let them simmer a little bit longer with the lid off until they thicken further.

This recipe makes a large amount. Enough so that I can usually freeze the other half which in my opinion, is so worth it so we can have beans at the ready for the next time we want Mexican. refried beans 6refried beans 5refried beans 4refried beans 3refried beans 2

Corn Salsa

corn salsa 4I don’t know about you, but texture means something to me when I’m eating. As in, I don’t want to eat a bunch of soft, mushy food. In my opinion, it’s always nice to have that little crunch or something to offset the food and add texture!

So this recipe (if you can call it that) will add just that the next time you have tacos. Especially if you’re going more traditional and having soft tacos. I love the crunch of fried shells but lately, I’ve really been digging warm, soft tortillas when it’s taco time. When I pulled out this corn salsa, my husband kind of turned his nose up at it. He’s not one for trying something different and veering away from what he’s used to but he did give it a try, and he agreed. The crunch was much appreciated and the flavor of the corn salsa added that special something. We enjoyed this on green chili pulled pork tacos but it would be great on beef, chicken or even for veggie tacos.

Corn Salsa

  • 1, 15.25 ounce can of corn, drained
  • 1 large green onion, sliced
  • 1/2 jalapeno, finely chopped
  • Pinch each of salt and ground cumin
  • A squeeze of lemon or lime juice

corn salsa 3Add all ingredients to a bowl and mix well. Refrigerate until ready to serve on your tacos of choice. And it’s also yummy in burritos!

corn salsa 2corn salsa

Not-Cho “Cheese” Sauce (Vegan)

cheese sauce 2I am not a vegan. Not even close to being a vegetarian. I’m a die hard carnivore! However, I bought some nutritional yeast because it was called for in another recipe and since the container is so big, I knew I had to find other ways to use it. A little dash of this, a little dash of that, and this vegan “cheese” sauce was the result.

When I had my oldest daughter give it a taste, she told me she thought it was queso. Score! I have not divulged to any of my kids that this sauce actually has no cheese in it whatsoever. And my very creative husband came up with the name of it, since it in fact reminds us of cheese. I think it looks like hollandaise sauce with a cheese like taste.

I used this sauce over steamed broccoli, which was very yummy. I’ve also made it and used as a sauce in a casserole of shredded chicken, rice, broccoli and almonds. YUM. In that case, I didn’t tell my husband I used nutritional yeast (he HATES the name and sound of it) and the whole time, he thought it was a cheese sauce over the casserole. Until I burst his bubble! 🙂 But I don’t want to give you the wrong impression. The nutritional yeast has a reminiscent “cheese” like taste, however, the actual flavor is very unique and hard to describe. If you don’t want to go all out and buy a large quantity like I did, you can typically pick up a very small amount in the bulk section at your market. It also comes in powder form or in flakes. I went with flakes as I heard that they dissolve quicker.

cheese sauce 3Not-Cho “Cheese” Sauce

  • 1 1/2 tbsp. butter substitute (I used real butter since I’m not vegan!)
  • 1 1/2 tbsp. flour
  • 1 1/4 c. warm water
  • 1/4 tsp. each paprika, garlic powder, chili powder, and salt
  • 1/2 tsp. ground cumin
  • 1/4 c. nutritional yeast flakes

Heat a small saucepan over medium heat. Add the butter/butter substitute and let melt. Add in the flour and whisk together, letting cook for about 30 seconds. Add in the rest of the ingredients and let come to a bubble. Simmer for a few minutes until sauce has thickened. Serve over steamed veggies. It also goes great with Mexican food too!

cheese sauce 6cheese sauce 5cheese sauce 4And check out the nutrition facts. This stuff has got some great healthy benefits!!cheese sauce

Macaroni & Cheese

mac n cheeseThere are so many mac and cheese recipes out there! So why make this one? Simply put, it’s GOOD! Very creamy, easy to make, and it doesn’t require baking time in the oven. Plus, it doesn’t call for any special fancy ingredients. Look in your pantry and fridge and I’m sure you’ll have everything you need to make this side dish. Annnndddd…. no heavy cream. Yet, it’s delectably creamy. Yes, it’s possible to have that consistency WITHOUT all that fat. Your thighs just thanked me!

P.S. If you’re having a BBQ this holiday weekend, this is the side dish to make!

Macaroni & Cheese

  • 10 ounces elbow macaroni noodles
  • 2 1/2 tbsp. butter
  • 2 tbsp. flour
  • 2 cups of milk (I use 1 %)
  • 1 c. shredded Monterey Jack cheese
  • 1 c. shredded sharp cheddar cheese
  • 2 garlic cloves, minced
  • Dash of cayenne powder
  • Dash of ground nutmeg
  • Salt & pepper to taste (I used an 1/8 tsp.- 1/4 tsp. each)

Heat a pot full of water to boiling. Cook noodles according to package directions and drain. In the same pot, add butter over medium heat. Melt the butter and then add in the garlic, as well as the rest of the seasonings. Saute for a few minutes and then add in the flour. Stir using a whisk and let cook for about 1 minute. Add in milk, whisking as you pour. As the sauce heats up, it will start to thicken and bubble. Make sure to stir occasionally during this. When the mixture just comes to a bubble, add in the cheeses, stirring until the cheese melts. Add the noodles back into the pot and stir together. Turn off heat and taste, adding more salt and pepper if necessary. Serve immediately.

mac n cheese 8mac n cheese 7mac n cheese 6mac n cheese 5mac n cheese 9mac n cheese 4mac n cheese 3mac n cheese 2This stuff also reheats pretty well, so if you have leftovers, don’t throw them away!

Sun Dried Tomato Pasta Salad

pasta salad 3This is a copycat recipe. And it’s all in the name of saving money! There’s this fancy grocery store/market around the corner from me and they sell the inspiration for this sun dried tomato pasta salad. We had it from their salad bar before and it’s delicious. But the catch? I think they want my firstborn child to pay for it! It’s so incredibly expensive! For a large container, it’s like almost $20! It’s really tasty, but not $20 tasty! So I wrote down all the ingredients that were in it, (lo & behold, I had a lot of them in my fridge/pantry already) and gave it a whirl. Bingo! It’s pretty close. And it didn’t cost me $20 to make a cup of pasta salad. And it’s now my husband’s favorite pasta salad. Can’t beat that!

Sun Dried Tomato Pasta Salad (this will serve a crowd)

  • 1 lb. penne rigate pasta
  • 1, 8 ounce jar sun dried tomato pesto (Classico is my fav)
  • 1 small green bell pepper, chopped
  • 1/2 c. kalamata olives, chopped
  • 1/3 c. sun dried tomatoes, chopped
  • 1/2 c. crimini mushrooms, chopped
  • 1/4 c. pepperoncinis, chopped
  • 1/2 c. cubed/chunked mozzarella cheese
  • 3/4 c. extra virgin olive oil
  • 2 tbsp. mayo (optional)*

Cook pasta according to package directions. Drain and let cool. When pasta is cool, add to a large bowl. Add the rest of the ingredients and stir well to combine. Refrigerate until ready to serve. Just before serving, stir together and drizzle with a little more olive oil if pasta has become dry.

*Of course I had to add mayo into this. It adds a tad bit of creaminess but if you prefer, leave it out. I’ve done it both ways and they’re both delicious in my opinion.

pasta salad 2pasta saladpasta salad 4Serve this at your next BBQ. Steaks, chicken, burgers, hot dogs….. it goes with just about anything.


Sun Dried Tomato Ranch Dressing

sd tomato ranch saladI am a condiment girl. I love dips, sauces, and dressings. I am also a resourceful girl. Put these two together and you get sun dried tomato ranch dressing.

I’ve said it before and I’ll say it again. I like to use what I have on hand! If I have leftovers or I bought an item for just one recipe, I absolutely need to find a way to incorporate it into another dish. I don’t like to waste or throw things away. So one night for dinner, I decided I wanted to make a “gyro-ish” type meal, but not Greek tasting. So I had the naan (Indian yes, Greek no), some citrus marinated chicken breast, diced cucumbers and tomatoes and I positively needed a sauce to drizzle over the top. I had a jar of sun dried tomatoes with herbs in oil in my fridge that were just begging me to use them. Tah-dah! I came up with this dressing. My hubs and I loved it! He said, “This dressing is blog worthy.” Yeah, he’s a keeper 🙂

This dressing is delicious on salad. Yummy on “gyro-ish” type foods 🙂 And would even be great with some carrot sticks for dipping.

sun dried tomato ranchSun Dried Tomato Ranch Dressing

  • 1/3 c. sour cream
  • 3/4 c. mayo
  • Juice from 1/2 lemon
  • 1 garlic clove
  • 1 green onion
  • 4 sun dried tomato halves
  • 2 glugs worcestshire sauce
  • 4 tbsp. milk
  • dash of cracked black pepper

Put all ingredients in a blender and blend until smooth. Keep in an airtight container in the fridge.

sd tomato ranch dressingsd tomato ranch


Red Potato Salad w/ Bacon

red potato salad 3

Potato salad isn’t my best photography subject

Independence Day is tomorrow! And if you’re looking to try a new potato salad recipe for the holiday, well then…. You’re welcome! 🙂

As I told you all before, we took a road trip to Texas over Spring break. Along the way, we stopped at a German deli in Yuma, Arizona. Yes, it sounds off the beaten path but I was letting Yelp guide our culinary adventure across the states. I mean, we had to eat somewhere, and instead of eating at all the usual chain restaurants, I wanted my family to have something unique!

Thus, the German deli. This place had excellent reviews and after eating there, I know why. The portions were HUGE. And the food was very good. One item in particular? Their potato salad. Hands down, best potato salad I’ve ever eaten. Anywhere. Unfortunately, I cannot eat this potato salad anytime I want since Yuma is nowhere close to me. But, it did inspire me to try and re-create it at home. Is my potato salad re-creation as good as the delectable German deli? No. But like I said, it was the BEST potato salad I’d ever eaten. That’s a high honor in my opinion. However, I did really like my potato salad and it’s definitely worth making again.

Red Potato Salad w/ Bacon

  • 3 pounds red potatoes, scrubbed and cut into small chunks
  • 10 strips bacon, cooked and crumbled
  • 4 green onions, sliced
  • 3/4 c. mayo
  • 1 c. sour cream
  • 1/2 tsp. dried dill
  • 1/4 tsp. garlic powder
  • Salt & pepper

Add potatoes to a pot and bring to a boil. Let cook for 15-20 minutes until tender. Drain and let cool. In a bowl, mix together the mayo, sour cream and seasonings. Add the salt and pepper to taste. (I’m always generous with the pepper). When potatoes have cooled, add the bacon, green onions and “dressing”. Mix together until combined and refrigerate until ready to serve.

Okay, so you may be thinking 10 strips of bacon is overload. But I initially made this potato salad with just 5 strips, and I really feel it could’ve used double. But totally up to you.

red potato salad 2red potato saladThis potato salad almost reminds me of a baked potato. But not. If that makes sense? Either way, this is a nice change from the traditional potato salad you’re used to eating. So next time you’re on a road trip, check out Yelp. Go out on a limb and you’ll probably discover some really great food!