Have you ever had a banh mi sandwich? I hadn’t tried one up until a few months ago. I’d seen them on menus and heard about them on cooking shows. I’d always been curious but wasn’t quite sure. Well, I tried one at a local café and OMG banh mi! Delicious! What had I waited so long for?!?!
So I’m no banh mi authority but it’s basically a Vietnamese sandwich (supposed to be served on a baguette) with some pickled veggies, cucumbers and cilantro. All those flavors together equal a symphony in your mouth!
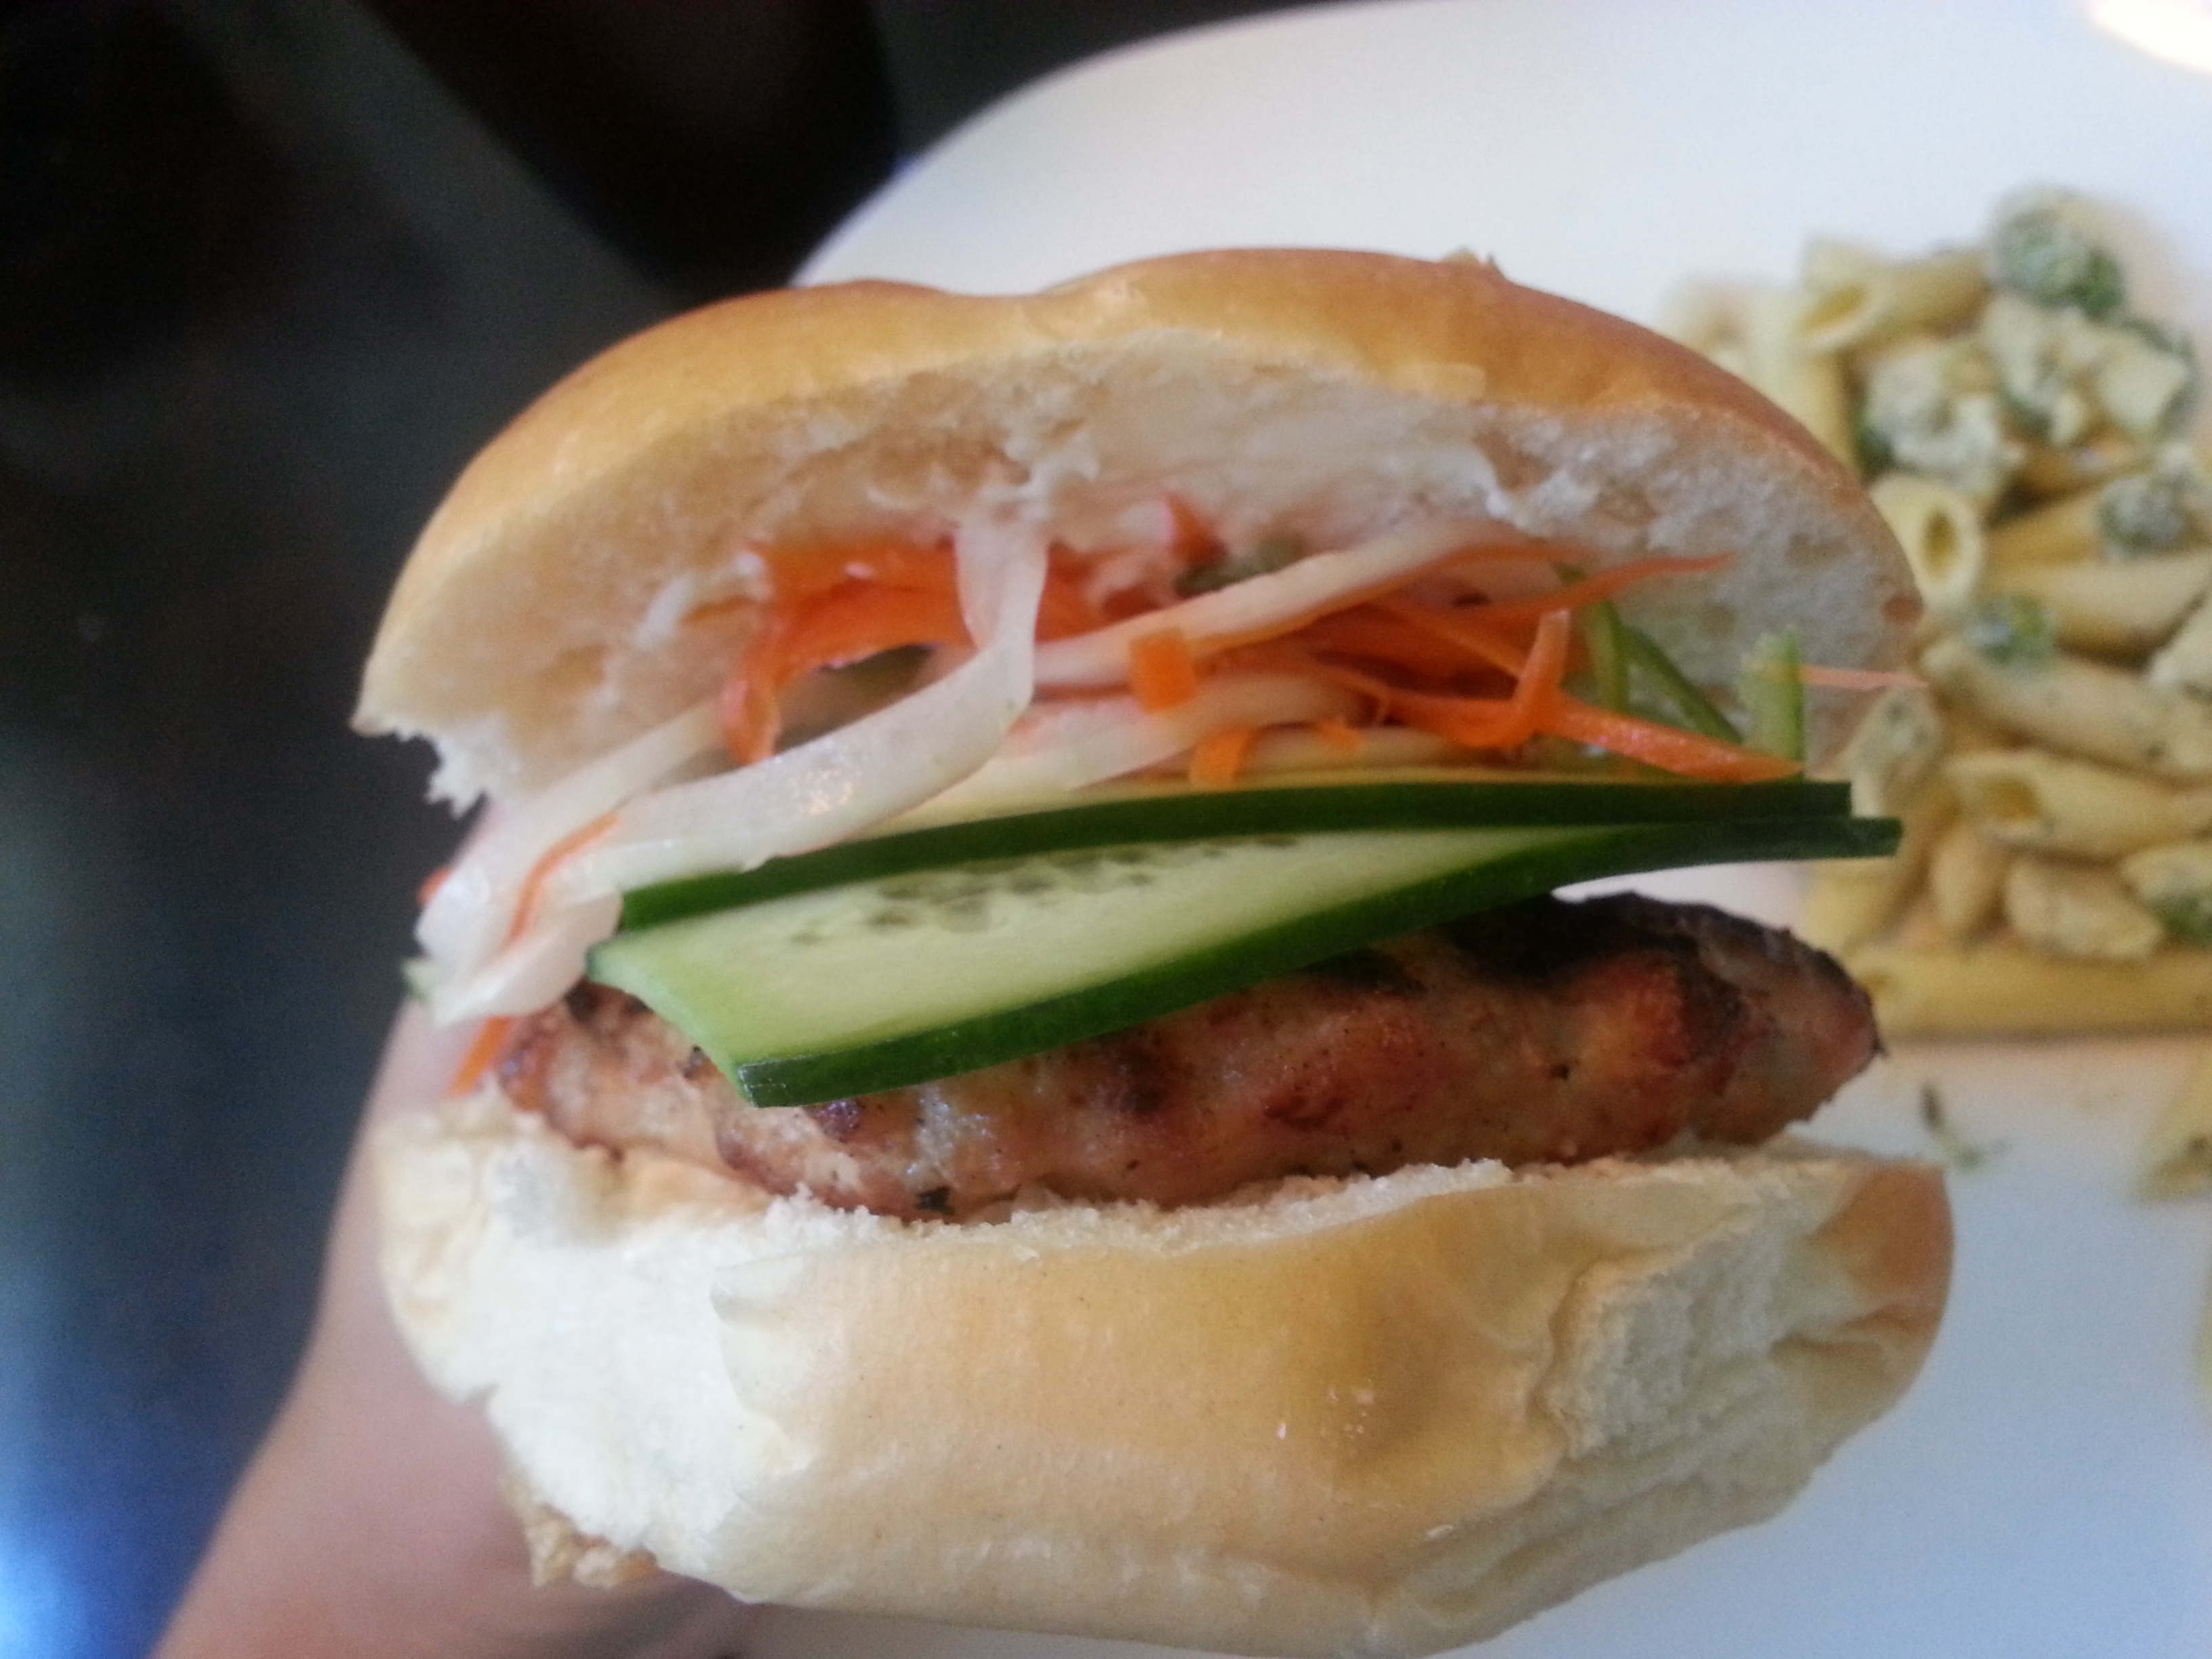
I’ve made turkey banh mi sandwiches at home as of late, but I wanted something a little heartier for dinner. This recipe is not “traditional” (I didn’t use daikon and I used a bun, not a baguette) but has those delightful banh mi flavors. In chicken burger form. My mouth is watering just thinking about it.
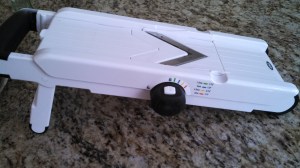
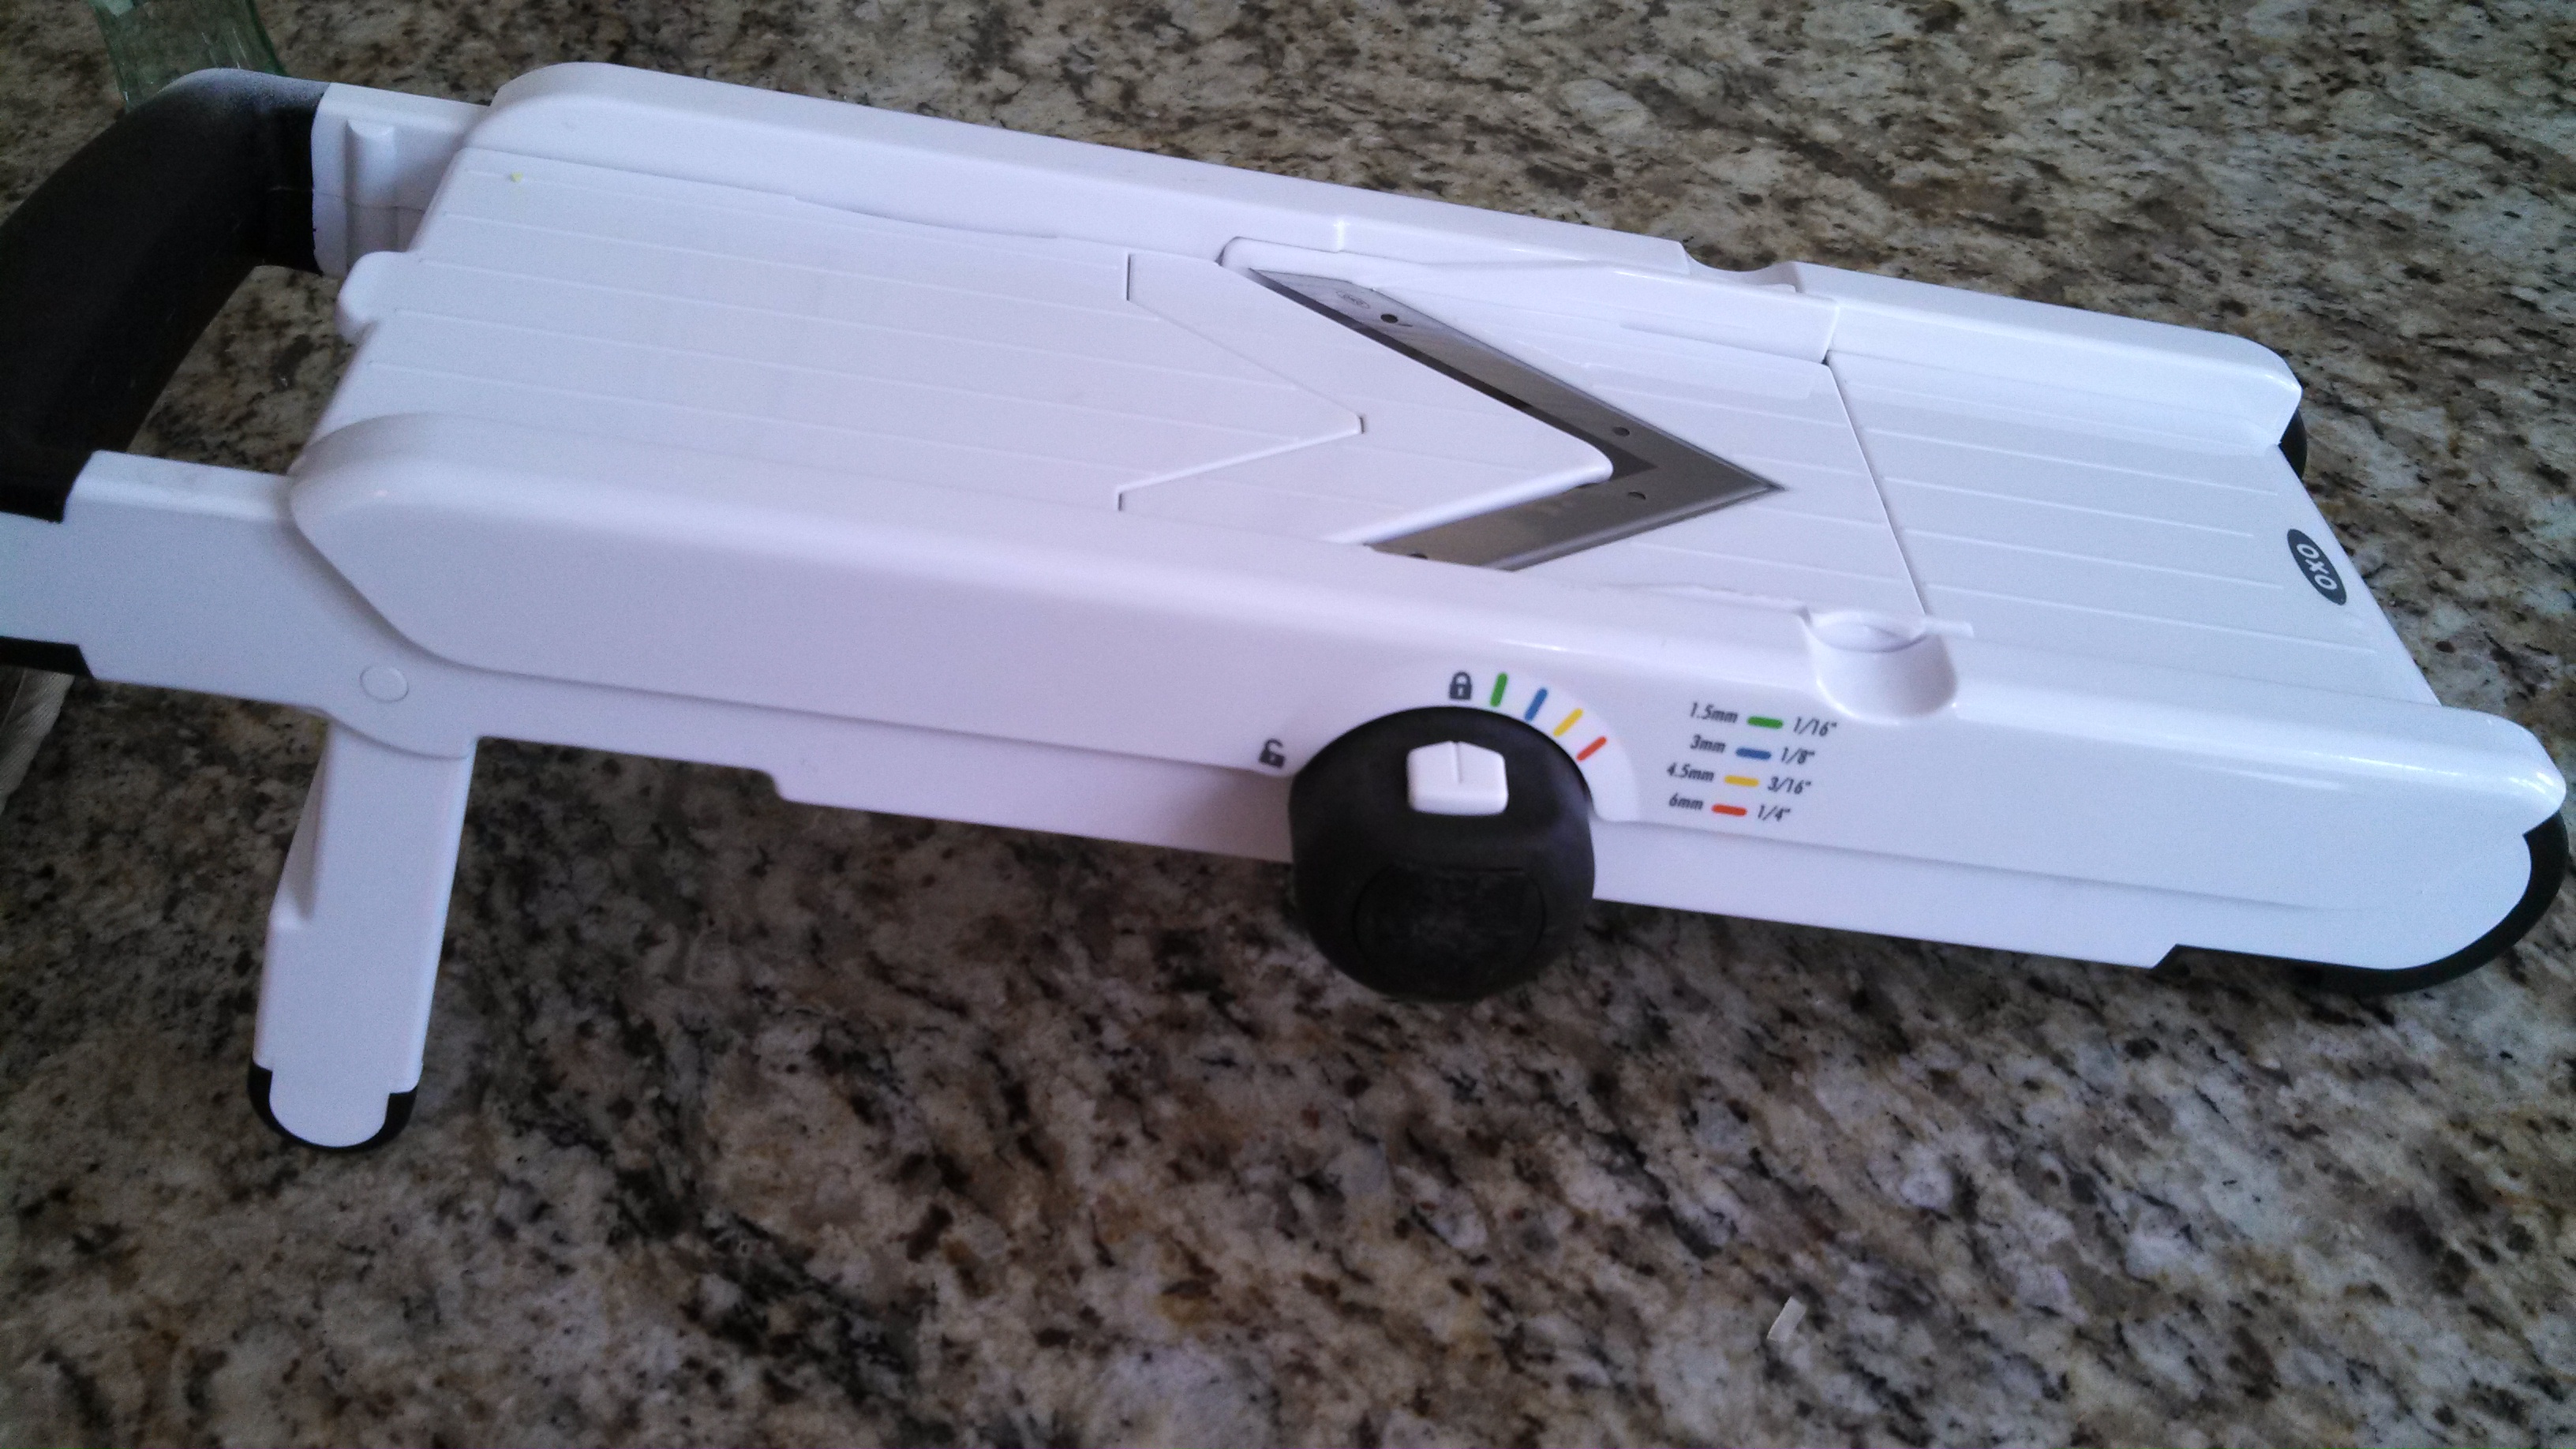
Instrument of torture
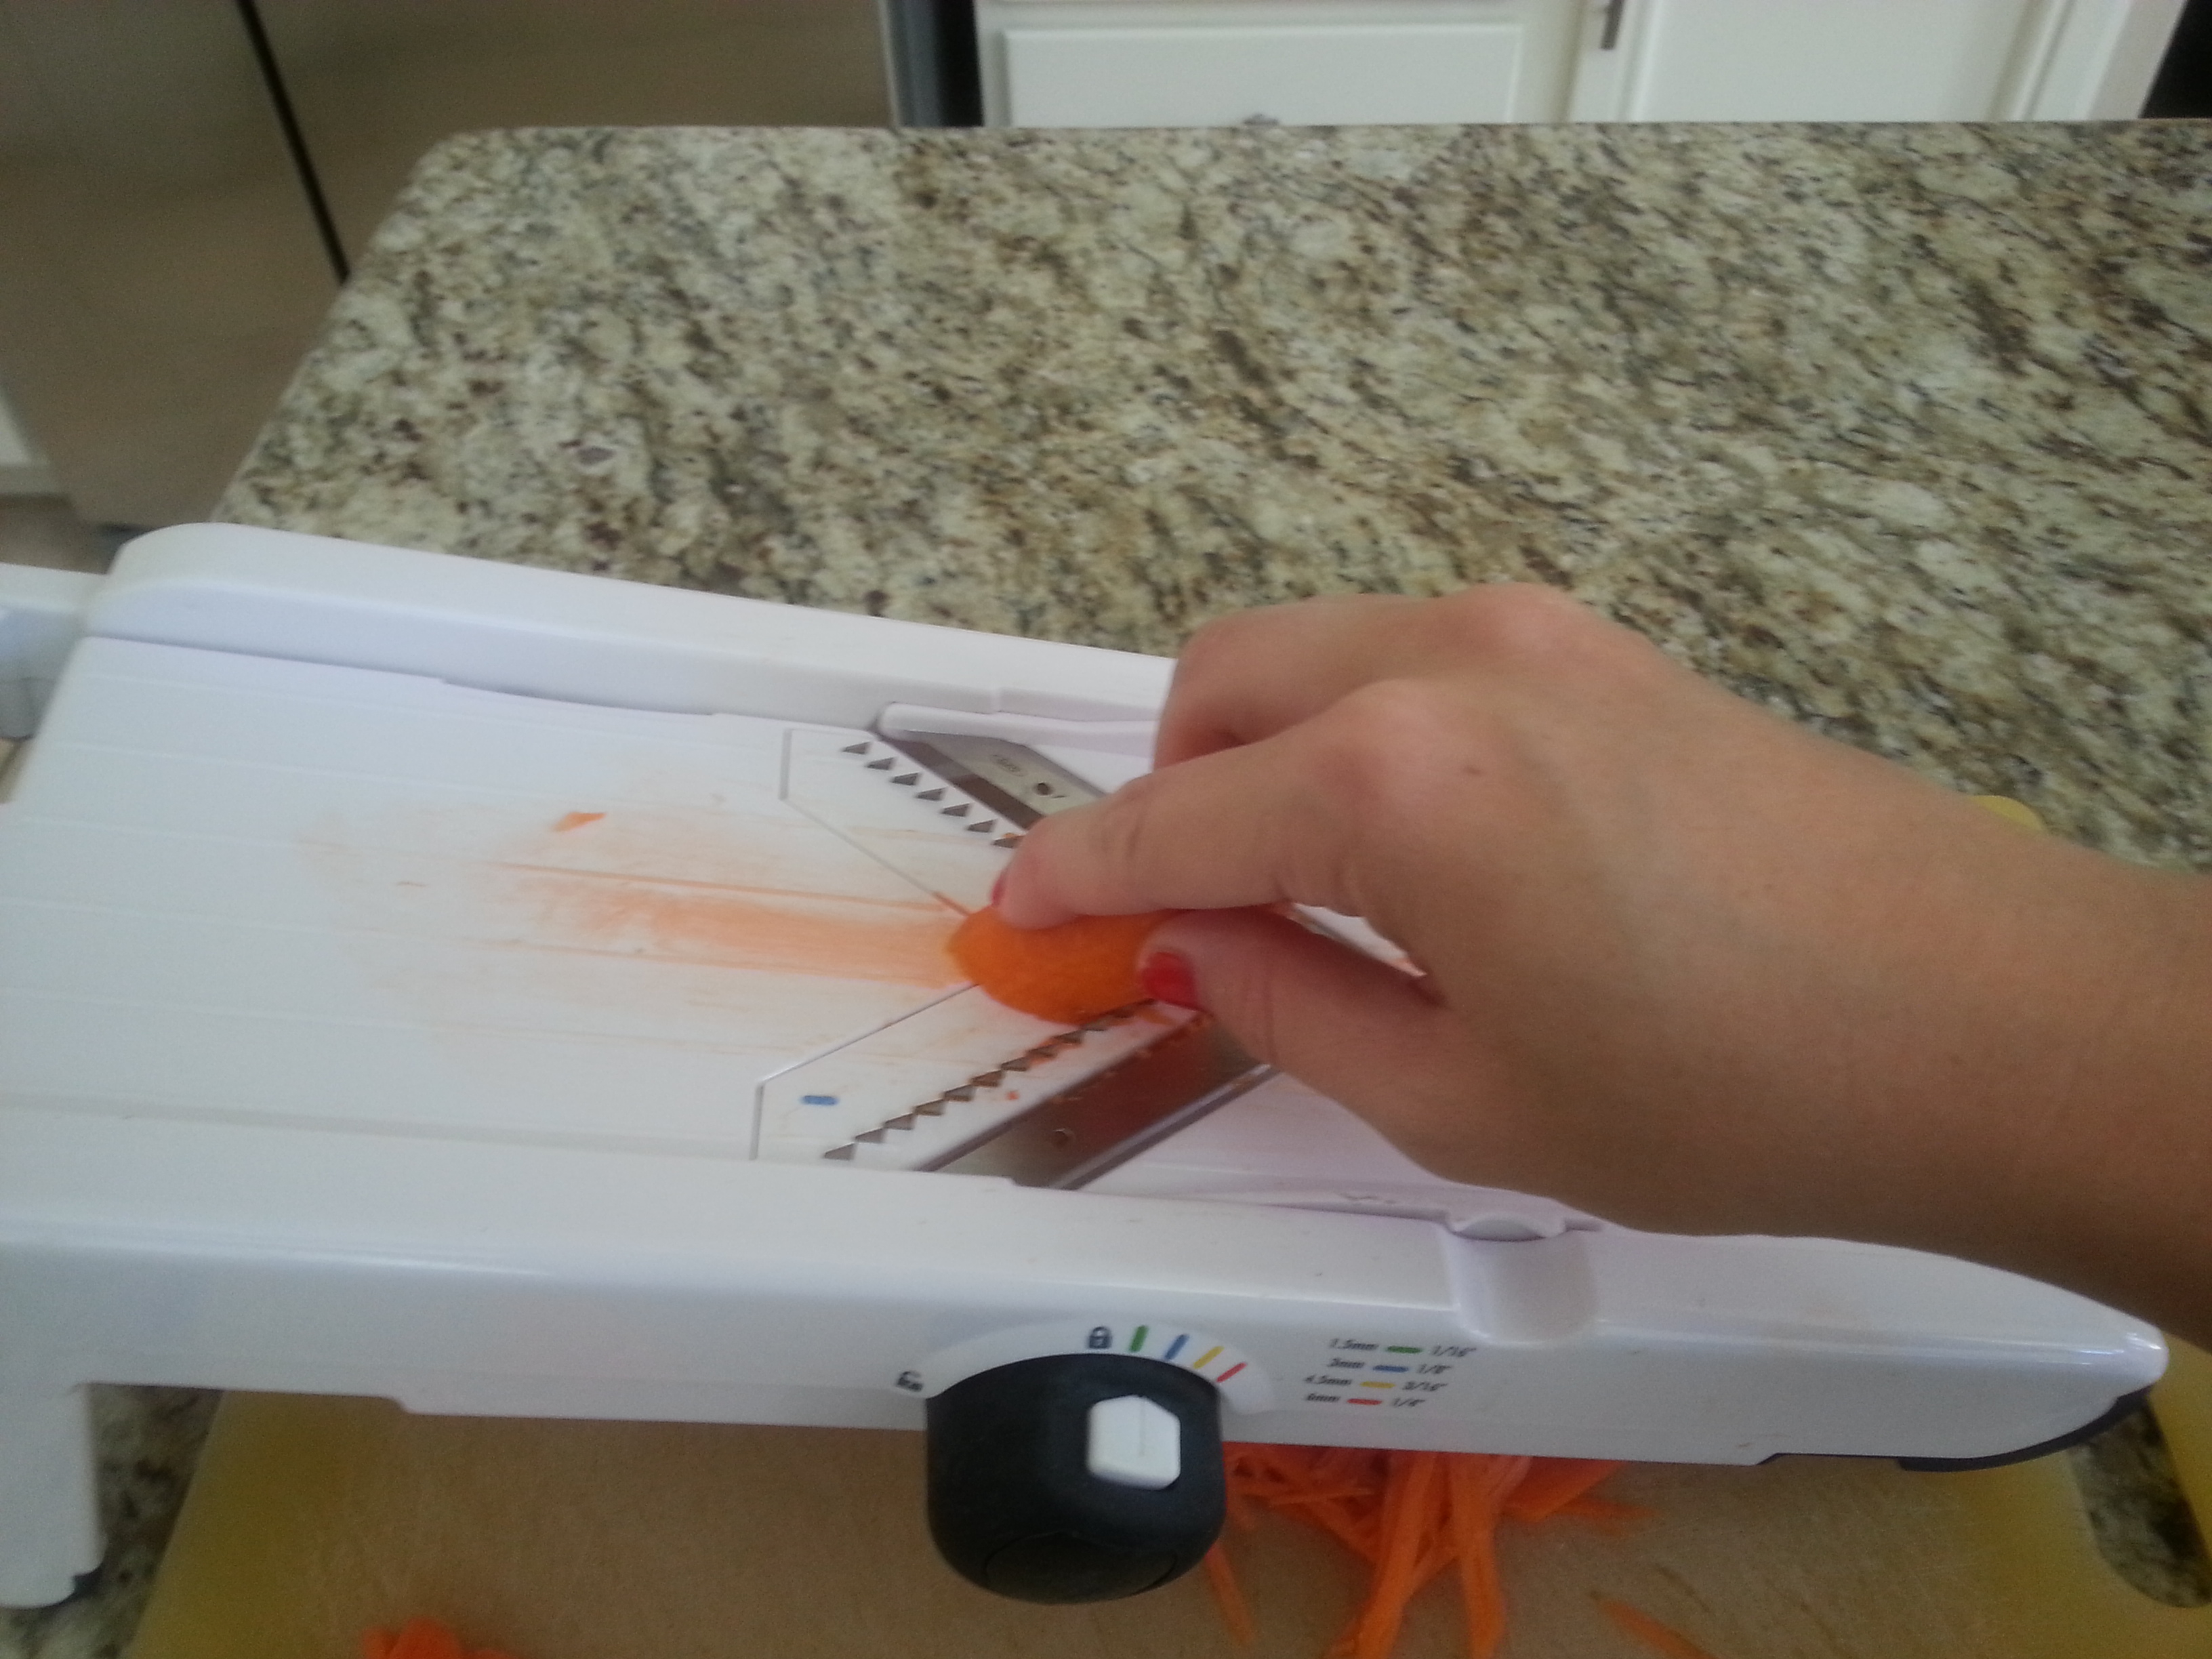
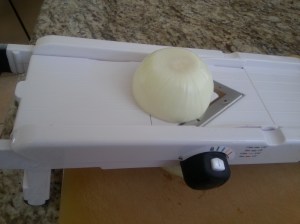
As for making this scrumptious burger, if you have a mandolin, NOW is the time to use it. I am terrified of this kitchen tool, as we all should be. But I didn’t experience true fear until I took a piece of my thumb off with it. It was major in my opinion. I whined (yes, I know, I’m ashamed I whined as an adult) and told my husband I thought I needed to be taken to the hospital. He thought I was exaggerating. But it really hurt and bled for what felt like FOREVER. At least I didn’t cry like the time when a glass blender fell out of the top cabinet and onto my head. Anyways, I almost always use the guard and am very careful with this instrument of death now. But it came in handy for this recipe as I used it to cut all the veggies. If you don’t have one, that’s okay. Just eyeball your cuts and try for thin slices.
Chicken Banh Mi Burger (makes 6 burgers)
- 1/2 c. rice wine vinegar
- 1/4 c. water
- 1/4 c. sugar
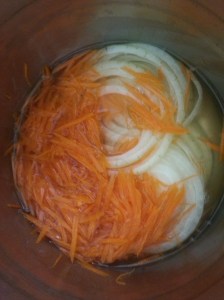
- 2 small carrots, peeled and julienned (1/8″ setting on mandolin)
- 1/4-1/2 of a small white onion, thinly sliced (1/8″ setting on mandolin)
- 6 buns (I used my favorite Hard Rolls from Walmart)
- 1 3/4 pounds ground chicken (I used dark meat)
- 2-3 green onions, sliced
- 3 garlic cloves, minced
- 2 tbsp. soy sauce
- 1/4 c. panko crumbs
- dash of white pepper
- 1 jalapeno, thinly sliced (1/8″ setting on mandolin)
- 1-2 baby cucumbers, thinly sliced (1/8″setting on mandolin)
- Small handful of cilantro
- Mayo
Add the first three ingredients to a small pot and stir over medium heat until sugar has dissolved. Cool slightly and then add onions and carrots. Set aside and let pickle for at least 30 minutes. After the veggies have pickled, drain off liquid and refrigerate until ready to use.
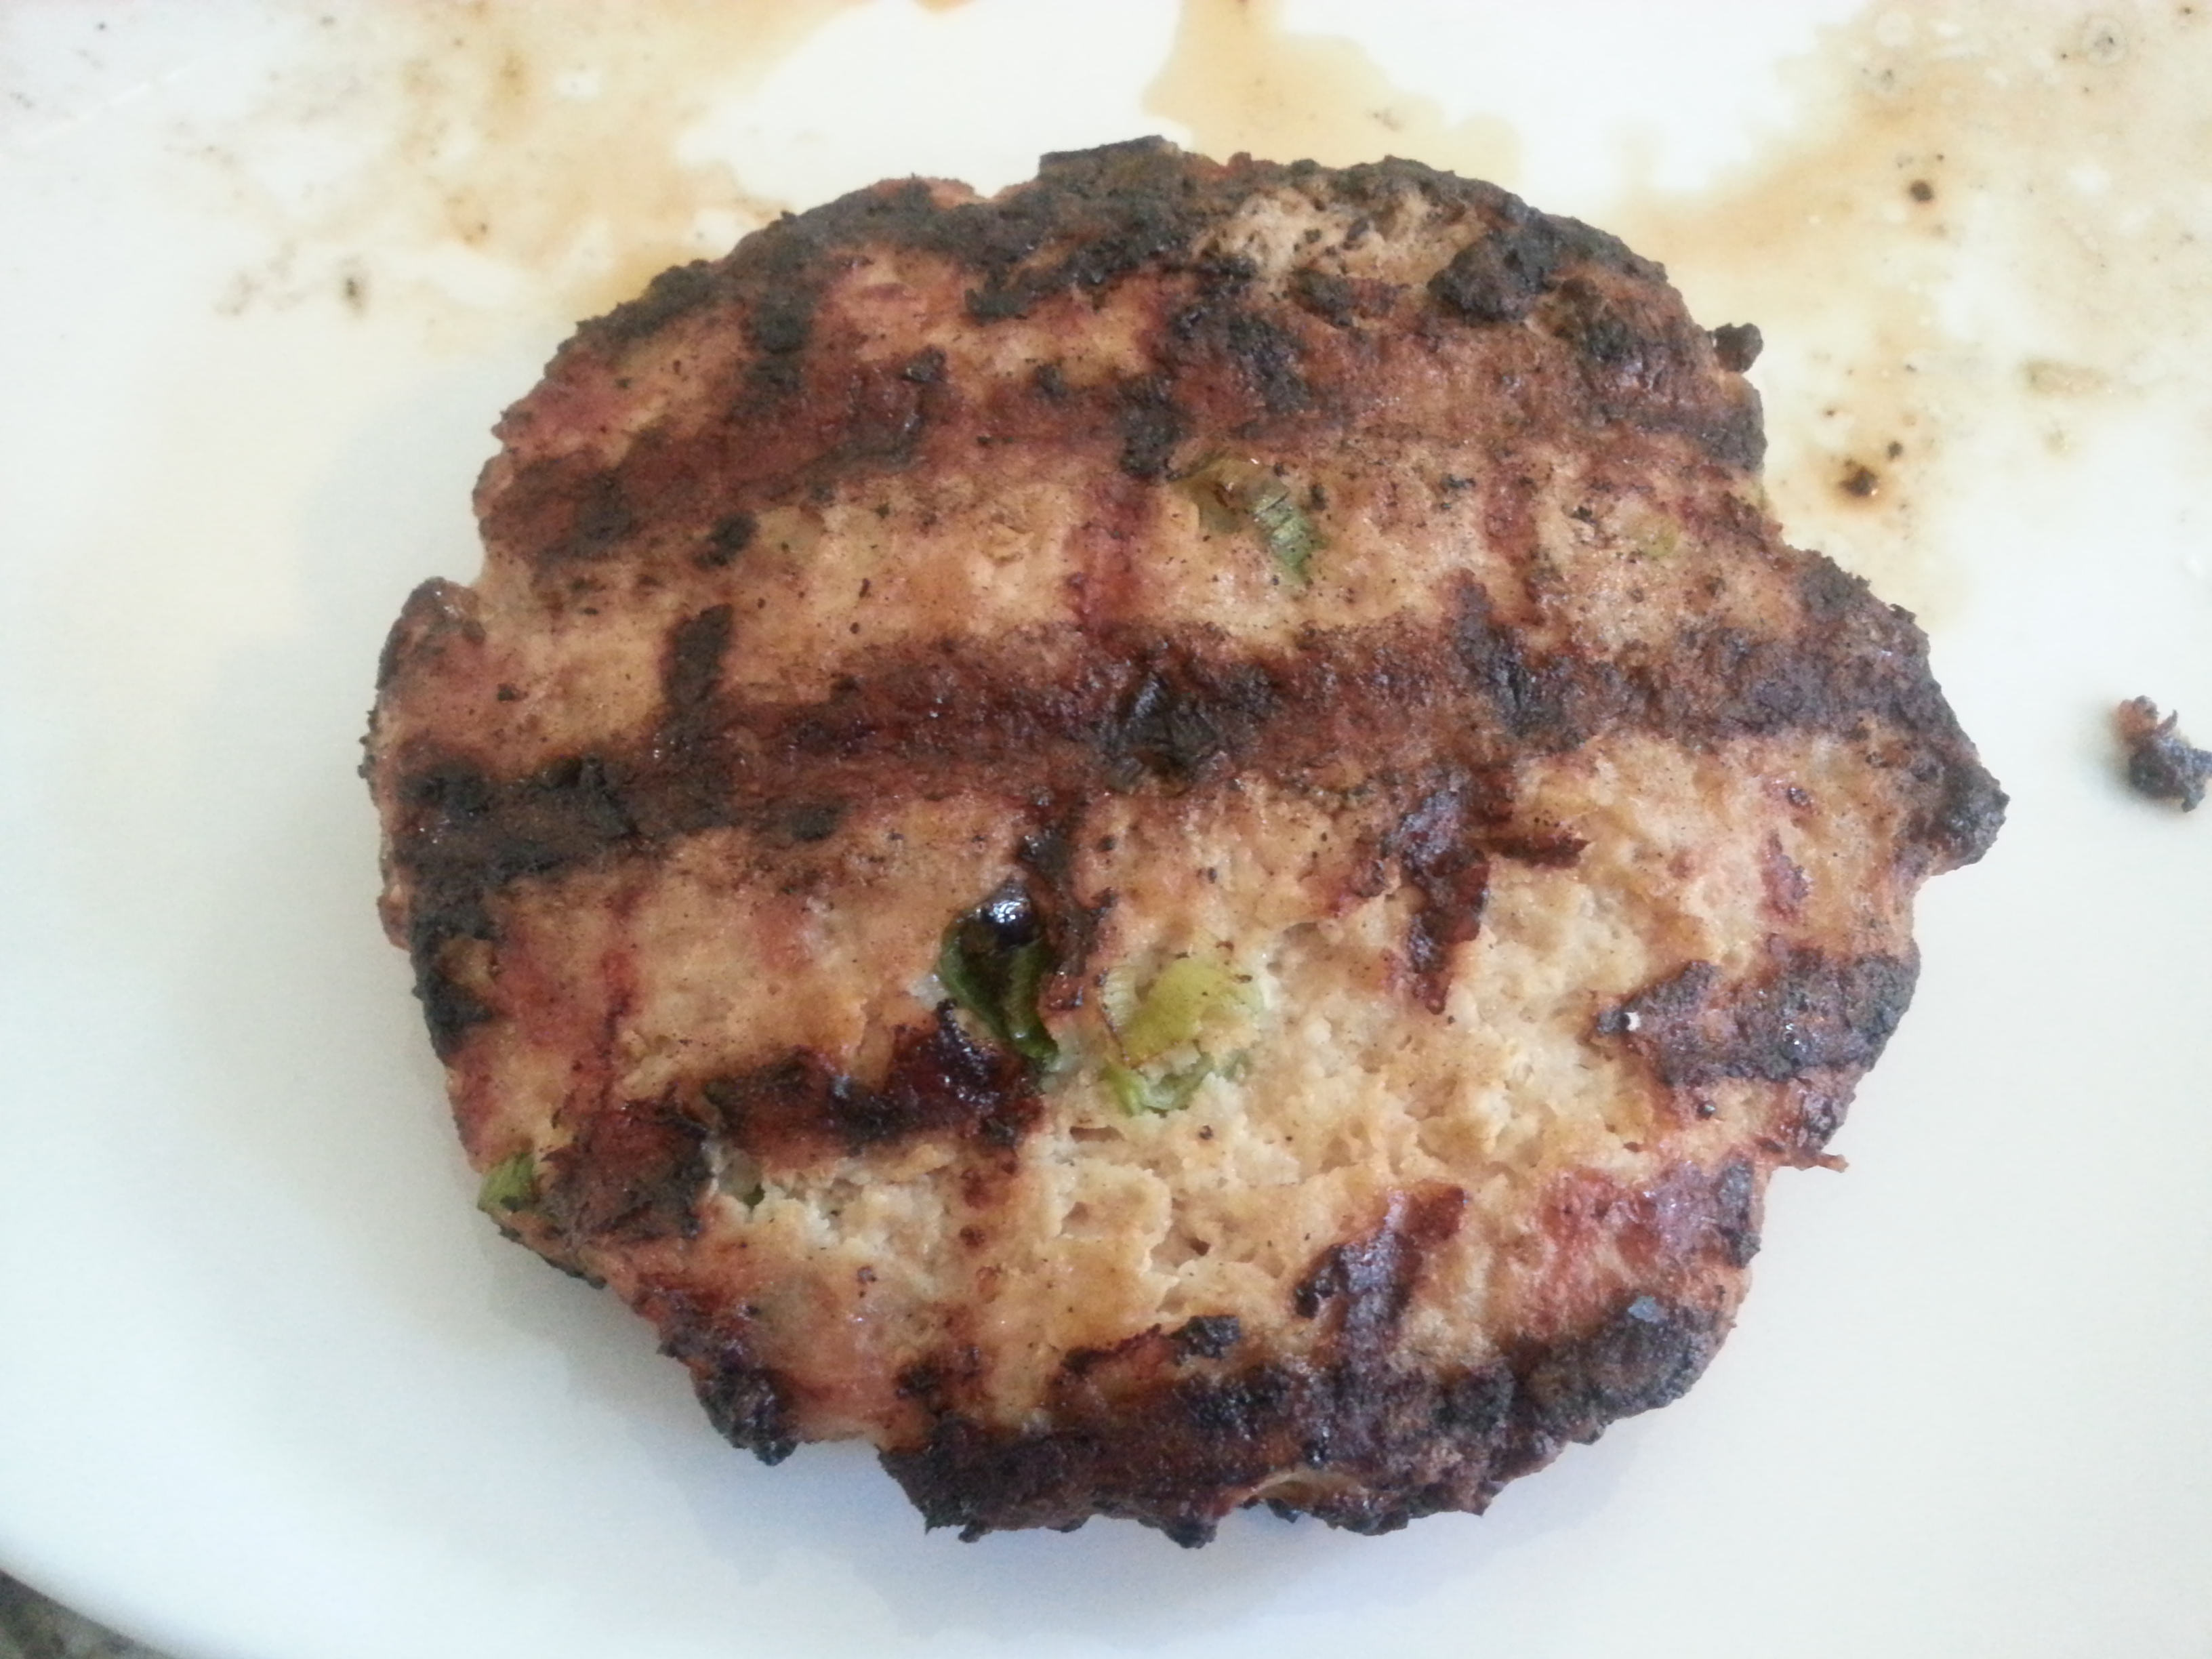
In a large bowl, mix together the ground chicken, green onions, garlic, soy sauce, white pepper and bread crumbs. You can use immediately or set in the fridge (which I did) to let the flavors come together. Divide into 6 equal size patties. Preheat your outdoor grill to about 350, or you can use a cast iron skillet or pan sprayed with cooking spray on your stovetop. Cook burgers about 5 minutes on each side, depending on your stove or grill. You can tell the chicken is cooked through when you touch the meat and it’s firm. Remove from grill and set aside.
Slice buns in half and slather each side with mayo. Place the burger patty on the bottom bun and add enough cucumber slices to cover the patty. Add a little bit of the pickled veggies on top. Place some jalapeno slices and cilantro on top of the veggies and cover with the top bun.


 Enjoy your banh mi burger. Or should I say BOMB mi burger?
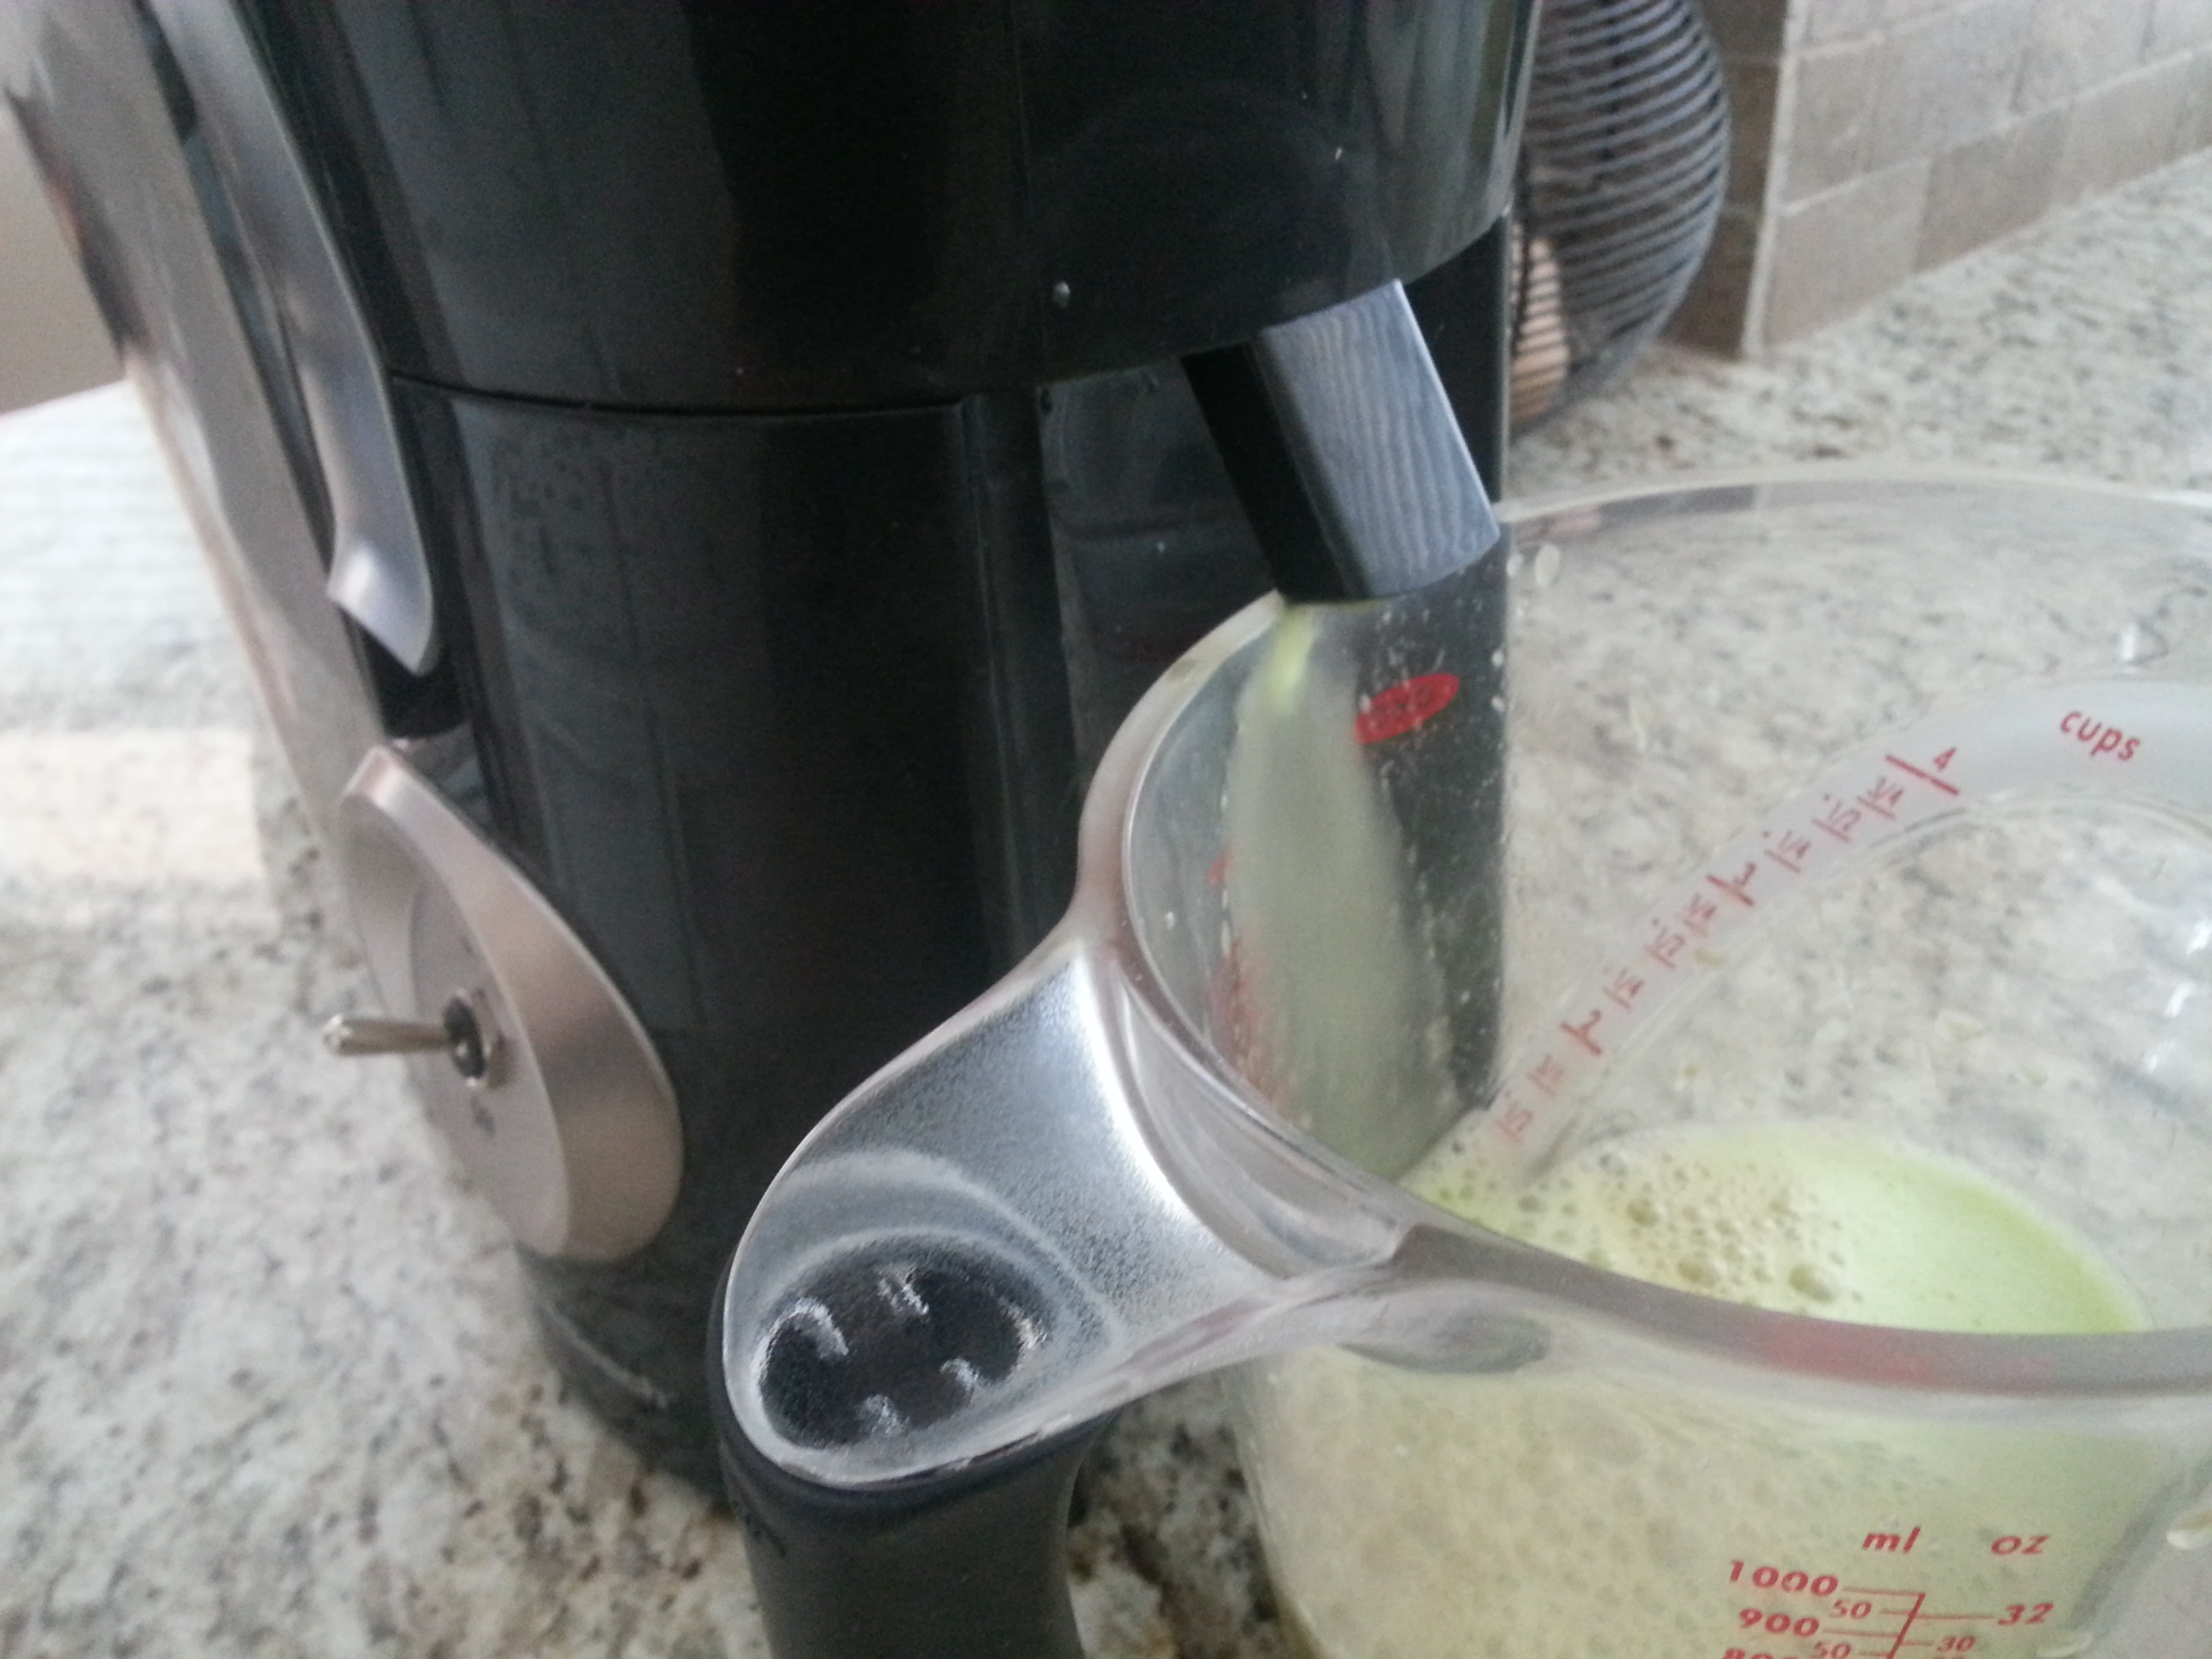
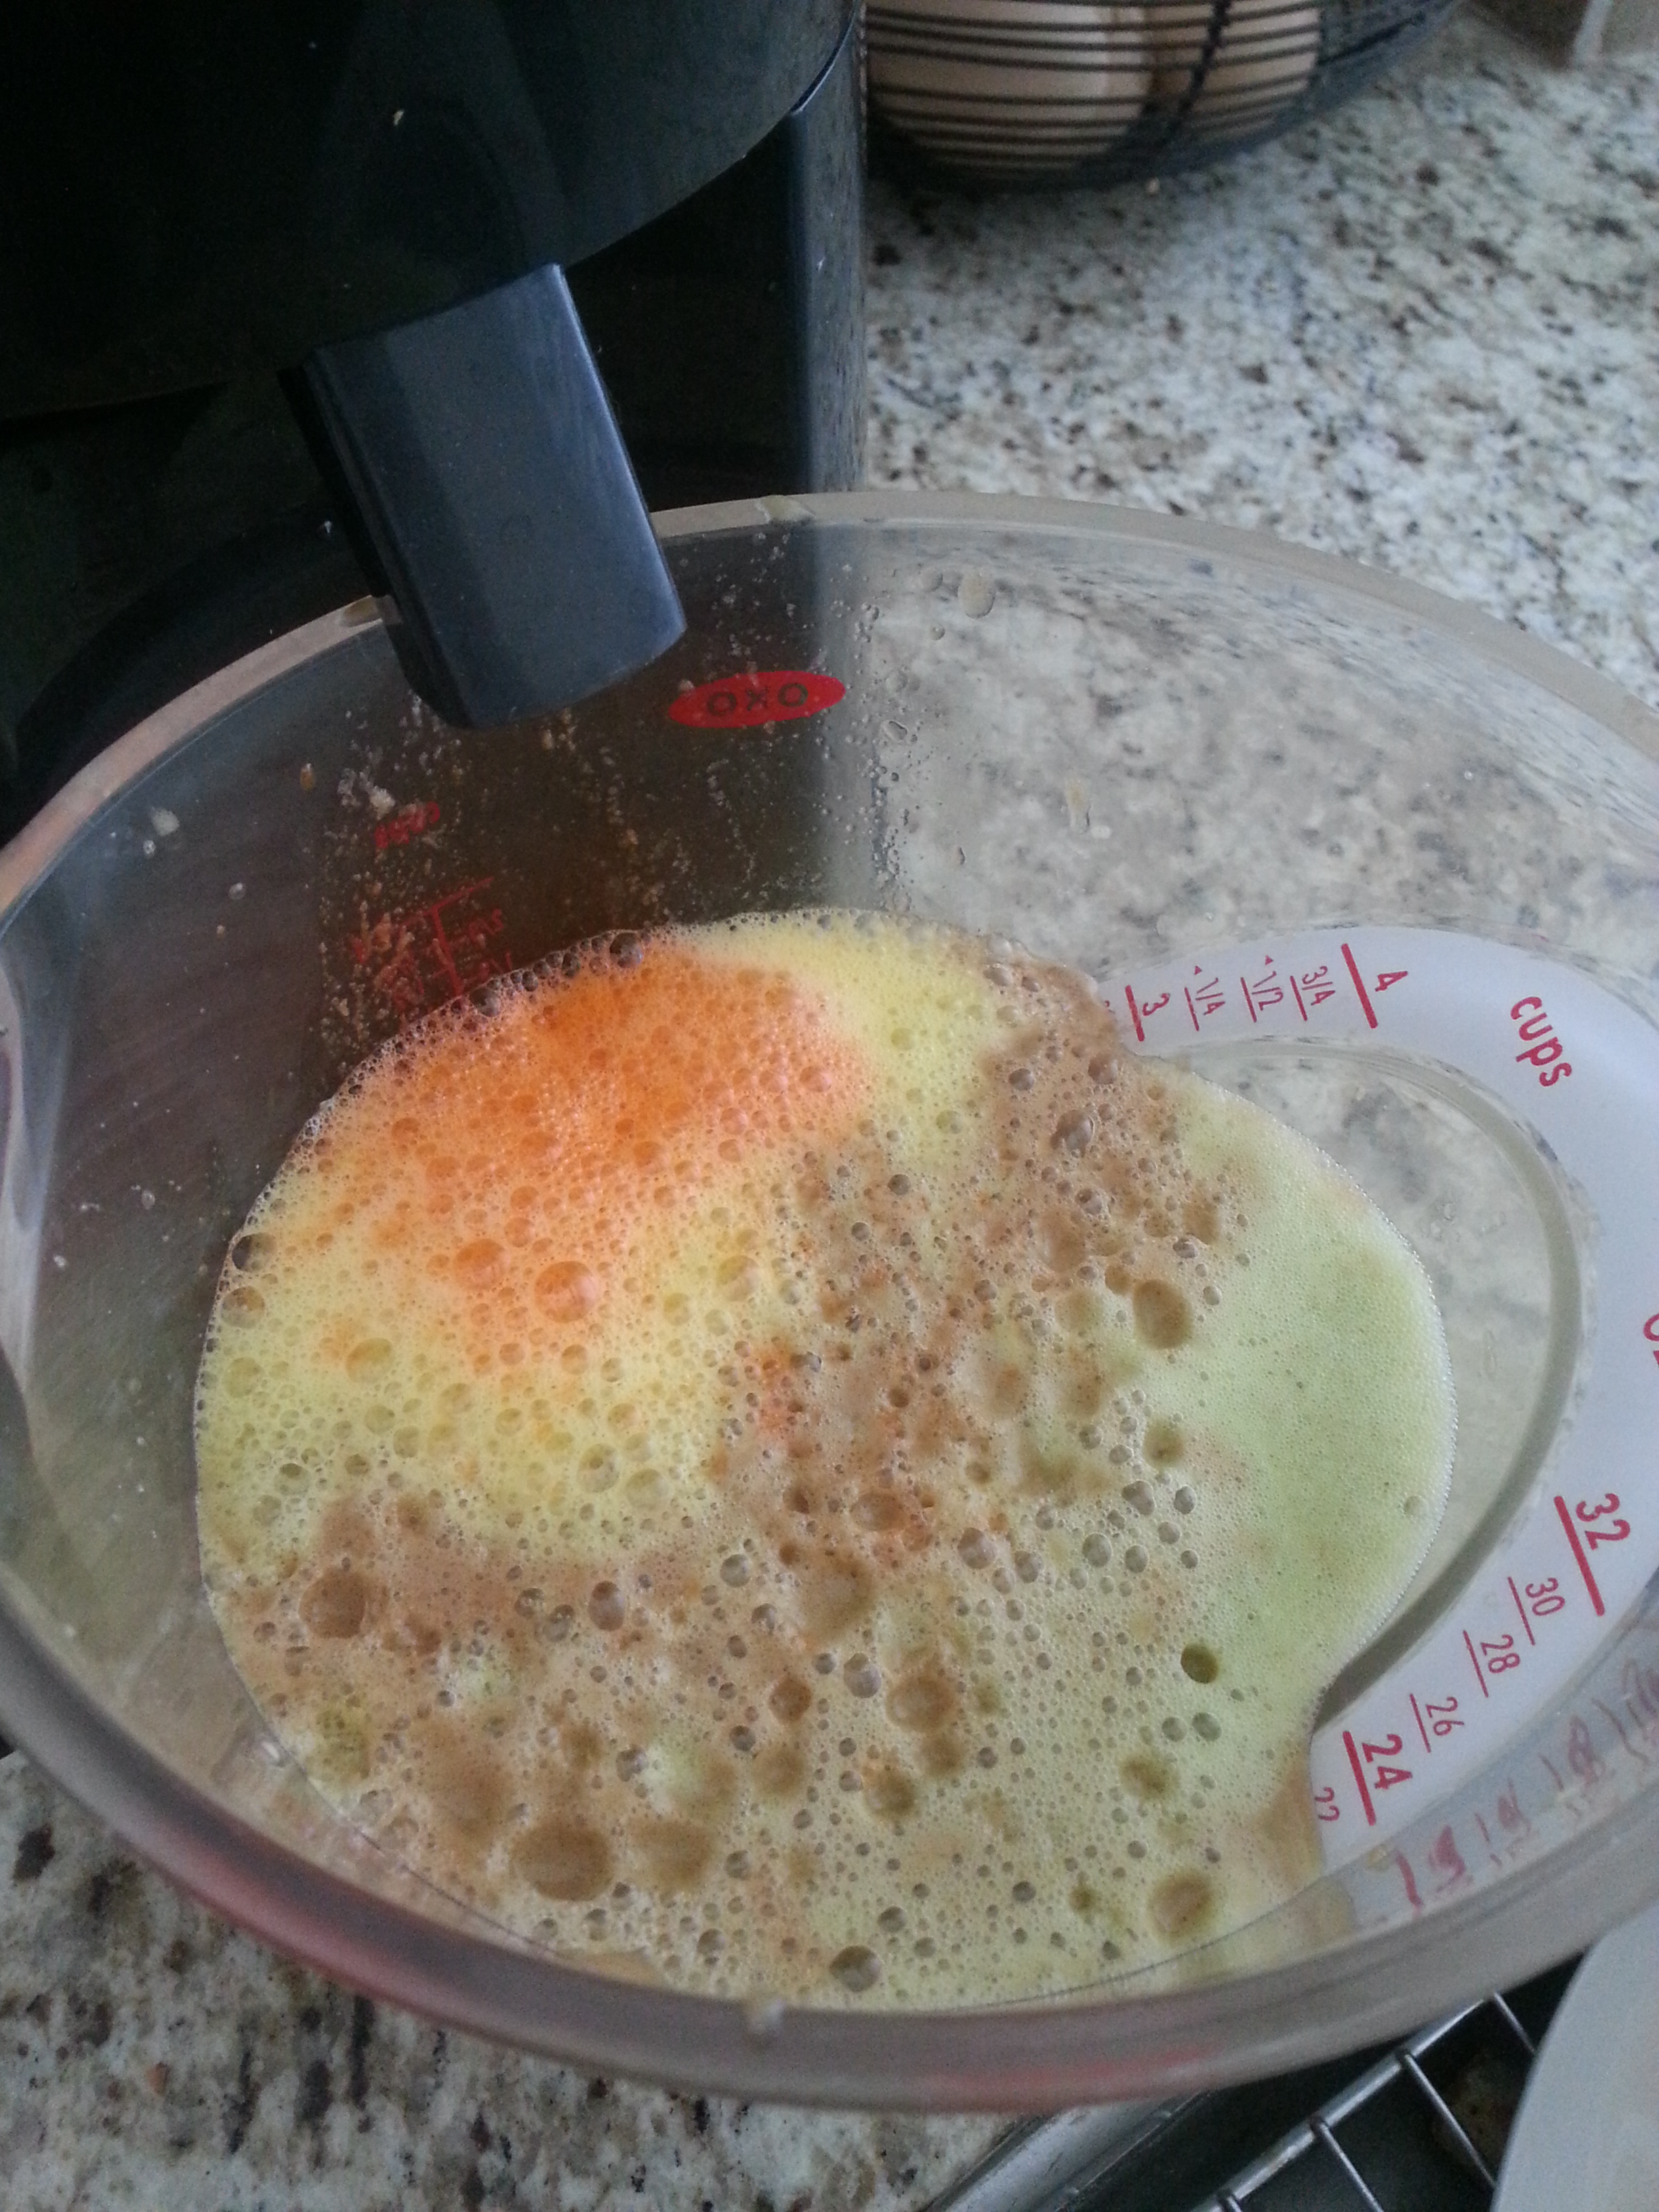
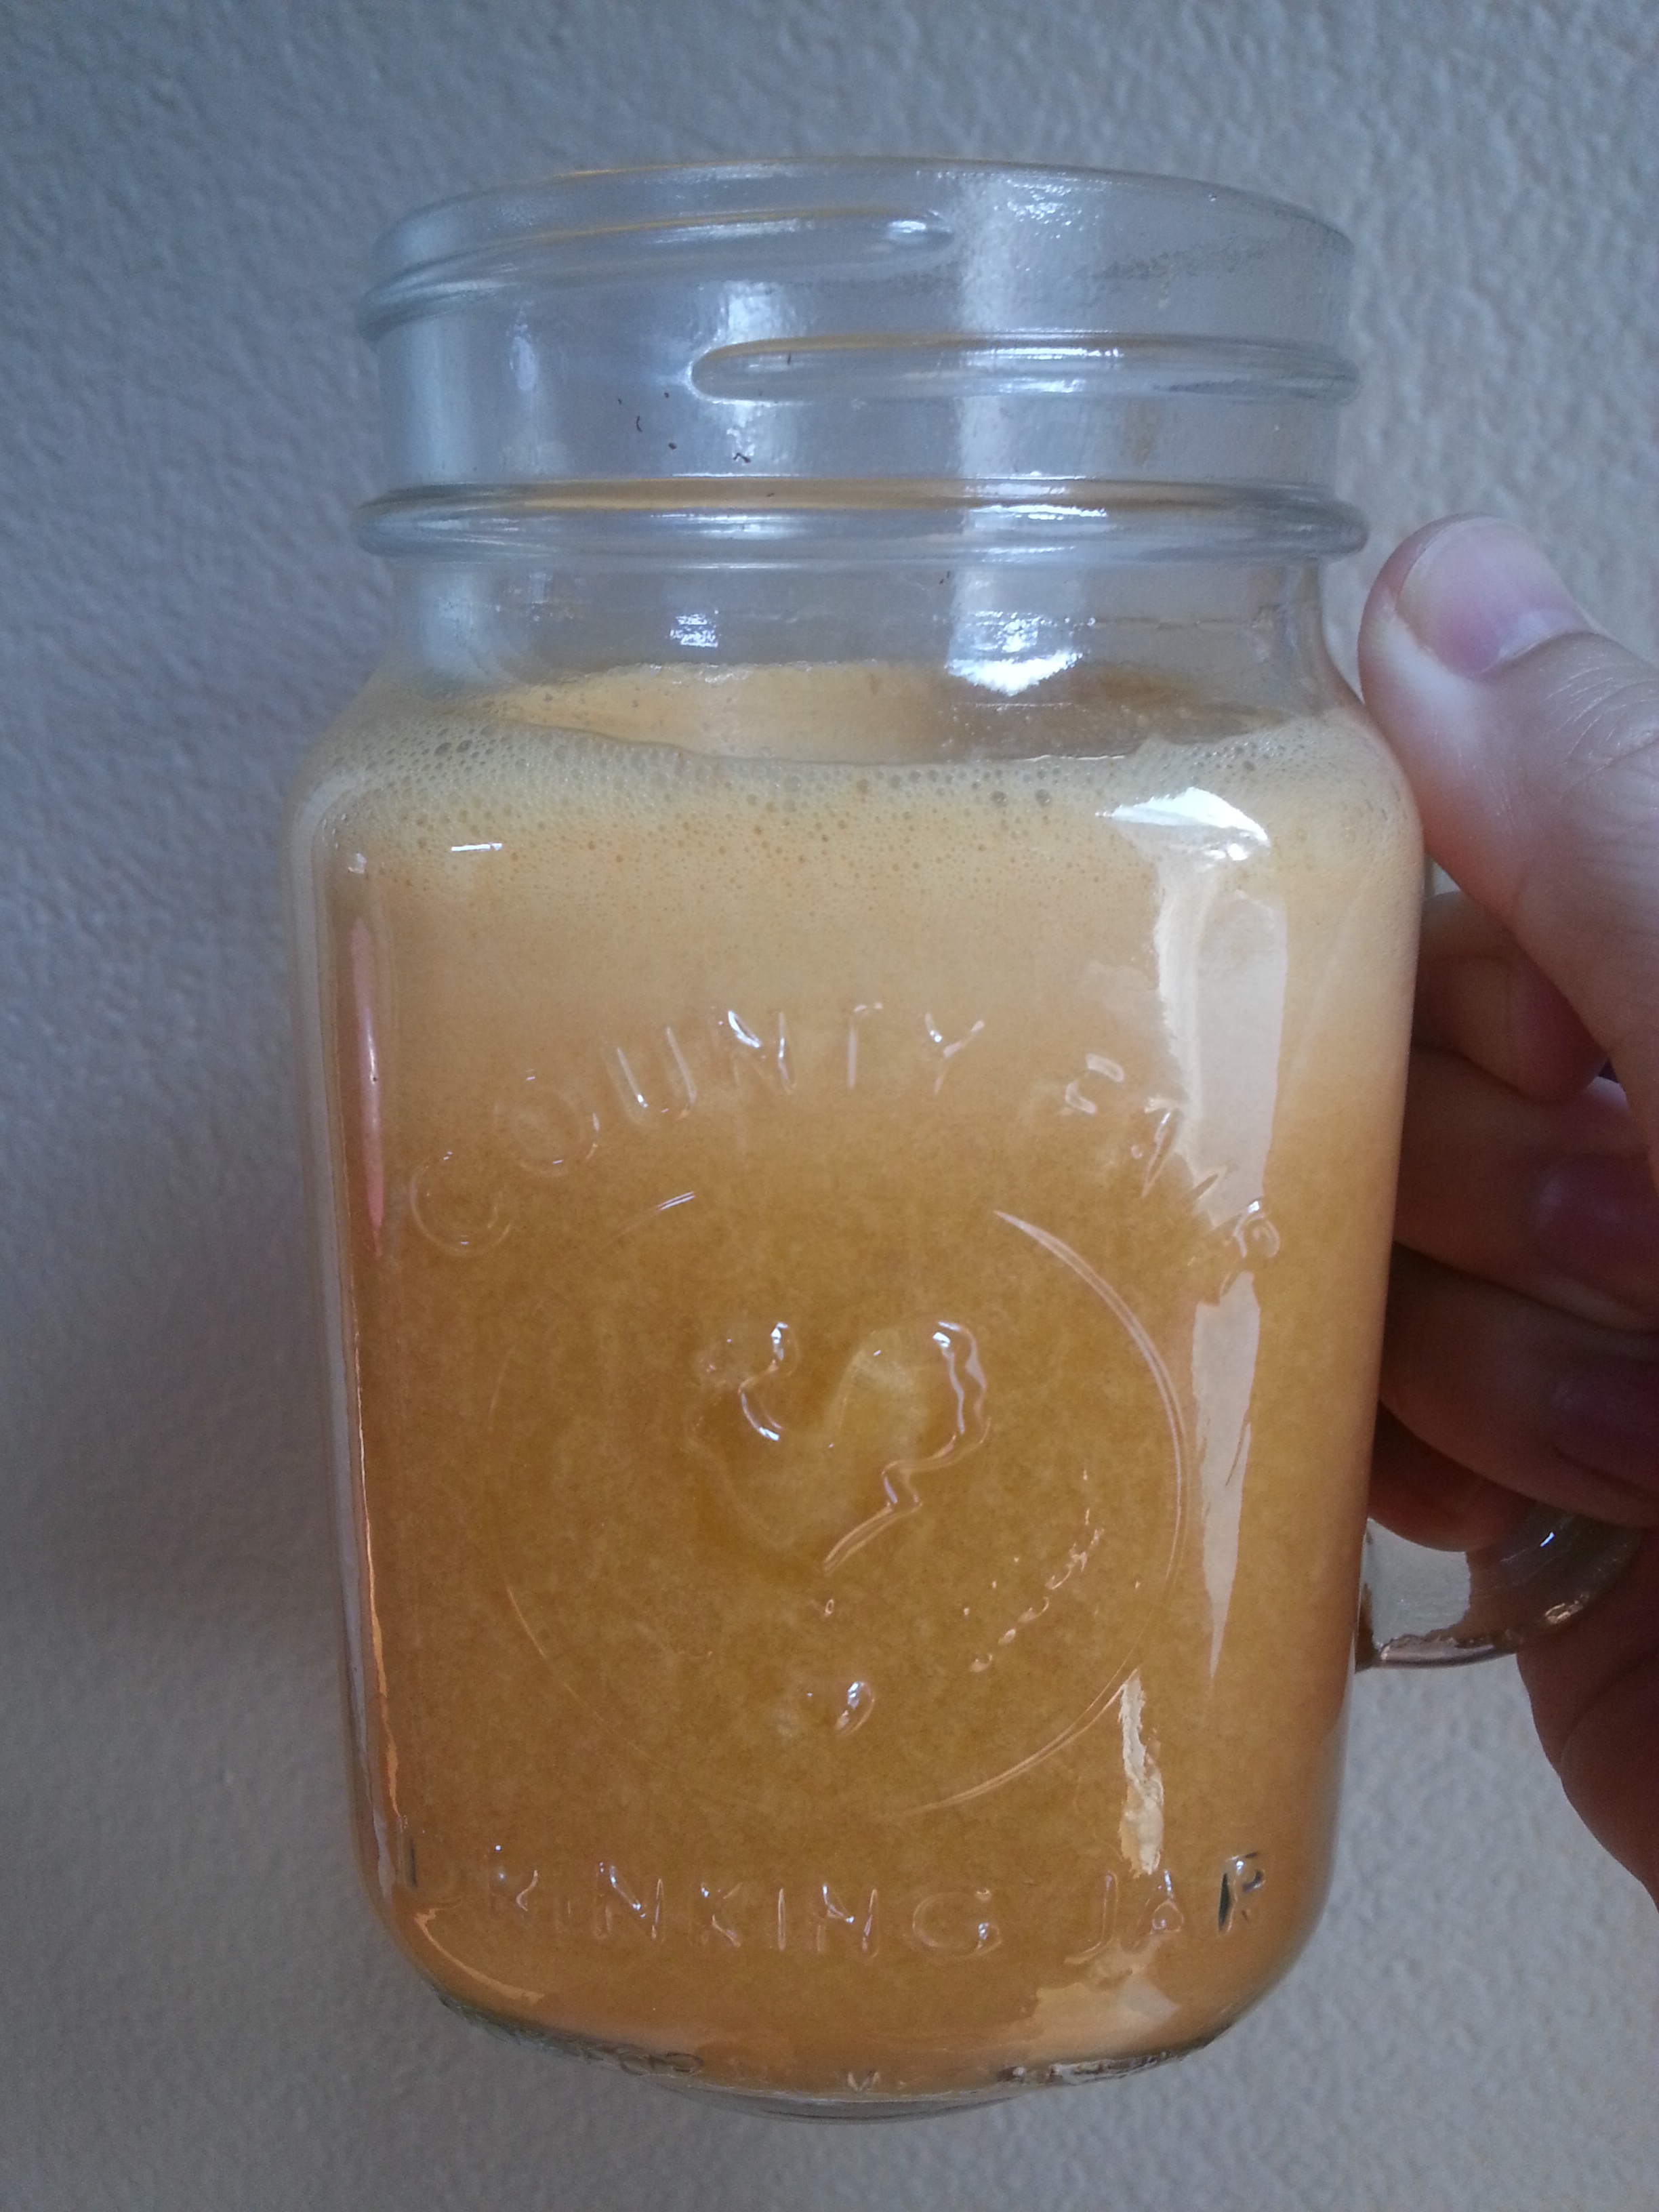
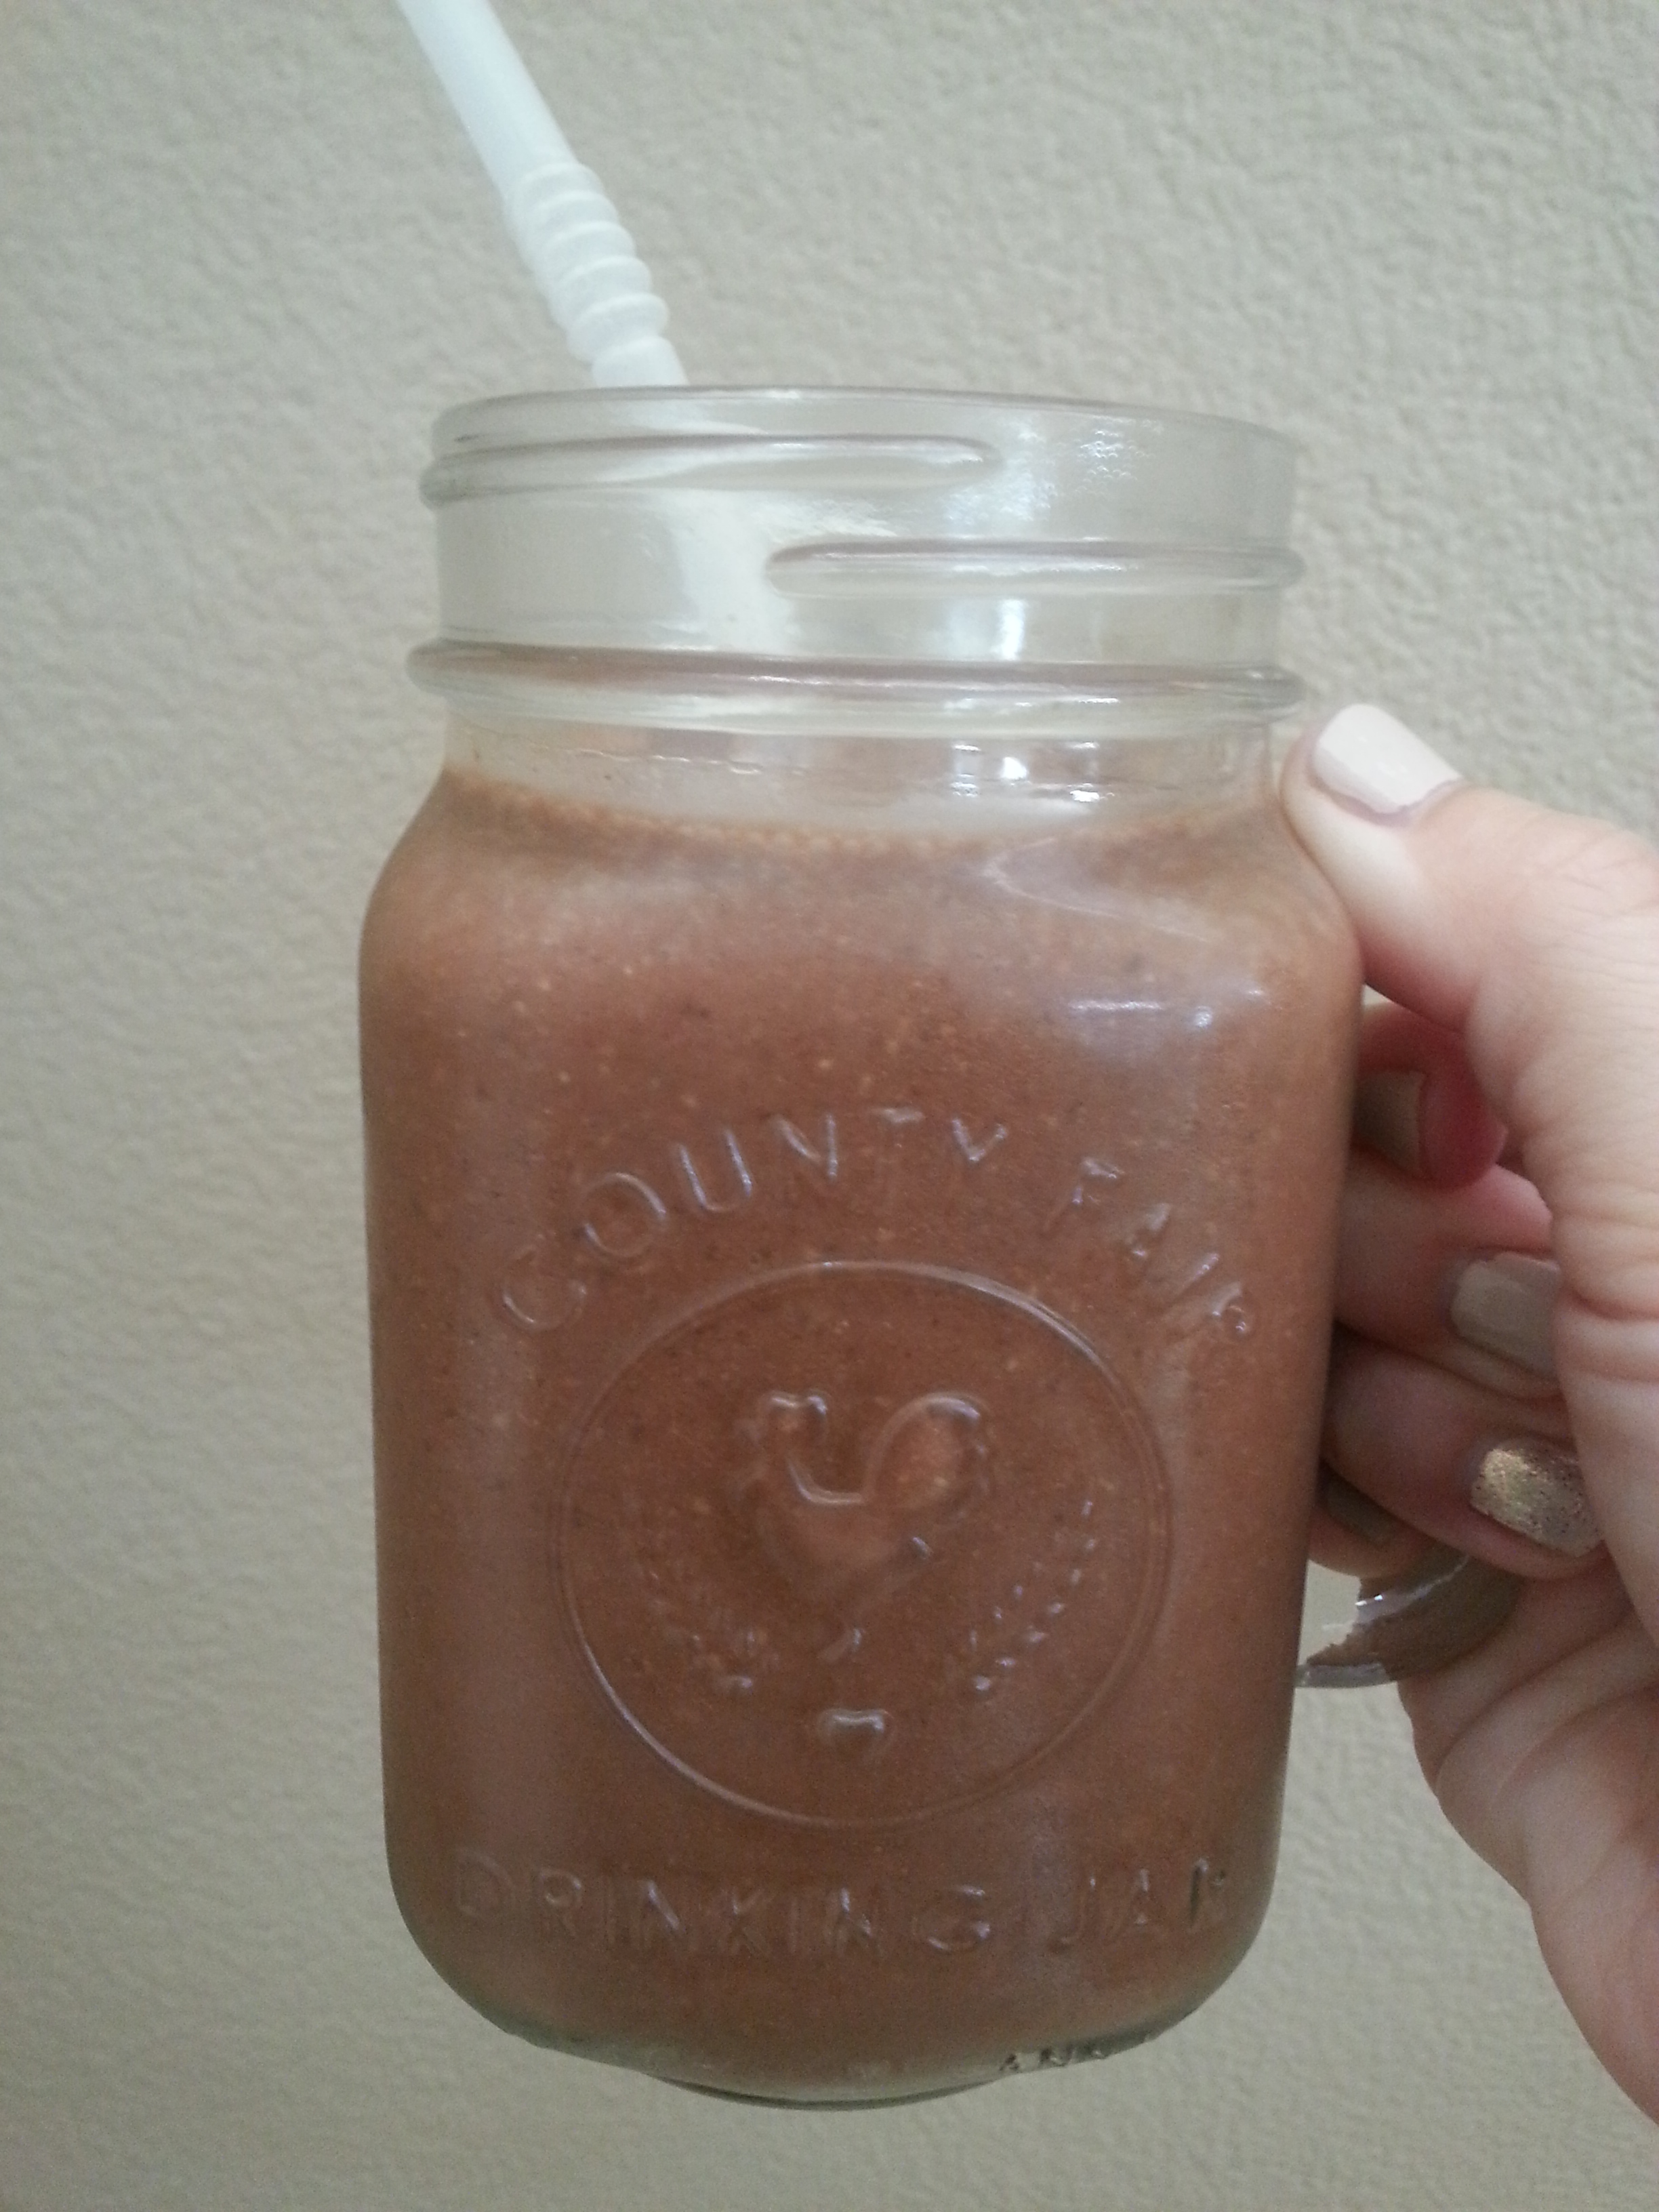
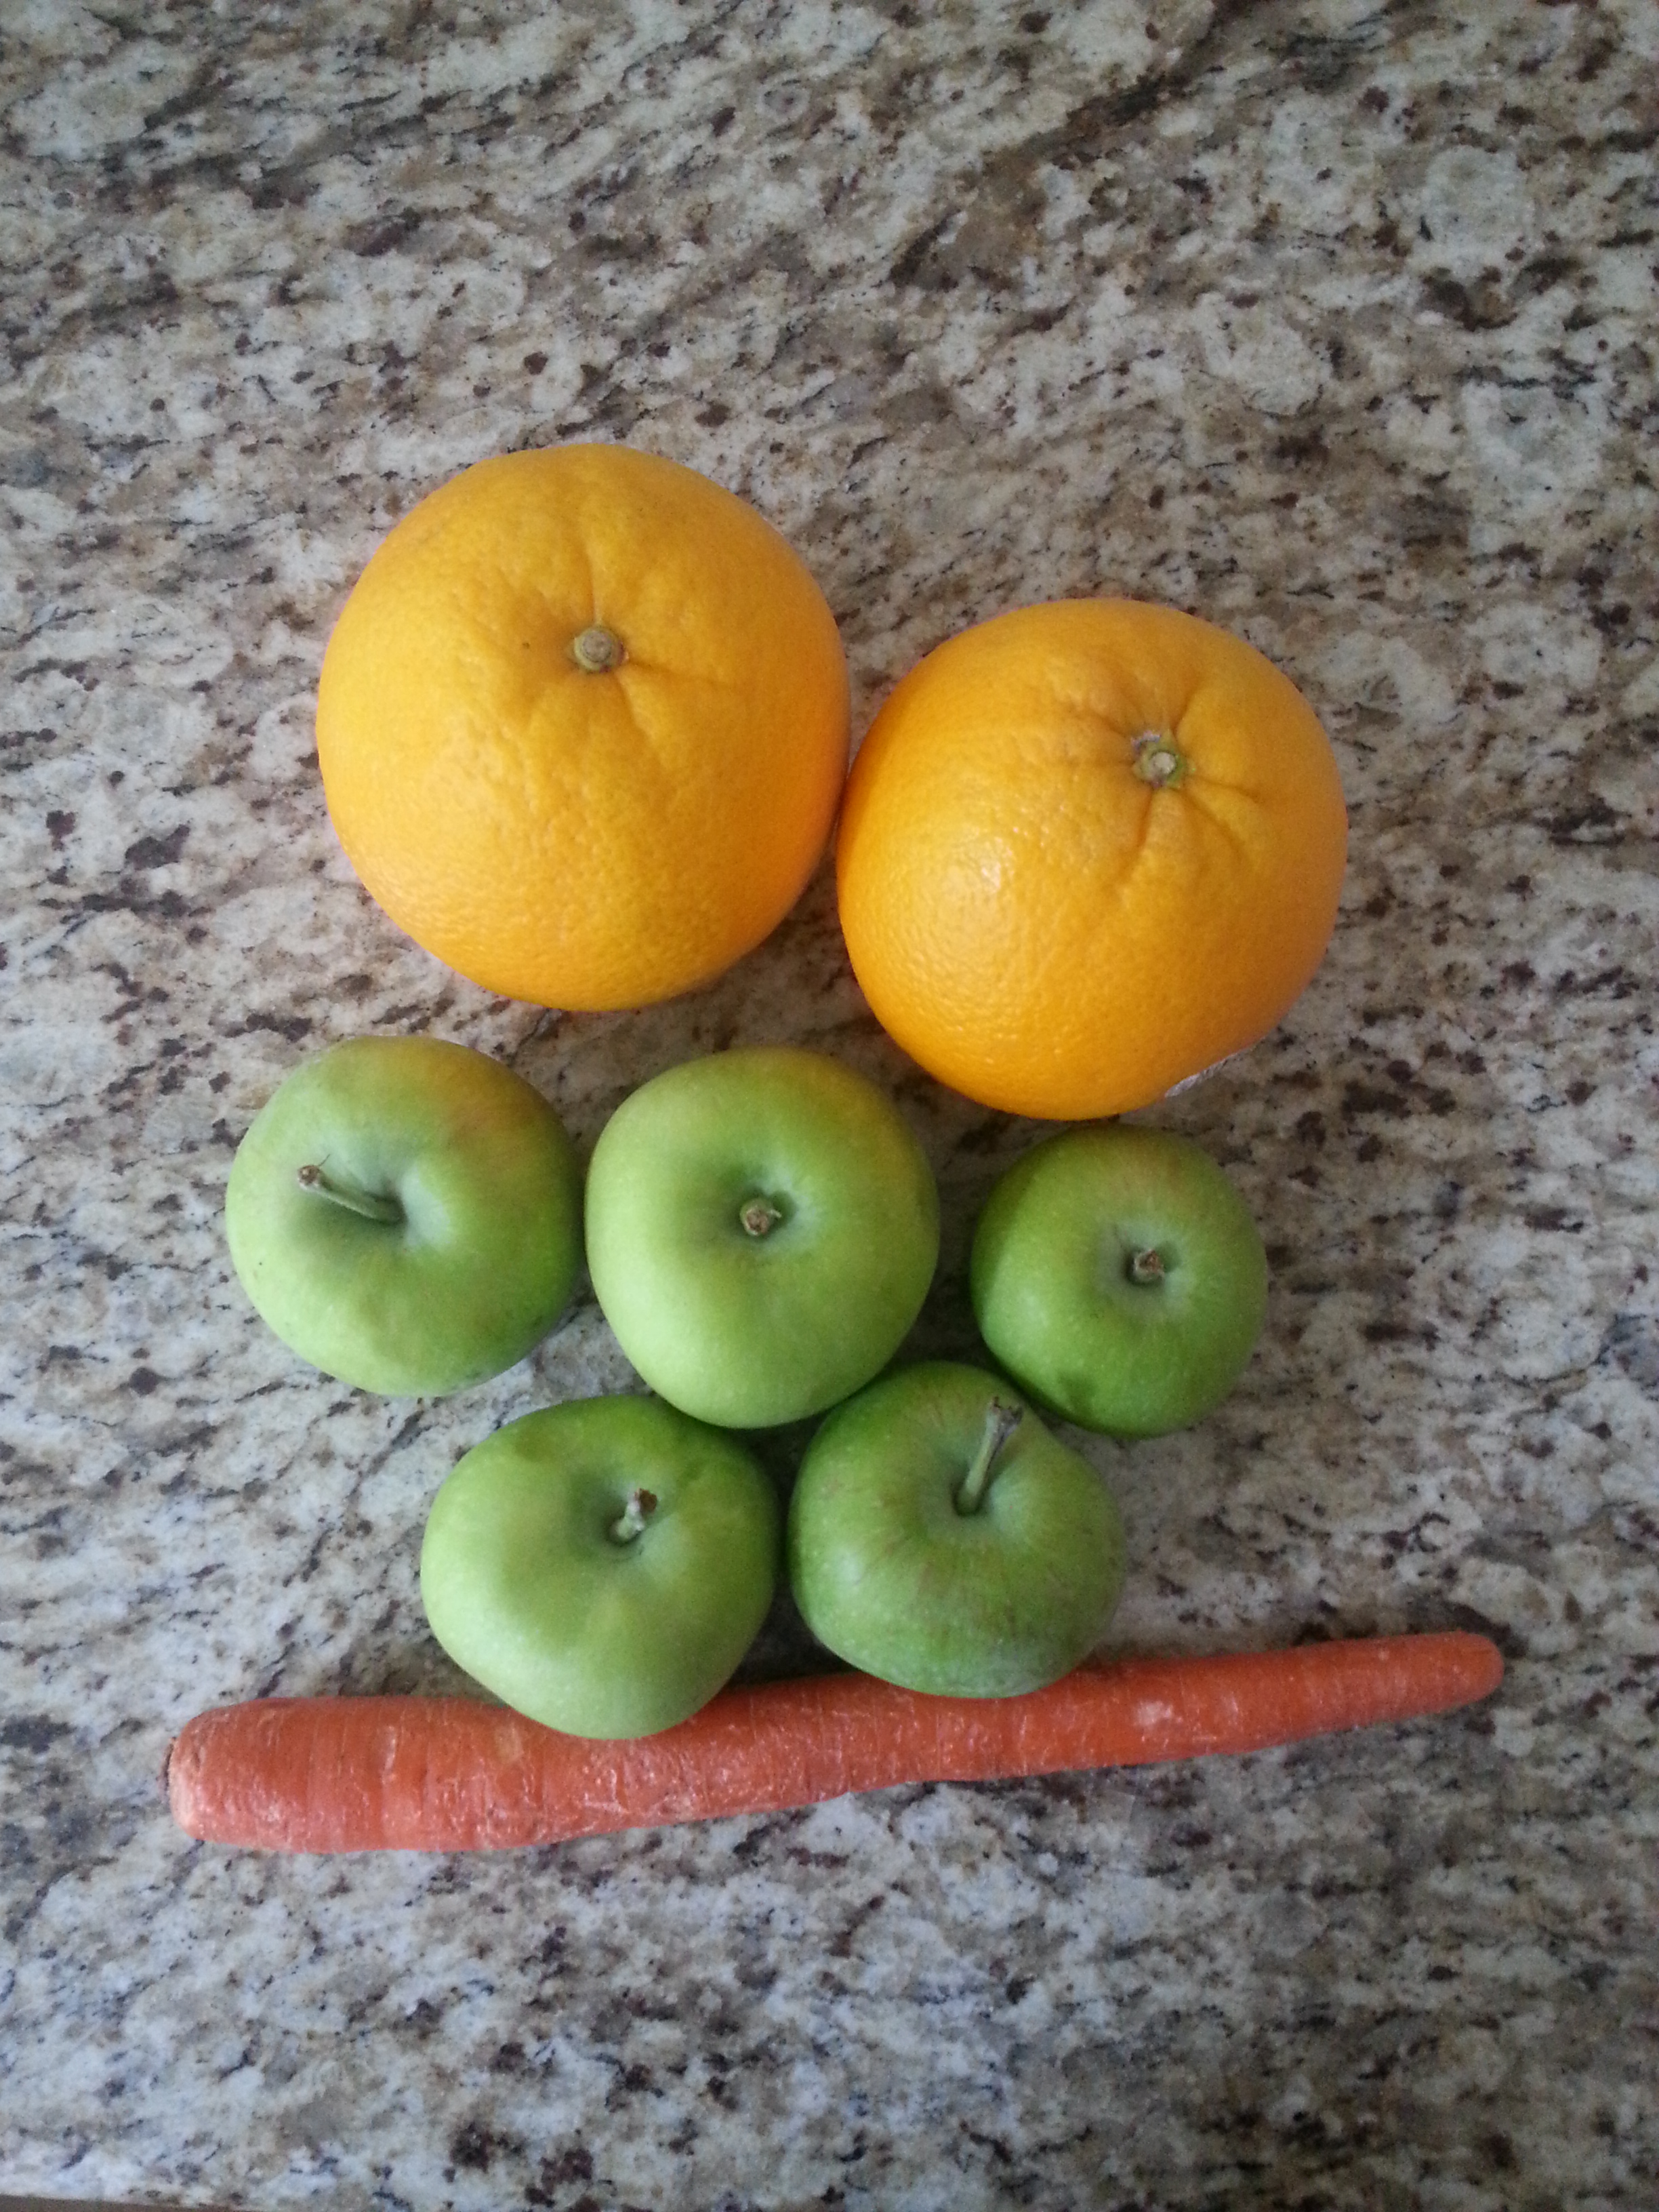 I realized that I’ve only ever posted one juice recipe and figured it was time to put up another one. I have really slowed my roll on juicing but decided to bust my juicer out so the kids could have some fresh juice with breakfast.