Kitchen Essentials (Last Minute Gift Ideas)

This is for you procrastinators out there who still haven’t finished up your Christmas shopping. If you’re buying for someone who likes to cook, or just so happens to be lacking in the kitchen department, here’s a list of my top 5 kitchen essentials. These are items I use on a daily basis or very often and I’m pretty sure anyone would be happy to receive them. Well, they may be a little thrown off by receiving a Dutch oven but once that puppy is in their kitchen and in use, they’ll be glad you gifted it to them!

To make your shopping easier, I’ve added links to each item of the exact brand/model that I own.

dutch oven
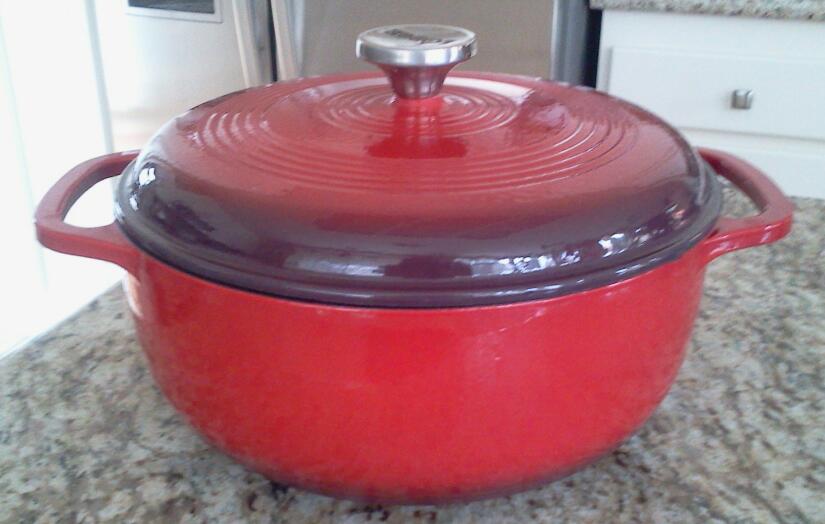
1. Dutch oven– I didn’t receive one of these until a few years ago. And my dad gave it to me as a gift. But, I absolutely love it! I wish I’d had this many years ago. This is probably my most used cooking vessel. I only make soups in this thing and it’s also great for any type of pulled meat, pork, beef, chicken. What’s convenient about this is that you can cook on the stovetop and then transfer it to the oven.

cast iron
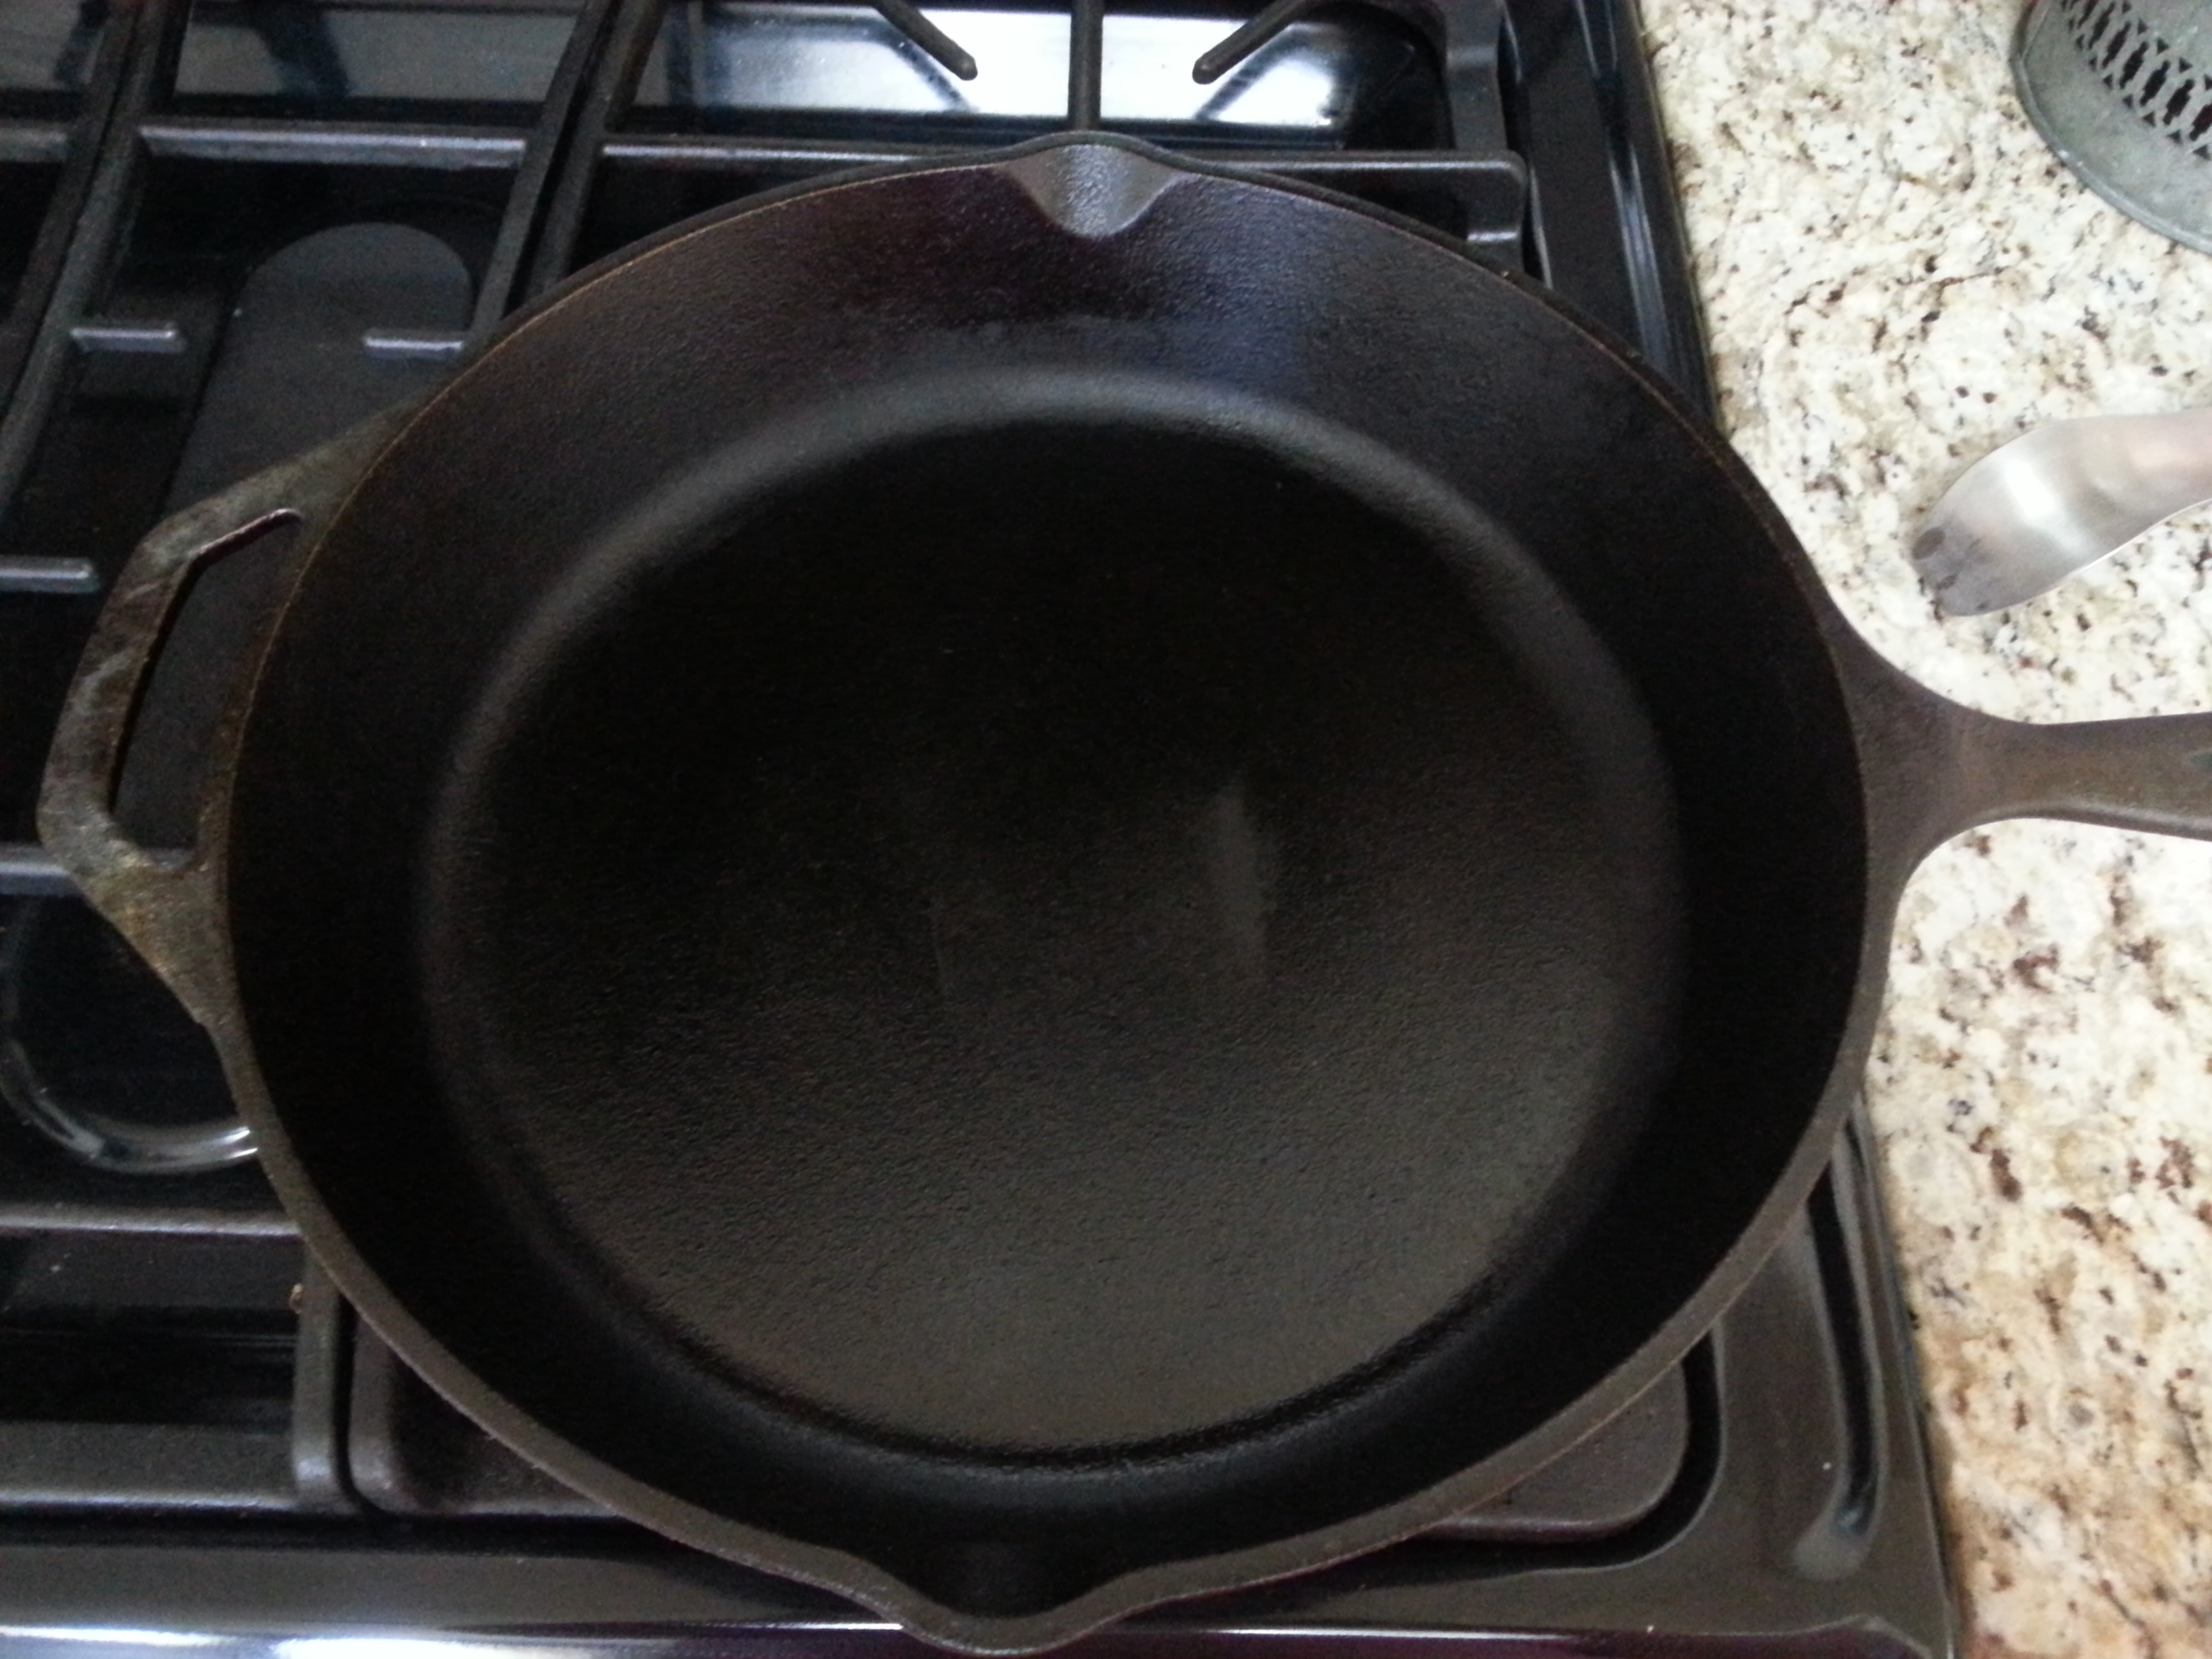
2. Cast iron skillet– This is a kitchen staple. Everyone needs a cast iron skillet. They are so versatile. Frying, cooking, baking. They pretty much do it all. We took ours all the way to Colorado when we went tent camping on a river and it was the ONLY pan I took. These things are heavy duty, incredibly resilient and a must in every kitchen.

kitchen 2
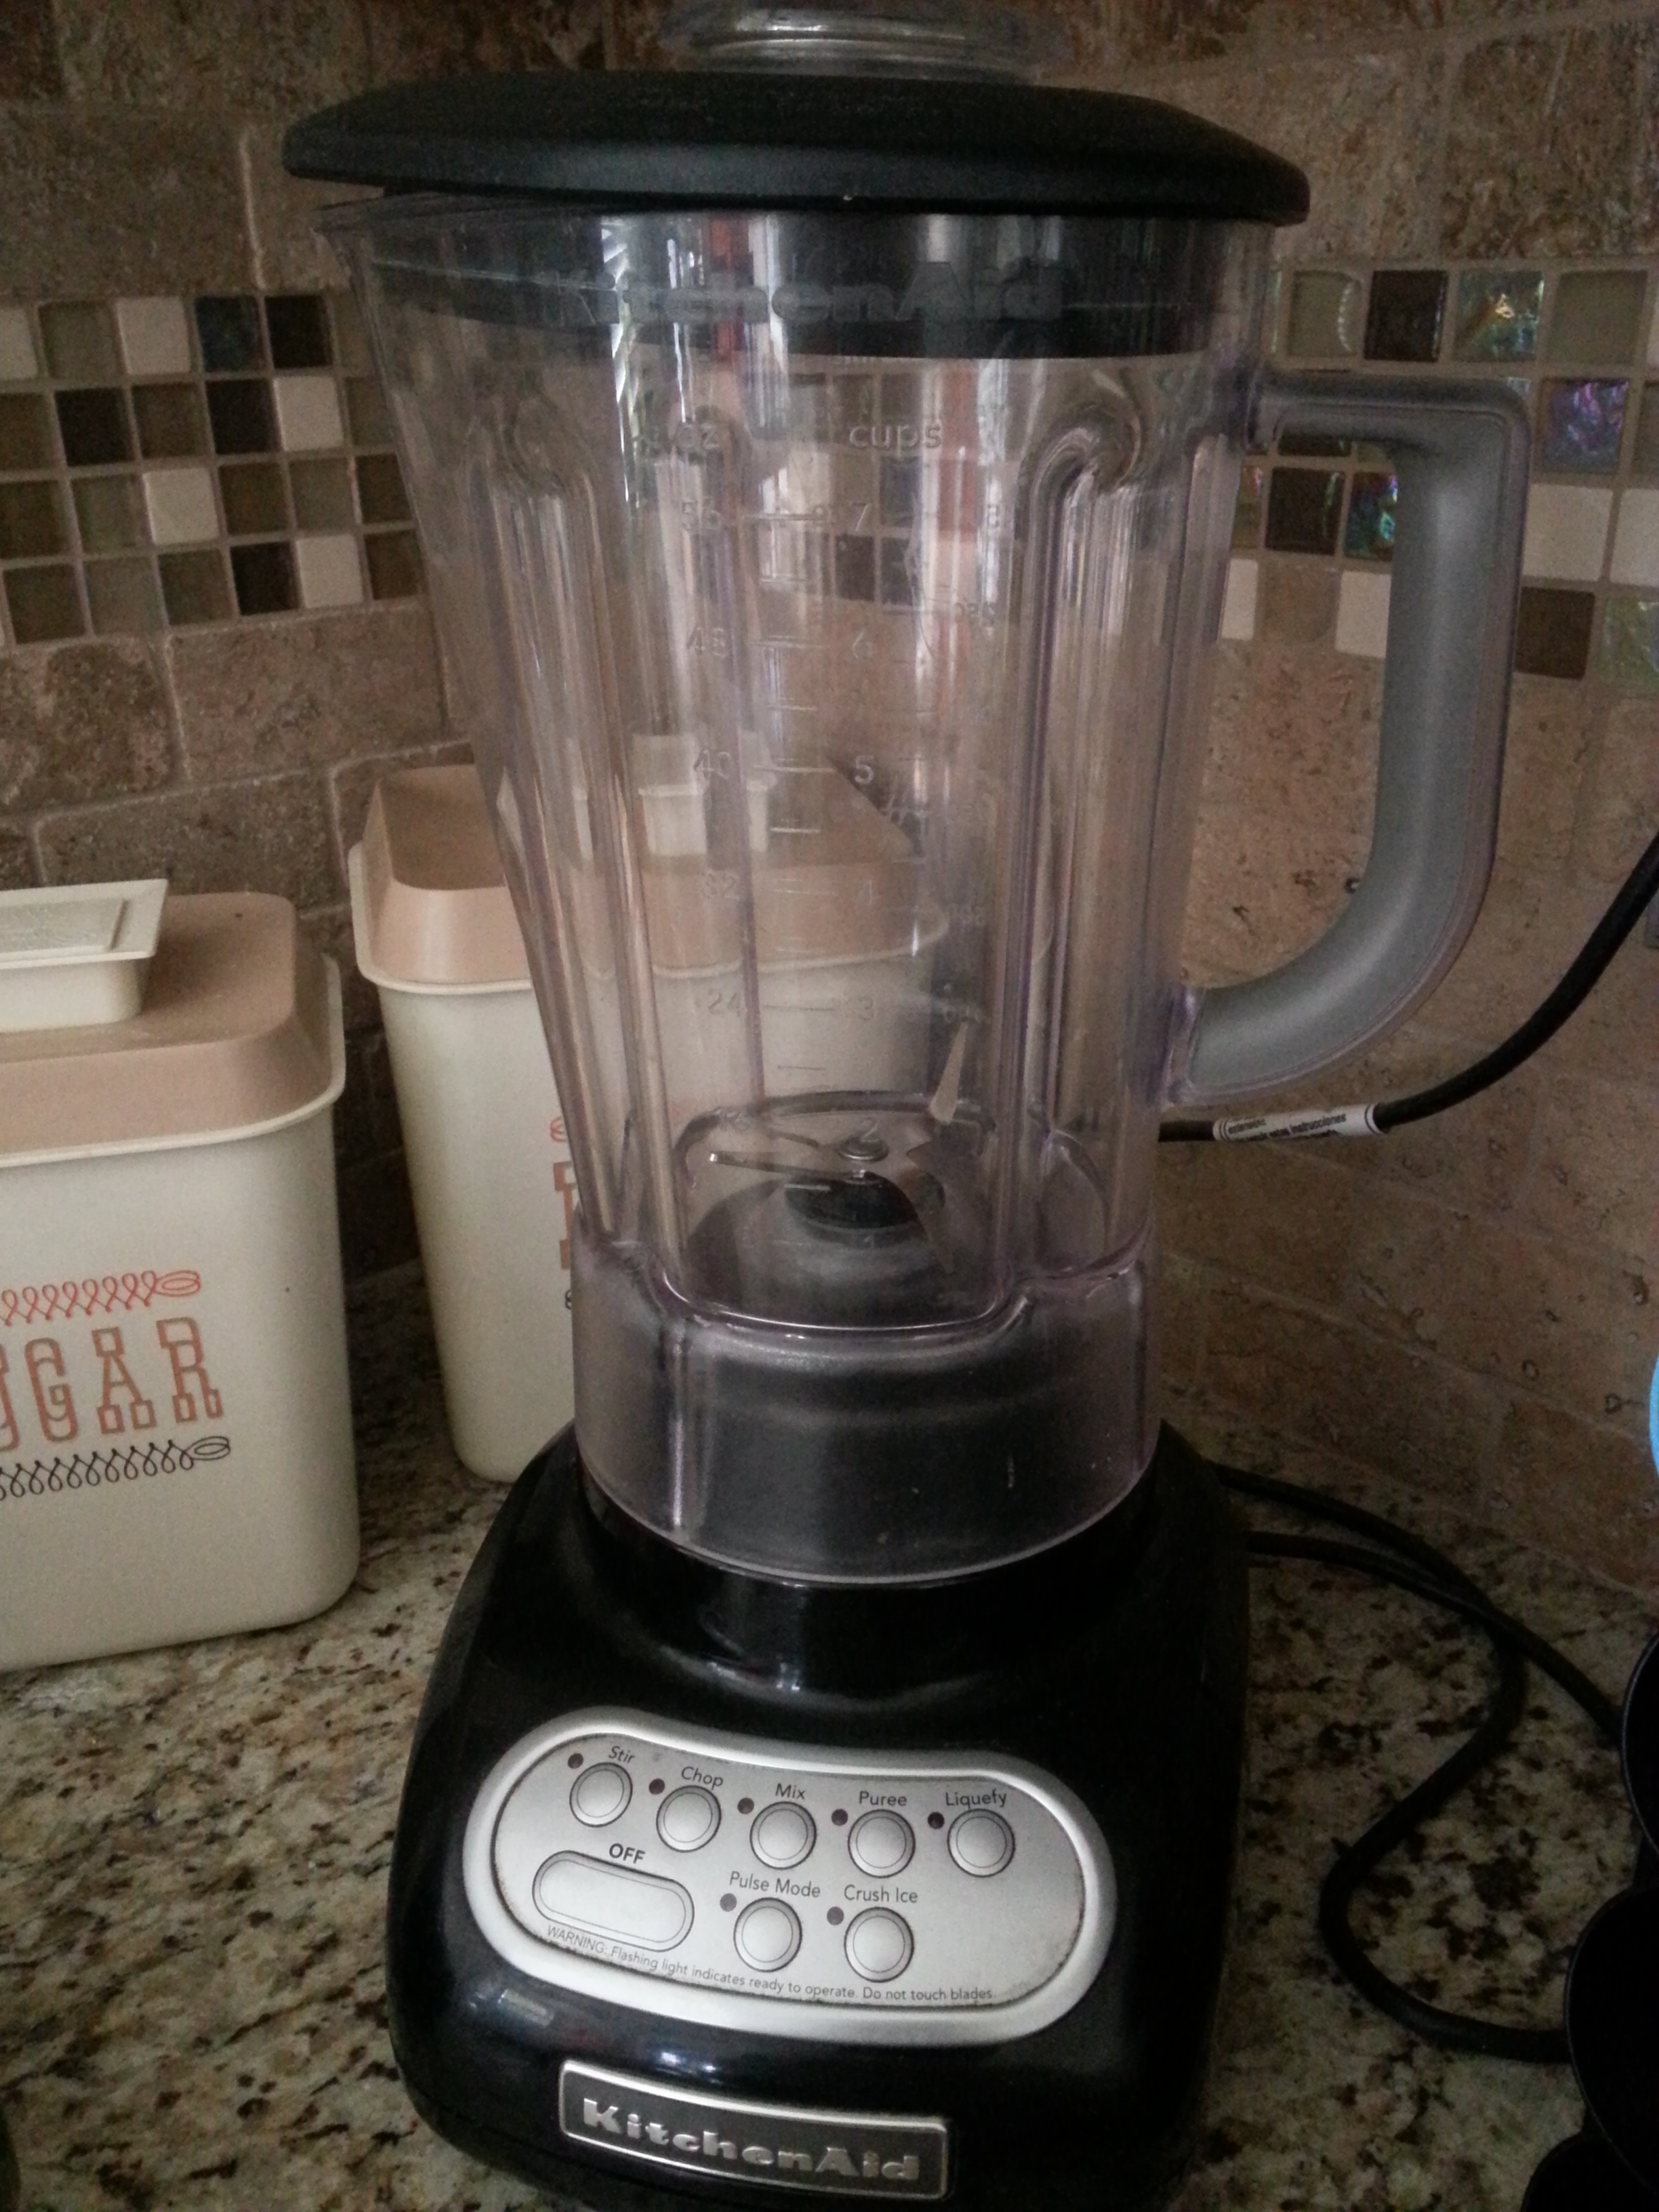
3. A good blender– After our old glass blender fell out of the top cabinet and onto my head, I was really in need of a new one. Not a new head, but a new blender. Impact with my hard head caused a crack on the base of the blender but surprisingly didn’t shatter or break the glass at all. Anyhow, my dad once again gifted me with an amazing blender. Yes, my dad gives me a lot of kitchen supplies. One, he encourages my cooking. Two, I think he had a kitchen shopping addiction there for awhile. Well, a good blender is also a must. Most people keep theirs in the cabinet (like I used to) but this newer one sits on my counter because I use it so often. Smoothies, shakes, salsa, dressings, etc.

knife
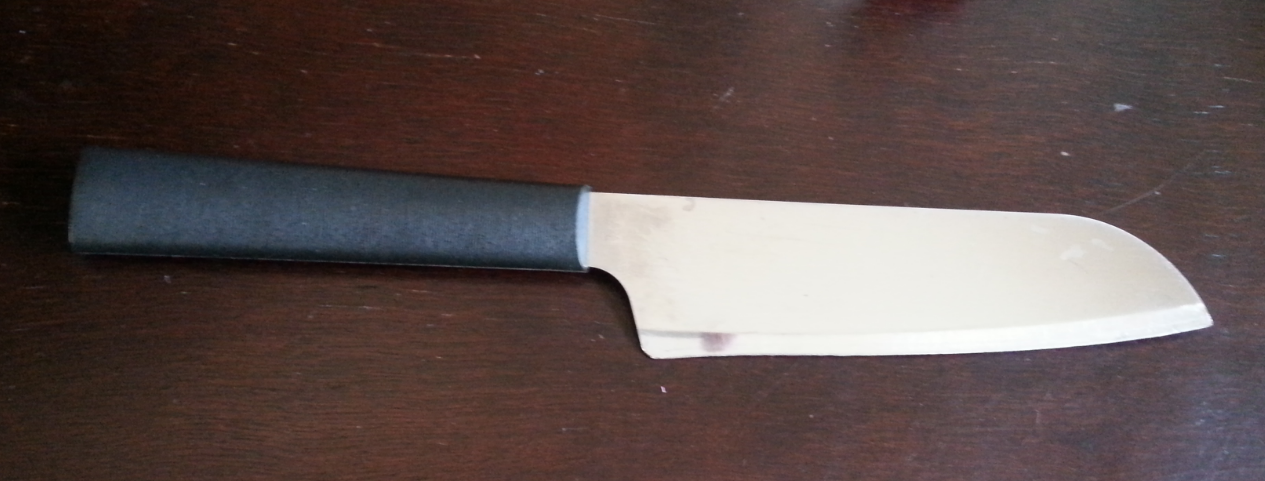
4. Kitchen knives– These are so important! Adam got me a great set of knives a couple of years ago and I love them. They are lightweight, but sharp and also comfortable to hold. Mine don’t have a block which I was hesitant about because who doesn’t have a block of knives sitting on their counter? Well, I don’t. At least not anymore. These stay in their velvest-esque holders in a drawer and it actually is pretty convenient. If you’re looking for a less expensive and more introductory set, click here. Same brand that I use, but just a smaller set.

kitchen
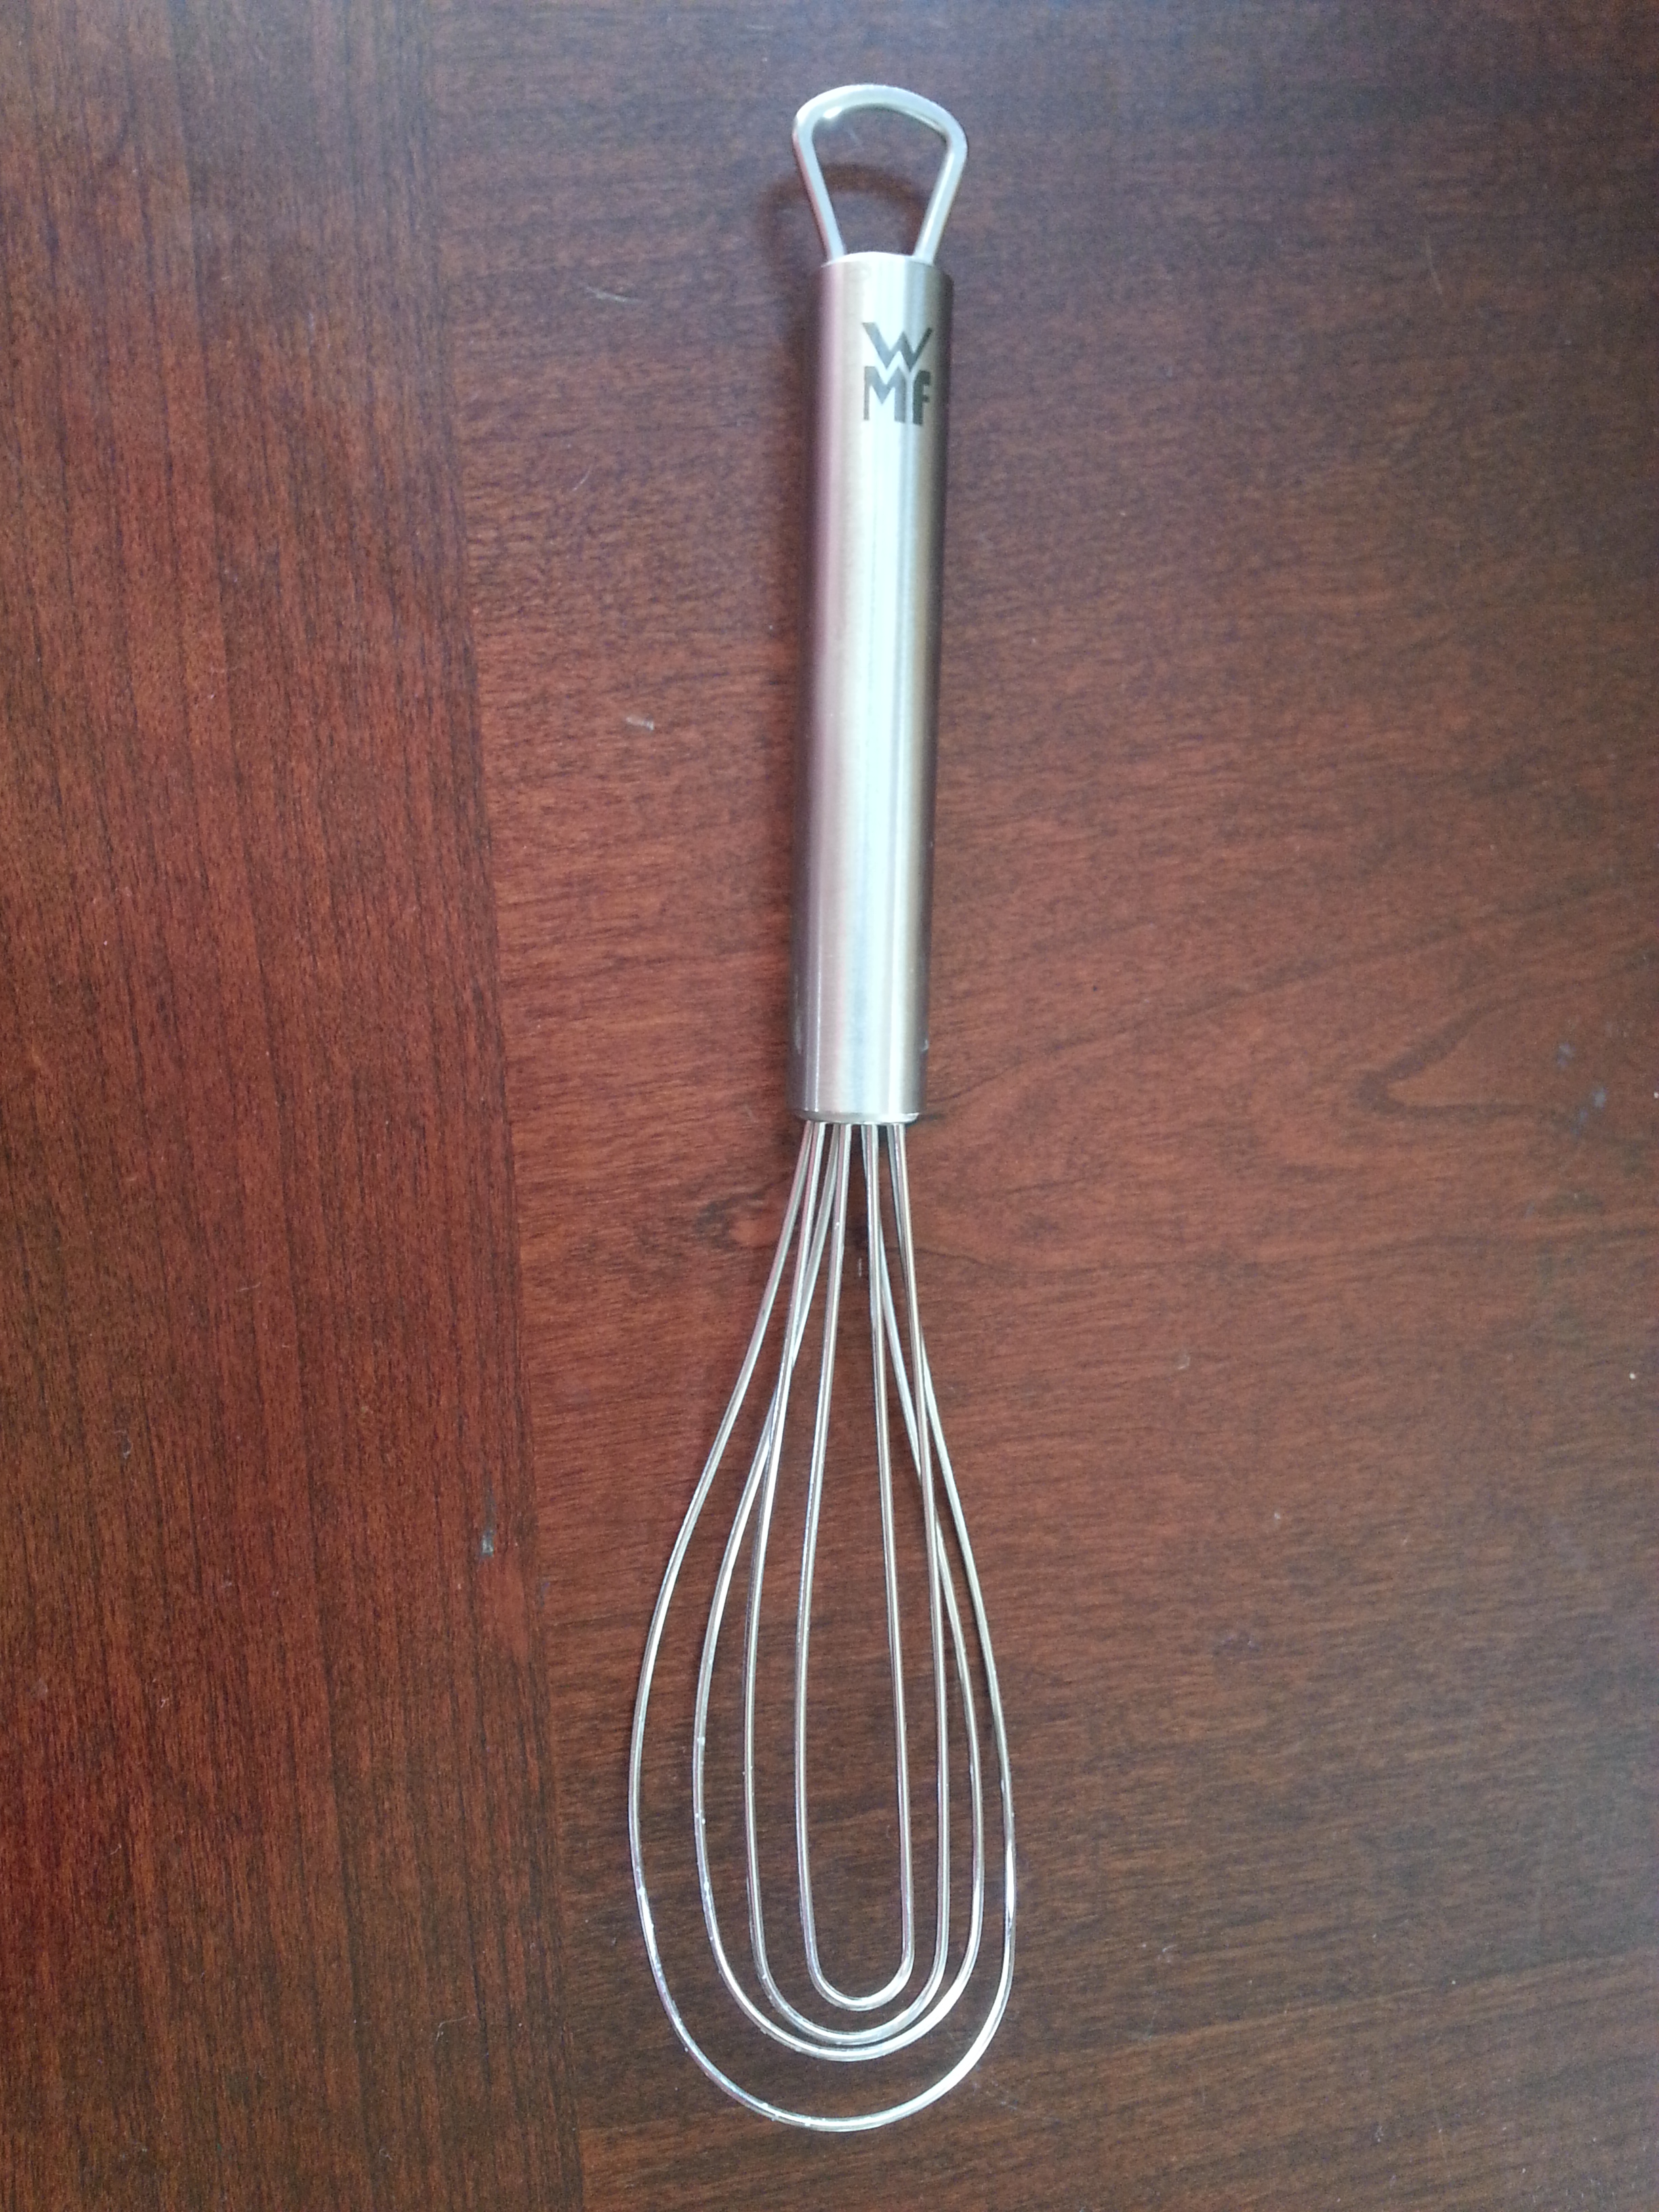
5. Flat whisk– I finally got this last year. Where has it been all my life?!?! I use it daily! It’s not cumbersome like a round whisk can be, and I like the smaller size. If you’re looking for something small and inexpensive, you’ve found it.

Happy shopping and Merry Christmas!

Advertisement

No Press? No Problem!

panini 10I’m not a gadget person but there’s some kitchen tools out there that are super helpful and should basically be a staple in your kitchen. By that I mean, a good blender, nice knives, a KitchenAid stand mixer (if you can afford it!). I didn’t get one of those until a couple of years ago and OMG why did I wait so long to get one?!?! Oh, wait, reference the prior statement in parentheses. They’re so damn expensive!!! But absolutely worth it!

Anyways, I’m not the type that needs a little tool for this and that. Give me a sharp knife and I can most likely do whatever that thing advertises. But there’s always that one kitchen item that you really want and just haven’t bought because it’s not a necessity. That for me has been a Panini press. I’ve had one of those things in an online cart too many times to remember, only to back out. First off, it really isn’t a need, it’s a want. Second, I have a pretty small kitchen with very little storage. My cabinets are FULL! So much so, that I’ve resorted to storing lots of kitchen stuff out in the garage cabinets.

So I’ve made due with what I have. And maybe you don’t even have what I use to make my “Faux-ninis” but I’ve got another suggestion that will absolutely work for you. Here goes…

Use a cast iron griddle pan! You know, the ones with the raised lines on them? Yep. That’s the one. You’ll get those cool lines on your fauxnini! But if you don’t have one, a regular cast iron will work or any type of pan, non stick preferred for this. But what about the press you ask? I’ve got that covered too.

panini 5See, all you need is another pan filled with a bunch of canned goods and voila, Panini without the “press”! You still get crunch and flat like goodness of a Panini. Without another tool taking up space in your kitchen.

Here’s the recipe for the type of Panini I made.

Caprese Panini

  • 2 tbsp. mayo
  • 2 tbsp. prepared pesto
  • 1/2 loaf of ciabatta bread
  • 2 slices pepperjack cheese
  • 1/4 c. shredded Italian blend cheese
  • 2 tomatoes, sliced

Heat your griddle pan over medium heat on your stove. Cast iron takes a little longer to heat up so while you assemble the sandwich is a good time to heat it up. Mix together the mayo and pesto to make a “pesto mayo”. Slice the loaf in half and spread the mayo on each side. On one side, lay the two slices of pepperjack. Add all the tomatoes to make sure it covers the loaf, then top with the shredded Italian blend. Place the other slice of bread on top. (Do as I say, not as I do in my pictures!) Place into a Panini press, or in my case, my fauxnini press. Place a pan filled with canned items to make it heavy and set on top of the Panini. Let cook for 3-5 minutes or until browned and crisp on one side. Remove the pan, flip the Panini over and place pan back on top. Let cook for about 2 minutes. Remove from heat and slice on the diagonal.

panini 9panini 8panini 7panini 3panini 2panini

Cold Leftovers Suck

thermos 2With cooler weather ahead, and it may have already cooled down for some of you, but still, we’ve experienced hot weather here. It’s finally cooling down a little but I’m just waiting for Mother Nature to say PSYCH! and out comes the 85 degree weather again. In November…. Anyways, as I was saying, with cooler weather, a nice hot lunch hits the spot! Especially for the kids who have to eat outside at school. Here, there is no cafeteria for the kids to sit in. Nope, they sit outside on benches and the only time they eat inside is when it’s exceptionally hot out, or raining. On those colder days, I like to send my kids leftovers in their thermos. Soup, spaghetti, macaroni and cheese, I’ve even sent teriyaki chicken and rice. And they are always so excited when they get to take their thermos to school!

When my oldest first started taking her thermos, she’d come home and tell me the food was not very warm. Hmmm… there went the happy thought that she was able to have a hot, homemade lunch. So a little trial and error came up with this tip to keep your thermos lunch nice and hot until lunchtime….

Let your kitchen sink water run on HOT for a few minutes. Until it’s super hot. Then fill up your thermos with the hot water, put the lid on and let sit for about 10-15 minutes. Heat up your leftovers in the microwave until they are also very hot. Dump out the water, add in the hot food and quickly screw on the lid. There you go. Hot leftovers for whatever time your kids take lunch. And my oldest doesn’t have lunch until 1:00 this year, so that’s awhile to sit in the thermos. But she swears it’s nice and hot by the time she eats.

thermosthermos 3And don’t think thermos lunches are only for kids at school. I used to send my husband leftovers for his lunch when he was a truck driver. He was so busy he barely had time to eat so opening up that thermos and having a homemade, hot lunch was a lifesaver for him.

But really, any way you put it, kids or adults, cold leftovers suck. Not a problem anymore though. At least not in a thermos.

Celery Saver

celery 2I saw this little tip on Pinterest and finally decided to give it a try. Well, it worked! And if you haven’t seen it for yourself on Pinterest, here it is….

Wash your celery and pat it dry. Then wrap it up tightly in foil. For some reason, it keeps it really fresh. And I don’t even much like celery anyways, so I definitely never use a whole bunch of it. It is cheap, but I hate to throw away anything and this trick has saved me from having to chuck old celery.

These pictures are celery that is AT LEAST 2 weeks old. And I’m sure that’s just me being generous because I think it’s a bit older than that. But it’s still crisp, green and fresh. Except a little towards the ends of the stalks, but still!

celerycelery 3I definitely won’t be keeping it in Ziploc bags anymore!

I Can’t Believe That’s Not Butter!

Quick tip of the day: To save time and drastically cut back on calories, I use cooking spray instead of butter on grilled sandwiches. *GASP* No butter? Yes I say! And I don’t even miss it. I’ve been using this trick for so long now that although my love of butter runs deep, I don’t miss it at all on grilled samiches.

I always use canola oil cooking spray but I think coconut oil spray is a great choice too. Here’s the kicker though. When you look at the nutritional info on the can of canola cooking spray, it’s zeros all the way down baby! When you look at the nutritional info on butter, you’ll see some zeros there too. Just at the end of a three digit number! Plus, with cooking spray, the bread still gets golden, brown and toasty.

Just spray your bread (same as you would spread butter on it) and cook away. That easy. That fast. And that simple.

grilled cheese 3grilled cheese 2grilled cheeseTry it once and after your first bite, you’ll be saying “I can’t believe that’s not butter!”

Make Ahead Smoothies

Yes, you can make smoothies ahead of time! Why you ask? Well, here’s the predicament I was in. Or I should say, my husband. He recently started jogging in the morning before going to work. And after his jog, he wanted a healthy breakfast. But depending on his work schedule, he’s up anywhere from 4am to 6am, which is prime sleeping time for everyone else in our house. And I know the last thing I want waking me up is the obnoxious sound of a blender. Enter make ahead smoothies.

So you can make the smoothies just as you normally would and put them in a freezer safe container. I love my Ball plastic salsa freezer jars. I’ve had them for a couple of years and picked them up at Walmart. I use them all the time, and not necessarily for salsa. They are perfect for these make ahead smoothies. I found some plastic freezer jars over at Amazon and although they’re not the same exact ones I have, I think these are just the updated version.

smoothie jars 2Since the smoothies are frozen solid, my husband takes them out of the freezer right when he wakes up. He fills a larger cup with hot water and sets the smoothie jar inside. And when he’s back from his jog, he says they’re still a little slushy but have melted enough for him to eat AND they taste good. Make ahead smoothie success!

Use whatever smoothie recipe you like, or try out one of mine:

Strawberry Banana Smoothie

Healthy Oatmeal Banana Smoothie

Mango & Chia Smoothie

My husband’s favorite smoothie has peaches in it so that’s usually what I make him. I happened to have a fresh pineapple so I decided to throw that in there this time around.

Tropical Peach Smoothie (makes approximately 20 ounces)

  • 1 fresh or frozen banana
  • 1/2 c. frozen peaches
  • 1/4 c. fresh pineapple
  • 2 tbsp. ground flax
  • 1 1/2 c. almond milk
  • 1/3 c. vanilla yogurt

Blend all ingredients on high until smooth. Divide between two freezer container jars and store in the freezer.

smoothie jarsNow if you don’t have a jogging husband that you need to make these for, these would be great for family picnics. Just place them in your cooler and by the time you’ve eaten your food and the kids have played, a healthy dessert has thawed out and is ready and waiting for them. I also recommend the YP Sport pouches, shown below. They also hold smoothies or shakes very well, are freezer safe and fun for the kids. You can find them by clicking on this link at Amazon. I know my kids think they’re pretty cool.