Macaroni & Cheese

mac n cheese
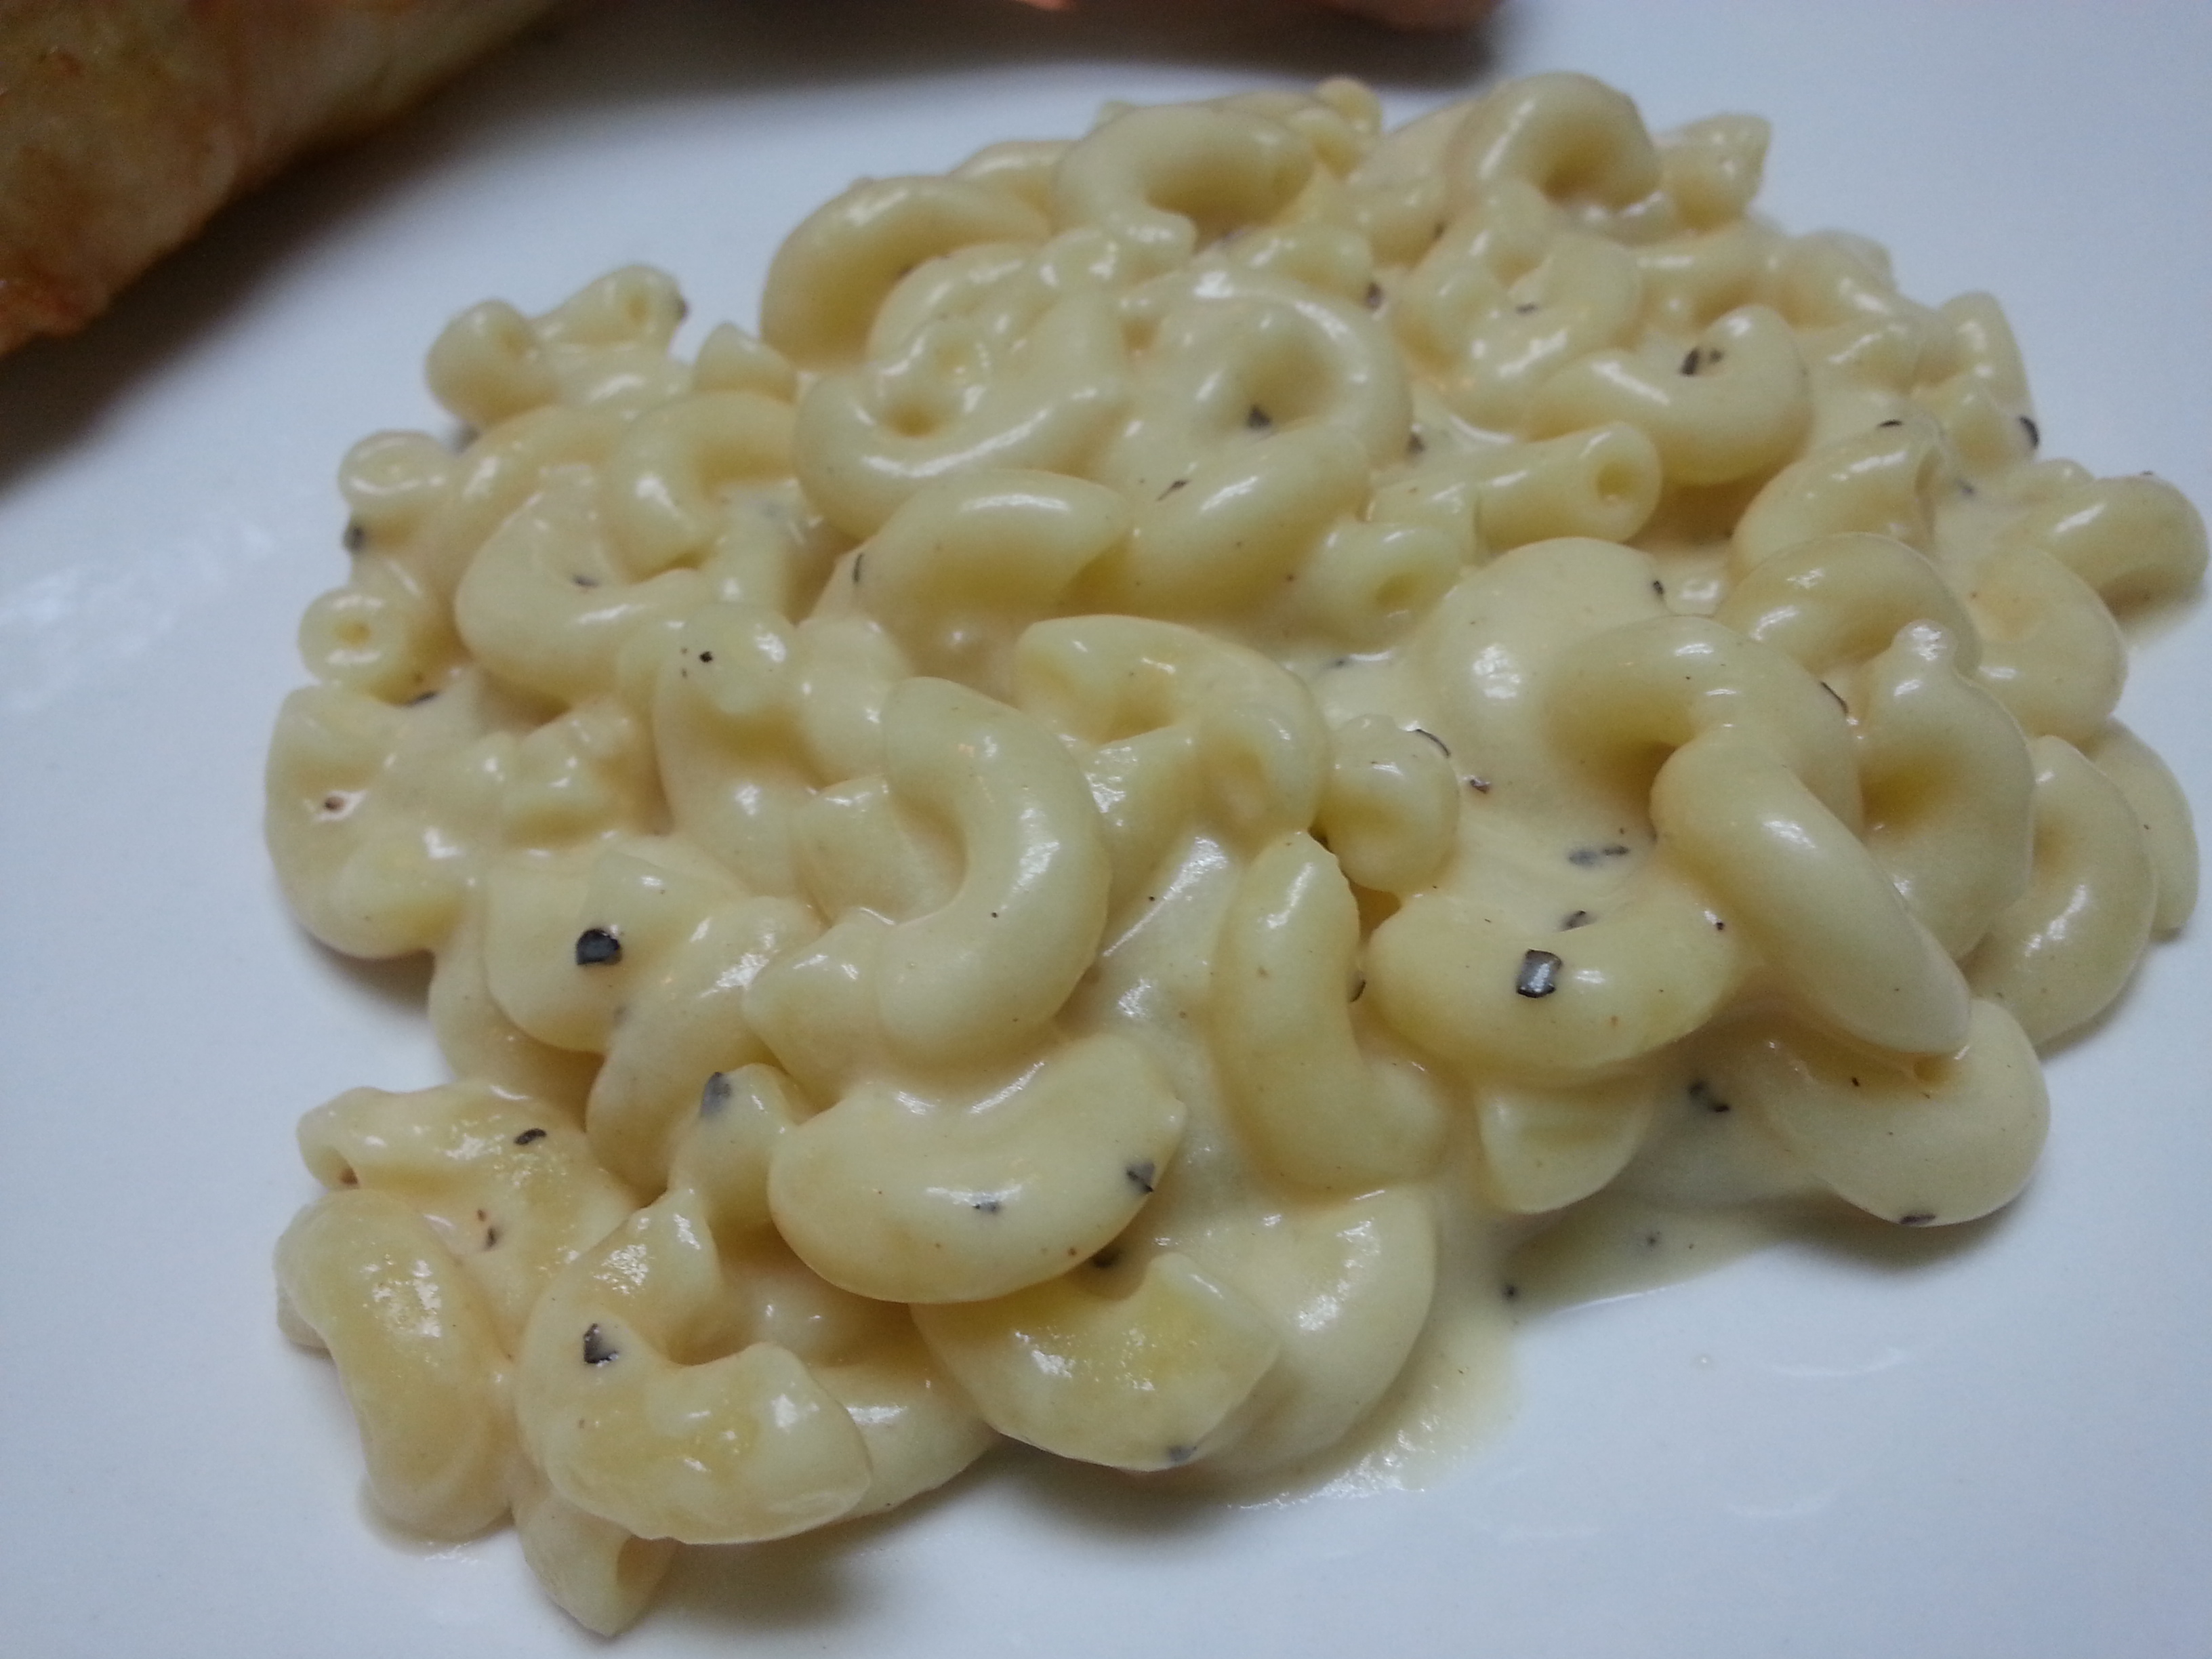
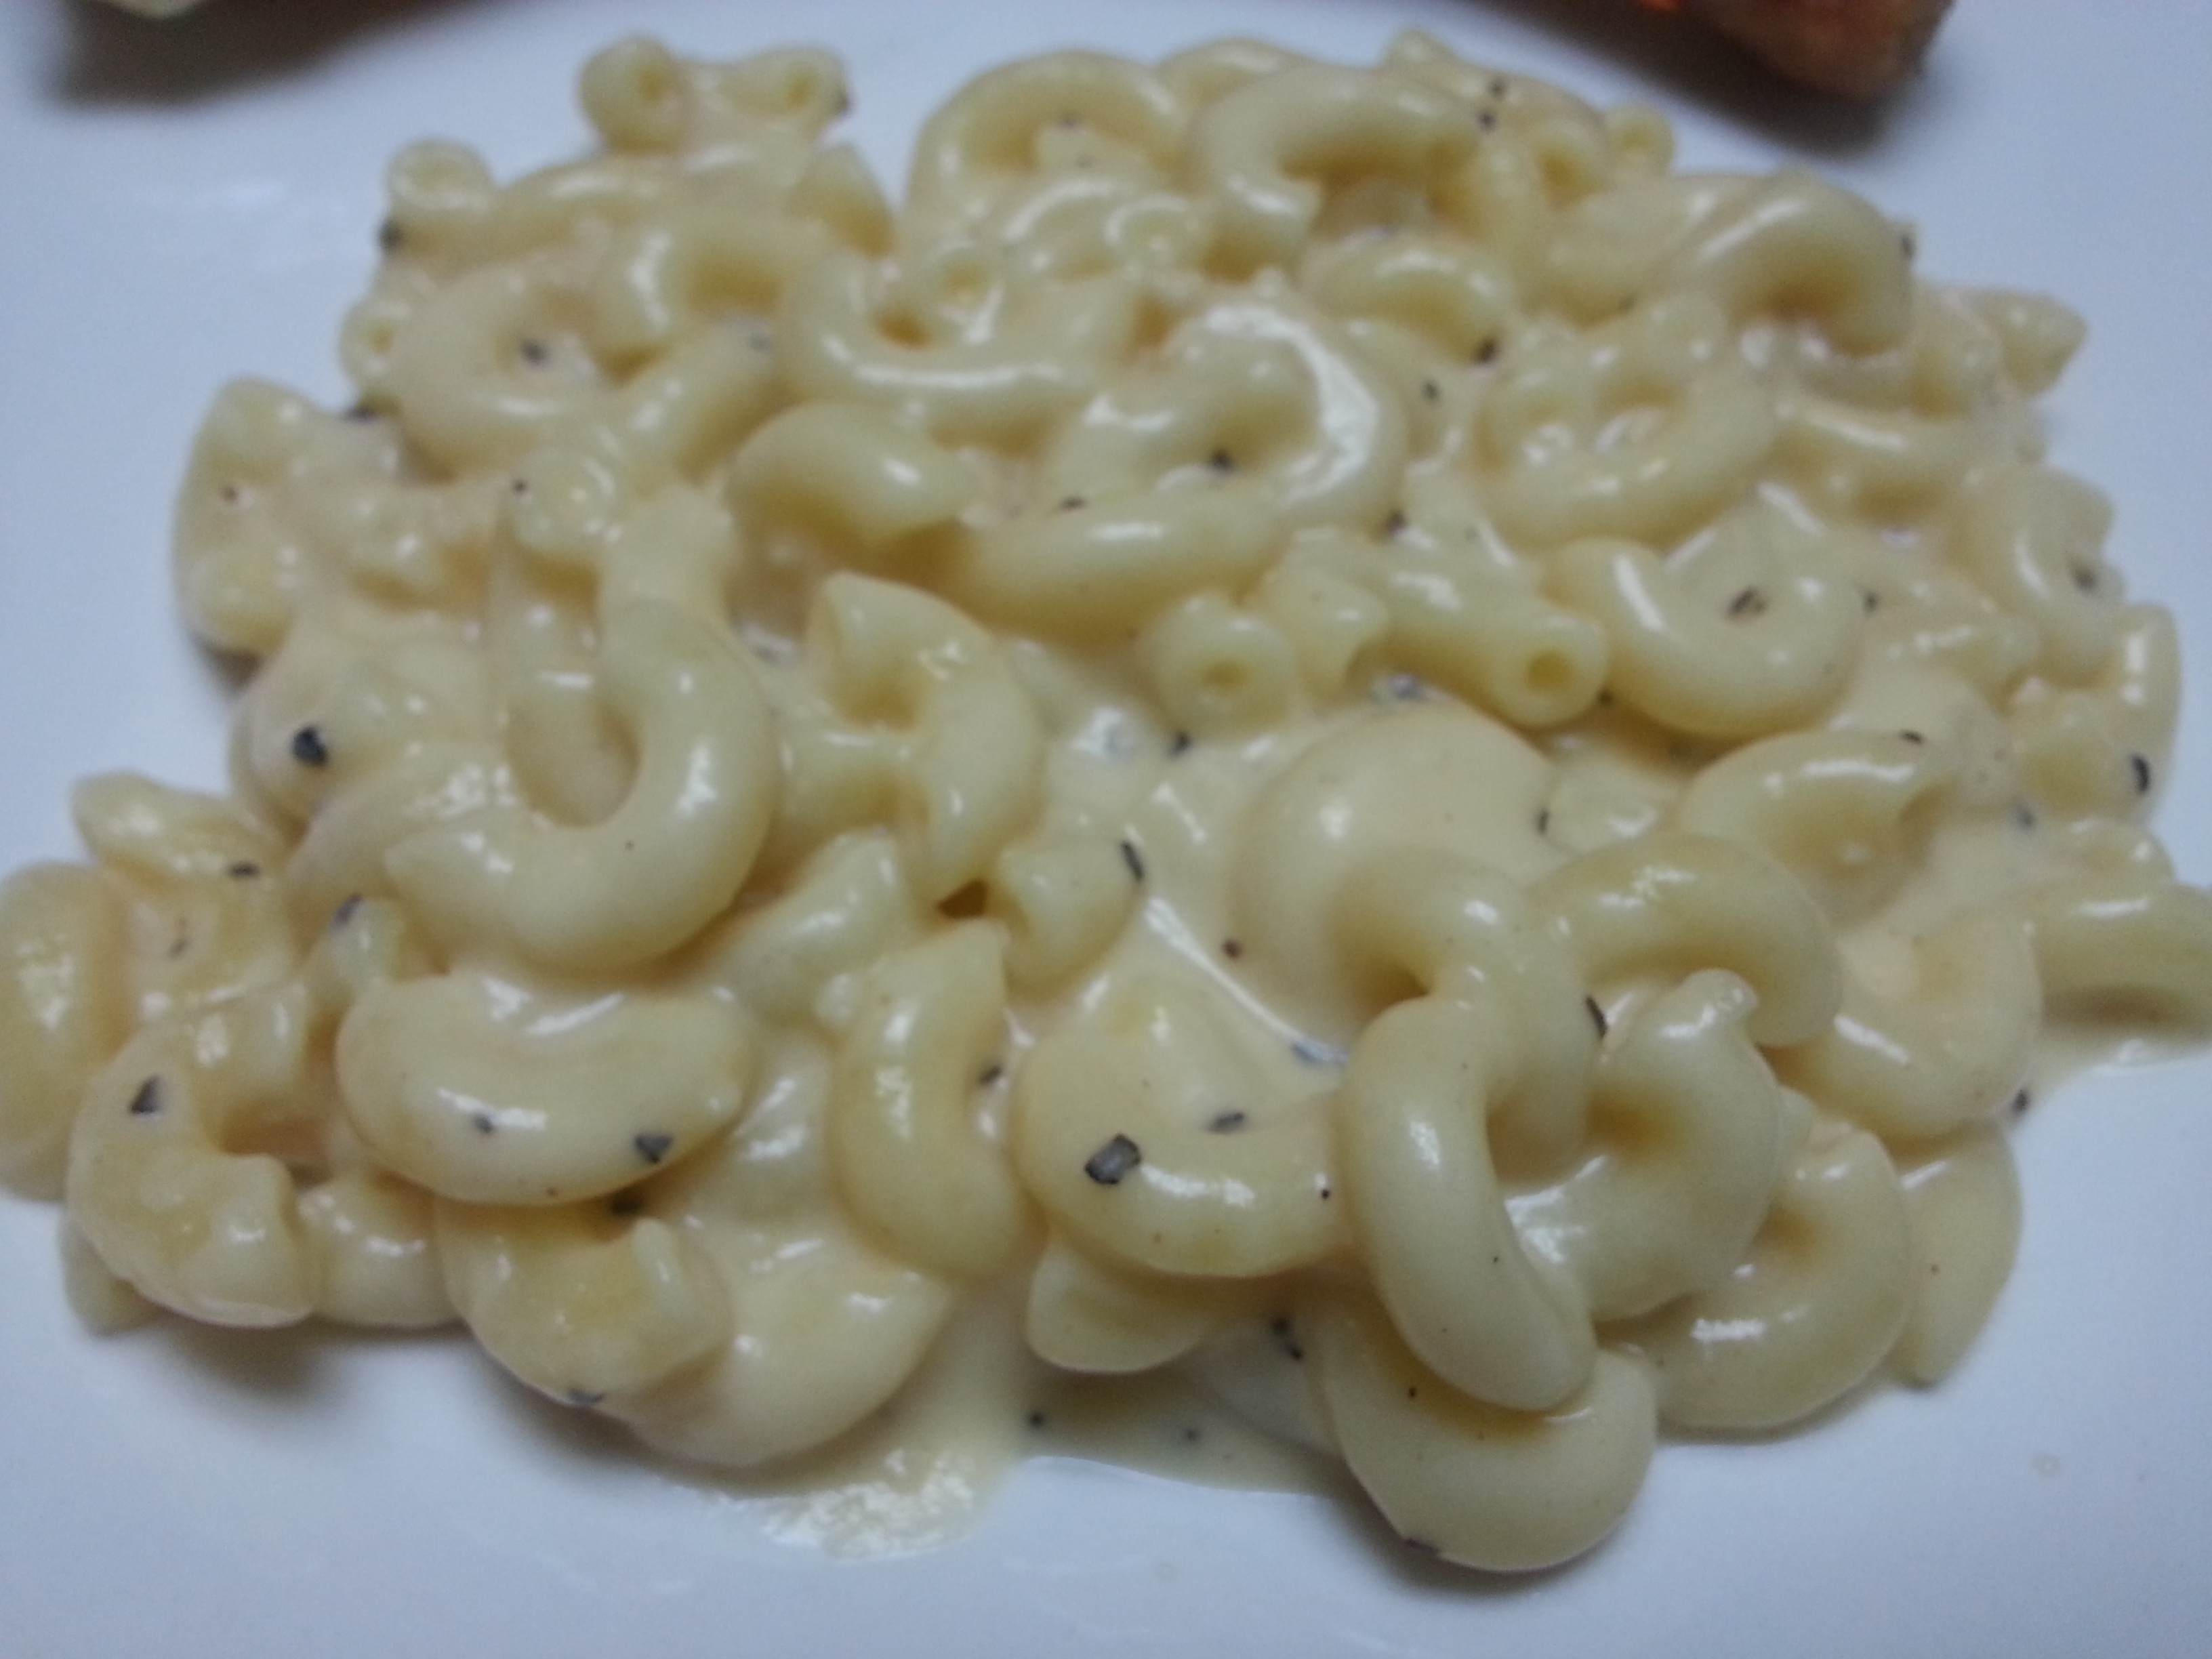
There are so many mac and cheese recipes out there! So why make this one? Simply put, it’s GOOD! Very creamy, easy to make, and it doesn’t require baking time in the oven. Plus, it doesn’t call for any special fancy ingredients. Look in your pantry and fridge and I’m sure you’ll have everything you need to make this side dish. Annnndddd…. no heavy cream. Yet, it’s delectably creamy. Yes, it’s possible to have that consistency WITHOUT all that fat. Your thighs just thanked me!

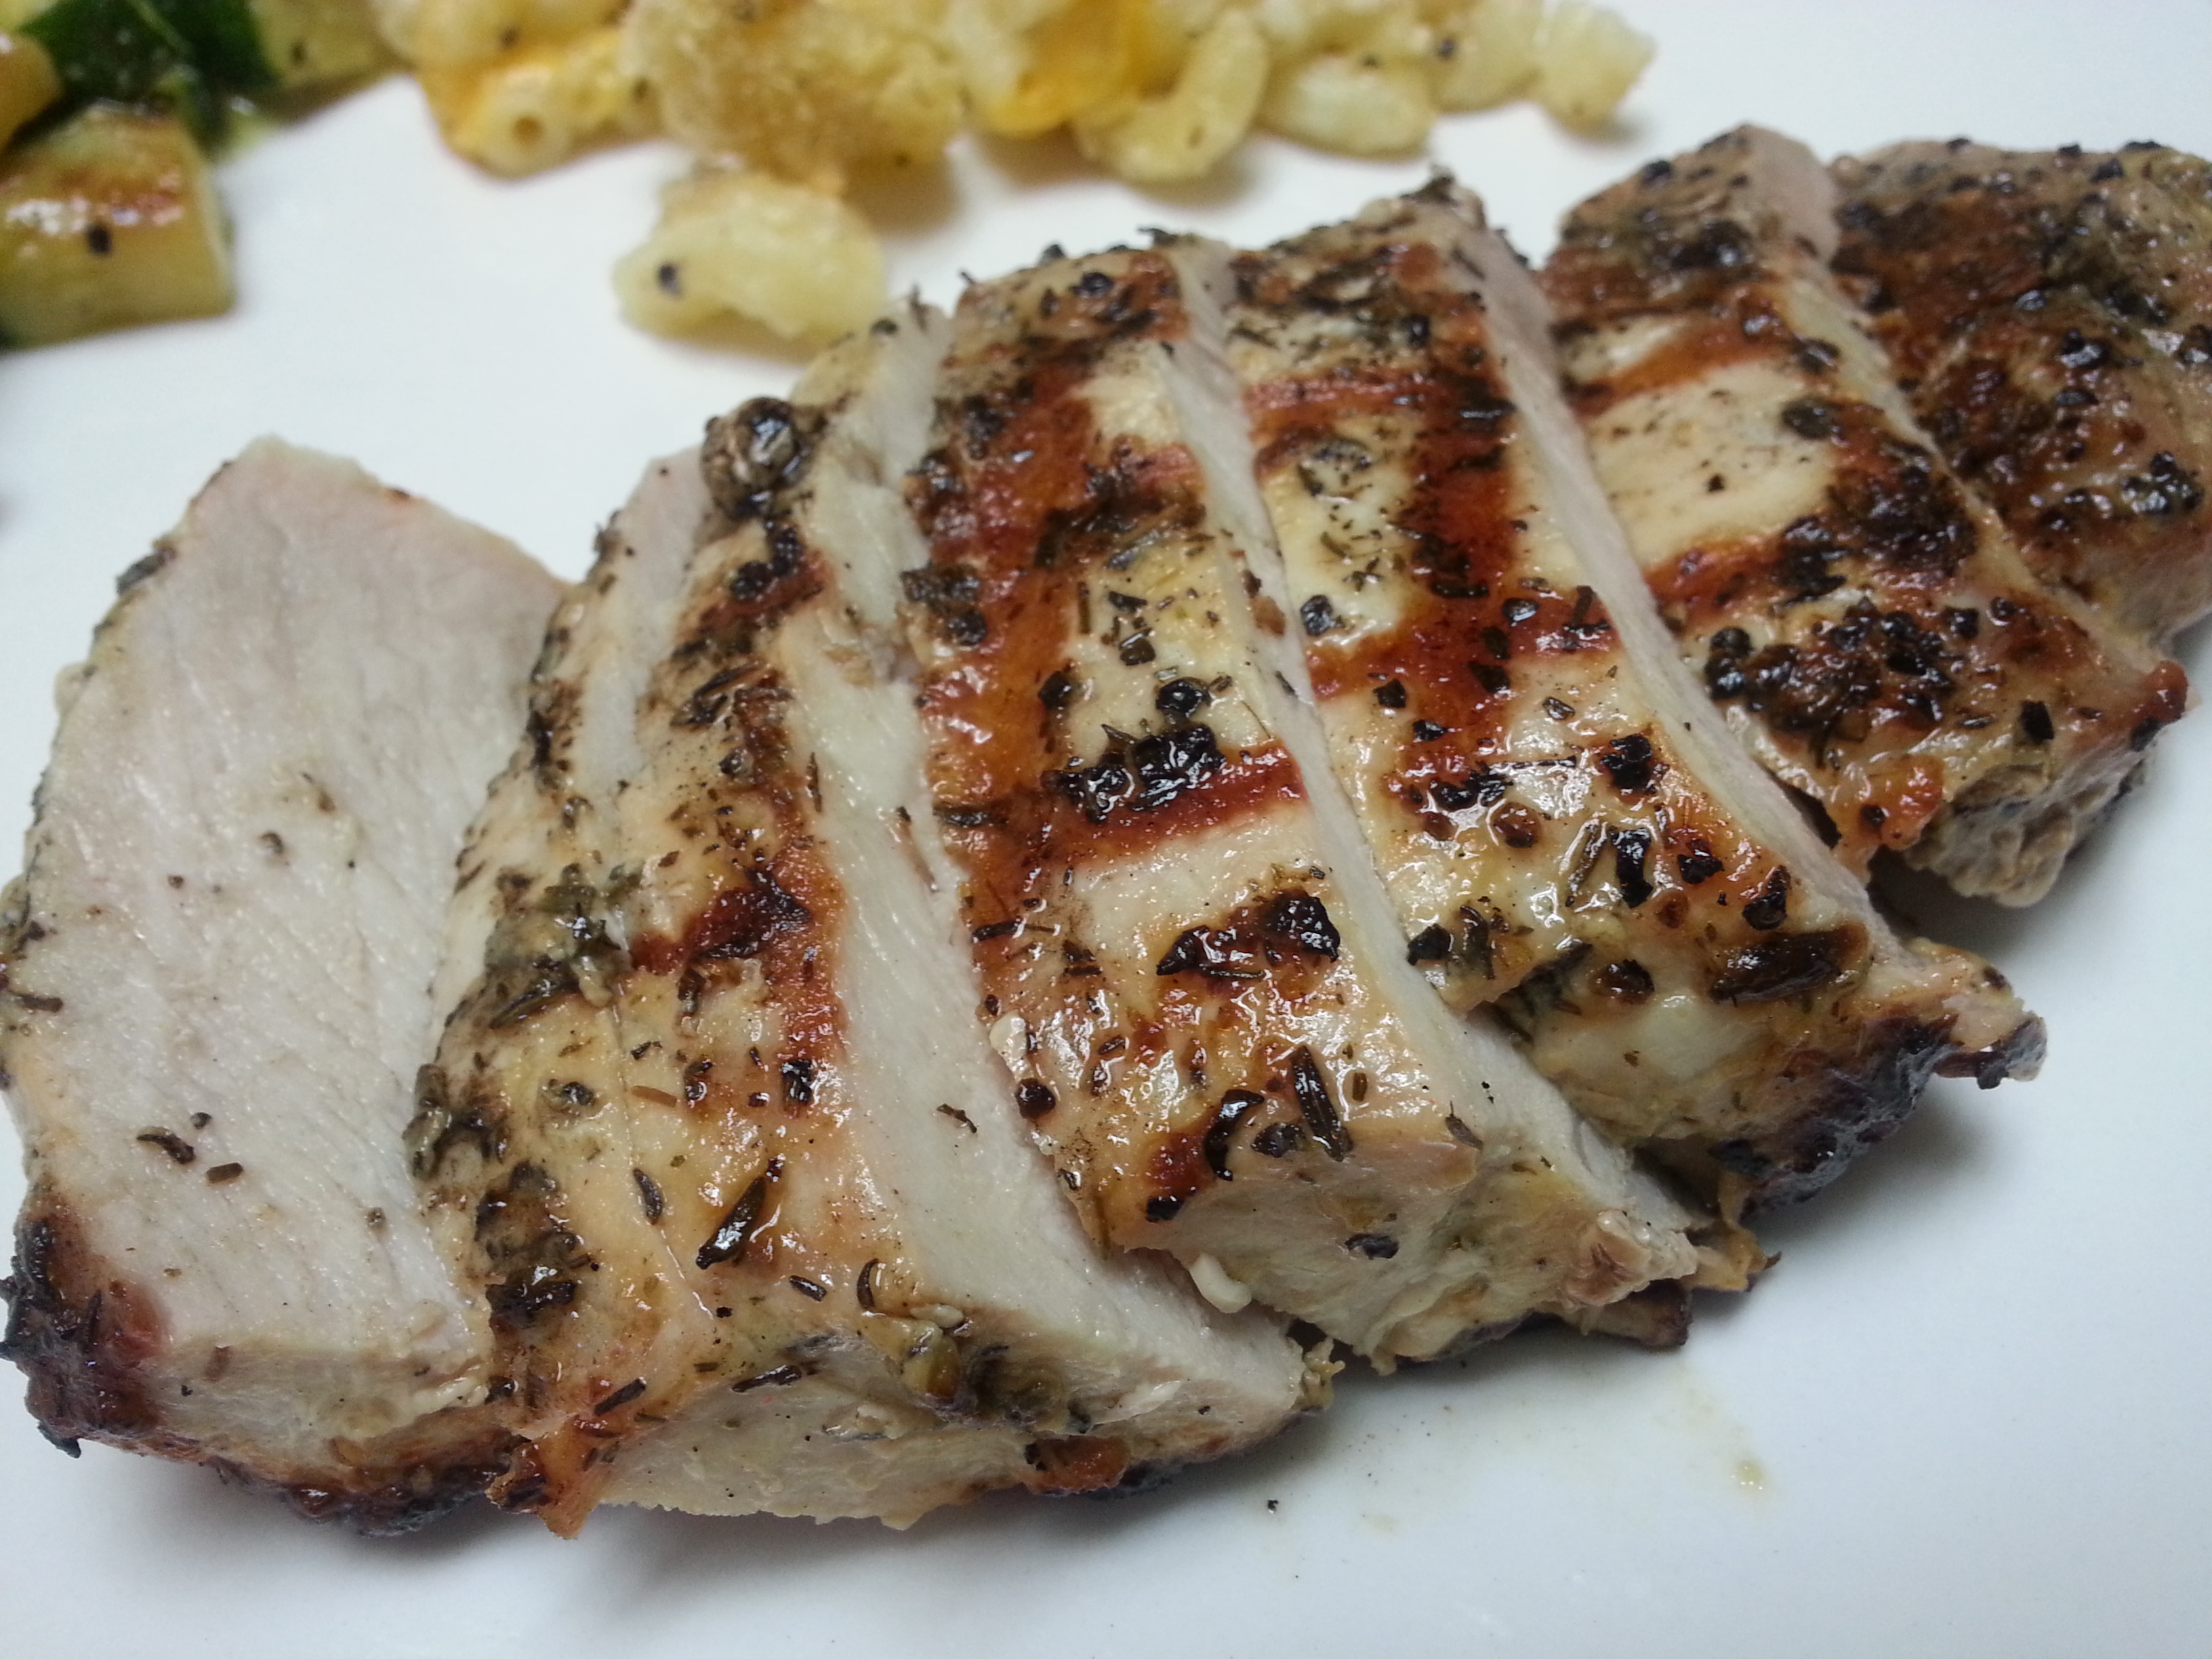
P.S. If you’re having a BBQ this holiday weekend, this is the side dish to make!

Macaroni & Cheese

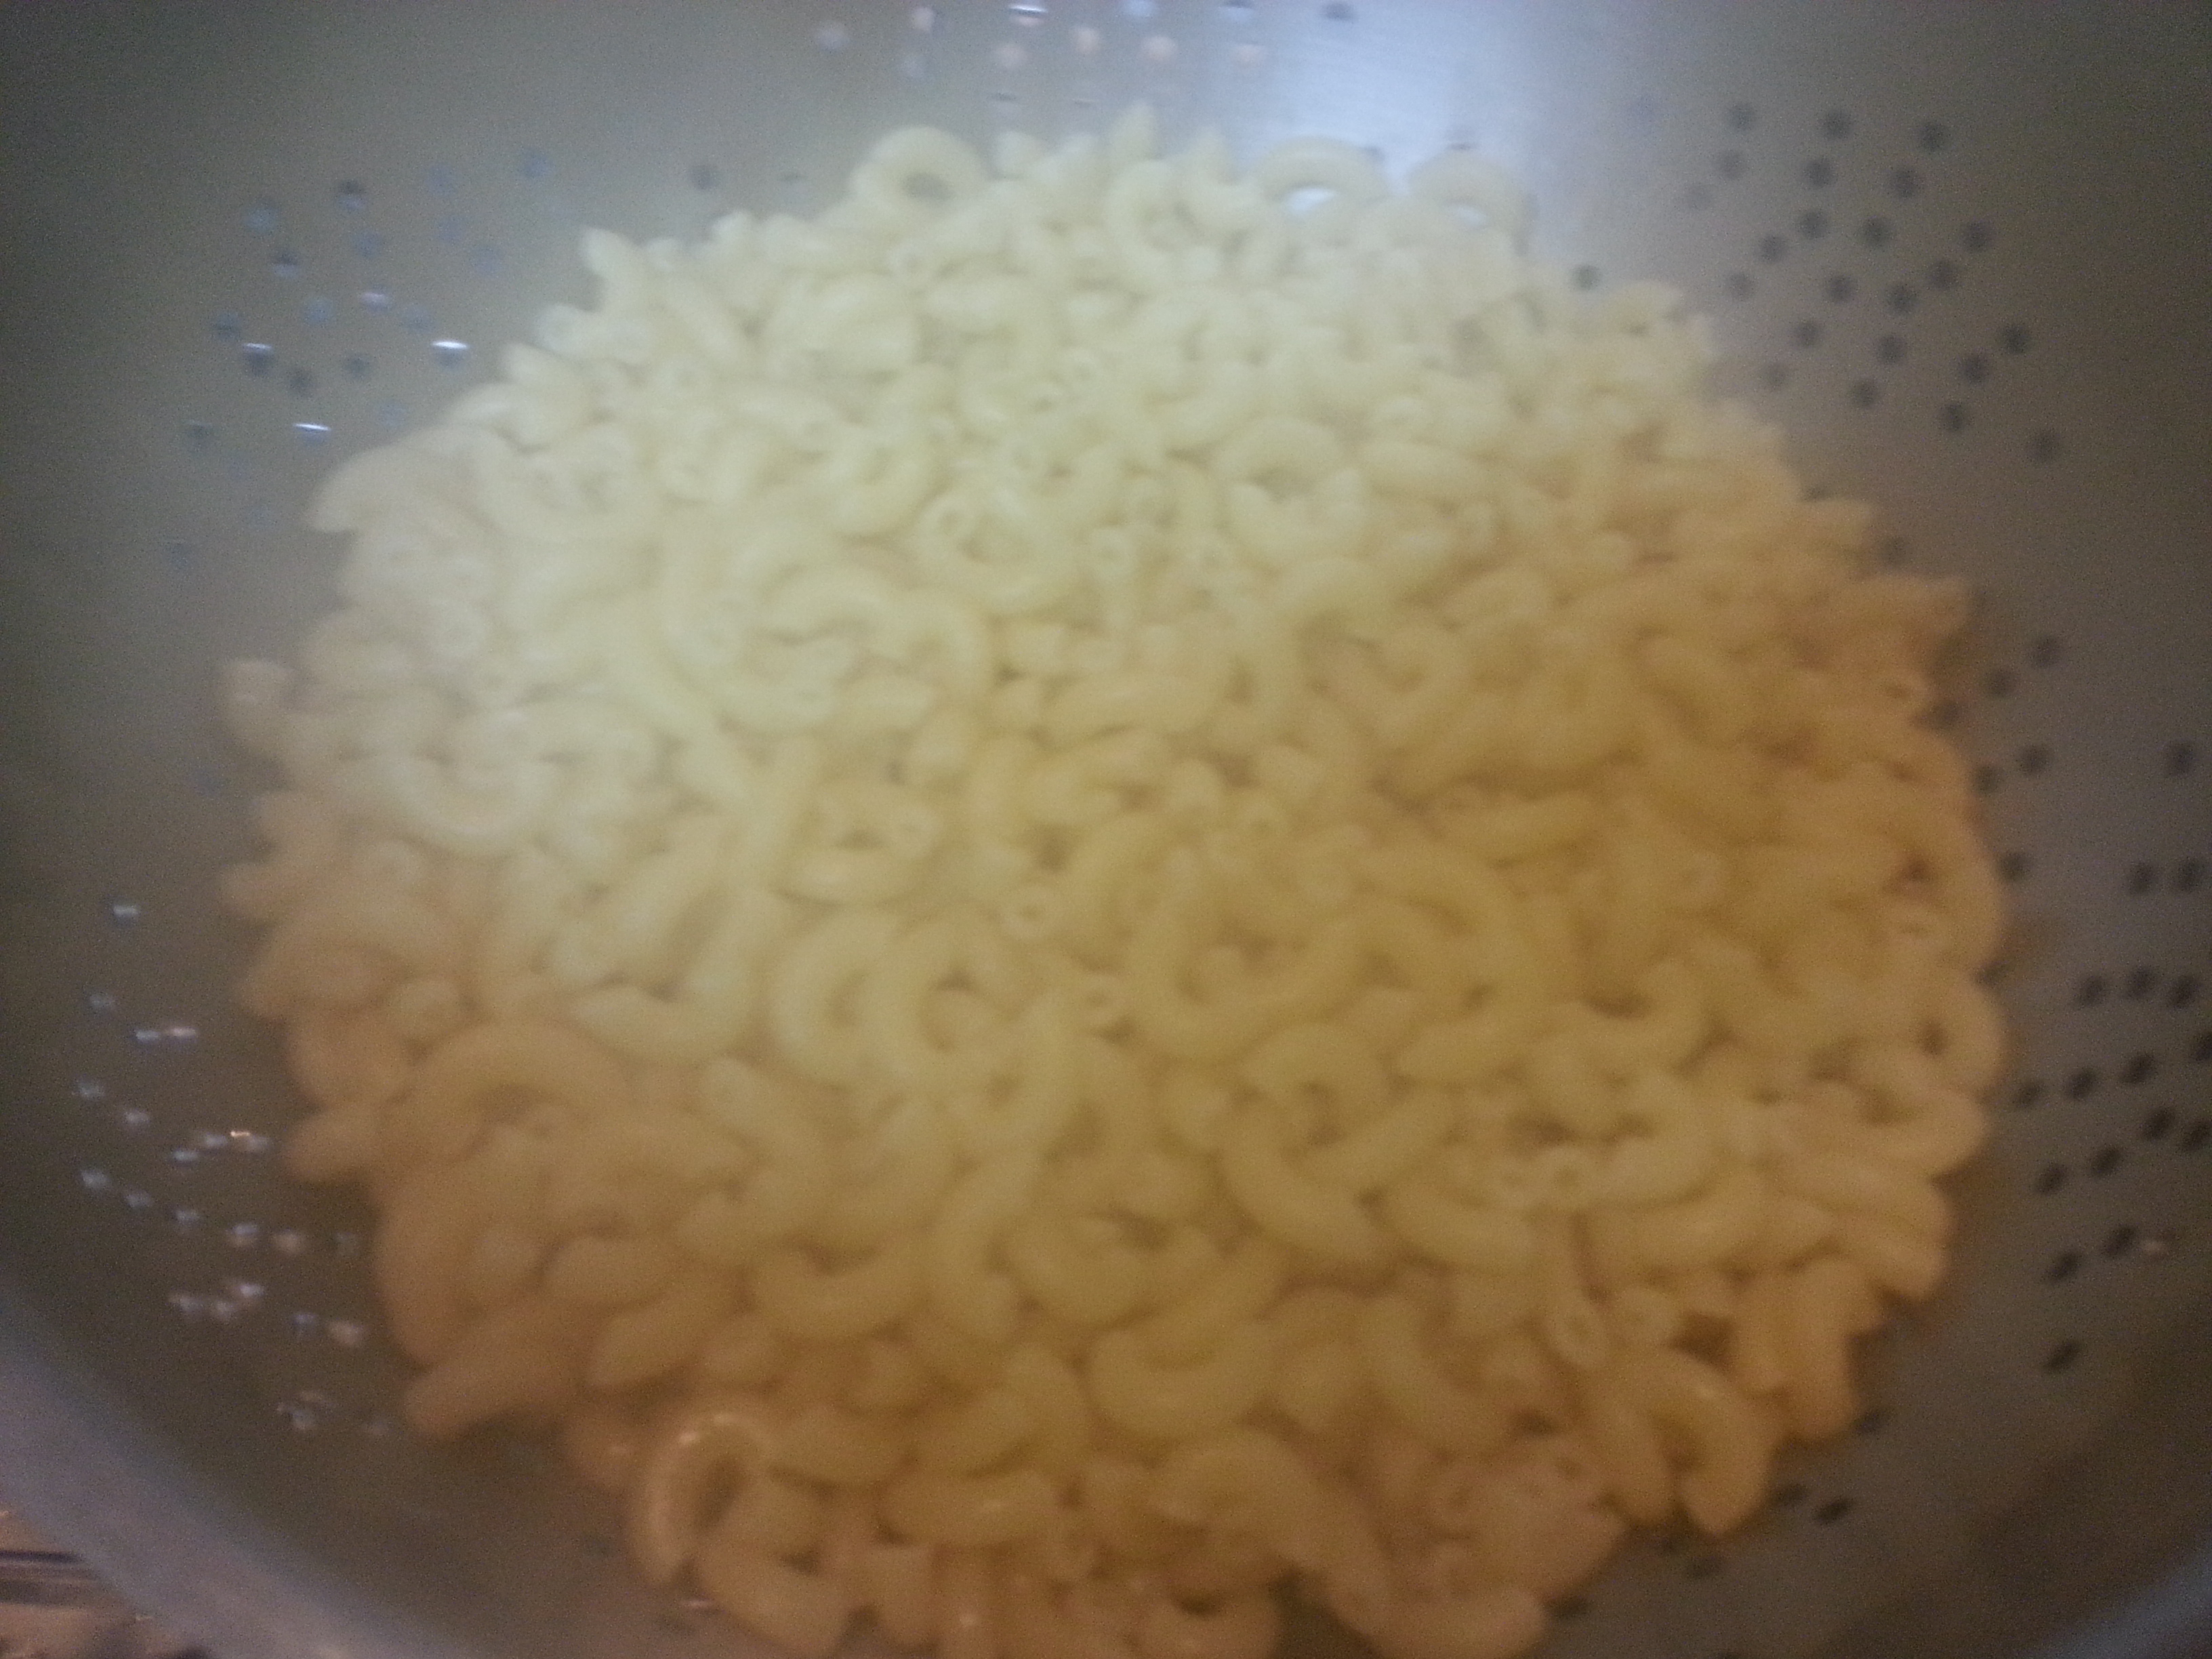
  • 10 ounces elbow macaroni noodles
  • 2 1/2 tbsp. butter
  • 2 tbsp. flour
  • 2 cups of milk (I use 1 %)
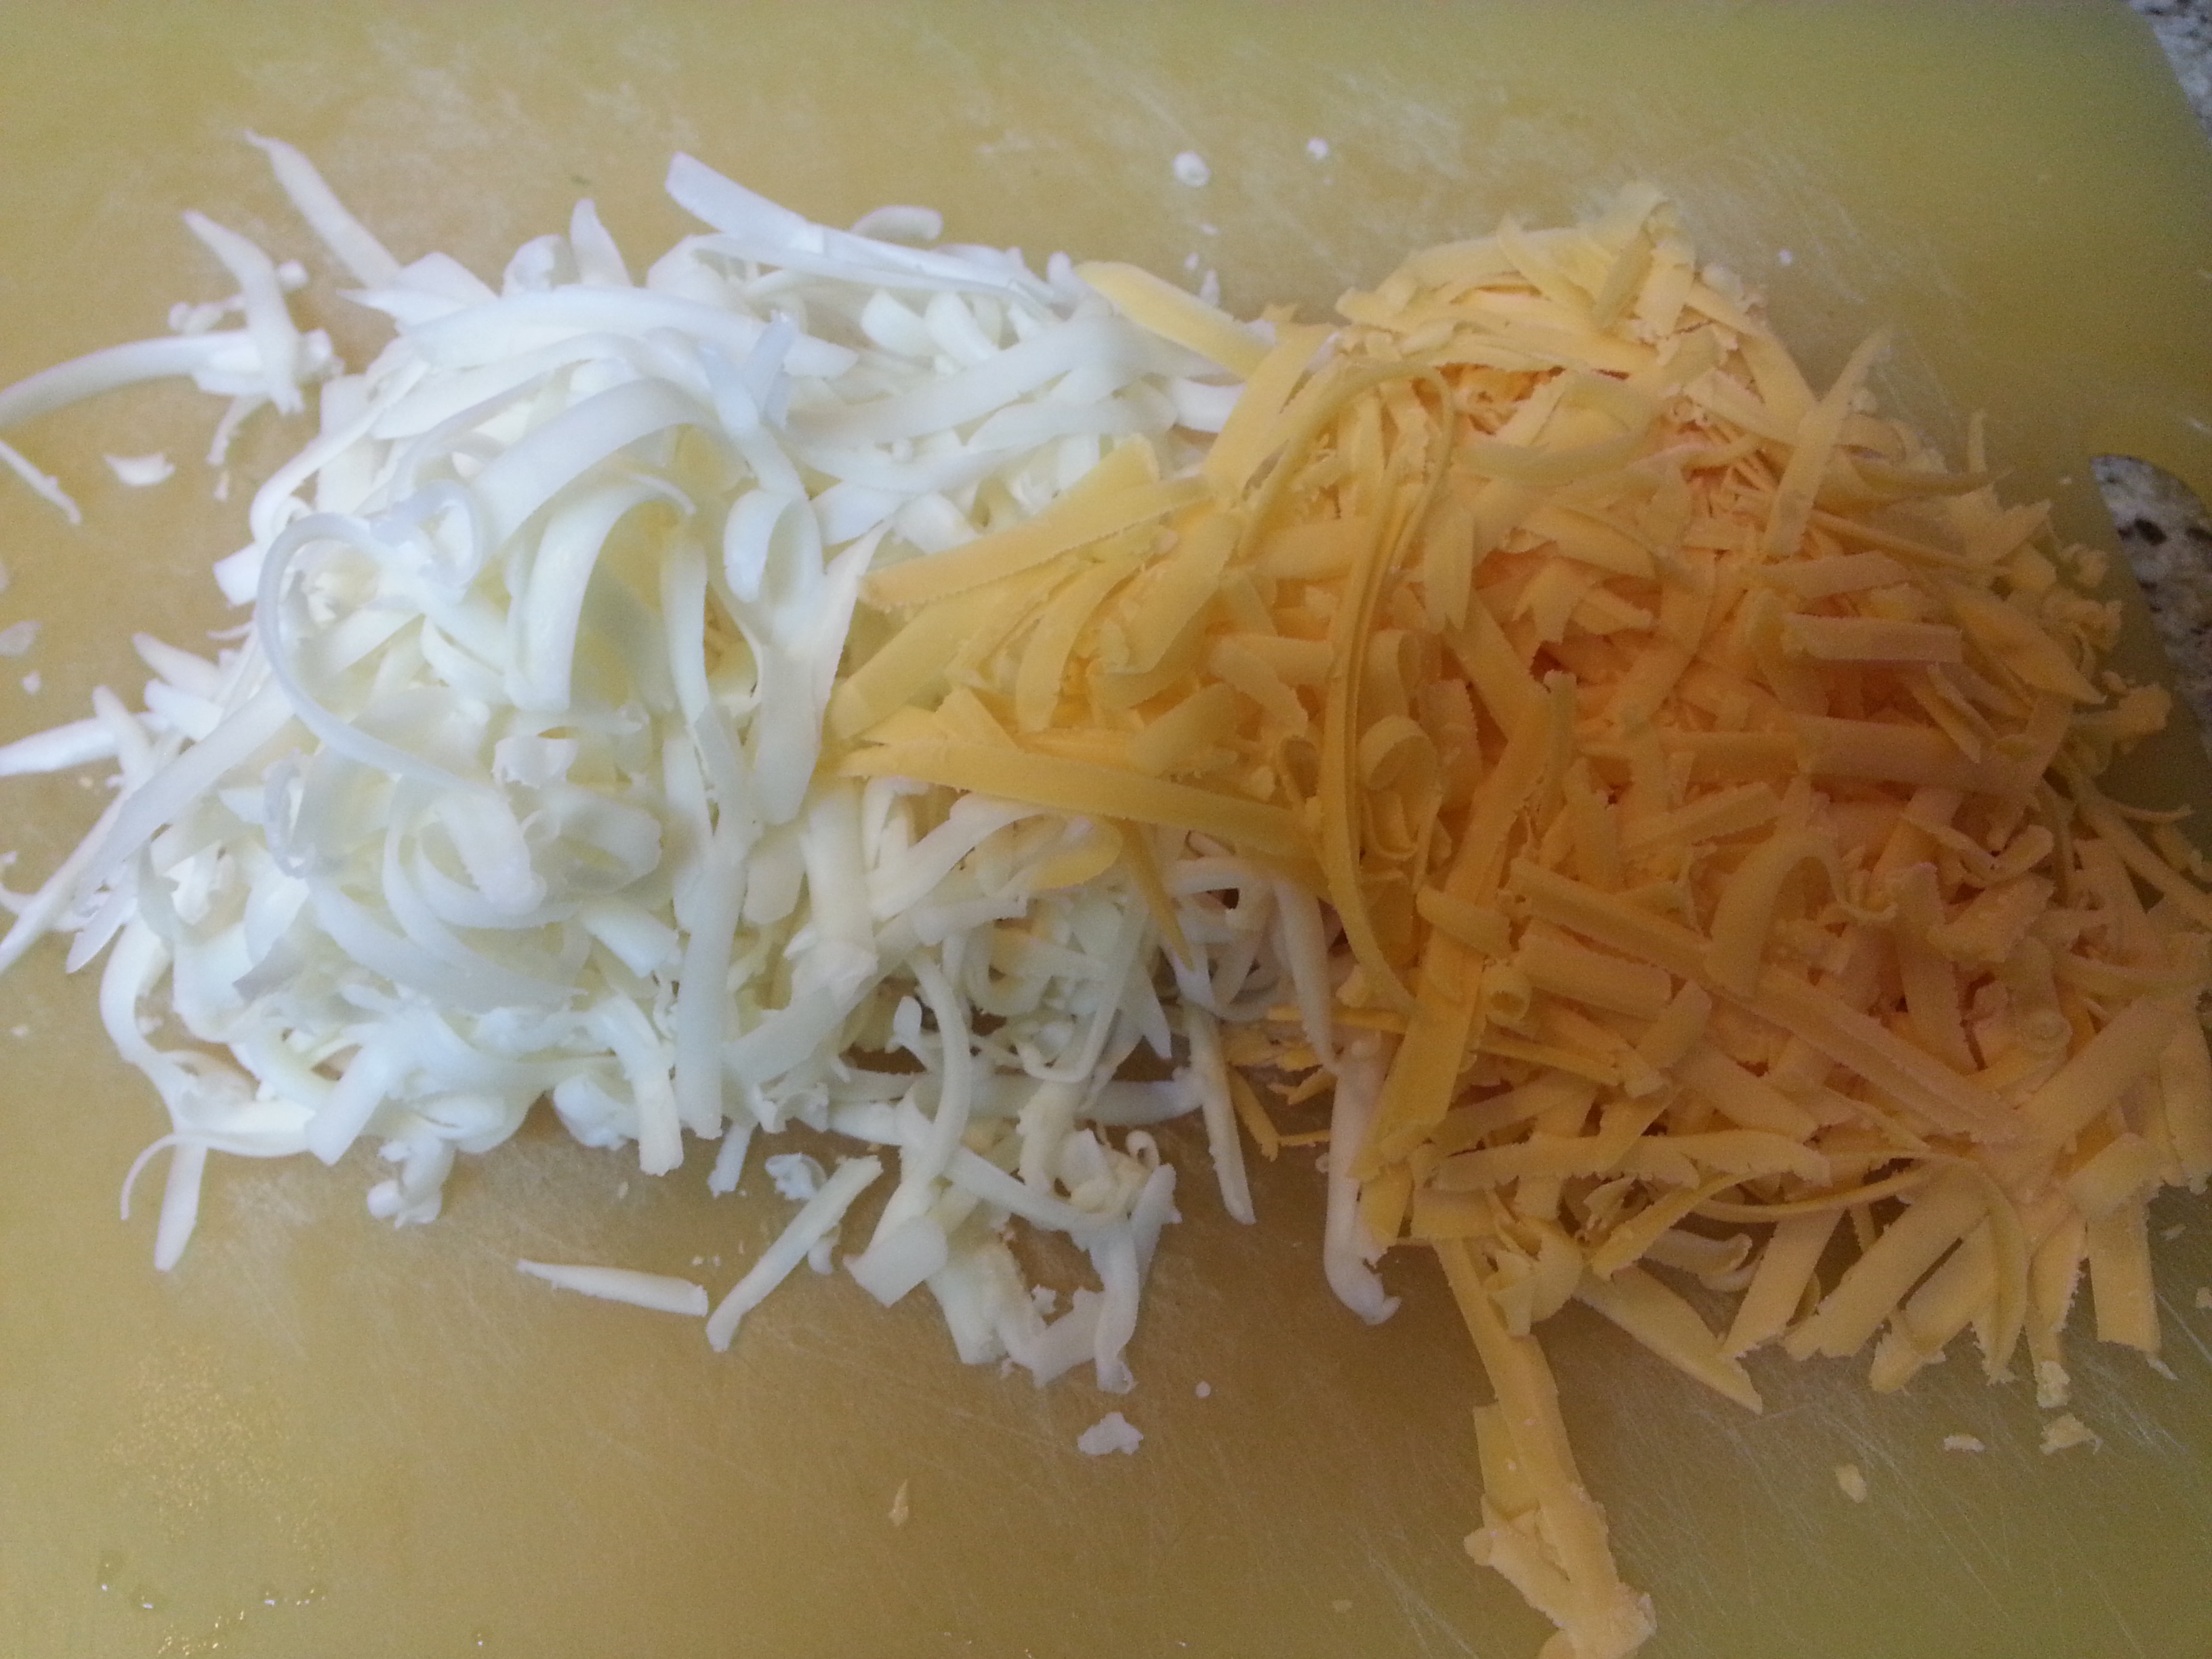
  • 1 c. shredded Monterey Jack cheese
  • 1 c. shredded sharp cheddar cheese
  • 2 garlic cloves, minced
  • Dash of cayenne powder
  • Dash of ground nutmeg
  • Salt & pepper to taste (I used an 1/8 tsp.- 1/4 tsp. each)

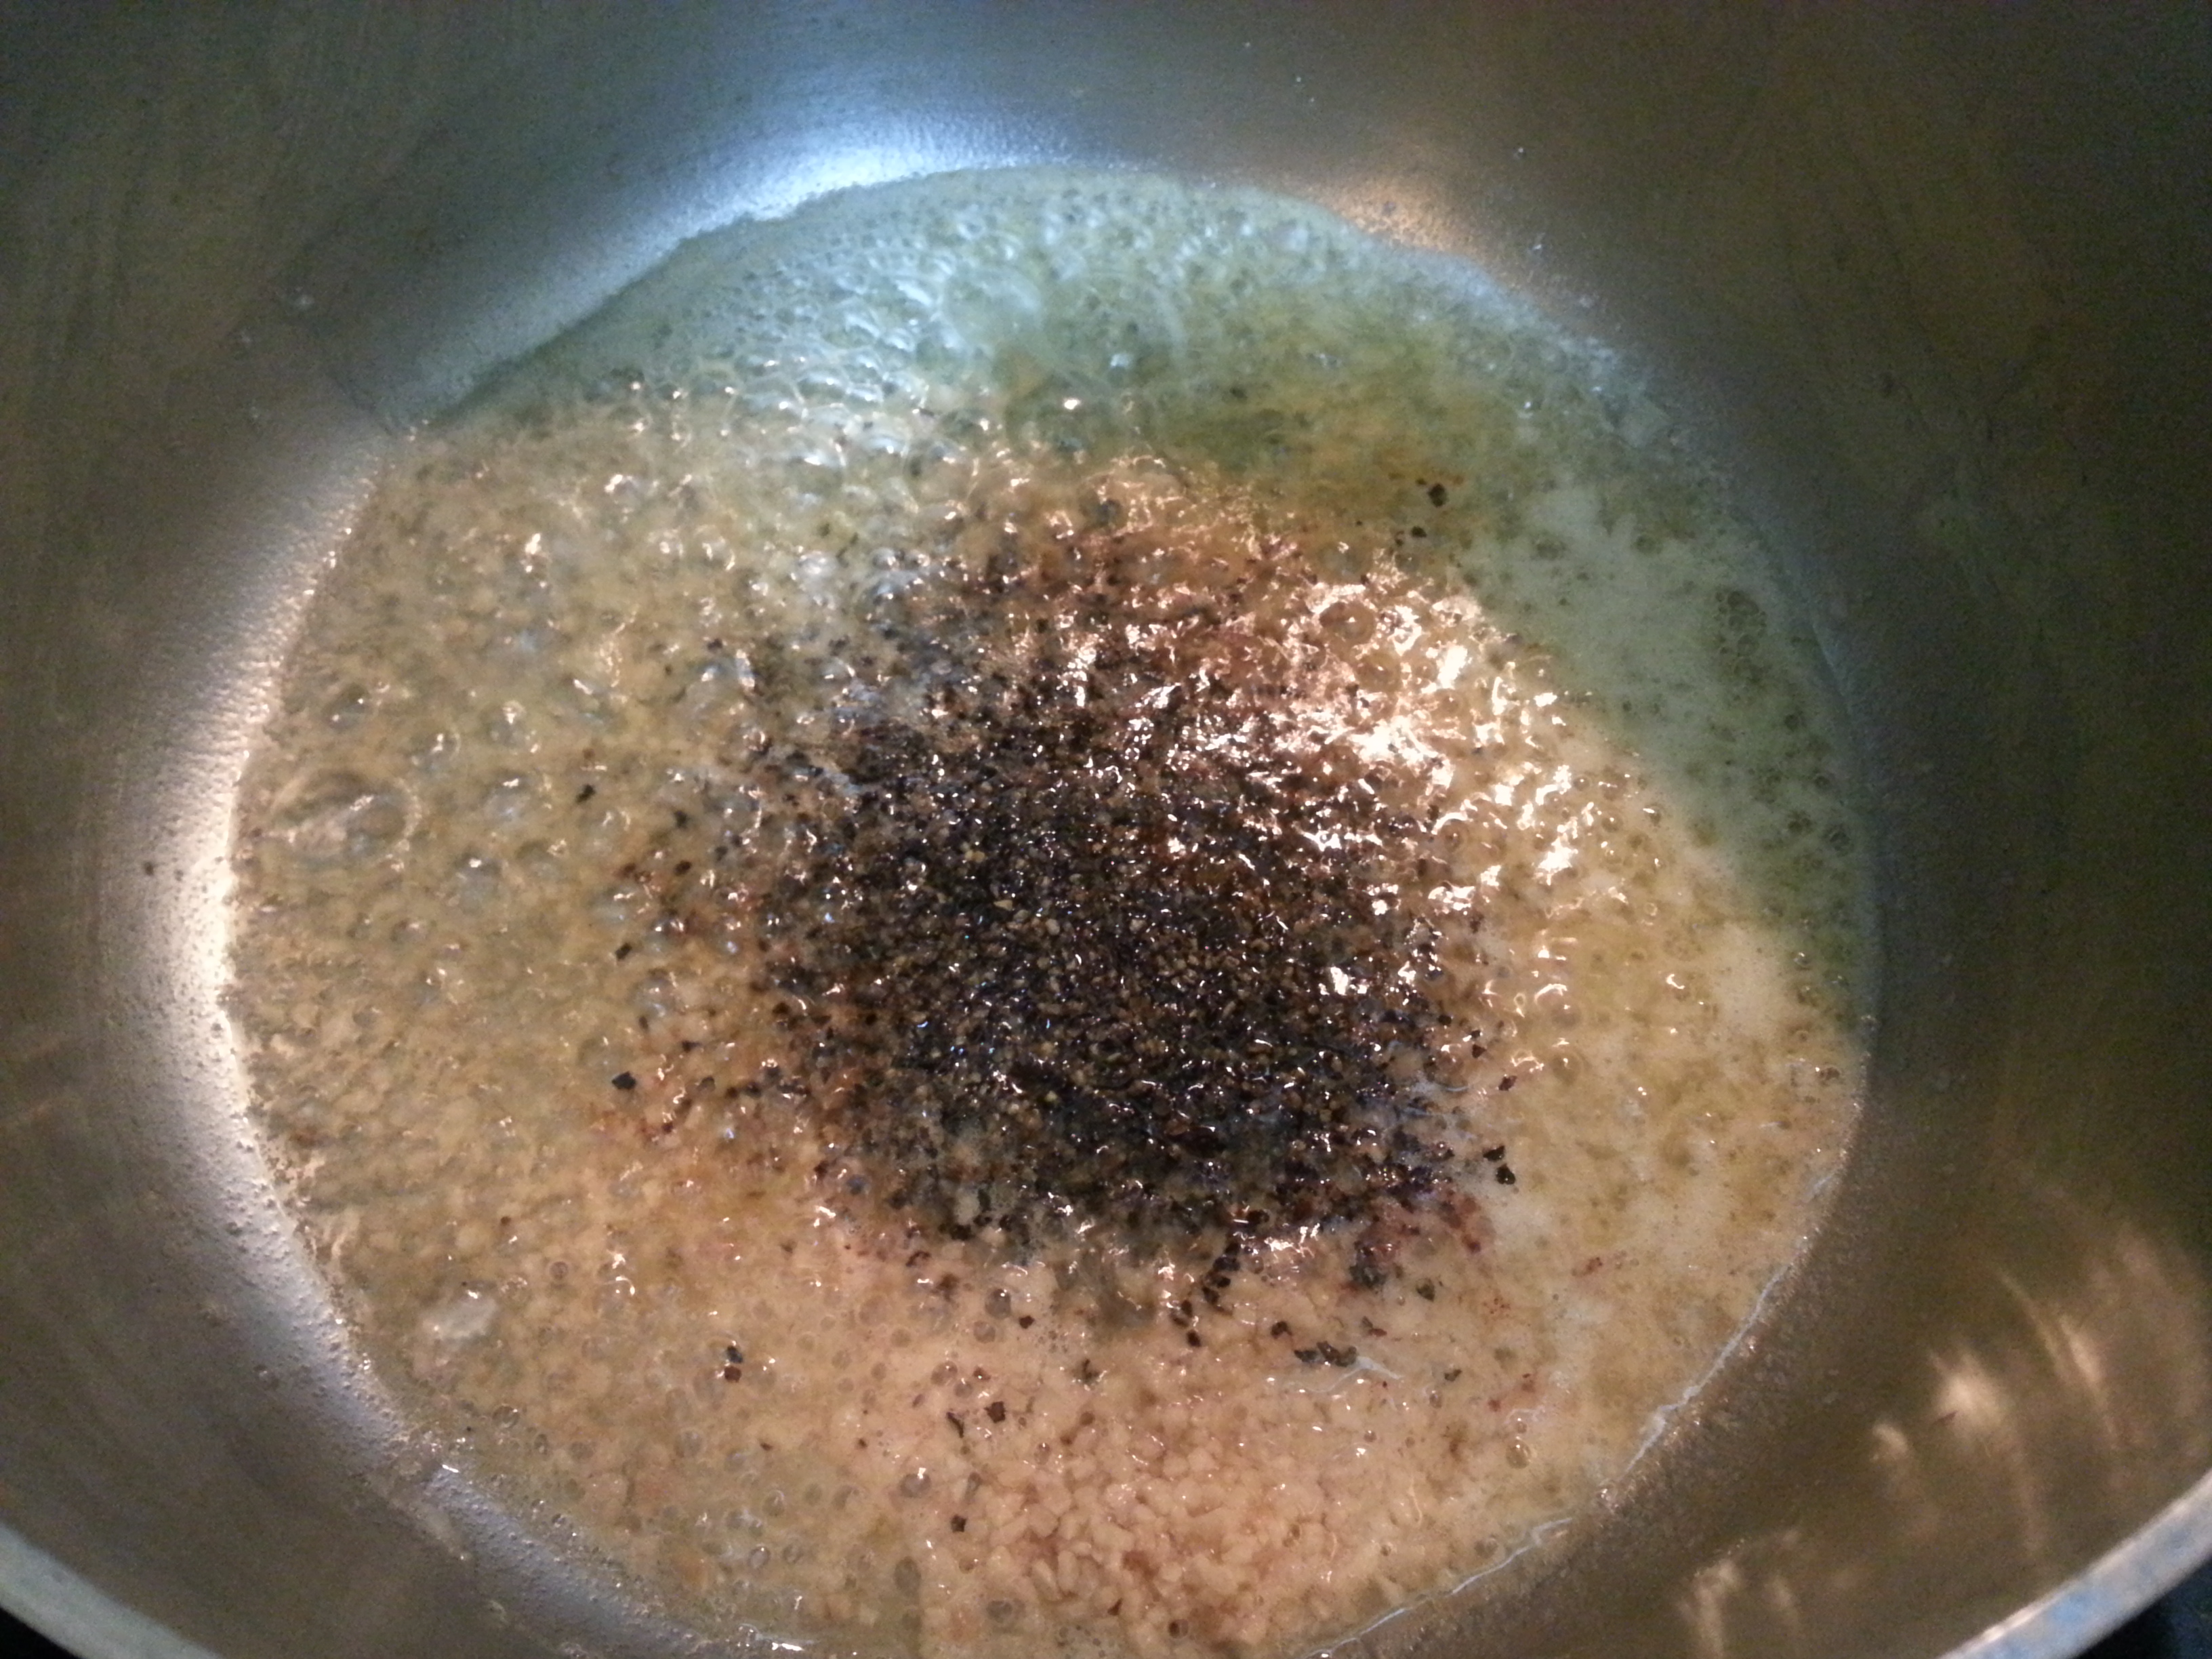
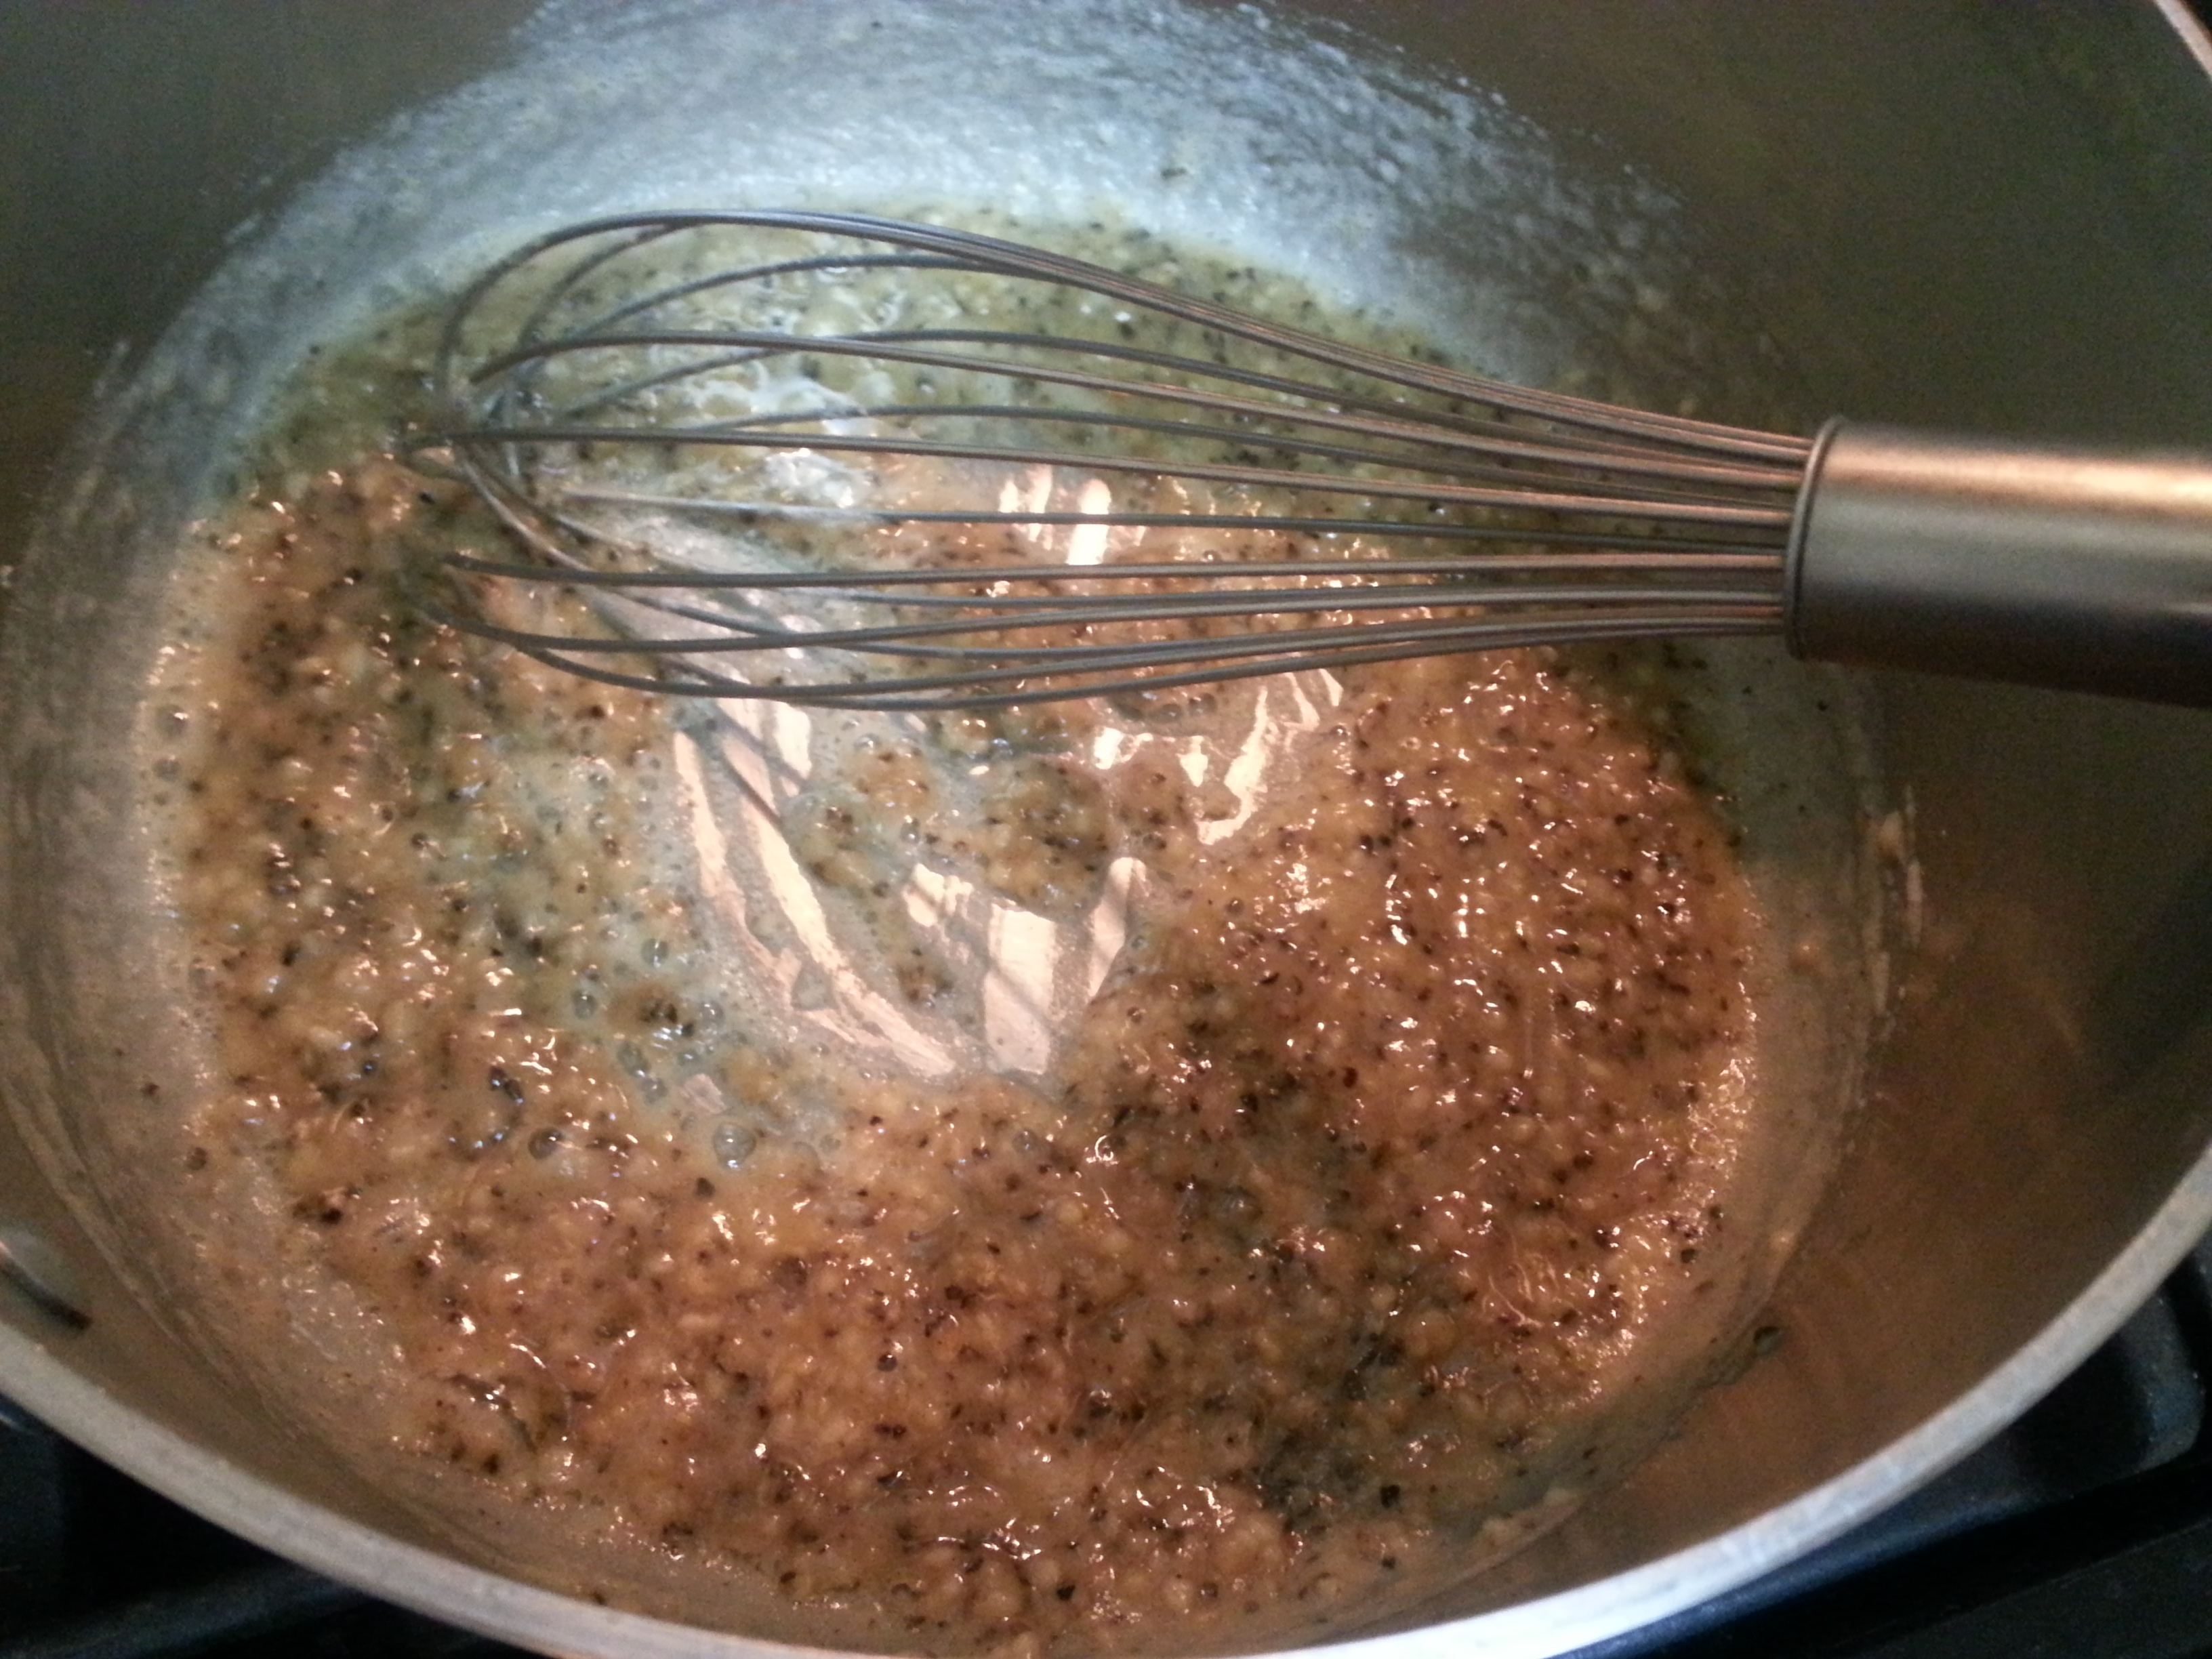
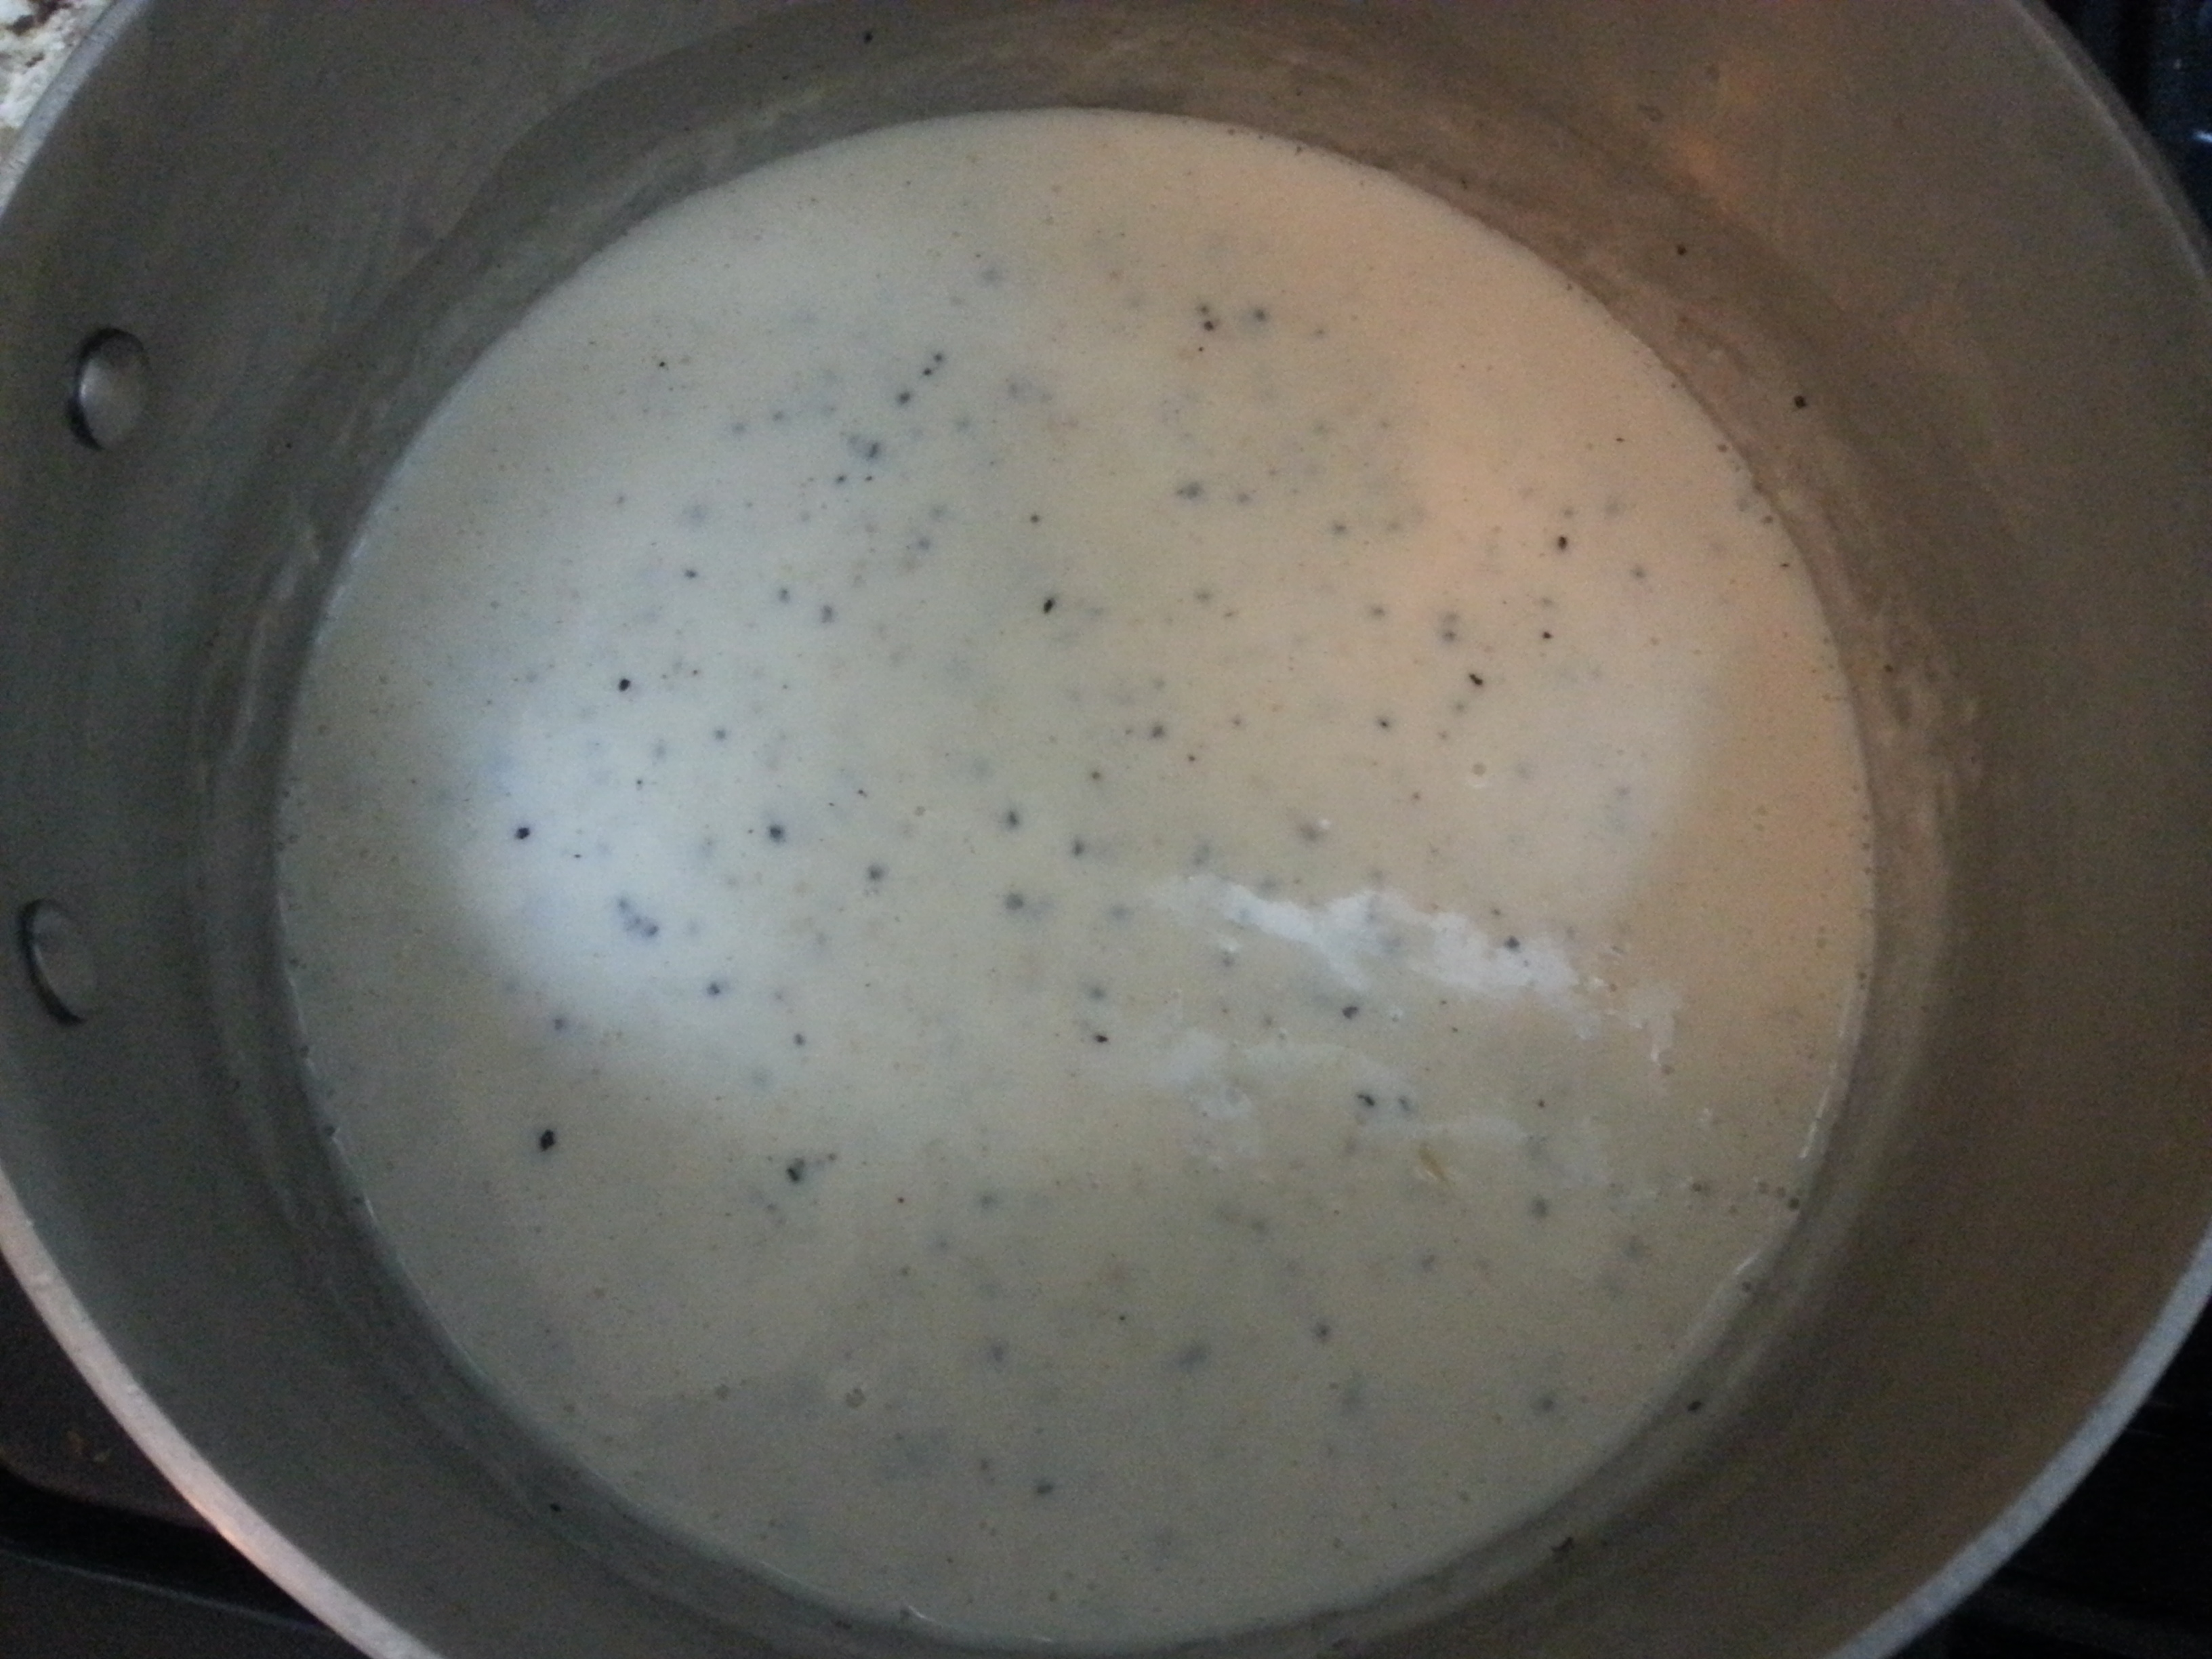
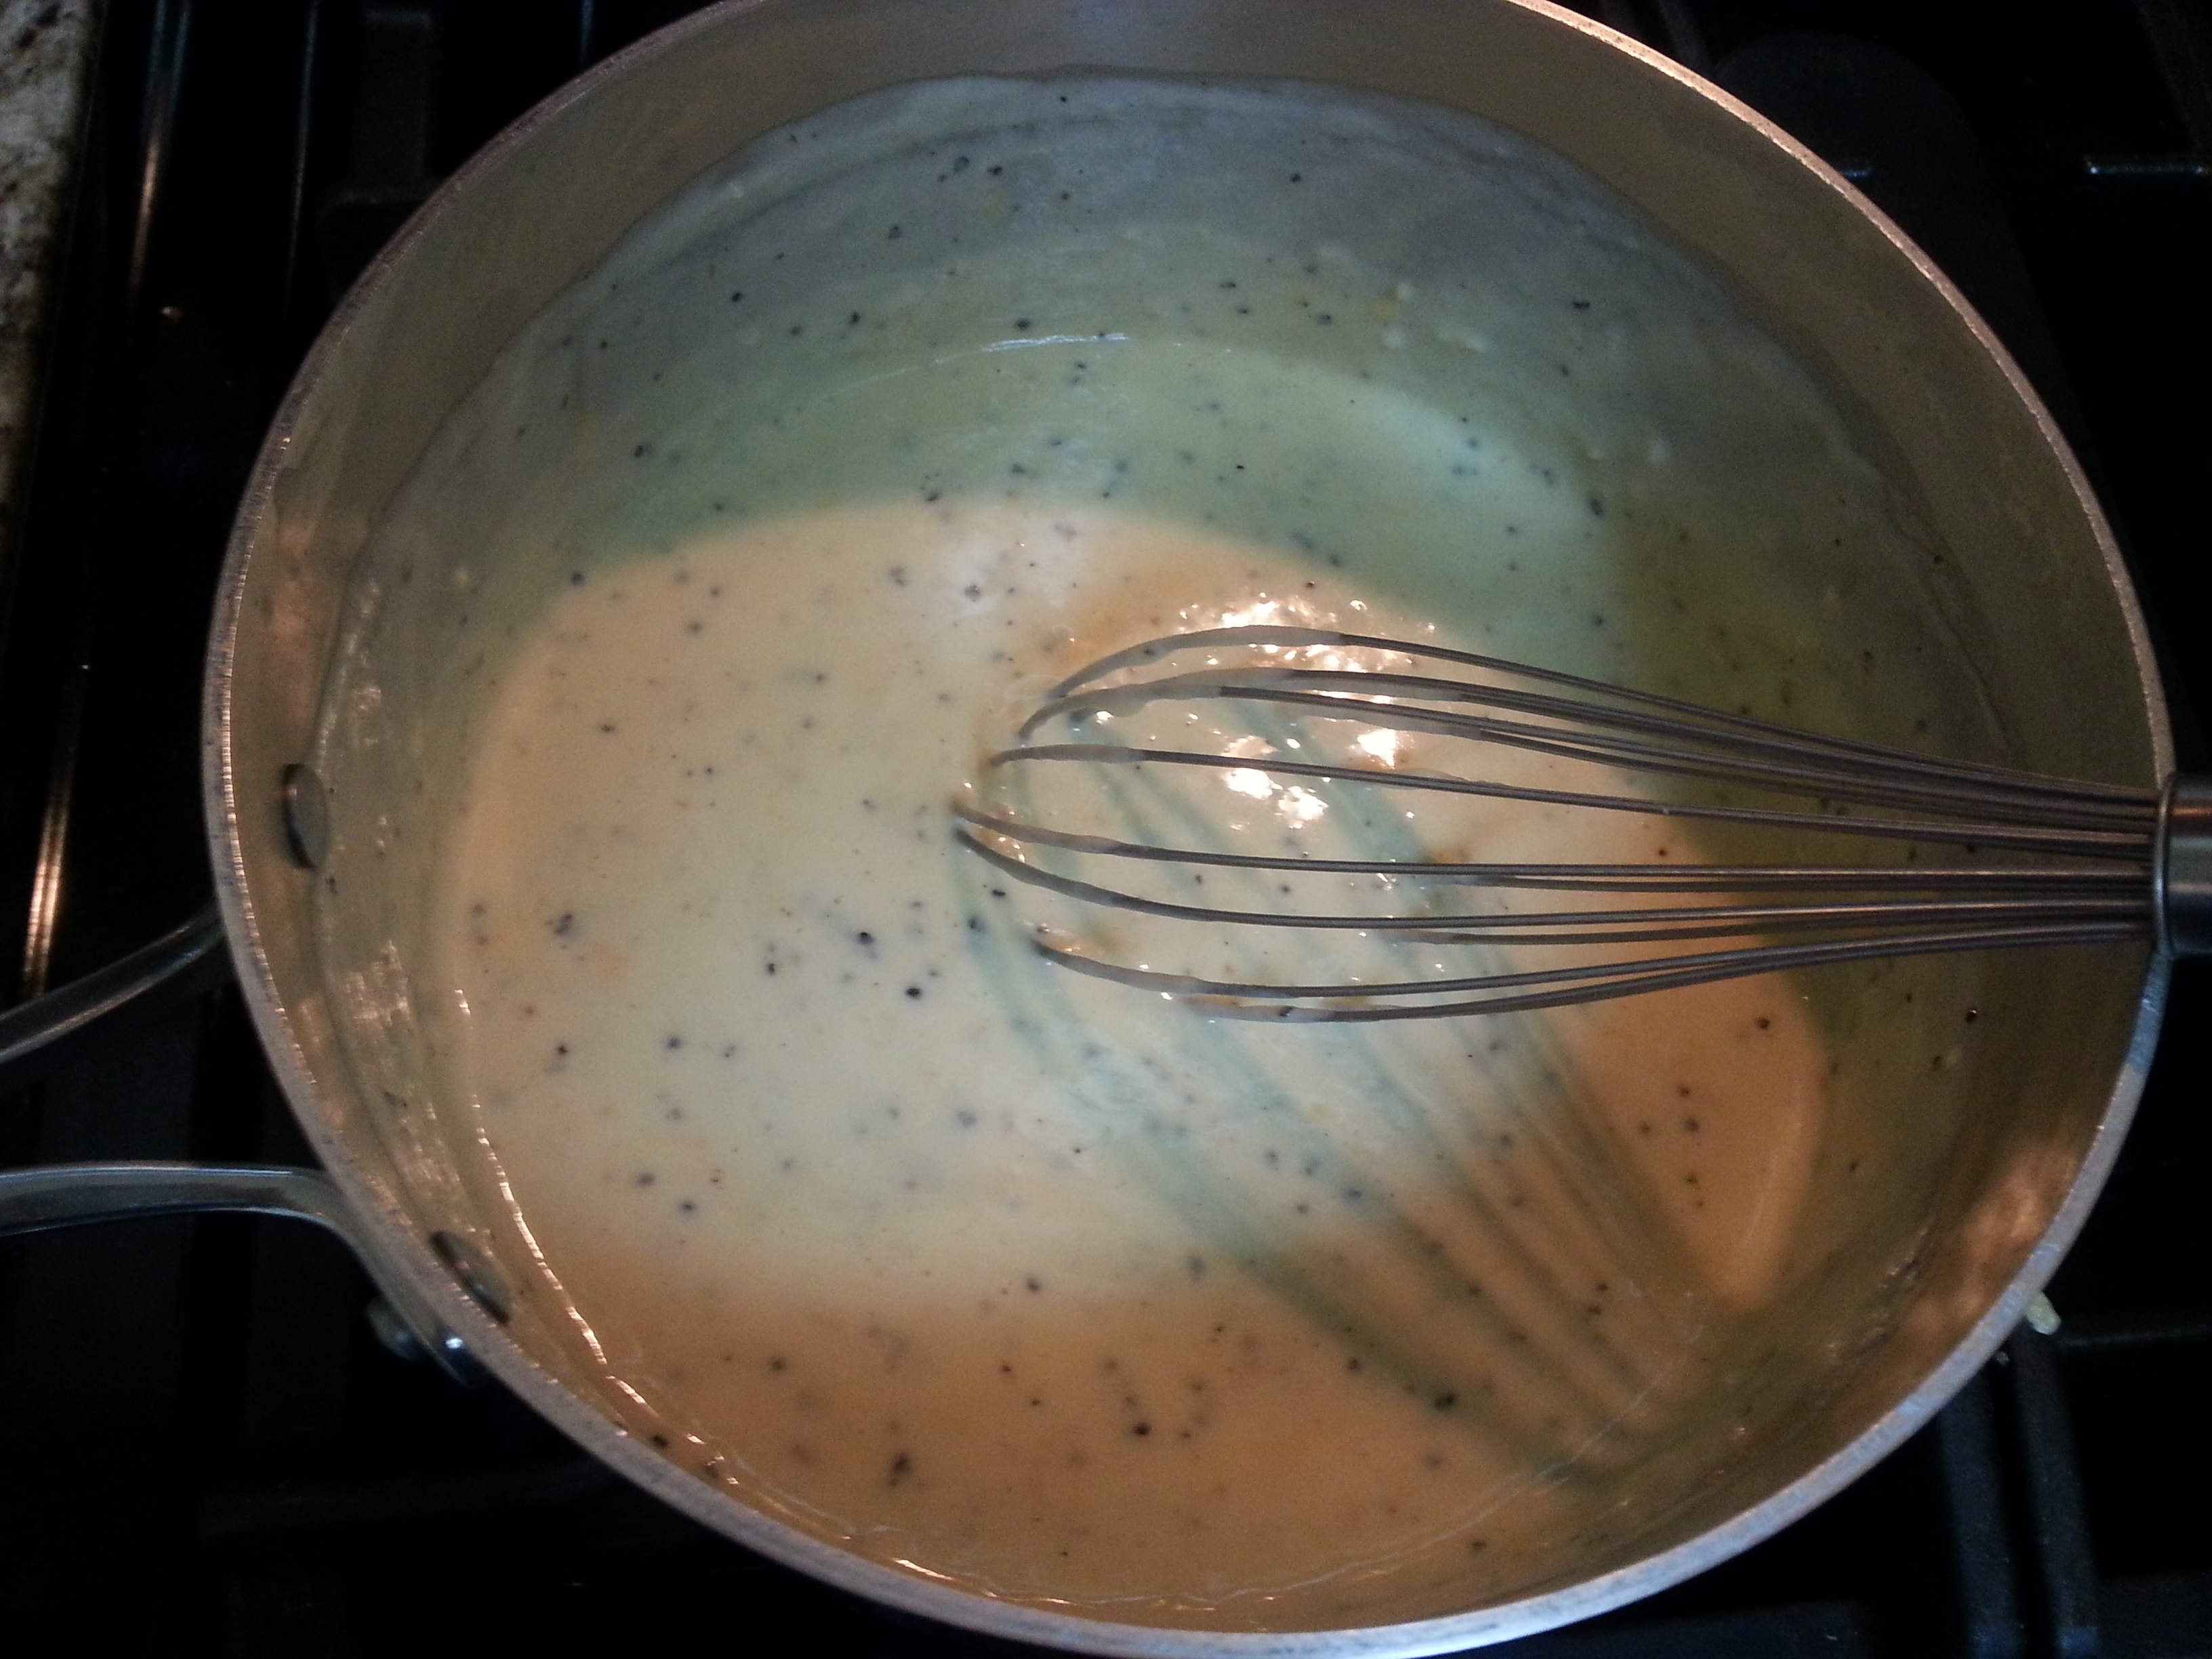
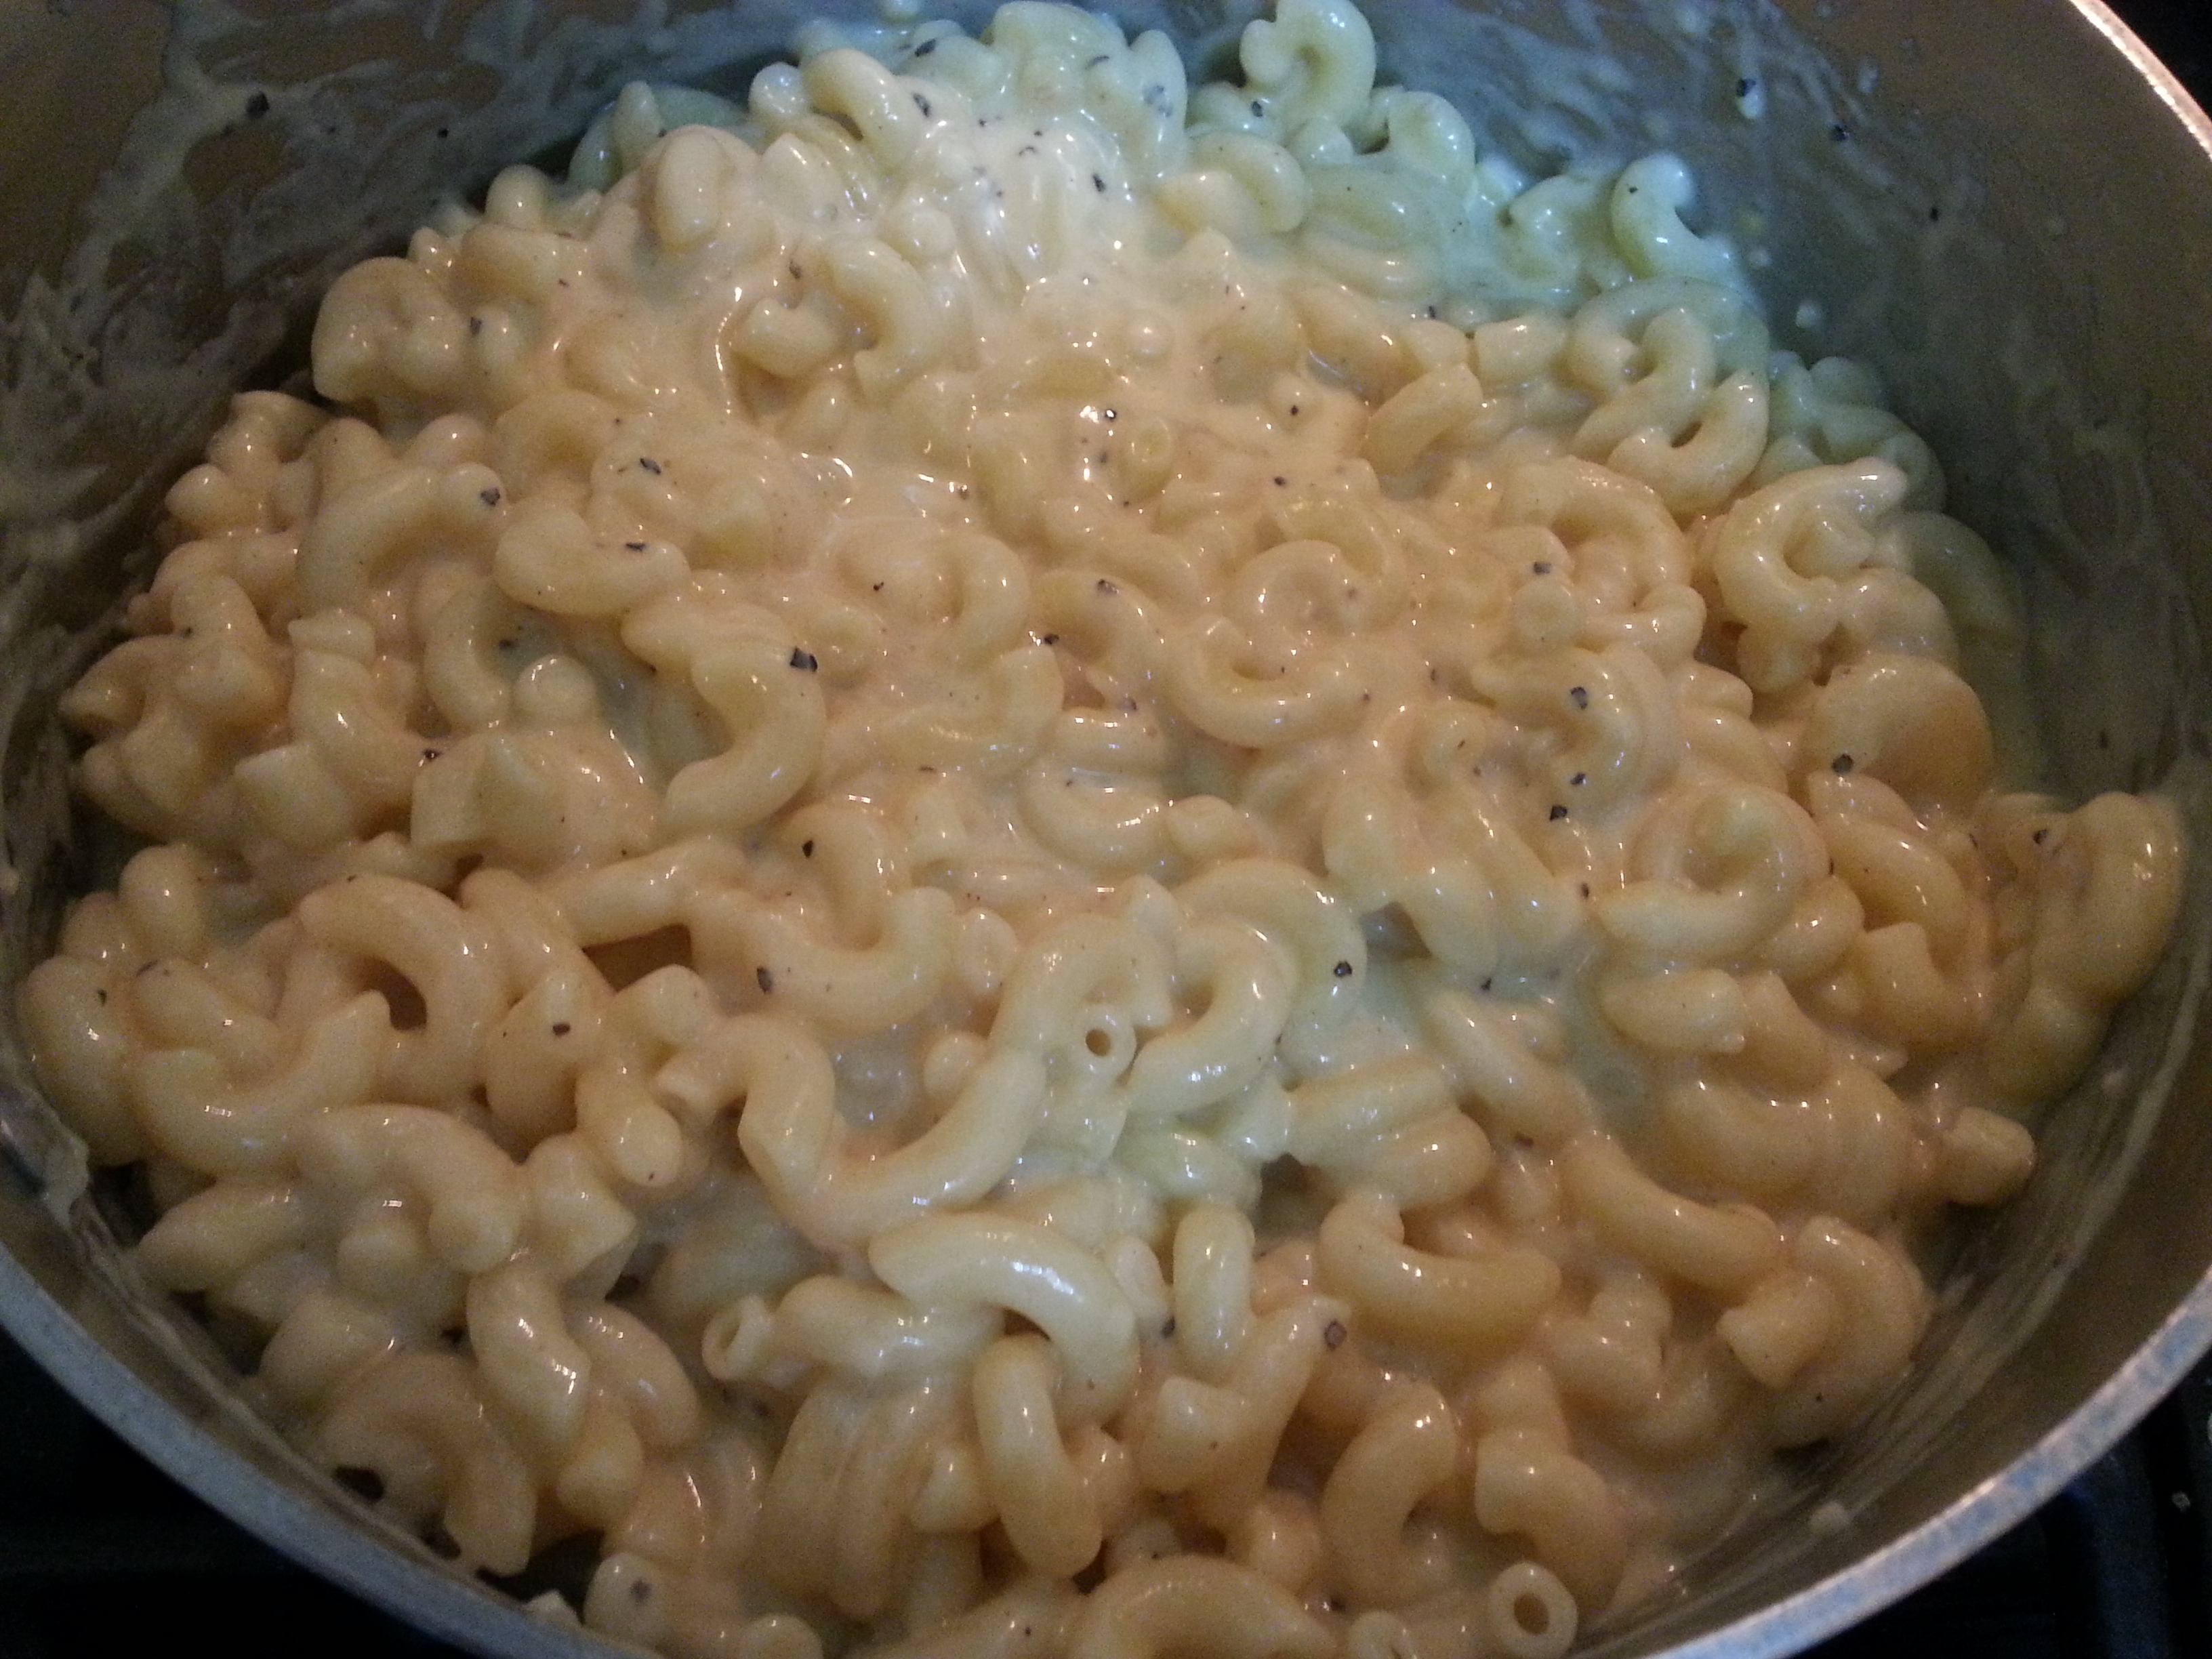
Heat a pot full of water to boiling. Cook noodles according to package directions and drain. In the same pot, add butter over medium heat. Melt the butter and then add in the garlic, as well as the rest of the seasonings. Saute for a few minutes and then add in the flour. Stir using a whisk and let cook for about 1 minute. Add in milk, whisking as you pour. As the sauce heats up, it will start to thicken and bubble. Make sure to stir occasionally during this. When the mixture just comes to a bubble, add in the cheeses, stirring until the cheese melts. Add the noodles back into the pot and stir together. Turn off heat and taste, adding more salt and pepper if necessary. Serve immediately.

mac n cheese 8mac n cheese 7mac n cheese 6mac n cheese 5mac n cheese 9mac n cheese 4mac n cheese 3mac n cheese 2This stuff also reheats pretty well, so if you have leftovers, don’t throw them away!

Advertisement

I Can’t Believe That’s Not Butter!

Quick tip of the day: To save time and drastically cut back on calories, I use cooking spray instead of butter on grilled sandwiches. *GASP* No butter? Yes I say! And I don’t even miss it. I’ve been using this trick for so long now that although my love of butter runs deep, I don’t miss it at all on grilled samiches.

I always use canola oil cooking spray but I think coconut oil spray is a great choice too. Here’s the kicker though. When you look at the nutritional info on the can of canola cooking spray, it’s zeros all the way down baby! When you look at the nutritional info on butter, you’ll see some zeros there too. Just at the end of a three digit number! Plus, with cooking spray, the bread still gets golden, brown and toasty.

Just spray your bread (same as you would spread butter on it) and cook away. That easy. That fast. And that simple.

grilled cheese 3grilled cheese 2grilled cheeseTry it once and after your first bite, you’ll be saying “I can’t believe that’s not butter!”

Dijon Grilled Pork Chops

pork chops 2Dijon mustard and pork chops make a happy couple. Add in some thyme and this trio makes a happy threesome that actually works!

For those of you who usually steer away from pork, don’t fear the pork! Embrace the pork! It’s very easy to cook and if you’re careful to not overcook it, a juicy pork chop is just as satisfying as a big steak.

This main dish works for a quick weeknight meal that is sure to please all those picky taste buds in your family. These chops alone have outstanding flavor. But my kids prefer to still use BBQ sauce as a dip. Your choice!

Dijon Grilled Pork Chops (makes 4-6 pork chops)

  • 4-6 pork chops, any cut (I used boneless thick cut ribeye chops)
  • 2 tbsp. olive oil
  • 3 tbsp. Dijon mustard
  • 1 tsp. dried thyme
  • 1/2 tsp. each of salt and ground black pepper

Place pork chops in a large dish. Drizzle with the olive oil and then squirt the Dijon mustard on top. Using your hands, rub the olive oil and mustard all over the pork chops. Sprinkle with the seasonings, making sure to coat both sides of chops. Cover and refrigerate for a minimum of 2 hours. But the longer, the better.

Heat your outdoor grill on medium high (or an indoor grill pan). The temperature on my grill was almost 400 degrees. For thicker chops, cook 5-7 minutes on each side. For thin chops, 3-4 minutes on each side. Take off the grill and let chops rest on a plate, covered with foil, for about 10 minutes.

Serve with or without BBQ sauce.

pork chops 5pork chops 4pork chops 3pork chopsMy husband used to tell me that recipes that had 5 ingredients or less just weren’t flavorful enough. He now stands corrected.

Shrimp Stuffed Poblano Peppers

stuffed peppers 2I’m so fancy, you already know….. Or at least that’s how this recipe will make you feel! 🙂 This dish may look fancy and time consuming, but looks can be deceiving.

I made these peppers after spending most of the day at the beach, which is an hour away. After the drive, lugging around beach equipment and tending to my three beasts lovely children, I was feeling a wee bit tired when I got home. But the beauty of this recipe is that it’s easy! So even if you’ve had a busy day, this dish can be done!!!

So the hardest part about this recipe is roasting the peppers. It’s not really hard, but it’s just the longest step in the process. And the final outcome? Creamy with a nice pop of texture from the shrimp. It all blends so well together. Totally worth it! And you can easily make this recipe ahead of time if you’re having company. Just pop in the fridge until you’re ready to bake and serve. I know I’m all about doing things ahead of time.

Shrimp Stuffed Poblano Peppers (serves 5)

  • 5 large poblano peppers, also known as pasilla peppers
  • 1 pound shrimp, peeled, deveined and tails removed (31-40 count)
  • 1 tbsp. olive oil
  • 1/2 small onion, chopped
  • 1 jalapeno, seeded and chopped
  • 1 c. shredded Monterey jack cheese
  • 1 8 ounce block cream cheese or Neufchatel (softened)
  • 1/4 tsp. each of ground cumin and chili powder
  • Sliced green onions and chopped cilantro (for garnish)

First, roast the peppers. If you have a gas range, this makes things a lot easier! Just crank that heat up and place those peppers on the flame. As the pepper blackens, turn and continue to roast until the whole pepper is charred. Place into a gallon Ziploc bag and close. I let mine sit in there for over an hour but you can probably do it within a half hour. Just take the peppers out and with a knife, scrape off the skin. They’ll have sweated inside that bag, making it a lot easier for the skin to slide off. Once all the skin is off, slice lengthwise down the middle of the pepper and remove the seeds, leaving the stem intact. Rinse the peppers and pat dry. If you don’t have a gas range, an outdoor BBQ will work or you can put the peppers in the oven and turn the broiler on high, making sure to leave the oven door cracked while doing so.

Preheat your oven to 400 degrees. Next, heat a pan on medium high and then add olive oil once hot. Add the shrimp, onions and jalapenos and sauté for a few minutes until the shrimp are ALMOST done, (done is when the shrimp is completely pink). Try not to cook all the way through though. While the shrimp is cooking, put the cream cheese into a bowl, along with the cumin and chili powder. Add the cooked shrimp mixture to the bowl, along with the Monterey jack. The warm mixture will help to further soften the cream cheese, making it easy to stir and combine. Then divide the shrimp/cheese mixture evenly among the peppers, stuffing them. Place all peppers into a dish and bake in the oven for 20 minutes.

When peppers are done, garnish with sliced green onions and chopped cilantro.

stuffed peppers 9stuffed peppers 8stuffed peppers 7stuffed peppers 6stuffed peppers 5stuffed peppers 4stuffed peppers 3stuffed peppersMy hubs said these peppers were “fabulous”. He’s not the type of man that usually uses that word. So I took it as a huge compliment.

Hope this recipes knocks the socks right off of you!

Speedy Strawberry Lemonade

We celebrated my daughter’s birthday over the weekend and I served this lemonade at her party. No, it’s not from scratch but that’s okay!! And that’s because this is quick, easy, looks pretty and tastes yummy. Sounds good to me!

Speedy Strawberry Lemonade (serves a crowd)

  • 96 ounces store bought lemonade
  • 2 liters of lemon lime soda
  • 1 bag of frozen whole strawberries

Add everything into a punch bowl or large drink dispenser. Stir and serve.

strawberry lemonadeNow if you do an outdoor party like we did or are just having a BBQ, the frozen strawberries work really well to keep the lemonade cold. They act as giant strawberry ice cubes. Not only do they keep the lemonade cold, but they won’t water it down and also add that strawberry flavor.

lemonadeAs for the lemonade, I bought a 2 pack of organic lemonade over at Costco. First time I tried it but I really liked it. And it was super inexpensive. Look for it next time you’re there.

And if you’re looking to serve an adult beverage, try adding vodka to make this into Speedy Spiked Strawberry Lemonade. Mmmmm……

vodka

Make Ahead Smoothies

Yes, you can make smoothies ahead of time! Why you ask? Well, here’s the predicament I was in. Or I should say, my husband. He recently started jogging in the morning before going to work. And after his jog, he wanted a healthy breakfast. But depending on his work schedule, he’s up anywhere from 4am to 6am, which is prime sleeping time for everyone else in our house. And I know the last thing I want waking me up is the obnoxious sound of a blender. Enter make ahead smoothies.

So you can make the smoothies just as you normally would and put them in a freezer safe container. I love my Ball plastic salsa freezer jars. I’ve had them for a couple of years and picked them up at Walmart. I use them all the time, and not necessarily for salsa. They are perfect for these make ahead smoothies. I found some plastic freezer jars over at Amazon and although they’re not the same exact ones I have, I think these are just the updated version.

smoothie jars 2Since the smoothies are frozen solid, my husband takes them out of the freezer right when he wakes up. He fills a larger cup with hot water and sets the smoothie jar inside. And when he’s back from his jog, he says they’re still a little slushy but have melted enough for him to eat AND they taste good. Make ahead smoothie success!

Use whatever smoothie recipe you like, or try out one of mine:

Strawberry Banana Smoothie

Healthy Oatmeal Banana Smoothie

Mango & Chia Smoothie

My husband’s favorite smoothie has peaches in it so that’s usually what I make him. I happened to have a fresh pineapple so I decided to throw that in there this time around.

Tropical Peach Smoothie (makes approximately 20 ounces)

  • 1 fresh or frozen banana
  • 1/2 c. frozen peaches
  • 1/4 c. fresh pineapple
  • 2 tbsp. ground flax
  • 1 1/2 c. almond milk
  • 1/3 c. vanilla yogurt

Blend all ingredients on high until smooth. Divide between two freezer container jars and store in the freezer.

smoothie jarsNow if you don’t have a jogging husband that you need to make these for, these would be great for family picnics. Just place them in your cooler and by the time you’ve eaten your food and the kids have played, a healthy dessert has thawed out and is ready and waiting for them. I also recommend the YP Sport pouches, shown below. They also hold smoothies or shakes very well, are freezer safe and fun for the kids. You can find them by clicking on this link at Amazon. I know my kids think they’re pretty cool.


Spice Rubbed Roasted Chicken Legs

spice rubbedSo here’s a new recipe I tried out on my guinea pigs family the other day. I had picked up some chicken quarters at the grocery store for $.99 a pound. What a steal! When I saw that price, I knew I couldn’t pass it up. I mean, that is really freakin cheap inexpensive. And considering that my oldest daughter now eats like a full grown woman, a big chicken leg sounded like a good plan.

In case you’re not familiar with chicken quarters (also known as a whole chicken leg) it’s the thigh and the leg/drumstick together, bone in, still attached, connected, as one….You get it. And it’s dark meat. In case you’re a white meat, chicken breast lover, please don’t automatically dismiss this recipe. The thigh meat (in my opinion) is the best meat on the chicken. Tender, juicy and full of flavor. Also, with this recipe, we’re leaving the skin on. And that skin is going to be crispy! Let the drool commence NOW!

FYI, since the skin does get seared, be prepared for a smoky house. My husband walked in and wanted to know what the hell was going on. But luckily, I didn’t set off any smoke alarms.

Spice Rubbed Roasted Chicken Legs (makes 4-6 servings)

  • 4-6 chicken quarters (also known as whole chicken legs)
  • 4-6 tbsp. butter
  • 1 tsp. each cumin and chili powder
  • 1/2 tsp. each of paprika, onion powder & garlic powder
  • 1/4 tsp. each of salt and pepper
  • 2-3 tbsp. olive oil

Mix together all of the dried spices in a small bowl. Place 1 tbsp. of butter underneath the skin of each chicken leg (on top of the thigh). Drizzle a little bit of olive oil over the top of the chicken. Then sprinkle the spice rub all over the skin as well as lifting the skin on the thigh up and rubbing the spice mix under the skin too. Place in an airtight container in the fridge for 6 hours (or more).

Take chicken out of the fridge and let come to room temperature, approximately 20 minutes. Preheat oven to 425 degrees. Then heat a cast iron skillet over high heat. When nice and hot, add in 1-2 tbsp. olive oil and place chicken skin side down in the skillet. Do not move it, and let it sear for 3-4 minutes. This is when it’s going to get all smoky! With the butter melting under the skin and the hot oil, it’s going to get hot up in your house. So make sure to turn that fan on! Turn over, and let sear for about 2 minutes on the other side. Then place on a foil lined tray (or a dish big enough to hold all these legs). I was able to do 2 chicken legs at a time. So you most likely will have to work in batches too. You don’t want to overcrowd the pan as you want the skin to sear and crisp up, not steam and get rubbery.

When all chicken legs have been seared, place in the oven and cook for 45 minutes. When the legs are all done, let rest about 10 minutes and then drizzle with your favorite barbeque sauce.

spice rubbed 7spice rubbed 6spice rubbed 5spice rubbed 4spice rubbed 3spice rubbed 2So I did 6 chicken legs for my family and we had leftovers. And since I’m all about leftovers and re-purposing, I suggest removing the skin and pulling that chicken off to make some chicken salad. Might I suggest my recipe for Almond Chicken Salad? 🙂

Check out my Facebook page!!

Hey everyone!! I just wanted to let you all know that I created a Facebook page for this here blog. Yep, that’s right. Just did it today so bear with me! I’ll be putting up more pictures as time goes on. But please head over, check it out, like me and I hope I get your thumbs up.

Click here! <—————–

And thanks to everyone who reads my blog. Whether it’s one person or thousands who visit my blog (who knows!), I’m just happy to have my own online personal “cookbook” (as I call it). And I hope it’s a “cookbook” you can reference and like looking at!!!

-Jenny

Sun Dried Tomato Pasta Salad

pasta salad 3This is a copycat recipe. And it’s all in the name of saving money! There’s this fancy grocery store/market around the corner from me and they sell the inspiration for this sun dried tomato pasta salad. We had it from their salad bar before and it’s delicious. But the catch? I think they want my firstborn child to pay for it! It’s so incredibly expensive! For a large container, it’s like almost $20! It’s really tasty, but not $20 tasty! So I wrote down all the ingredients that were in it, (lo & behold, I had a lot of them in my fridge/pantry already) and gave it a whirl. Bingo! It’s pretty close. And it didn’t cost me $20 to make a cup of pasta salad. And it’s now my husband’s favorite pasta salad. Can’t beat that!

Sun Dried Tomato Pasta Salad (this will serve a crowd)

  • 1 lb. penne rigate pasta
  • 1, 8 ounce jar sun dried tomato pesto (Classico is my fav)
  • 1 small green bell pepper, chopped
  • 1/2 c. kalamata olives, chopped
  • 1/3 c. sun dried tomatoes, chopped
  • 1/2 c. crimini mushrooms, chopped
  • 1/4 c. pepperoncinis, chopped
  • 1/2 c. cubed/chunked mozzarella cheese
  • 3/4 c. extra virgin olive oil
  • 2 tbsp. mayo (optional)*

Cook pasta according to package directions. Drain and let cool. When pasta is cool, add to a large bowl. Add the rest of the ingredients and stir well to combine. Refrigerate until ready to serve. Just before serving, stir together and drizzle with a little more olive oil if pasta has become dry.

*Of course I had to add mayo into this. It adds a tad bit of creaminess but if you prefer, leave it out. I’ve done it both ways and they’re both delicious in my opinion.

pasta salad 2pasta saladpasta salad 4Serve this at your next BBQ. Steaks, chicken, burgers, hot dogs….. it goes with just about anything.


Chinese Eggplant & Ground Pork

pork & eggplant 2So maybe you’ve had a similar type dish at a Chinese restaurant? Well, no need to go out now when you can make it at home!

I love cooking Asian style at home because I think you can get really great authentic flavors. And this recipe is very flavorful and super easy to make. Plus, it’s a little different than your typical teriyaki chicken. If you’re not a pork person, feel free to substitute the pork with ground chicken.

Chinese Eggplant & Ground Pork

  • 1 lb. ground pork
  • 2 Chinese eggplants, halved & then cut into half moons
  • 1/2 white onion, chopped
  • 1 tbsp. canola oil
  • 2 garlic cloves, minced
  • 2 tbsp. rice wine vinegar
  • 1 tbsp. soy sauce
  • 1 tbsp. sriracha
  • 1/2 c. hoisin sauce
  • 1/8 tsp. white pepper
  • dash of salt
  • pinch of dried crushed red peppers
  • 2 green onions, sliced
  • 1 tsp. sesame oil

Heat a wok or skillet over medium heat and add canola oil. Add in the ground pork making sure to break it up as you cook it. Let pork cook for a few minutes, and then add in the onions. Once pork is almost cooked through, add the eggplant. While that cooks, mix together the garlic through the crushed red peppers in a separate bowl. When the pork is cooked (no longer pink) add in the sauce and stir together to combine. Let cook for a few more minutes to absorb the saucy goodness. Turn off heat and add in the green onions and drizzle the sesame oil. Stir and then serve immediately.

chinese eggplant 2chinese eggplantpork & eggplant 3pork & eggplantI like this served along side some rice while my husband likes this served on TOP of his rice. This would also be great in a lettuce wrap. Enjoy your homemade take out!

P.S. Sorry for missing pics of the actual cooking process. Must’ve been very hungry and slightly delirious. But at least you know what a Chinese eggplant looks like!