Teriyaki Turkey Meatballs

tt ballsGame day is coming up and if you’re like me, it’s a great excuse to eat a lot of food. We’re not much for football in this house, but every year for Superbowl, I make a nice spread and we usually have friends over. This year I’m making about 9 pounds of baby back ribs and loaded potato skins as requested by the man of the house. And of course we’ll have some dips and chips and a bunch of other goodies. But, if you’re still undecided about what you’re wanting to make, I have an idea for you.

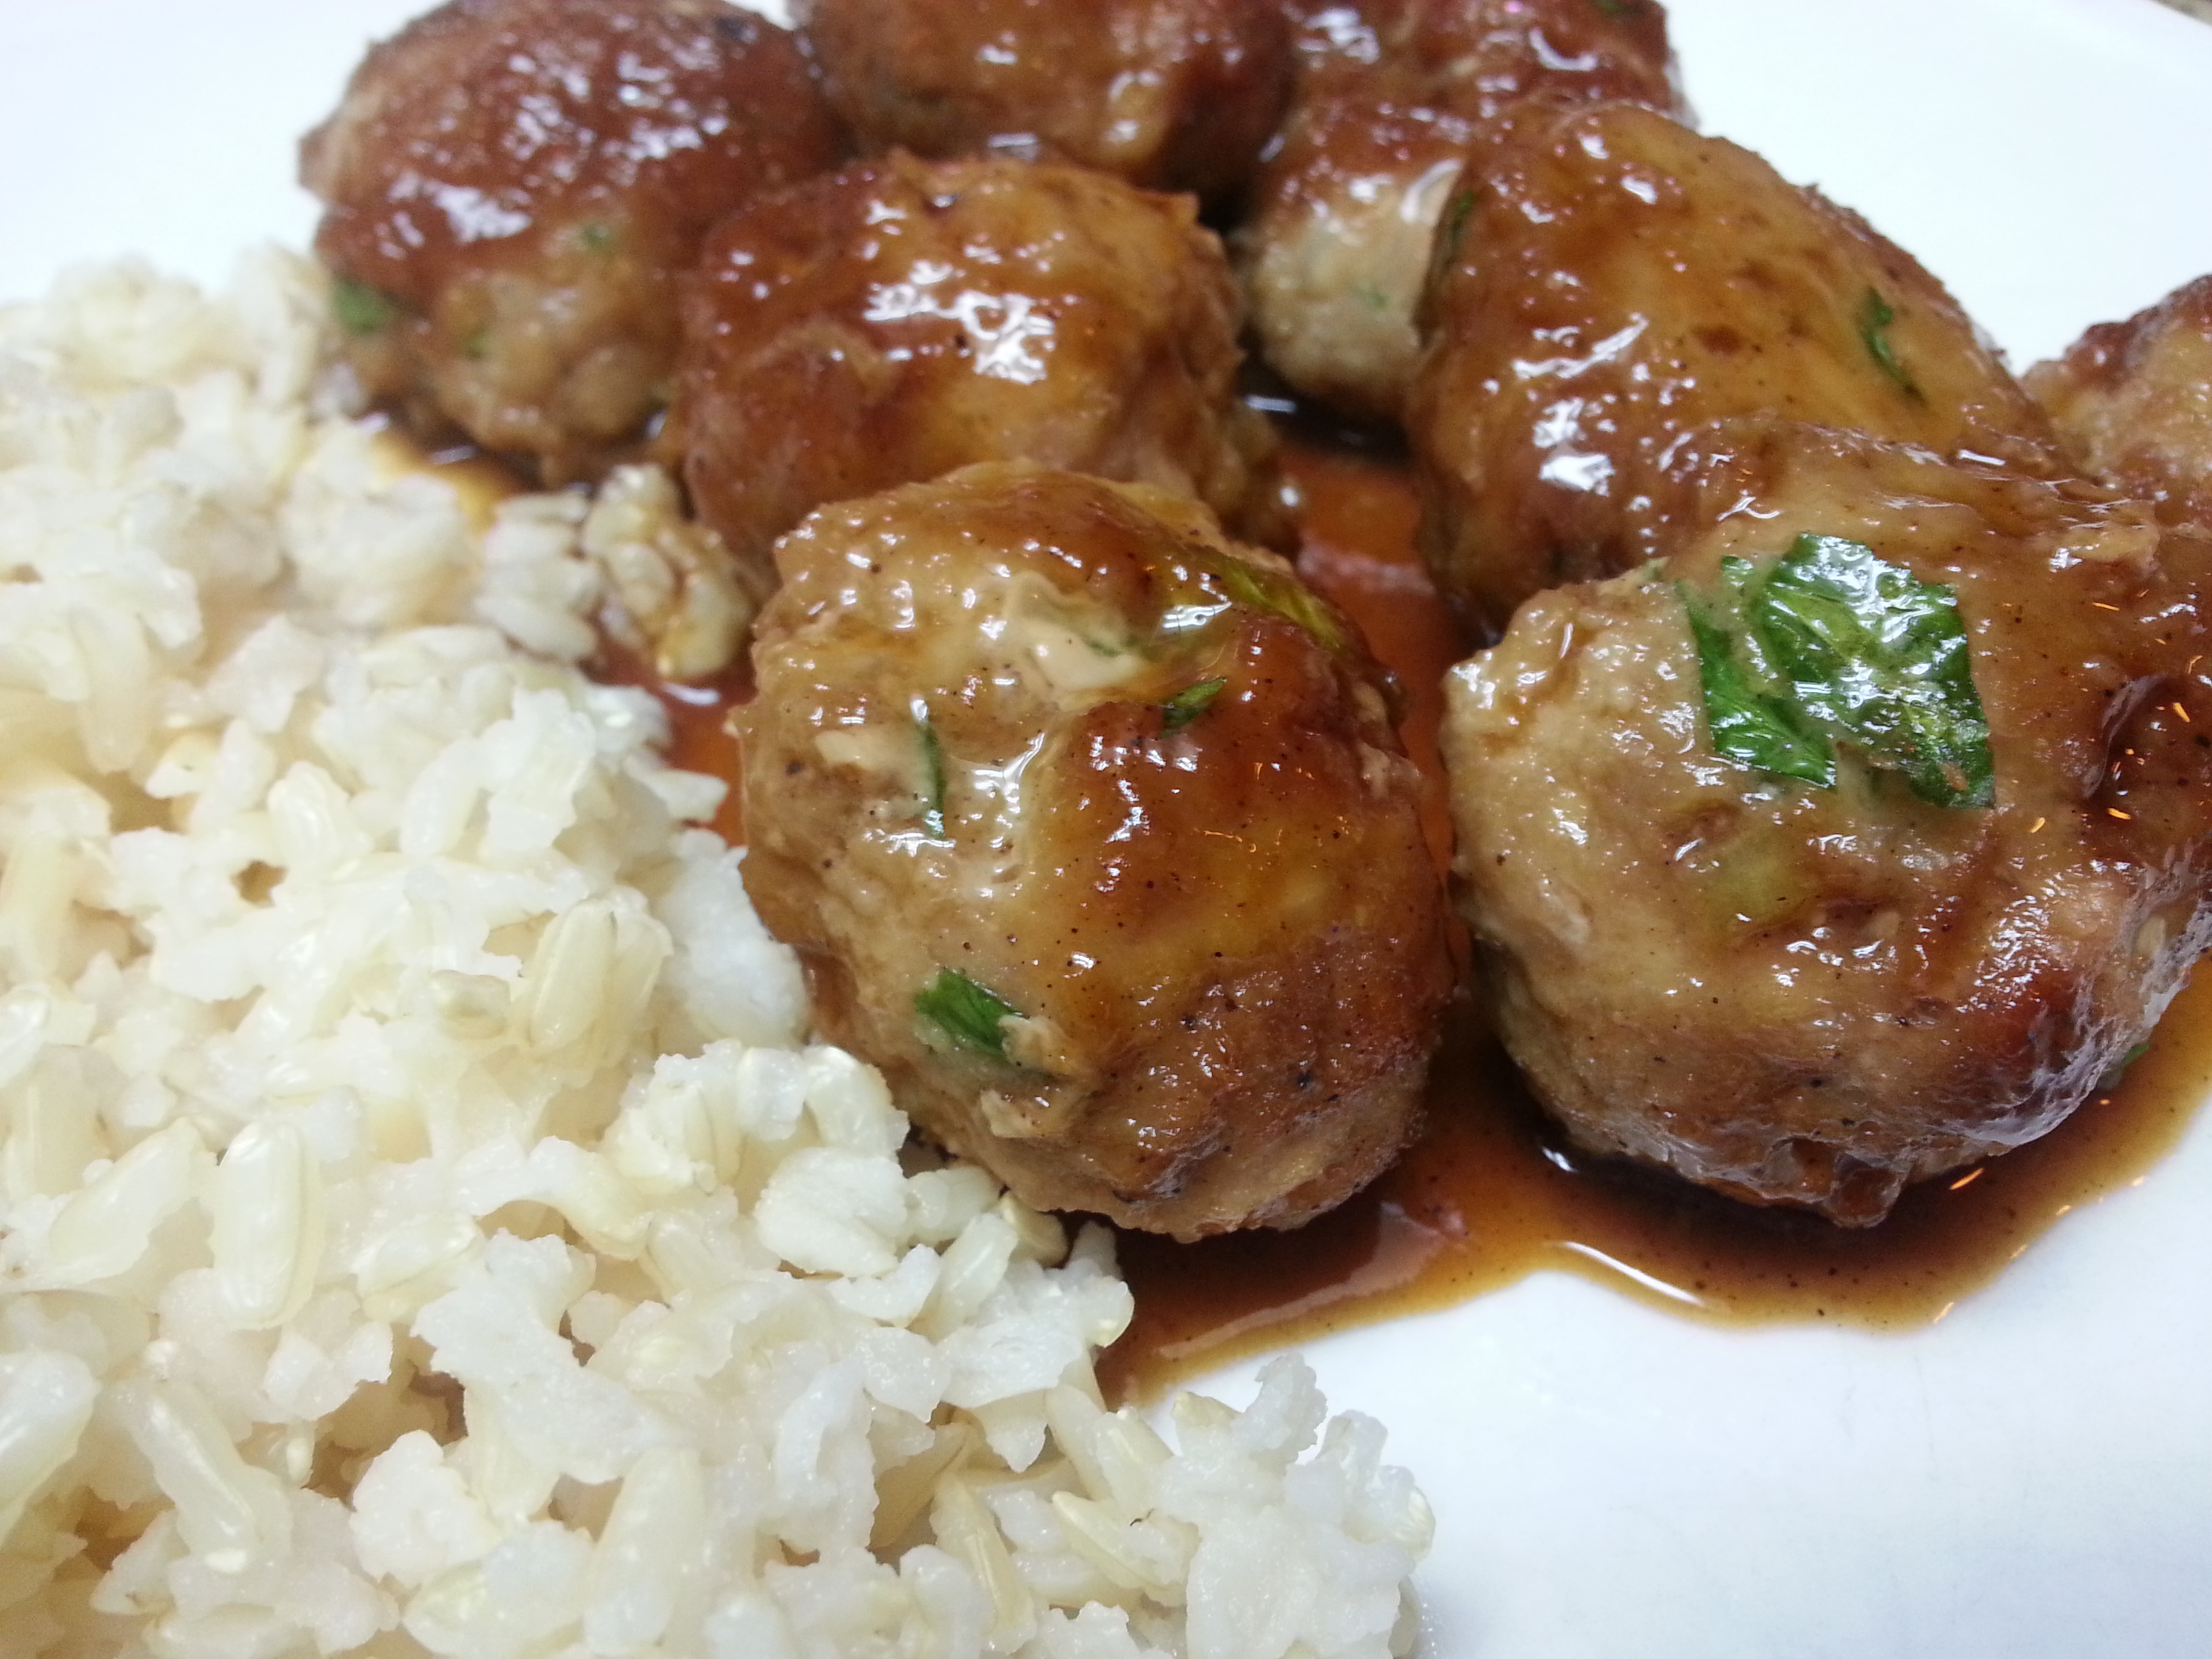
I made these meatballs for dinner last night and they didn’t disappoint. They were so tasty in fact that I thought they would be an excellent Superbowl/party snack as well. But really, they make a great dinner option. And they’re quick. And they’re kid friendly. And they taste really, really good. Sounds like a winner, right?

So I have to say this though….I call these teriyaki but there’s really only one “teriyaki” sauce that I use and I really urge you to go out and buy it. My parents have used this sauce for years and when I went out on my own and had my own home, this sauce became a permanent resident in my casa. And that’s Yoshida’s Gourmet Sauce. Mi casa es su casa Mr. Yoshida. I don’t know how to say that in Mandarin or Cantonese, so Spanish will do. But do you get my point? This is the “teriyaki” sauce you should have in your kitchen. And it will be the only one you’ll ever buy after you’ve tried it. But if you want to be really stubborn, use what you’re using. I’m going to be stubborn and stick to my guns though about Yoshida’s.

Teriyaki Turkey Meatballs (makes approximately 2 dozen)
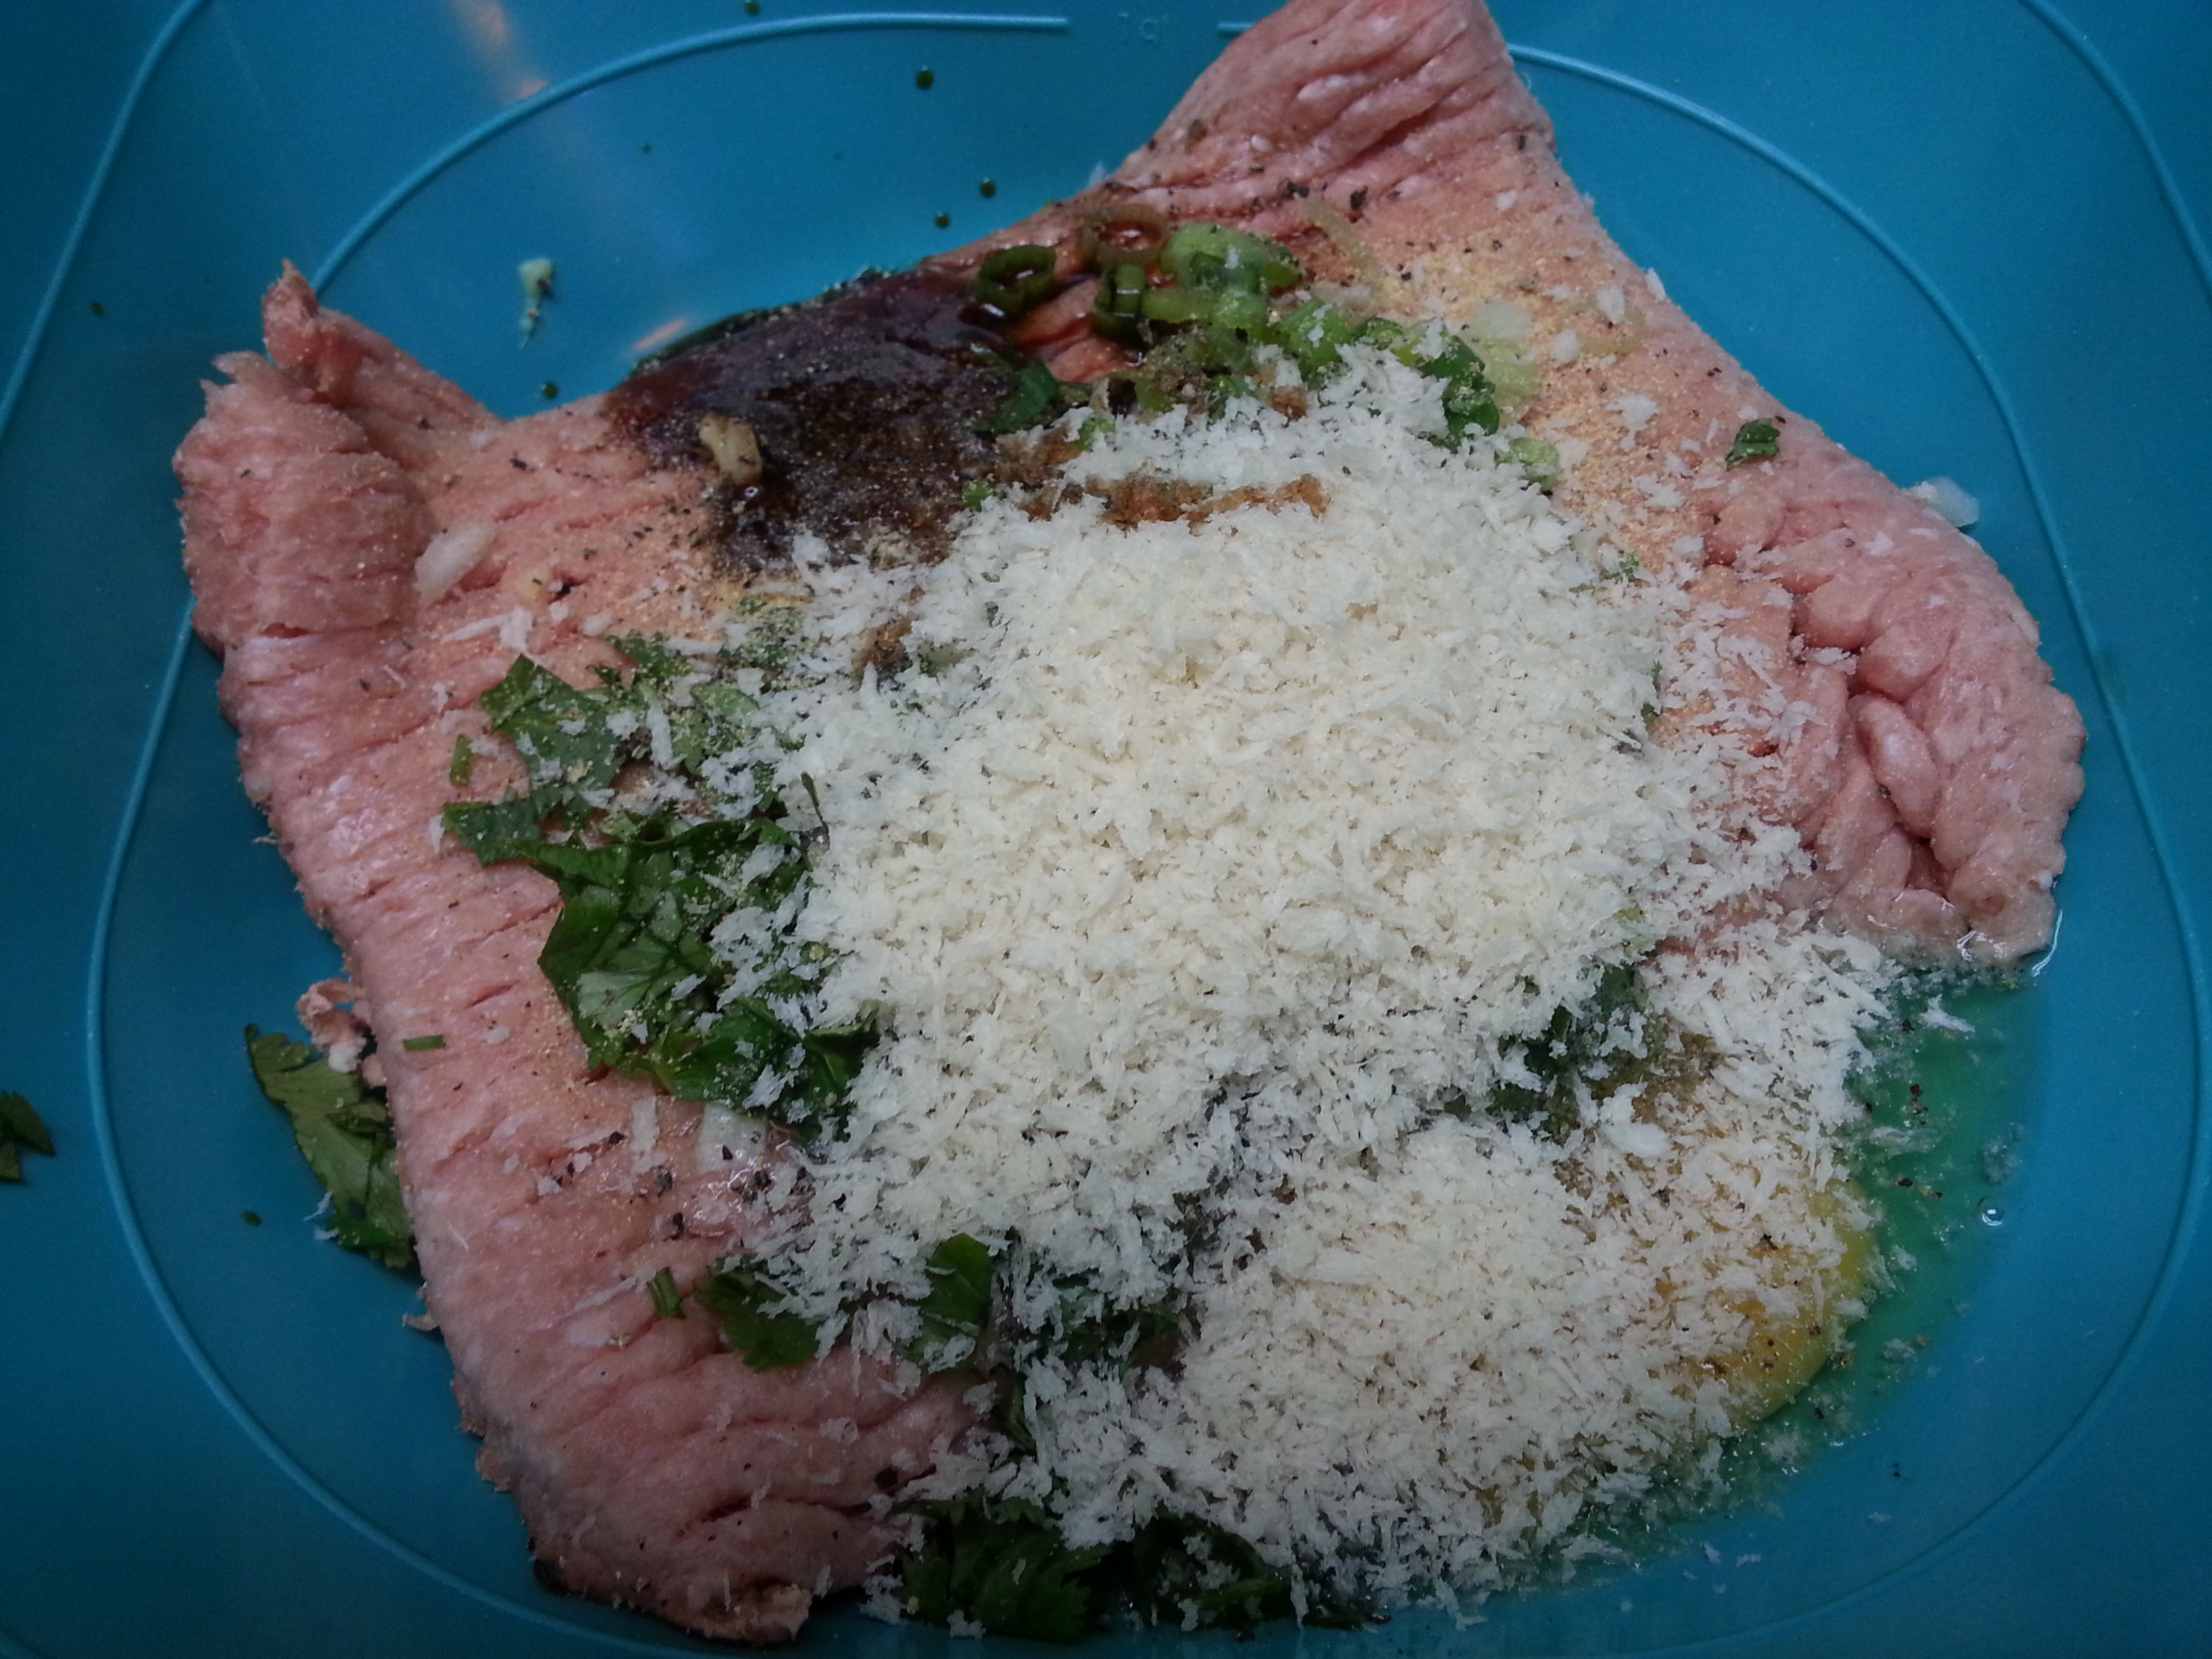
  • 1 lb. ground turkey
  • 1 egg
  • 1 tbsp. plus 1/2 c. teriyaki sauce (you know what kind you should use!)
  • 1 tbsp. soy sauce
  • 1 green onion, sliced
  • 1 tbsp. finely chopped white or yellow onion
  • 1 tsp. fresh grated ginger, or 1/8 tsp. ground ginger
  • 1 clove minced garlic, or 1/8 tsp. garlic powder
  • 1/4 c. chopped cilantro
  • 1/4 c. panko crumbs
  • Dash black pepper

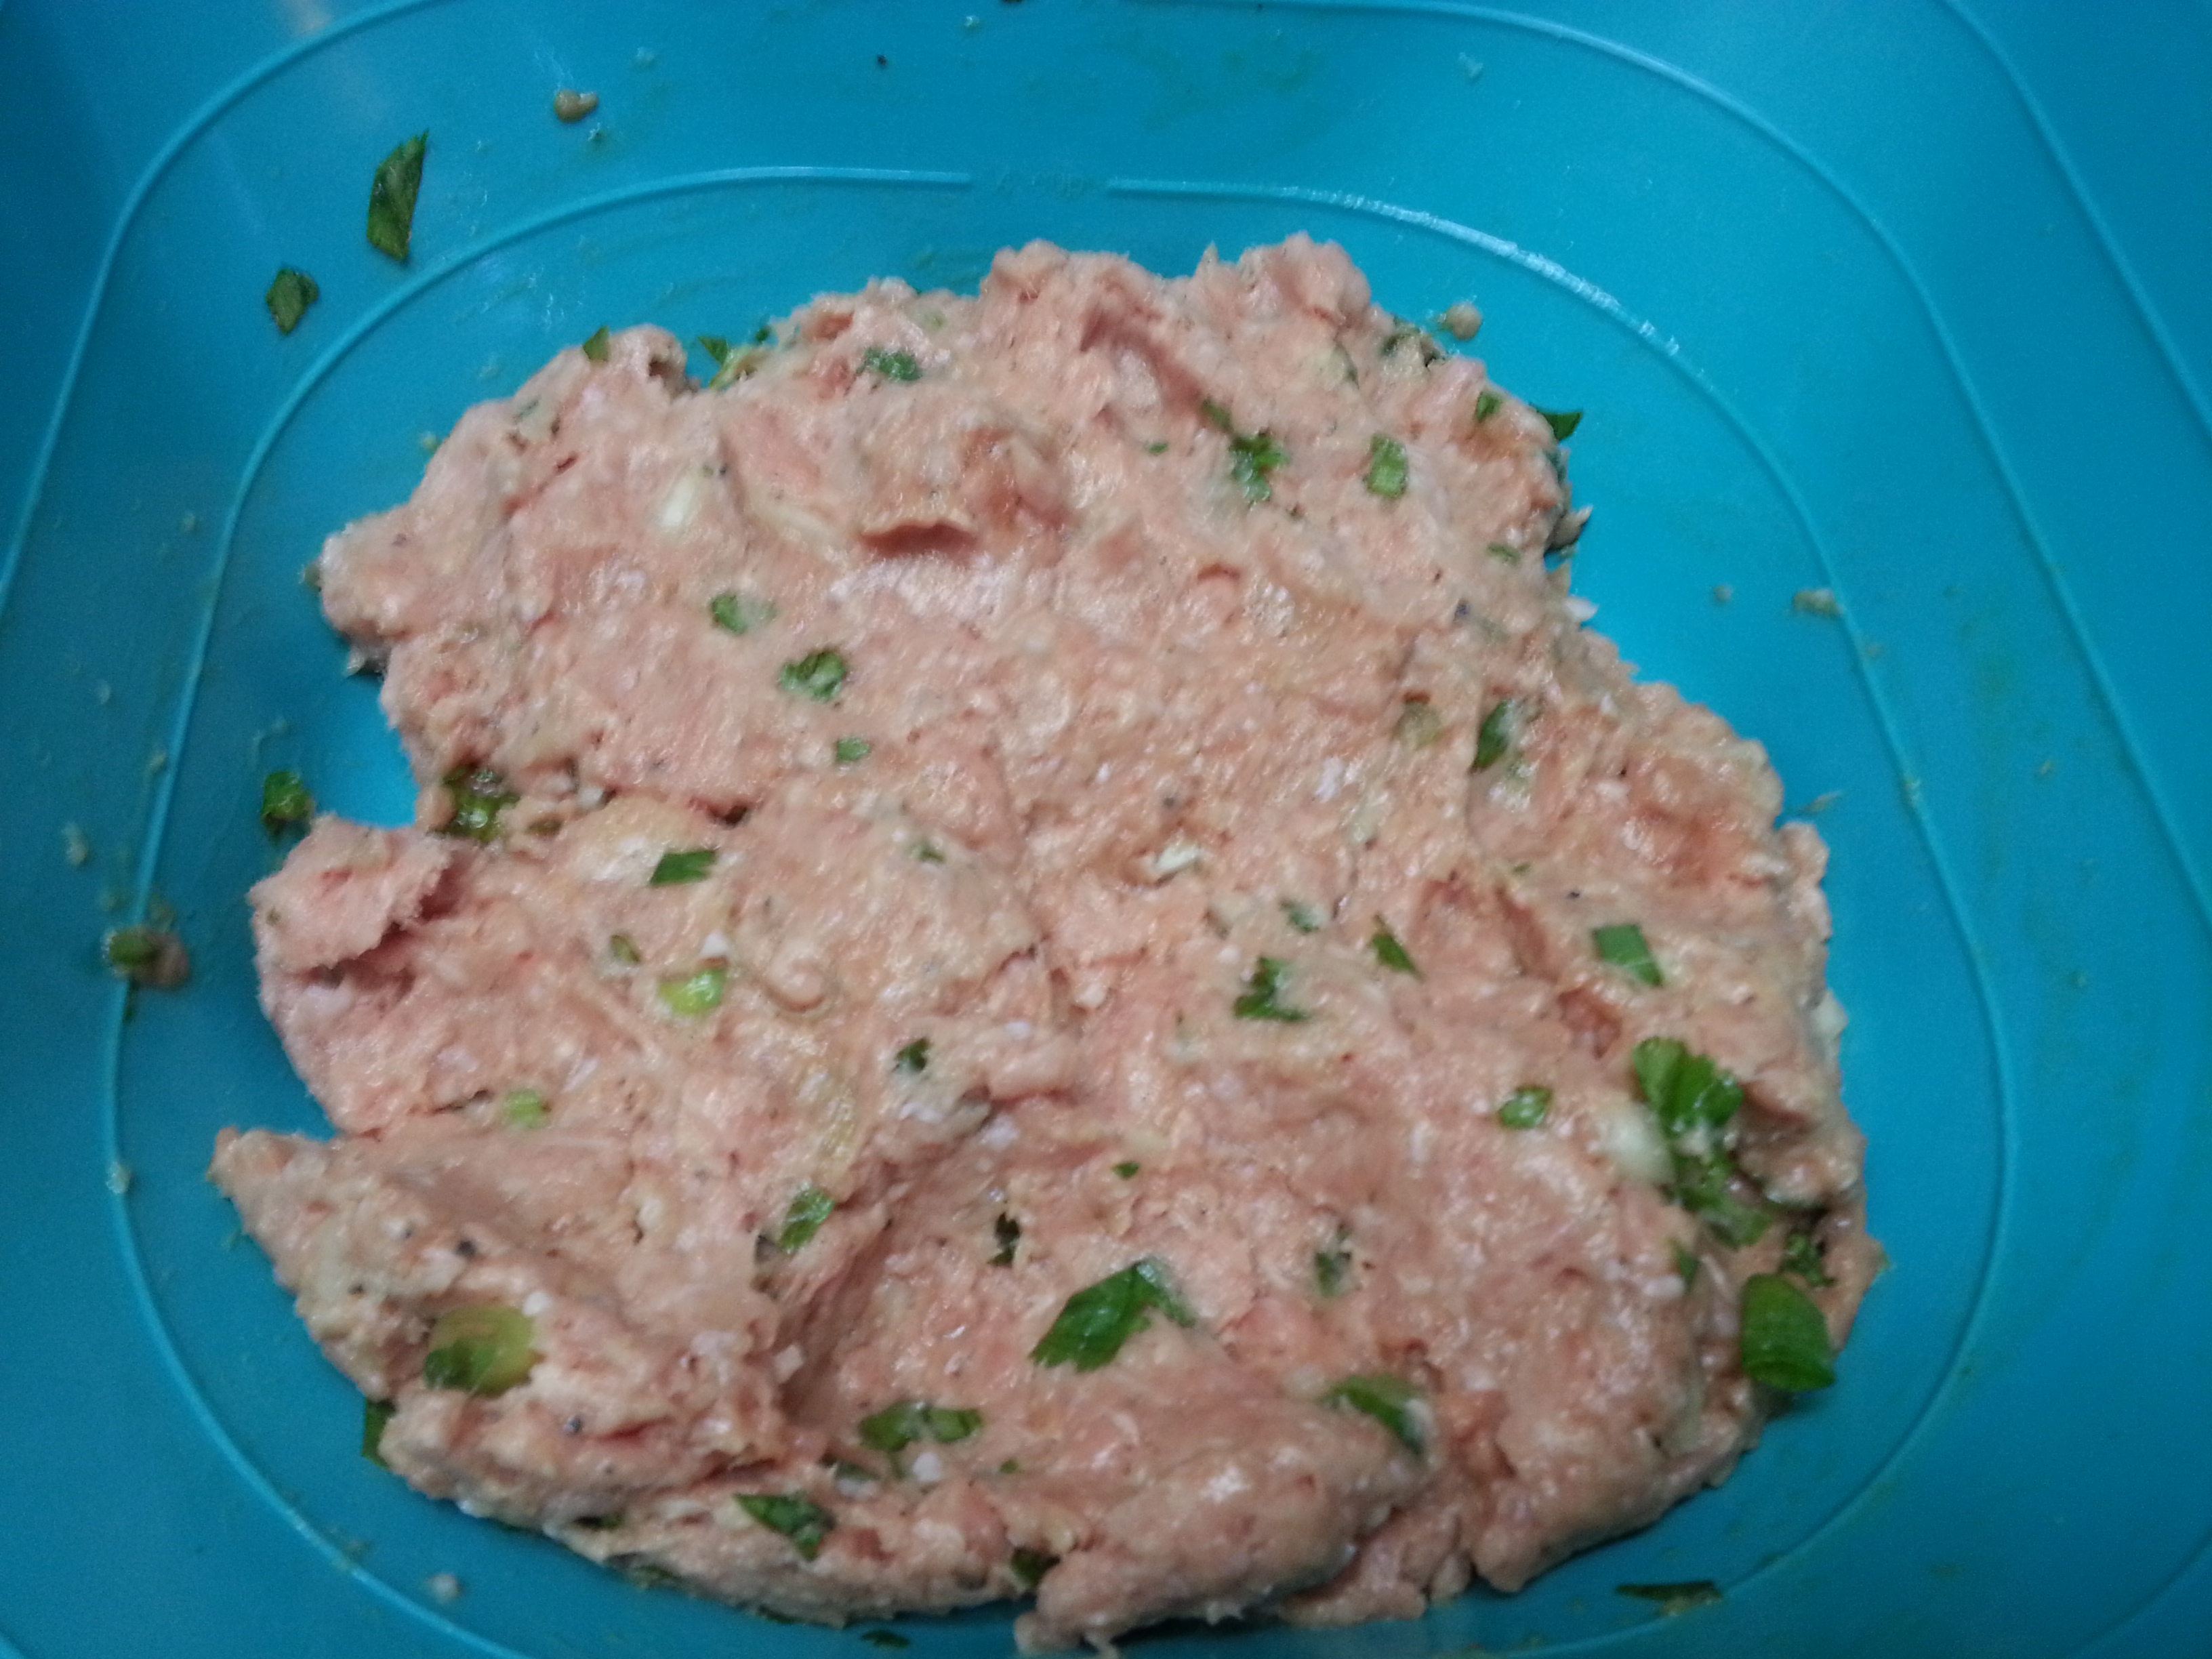
Add all of the ingredients to a large bowl, except 1/2 c. teriyaki sauce. With your hands, combine the meat mixture until evenly mixed. You can either put this back in the fridge for an hour or two or just go ahead and make your balls.

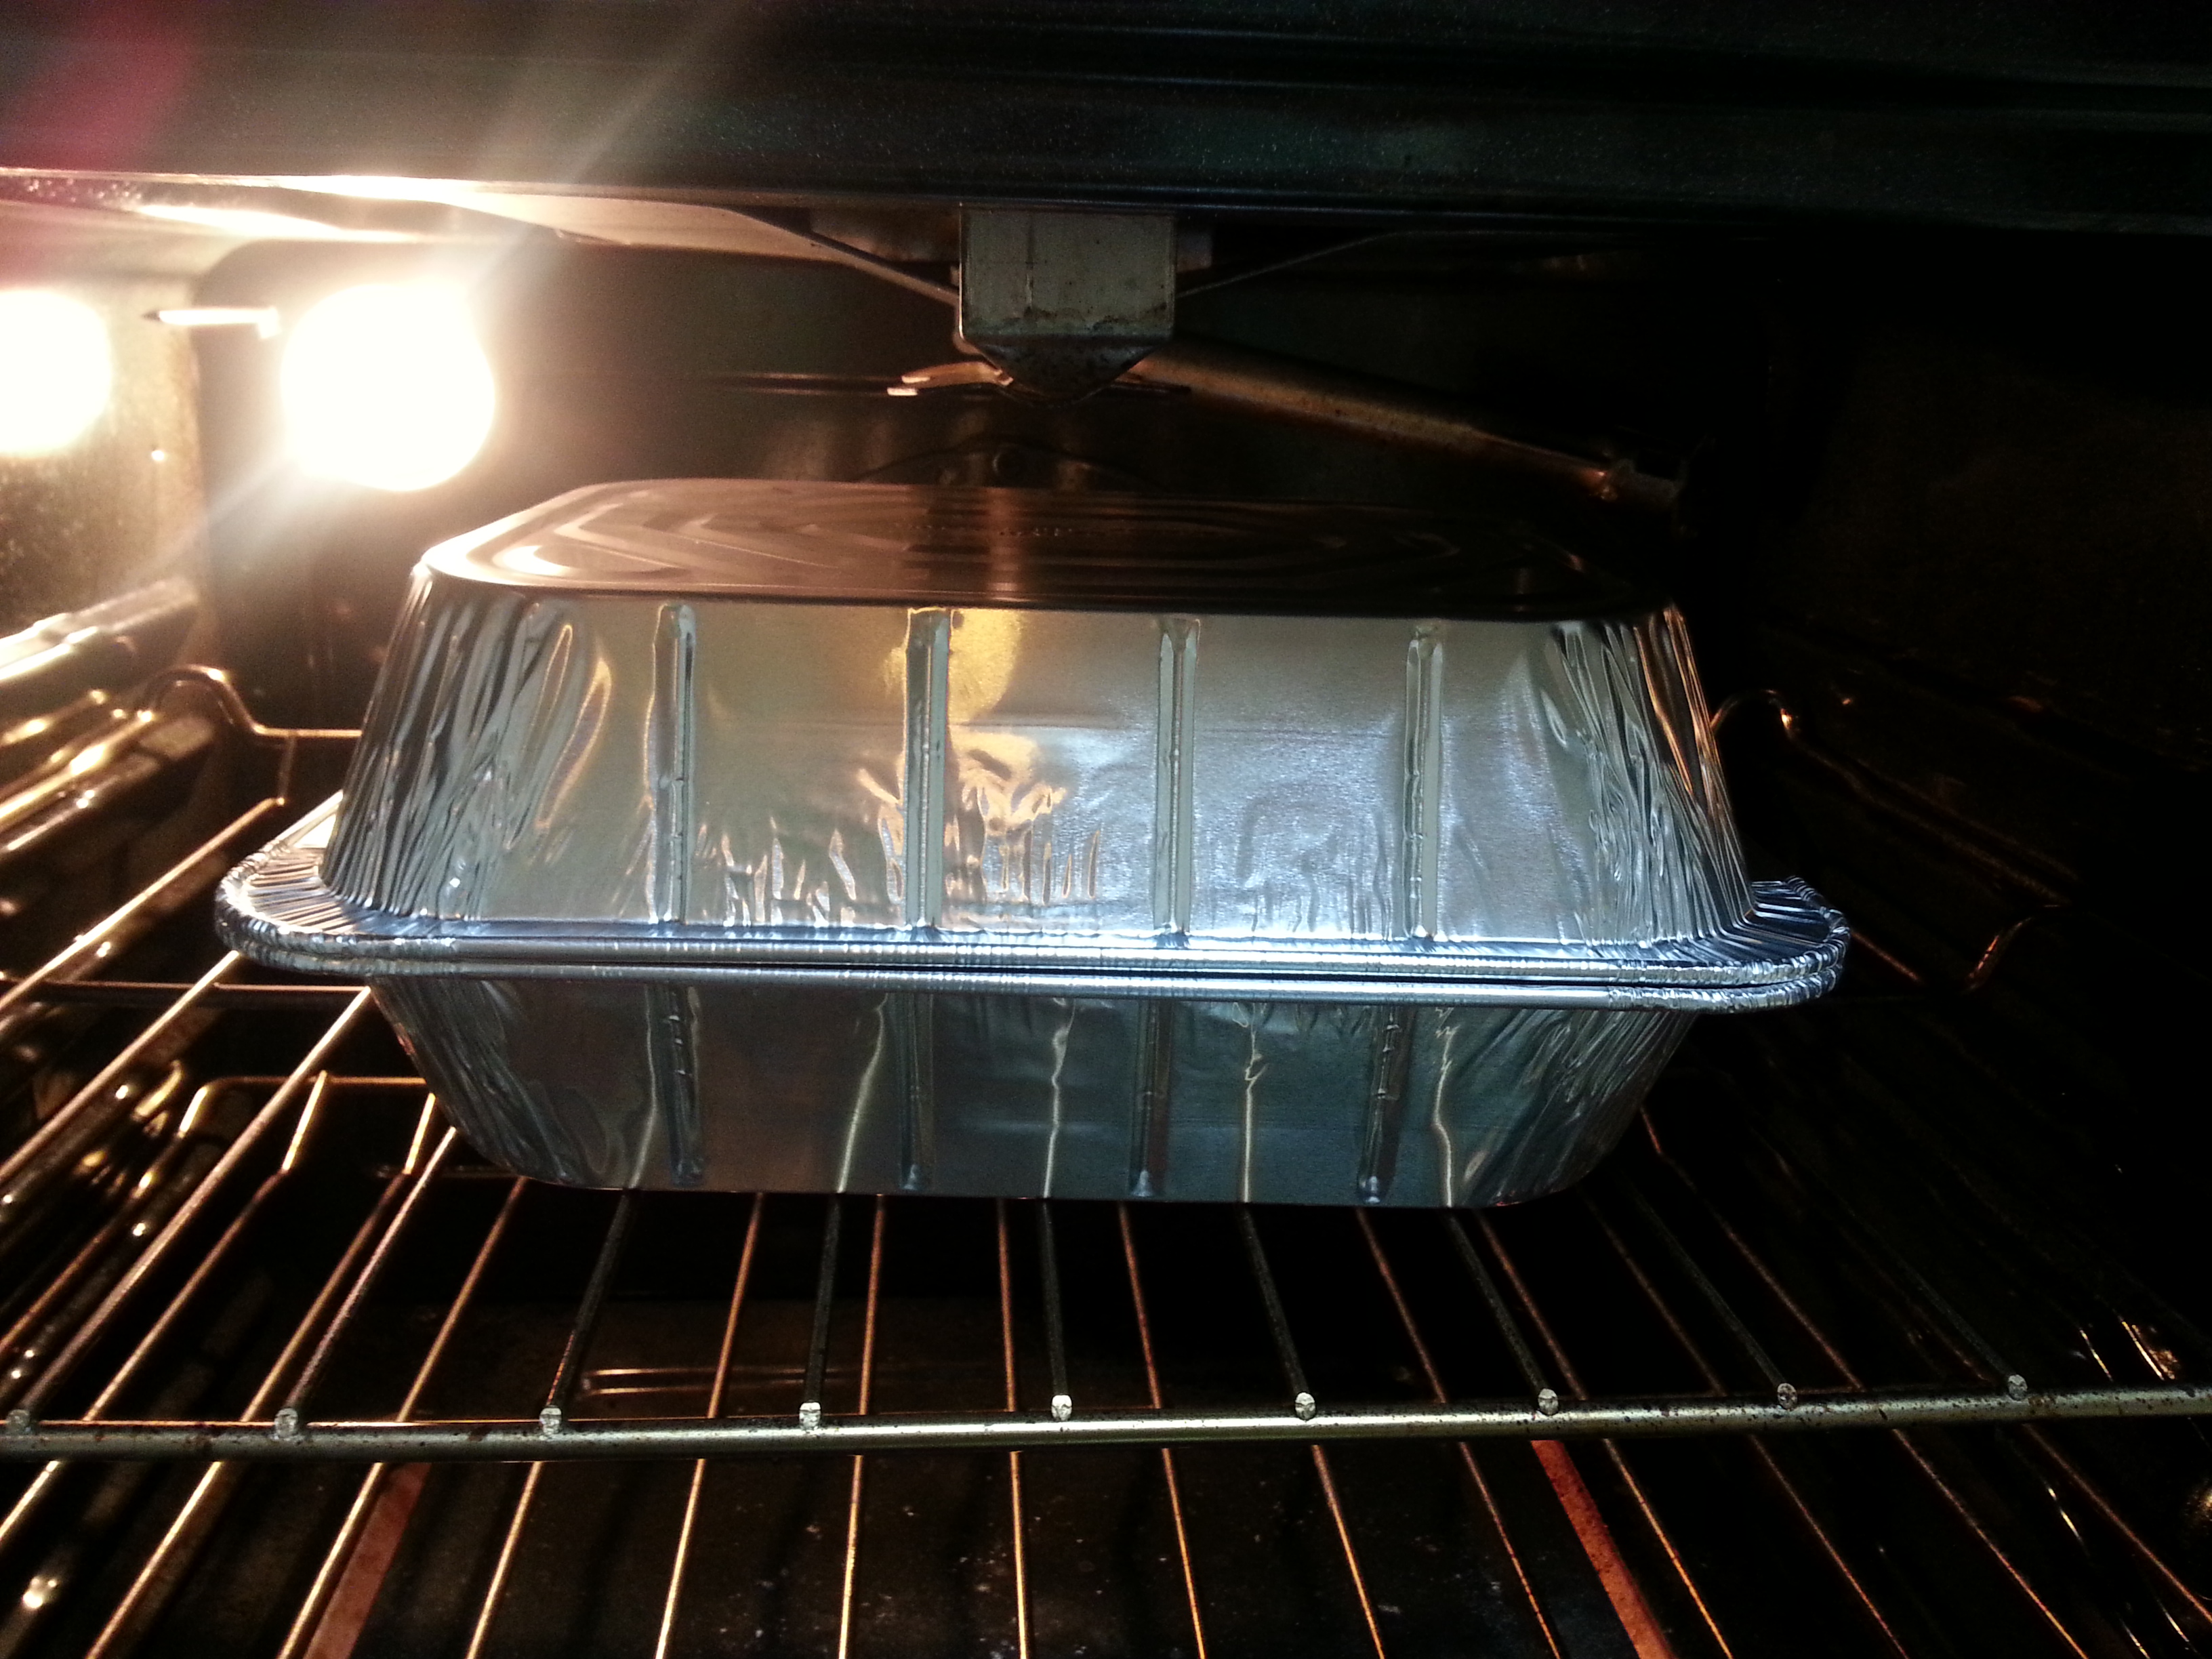
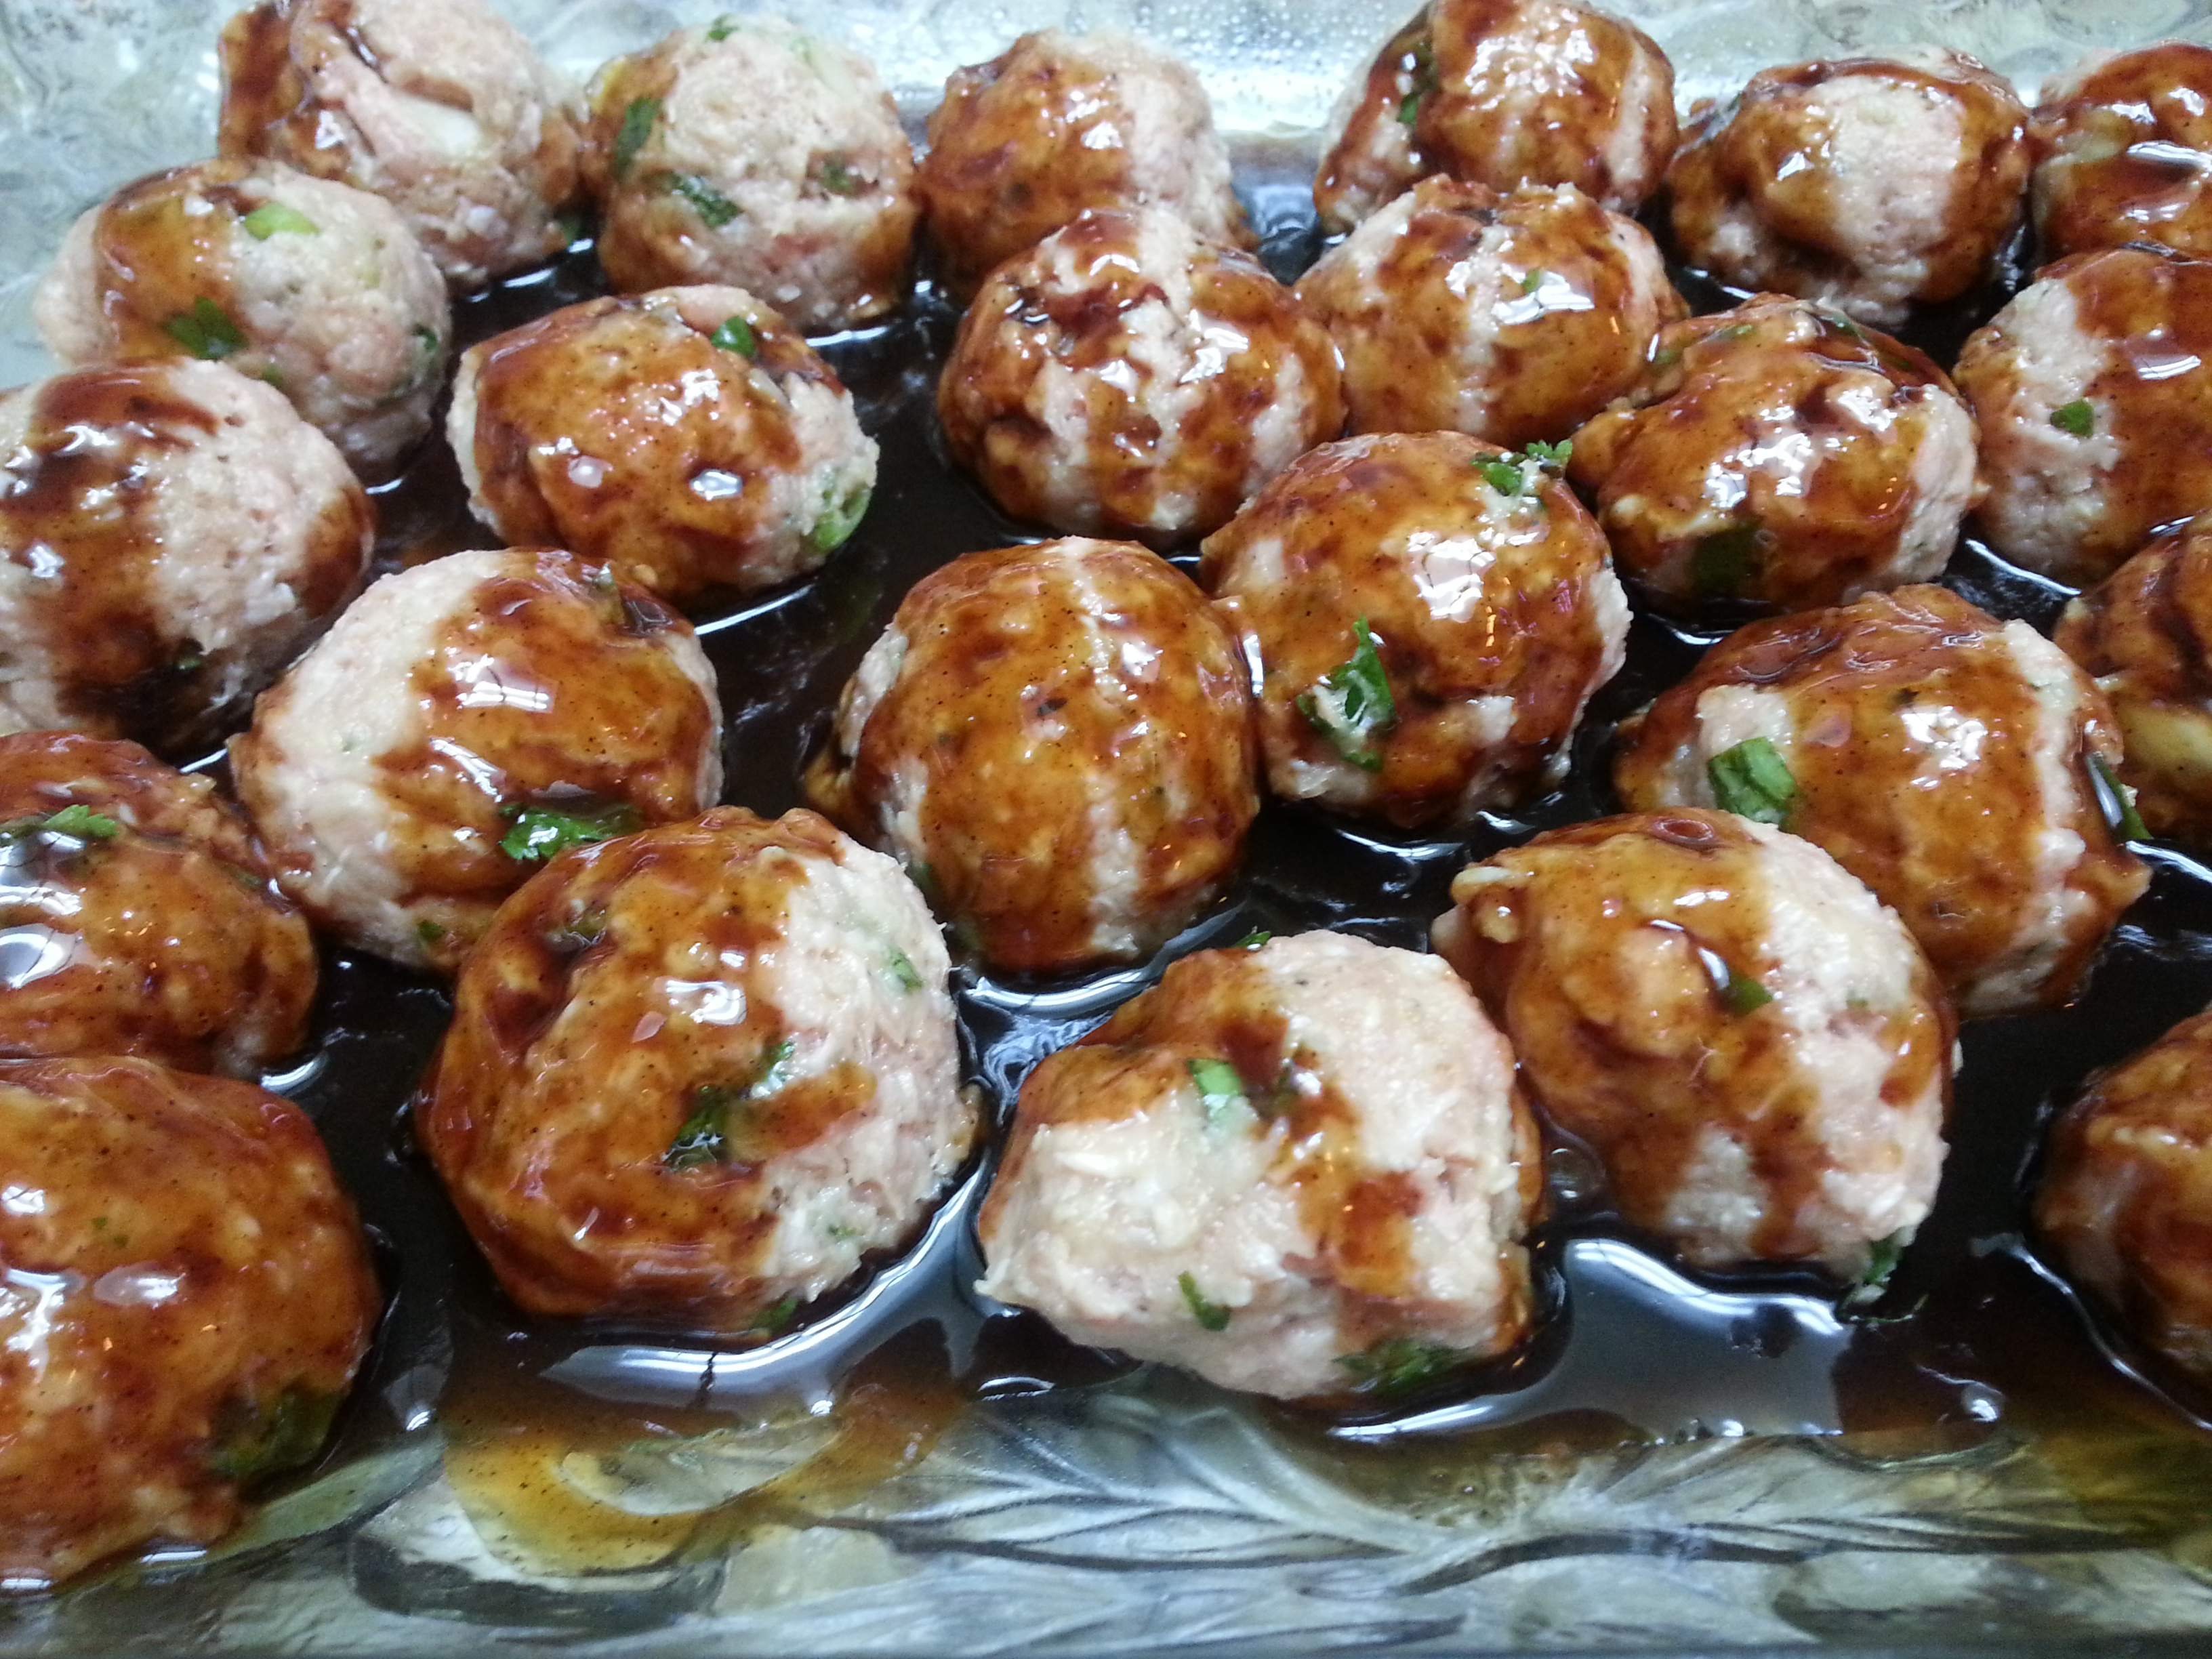
Preheat the oven to 400 degrees. Spray a baking dish with cooking spray. To make the meatballs, I use a little scooper to ensure evenly sized meatballs, but you can just as easily use your hands. Place all the meatballs in the baking dish. Then pour the 1/2 c. teriyaki sauce over the meatballs. Place in the oven and bake for 20 minutes. Tah-dah! That’s it.

tt balls 4tt balls 3tt balls 2tt balls 5
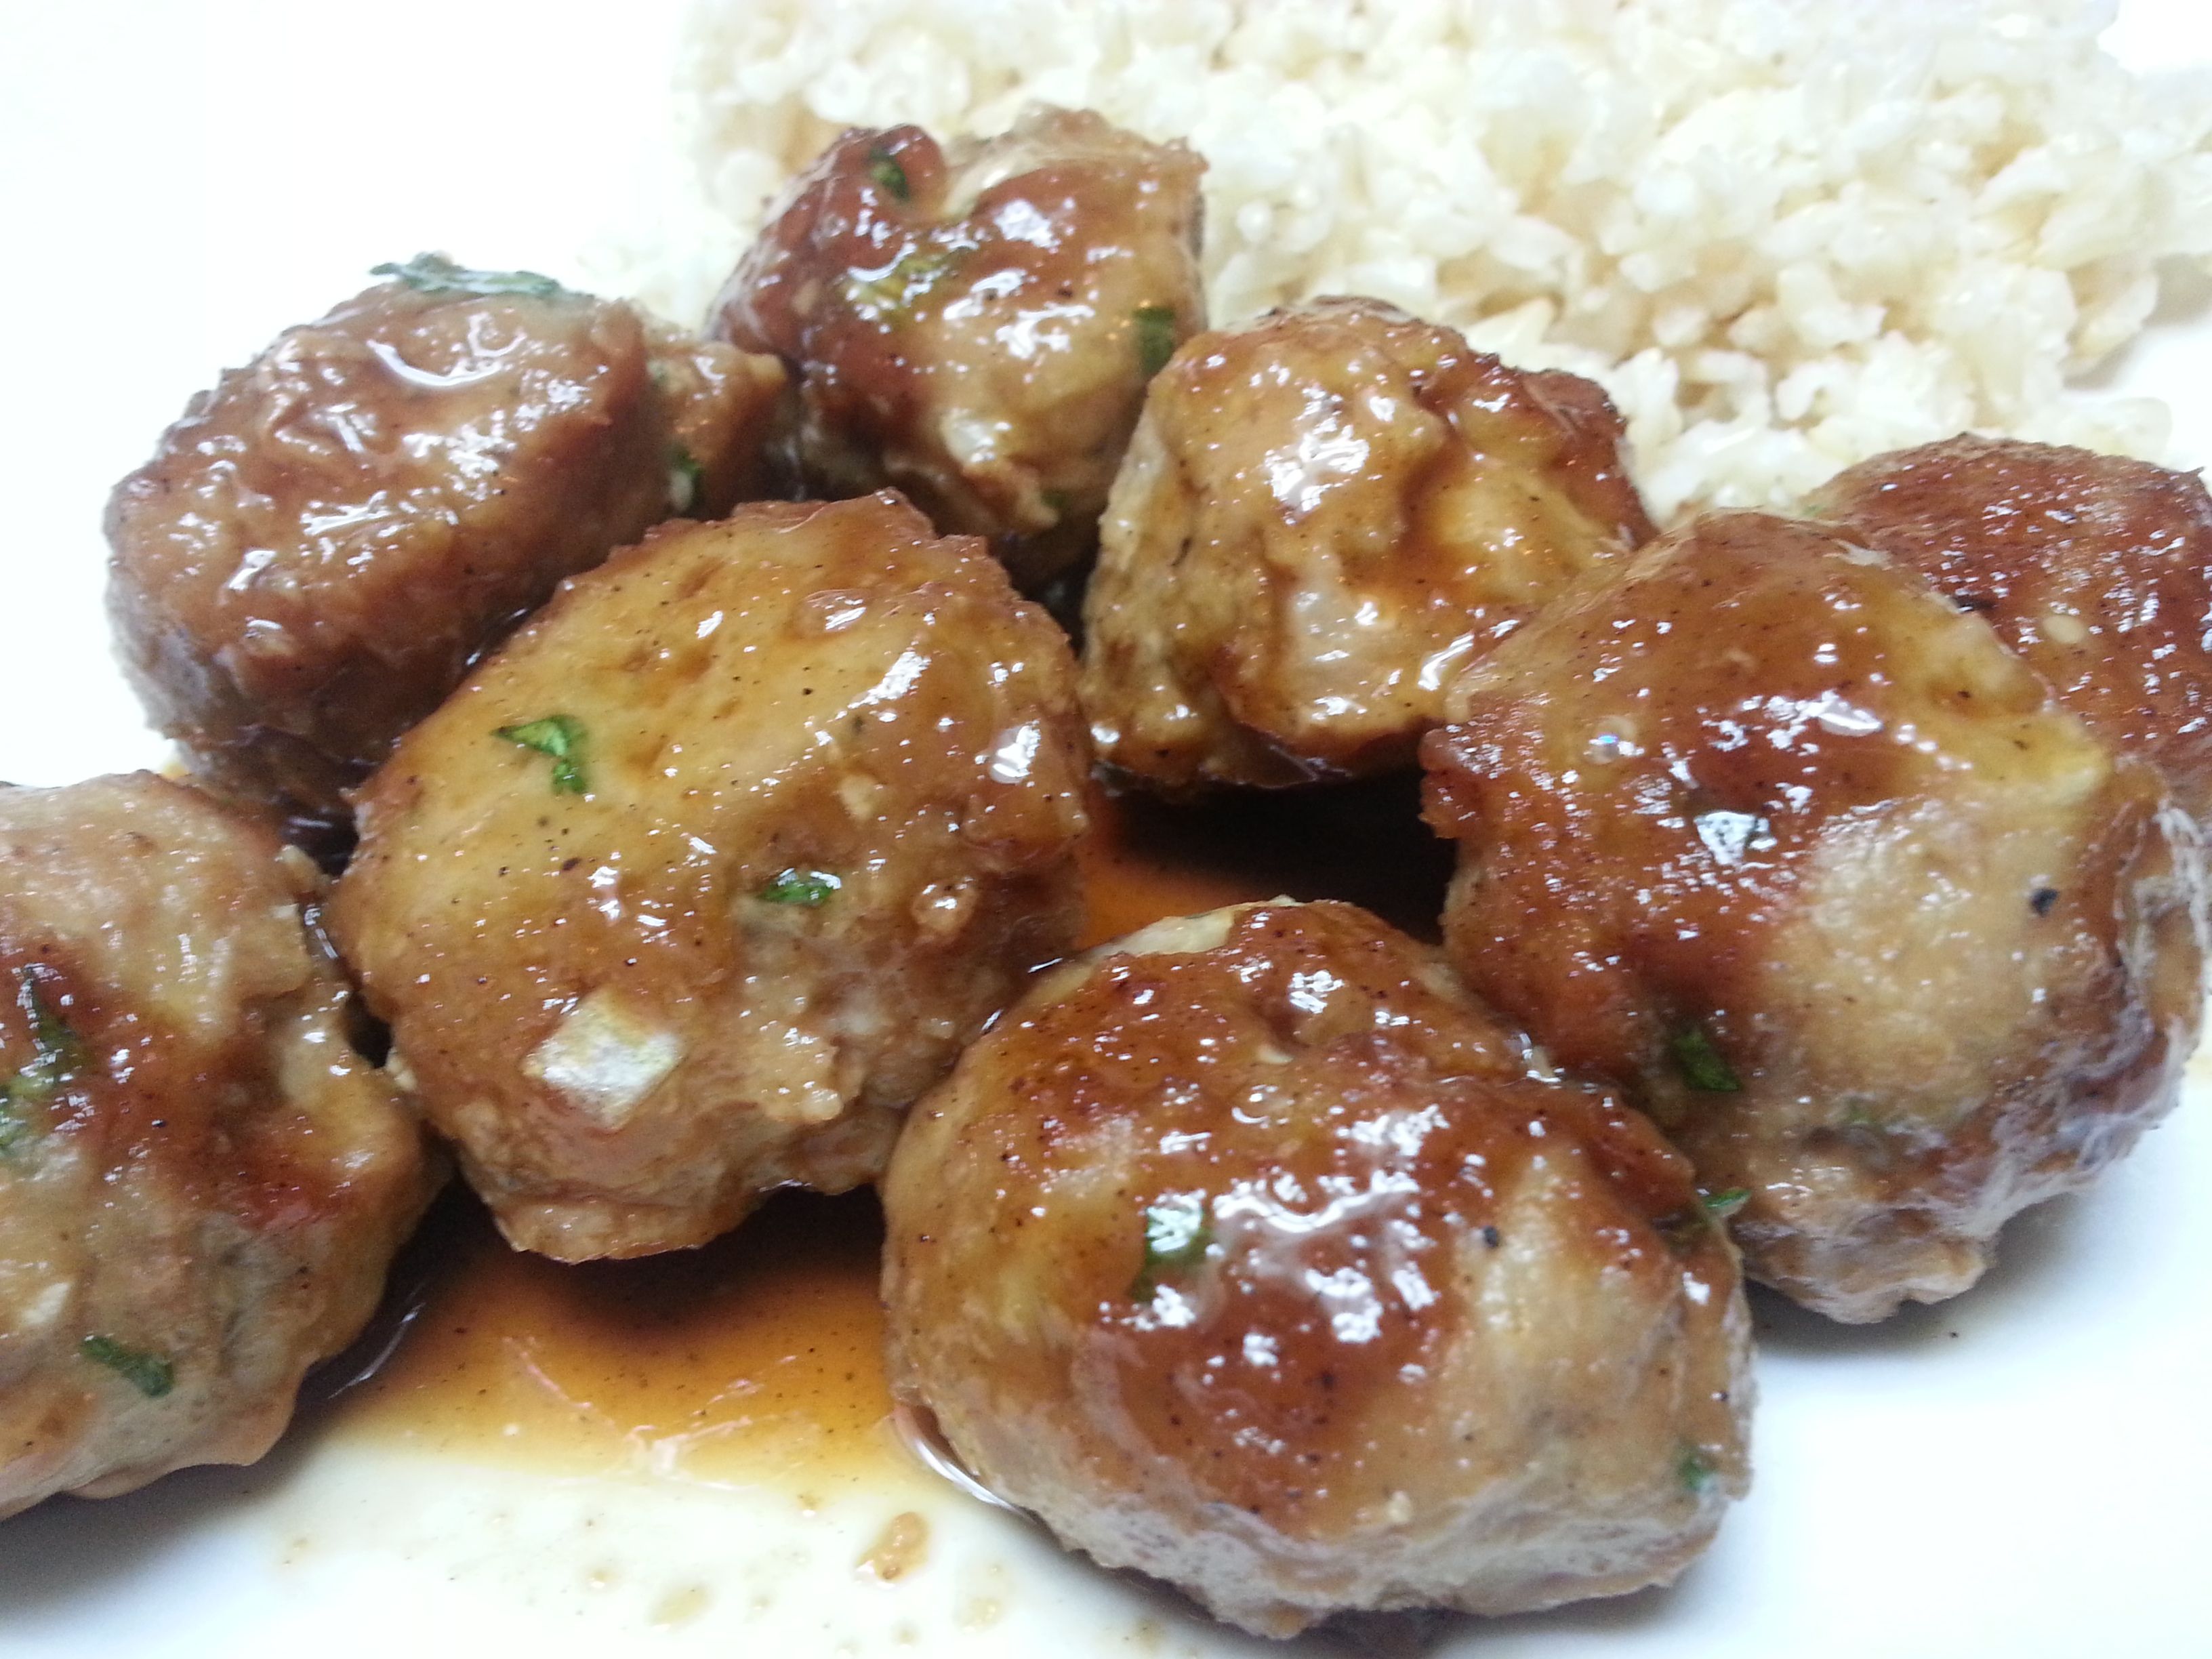
I served this for dinner with steamed brown rice and sautéed cabbage and it was just scrump-diddly-dumptious. But like I said, these would make great appetizers for a Superbowl party, or really any party. Basically what I’m saying is, just find an excuse to make these!

Have a fun Sunday. Patriots or Seahawks? Honestly, I’m just there for the food.

Advertisement

Hanky Planky

dc holder 3I’m going to do a little self promotion right here and now! My husband and I JUST opened an Etsy shop. Yay! OK, I really haven’t been jumping up and down for joy because Etsy is not nearly as user friendly as Ebay, I must say. So this has been quite the learning experience for me.

jh coffee 5Our little shop is obviously just starting off, so right now we’re just selling jewelry holders. These aren’t just any jewelry holders, but rustic, upcycled pallet jewelry holders. And that’s our style! Rustic with a vintage feel, specifically using pallets to create something “new” out of something “old”. And these jewelry holders are super pretty and functional too. Read our “about” over there on Etsy and see how this little business came to be. My husband is just a building fool nowadays and has been creating all kinds of things. One of my favorite, and I’m not exaggerating when I say FAVORITE, things he’s built is this coffee cart. I absolutely love it.

coffee cart 2coffee cartHe built this for me for Christmas and not only is it exactly what I wanted, but it’s like a piece of art sitting in my living room. I wanted something that looked very old and like it came from a farmhouse and it’s unbelievable how well it turned out. If you were to see this thing in person, you wouldn’t believe it’s “new”. We’ve gotten quite the compliments on this little beaut so we’re hoping to sell these in the near future.

So come check out Hanky Planky. <———– Click! Click! Click! Where Old Wood Rises Again……. Get it? I hope so!

DIY Pendant Necklace

necklaceI’m not the “craftiest” of people, unfortunately. I hate messes therefore, I don’t like most crafts. Glitter makes me shudder. But a couple months back over Thanksgiving break, I really wanted to do something fun (and not messy) with my kids. I had seen polymer clay jewelry on Pinterest for awhile and since I love jewelry (and so do my little girlies), I decided to give it a try.

We headed over to Michaels armed with my good ol’ 40% off coupon. And I stocked up on clay! Since this was my first time using polymer clay, I bought a variety pack with a bunch of different colors and spent about $15 total on the jewelry making supplies. And I have a bunch leftover and we’ve since made quite a bit of pieces.

Am I now an expert jewelry maker? God, no! But, I’ve made some pieces since our first initial try that have turned out pretty good. My kids love their jewelry and not only did they get to be “crafty”, but they can actually wear/use what they made. All my kids are in elementary school and were completely capable of doing this. We started out simple that day and just rolled out balls and made necklaces. But what I really wanted was a stone looking pendant necklace. I’d been eyeing one on a website that I really wanted but with my new stock of clay, I figured it was worth a try. And here’s how I made it.

necklace 2Supplies Needed:

  • Polymer clay, in any color/colors you choose
  • Waxed cotton cording
  • Necklace clasp (if you plan on having a shorter length necklace)
  • A toothpick
  1. Choose your color or colors. For the above necklace, I chose a bronze and silvery color clay.
  2. Grab a piece of each color. I did less of the silvery color because I wanted it to be streaky looking like a natural stone. Hold in your hands to condition (warm up to make more pliable) the clay.
  3. Roll into balls.
  4. Smoosh the balls together, working them into one ball.
  5. In between your hands, roll the ball back and forth until it turns into a longer, ovalish shape.
  6. Press between your hands into a pendant like shape, smoothing out any fingerprints.
  7. With the toothpick, push it through the top to create a hole to put the cording through.
  8. Place on a baking sheet (I use a disposable lasagna pan) in a 325 degree oven for 20 minutes. (I used another sheet on top to cover it).
  9. Remove from oven and let cool for about 15-20 minutes.
  10. Measure out your cord and put the pendant on it. Tie cord into a knot if doing a long necklace, or attach a necklace clasp to each end if doing a shorter necklace.

necklace 11necklace 10necklace 9necklace 7necklace 6necklace 5necklace 4necklace 3necklace 8My oldest daughter and I did this together because she wanted a pendant necklace as well. She also was making birthday presents for some friends and made them some really pretty necklaces which they loved.

This stuff is really easy to work with and pretty inexpensive. I bought the cheapest clay at the store and am really happy with it. So even if aren’t the “craftiest” (like me!) this is still a fun activity to do alone, or with your kids.

Jalapeno Cream Sauce

jc sauce 7One of my favorite restaurants here in town serves this delicious pan fried chicken breast with a jalapeno cream sauce over the top. I order it every time we go there because it’s simply delicious and I just love the sauce. Well, as I’ve talked about before, eating out is SO incredibly expensive and unfortunately, this is a $20 dish at this place so make it at home I must!

Luckily for me (and my family), my experiment turned out pretty well because although I really like that restaurant, I haven’t been back since I concocted my own sauce. And recently, I was talking to a friend about this very restaurant and she mentioned her husband loves the sauce as well. We scheduled a day for her to come over and we cooked this dish right up in my kitchen and she agreed! The sauce tastes very similar to what you get at the restaurant. And it’s so incredibly easy, yet looks like you spent way more time on it.

Jalapeno Cream Sauce

  • 1 tbsp. butter
  • 1/3 c. pickled jalapenos, chopped (these can be found on the pickle aisle)
  • 1/4 c. sun dried tomatoes, chopped
  • 2 garlic cloves
  • 2 c. half & half
  • 1 heaping tbsp. flour
  • White pepper, cayenne, salt to taste

In a skillet or saucepan, heat over medium heat. Add butter and let melt. Add in the jalapenos and sun dried tomatoes and let cook for a couple of minutes, until warmed through. While that’s cooking, in a measuring cup, add the half & half and the flour. Use a whisk to combine and stir until smooth. This is the slurry that will thicken the sauce. Add in the garlic to the pan and let sauté about 30 seconds. Reduce heat to low and add in the slurry. Bring heat back up to medium, and whisk. As it comes up to a bubble, it will thicken. Add in the seasonings a little at a time, tasting as you go. Reduce heat to low until ready to serve.  *White pepper and cayenne are very strong flavors so start off lightly.

jc saucejc sauce 2jc sauce 3jc sauce 4jc sauce 5jc sauce 6Once the sauce has thickened and is seasoned to your liking, pour over whatever you like! I love this on a panko coated pan fried chicken. I’ve also served it with shrimp and pasta and it went very well together. The restaurant that I got the idea from, uses it as a dipping sauce for calamari as well.

jc sauce 8And surprisingly, my kids really like this sauce. I just make sure to put it on the side and they dip their chicken in it. Family friendly!

“Fried” Drumsticks

Well, so much for winter. After our New Year’s Eve snow, (which actually hung around for a few days in the shady spots of our yard and the neighbor’s) the weather forecast has shown that it will be in the 80’s tomorrow. THIS is one of my gripes about living in Southern California. It just shouldn’t be 80 in January, a week after it snowed. It’s absolutely ridiculous. I just refuse to wear shorts in January! Anyways, now that I’ve gotten that complaint out of my system, onto the food. January means it should be cold, and cold weather means comfort food. So there.

I made these “fried” drumsticks awhile back and this is the way to make them. Although I love traditional fried chicken (your U.S. citizenship is taken away if you don’t), this is easier and makes for quicker cleanup. And you can completely customize this to suit your tastes. You just need to know the method to do it.

“Fried” Drumsticks

  • 8-10 drumsticks
  • 1 cup flour
  • Seasonings of your choice (I used paprika, garlic powder, onion powder, salt & pepper)
  • Cooking spray

Preheat your oven to 375 degrees. In a large bowl, add flour and generously sprinkle the seasonings of your choice into the bowl as well. Stir to combine. Dredge the drumsticks in the flour mixture and place on a baking sheet that’s been sprayed with cooking spray. Once all the drumsticks have been dredged, completely spray them with cooking spray. Place in the oven and cook for 35-40 minutes. You can tell they’re done when the meat starts pulling away from the bone.

fried chicken 3fried chickenfried chicken 2And there you have it! These drumsticks come out with a crunchy skin and are moist and flavorful. Like I said, customize it to suit your tastes and use what seasonings you like.

Even though winter seems to have come and gone (please come back), you can’t take comfort food from me!

It’s a New Year

13332015….. how did that happen?!?! For me, every year feels like it passes so much faster than the last. And this year came and went so quickly. So how did we end 2014?

Well, on New Year’s Eve, I was woken up at 3:30 am to an extremely excited, giant man child telling me that it was snowing outside. I’ve lived in So Cal for the last 25 years and have only seen it snow ONCE, and it barely stuck to the ground. So my grumpy self got up and looked out the window and saw, yes a little bit of snow. I got back in bed only for Adam (aka giant man child) to come back in 10 minutes later and tell me to look again. And it was snowing, like really snowing out. Fast forward to 5am and I’m woken up by my house phone ringing and it’s Adam. Except when I pick up the phone, he’s not there so I figured his stupid, once again broken phone accidentally called me. Back to sleep I went only to have my middle child come in at 6am and say it’s snowing. Yes, I heard that at 3:30am. I told her that was really cool (even though I thought there was barely anything on the ground) and I’d get up soon. 7am rolls around and Adam calls, AGAIN. He tells me to go outside and that when he left in the morning, it had really snowed a lot. I was not the happiest to say the least since I didn’t go to bed until almost midnight and was woken up repeatedly. After hanging up though, I finally dragged my ass out of bed and looked outside and WHAT THE HELL?!?! There was major snow in my neck of the woods!!! 1321We don’t own snow gear of course so we just went outside in our pajamas and boots. It really was like nothing I’ve ever seen. At least not here. I’ve been to the snow but my kids never have. And they absolutely loved it. The day was spent with them outside off and on because their little hands were turning red and frozen. So they kept coming back in to warm up. But it’s something we’ll never forget.

1346134313411329133413701366As for ringing in the New Year, we were of course pretty tired from the lack of sleep and the day’s activities so after spending an evening hanging out with some good friends, we headed home and I was out like a light. Dead asleep just after 11pm.

New Year’s Day brought some major changes in our house. We split up our two oldest girls who’ve shared a room for many years and moved our oldest into her own room. That was almost an all day affair because after having kids for 9 years, you accumulate an enormous amount of crap. We donated and threw away so much stuff. But the end result? Two happy girls who are excited for “bigger” rooms and their very own space.

And our annual New Year’s Day tradition of going to my parents house for fried pork chops, collard greens, black eyed peas and mashed potatoes continued. We stuffed ourselves (as we always do when we go over there) and were in bed watching TV by 8pm. It was a tiring couple of days!

Hoping you had a good NYE and New Year’s Day. 2015. Yep, it’s here!