Cinnamon Zucchini Cakies

zucchini cakies 6Dare I call these breakfast cakies? Well, they remind me of zucchini bread. Scrumptious bite sized morsels of zucchini bread. Which is very appropriate to eat at breakfast time. I know one thing for sure. I ate these for breakfast and I also ate them for dessert. So I guess they’re versatile cakies.

I’ve been doing some baking experimenting and I’ll tell you this. It for once, hasn’t ended in disaster. Which is amazing considering my track record. I’m not saying I’m going to open up a bake shop or anything but still, it’s a small victory for me! And these cakies were one of my experiments that ended with a full tummy. Because I stuffed my face when these things cooled off.

Breakfast? Dessert? A snack when your kids aren’t looking? It doesn’t really matter because these things are purty darn good ANY time of day! And they can’t be too bad for you, right? I mean, they have vegetables in them! So have at it!!

P.S. They’re delicious with a cup of coffee.

Cinnamon Zucchini Cakies (makes approximately 3 dozen)

  • 1 c. butter, softened
  • 1 c. white sugar
  • 2 eggs
  • 1 tsp. vanilla extract
  • 3 c. flour
  • 1 tsp. cinnamon
  • 1 tsp. baking powder
  • 1/2 tsp. salt
  • 1 1/2 – 1 3/4 c. shredded zucchini (about 1 medium zucchini)
  • 1 tbsp. sugar + 1/2 tbsp. cinnamon, mixed together

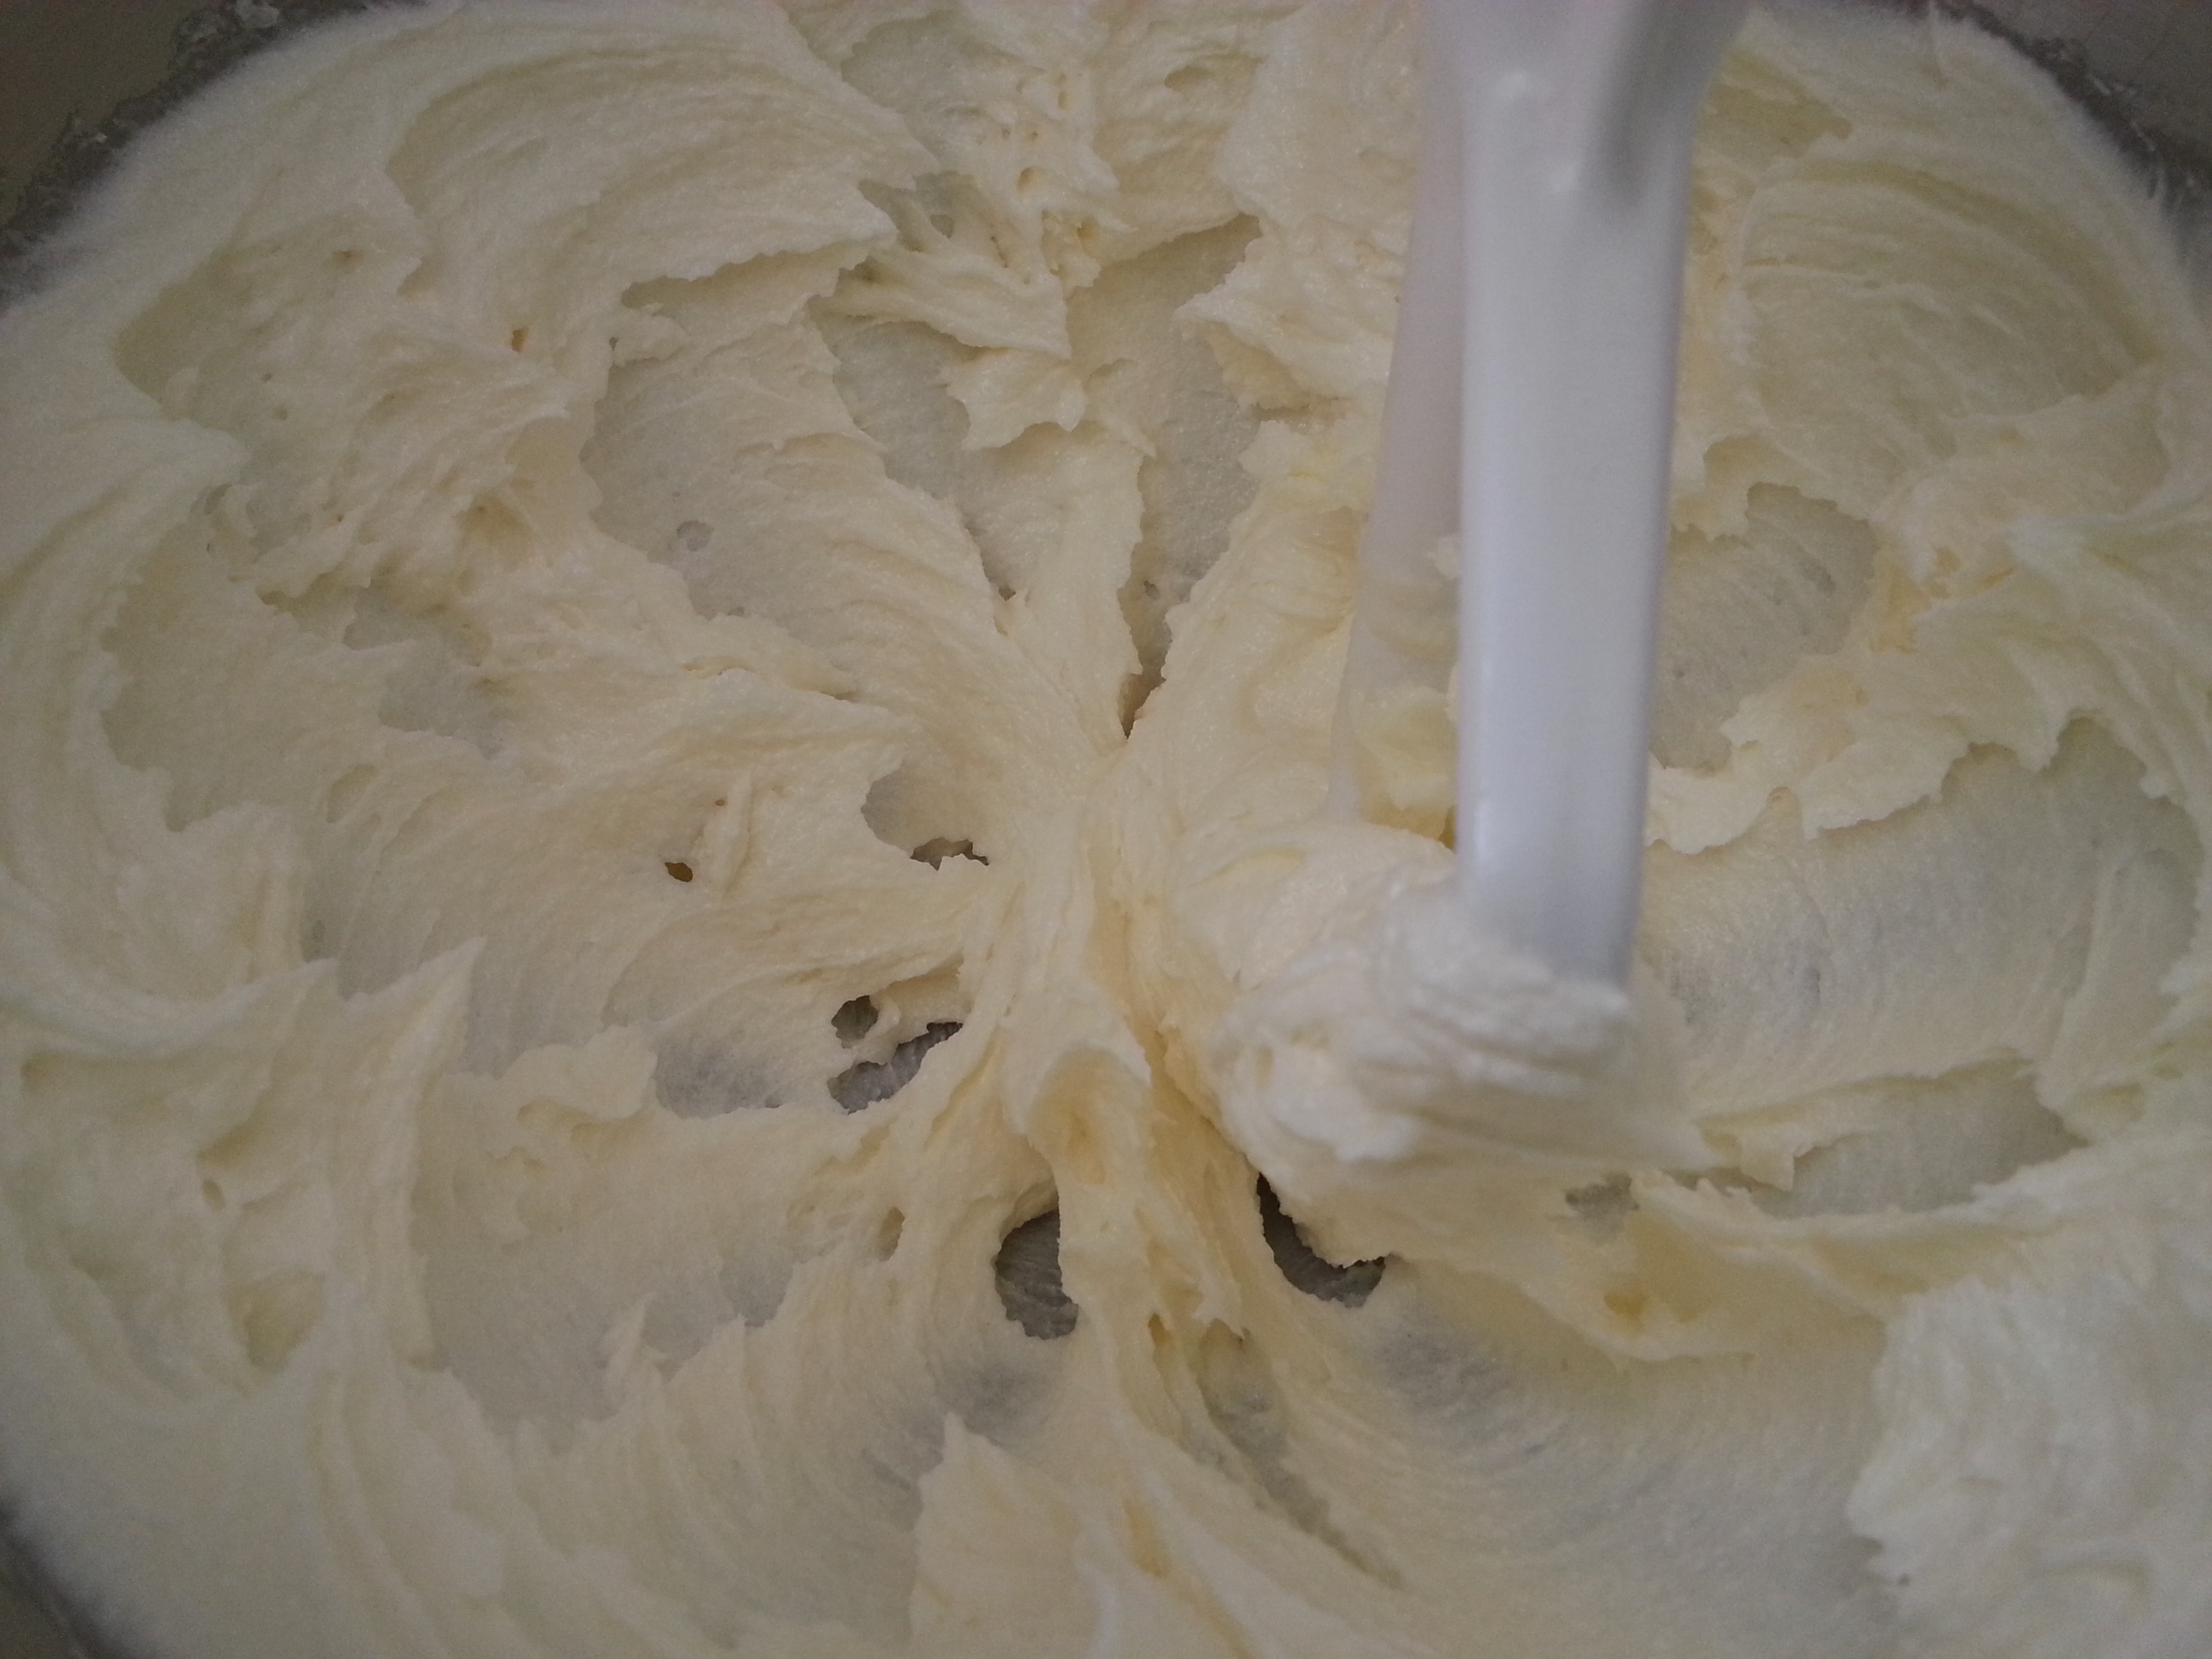
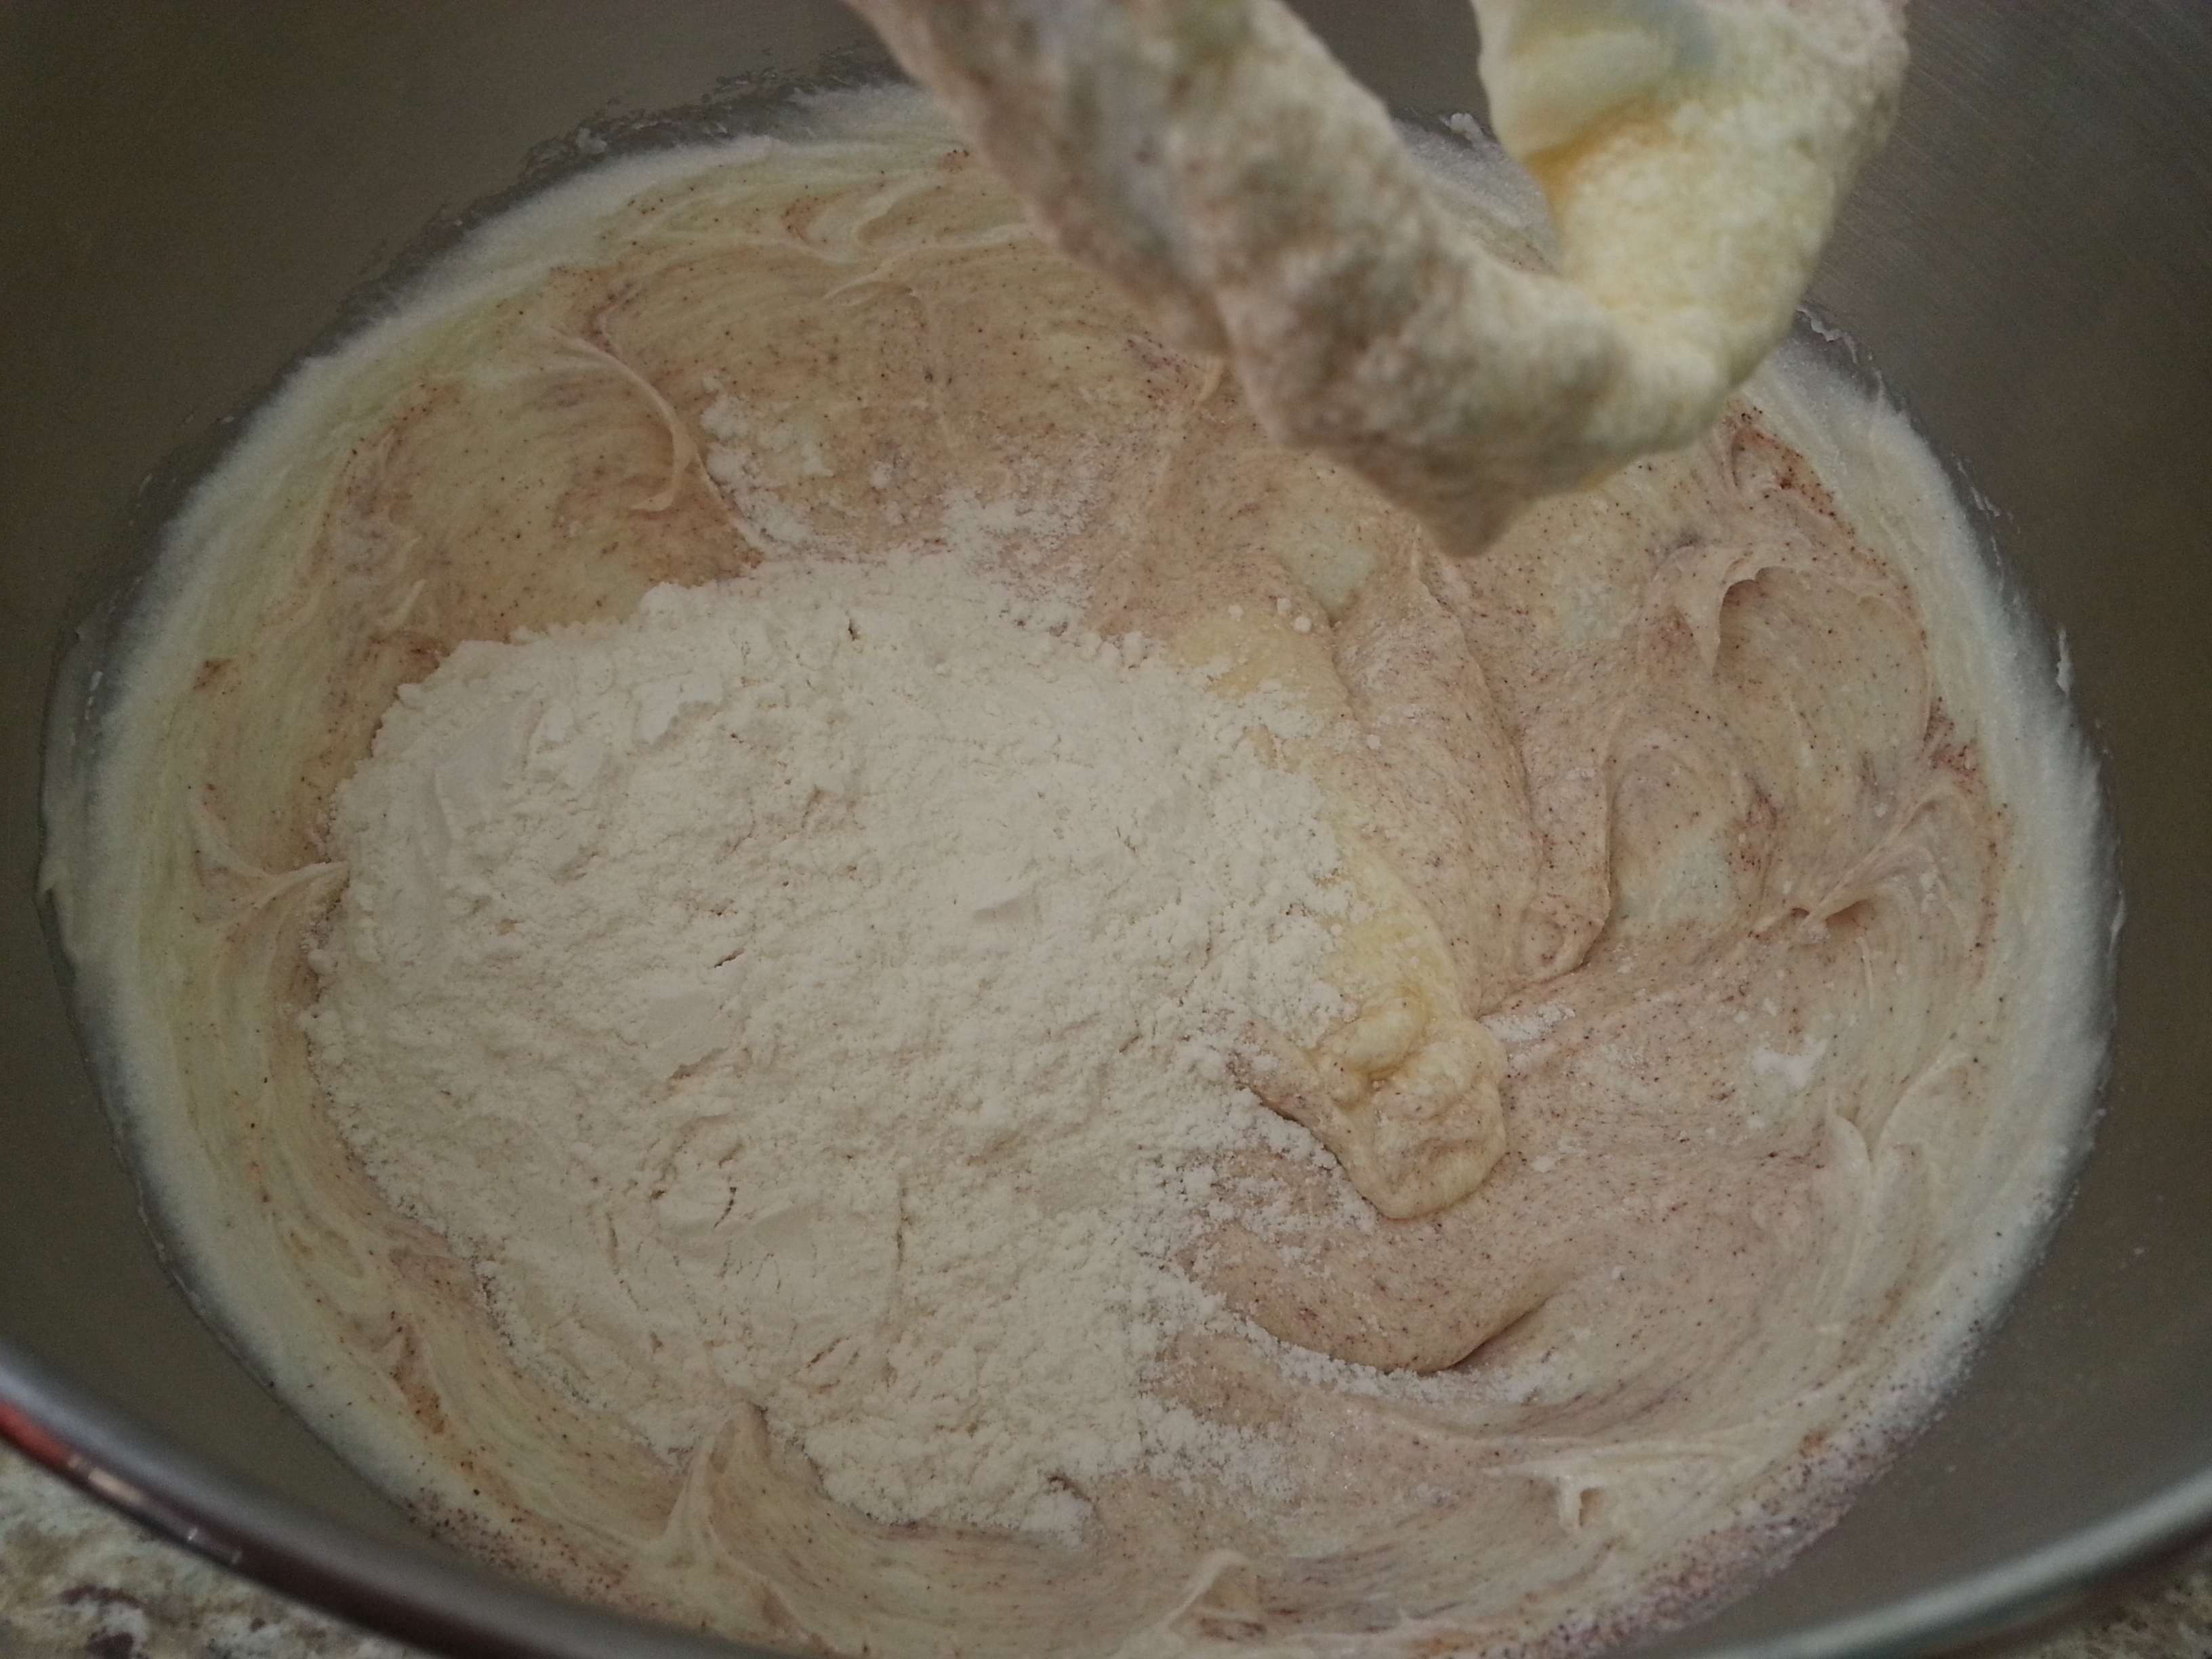
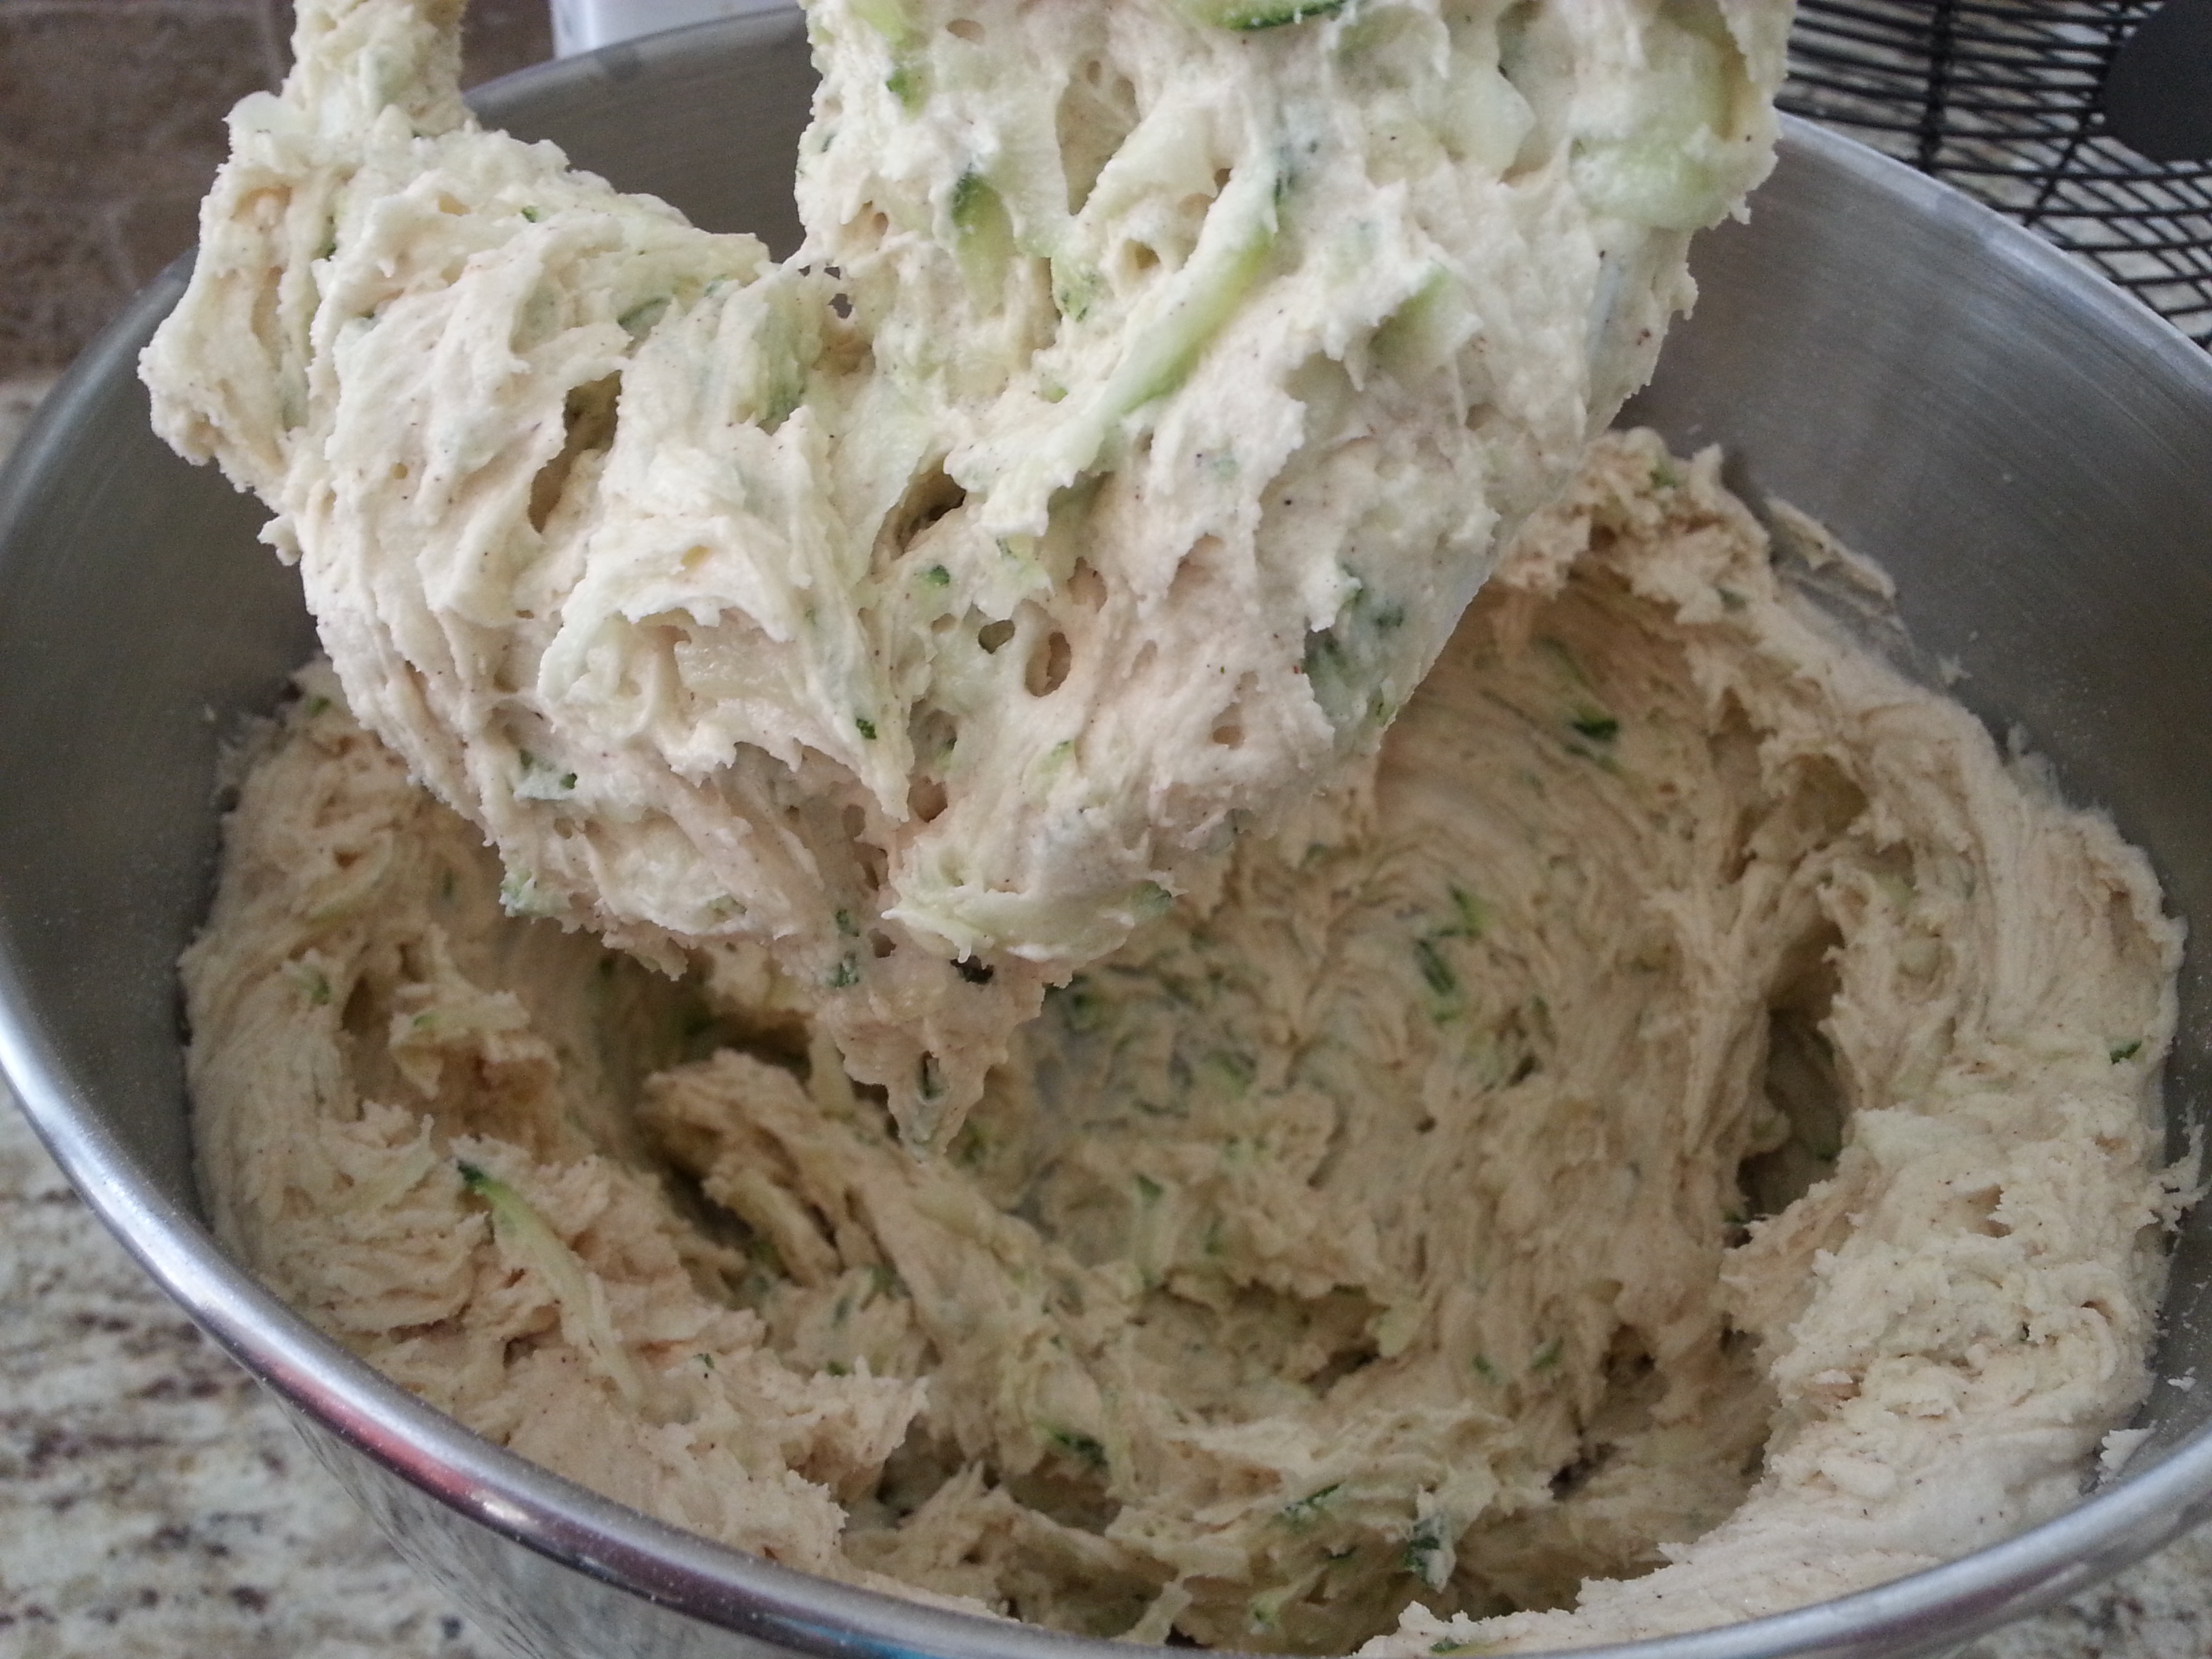
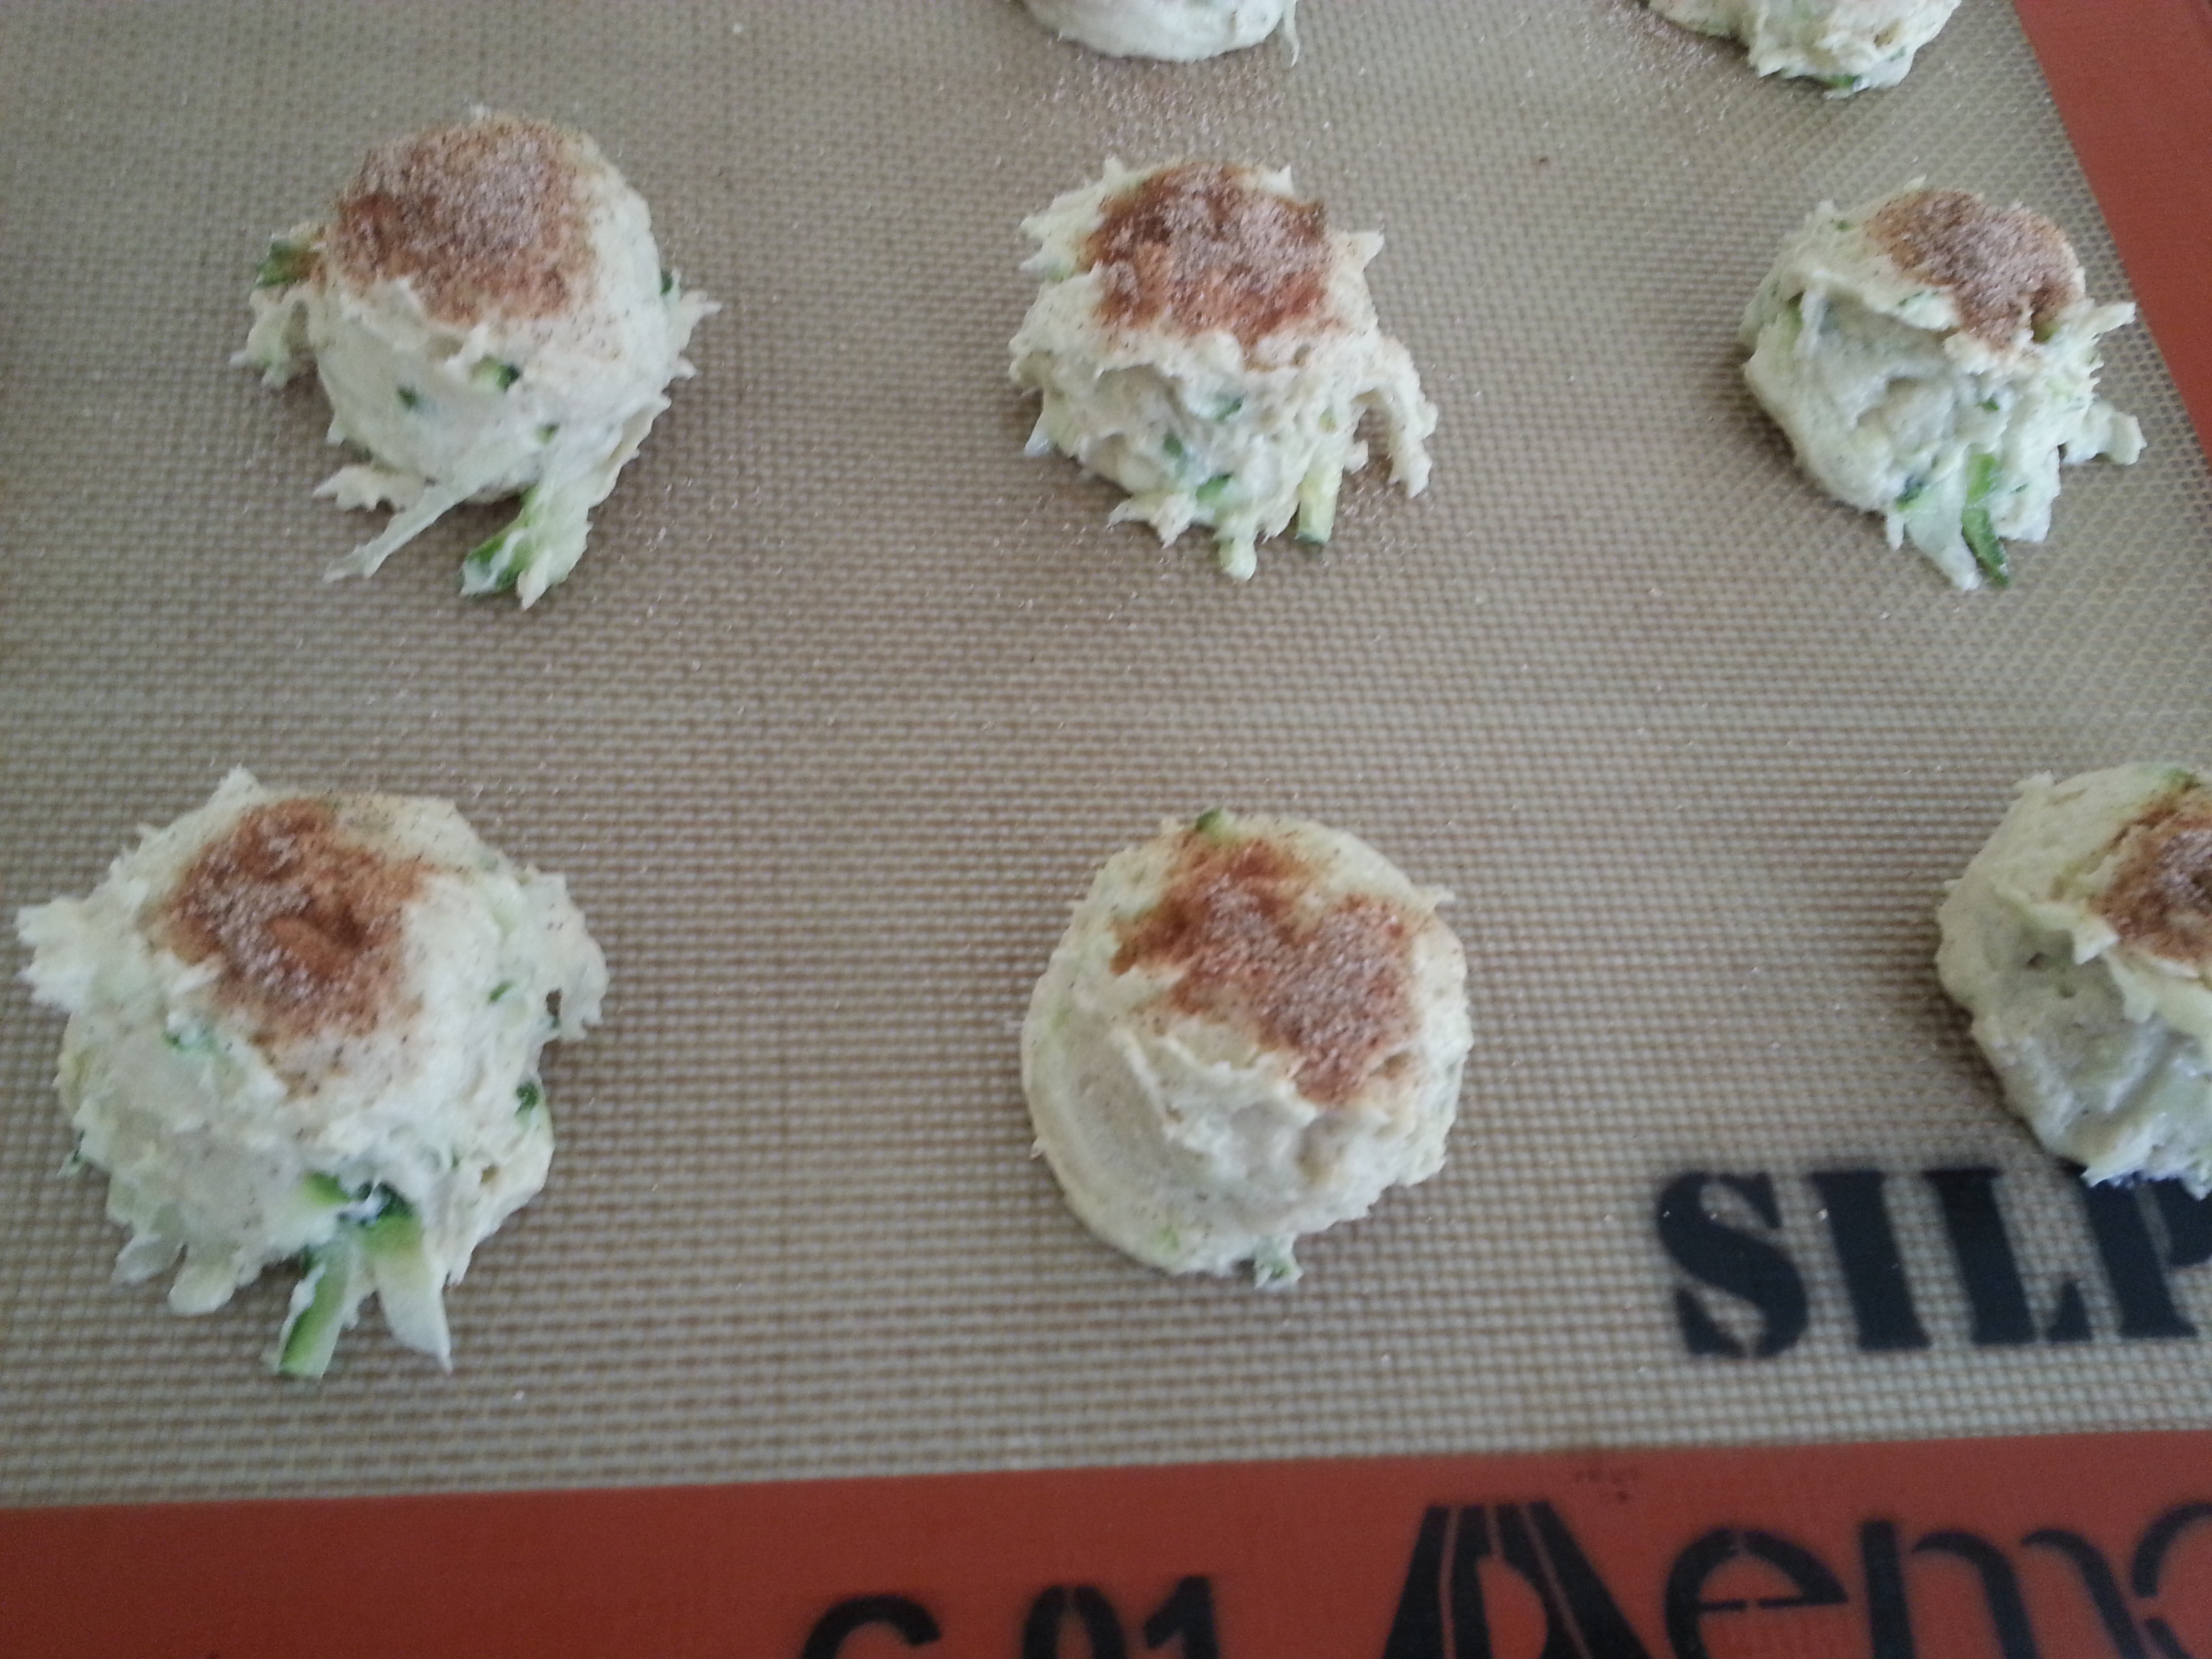
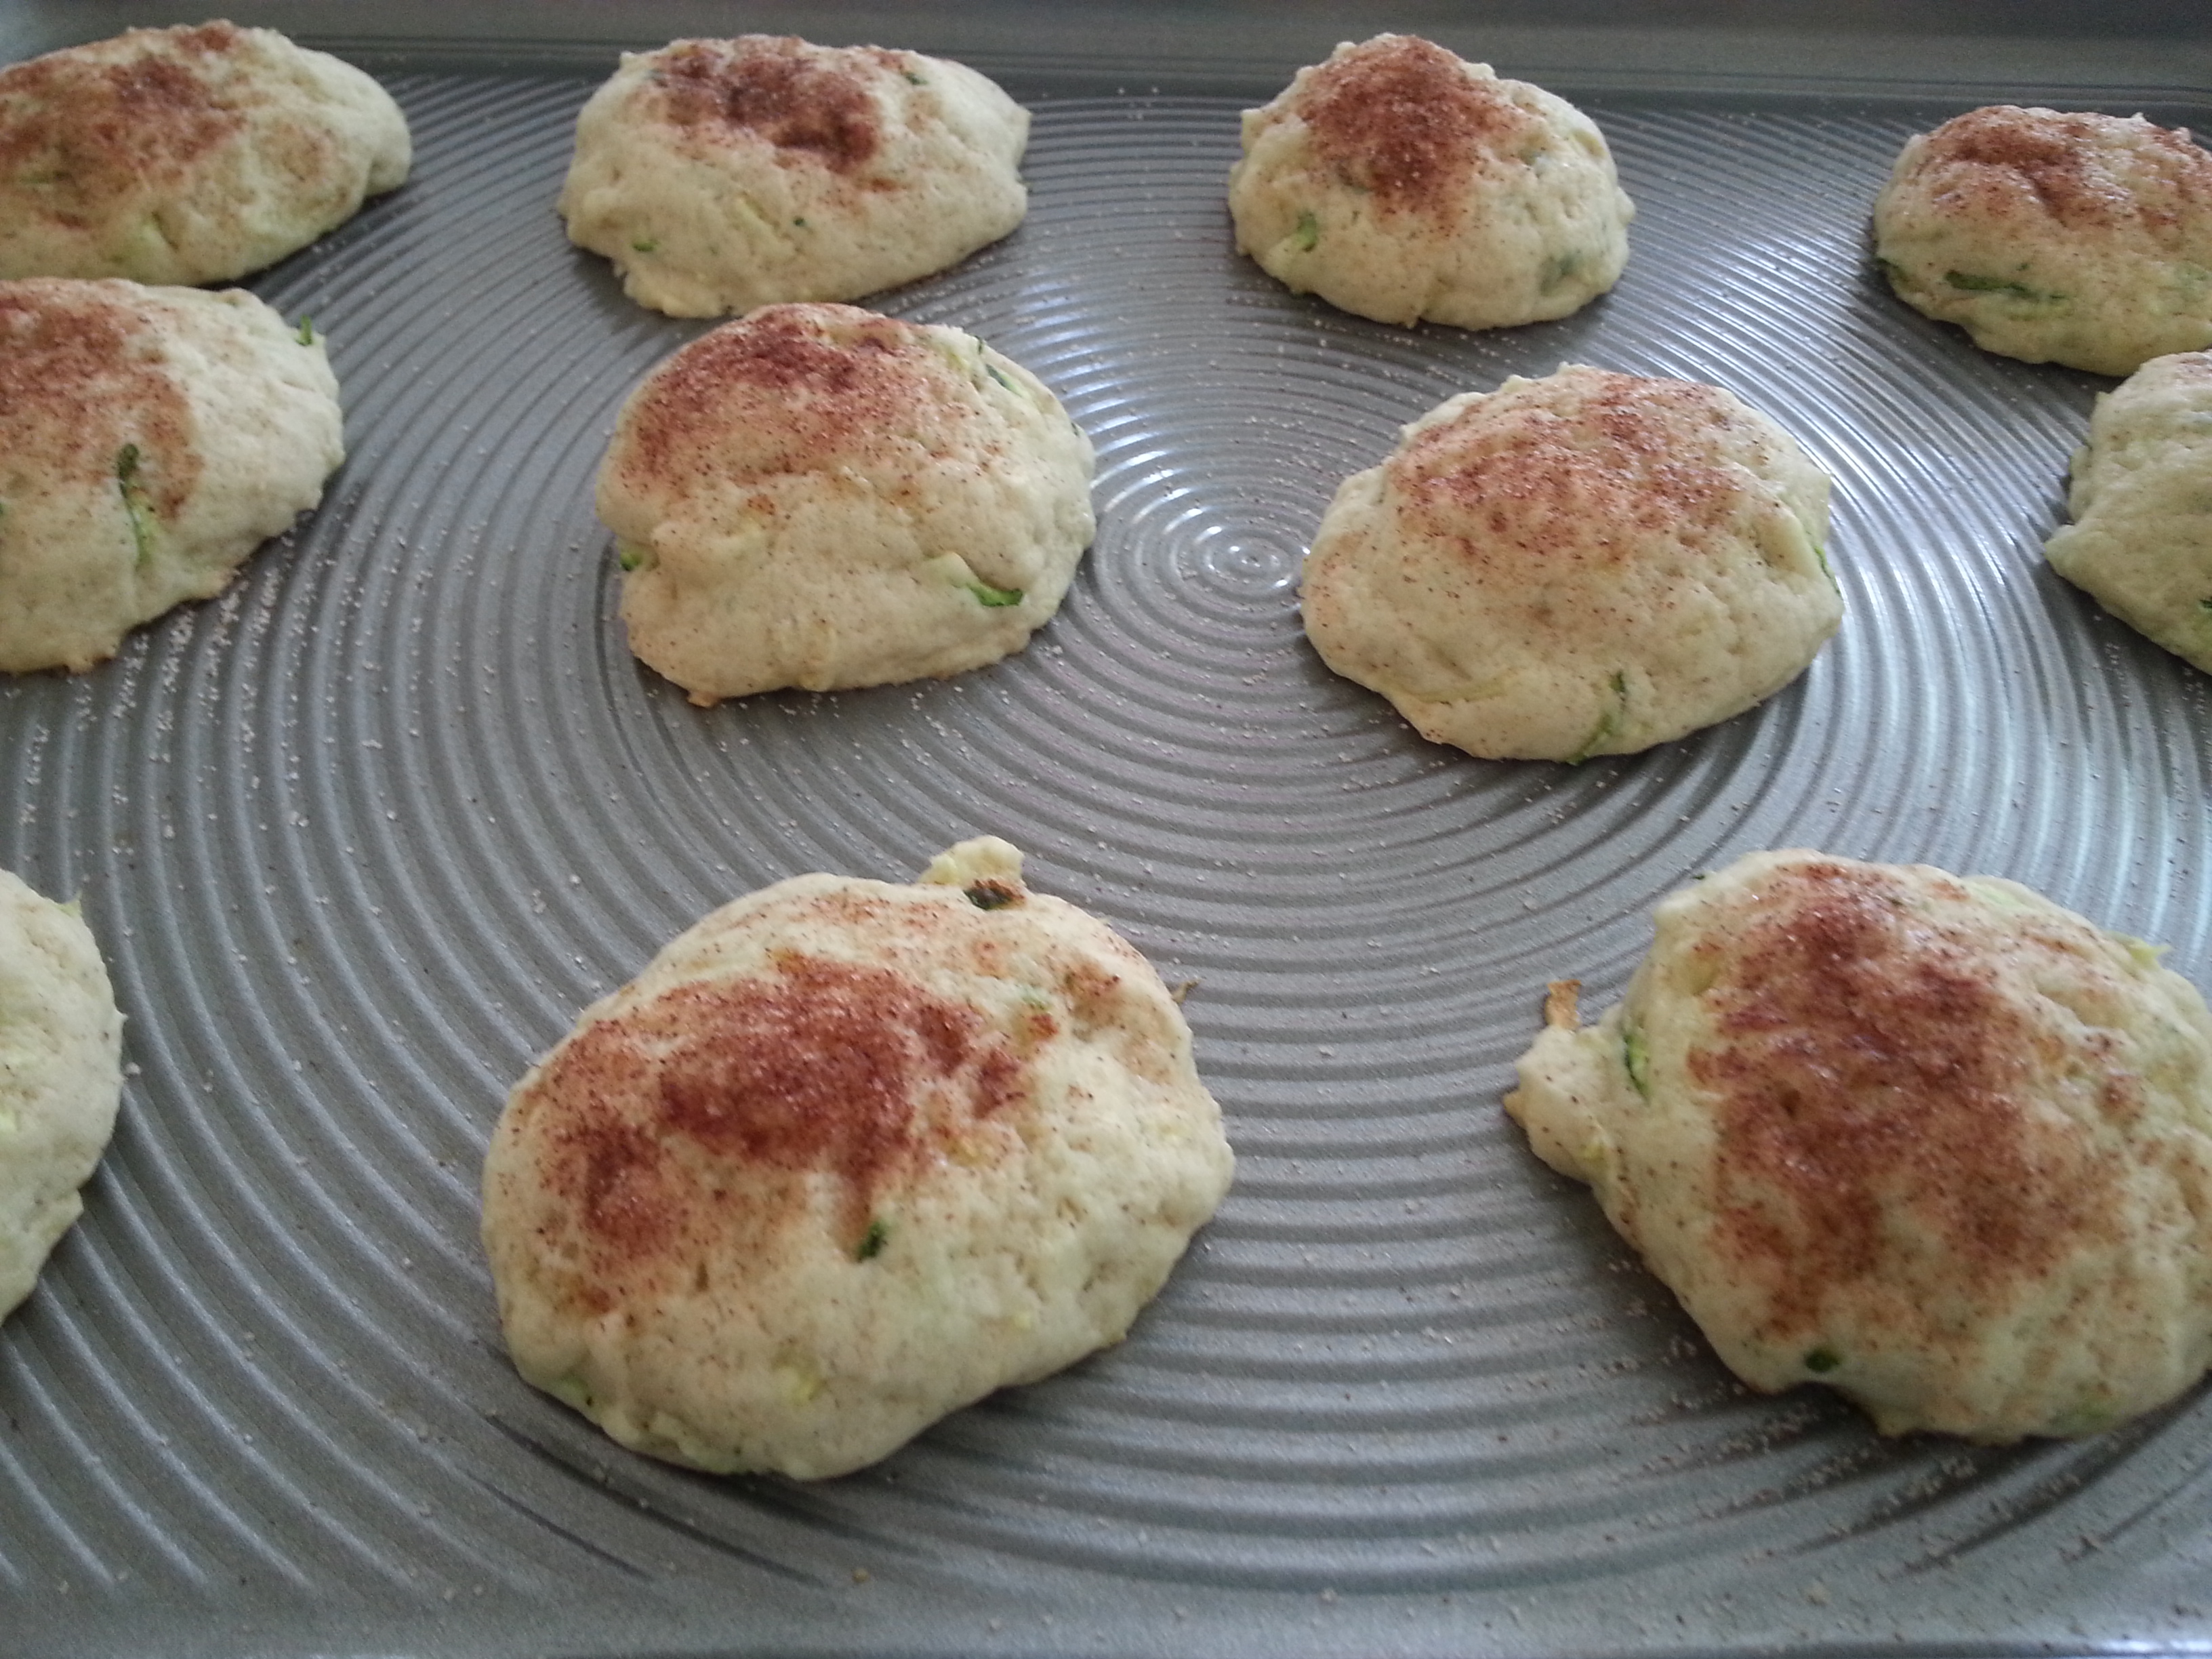
Preheat your oven to 350. In a stand mixer, add the butter and sugar and mix until fully combined. Add the eggs and vanilla and mix together. Then add the baking powder, cinnamon and salt. Mix. Add the flour 1 cup at a time, mixing just until combined. Add in the shredded zucchini and mix again until combined. Using a cookie scooper, scoop the dough and place the cakie dough balls onto a baking sheet. (If you have old baking sheets like I used to, I’d recommend spraying them with cooking spray. But if you’ve got nice new ones, leave them ungreased.) Using a spoon, sprinkle the cinnamon sugar mixture over the top of each cakie. Bake for 10-12 minutes, or just until the underside of the cakie turns slightly golden. These cakies do not get golden on top.  Leave on the baking sheets for a few minutes, then transfer to a cooling rack. When cakies are completely cooled, place in an airtight container.

So after these had all cooled off, my youngest daughter got the first taste since the other girls were at school. She liked them so much that she told my other kids this when they got home. “Mommy made something with disgusting green stuff in it but they’re really good!” She has a way with words, that little girl of mine.


zucchini cakieszucchini cakies 2zucchini cakies 3zucchini cakies 4zucchini cakies 5

Advertisement

Chorizo Quesadillas

cq 5This is a quick dinner (or lunch) that’s a nice change from your regular ole’ cheese quesadilla. And even though this recipe only has a few ingredients, I consider these quesadillas unique since I veered away from the standard cheddar cheese and instead used queso fresco. It’s crumbly, mild and goes great with the chorizo.

I recommend making your own chorizo but if you don’t have the time, store bought works in a pinch. But seriously, don’t let my chorizo recipe scare you off. It’s really easy! And for awhile there, I was scared of store bought chorizo since someone told me it was full of nodes and lips and all kinds of parts I wasn’t interested in eating. BBBUUUTTT, I’ve found that certain markets make some pretty clean and straight forward versions (minus the nasty parts) right there in the store, so ask your meat guy if you don’t have the time, or inclination, to make your own.

Chorizo Quesadillas (makes 3)

  • 1 pound chorizo, homemade or store bought (see my recipe below)
  • 6 flour tortillas
  • 1, 12 ounce package queso fresco, crumbled
  • 1 large green onion, sliced
  • 1/4 c. cilantro, chopped

Homemade Chorizo

  • 1 lb. ground pork or ground dark meat chicken
  • 3 New Mexico dried chilies (ancho or guajillo chilies can also be used)
  • 1/4 c. apple cider vinegar
  • 2 tbsp. water or chili water
  • 1/4 c. onion, roughly chopped
  • 2 garlic cloves, sliced
  • 1/2 tsp. each of chili powder, paprika, ground oregano
  • 1 tsp. each of cumin and salt

Preheat your oven to 300 degrees. Pull off the stems and remove the seeds from the chilies. Bake in the oven for approximately 5 minutes. Place chilies in a bowl and pour hot water over them. Let sit for 20-30 minutes.

Remove the chilies from the water, reserving the water, and place chilies into a blender, along with the vinegar, onion and garlic. Add 2 tbsp. of the leftover chili water as well. Blend until smooth. Pour the chili mixture over the meat, and add the seasonings. Mix well and refrigerate. This can be made ahead of time or right before it’s time to eat.

To make the quesadillas:

In a skillet over medium to medium high heat, cook the chorizo until crumbly and no longer pink. Drain off grease and set aside.

In a non stick pan or a griddle (I prefer using the griddle since I can fit way more food on it) lay a tortilla down. Add some queso fresco, then chorizo, green onions, cilantro and more queso fresco. Make sure to divide all the ingredients evenly among the three tortillas. Lay another tortilla on top and turn the heat on medium. Let cook for several minutes or until the underside of the tortilla is brown and crisped up. Flip over and cook for a few more minutes. Remove to a plate. Cut and eat! This is yummy with sour cream and salsa on the side.

cqcq 2cq 3cq 4*Quick tip: I do not butter my tortillas at all. I know some people do this when they make quesadillas but I don’t. If you’re using non stick cookware, the quesadillas won’t stick and the heat is enough to crisp and brown them without the added calories of butter. If you don’t have non stick cookware, then use some cooking spray so the quesadillas won’t stick.

Not-Cho “Cheese” Sauce (Vegan)

cheese sauce 2I am not a vegan. Not even close to being a vegetarian. I’m a die hard carnivore! However, I bought some nutritional yeast because it was called for in another recipe and since the container is so big, I knew I had to find other ways to use it. A little dash of this, a little dash of that, and this vegan “cheese” sauce was the result.

When I had my oldest daughter give it a taste, she told me she thought it was queso. Score! I have not divulged to any of my kids that this sauce actually has no cheese in it whatsoever. And my very creative husband came up with the name of it, since it in fact reminds us of cheese. I think it looks like hollandaise sauce with a cheese like taste.

I used this sauce over steamed broccoli, which was very yummy. I’ve also made it and used as a sauce in a casserole of shredded chicken, rice, broccoli and almonds. YUM. In that case, I didn’t tell my husband I used nutritional yeast (he HATES the name and sound of it) and the whole time, he thought it was a cheese sauce over the casserole. Until I burst his bubble! 🙂 But I don’t want to give you the wrong impression. The nutritional yeast has a reminiscent “cheese” like taste, however, the actual flavor is very unique and hard to describe. If you don’t want to go all out and buy a large quantity like I did, you can typically pick up a very small amount in the bulk section at your market. It also comes in powder form or in flakes. I went with flakes as I heard that they dissolve quicker.

cheese sauce 3Not-Cho “Cheese” Sauce

  • 1 1/2 tbsp. butter substitute (I used real butter since I’m not vegan!)
  • 1 1/2 tbsp. flour
  • 1 1/4 c. warm water
  • 1/4 tsp. each paprika, garlic powder, chili powder, and salt
  • 1/2 tsp. ground cumin
  • 1/4 c. nutritional yeast flakes

Heat a small saucepan over medium heat. Add the butter/butter substitute and let melt. Add in the flour and whisk together, letting cook for about 30 seconds. Add in the rest of the ingredients and let come to a bubble. Simmer for a few minutes until sauce has thickened. Serve over steamed veggies. It also goes great with Mexican food too!

cheese sauce 6cheese sauce 5cheese sauce 4And check out the nutrition facts. This stuff has got some great healthy benefits!!cheese sauce

Chilaquiles

chilaquiles 2What’s your Saturday morning breakfast like? Well in my house, my husband wants something hearty and that typically involves meat. Unfortunately for him, we’ve had a couple of recent weekends that didn’t include breakfast meat. But I promised him I would make a delicious breakfast that would wipe out all longings for bacon or sausage or whatever his carnivore loving heart desired. Enter…….. Chilaquiles! A Mexican breakfast that doesn’t include meat but that is filling, hearty and full of flavor. And I promise this will curb your Saturday morning bacon craving. Impossible you say?!?! Make this recipe and see for yourself!

Chilaquiles

  • 1 c. canola or vegetable oil
  • 8 corn tortillas, cut into strips*
  • 1/2 of a large onion, sliced or 1 small onion, sliced
  • 1, 10 ounce can of diced tomatoes with chilies, drained
  • 1 small can diced green chilies (optional, but I really encourage you to use them)
  • 6 eggs
  • 1/2 c. shredded cheddar cheese
  • 1/2 c. water

*Tortilla chips can be substituted. If using chips, skip the first step of frying tortillas.

In a large sauté pan, add oil and heat on medium high. When oil is nice and hot, add tortilla strips and fry for about 3 minutes or until crisp (like a chip). With a large slotted spoon, remove fried tortilla strips to a paper towel lined plate to drain.

Next, add the sliced onions into the still hot oil. Fry for approximately 30 seconds. Remove onions with a slotted spoon to drain on a paper towel lined plate. Remove sauté pan from heat.

Crack eggs into a bowl and with a fork or whisk, beat/scramble the eggs. Set aside.

Let oil cool down and then drain off all oil, except 2-3 tbsp. Turn the heat back on to medium. Add eggs and tortilla strips (or chips). Let cook for a minute, stirring. Then add in all of the rest of the ingredients, except for cheese. Cook for a few more minutes or until eggs are set. Turn off heat, stir in cheese and serve immediately.

chilaquiles 4chilaquiles 8chilaquiles 5chilaquiles 7chilaquiles 6chilaquiles 3chilaquilesOK, I have to tell you that my two favorite components to this dish are the fried onions and tortilla strips. The fried onions have a great flavor. I mean, they were fried in oil. And usually anything fried in oil is good. Second, the tortilla strips get a little soggy from all the liquid in the recipe but still retain this unique texture. And I love it!

So I think you can tell that I really liked this breakfast. But what did my husband think? Well of course he loved it or else I wouldn’t be putting it on my blog! So if you’ve got a Saturday morning, carnivore loving spouse like me, give them something new to try. I don’t think they’ll be disappointed.

Creamy Mediterranean Dip

cm dip 2I first tasted this dip quite a few years back when a friend brought it over to my house. Yummy! I had to have the recipe! Although it’s been quite awhile since I last had it, it recently popped in my head and I had to make it. It’s very creamy (hence the title) as well as crunchy, garlicky, and very fresh tasting. Great summer appetizer, but delicious at any time of year.

Well, my parents raved about it when they ate it. And my mom told me I must post it on my blog. I’ve altered the original recipe to fit finicky taste buds and along with that, gave it a new name because what used to be an “Italian” dip, now seems to me to be very much Mediterranean. Here it is!!

Creamy Mediterranean Dip

  • 1, 8 ounce block cream cheese, softened
  • 2 garlic cloves, finely minced
  • 1 large green onion or 2 small green onions, sliced
  • Pinch of salt and pepper
  • 1 baby cucumber, diced small
  • 1 tomato, seeded and diced small
  • 2 tbsp. red or white onion, finely chopped
  • 2 tbsp. Italian dressing

cm dipIn a bowl, mix together the cream cheese, garlic, green onions and a pinch each of salt and pepper. Spread onto a plate to form an even layer. In another bowl, mix together the cucumber, tomato, onion and dressing with a dash of pepper. Spoon over the top of the cream cheese mixture in an even layer. Refrigerate until ready to eat. Serve with crackers or pretzel crisps.

P.S. Check out my vintage milk glass platter. This one happens to be my FAVORITE platter EVER. I’ve recently become over the moon for milk glass and am building up a collection. Best part is that these beautiful pieces have been gifted to me by loved ones!

Italian Sausage Lasagna

sausage lasagnaI’ve made this lasagna two weeks in a row! So that alone should tell you it’s good. But here’s a few more reasons why you should make this:

  1. This is homemade! After you make it and eat it, you’ll be proud of yourself.
  2. It’s not too cheesy but just cheesy enough.
  3. It’s easy to make.
  4. This is better than restaurant lasagna. Yes, true statement.

I have to tell you that the last time we had this, we almost went out to eat instead. My husband had broken his glasses and he needed new ones ASAP so we figured it would be easiest to grab dinner while we waited for his new glasses. He told me to pick a restaurant. I really couldn’t think of anywhere I was dying to go so in the end, I just suggested I go with my original plan of making lasagna. And it couldn’t have been a better decision! We saved money (especially after spending an arm and a leg on new glasses) and our meal of lasagna, garlic bread and salad was delicious and filling.

So make the same decision as me and get your butt in the kitchen. You know you want to try out a new lasagna recipe!

Italian Sausage Lasagna

  • 1 lb. mild Italian sausage
  • 1 tbsp. olive oil
  • 1/2 onion, chopped
  • 2 cloves garlic, minced
  • 1, 15 ounce can each of diced tomatoes and tomato sauce *see note below
  • 2 tsp. fresh basil, chopped or 1 tsp. dried basil
  • 1 cup water
  • Dash of salt & pepper
  • 1, 15 ounce container of ricotta cheese
  • 2 cups of frozen chopped spinach, thawed and squeezed of water
  • 1/4 cup grated parmesan cheese
  • 1 egg
  • 1 tsp. dried Italian seasoning
  • 2 1/2 cups shredded Italian blend cheese or mozzarella
  • 6 lasagna noodles, uncooked

*The canned diced tomatoes and tomato sauce can be substituted with a large 26 ounce can of crushed tomatoes.

Cook the Italian sausage in a skillet until cooked through and brown. Set aside.

To make the marinara sauce: In a saucepan, heat the olive oil over medium heat. Add the onions and sauté for about 5 minutes. Add the garlic and continue cooking for about 30 seconds. Then add in the diced tomatoes and tomato sauce (or crushed tomatoes), water, basil and salt and pepper. Bring to a boil and then let simmer. I only let mine simmer about 10 minutes and then remove from the heat.

While the sauce is simmering, mix the ricotta, egg, parmesan cheese, spinach, Italian seasoning, and a dash of pepper in a bowl until combined.

Preheat the oven to 350 degrees. In a lasagna pan (or large, deep rectangular dish) pour in just enough marinara sauce to cover the bottom of the pan. Then lay 3 lasagna noodles on top of the sauce. Use half of the ricotta mixture and spread over the noodles. Add half of the Italian sausage and spread over the ricotta mixture. Then add half of the shredded Italian blend or mozzarella cheese. Add half the remaining marinara sauce over the top. Then go in this order for the remaining layers:

  1. lasagna noodles
  2. ricotta mixture
  3. Italian sausage
  4. marinara sauce
  5. Italian cheese or mozzarella blend

Cover the pan with foil and bake for 1 hour, covered. Then remove the foil and bake for an additional 15 minutes. Remove from oven and let stand for at least 10 minutes. Cut and serve!

sausage lasagna 4sausage lasagna 5sausage lasagna 6sausage lasagna 8sausage lasagna 7sausage lasagna 9sausage lasagna 3sausage lasagna 2

Celery Saver

celery 2I saw this little tip on Pinterest and finally decided to give it a try. Well, it worked! And if you haven’t seen it for yourself on Pinterest, here it is….

Wash your celery and pat it dry. Then wrap it up tightly in foil. For some reason, it keeps it really fresh. And I don’t even much like celery anyways, so I definitely never use a whole bunch of it. It is cheap, but I hate to throw away anything and this trick has saved me from having to chuck old celery.

These pictures are celery that is AT LEAST 2 weeks old. And I’m sure that’s just me being generous because I think it’s a bit older than that. But it’s still crisp, green and fresh. Except a little towards the ends of the stalks, but still!

celerycelery 3I definitely won’t be keeping it in Ziploc bags anymore!