 Ever had a Rubio’s fish taco? If not, you’re missing out! Hands down, they have the best fish tacos I’ve ever had. Most of their restaurants are in California, with a few nearby states also being lucky enough to have them. If you’re not fortunate enough to have eaten at one of these places, don’t despair! As I’ve said before, I love to re-create restaurant food at home, and this recipe pretty much hits the nail on the head.
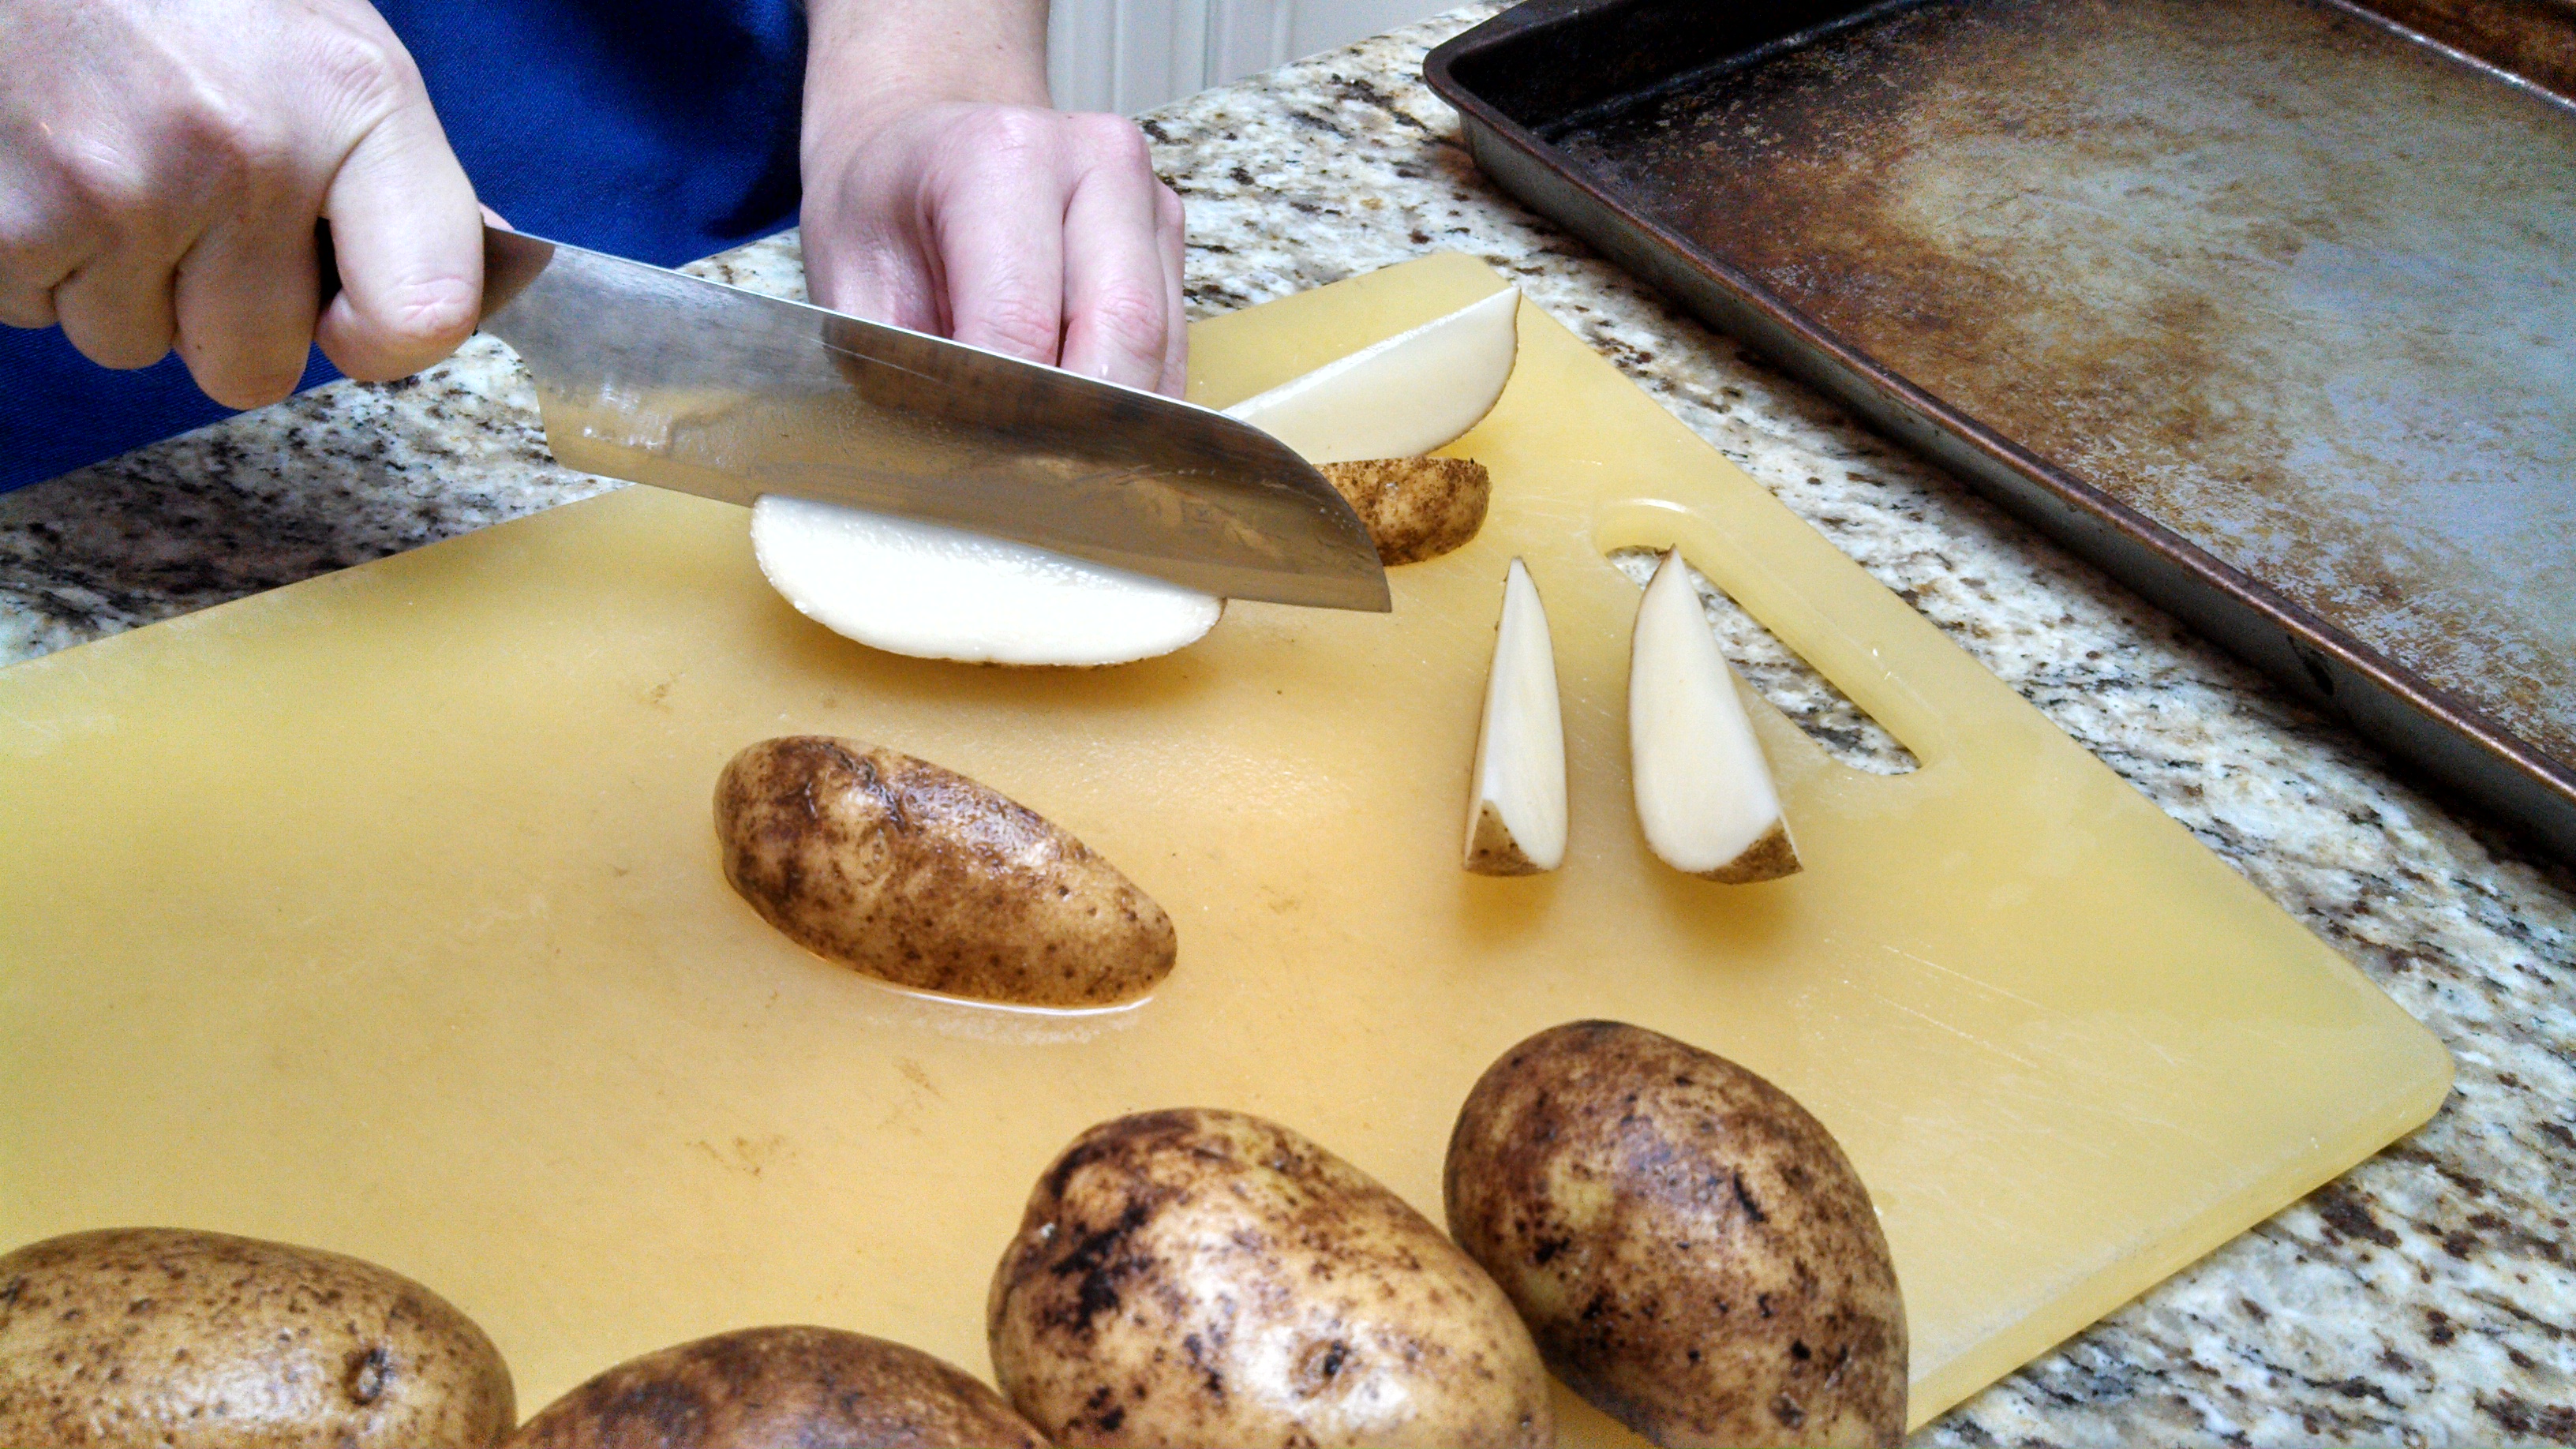
Not only can you use this beer battered fish for tacos, but it would also be great for a fish n chips dinner. Whip up some homemade tartar sauce and cook up my previously posted recipe for homemade French fries, and you’re good to go.
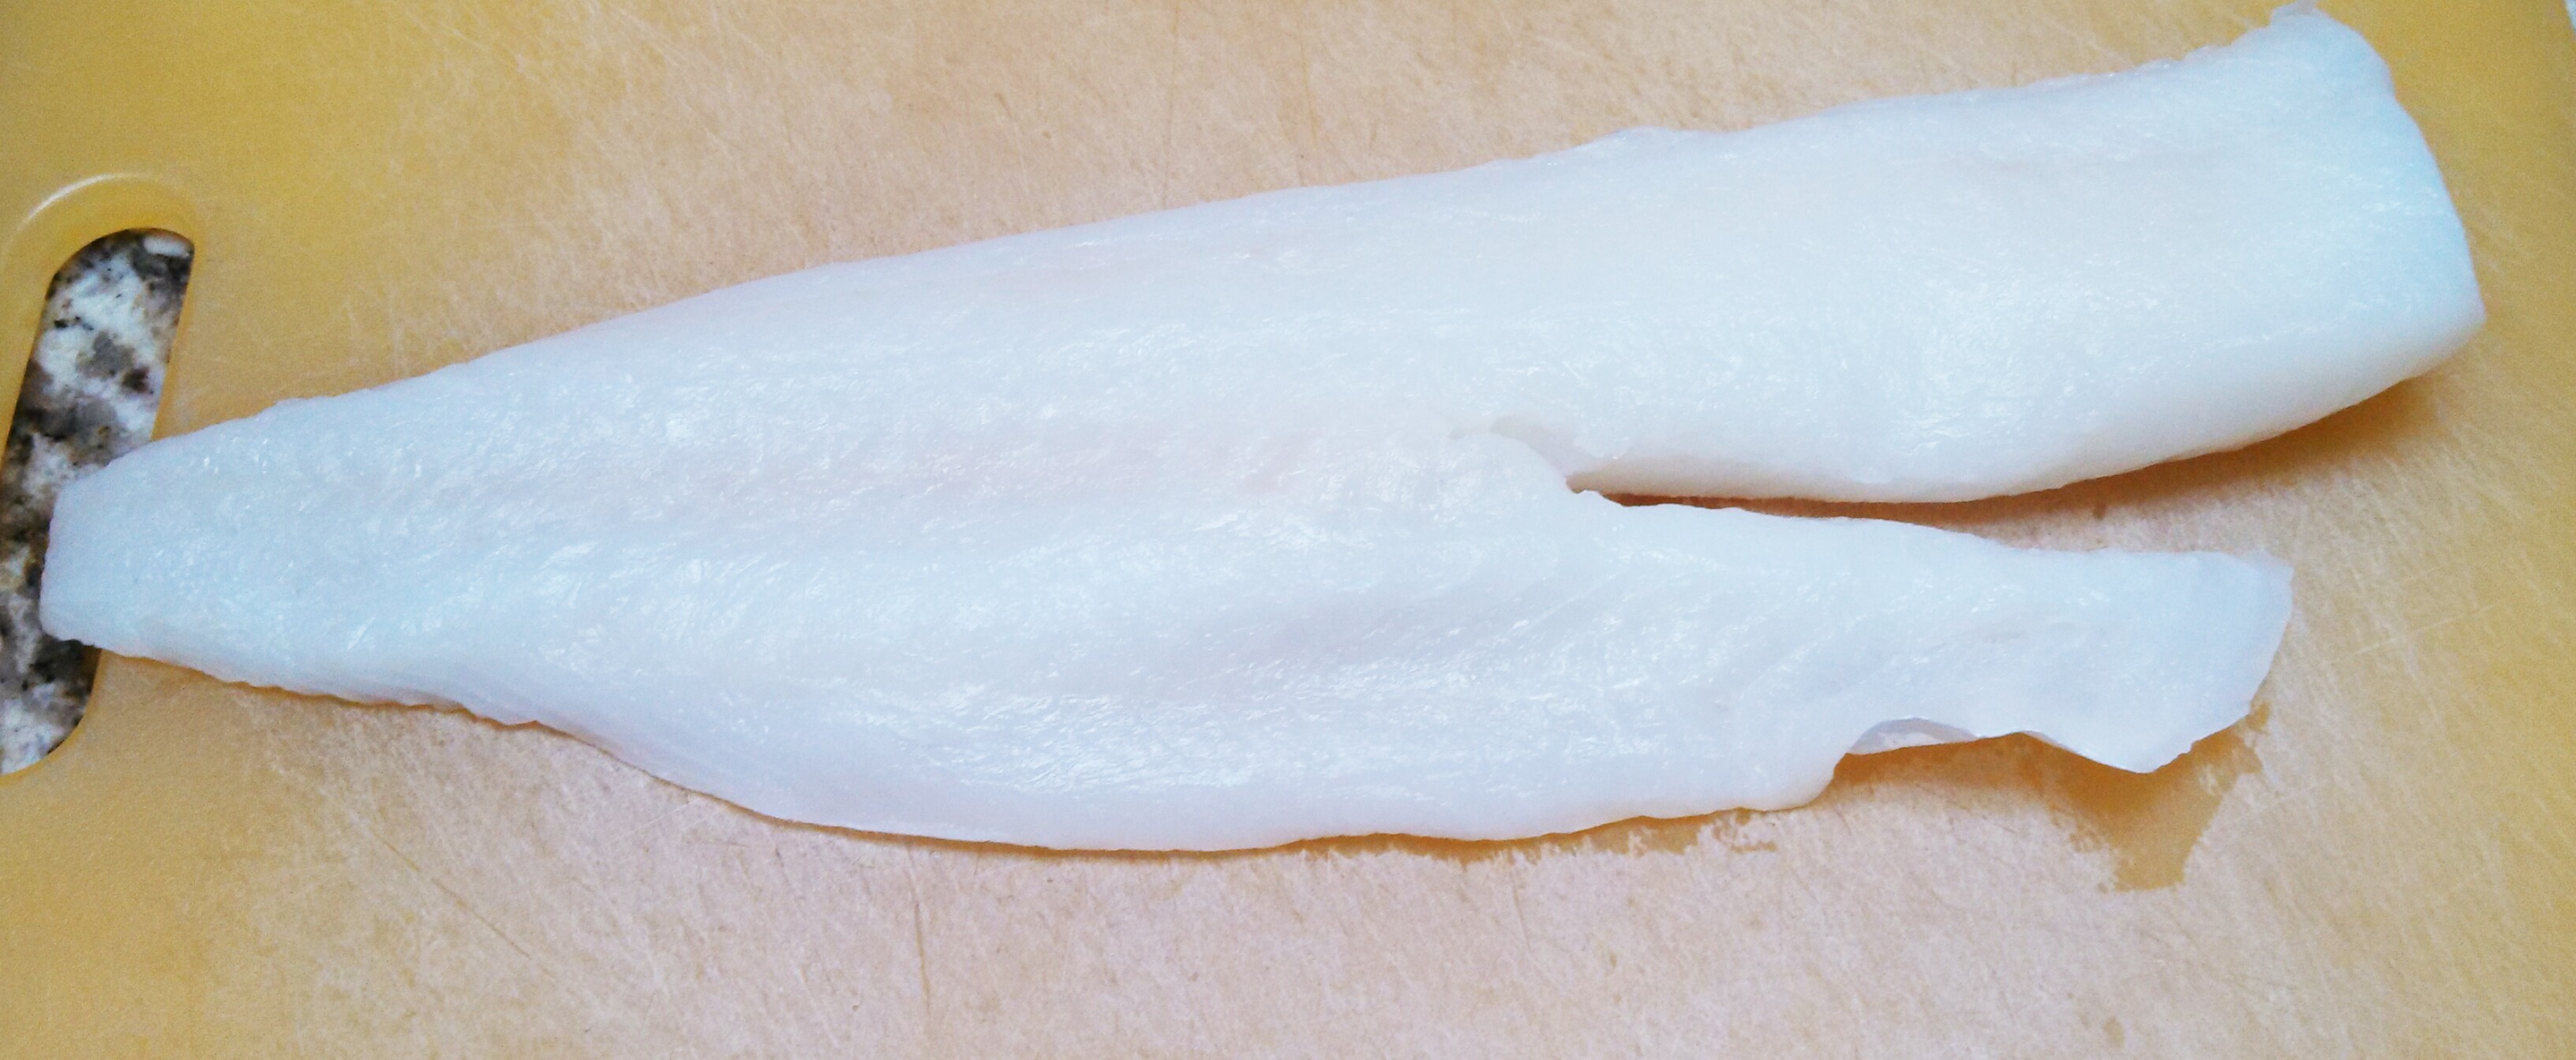
That’s a good looking piece of fish!
Back to the tacos. I prefer cod for these tacos, plus it’s on the less expensive side. And it’s mild, so if your kids are not fish fans, start them off on this. I also prefer a lighter beer for this batter. If you use a dark beer, that flavor will definitely come through more.
Beer Battered Fish Tacos (makes approximately 10 tacos)
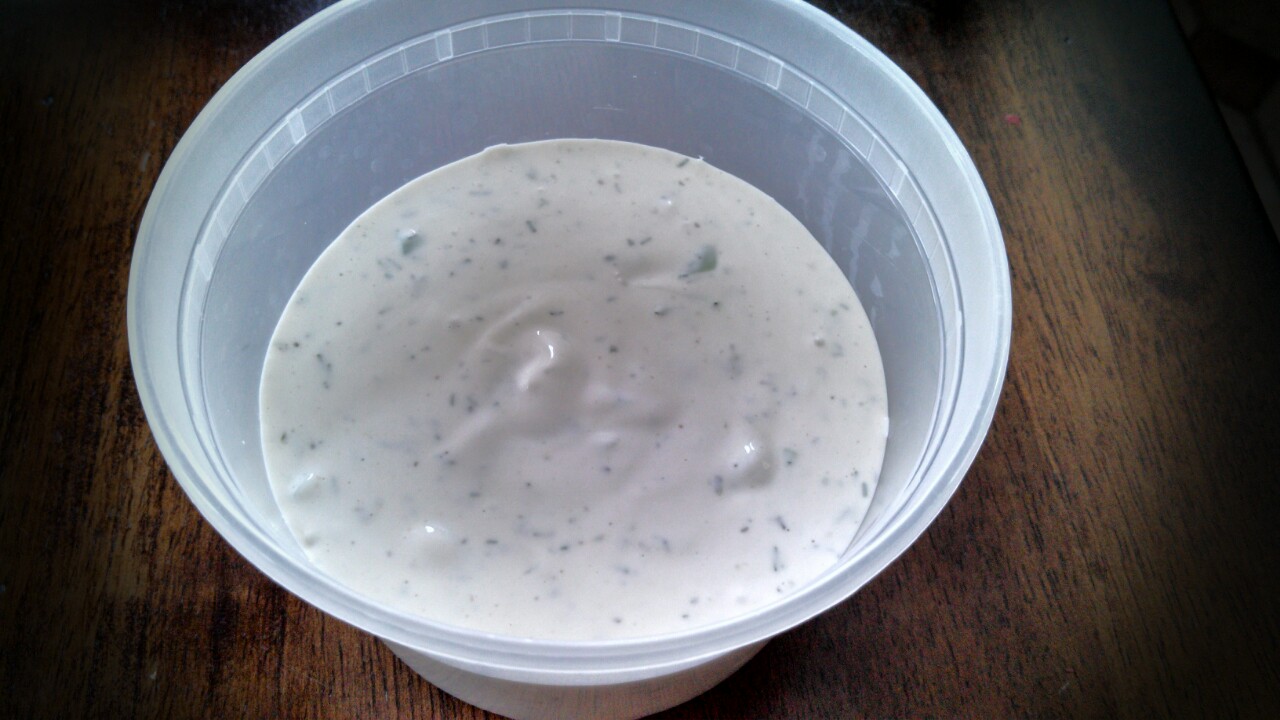
White Sauce:
1/4 c. mayo
3 tbsp. sour cream
1/2 tbsp. fresh lemon juice
1/4 tsp. ground cumin
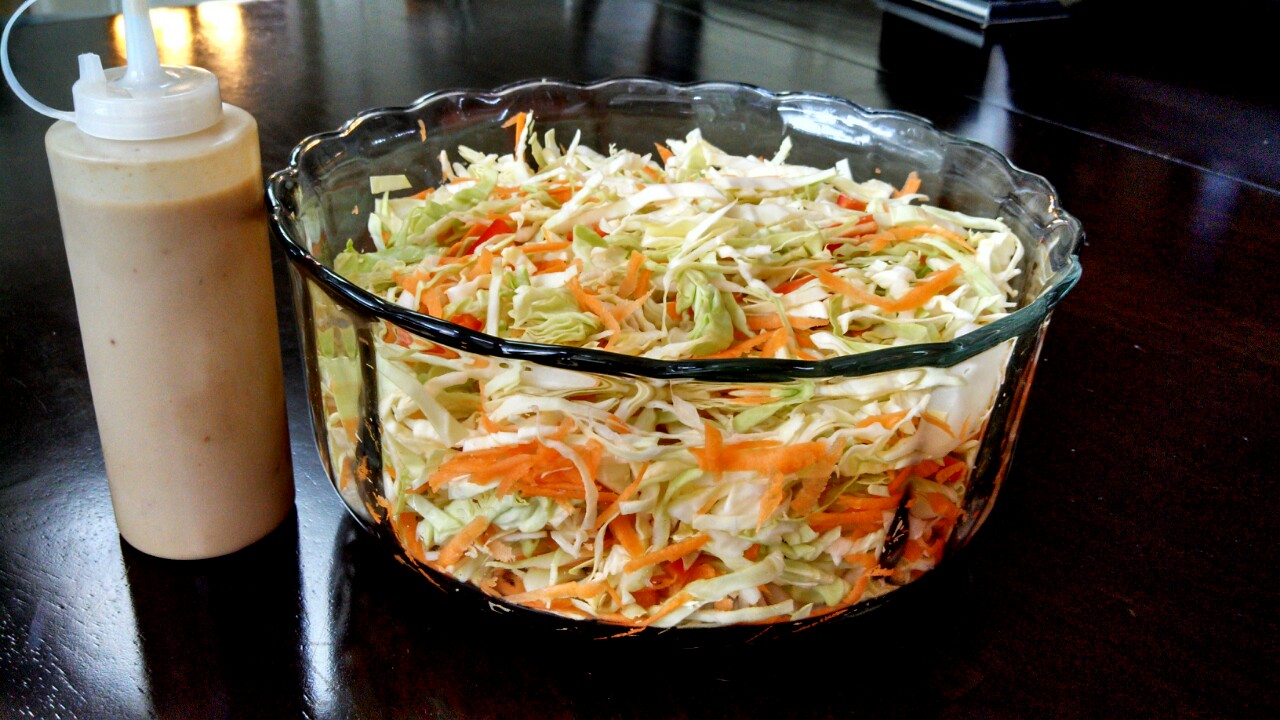
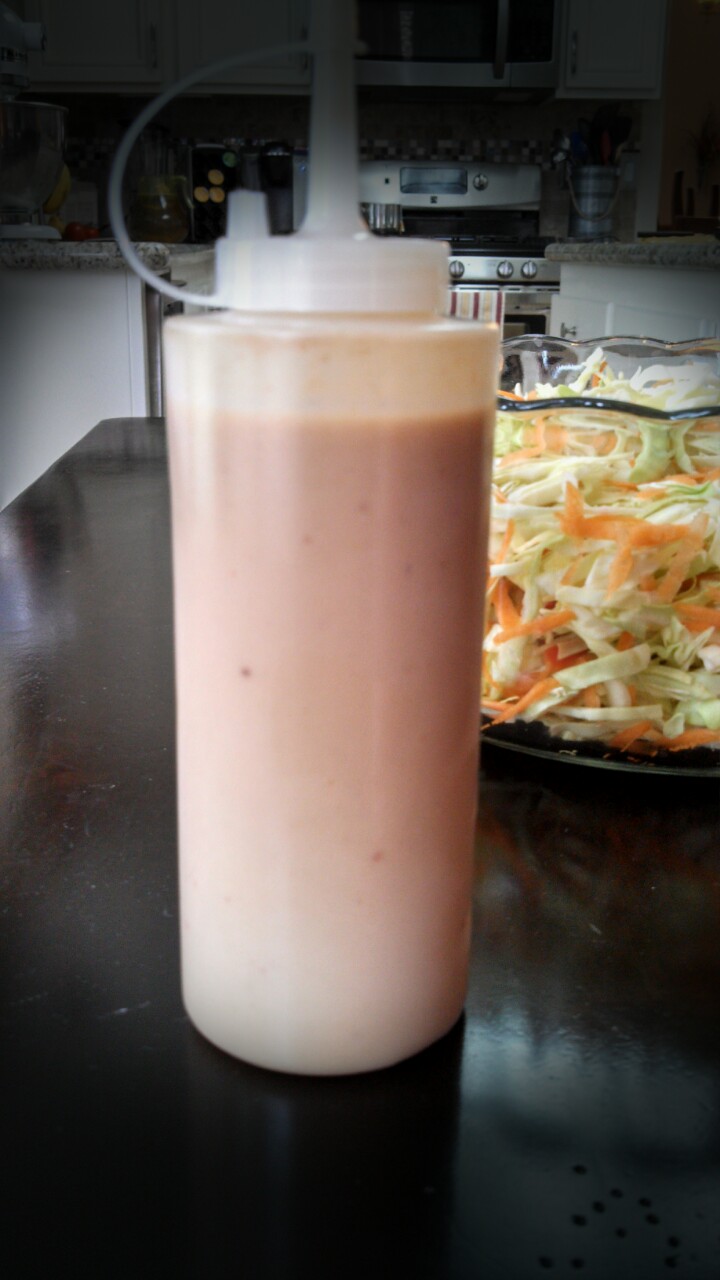
Whisk the above listed ingredients in a bowl and refrigerate. Those $.98 Walmart squirt bottles also work great to put this white sauce in. Plus, it looks purty when you squirt the sauce over the top of the tacos.

We’re classy folks!
Beer Batter:
1 c. flour
1/2 tbsp. baking powder
1/8 tsp. each of garlic powder, onion powder & white pepper
Just a dash of salt
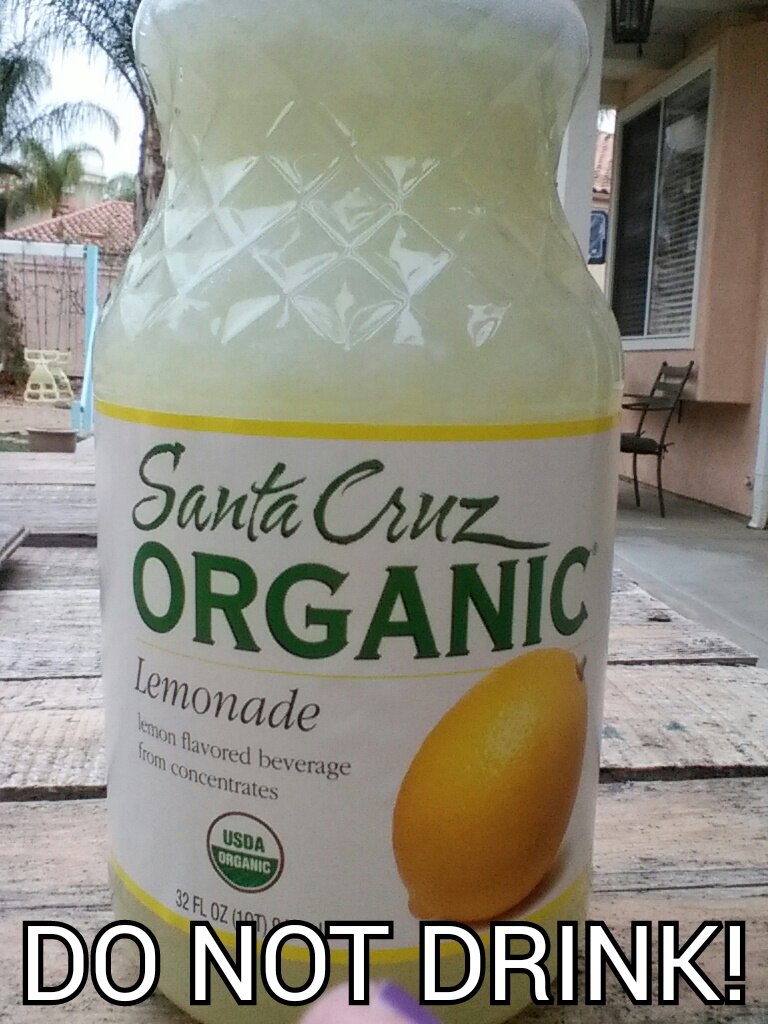
3/4 c. beer (Use 1 can, and drink the rest!)
Fish Tacos:
1 cod filet, cut into approximate 3″ strips (just under 3/4 pound will do)
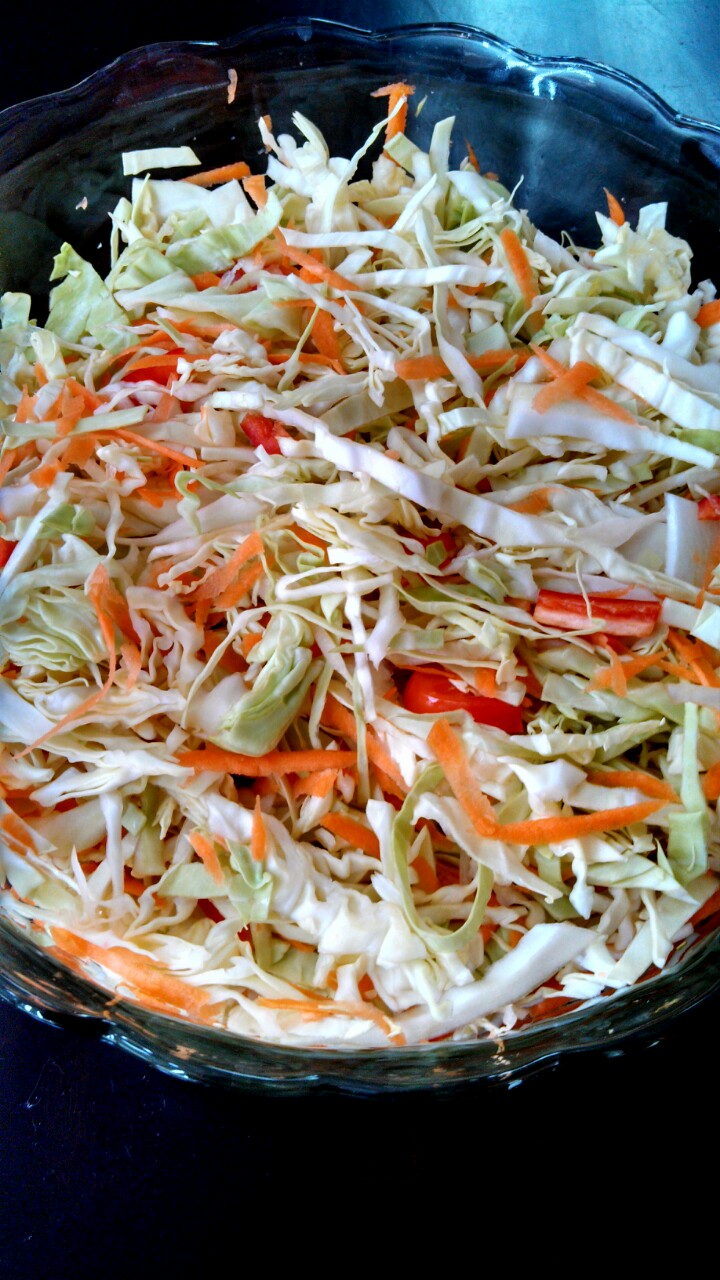
1/2 head shredded cabbage
Good quality salsa
1 lime, cut into wedges
10 corn tortillas
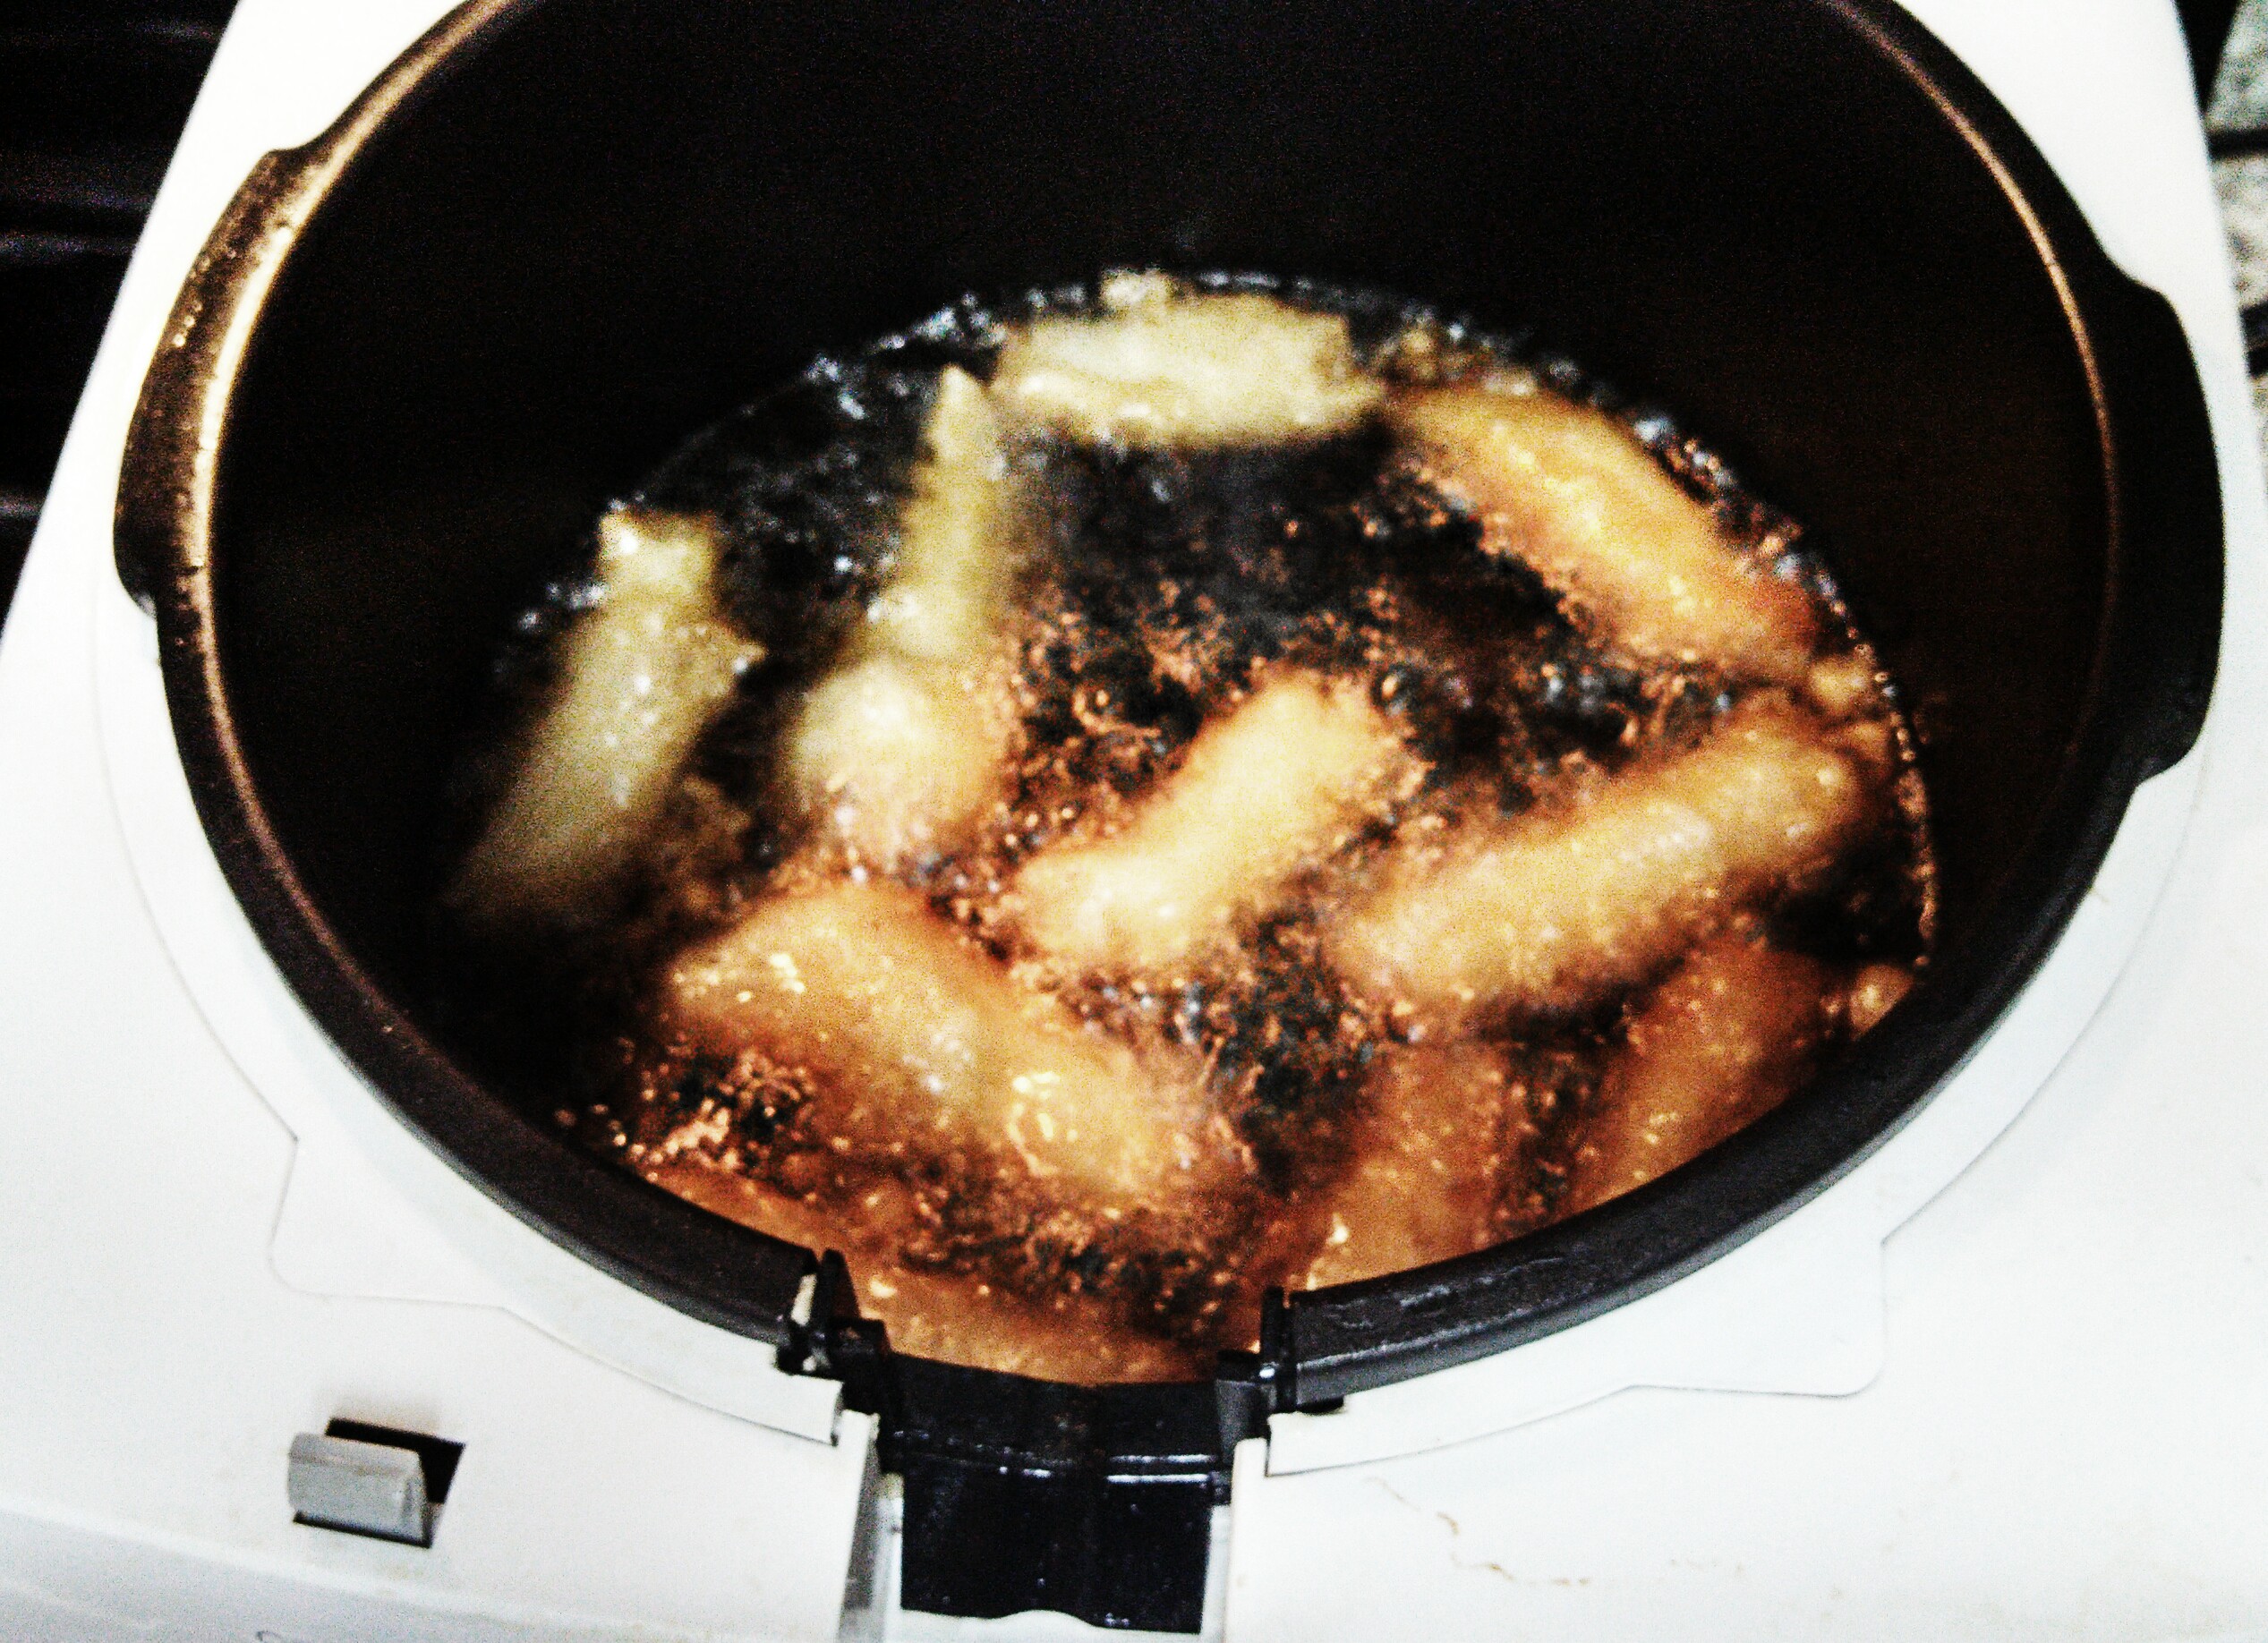
Almost done!
Preheat a deep fryer. If you do not have a deep fryer, you can fill a pan or pot with oil, heat it on medium and go from there. Whisk beer batter ingredients in a bowl. Dip strips of fish into the beer batter, making sure to shake off excess batter. You don’t want a huge layer of batter, you want to taste that fish! Gently put the fish into the hot oil. You may need to do this in two batches, as you don’t want to overcrowd the fryer/pan. Flip the fish over after a couple of minutes. Fish fries quickly, especially if you are doing small strips as called for in this recipe. Fish will be done when it’s floating and golden, approximately 4 minutes. Set aside on a wire rack or paper towels to drain.
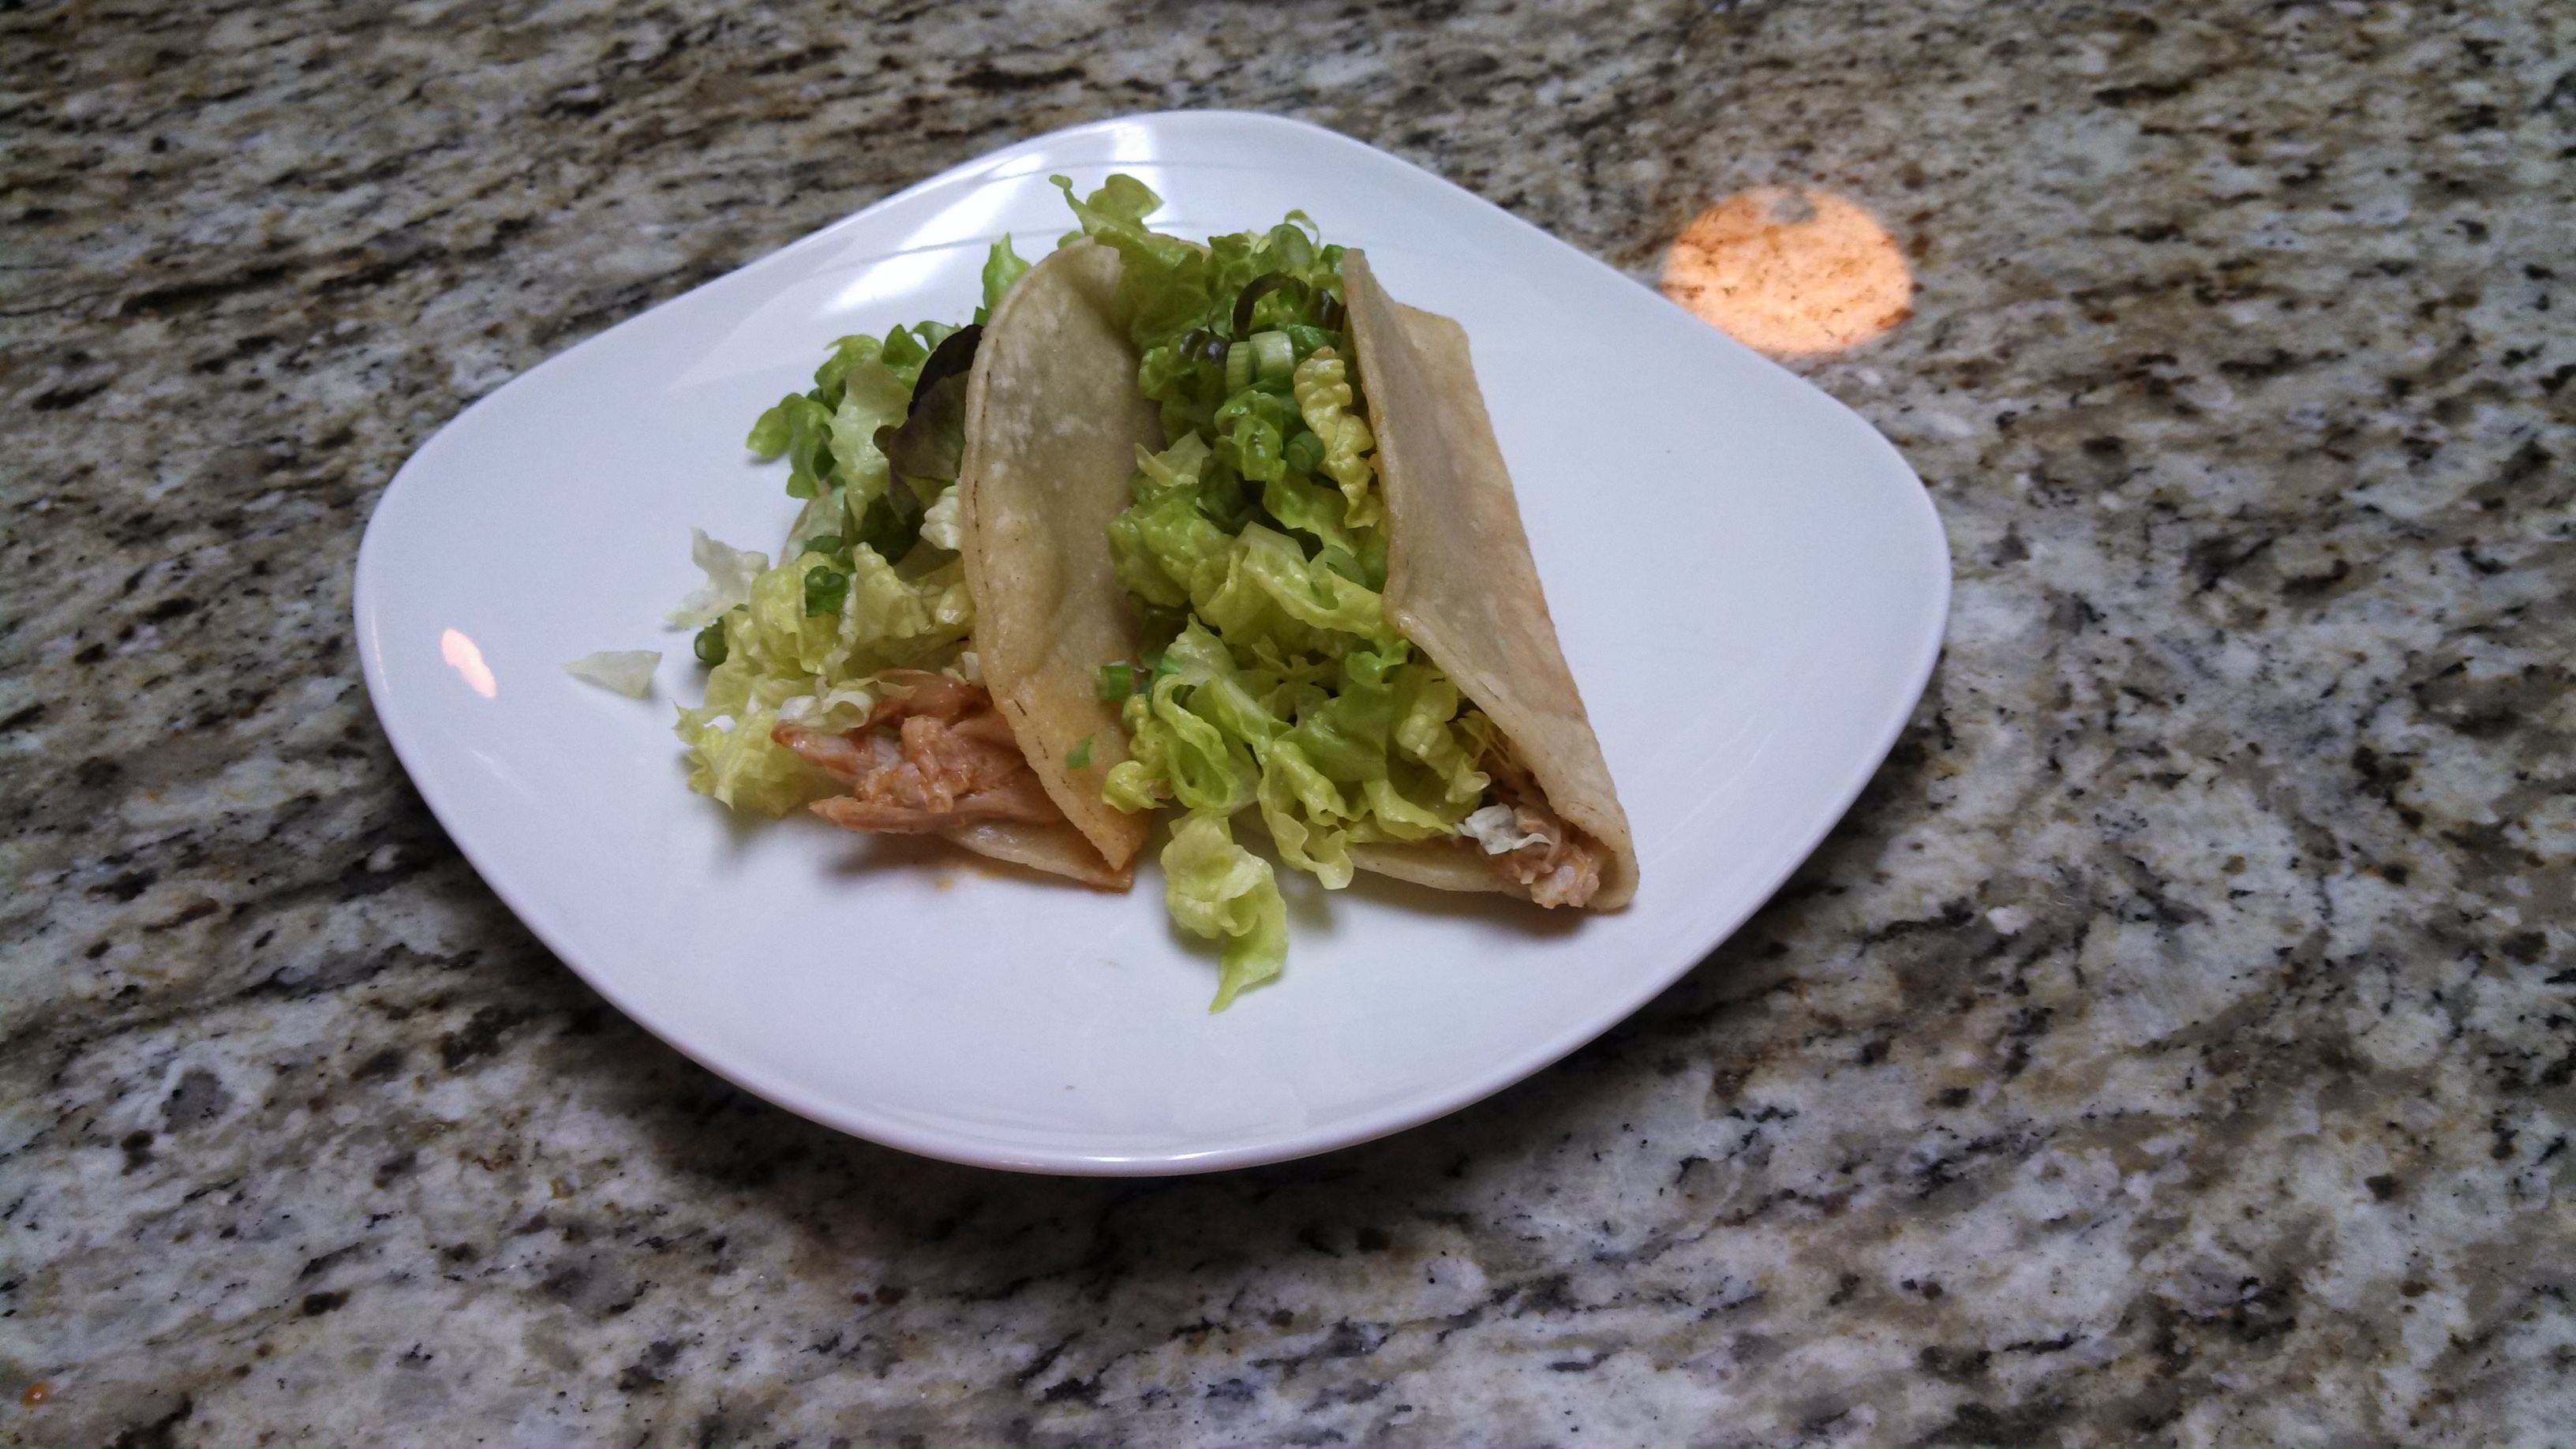
Heat corn tortillas on a plate in the microwave, covered with a damp paper towel for 1 minute. Now it’s time to assemble the tacos!
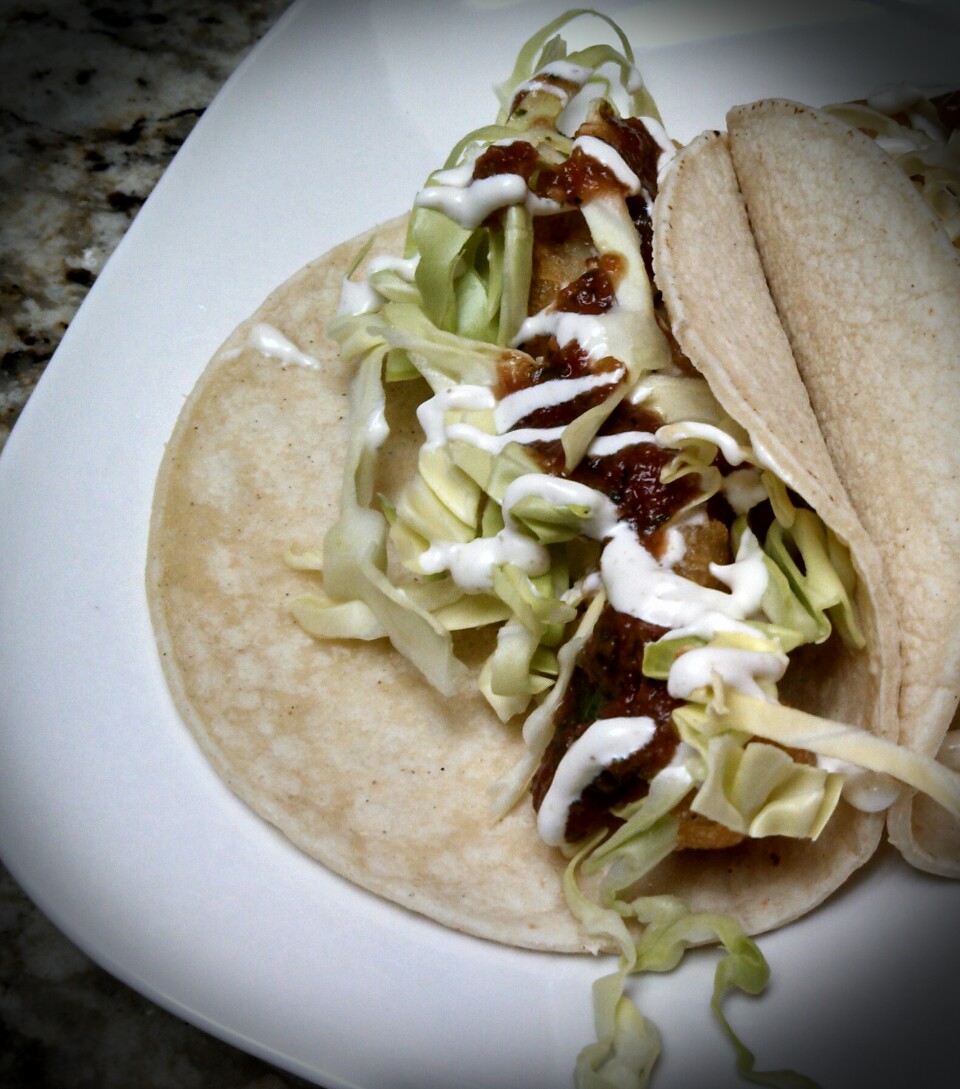
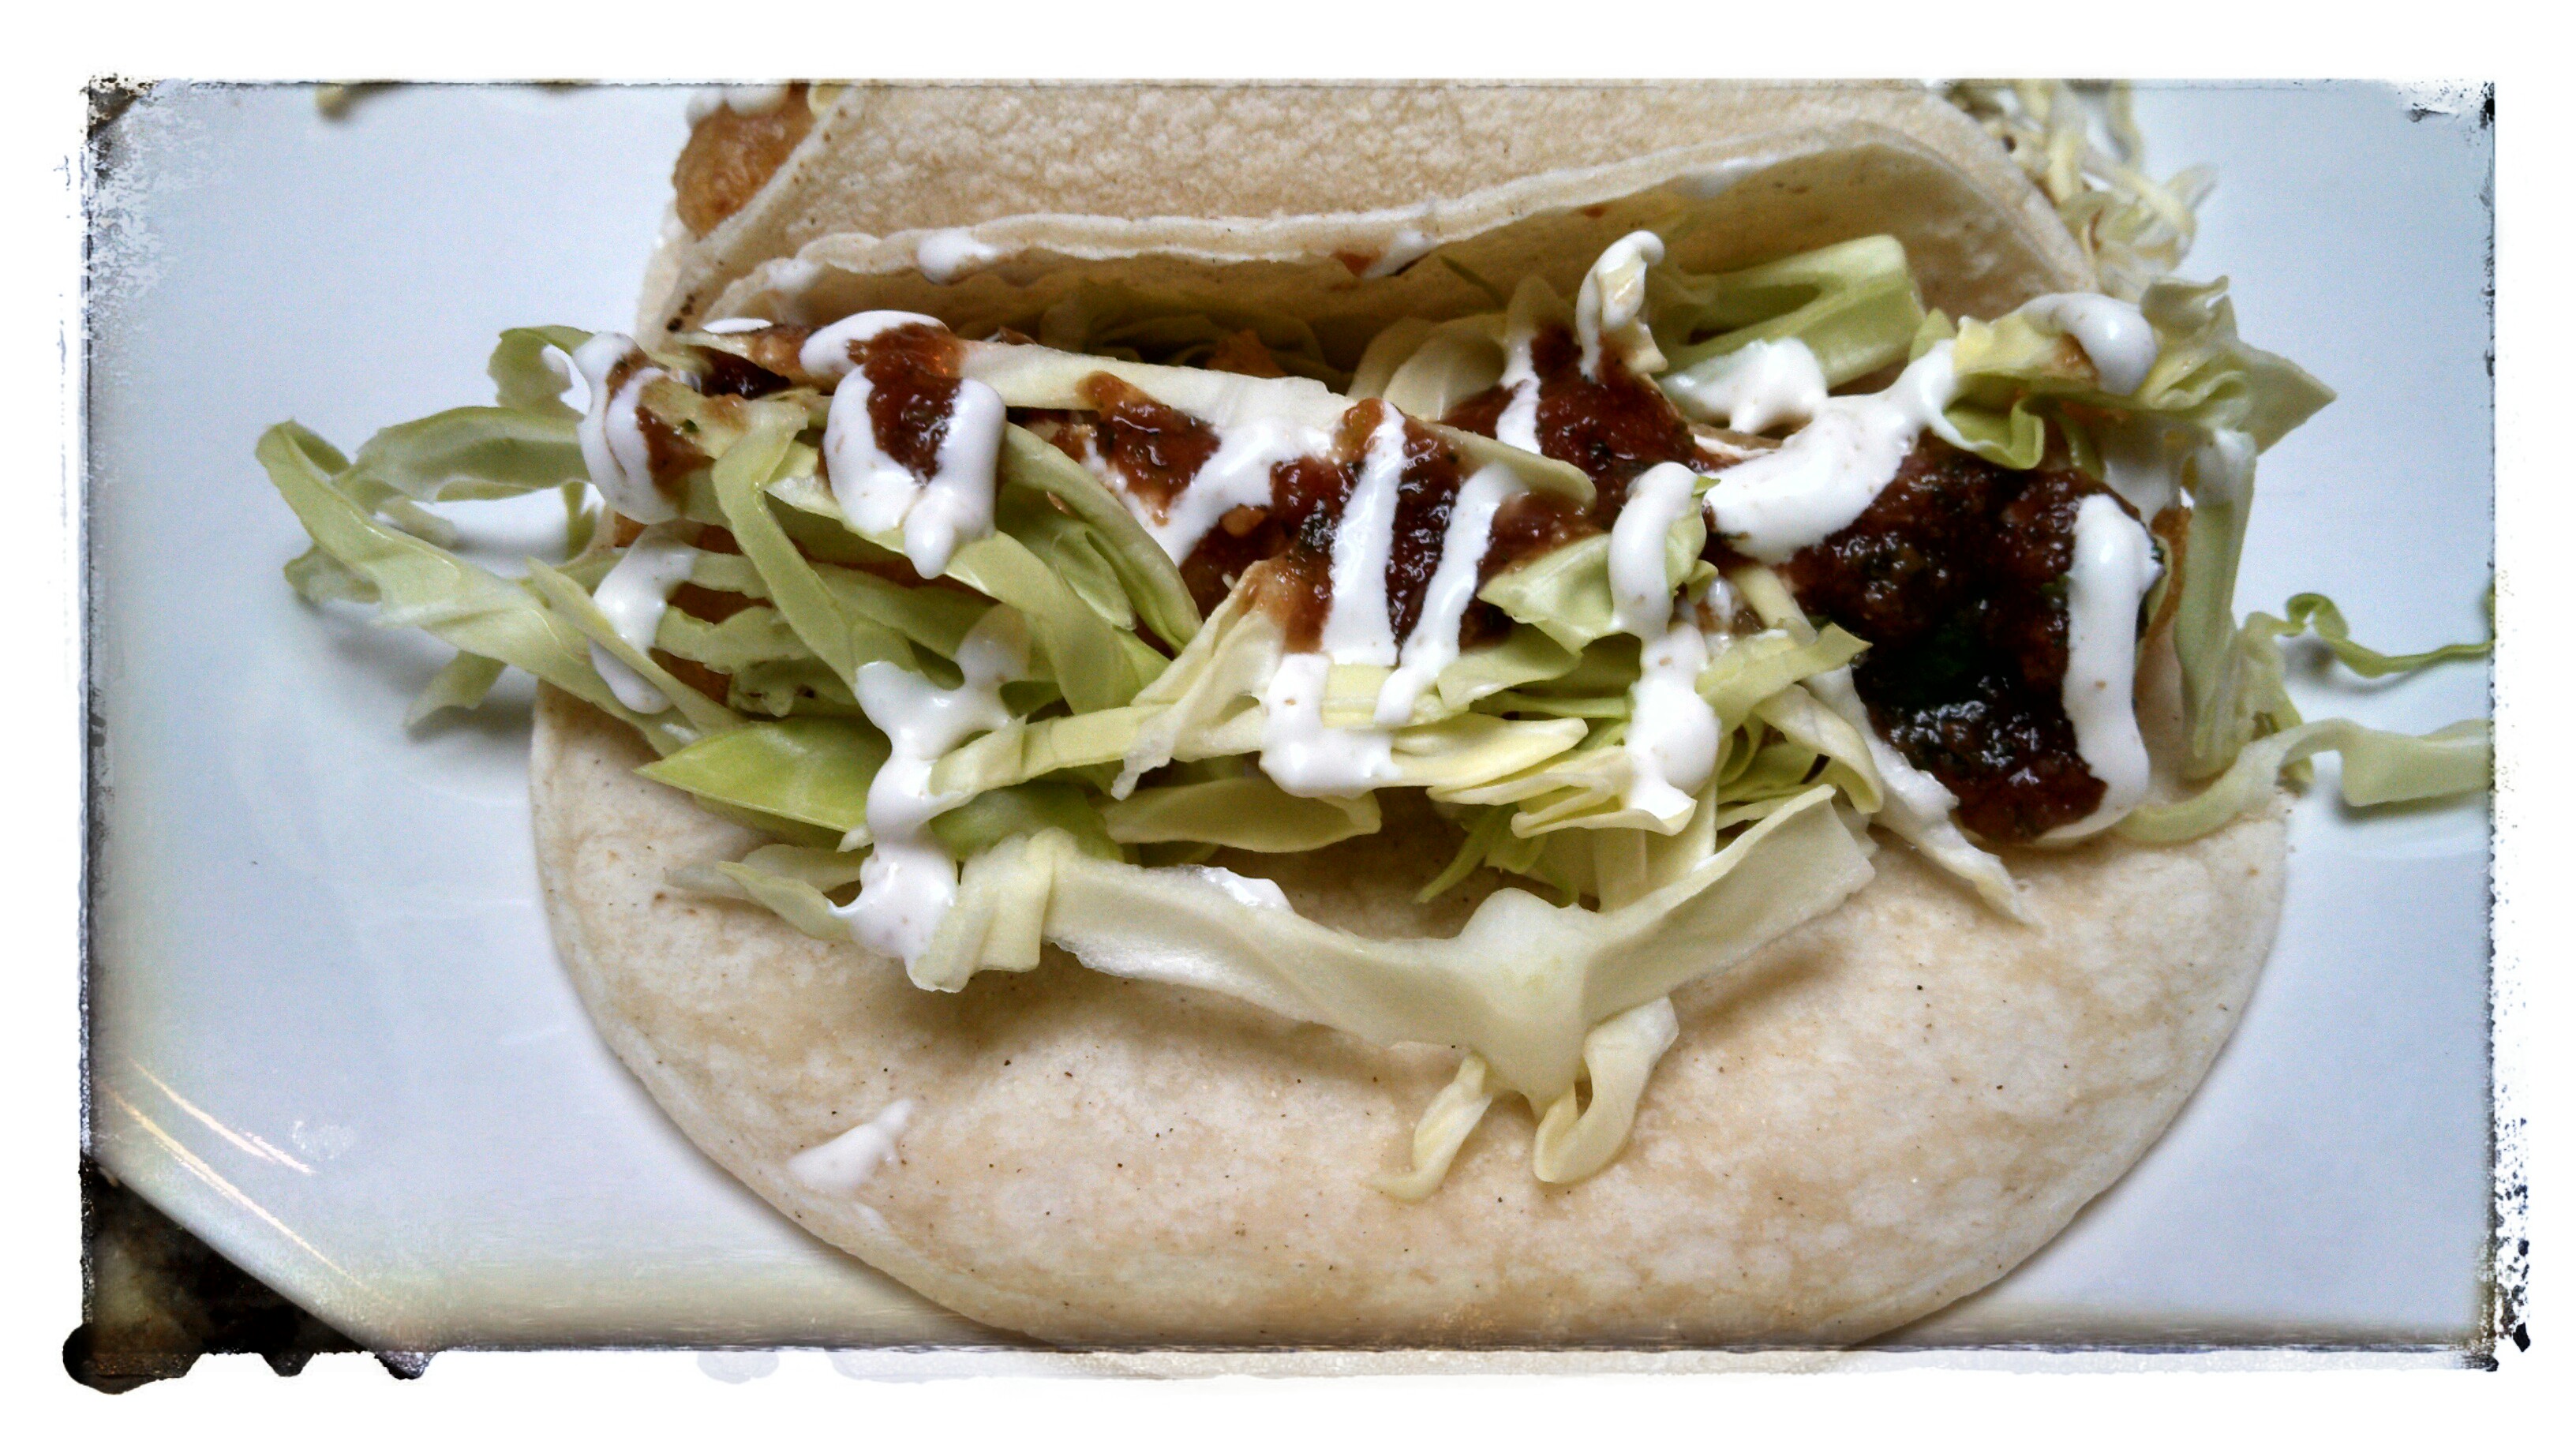
On a tortilla, lay one or two pieces of fish, squirt a little bit of the white sauce on top, then add the shredded cabbage, a little bit of salsa, and more white sauce on top. A squirt of fresh lime over the top and it’s ready to eat.
You complete me fish tacos! I hope they complete you too!!!!