Get to Grillin’!

asparagusIt’s a little cold out for most people right now, but that doesn’t mean you can’t grill. I live in Southern California, so we can pretty much fire up the BBQ any time of year. However, sometimes I like to use my grill pan indoors, and for those of you experiencing a frigid winter, take this tip and grill inside!

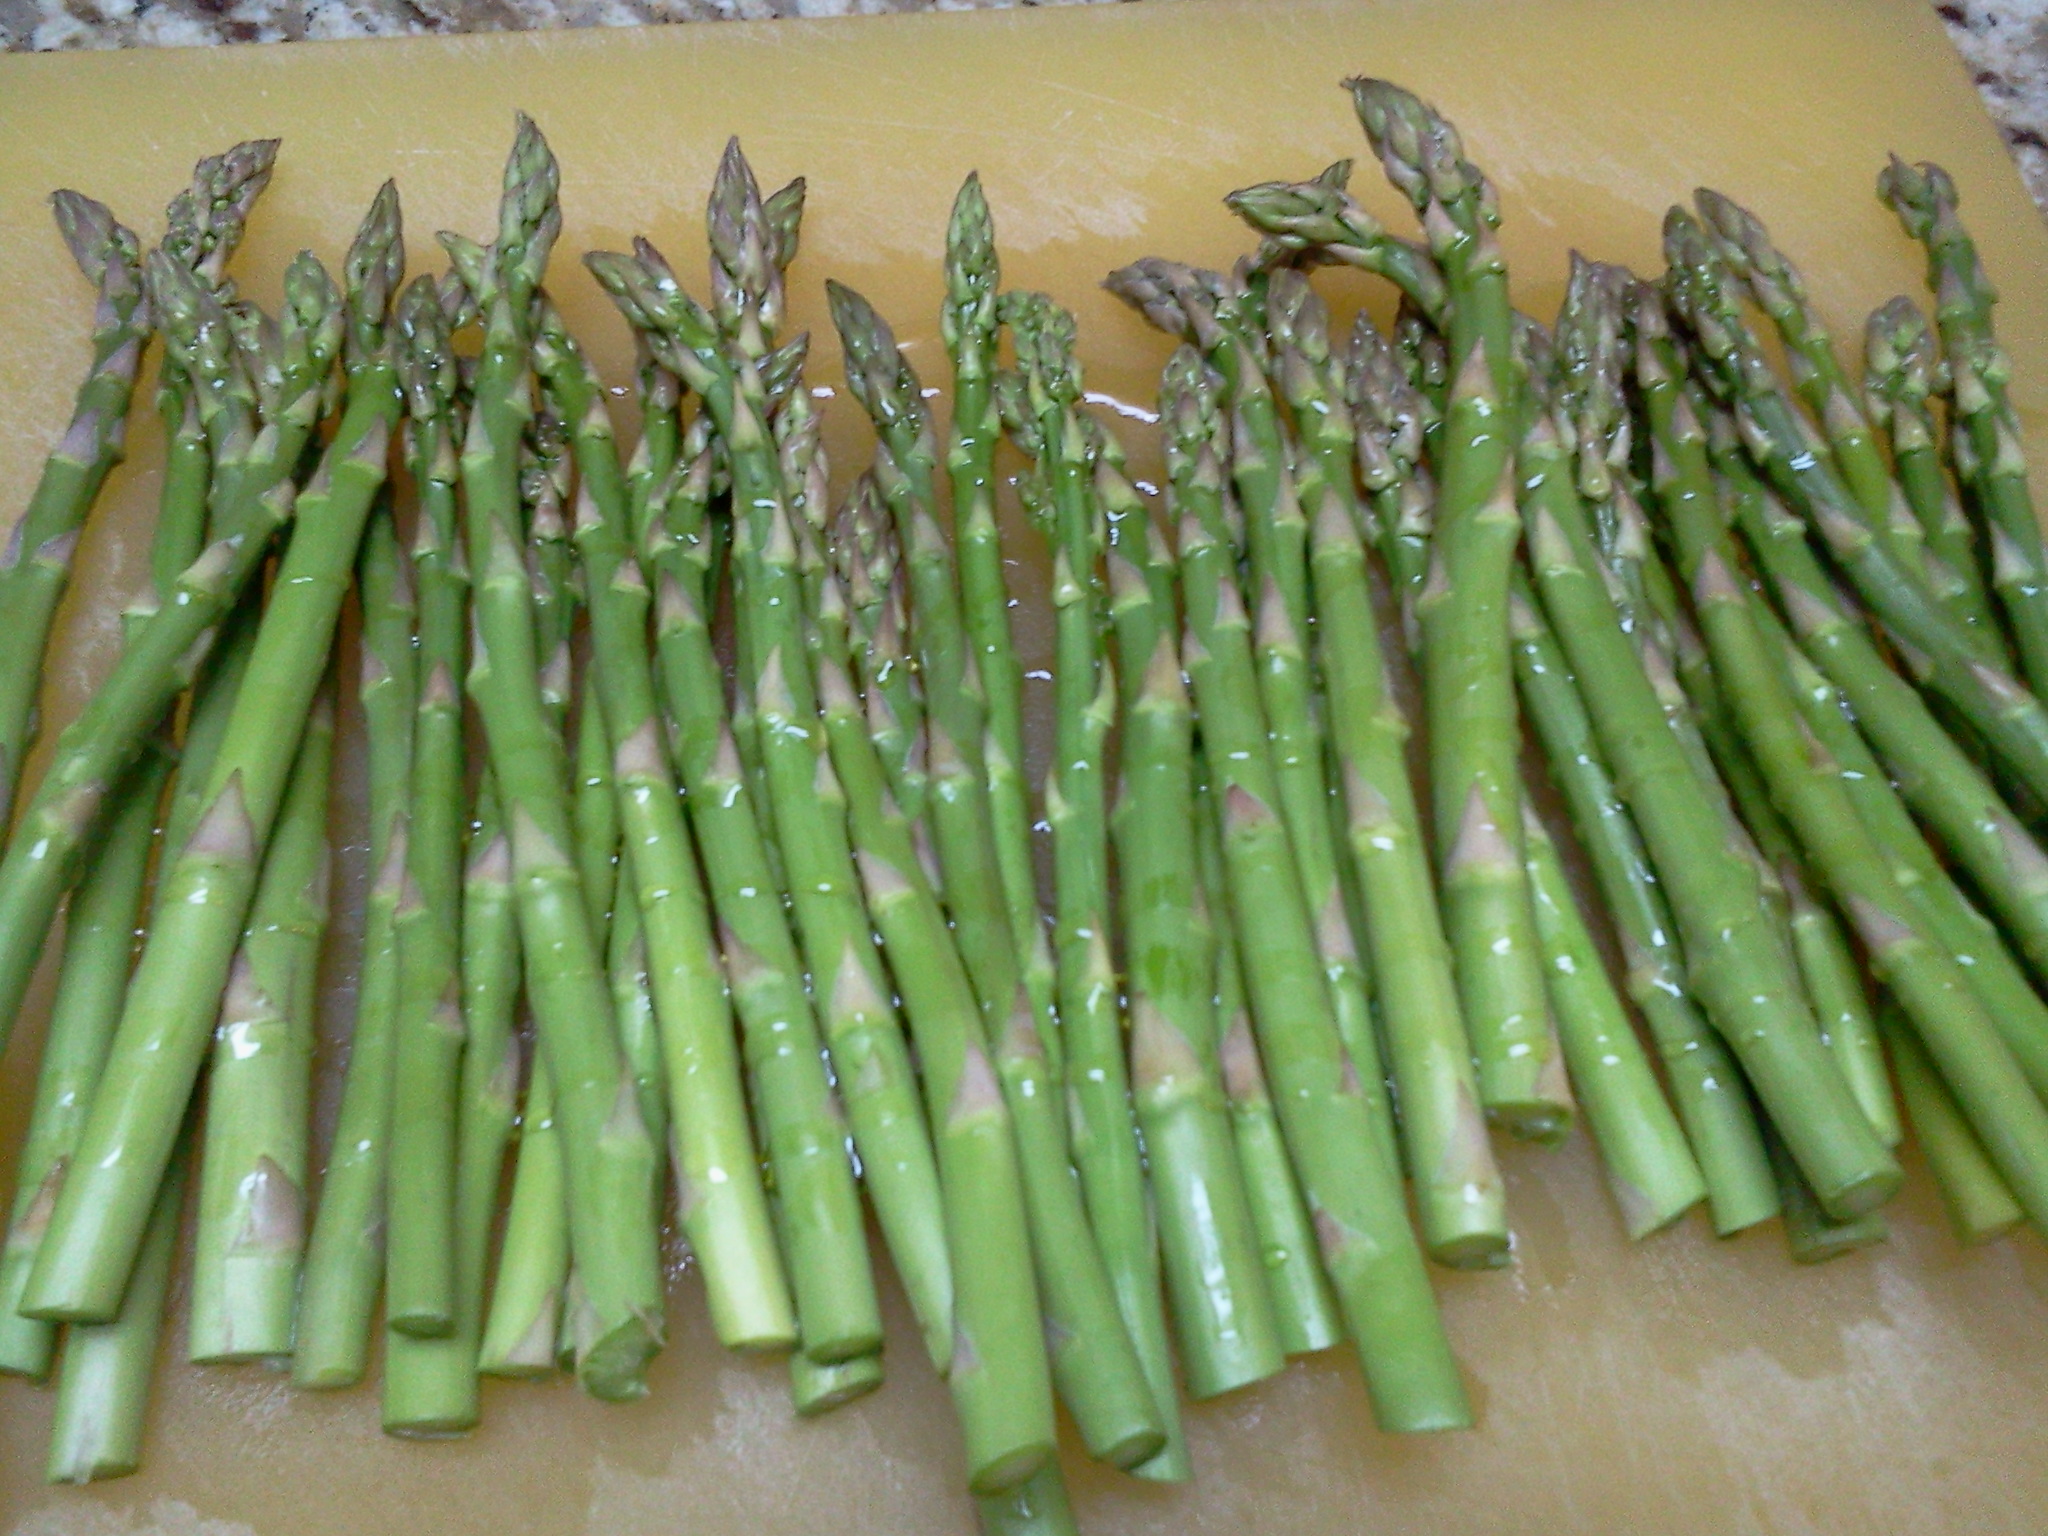
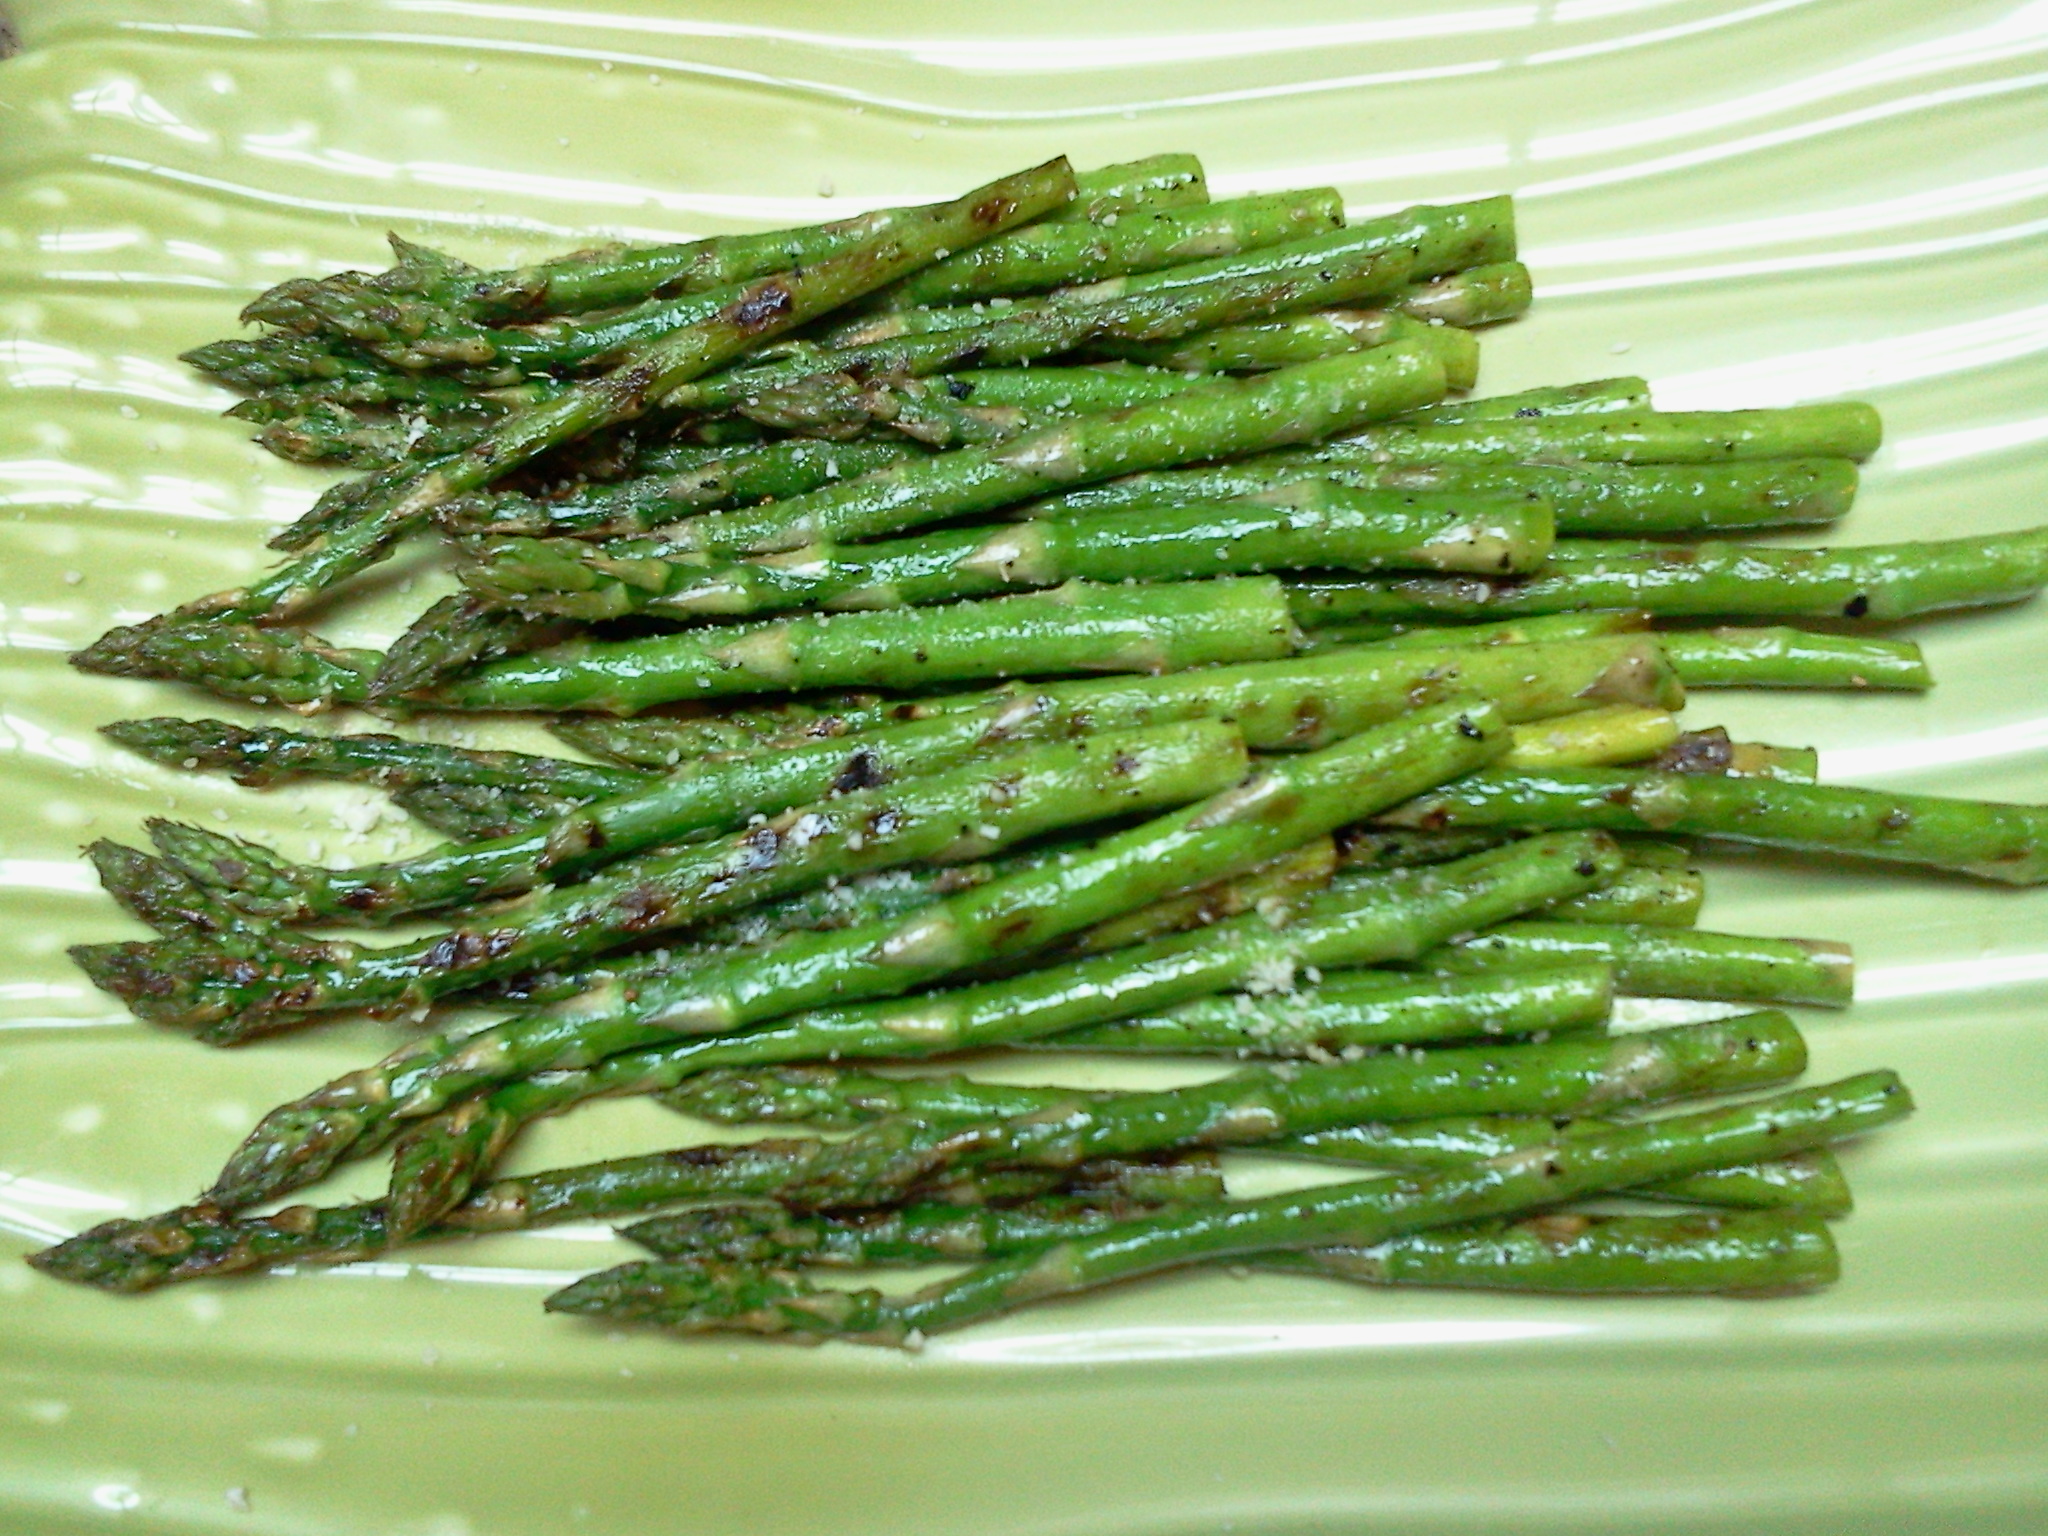
Grilled asparagus. Super easy, super simple, and so flavorful. My kids are not partial to asparagus because of the after effects….if you know what I’m saying. But they ate this! And I definitely like asparagus prepared this way much better over steaming.

Grilled Asparagus
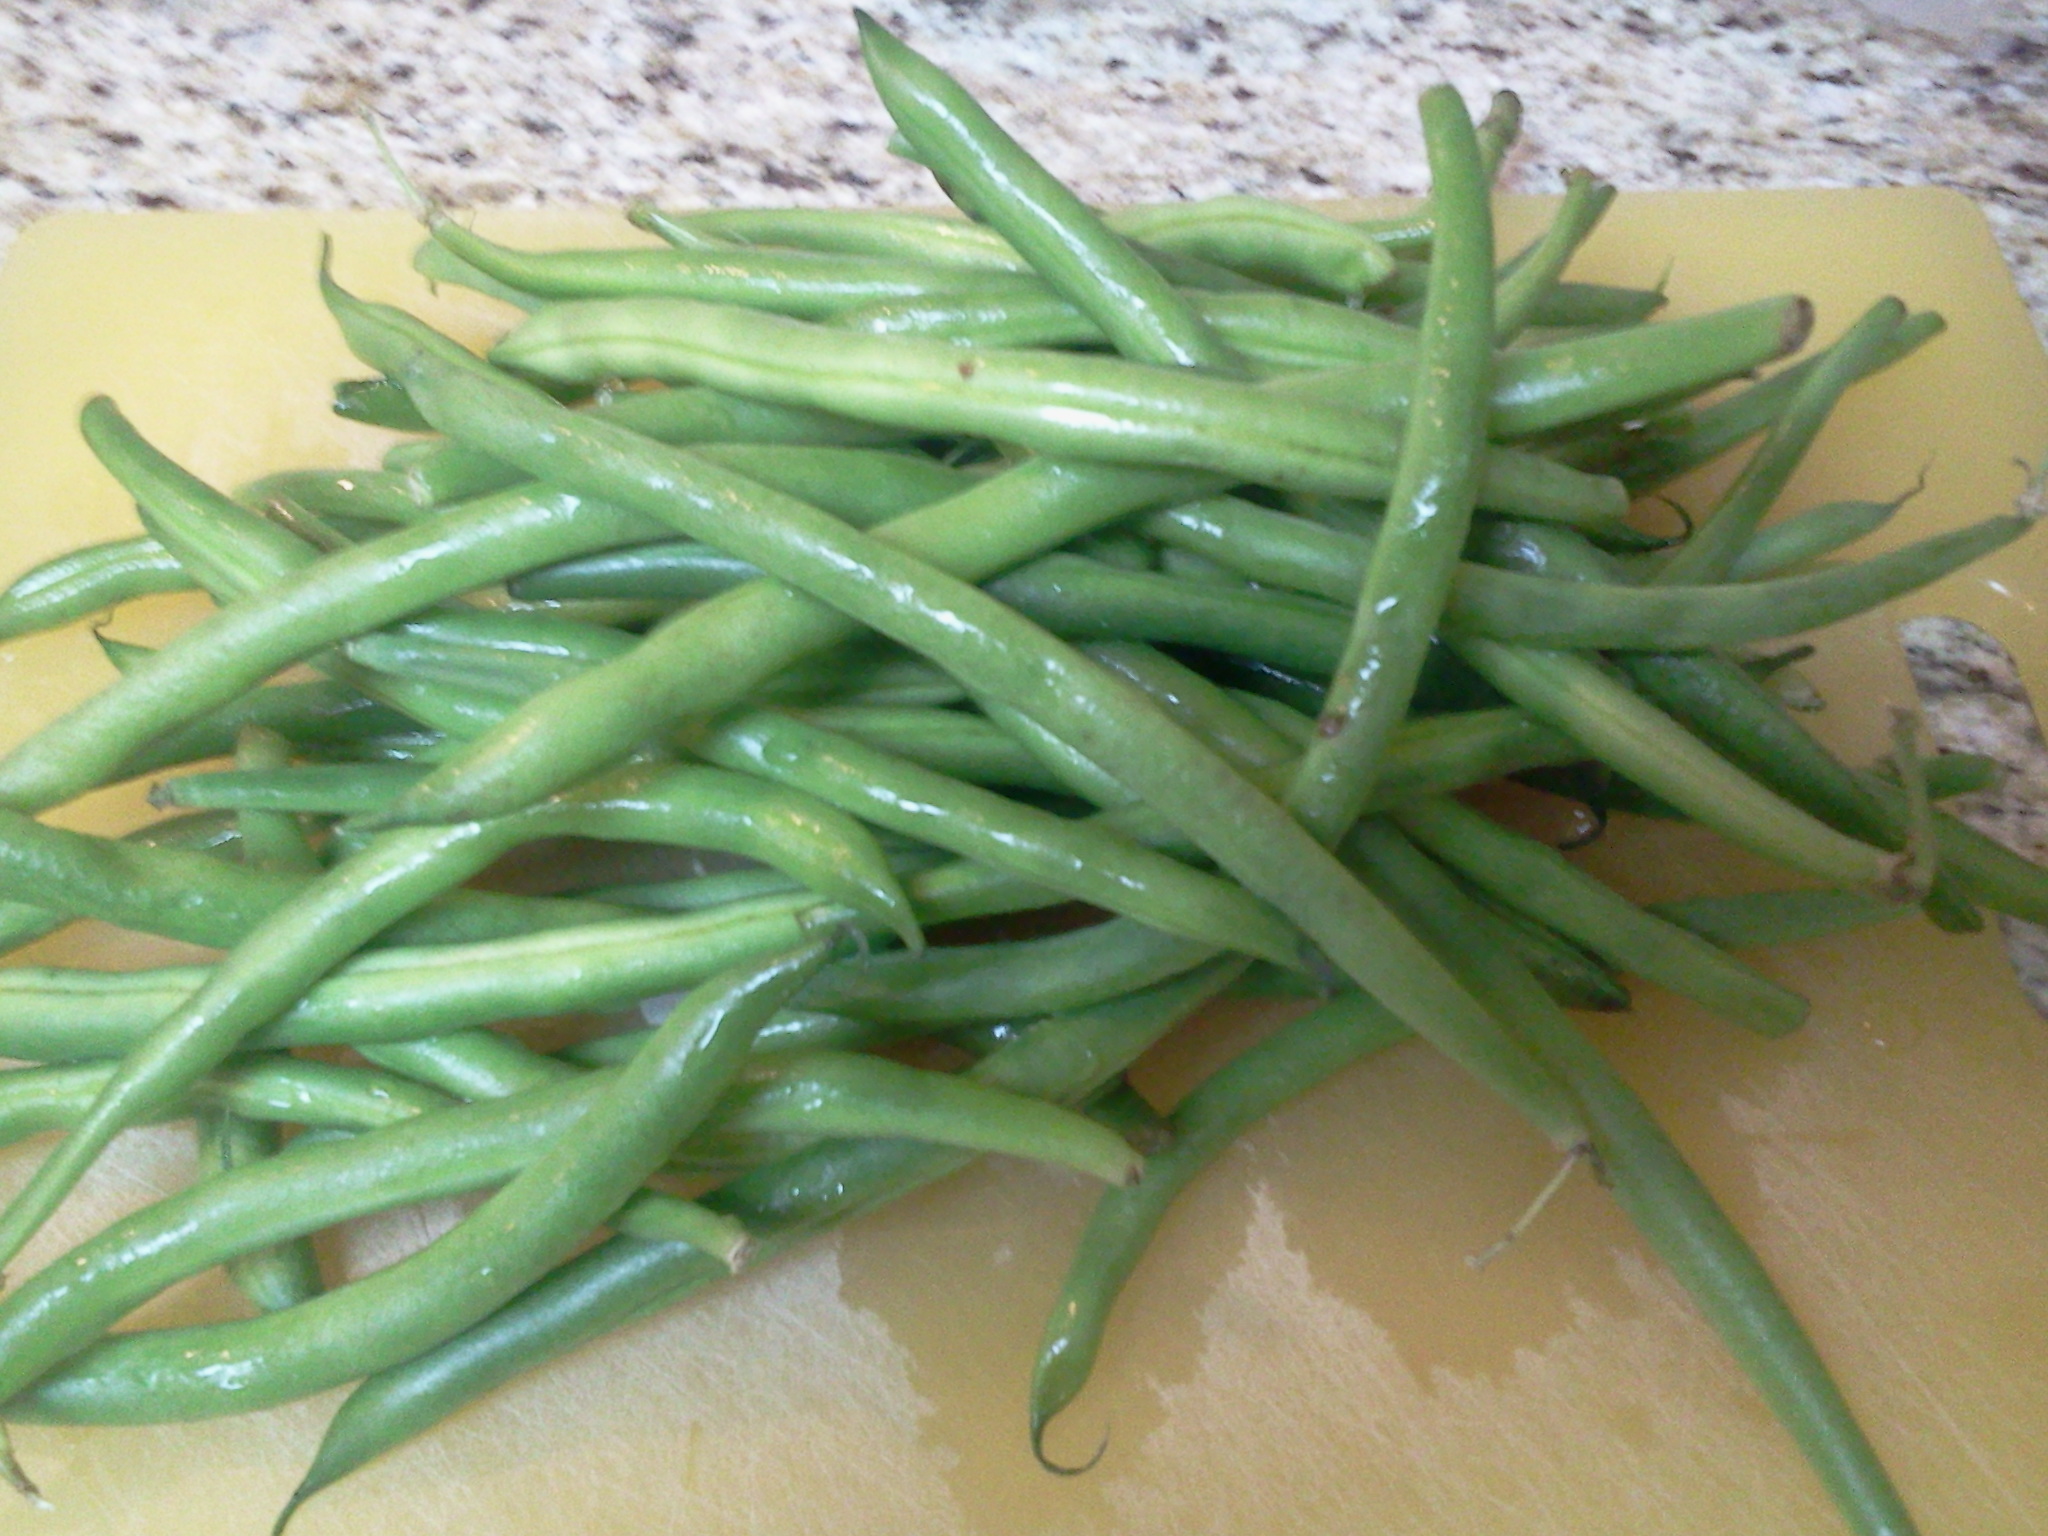
1 bunch of asparagus (the skinny kind), washed and trimmed
1- 2 tbsp. olive oil
Dash of salt
Dash of pepper
Parmesan cheese

Heat a grill pan (I used cast iron) on your stovetop over medium high heat. If using cast iron, they take a bit longer to heat up.

asparagus 2
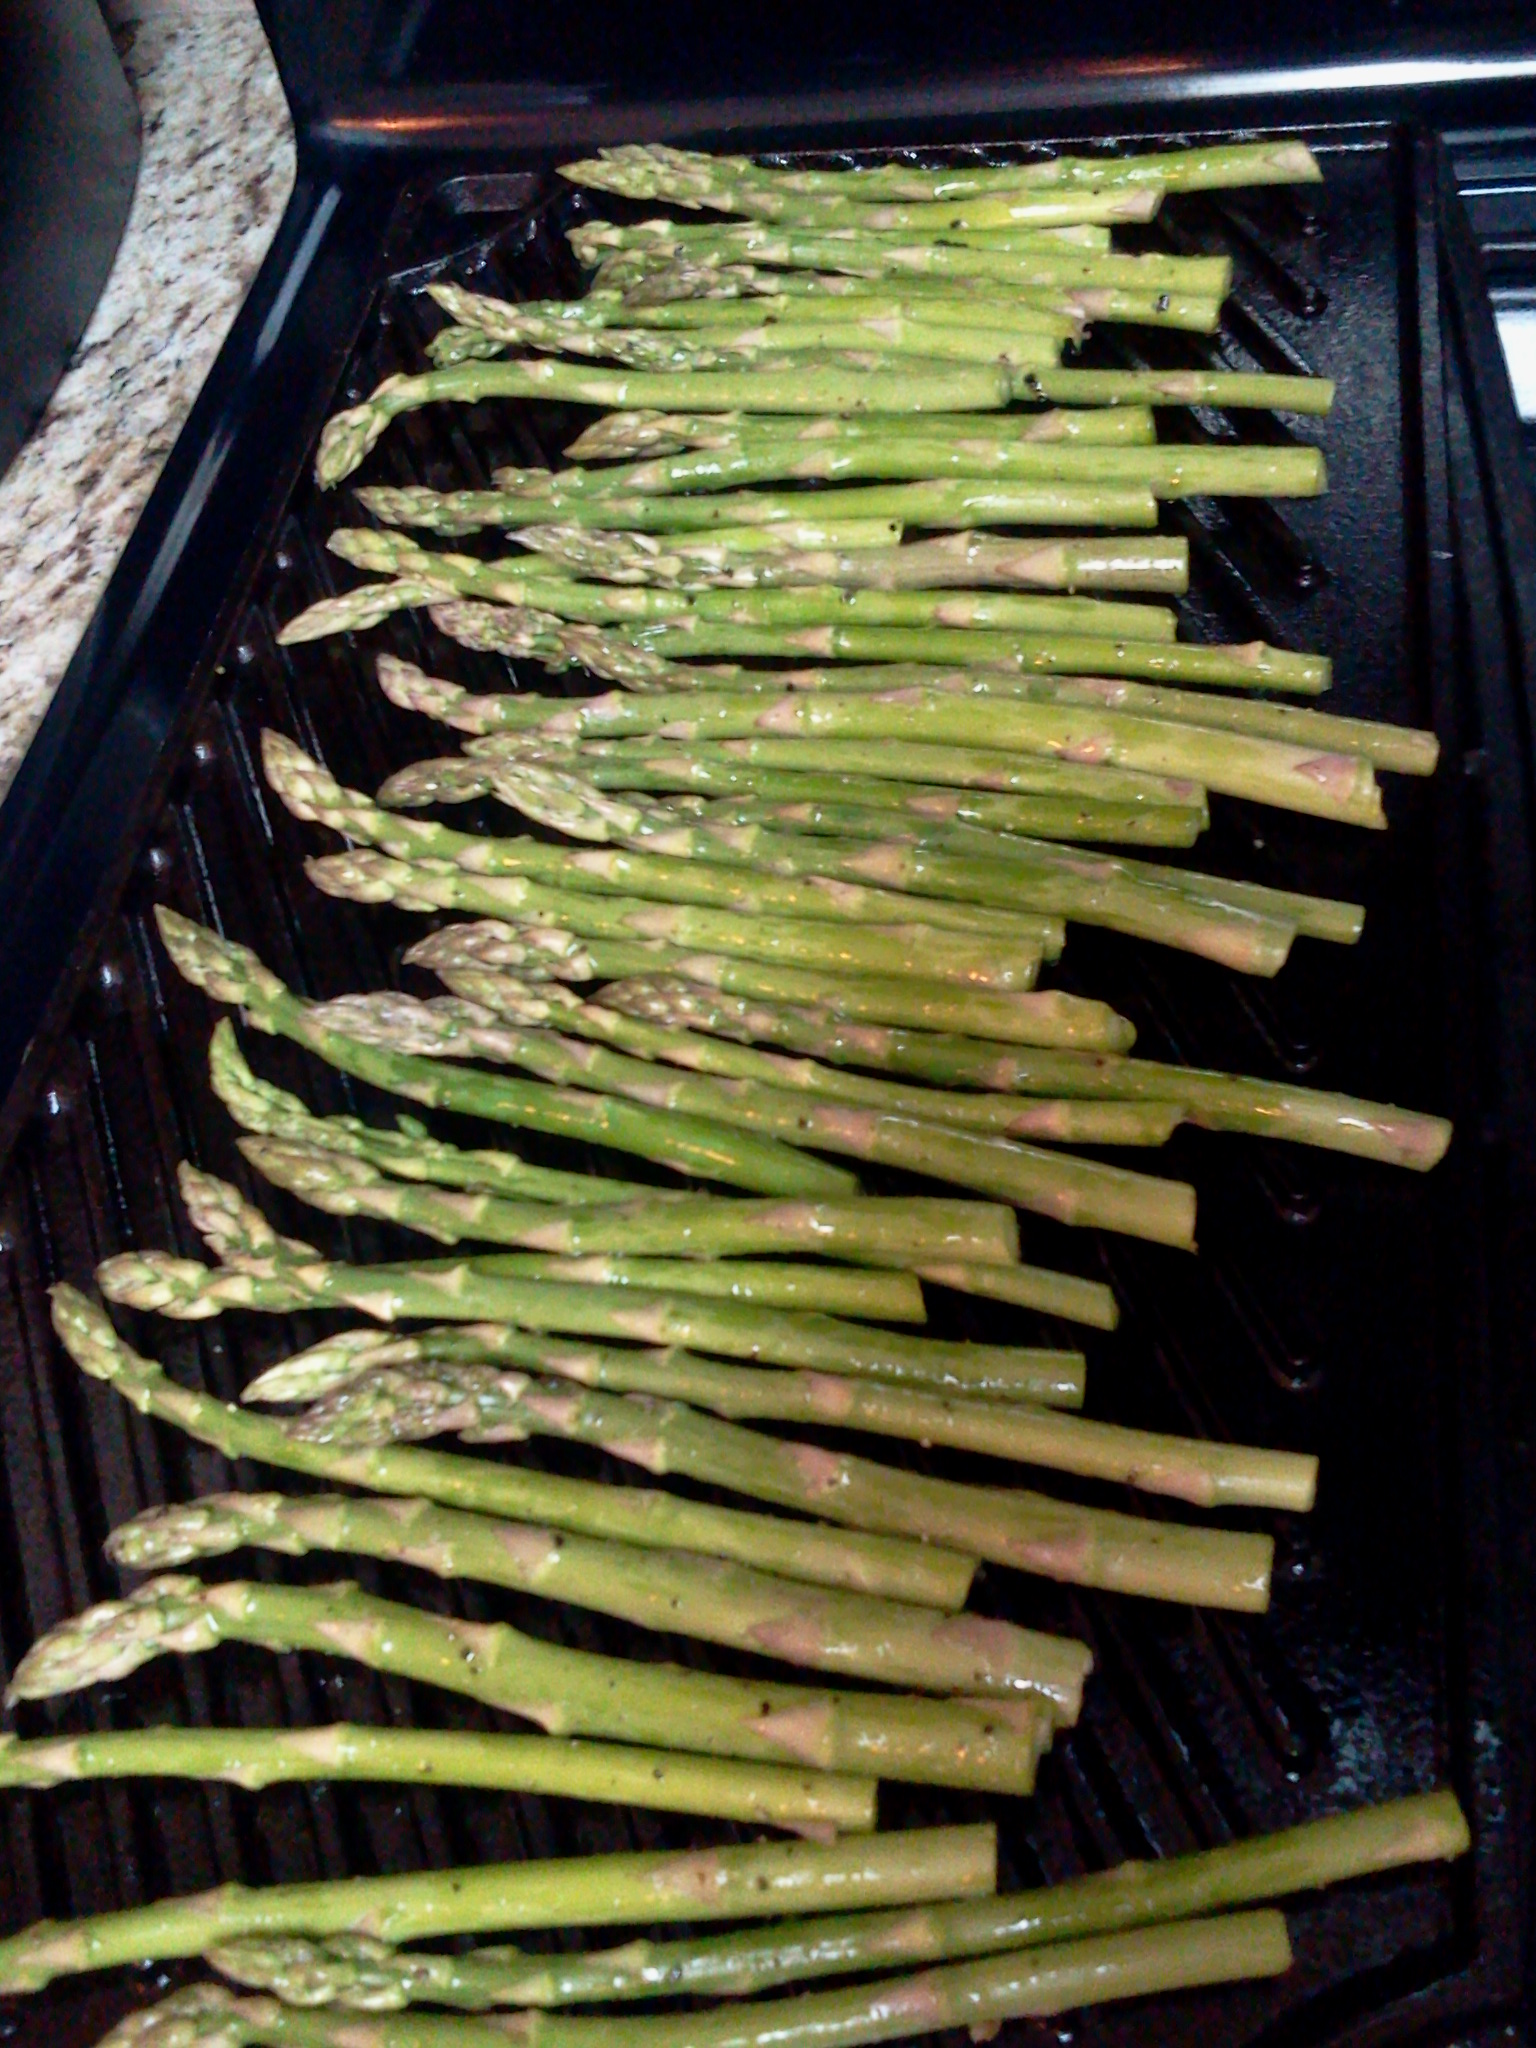
Sprinkle asparagus with olive oil and season with salt and pepper. When the grill pan is hot, add the asparagus. When the asparagus gets nice grill marks, turn over and cook the other side. I kind of just move mine around a bit on the pan to make sure the asparagus gets evenly cooked. I like my asparagus crisp tender so I didn’t cook mine long, maybe 5 minutes total. The skinny kind cook up much quicker. Transfer asparagus to a plate and sprinkle with parmesan cheese. *You can use a microplane hand grater to grate your cheese. If you don’t have one, you can use a box grater or the parmesan cheese in a container is fine too!

asparagus 3Have fun grilling indoors!

Advertisement

Spicy Mexican Style Marinated Carrots

marinated carrots 5Ever had those carrots at a taco shop? If you have, then you know what I’m talking about. If you haven’t, WHY NOT?!? They are so good! And you’ve been missing out. Spicy, tangy, and at some places, crunchy. Most taco shops I’ve had them at lean towards the softer side, but I prefer them to have a slight crunch. If you plan on having Mexican food at home, you must make these to have on the side.

Spicy Mexican Style Marinated Carrotsmarinated carrots

  • 1 lb. carrots (approximately 6 medium sized), peeled, and cut on the diagonal about 1/4″ thick
  • 1/2 of a small onion, sliced into 1/8″ rings (I used a mandolin to slice the onions)
  • 3 garlic cloves
  • 3 cups warm water
  • 2 tbsp. canola oil
  • 1/4 c. pickled jalapeno slices
  • 1/4 c. pickled jalapeno juice from the jar
  • 3/4 c. apple cider vinegar
  • 1 tsp. dried oregano
  • 3 bay leaves
  • 2 tsp. peppercorns
  • 1/2 tsp. crushed red peppers

Saute garlic, carrots, onions in a pot on medium high heat for 2-3 minutes. Add the remainder of the ingredients and bring to a roiling boil. Turn off the heat and let cool for 2-3 hours. Put into a jar/container and refrigerate for up to 1 week. *If you like your carrots on the softer side, let boil for up to 5 minutes, then turn off the heat.

marinated carrots 2Do I think these will last a week in your house? Absolutely not!

Chicken Chili with a side of “fries”

chiliChili! It’s all American! Traditionally made with beef, however, over the past year, my family has almost completely switched out ground beef for ground chicken. And we love it! To tell the truth, I like this chili much better with chicken than with beef. I don’t know if Texas will allow me to enter their territory with that statement, but it’s true.

Whenever I make chili, I also make French fries because my kids are chili cheese fries fans. Say that five times fast. My fries are baked so they’re even healthier for you than the traditional fried version, plus they’re super easy. So for the kid in you, see the recipe for my homemade French fries down below.

Chicken Chili (serves 4)

  • 1 tbsp. olive oil
  • 1 lb. ground chicken
  • 1 small onion, chopped
  • 1/2 green bell pepper, chopped
  • 3 small garlic cloves, minced
  • 1/4 c. mild chili powder
  • 1 tsp. salt
  • 1 tsp. paprika
  • 1 tsp. oregano
  • 1 tsp. ground cumin
  • 1/2 tsp. tabasco or other hot sauce (this is completely optional depending on your spice level)
  • 1 tbsp. instant coffee powder or strong brewed coffee
  • 1 can (8 oz.) tomato sauce
  • 1 can (15 oz.) diced tomatoes, or 2 large tomatoes, chopped
  • 1 can red kidney beans, rinsed and drained
  • 1 1/2 c. chicken broth
This is a real dutch oven, not the urban dictionary definition!

This is a real dutch oven, not the urban dictionary definition!

In a dutch oven (or large saucepan/pot) heat oil and add ground chicken. Stir and break up the chicken, adding the onion and bell peppers. When chicken is cooked (it will no longer be pink), add the rest of the ingredients. Stir and bring to a boil, then reduce heat. Simmer uncovered, stirring occasionally, for approximately 45 minutes or until thickened.

*If you don’t have a dutch oven, I highly recommend investing in one. They are ideal for soups and shredded meats and are great because they can be used on the stovetop and then transferred to the oven for further cooking.

*If you are a spicy chili fan, you can use a spicier chili powder and also add more hot sauce.

Homemade Baked French Fries

wedges

My “tutorial” on how to cut your potatoes for fries

  • 5-6 russet potatoes, washed and sliced into wedges (cut in half long ways, then cut those halves into halves long ways, then do it again, understood?!?!)
  • 2 tbsp. olive oil
  • garlic powder
  • salt
  • pepper
Golden & crispy

Golden & crispy

Preheat oven to 450 degrees. Place your potato wedges on a baking sheet and pour olive oil over the fries. Sprinkle garlic powder, salt and pepper over the fries (it’s up to you how much seasoning you want on your fries) and then using your hands, stir all of it together to get those fries coated. Bake for about 15 minutes, then turn the fries over. Cook for an additional 15-20 minutes. Fries should be crisp and golden.

chili cheese fries 2

A tasty pile of chili & potato goodness

Cabbage Salad with Peanut & Sesame Dressing

dressing and cabbage salad 2

This is so good that I could eat it everyday. Actually last week, I did eat it everyday with my lunch. I’m not ashamed to admit it. It’s delicious, and it’s that good! This would make a great accompaniment to any Asian type of dish (i.e. me love you long time house special chicken!) or teriyaki chicken, katsu, chow mein…. you get my drift.

The star of this dish is the dressing. It is incredibly flavorful. It’s pretty much the perfect dressing. Remember how I mentioned in a previous post that dressing tastes better when it’s homemade? Example, RIGHT HERE!!!! This is so delectable and the possibilities for this dressing are endless. It would be great on grilled chicken, or as the dressing for a Chinese chicken salad, or you can just grab the bottle and squirt it straight in your mouth. Whatever floats your boat. And it’s so simple to make.

Peanut & Sesame Dressing (adapted from Jamie Cooks It Up)

Roll out the red carpet, the star has arrived!

Roll out the red carpet, the star has arrived!

  • 3/4 c. mayo
  • 1/3 c. apple cider vinegar
  • 1/4 c. soy sauce
  • 1/2 c. sugar
  • 2 tbsp. minced garlic (or 2 garlic cloves)
  • 1/2 c. dry roasted peanuts
  • 1/2 tsp. sesame oil
  • 1 tbsp. toasted sesame seeds
  • pinch of red pepper flakes

Add all ingredients except the peanuts to a blender and blend on high. Then add the peanuts and blend until smooth. Makes approximately 2 cups.

*If you do not have peanuts, peanut butter would be a great alternative. Out of sesame oil and sesame seeds? Use tahini! I’m all about making adjustments and substitutions. Use what you’ve got. Who likes running to the grocery store for one or two items anyways?!?!

Like that bottle up there? Only $.98 at Walmart and they are absolutely perfect for dressings and sauces.

Now onto the cabbage salad. It’s super simple and very affordable. This is a perfect dish to serve to a crowd. I usually only do cabbage and carrots but this time added julienned red bell peppers. cabbage salad

Cabbage Salad

  • 1 head of green cabbage, shredded
  • 1 large carrot, peeled and grated
  • 1/2 red bell pepper, julienned

Great additions to this salad would also be sliced green onions and cilantro, which also adds great color. Wonton strips would also add additional crunch. Customize it to your tastes!

Now who likes a soggy salad? Not me! So I scoop out individual portions and then squirt the dressing over the top and mix on my plate/bowl. It’s a salad, not a coleslaw, so no dressing it beforehand.

Eat up, and I hope you love it as much as I do!

Ranch dip/dressing

Who doesn’t like ranch? I’m sure there are some of you weirdos folks out there, but most people love it! In case you weren’t aware of this little tidbit, homemade dressing tastes a lot better than bottled. It’s pretty easy and the benefit is, it’s fresh! And most likely, you will have most of the ingredients to make dressing in your pantry or fridge. You can also say, hey I made that, instead of, hey I bought that at the grocery store and took off the cap for you. Seriously, which one is more impressive?

A bell pepper makes a great vessel for serving your ranch dip

A bell pepper makes a great ranch dip vessel. Prettier than a bowl, huh?

Now, this recipe is primarily for a dip. However, you can add more milk to it to thin it out a little more for dressing. However, I like my ranch dressing a little on the thick side so this recipe works well for me. It tastes delicious as a dip for veggies, chicken strips or nuggets, or on your favorite green salad. Try it, you’ll like! (If you know what show that’s from, bonus points for you.)

Ranch dip/dressing

  • 1 c. plain greek yogurt
  • 3/4 c. mayonnaise
  • 1 tbsp. worcestershire
  • 1/4 tbsp. red wine vinegar
  • 1 tsp. frozen basil cube, melted (ever see these in the frozen section of the grocery store? love ’em!) or 1/2 tsp. dried basil
  • 1/2 tsp. dried thyme
  • 1/2 tsp. dried dill
  • 1/4 tsp. salt
  • 1/4 tsp. pepper
  • 1 green onion, thinly sliced
  • 1 garlic clove, finely chopped
  • 1 1/2 tbsp. milk (more can be added if you like your dressing thinner)

Whisk all ingredients together and refrigerate. Best if served after it has set awhile. Let those flavors meld together! And if you think it’s too thin, it will set up further in the fridge. Enjoy!

ranch dressing

Brown Sugar & Balsamic Green Beans

green beansSomething you should know about me that’s SUPER important is that I do not like to measure! I rarely measure anything when I’m cooking. As Rachael Ray would say, eyeball it! I’m a firm believer in eyeballing. It’s much easier for me to cook that way. As for baking, well, I’m no baker or pastry chef. Must be that measuring thing coming into play… Anyways, because of this blog, I am trying to be as exact as possible with my measurements to make it easy on anyone trying out my recipes. And luckily, I got out my measuring spoons and measuring cup to give you exact amounts today!

As with most cooking, I think it’s mostly a method or technique, and not necessarily about a recipe. If you’ve got the method down, it will usually come together in the end. I usually stick with garlic powder, salt and pepper for my veggie cooking, but this recipe has something a little special, and it’s called brown sugar and balsamic.

My neighbor told me that her mother-in-law loves her fresh green beans with balsamic and sugar. She then told me how she makes them. They sounded great but I wanted to speed up the recipe a bit (shortcut!) so this is what I came up with.

green beans 2Brown Sugar & Balsamic Green Beans

  • 1 lb. fresh green beans, rinsed and trimmed
  • 3/4 c. chicken broth
  • 1 tbsp. butter
  • 2 tbsp. brown sugar
  • 1 tbsp. balsamic vinegar

Butter goes in the pan (I like using a cast iron skillet for this). On medium heat, let it melt. Add your trimmed and clean green beans. Stir to coat the beans with the butter. At this point, I turn up the heat to medium high. Add the chicken broth. It should sizzle! Cover with a lid, but not all the way. Leave the lid a bit to the side to let a little bit of steam escape. Leave the heat at medium to medium high and let cook for about 15 minutes. You can check to see if the green beans are tender by sticking a fork in them. Once they’re tender, take the lid off and let cook until the chicken broth is almost evaporated. Push green beans to the side and add in the brown sugar to the remaining broth and see it melt! Then add the balsamic. It should almost become syrupy. Stir it all together. That’s it. Dinner side dish, DONE!