A Kitchen Catastophe

*A quick little note. I’ve updated my about me with a little more personal info. Check it out to know more about yours truly. Now onto the matter at hand…..

Ever had a kitchen nightmare? I’m talking cooking disaster. I’m sure we’ve all been there. Worked really hard on a meal, only for it to end up being inedible? Yep. That’s happened to me too. Well, this recent incident was slightly different but for me, a kitchen catastrophe of epic proportions!

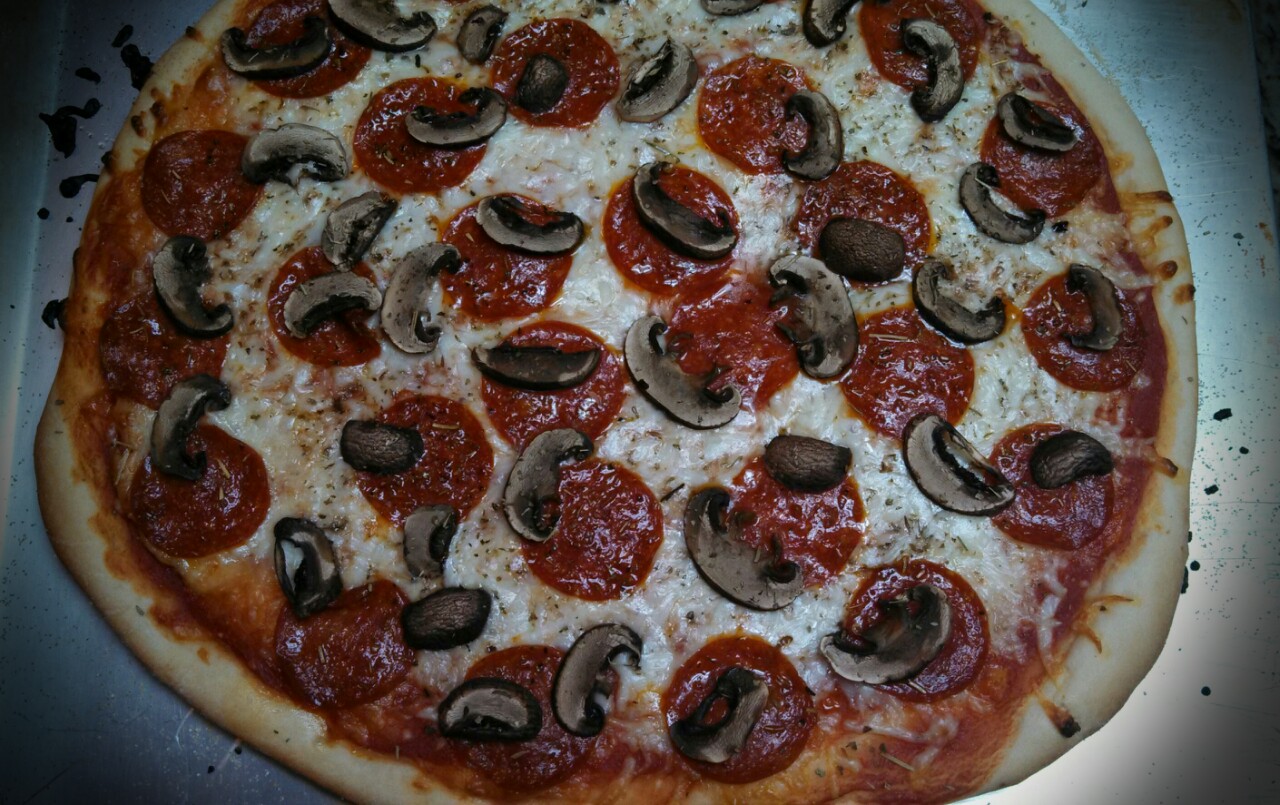
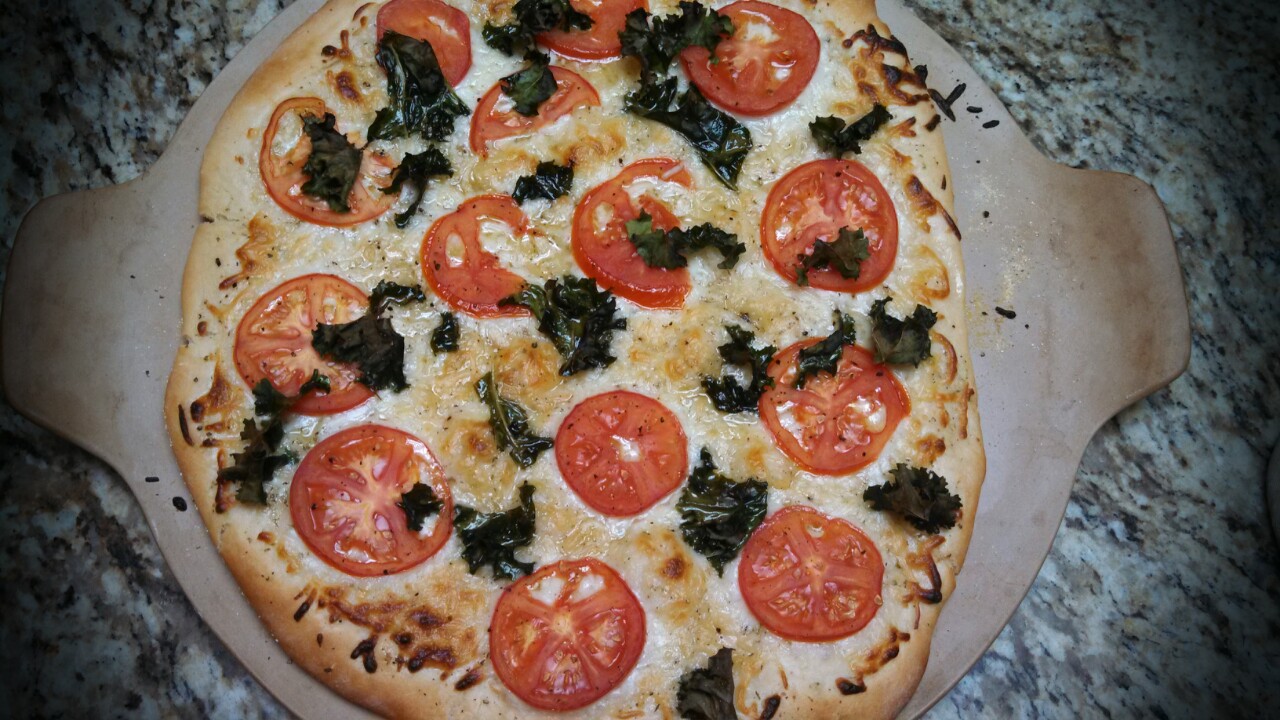
My hubs requested pizza. No problem. I’ve made it dozens of times! My dad, who often times gives me kitchen appliances that he’s found on sale, had recently given me a pizza oven. It looks like a little U.F.O. that you set on your counter top and you can cook your pizza in it. I decided to make a pizza using that newfangled space ship, and another pizza in our oven using my trusty pizza stone. So into the U.F.O. went a veggie pizza. Onto the pizza stone? A BBQ pulled pork pizza. I’d made pulled pork the night before and wanted to use my leftover meat for a good cause. I took my sweet time with that pizza especially. It looked gorgeous.

My oven was set at 425 and it was HOT. So as I slid my pizza stone into the oven, I let go a little too early, for fear of burning my fingers on the oven rack. But that stone just wasn’t in far enough. And to my horror, I watched as the pizza stone tipped back toward me and flipped over. Landing with the pizza face down on the oven door. I looked at my husband who had been standing there talking to me, and he looked at me. Both of us just sat there for a few seconds with our mouths hanging open. And then I screamed. LOUD. Not even a word, but an angry shriek. I probably sounded like a wild animal. He grabbed the stone, I grabbed the dough and threw it onto the nearest cutting board. All the while, I was yelling some very un-lady like words. The cheese had instantly melted and adhered to the window. It was a mess. All the toppings had slid off and had fallen between the oven door and were now on the floor and in the warmer drawer below.

My husband, bless his heart, started immediately cleaning it all up. He told me he would run to the store and buy more toppings since I’d used the last of the cheese and we no longer had meat for the pizza. “NOOOOOO!” I screamed. So while he cleaned (and told me over and over that accidents happen), I formed that dough back onto the stone and just added some more veggies and string cheese to the top. There was BBQ mixed into the crust and it wasn’t pretty. It looked like Jim from American Pie had gotten ahold of the thing. But I went ahead and cooked that sucker anyways and we ate it. And luckily, I had the other pizza in the pizza machine thingamajig. That was a life saver!!

So according to my husband, (who said he’d never seen me so mad), I will look back on this one day and laugh. Um, yeah. So not there yet!

Ever had a kitchen catastrophe? I know I’m not alone. I’d love to hear about your disasters!

This is the decimated pizza AFTER my second attempt. Unfortunately, I didn't think to take a picture of the actual crime scene because I was too busy yelling obscenities.

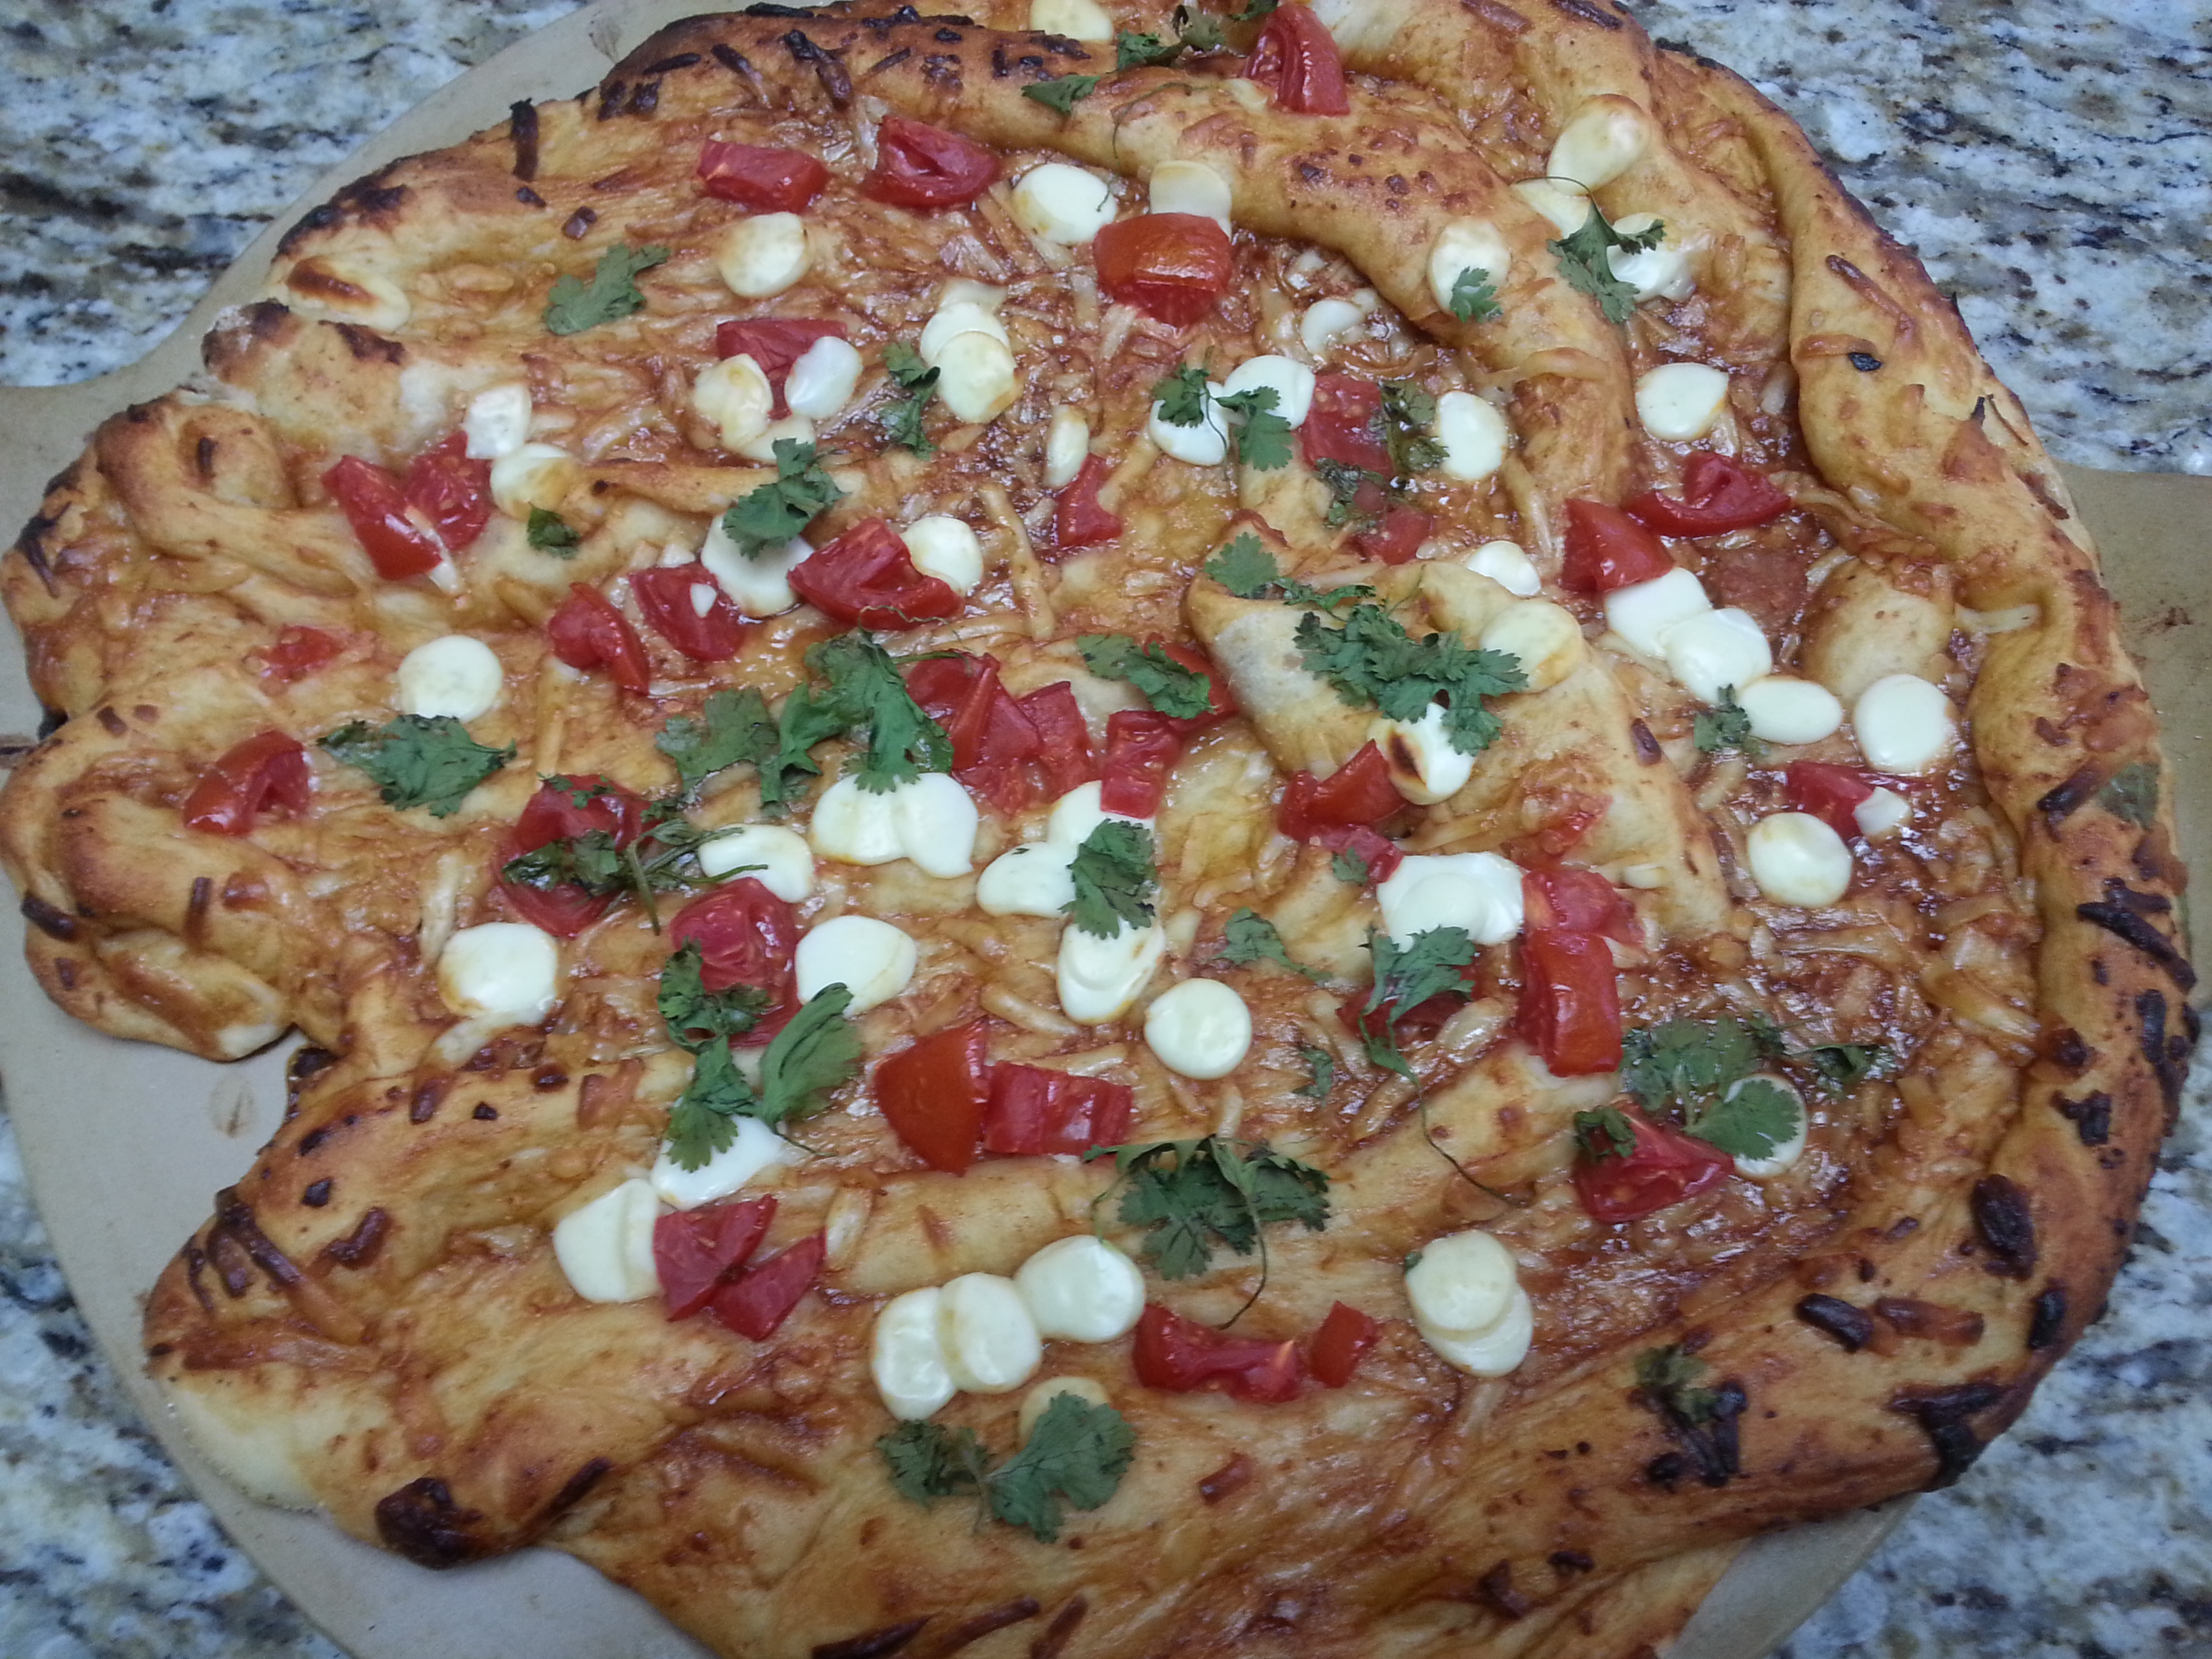
This is the decimated pizza AFTER my second attempt. Unfortunately, I didn’t think to take a picture of the actual crime scene because I was too busy yelling obscenities.

Lifesaver pizza

Lifesaver pizza

I don't think we'll be seeing through the window anytime soon...

I don’t think we’ll be seeing through the window anytime soon…
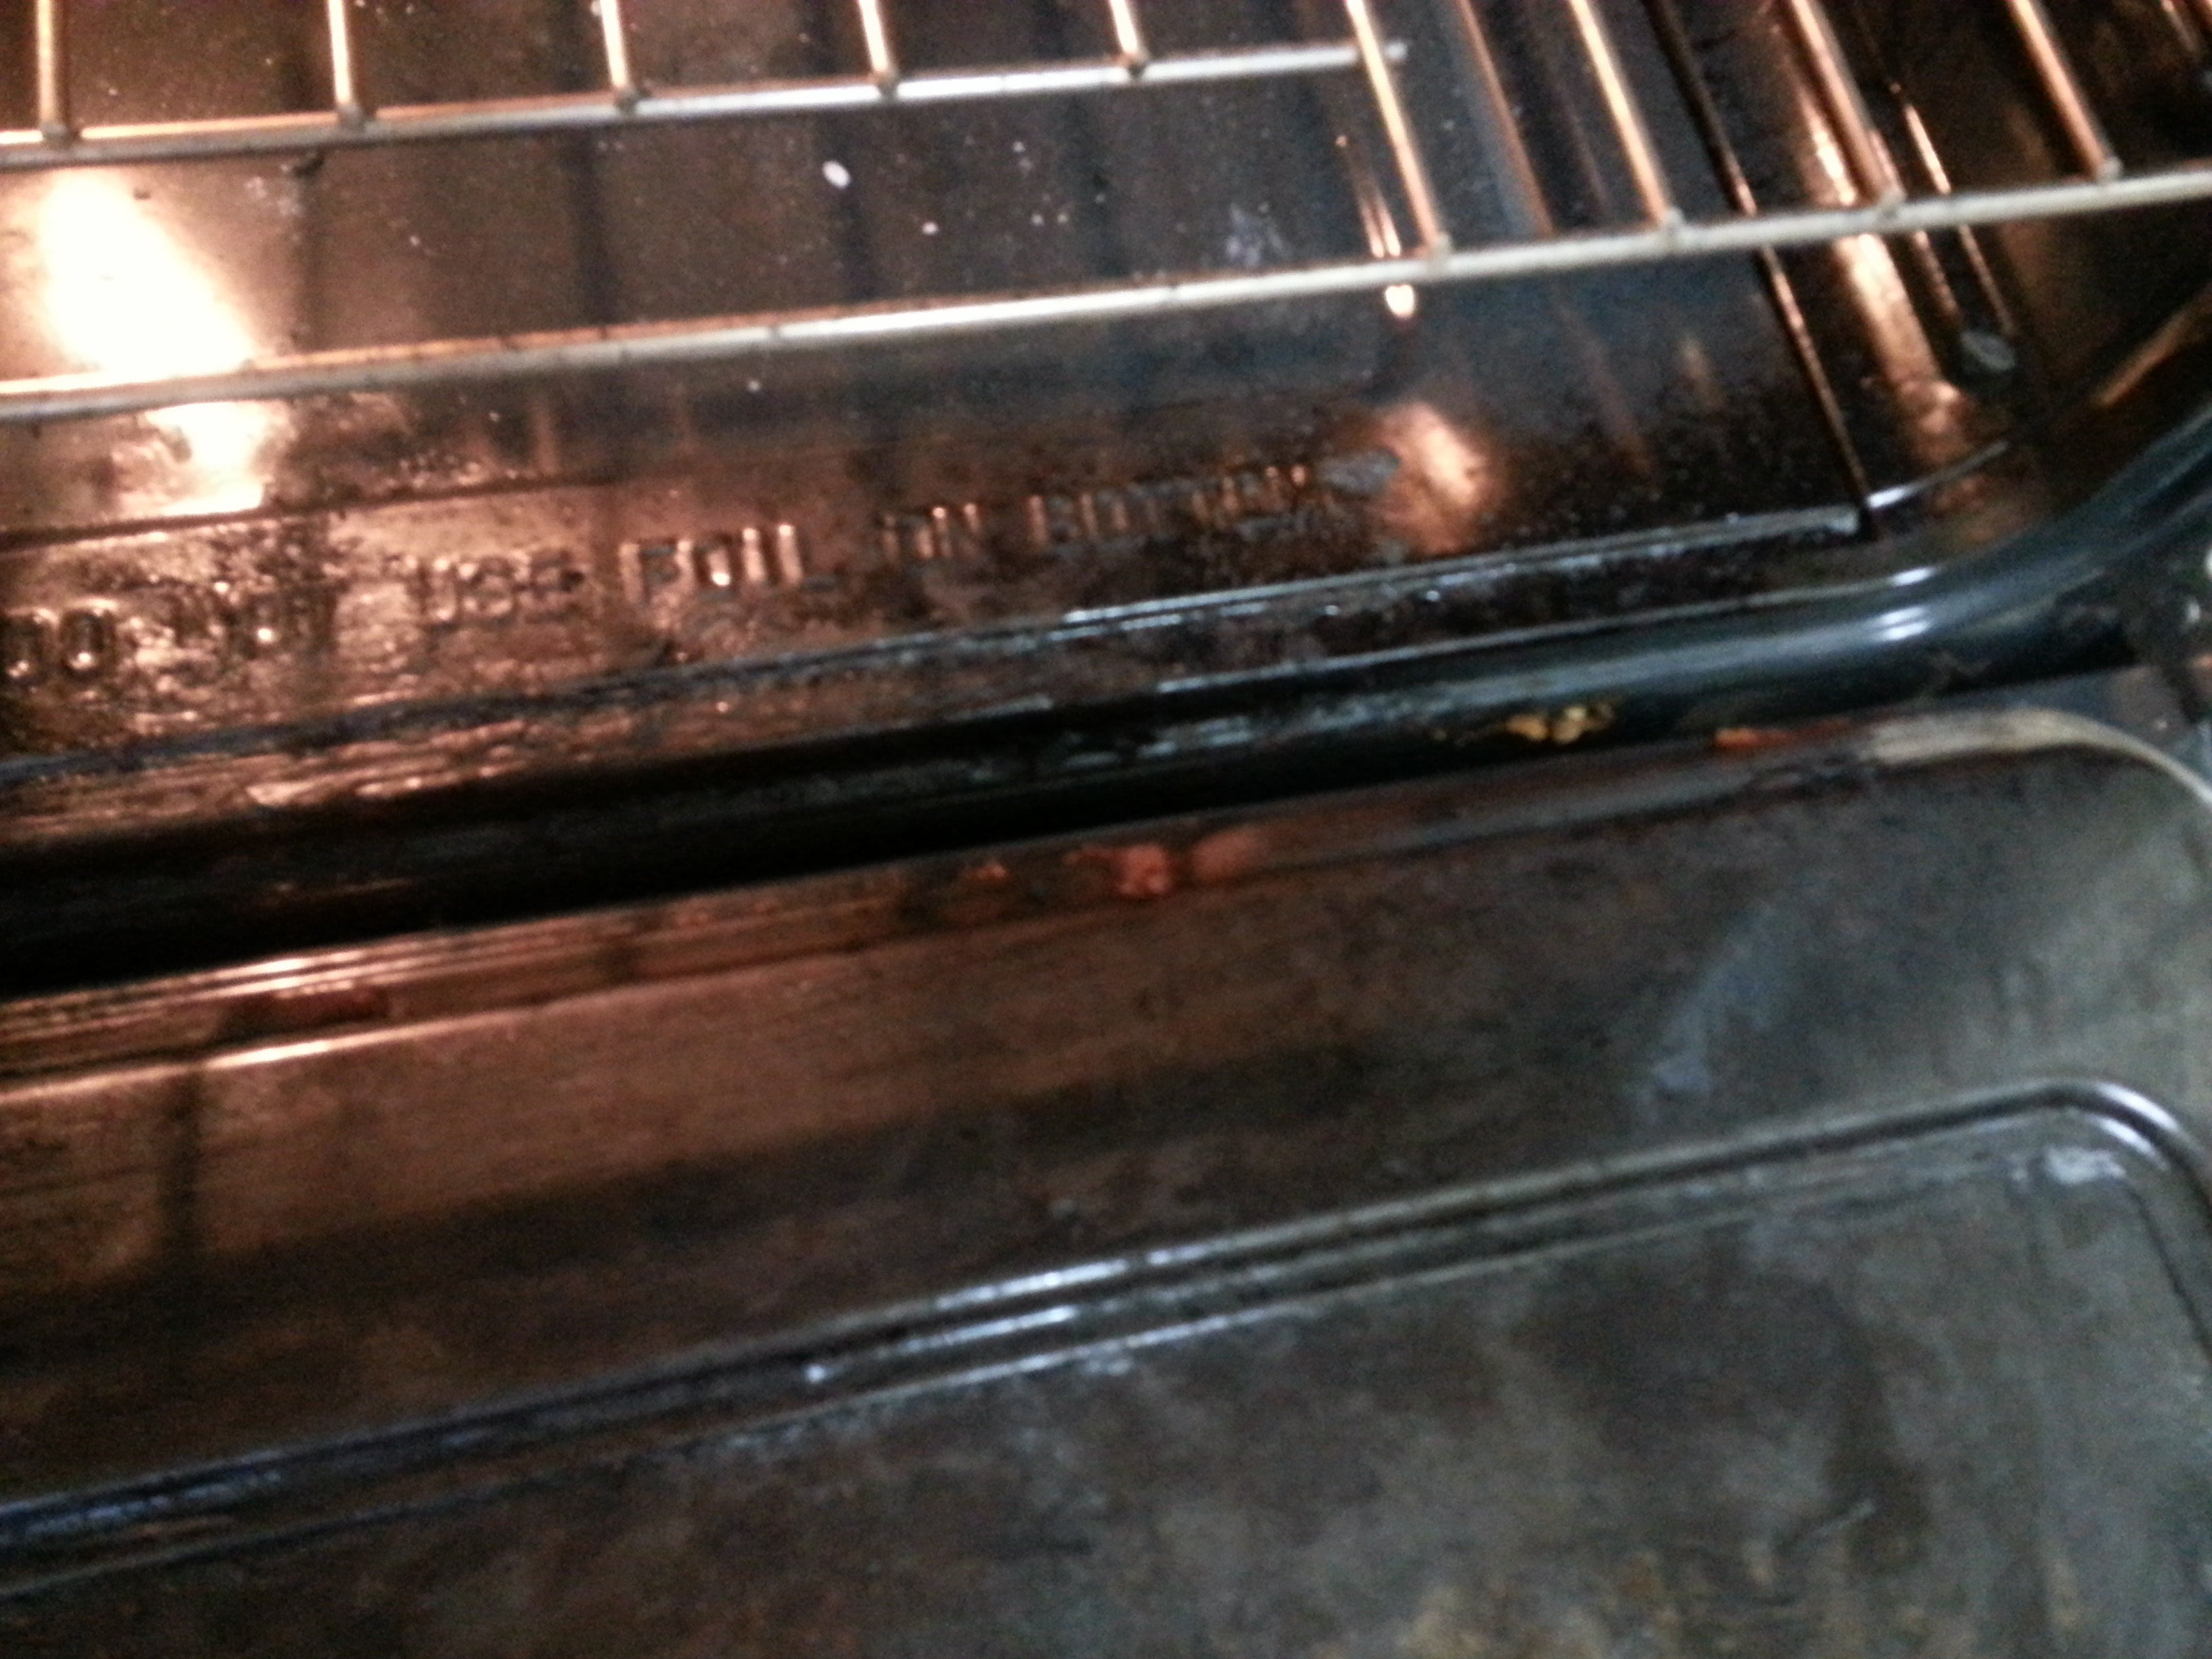
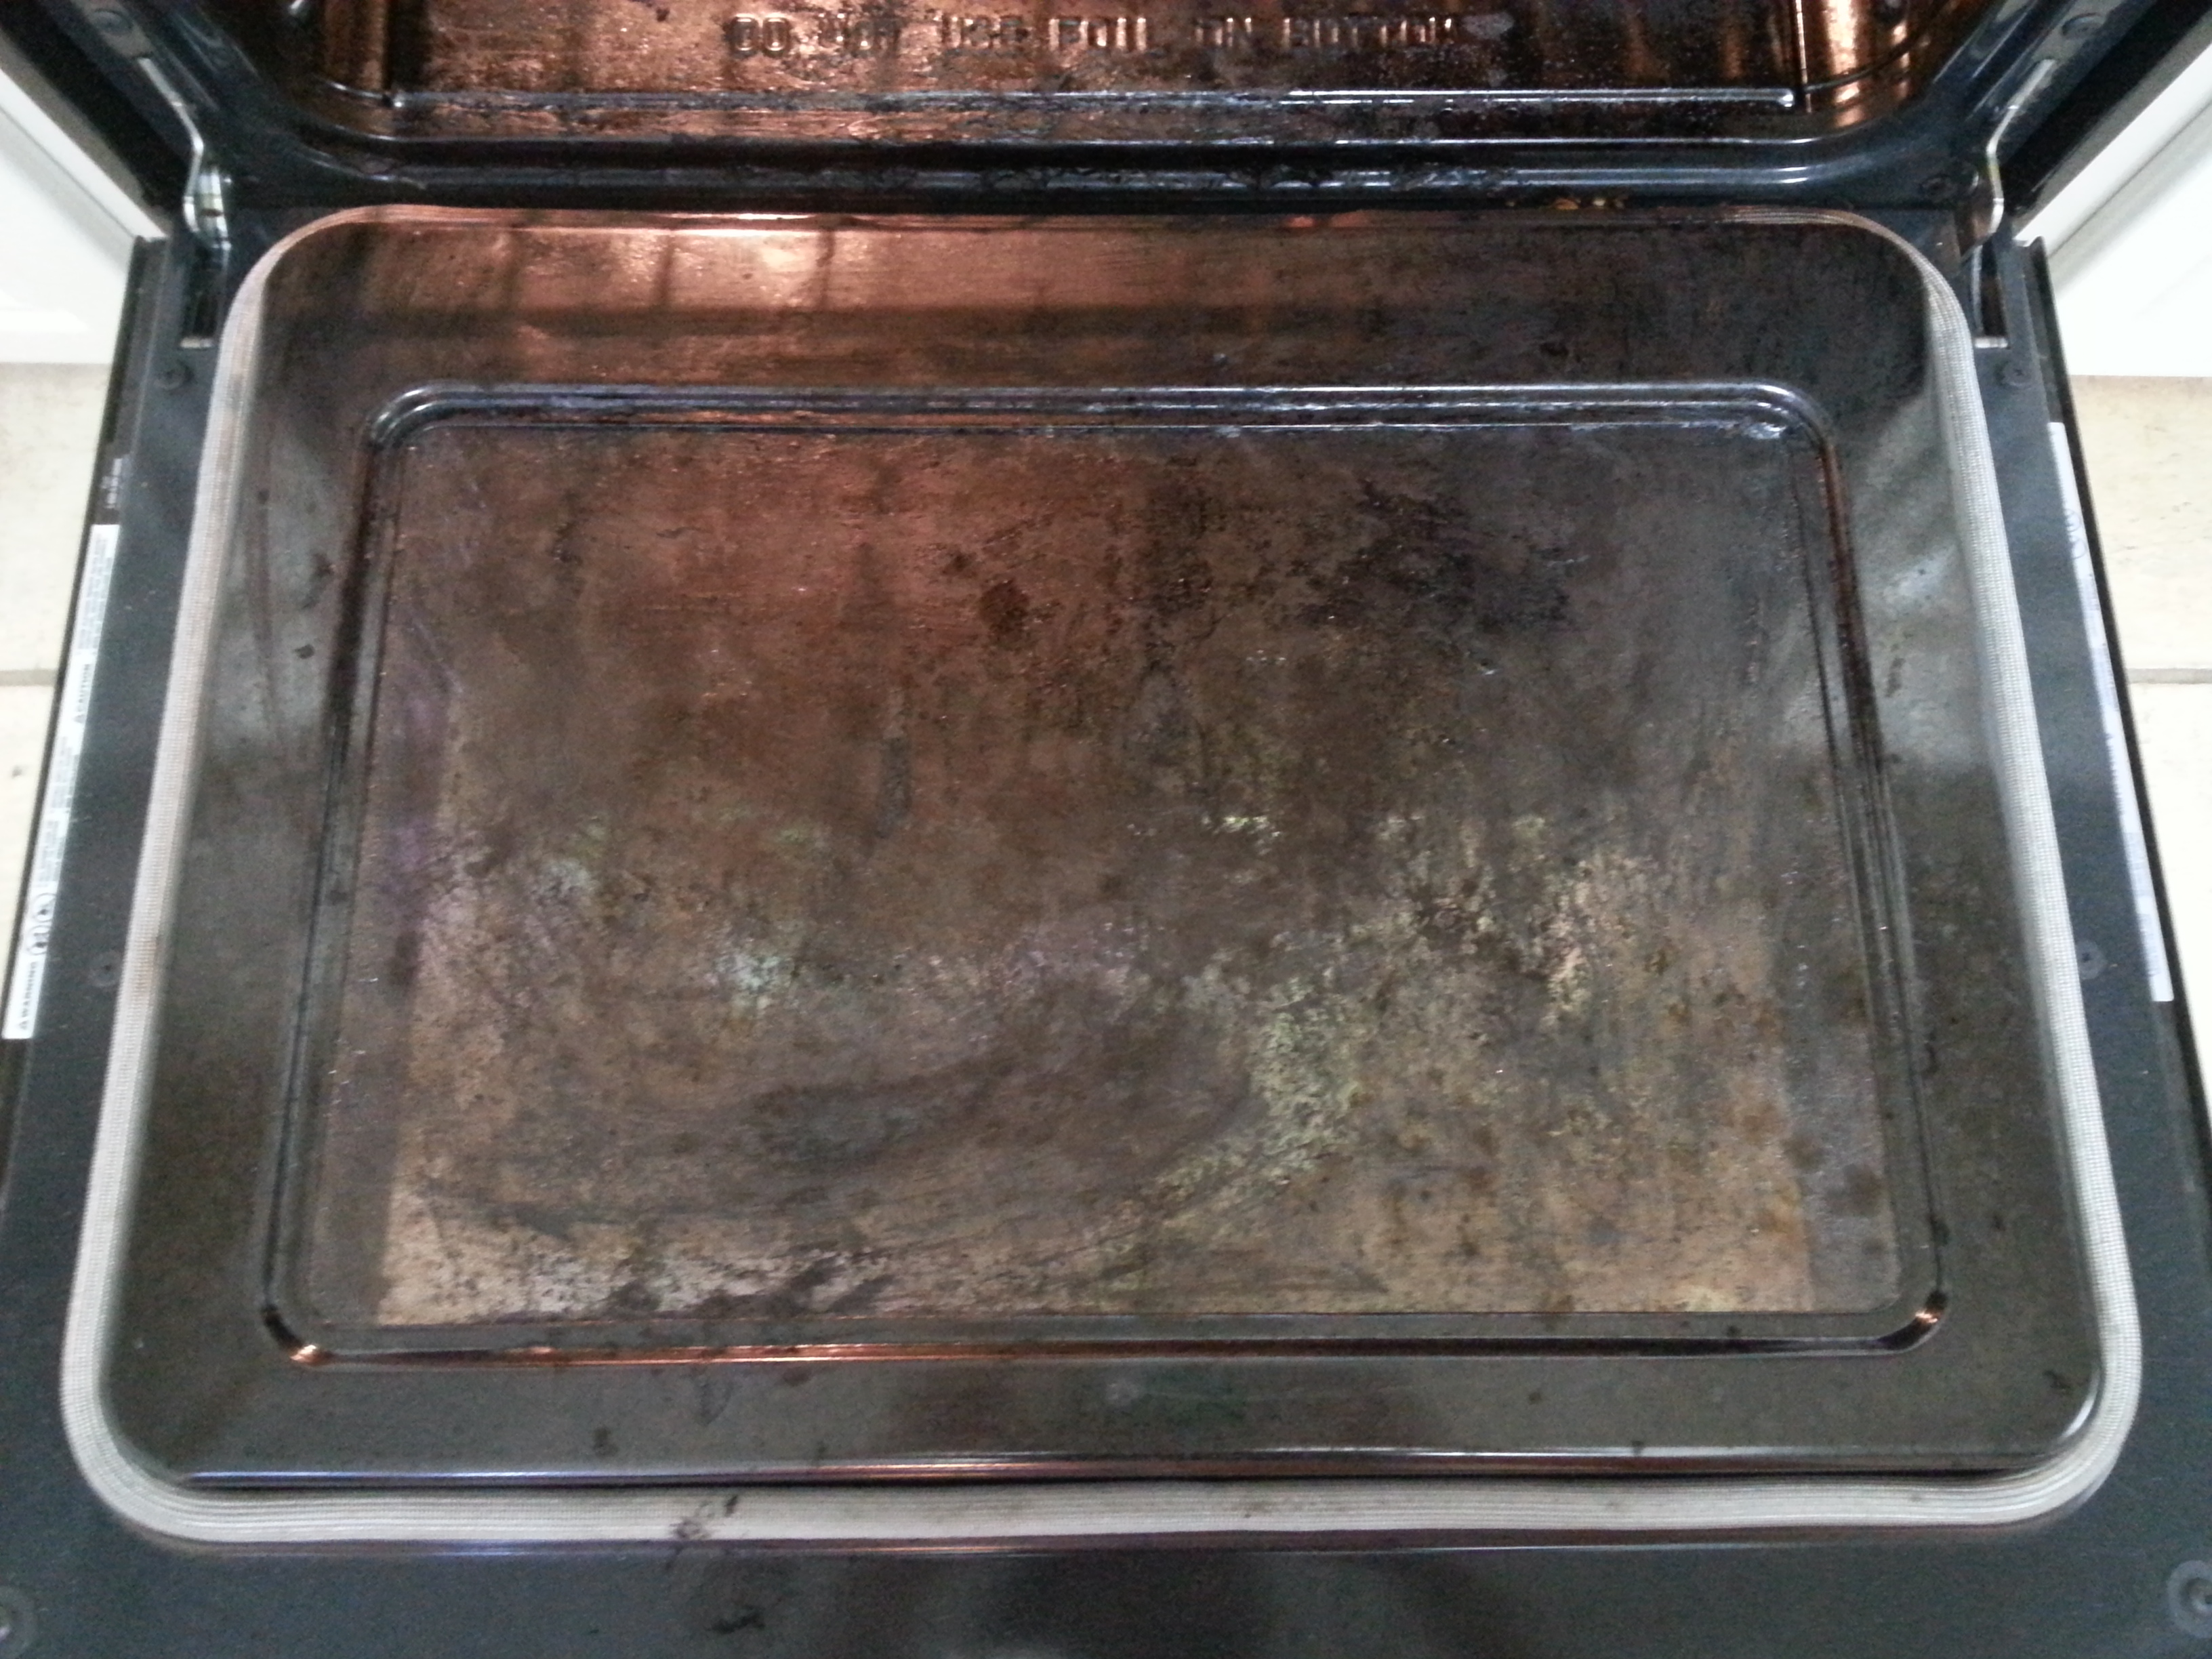
Oven destruction!

Oven destruction!

P.S. My oven will never be the same again. And I think that’s an understatement.

Advertisement

When the moon hits your eye, like a big pizza pie, that’s amore!

I have three young children, so it’s no surprise that we like pizza in this house. But ordering out and having it delivered can become quite spendy in the long run, so I turned to making my pizza at home. Not with a premade crust, but with homemade dough, and oh does that make the difference! We still order out occasionally, but I really do prefer to make it at home, and once you try it yourself, you’ll understand why.

I do have to say that pizza making in my house is not an exact science. As I’ve mentioned before, I do not like to measure, and pizza is the perfect example of cooking using a method, rather than a recipe. Making your own concoctions to suit your individual tastes, and also the tastes of your family. However, the pizza dough DOES need to be measured and you do need to follow a recipe for that. As for the sauces and toppings, that’s up to you.

I’ve made plenty a pizza, and here are some helpful hints I’ve learned along the way:

  1. Use a pizza stone! I received one as a gift and I absolutely love it. It gives your crust a great crispness to the bottom and a more authentic taste. It is definitely not necessary though, any baking sheet will work. But that stone does elevate the pizza.
  2. Cornmeal! I always sprinkle cornmeal on my stone or baking sheet before I place the dough on it. The cornmeal helps to slide the pizza off the sheet easier and also adds a slight crunch.
  3. Use parchment paper to roll out your dough on. This makes it much easier to transfer to your stone or sheet. All you have to do is flip the dough onto the stone/sheet, and peel the parchment paper off.
  4. Sprinkle just a little bit of flour on your pizza dough rolling surface (parchment!) and also on top of your dough. This will help the dough roll much easier and also won’t stick to your rolling pin.

Onto the magical dough. So this is by far the best pizza dough I’ve ever used. I’ve tried a few different recipes and this is THE ONE! I knew it after my very first bite. You can find the original recipe over at Lauren’s Latest. She’s got some really great pictures and tips for making pizza dough so please check it out. I’ve adjusted her recipe to work better for my family size, so if you have a slightly larger than average family, this is the one for you.

Pizza Dough (serving size- 2, 14 inch pizza crusts):

1 1/2 cups warm water
1 package active dry yeast
1 tablespoon honey
2 teaspoons salt
2 tablespoons olive or canola oil
4 cups all purpose flour, give or take half a cup

In a large mixing bowl, preferably that of a stand mixer, stir yeast and honey into warm water. Sit for 5-10 minutes or until bubbles form and mixture starts to foam. This tells you that the yeast is alive and kicking. Pour in salt, oil and half the flour and mix. Once that flour is incorporated, start adding flour in bit by bit until you get the pizza dough to the consistency you want: slightly tacky, but when you touch it, it doesn’t stick to your hands. Once you reach this stage, knead for 3-6 minutes. The dough should be smooth and easy to work with. And the bowl should be clean! Lightly grease the bowl & the dough so it doesn’t dry out, cover with plastic wrap and let it rise 1-2 hours. Now it’s time to make pizza!

I’d just like to note, you do not need a stand mixer to make this dough. So if you don’t have one, never fear, your two hands are near! Yes, manual labor it is for you. Follow the recipe, except you use your hands to knead the dough, simple as that. I used this method for a long time before I bought a stand mixer.

Now, onto the pizzas I made. The first was a “kid friendly” pizza, which included red sauce, pepperoni and mushrooms. Like I said before, pizza making is a method, so I’m not going to give exact amounts but just tell you how I made it. The amount you want on your pizza will likely differ from the amounts I like on my pizza. Here goes….

  • pepperoni & mushroom pizzaOrganic tomato sauce went onto the dough first, sprinkled with garlic powder.
  • Then came shredded mozzarella cheese.
  • Next was pepperoni and sliced baby bellas (one of my favs!).
  • Last, I sprinkled Italian seasoning all over.

I baked this at 450 degrees for 20 minutes. My oven cooks very slowly, so yours may be done faster than mine. You can tell it’s done when the crust starts turning brown and you can also lift up the crust a bit and peek at the underside. It should feel crisp, and not soft.

Time for the “adult” pizza! I did my version of a “margherita” pizza. Except instead of using basil though, I used kale. kale & tomato pizza

  • First, I spread my homemade softened basil garlic compound butter (see recipe for butter below) all over the crust.
  • Then I sprinkled a light amount of shredded mozzarella cheese over it.
  • After that came thinly sliced tomatoes.
  • Finally, some torn kale and cracked black pepper.

I also cooked this at 450 degrees for about 20 minutes. Give pizza making a try. It’s not hard, and the results are worth it!!!

This is great in pasta, on potatoes, pizza, the possibilities are endless!

This is great in pasta, on potatoes, pizza, the possibilities are endless!

Basil Garlic Compound Butter

  • 2 sticks butter, softened
  • 3 tsp. frozen basil (remember those cubes I’ve talked about?)
  • 4 garlic gloves, roughly chopped
  • 1/4 tsp. dried thyme

Add all the ingredients to a food processor and pulse until blended together, scraping the sides as necessary. Scrape butter onto a large piece of plastic wrap, roughly into the shape of a cylinder. Wrap the butter up, twisting the ends of the plastic wrap. Can be stored in the fridge or freezer.