Simple Tomato Soup

tomato soup 5
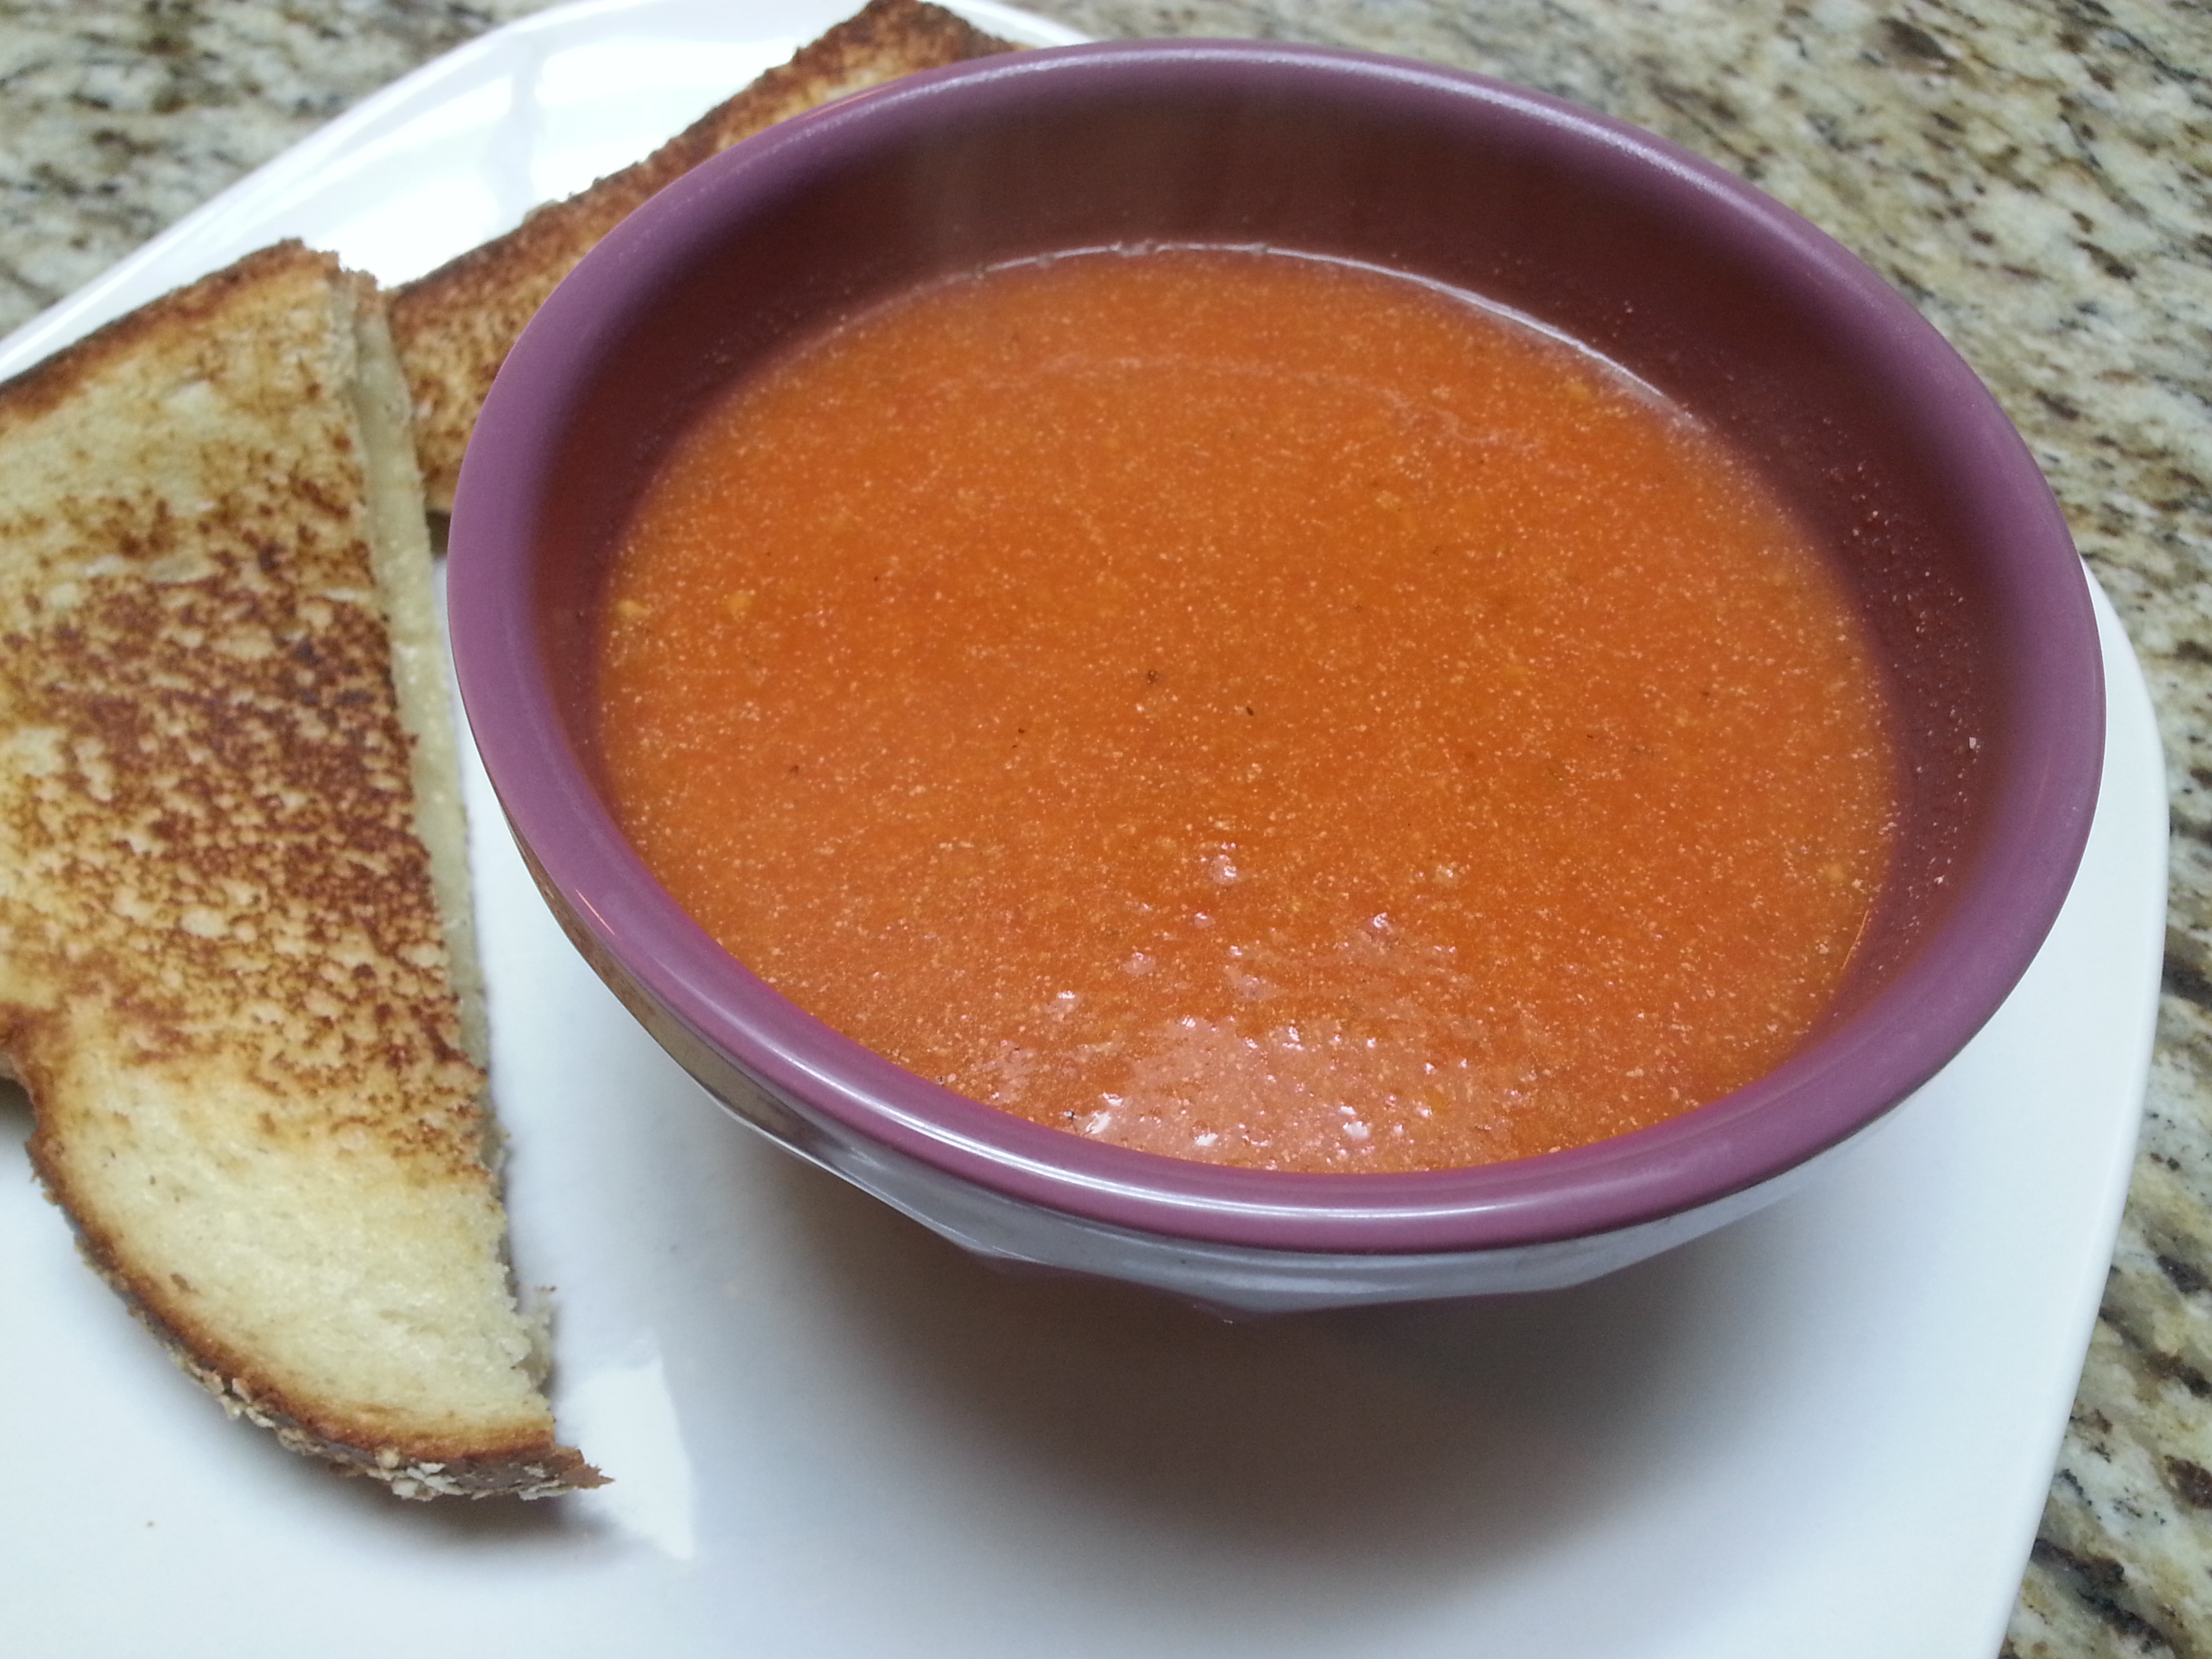
Winter in Southern California doesn’t exist. To attest to that, I’m currently wearing a tank top and sandals. I have jeans on too, in case you thought I was pantsless. But seriously, this just isn’t right. I saw on Instagram yesterday that it was snowing in New Jersey. I know you East Coast people are probably sick of the cold and can’t believe that I’d complain about the 80 degree weather we’re having today but still…. I’d like to experience a mild winter for once. Since “winter” in California isn’t really happening, I thought now was as good a time as any to share my simple tomato soup with you. This is great for lunch on a cold day (I don’t know much about cold days) or a quick dinner. And this must be served with a grilled cheese. It’s a requirement. At least with my soup. This makes a medium sized pot and is supposed to be an accompaniment soup. Yes, I’m very fancy that way.
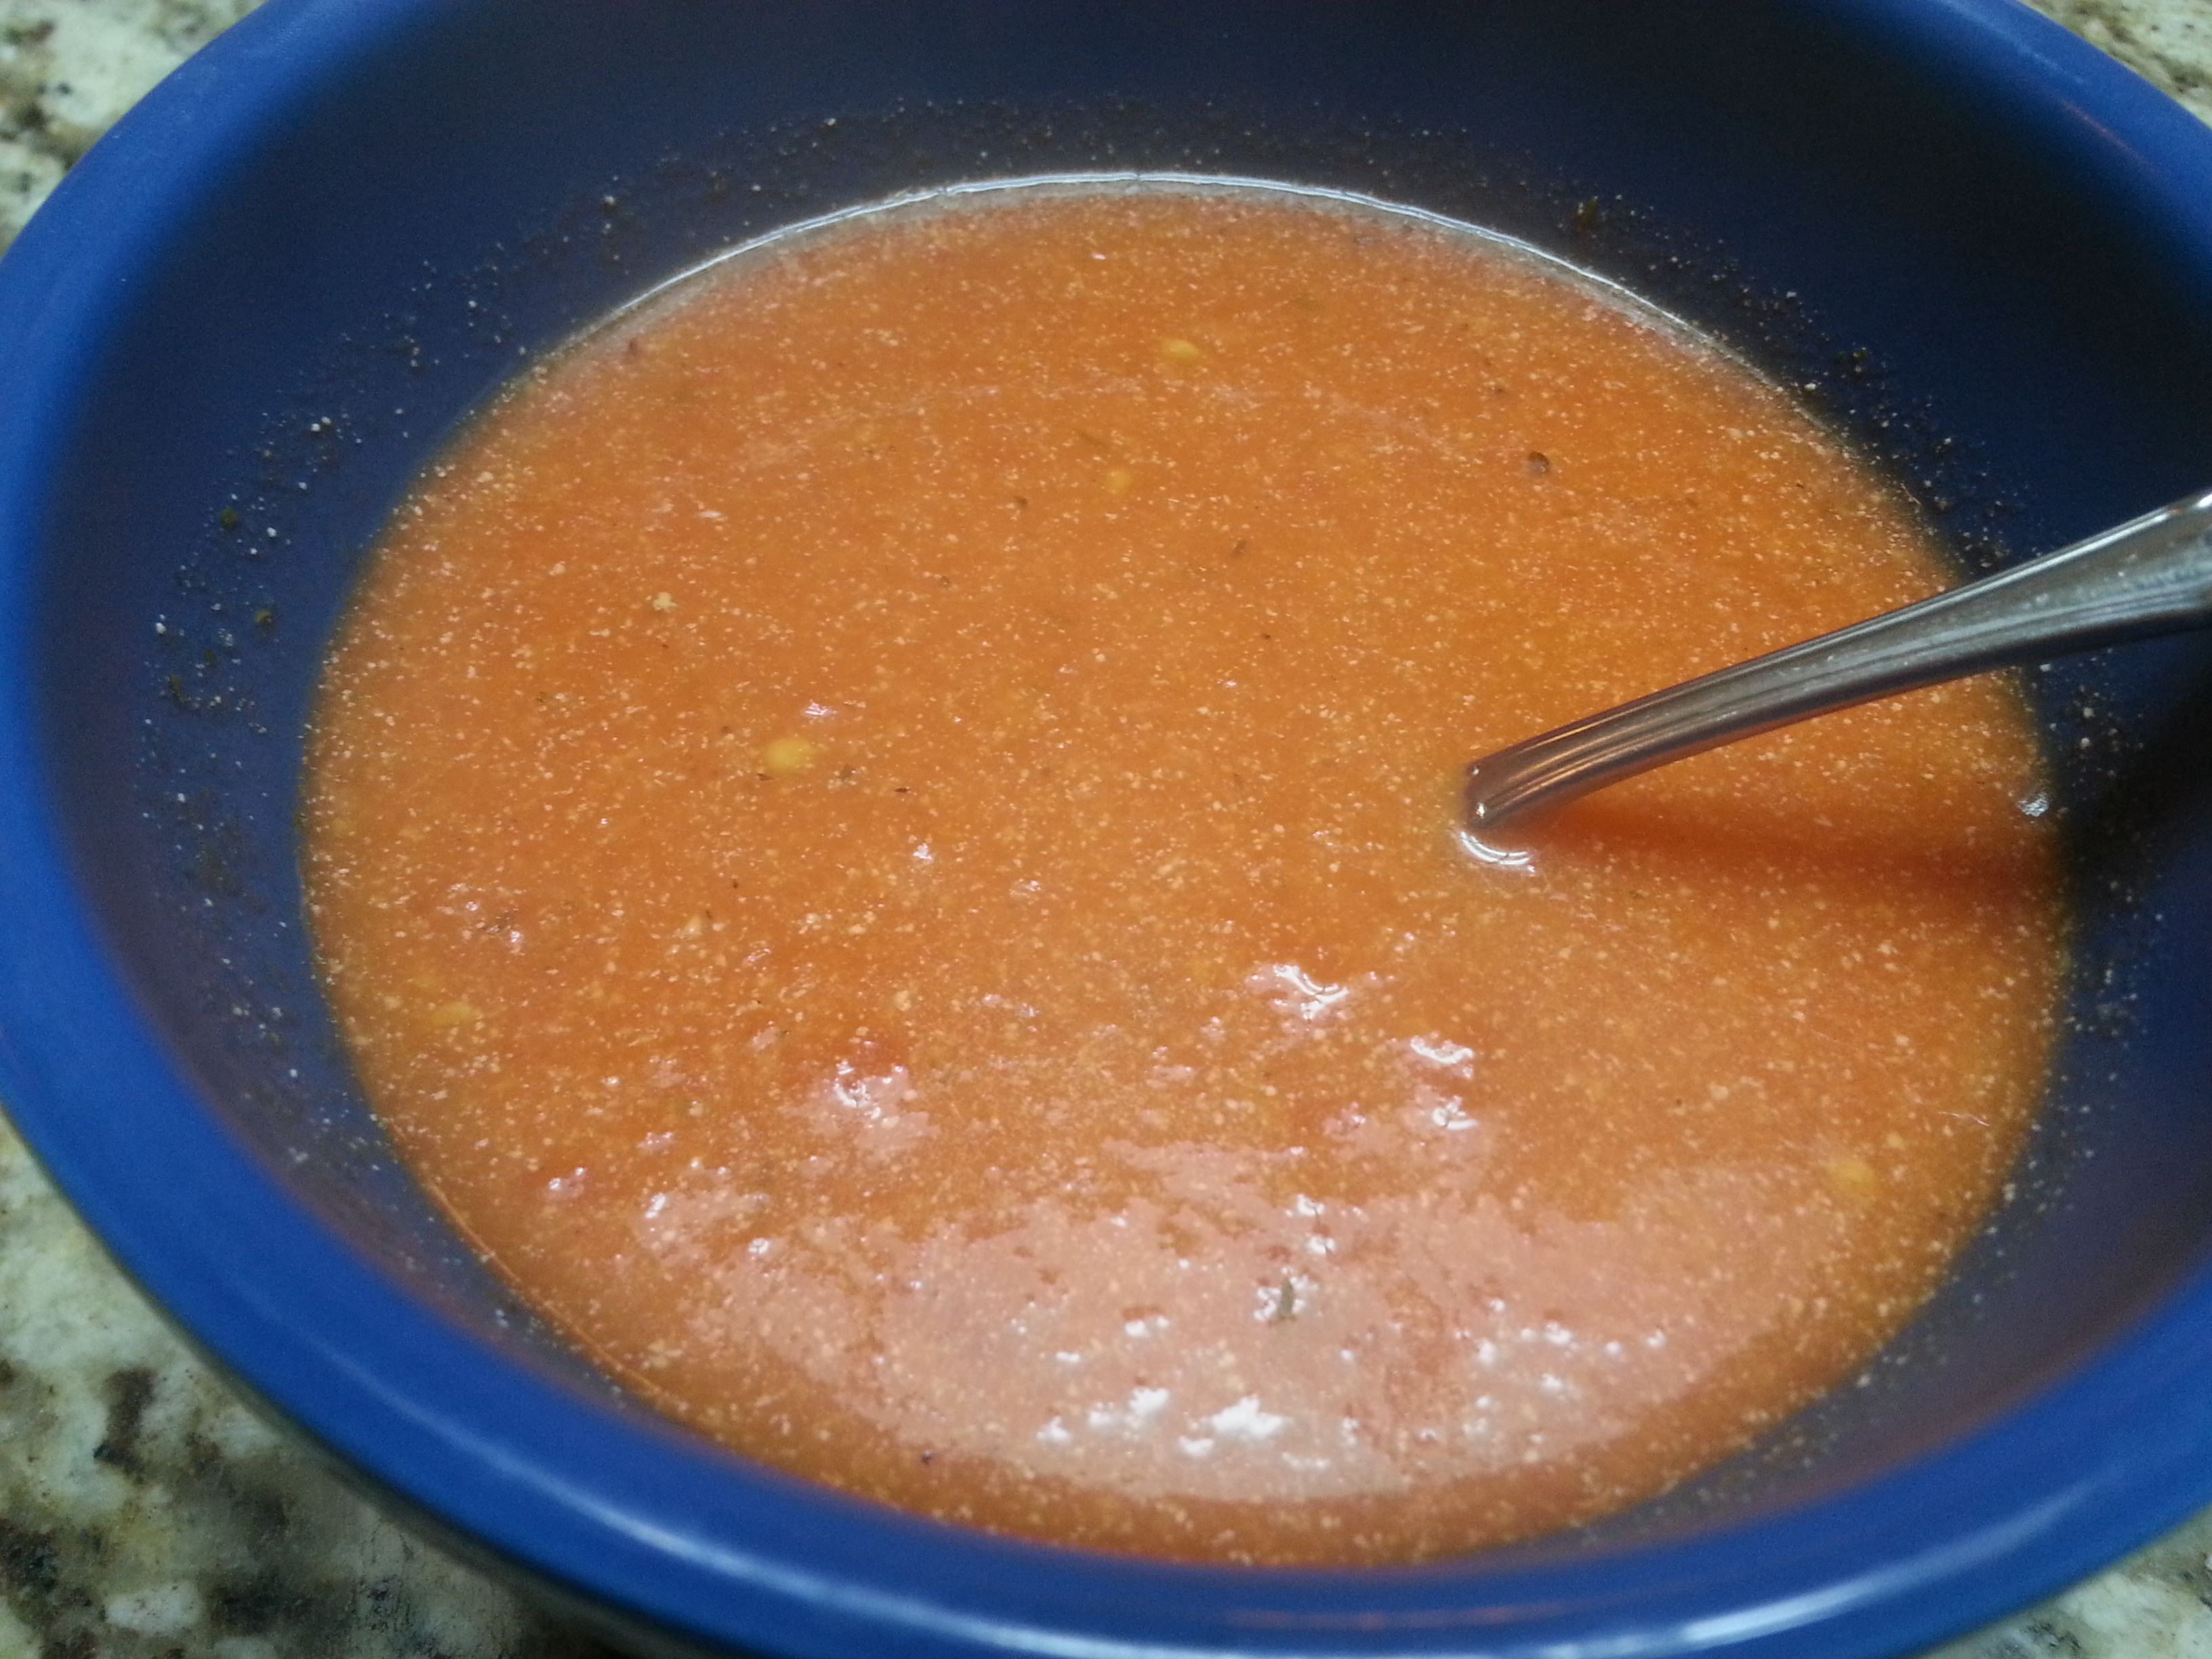
Simple Tomato Soup

  • 2 c. chicken broth
  • 28 ounce can of diced tomatoes (or crushed)
  • 1/2 small white or yellow onion, chopped
  • 1-2 tsp. sugar
  • 1 bay leaf
  • 1/4 tsp. salt
  • 1 tsp. Italian seasoning (or 1 frozen basil cube)
  • 1/2 c. half & half
  • ground pepper, to taste
  • 1 tbsp. olive oil

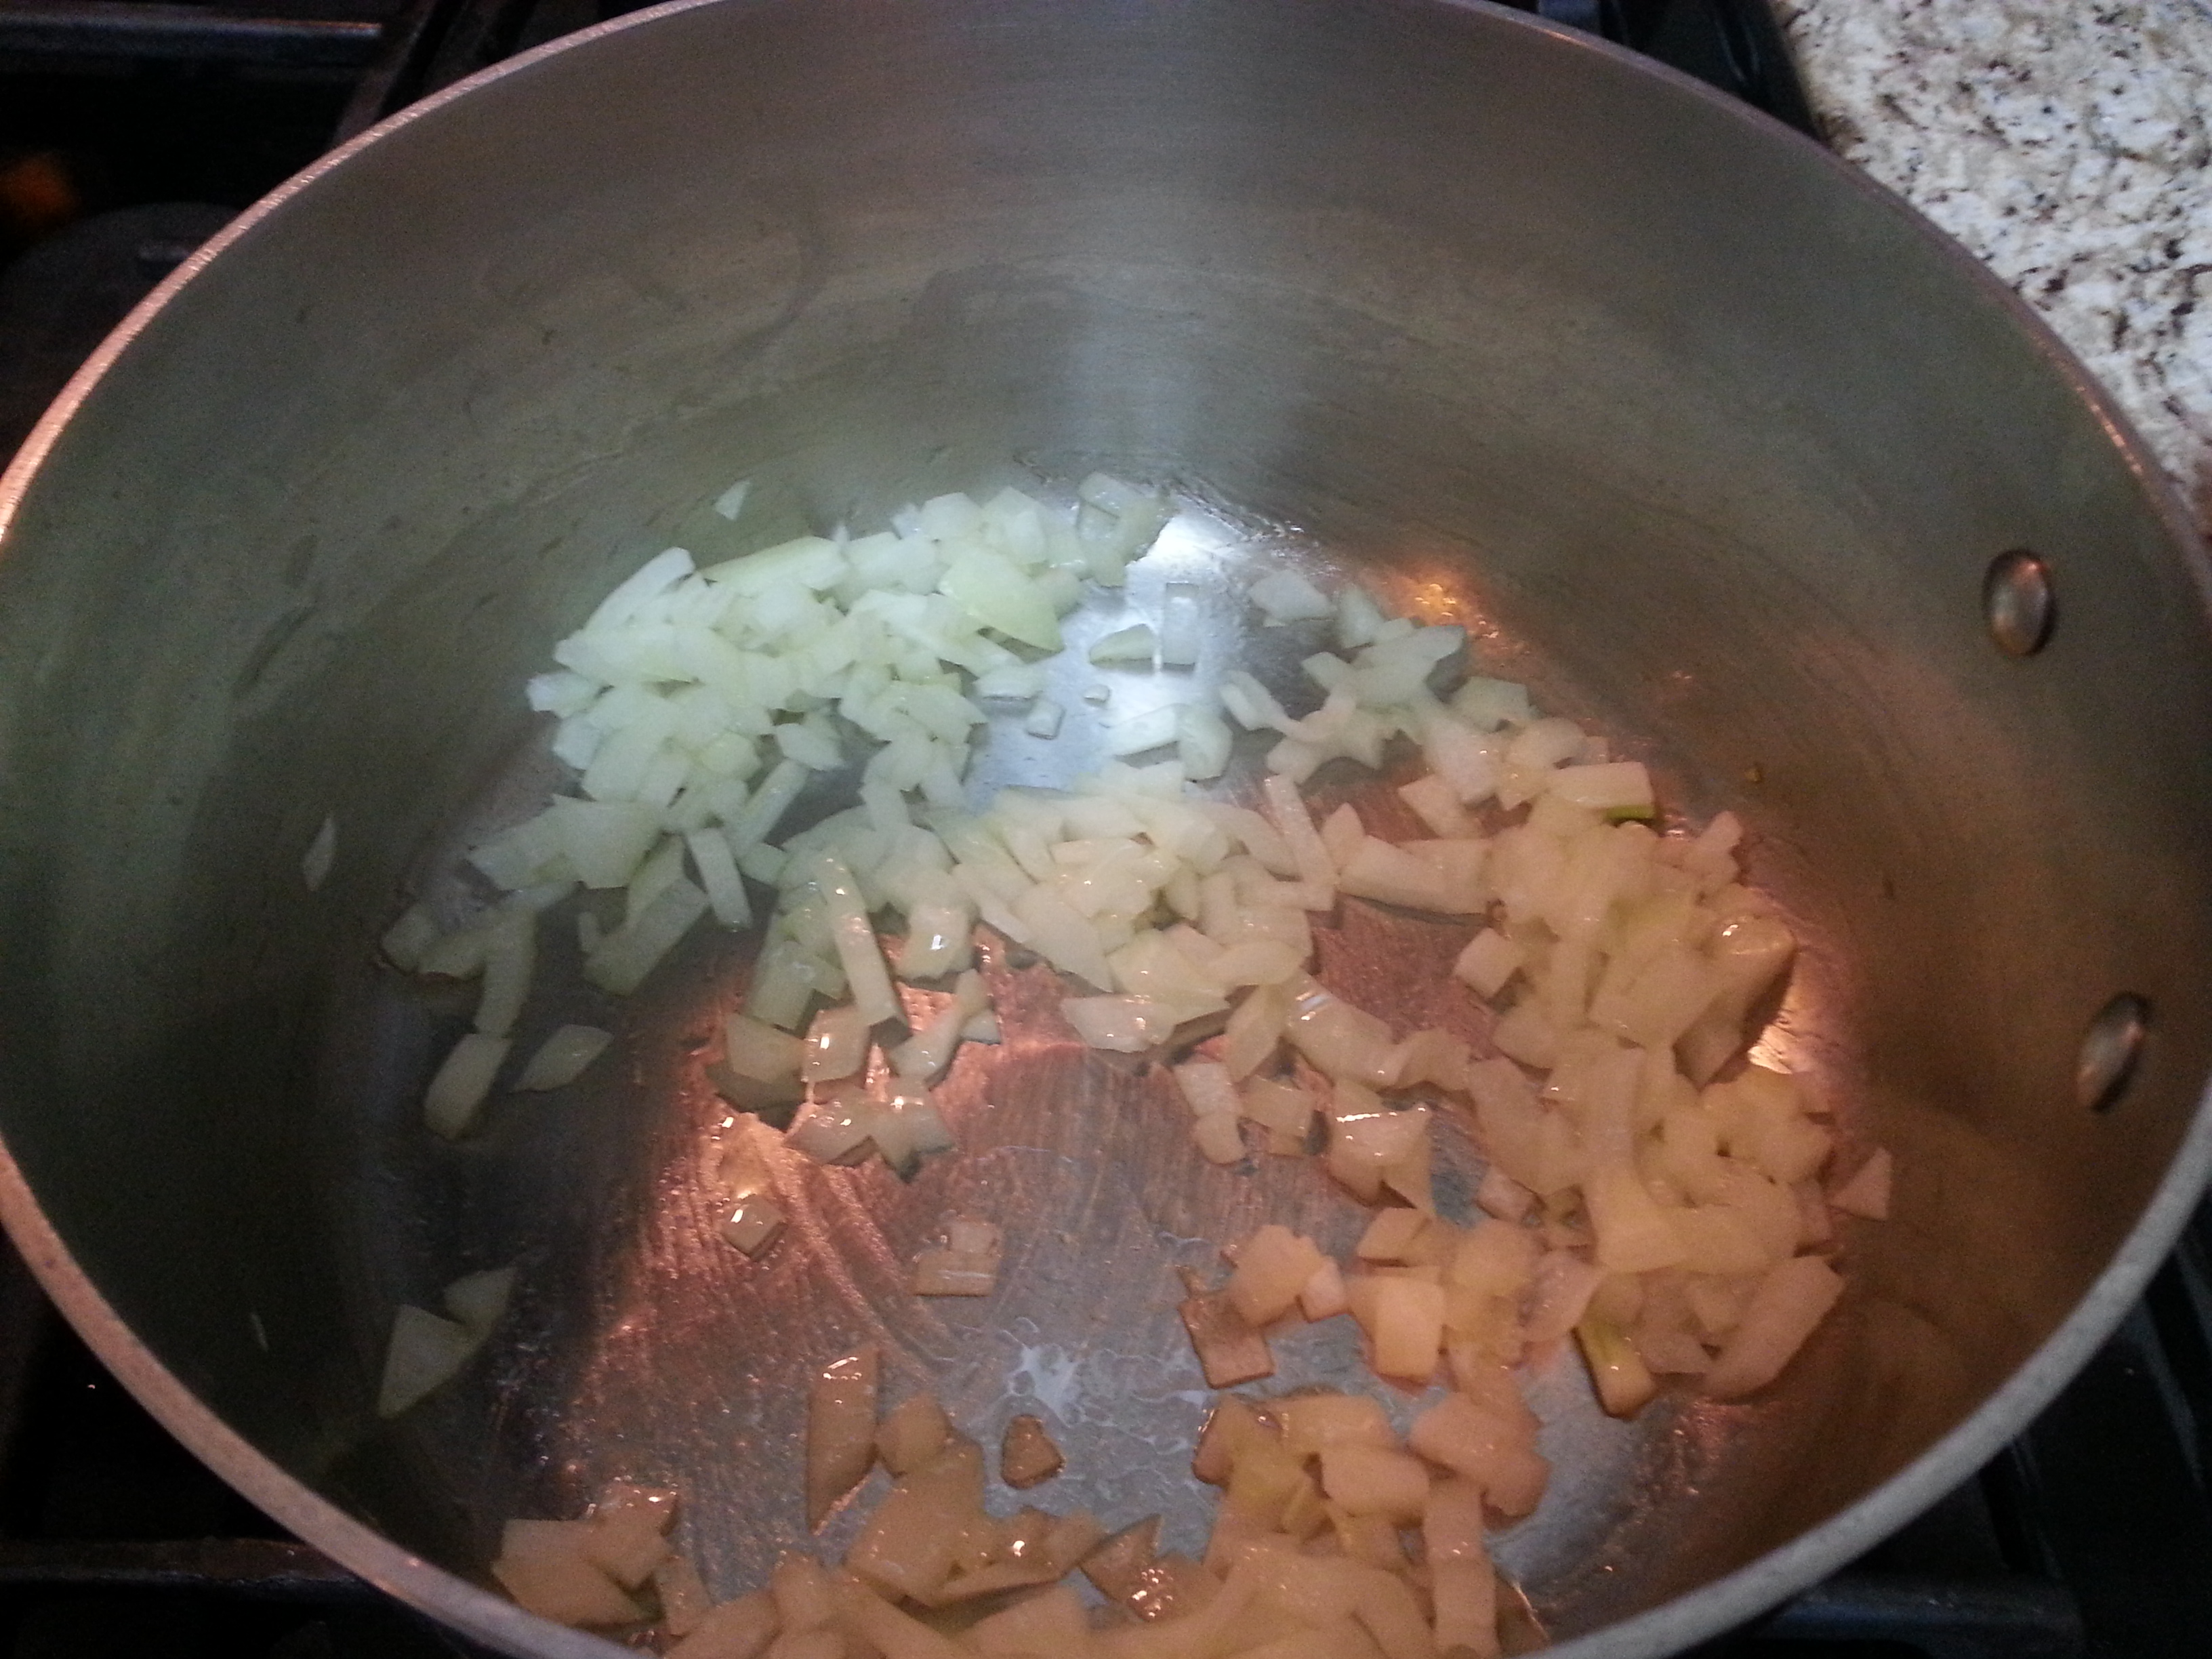
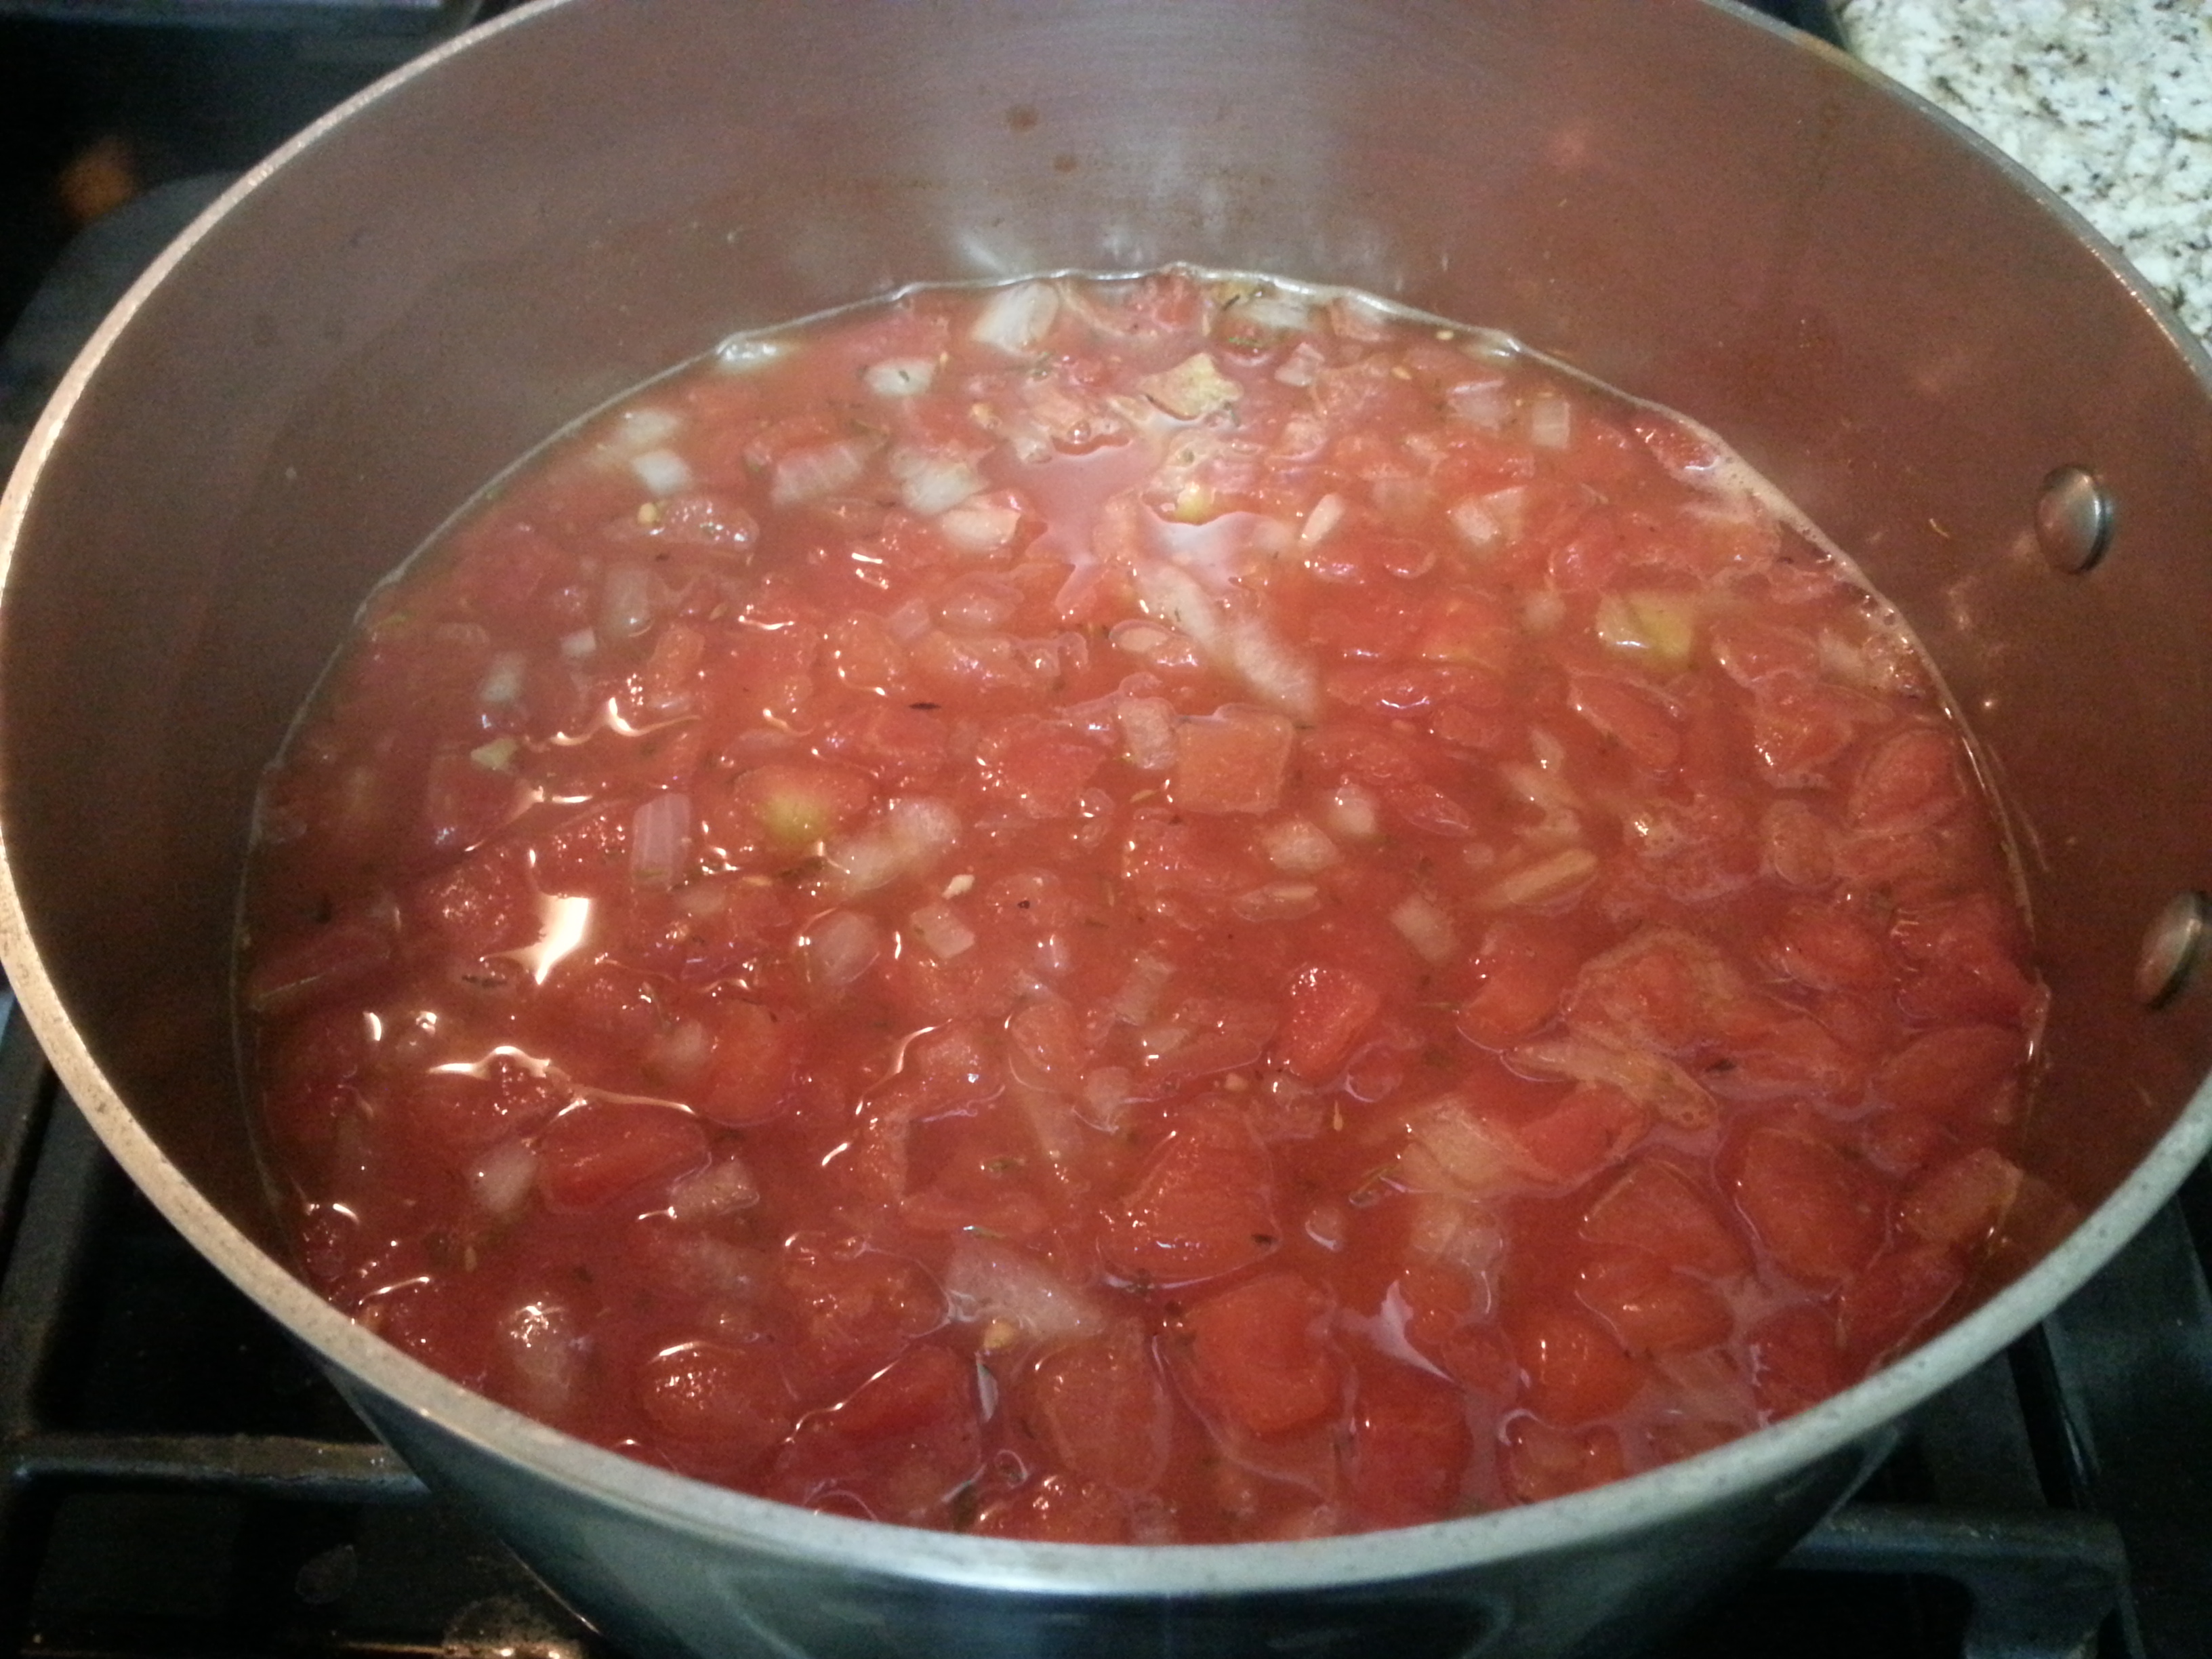
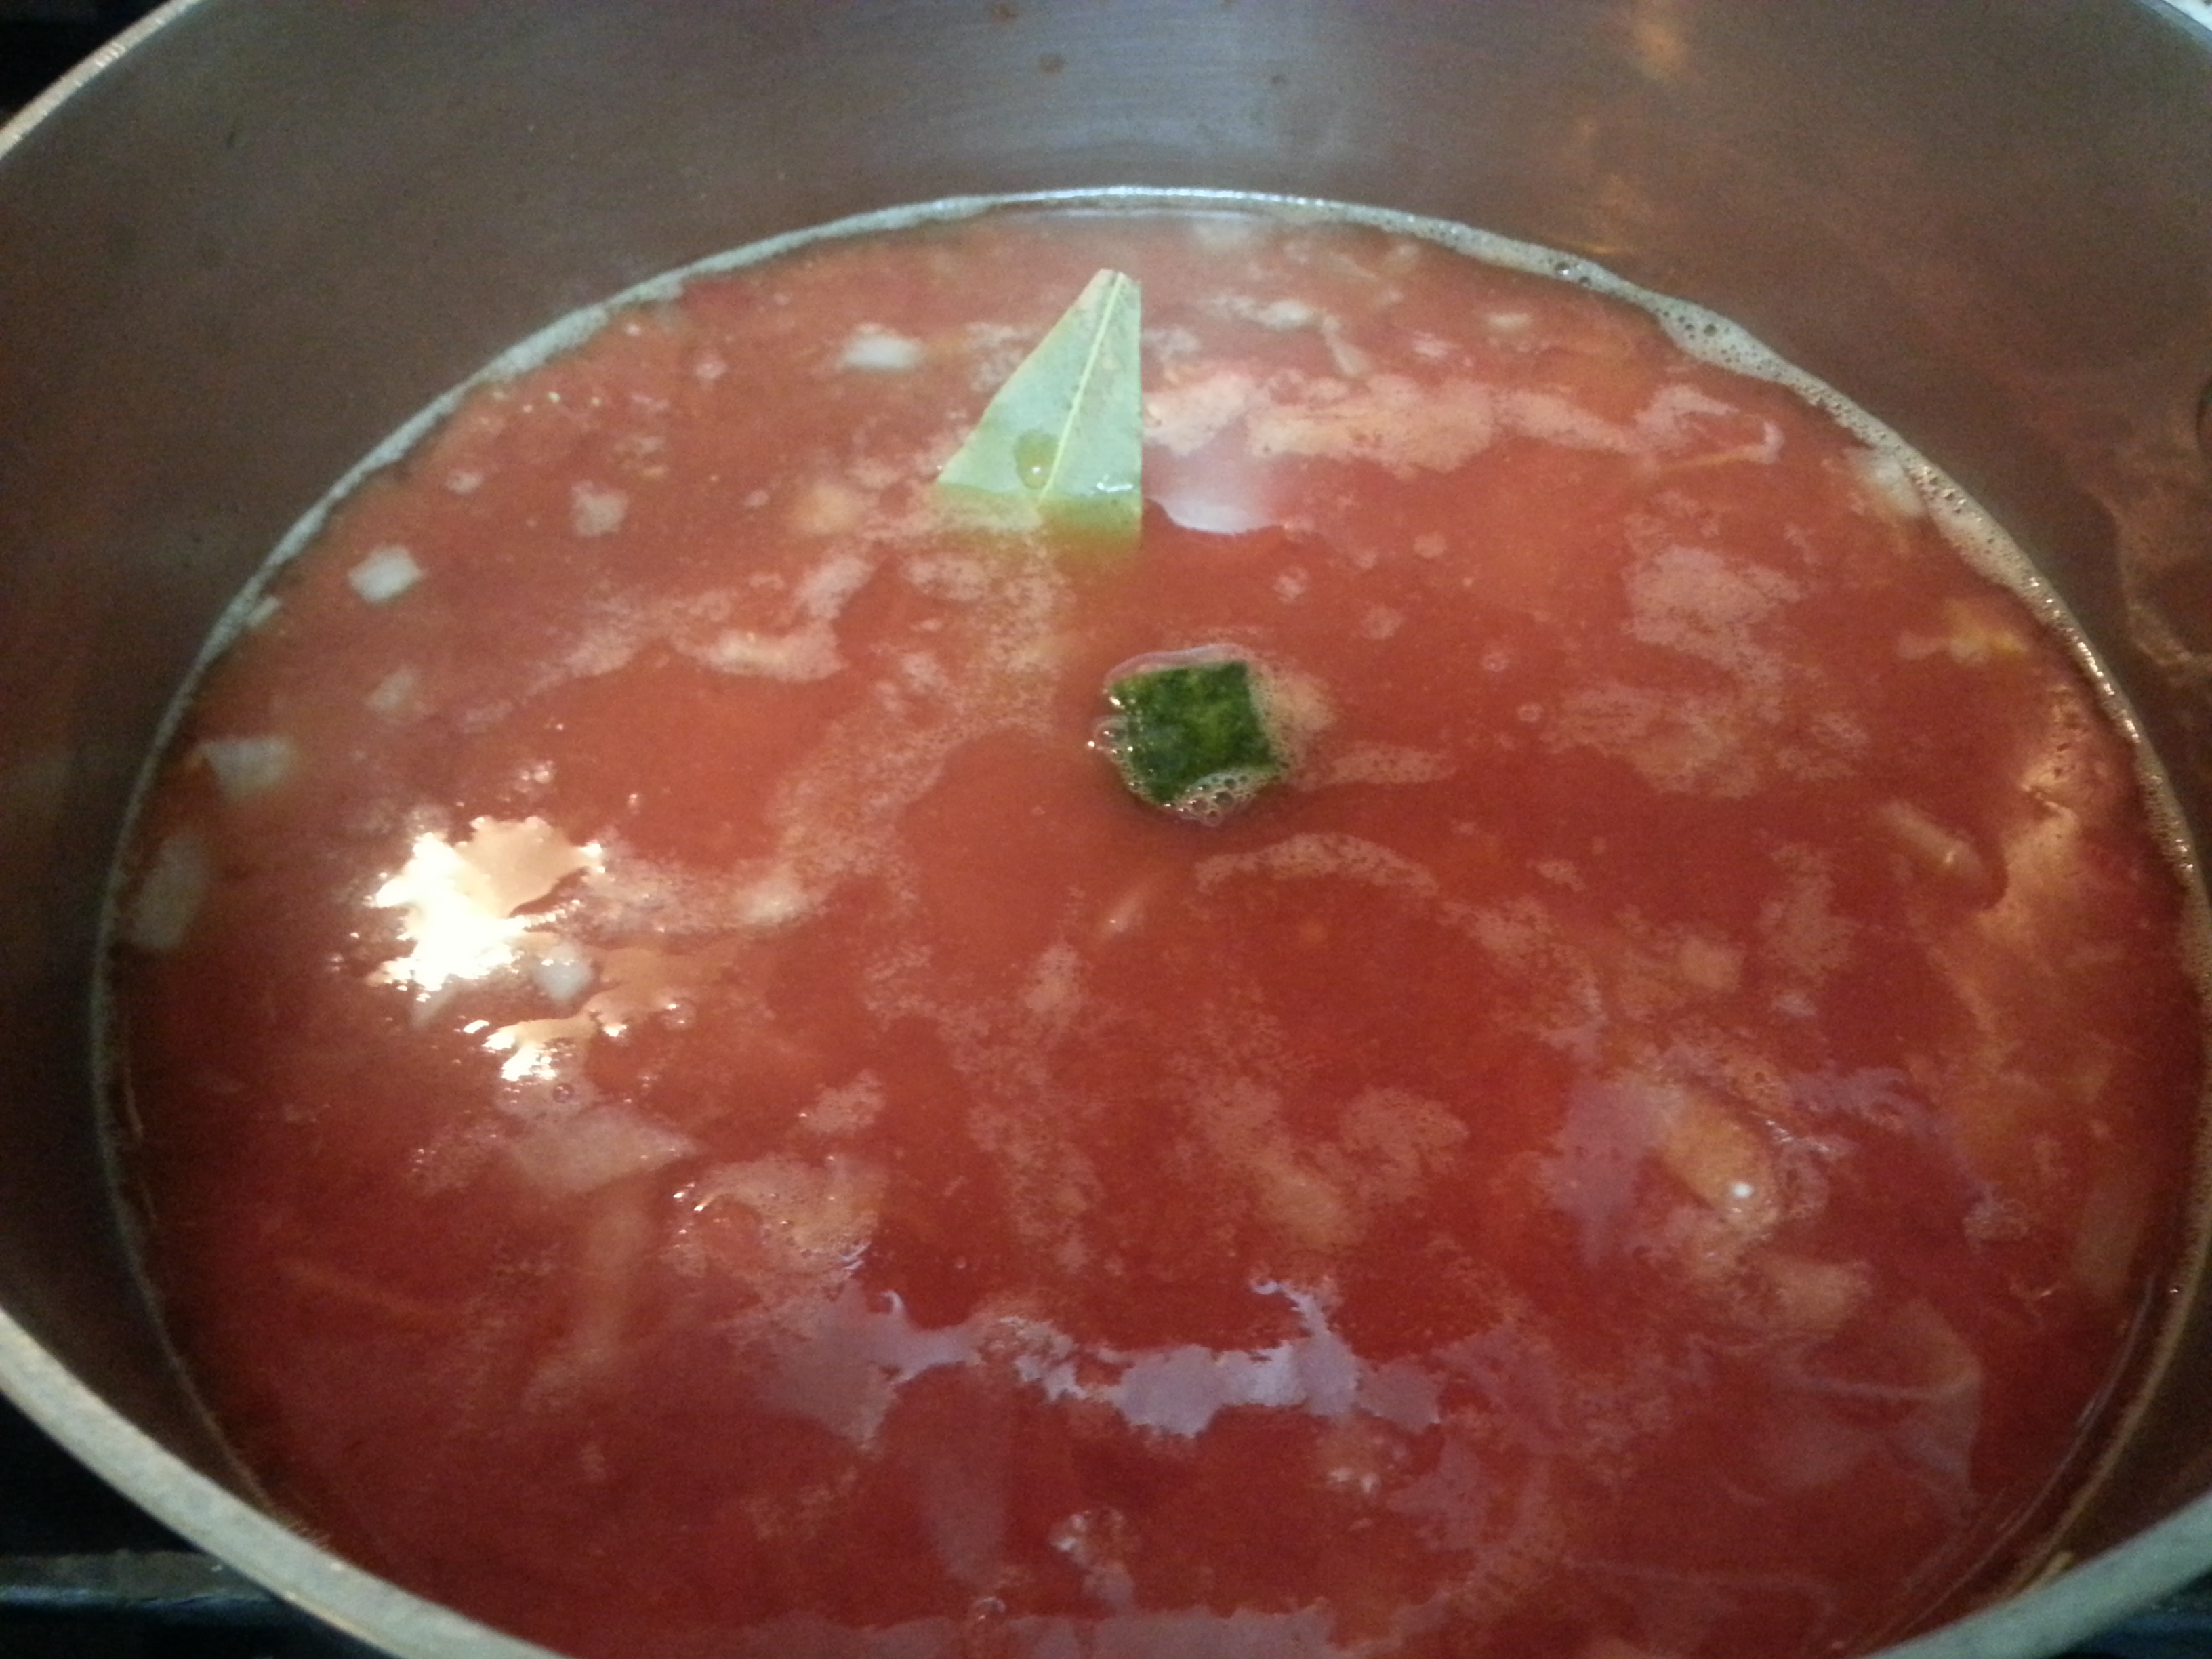
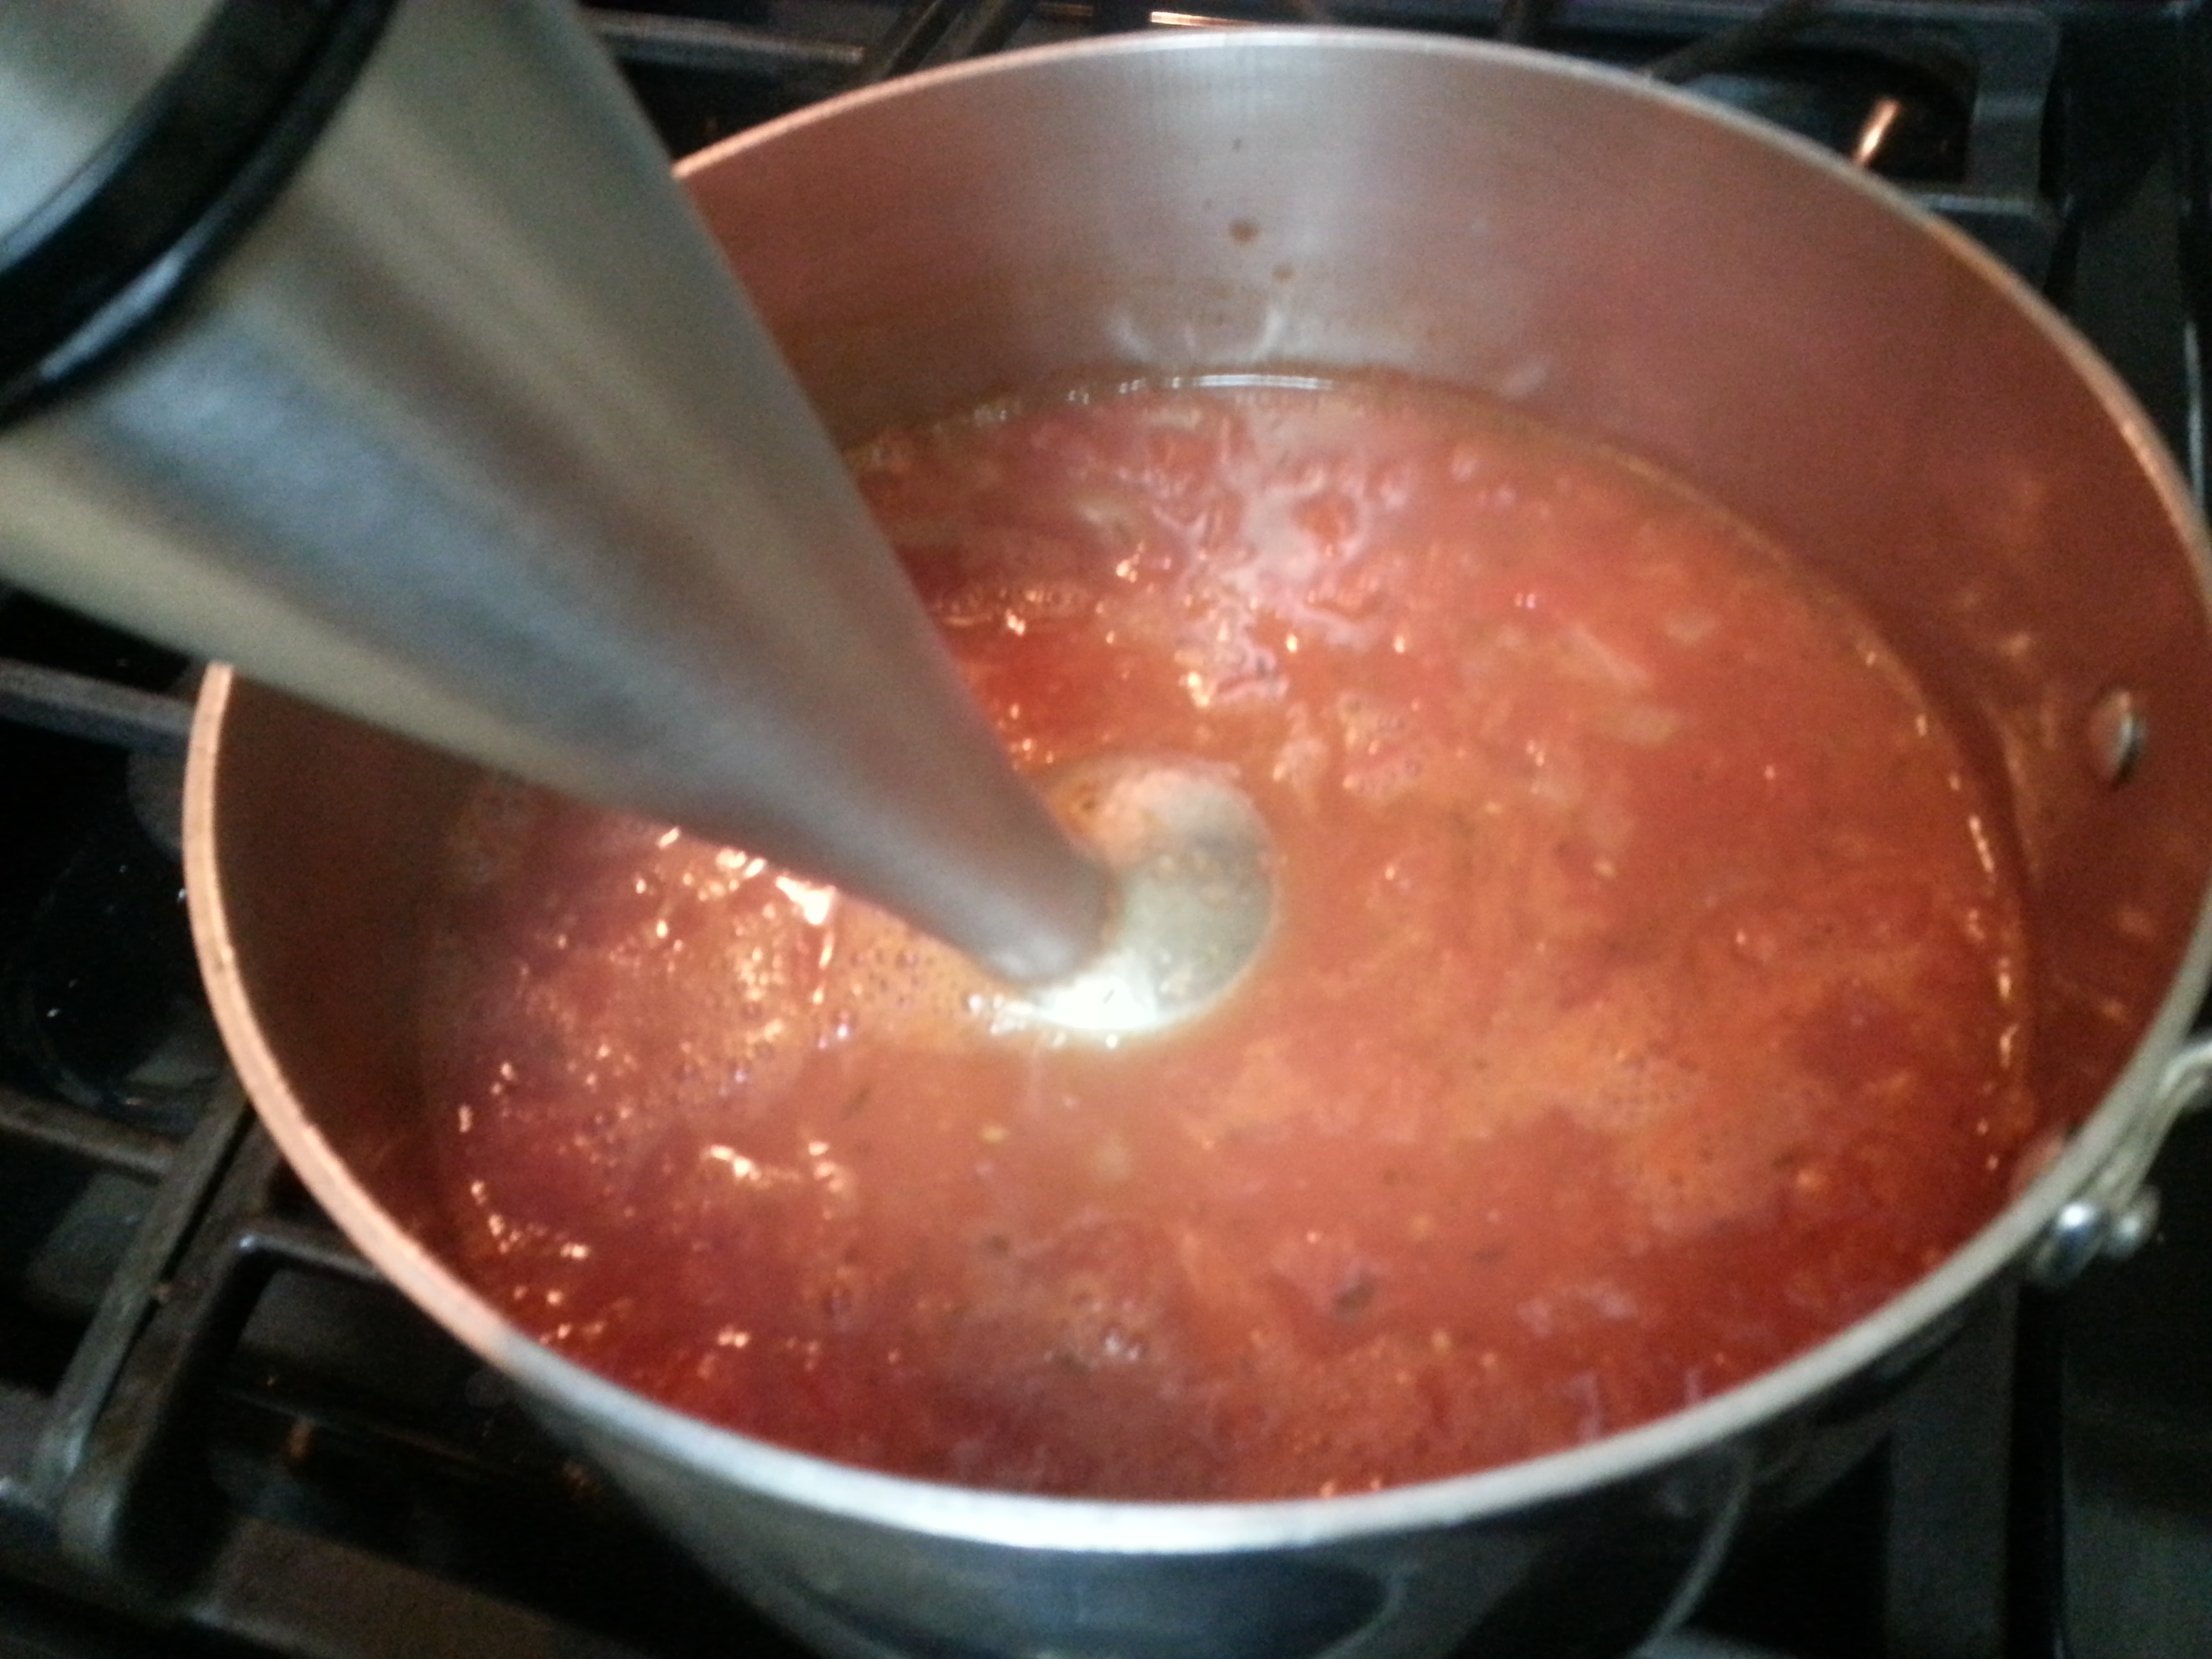
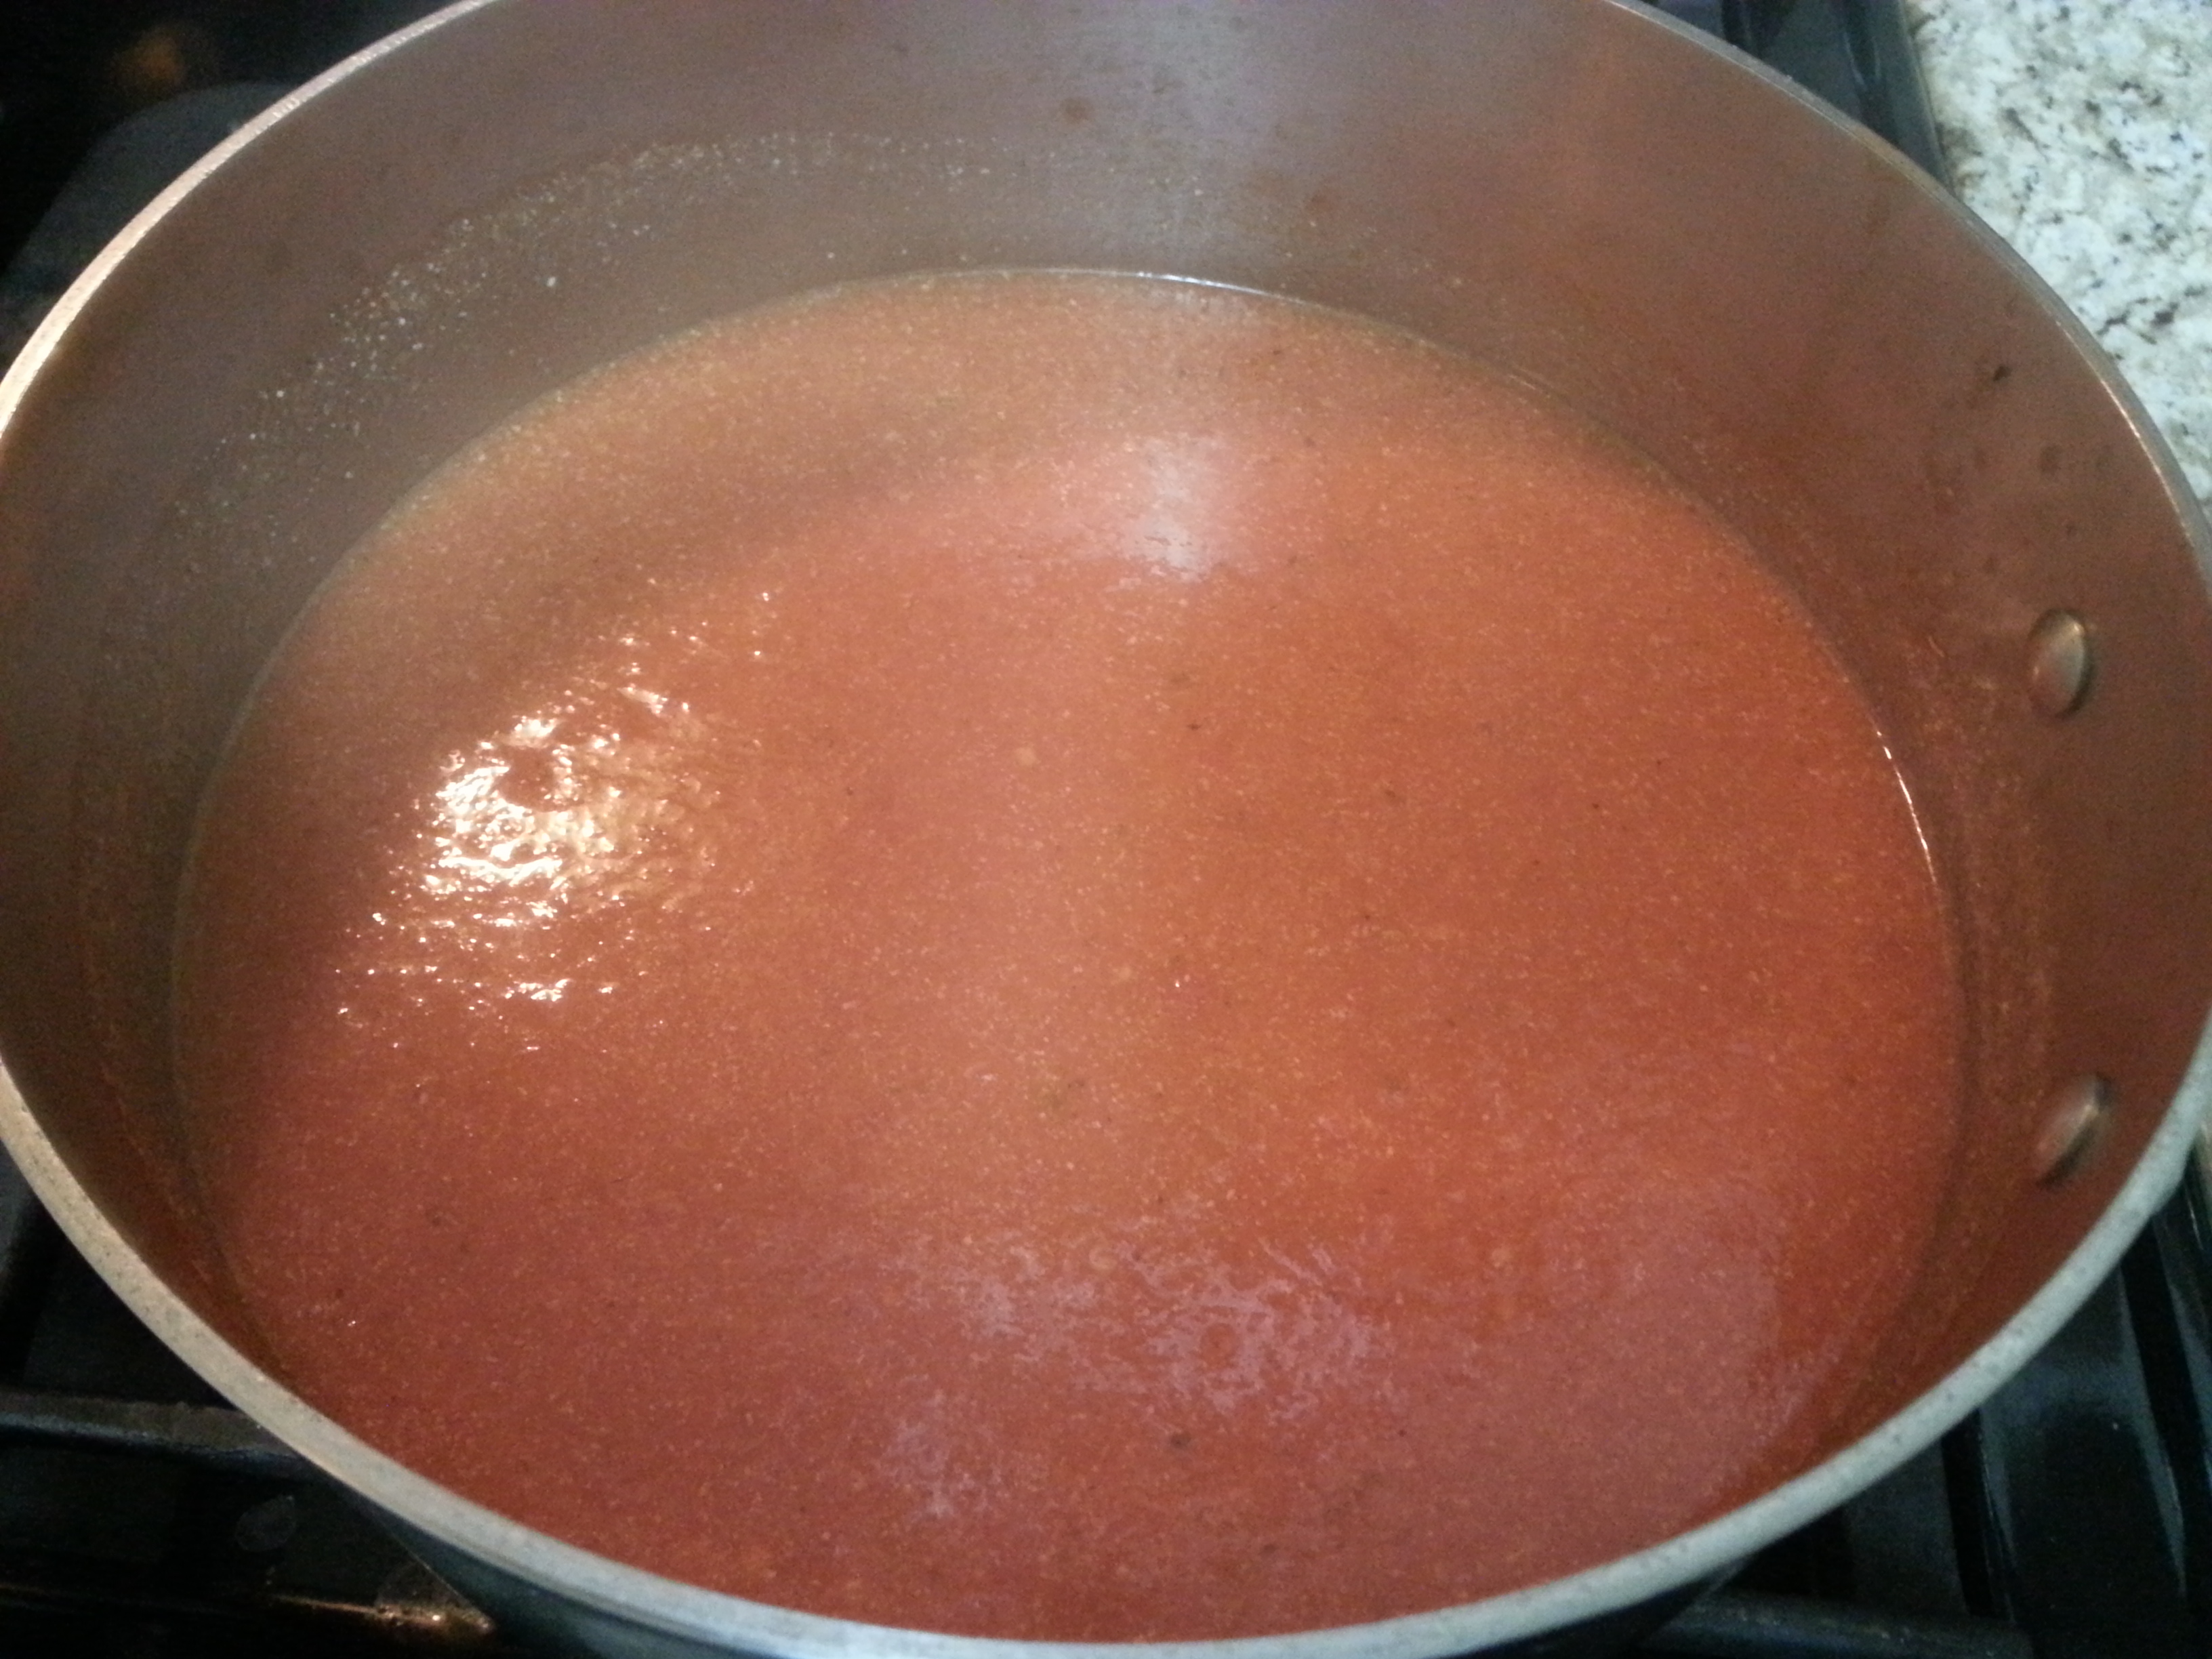
In a medium sized pot, heat olive oil on medium. Once heated, add the onion and sauté for 3 minutes. Then add in the tomatoes (juice too) chicken broth, sugar, salt, pepper, bay leaf and the rest of the seasonings. Bring to a boil and then reduce heat. Simmer uncovered for 15-20 minutes. Remove bay leaf and then with an immersion blender, pulse soup a few times to thin it out to a smoother consistency. Turn off the heat and add the half & half. Stir and taste and add more pepper or more sugar if necessary. Serve immediately.

tomato souptomato soup 3tomato soup 2tomato soup 4tomato soup 6tomato soup 7I’m still holding out hope that a little bit of winter will arrive soon. That snow on New Year’s Eve was a total fluke and won’t happen again for at least another 10 years but I’m still wanting to get some use out of my boots. But for now, sandals it is.

Advertisement

“Fried” Drumsticks

Well, so much for winter. After our New Year’s Eve snow, (which actually hung around for a few days in the shady spots of our yard and the neighbor’s) the weather forecast has shown that it will be in the 80’s tomorrow. THIS is one of my gripes about living in Southern California. It just shouldn’t be 80 in January, a week after it snowed. It’s absolutely ridiculous. I just refuse to wear shorts in January! Anyways, now that I’ve gotten that complaint out of my system, onto the food. January means it should be cold, and cold weather means comfort food. So there.

I made these “fried” drumsticks awhile back and this is the way to make them. Although I love traditional fried chicken (your U.S. citizenship is taken away if you don’t), this is easier and makes for quicker cleanup. And you can completely customize this to suit your tastes. You just need to know the method to do it.

“Fried” Drumsticks

  • 8-10 drumsticks
  • 1 cup flour
  • Seasonings of your choice (I used paprika, garlic powder, onion powder, salt & pepper)
  • Cooking spray

Preheat your oven to 375 degrees. In a large bowl, add flour and generously sprinkle the seasonings of your choice into the bowl as well. Stir to combine. Dredge the drumsticks in the flour mixture and place on a baking sheet that’s been sprayed with cooking spray. Once all the drumsticks have been dredged, completely spray them with cooking spray. Place in the oven and cook for 35-40 minutes. You can tell they’re done when the meat starts pulling away from the bone.

fried chicken 3fried chickenfried chicken 2And there you have it! These drumsticks come out with a crunchy skin and are moist and flavorful. Like I said, customize it to suit your tastes and use what seasonings you like.

Even though winter seems to have come and gone (please come back), you can’t take comfort food from me!

Potato Cheese Chowder

potato cheese chowder 3Rain is in the forecast! Not that I really want it to rain because that means I have to clean a total of 8 Boxer paws whenever they go outside and need to come back in (which will be immediately after exiting the house), but I just really want to comfortably wear long sleeves and boots. I’d prefer cool comfortable weather, but one day of rain, I’ll take it.

As for the lack of pictures for this recipe, I apologize. This meal came about because I literally had no meat at all in the freezer. But I did have some bacon. And some potatoes. And it was slightly cool out so I decided to make some soup with what was laying around. I wasn’t sure if it would be that great so I didn’t take very many pictures. Well lo and behold, my favorite man told me that this soup may have surpassed Corn & Cheese Chowder! *gasp* That is a huge compliment because Corn & Cheese Chowder is by far my favorite soup, EVER. And he thoroughly enjoys it too. So that big of a statement means it’s good.

I know the rest of you are probably already cold and long overdue for a comforting recipe. So here you go!

Potato Cheese Chowder

  • 6 bacon slices, chopped
  • 1/2 onion, chopped
  • 6 medium sized potatoes, peeled and chopped
  • 2 garlic cloves
  • 4 cups chicken broth
  • 2 cups half & half
  • 3 tbsp. flour
  • 1/2 tsp. thyme, dried
  • 1/2 tbsp. black pepper
  • 1 1/2 c. shredded sharp cheddar cheese
  • dash cayenne pepper

In a stock pot of Dutch oven, heat on medium. Add bacon and cook until almost crisp. Add the onions and saute for a few minutes, then add the garlic and potatoes. Cook, stirring for 3 minutes. Add in broth and all of the seasonings. Bring to a boil, cover, reduce heat and let simmer for 12-15 minutes. Turn all the way to low and with an immersion blender, pulse 2-3 times. Mix together the flour and half & half, using a whisk (this is a slurry). Add into the soup and bring back up to a boil. At this point it will thicken. Once thickened, reduce heat, add in cheese and stir. That’s it!

potato cheese chowder 2potato cheese chowderGreat additions to this soup would be extra bacon crumbled on top or even some chives. Like I mentioned above, I was really limited on what I had on hand in my kitchen and this soup as is was delicious! Also, if you don’t have an immersion blender, a hand masher or even putting a portion of the soup into a blender will do. Using the immersion blender will smooth out the soup but just pulsing it a couple times ensure texture.

Cold Leftovers Suck

thermos 2With cooler weather ahead, and it may have already cooled down for some of you, but still, we’ve experienced hot weather here. It’s finally cooling down a little but I’m just waiting for Mother Nature to say PSYCH! and out comes the 85 degree weather again. In November…. Anyways, as I was saying, with cooler weather, a nice hot lunch hits the spot! Especially for the kids who have to eat outside at school. Here, there is no cafeteria for the kids to sit in. Nope, they sit outside on benches and the only time they eat inside is when it’s exceptionally hot out, or raining. On those colder days, I like to send my kids leftovers in their thermos. Soup, spaghetti, macaroni and cheese, I’ve even sent teriyaki chicken and rice. And they are always so excited when they get to take their thermos to school!

When my oldest first started taking her thermos, she’d come home and tell me the food was not very warm. Hmmm… there went the happy thought that she was able to have a hot, homemade lunch. So a little trial and error came up with this tip to keep your thermos lunch nice and hot until lunchtime….

Let your kitchen sink water run on HOT for a few minutes. Until it’s super hot. Then fill up your thermos with the hot water, put the lid on and let sit for about 10-15 minutes. Heat up your leftovers in the microwave until they are also very hot. Dump out the water, add in the hot food and quickly screw on the lid. There you go. Hot leftovers for whatever time your kids take lunch. And my oldest doesn’t have lunch until 1:00 this year, so that’s awhile to sit in the thermos. But she swears it’s nice and hot by the time she eats.

thermosthermos 3And don’t think thermos lunches are only for kids at school. I used to send my husband leftovers for his lunch when he was a truck driver. He was so busy he barely had time to eat so opening up that thermos and having a homemade, hot lunch was a lifesaver for him.

But really, any way you put it, kids or adults, cold leftovers suck. Not a problem anymore though. At least not in a thermos.