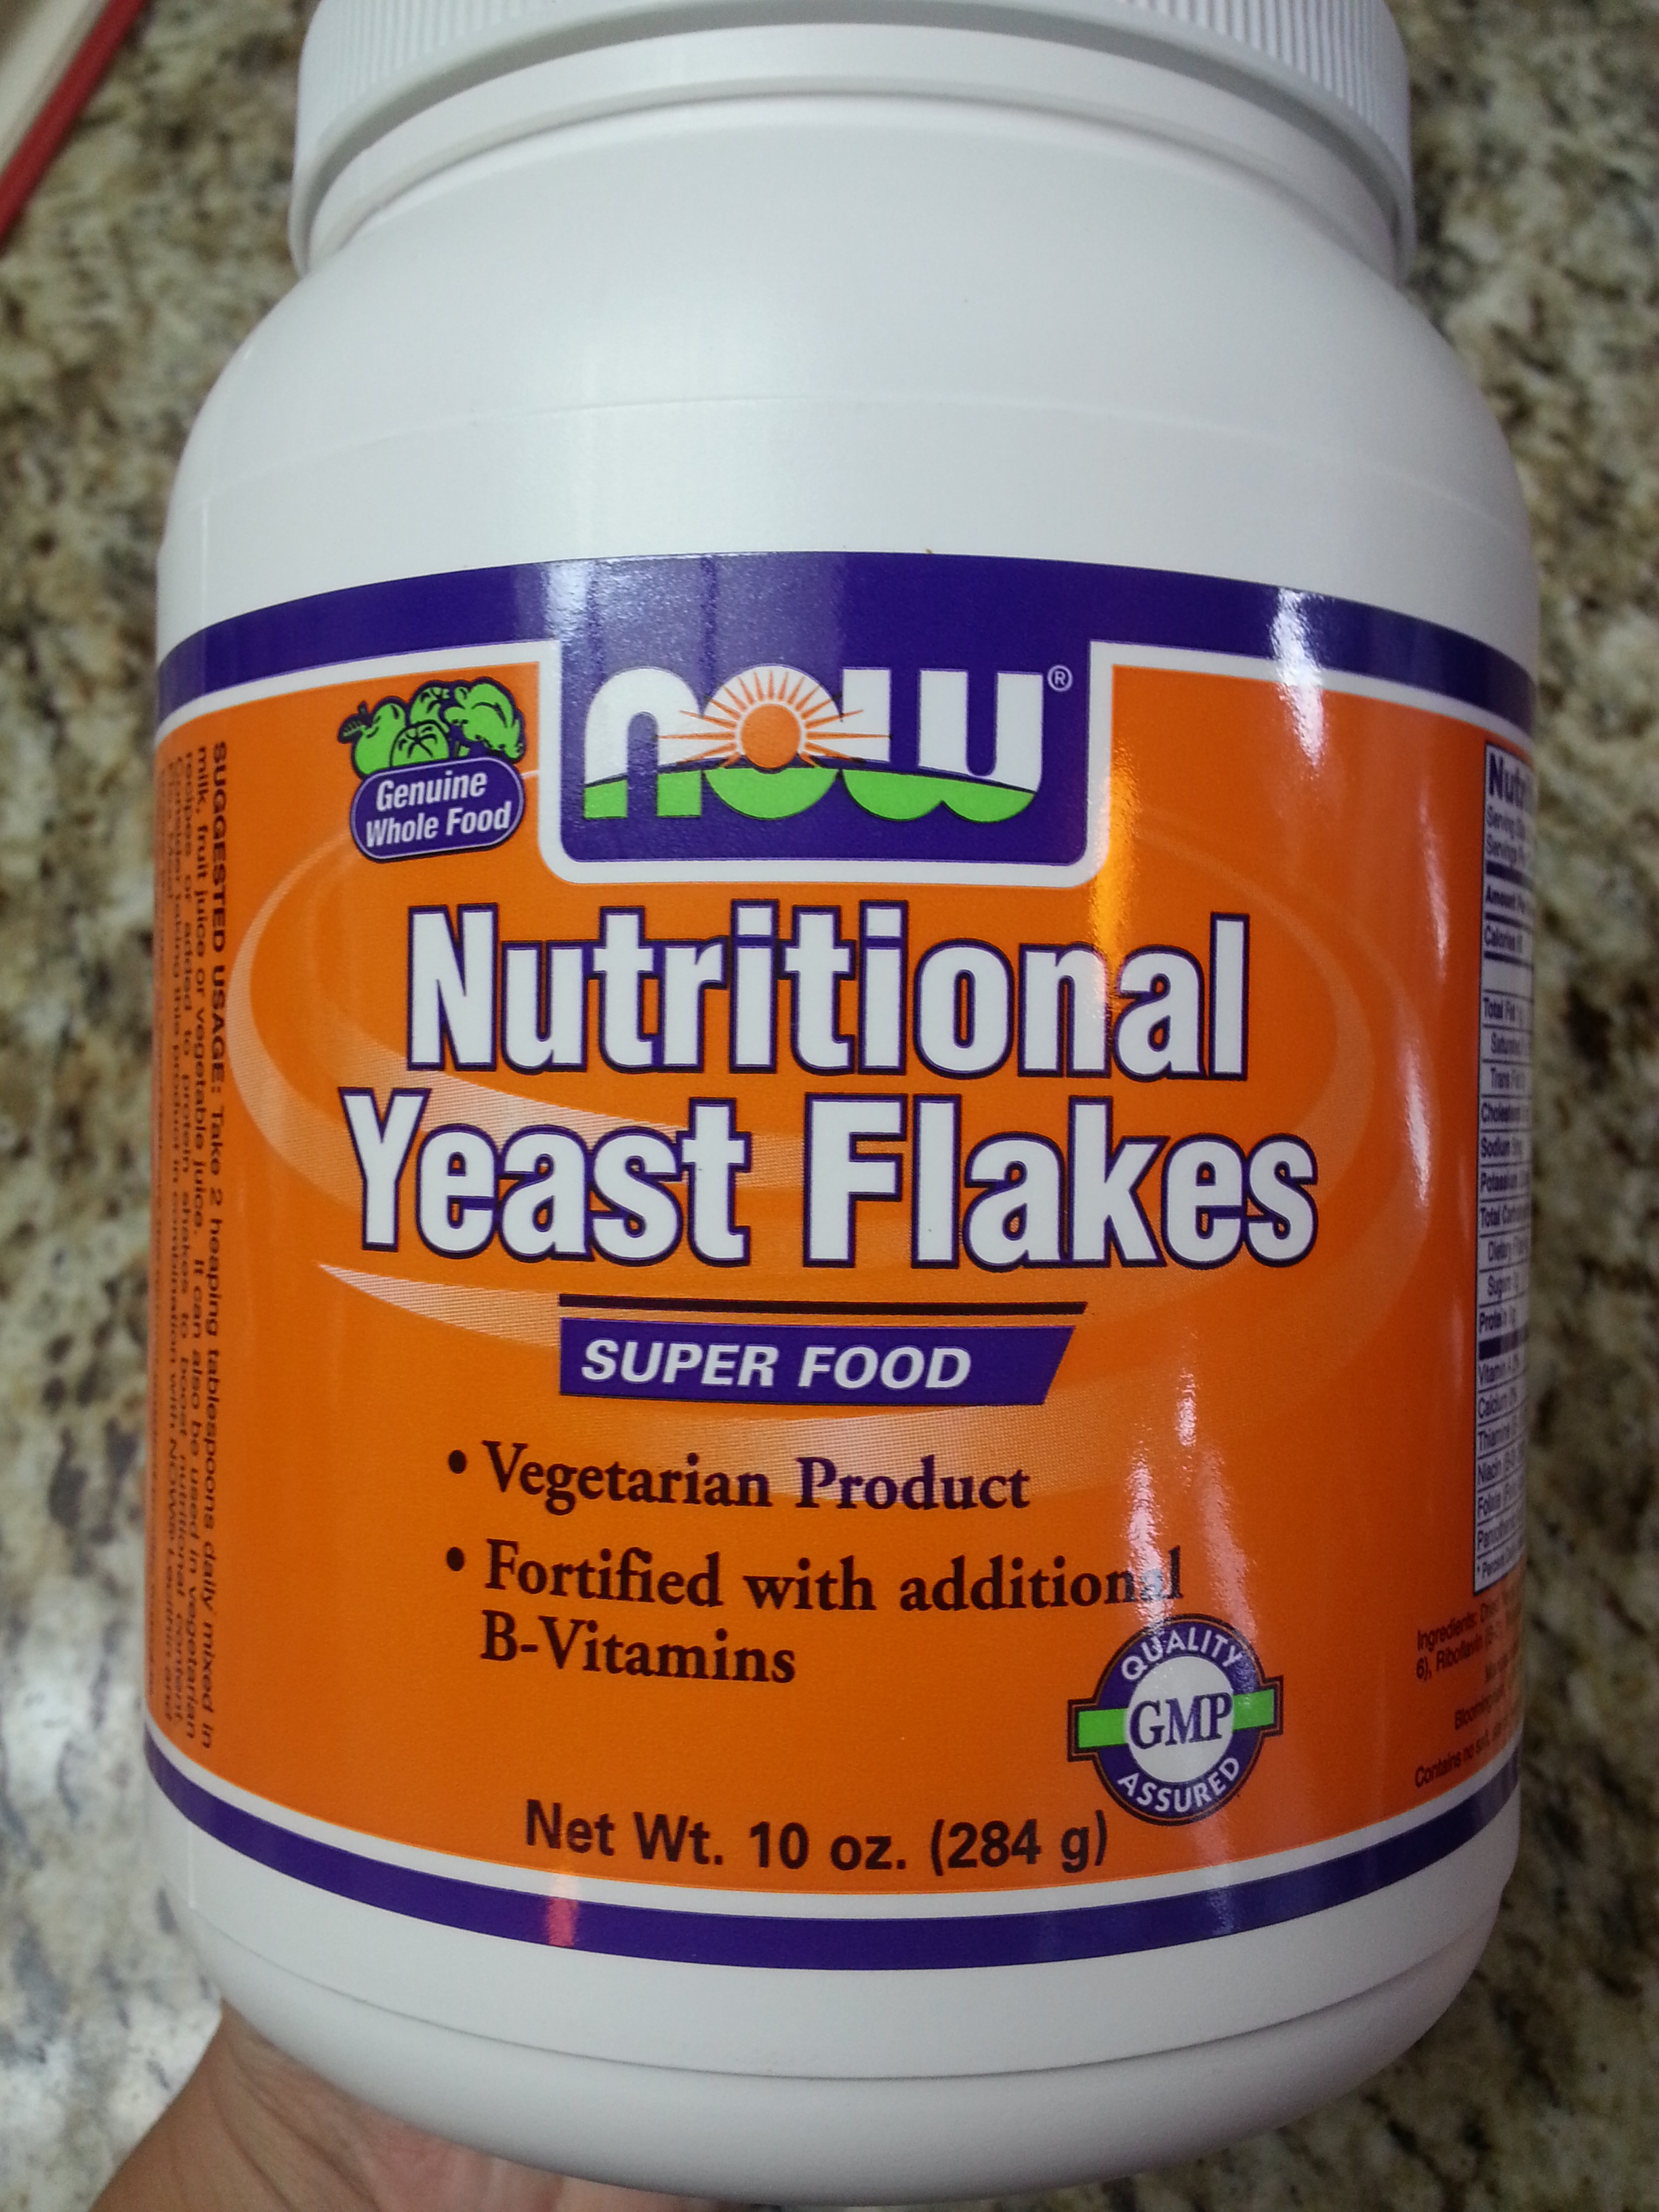
 I am not a vegan. Not even close to being a vegetarian. I’m a die hard carnivore! However, I bought some nutritional yeast because it was called for in another recipe and since the container is so big, I knew I had to find other ways to use it. A little dash of this, a little dash of that, and this vegan “cheese” sauce was the result.
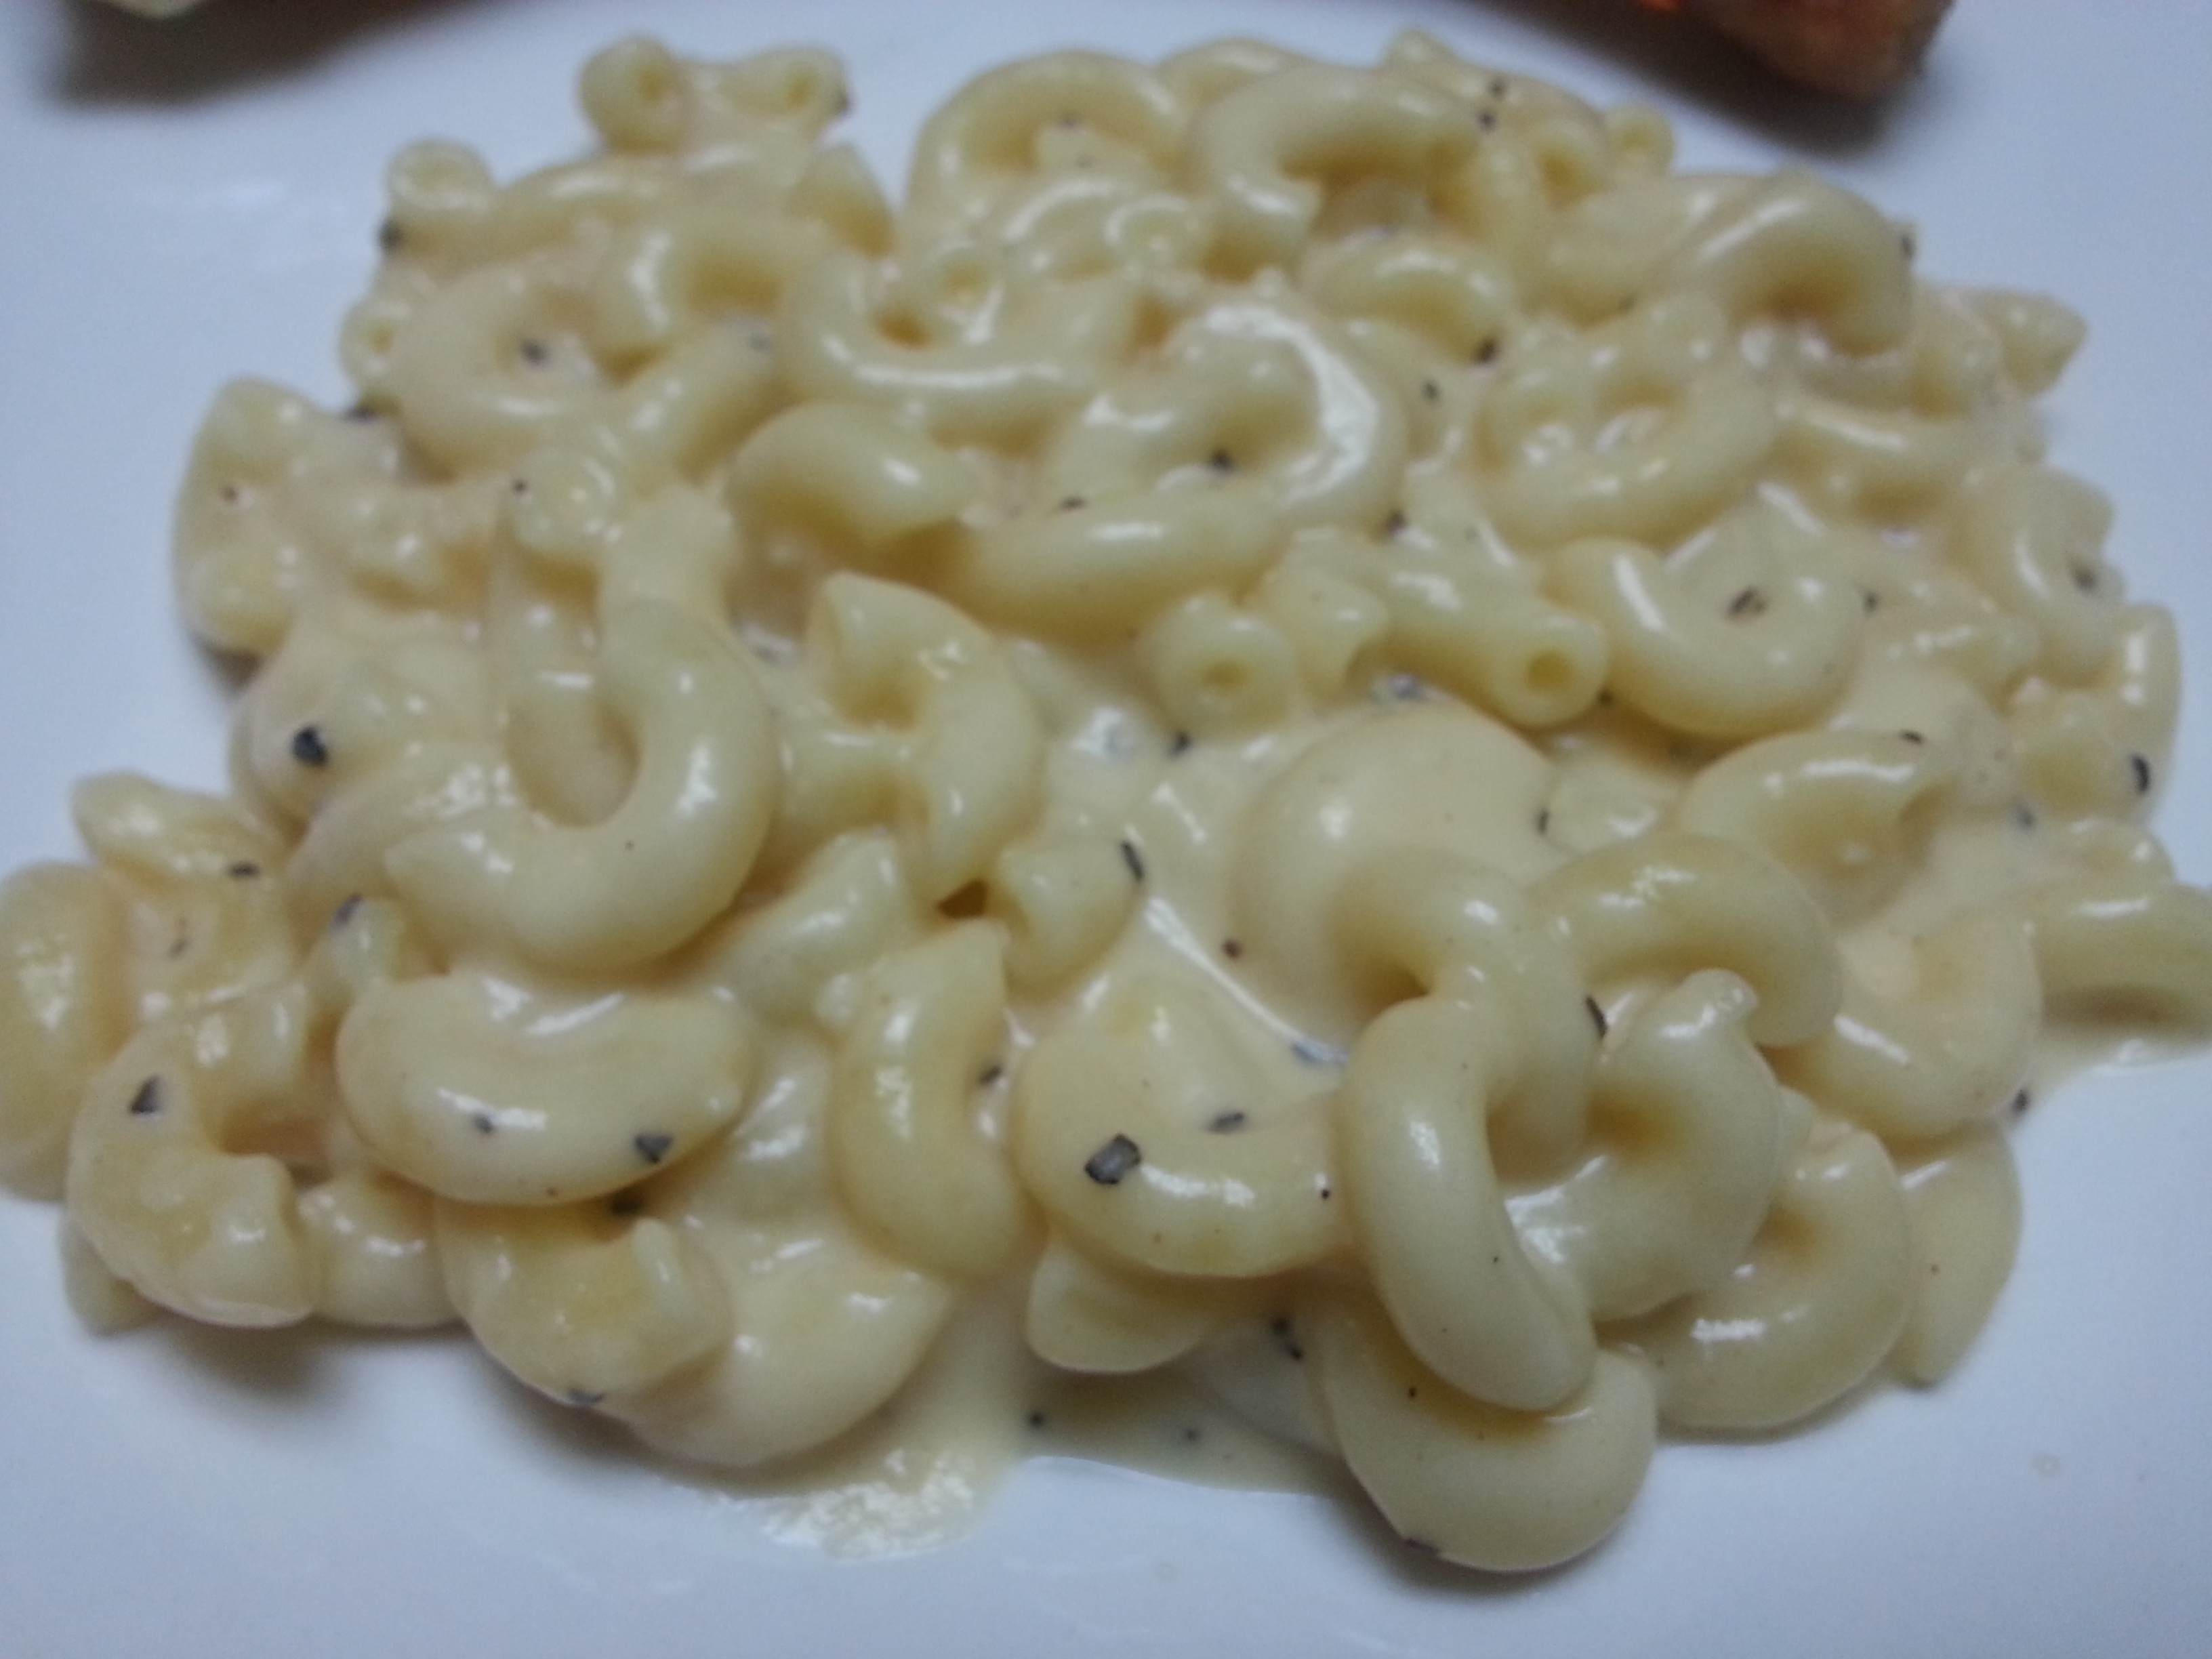
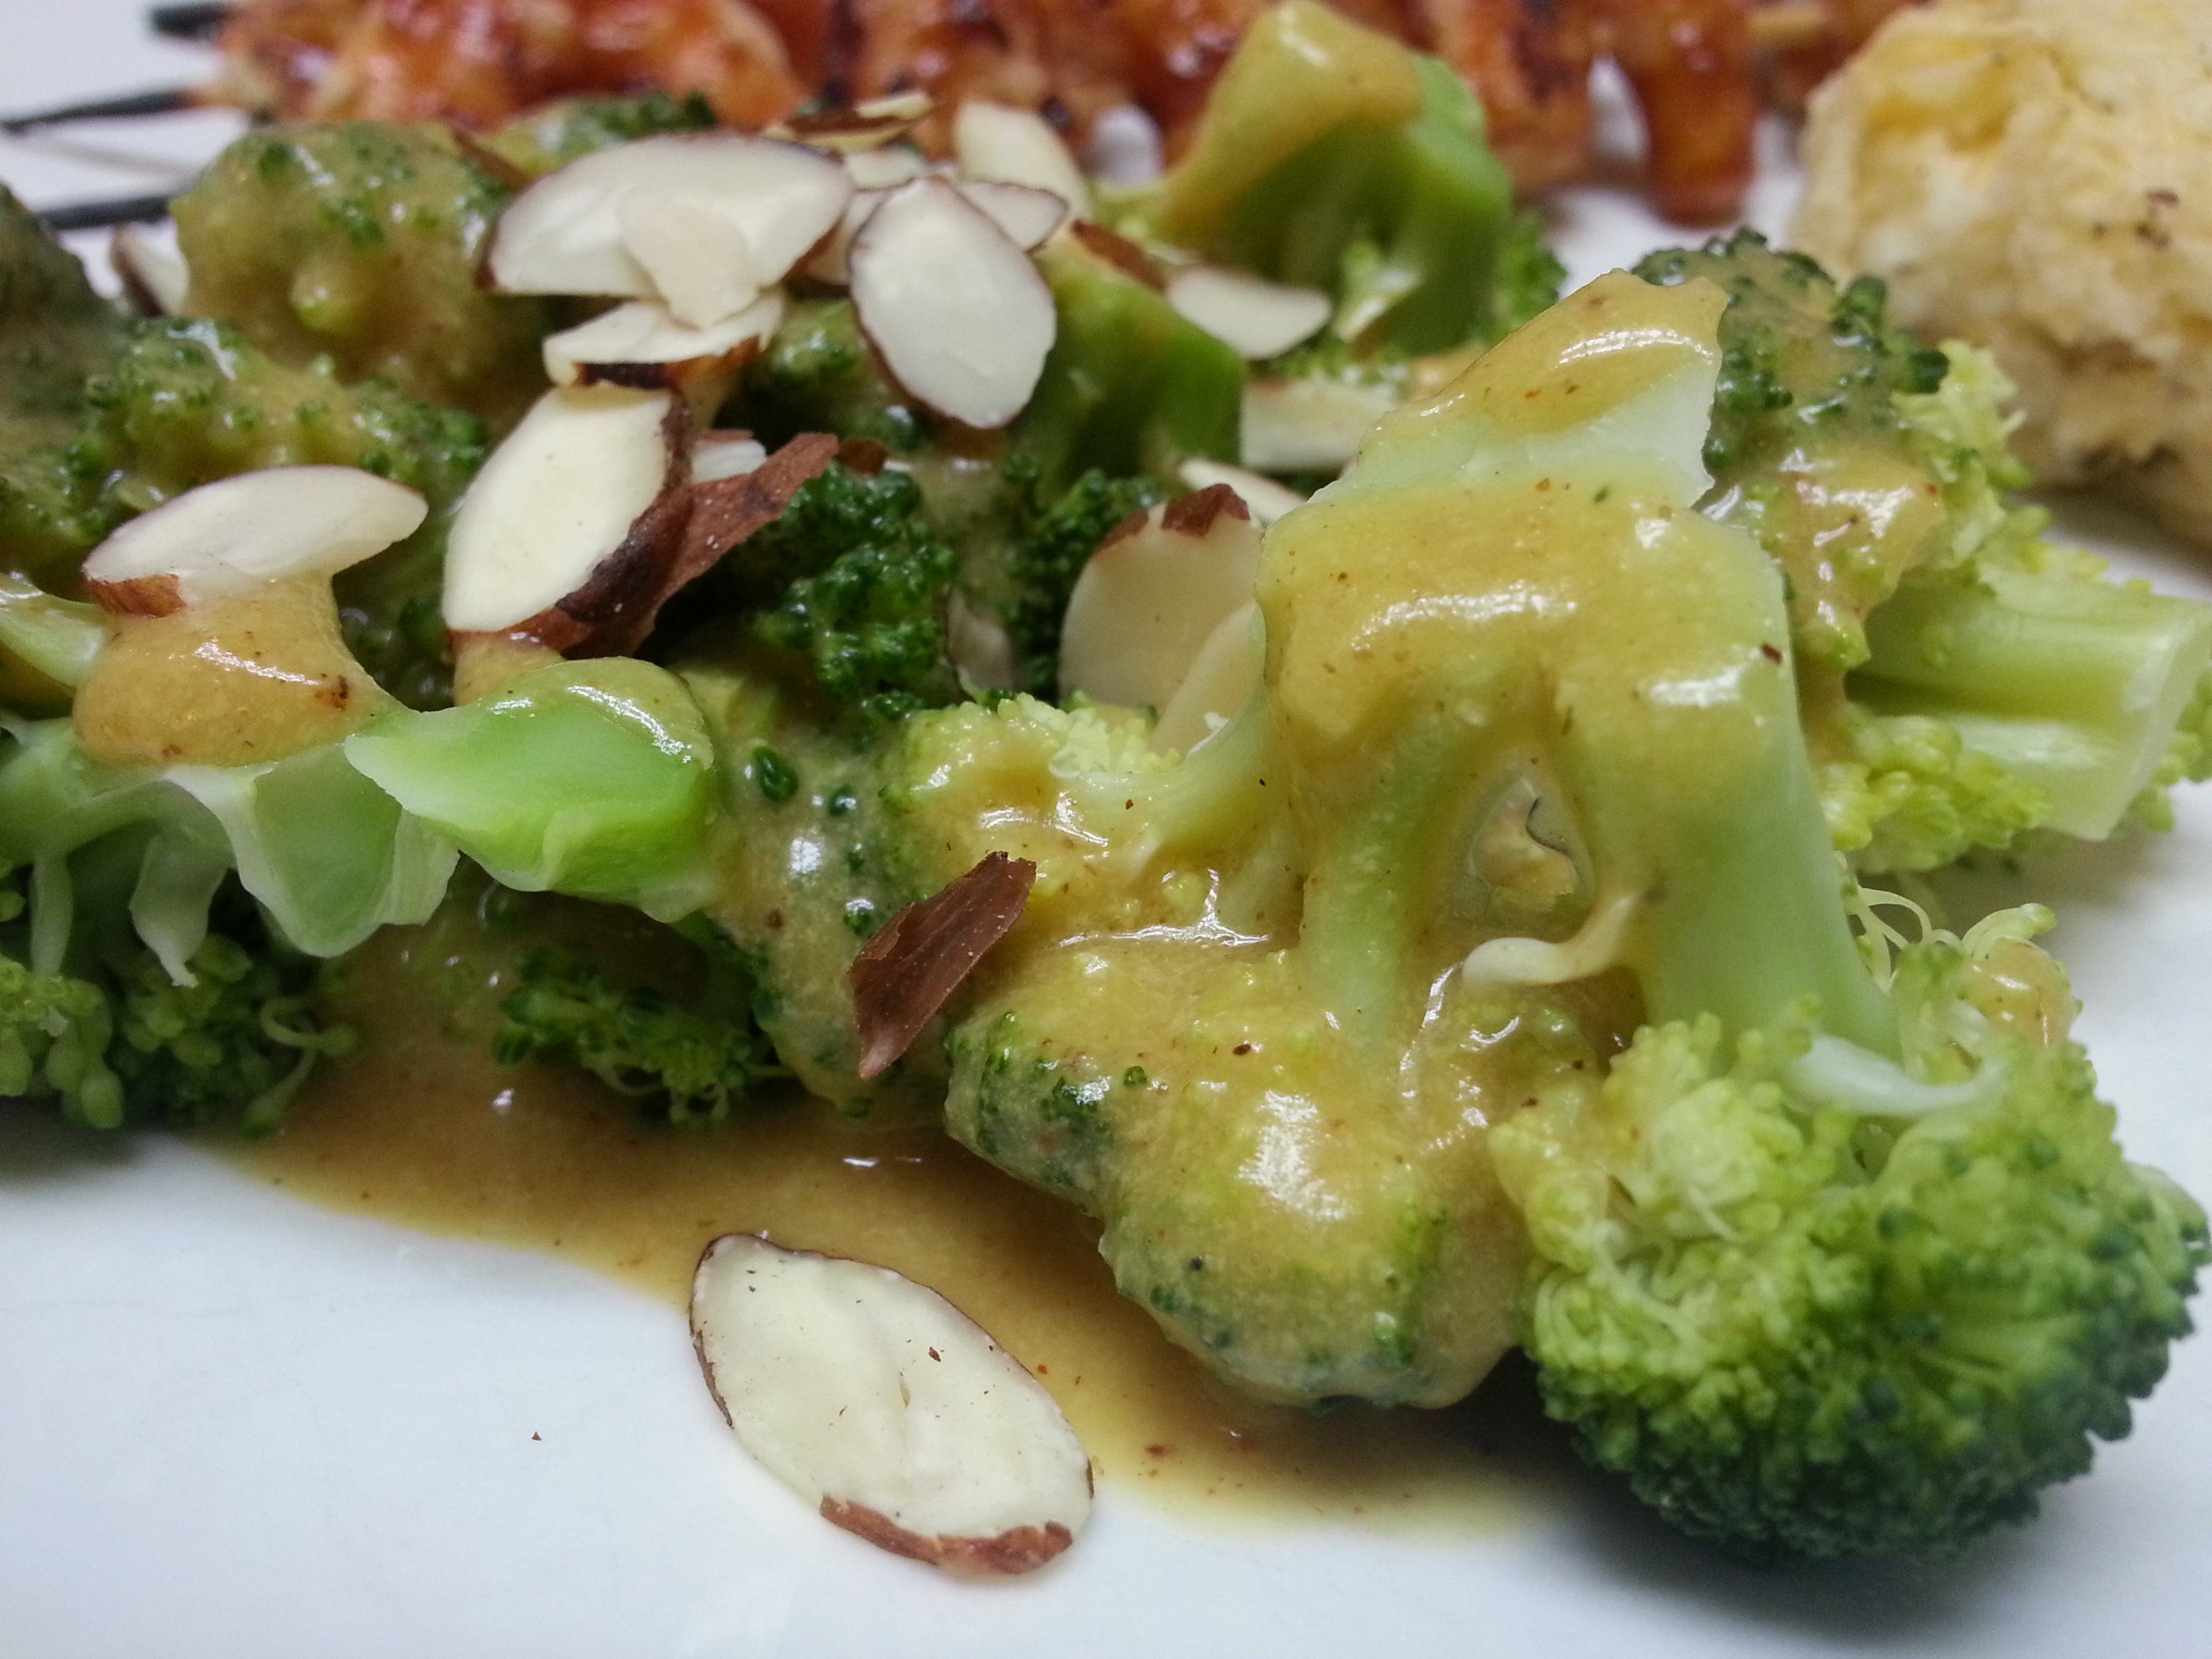
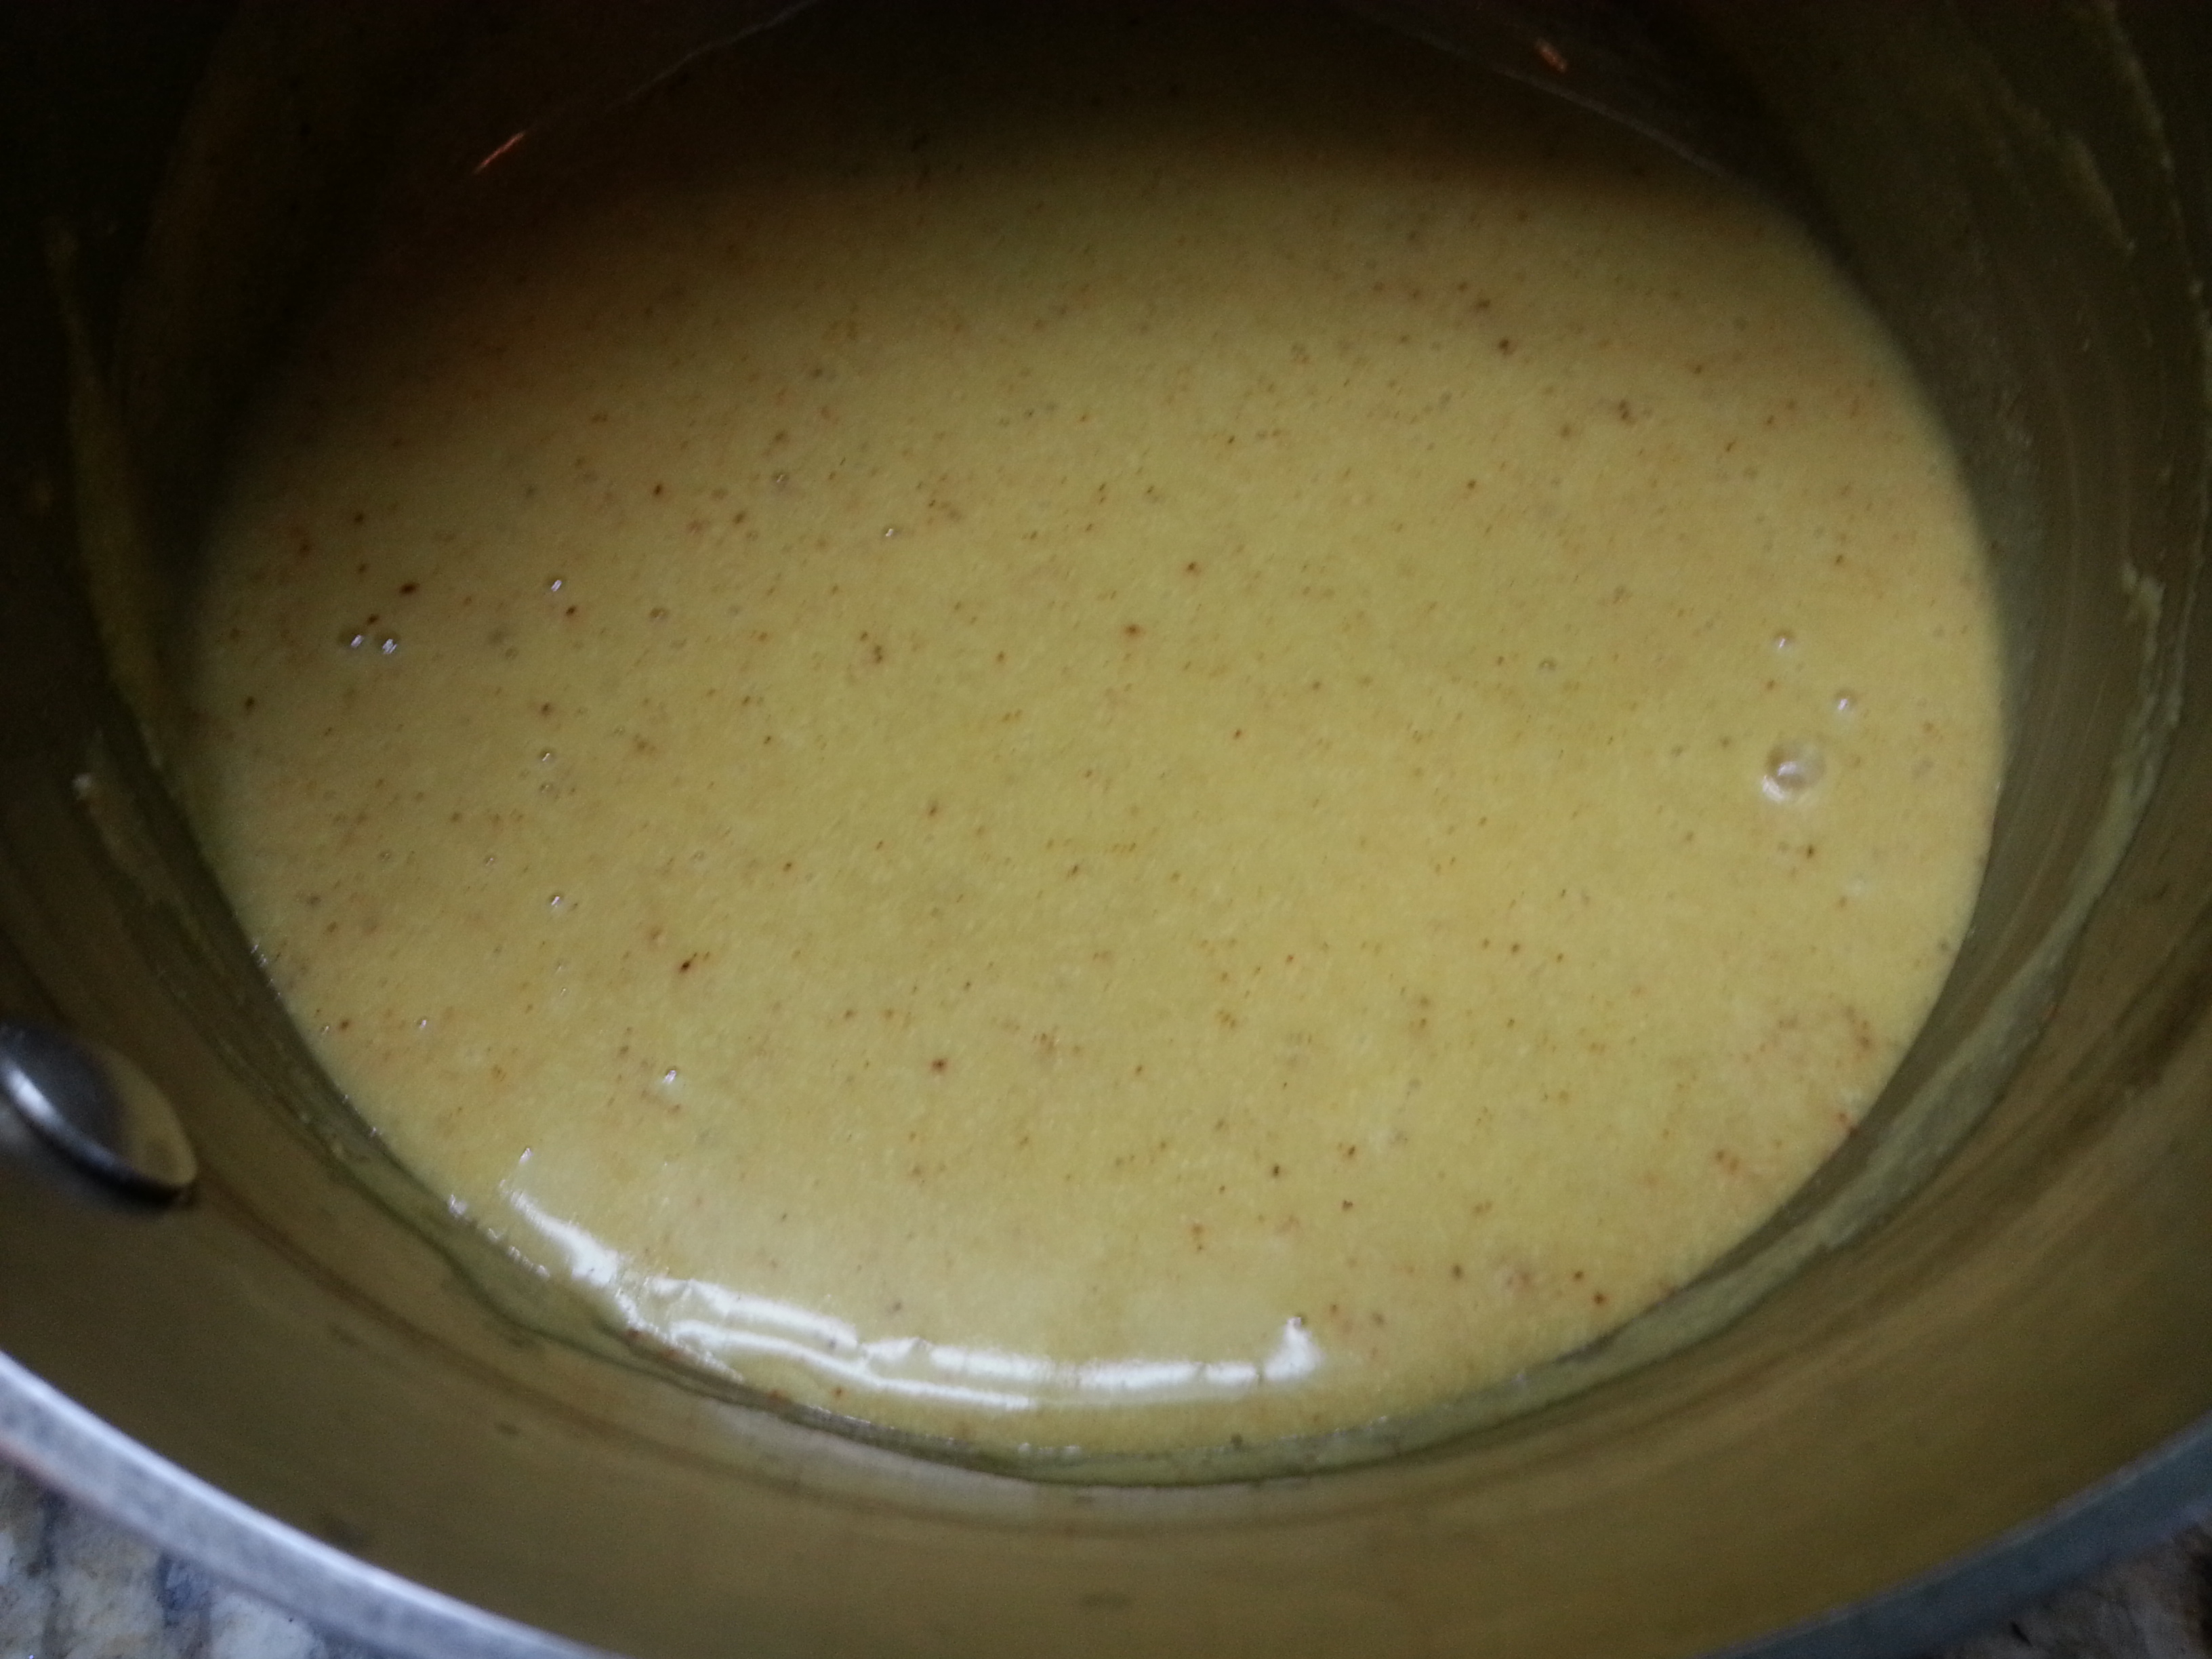
When I had my oldest daughter give it a taste, she told me she thought it was queso. Score! I have not divulged to any of my kids that this sauce actually has no cheese in it whatsoever. And my very creative husband came up with the name of it, since it in fact reminds us of cheese. I think it looks like hollandaise sauce with a cheese like taste.
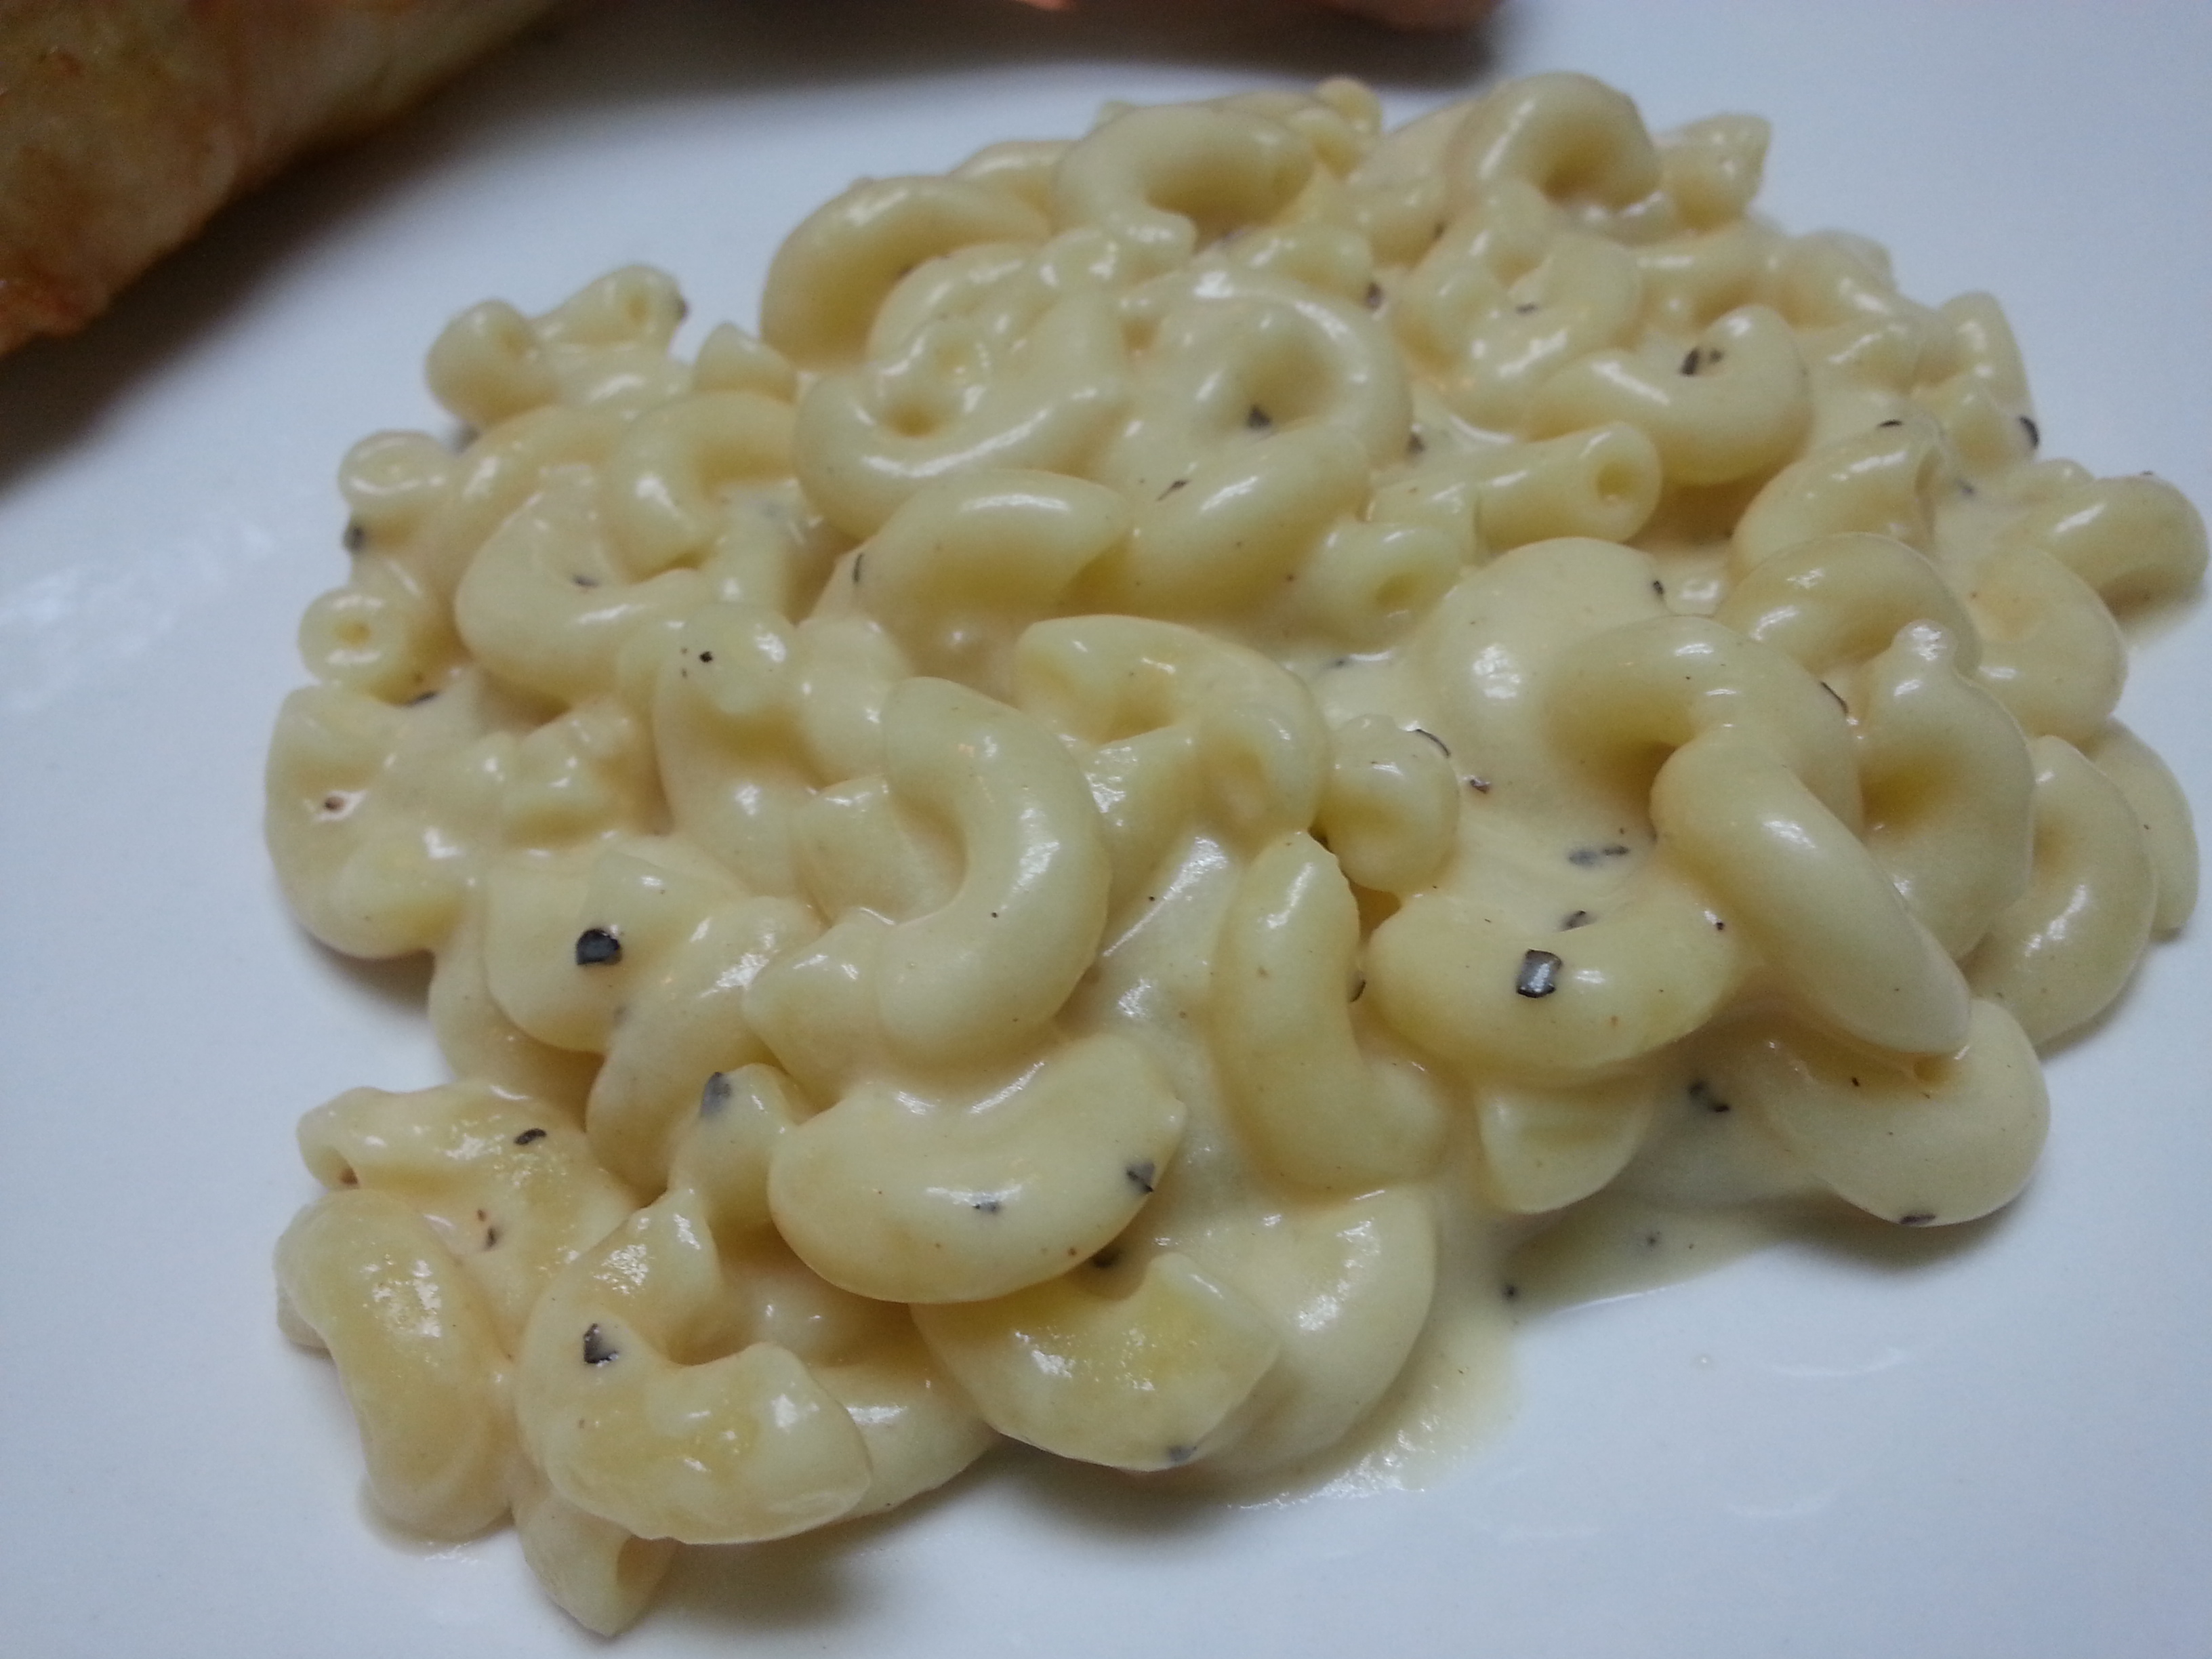
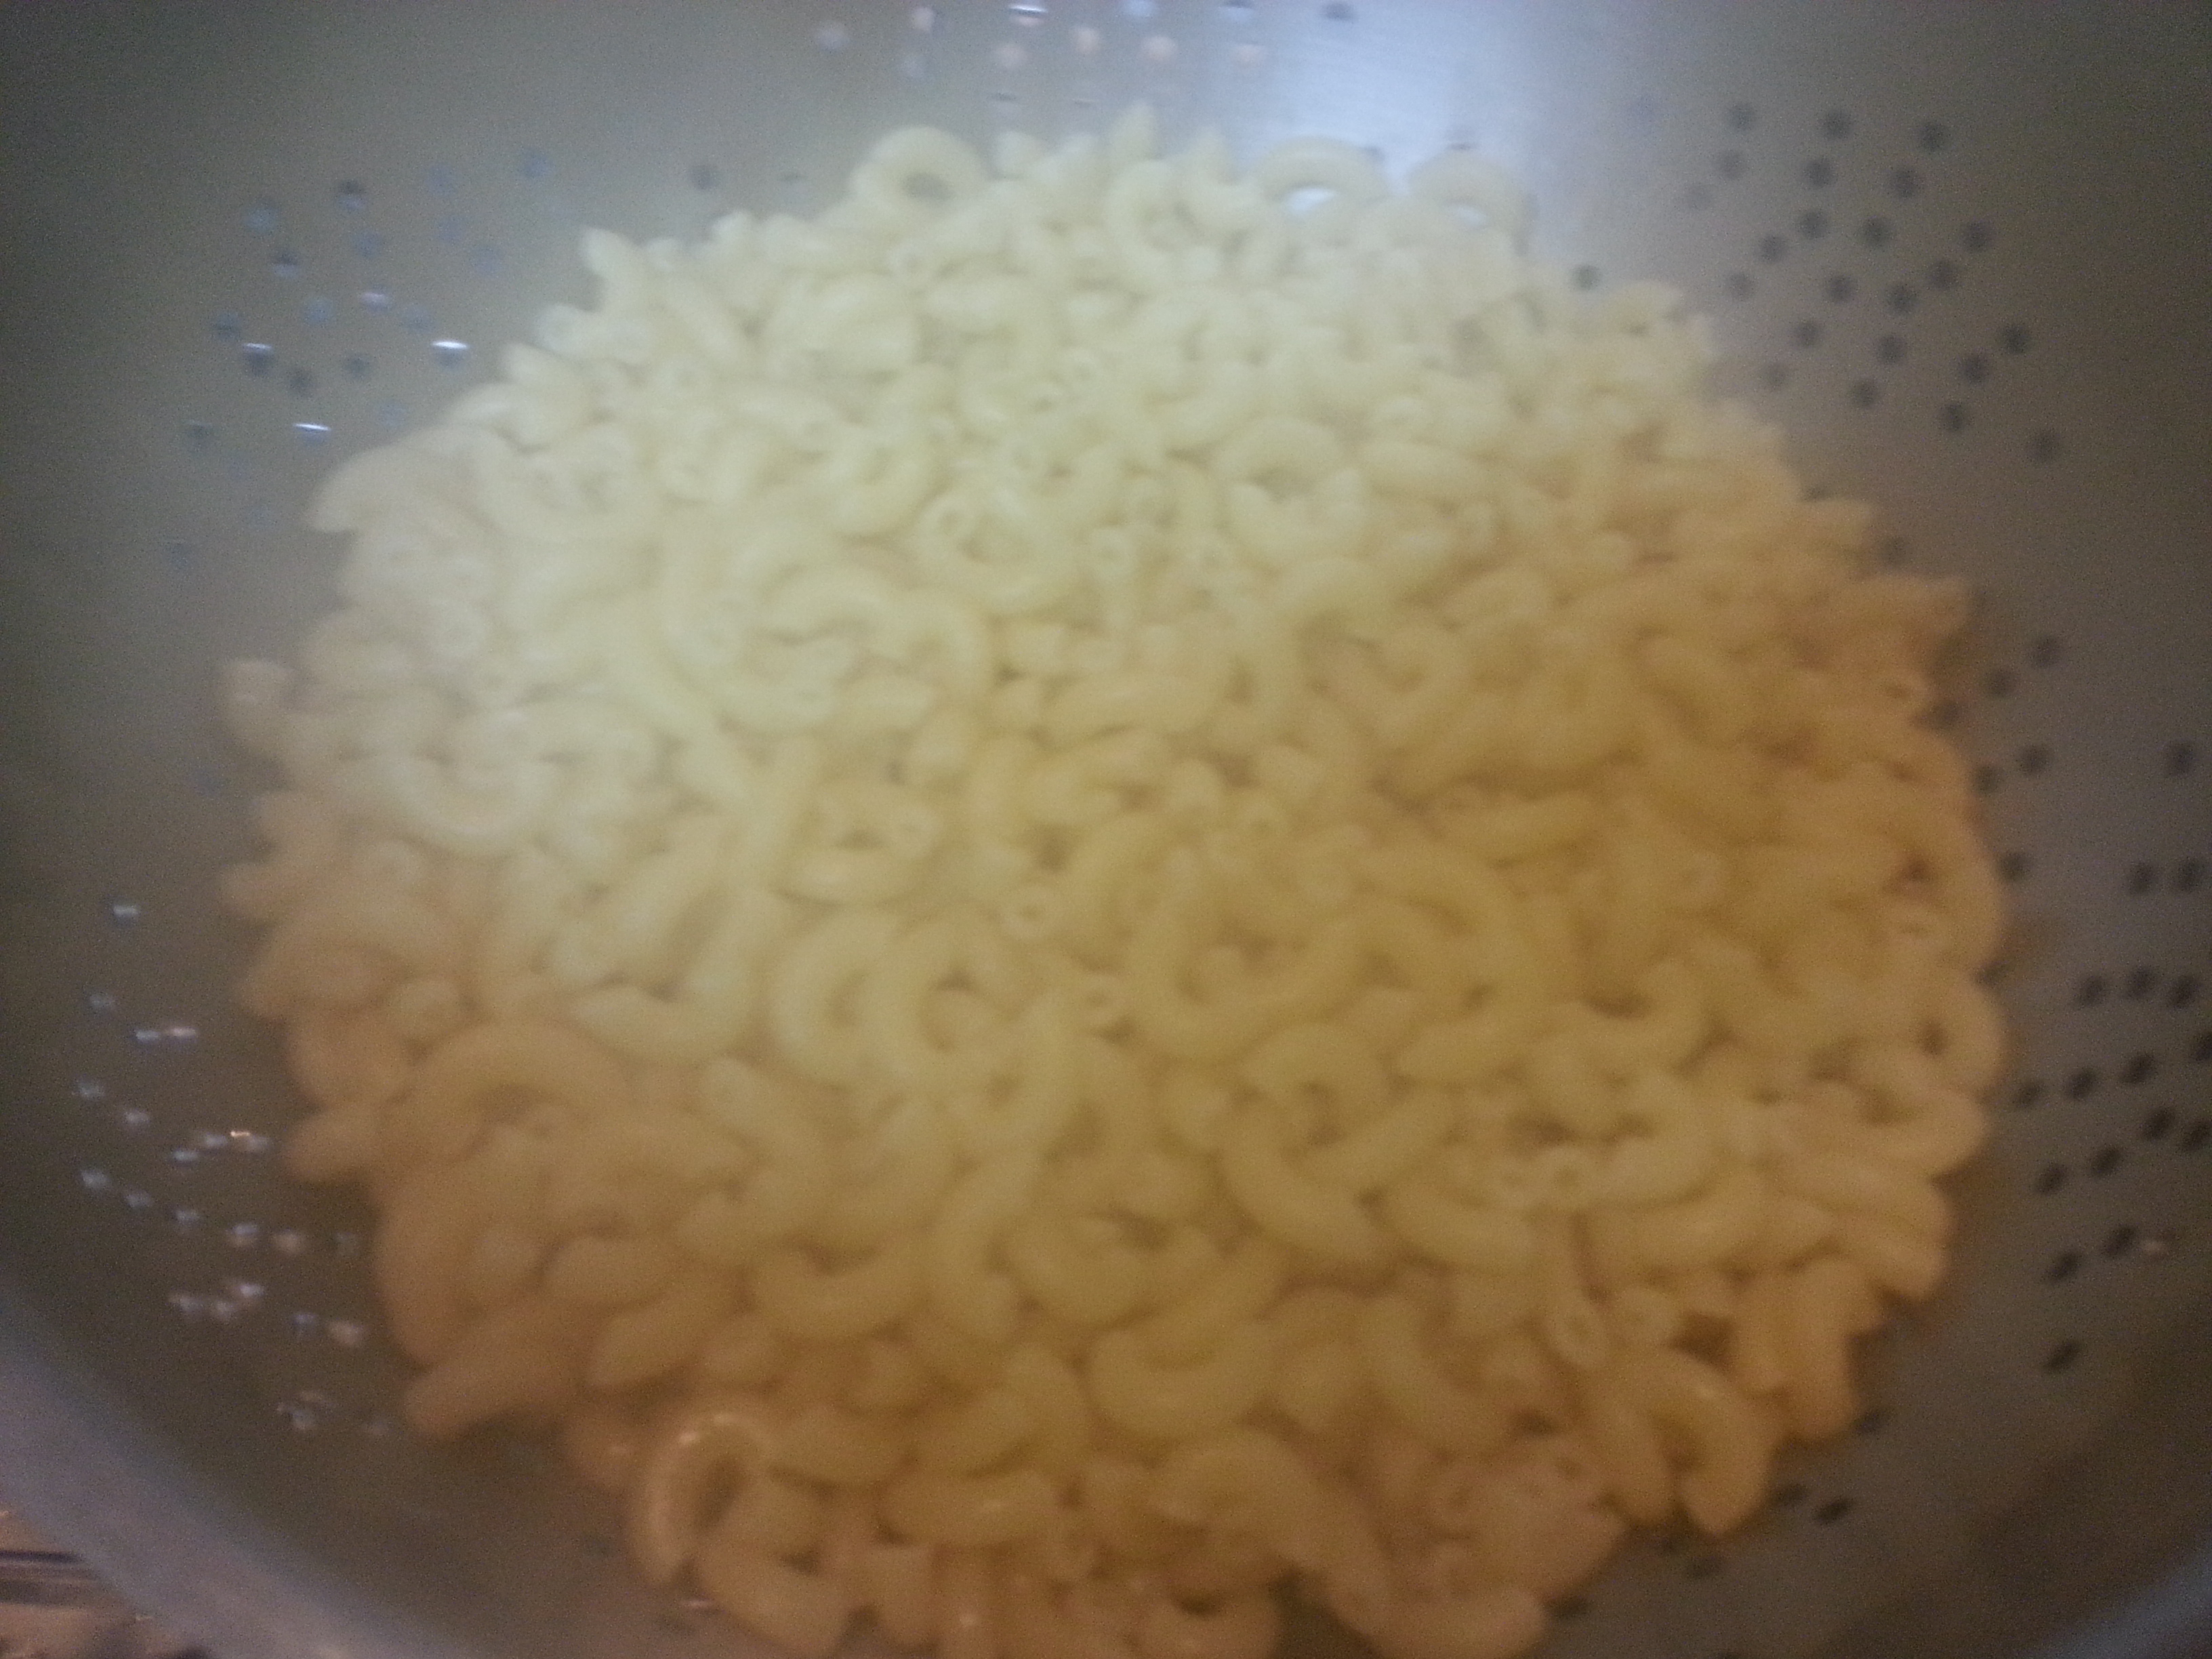
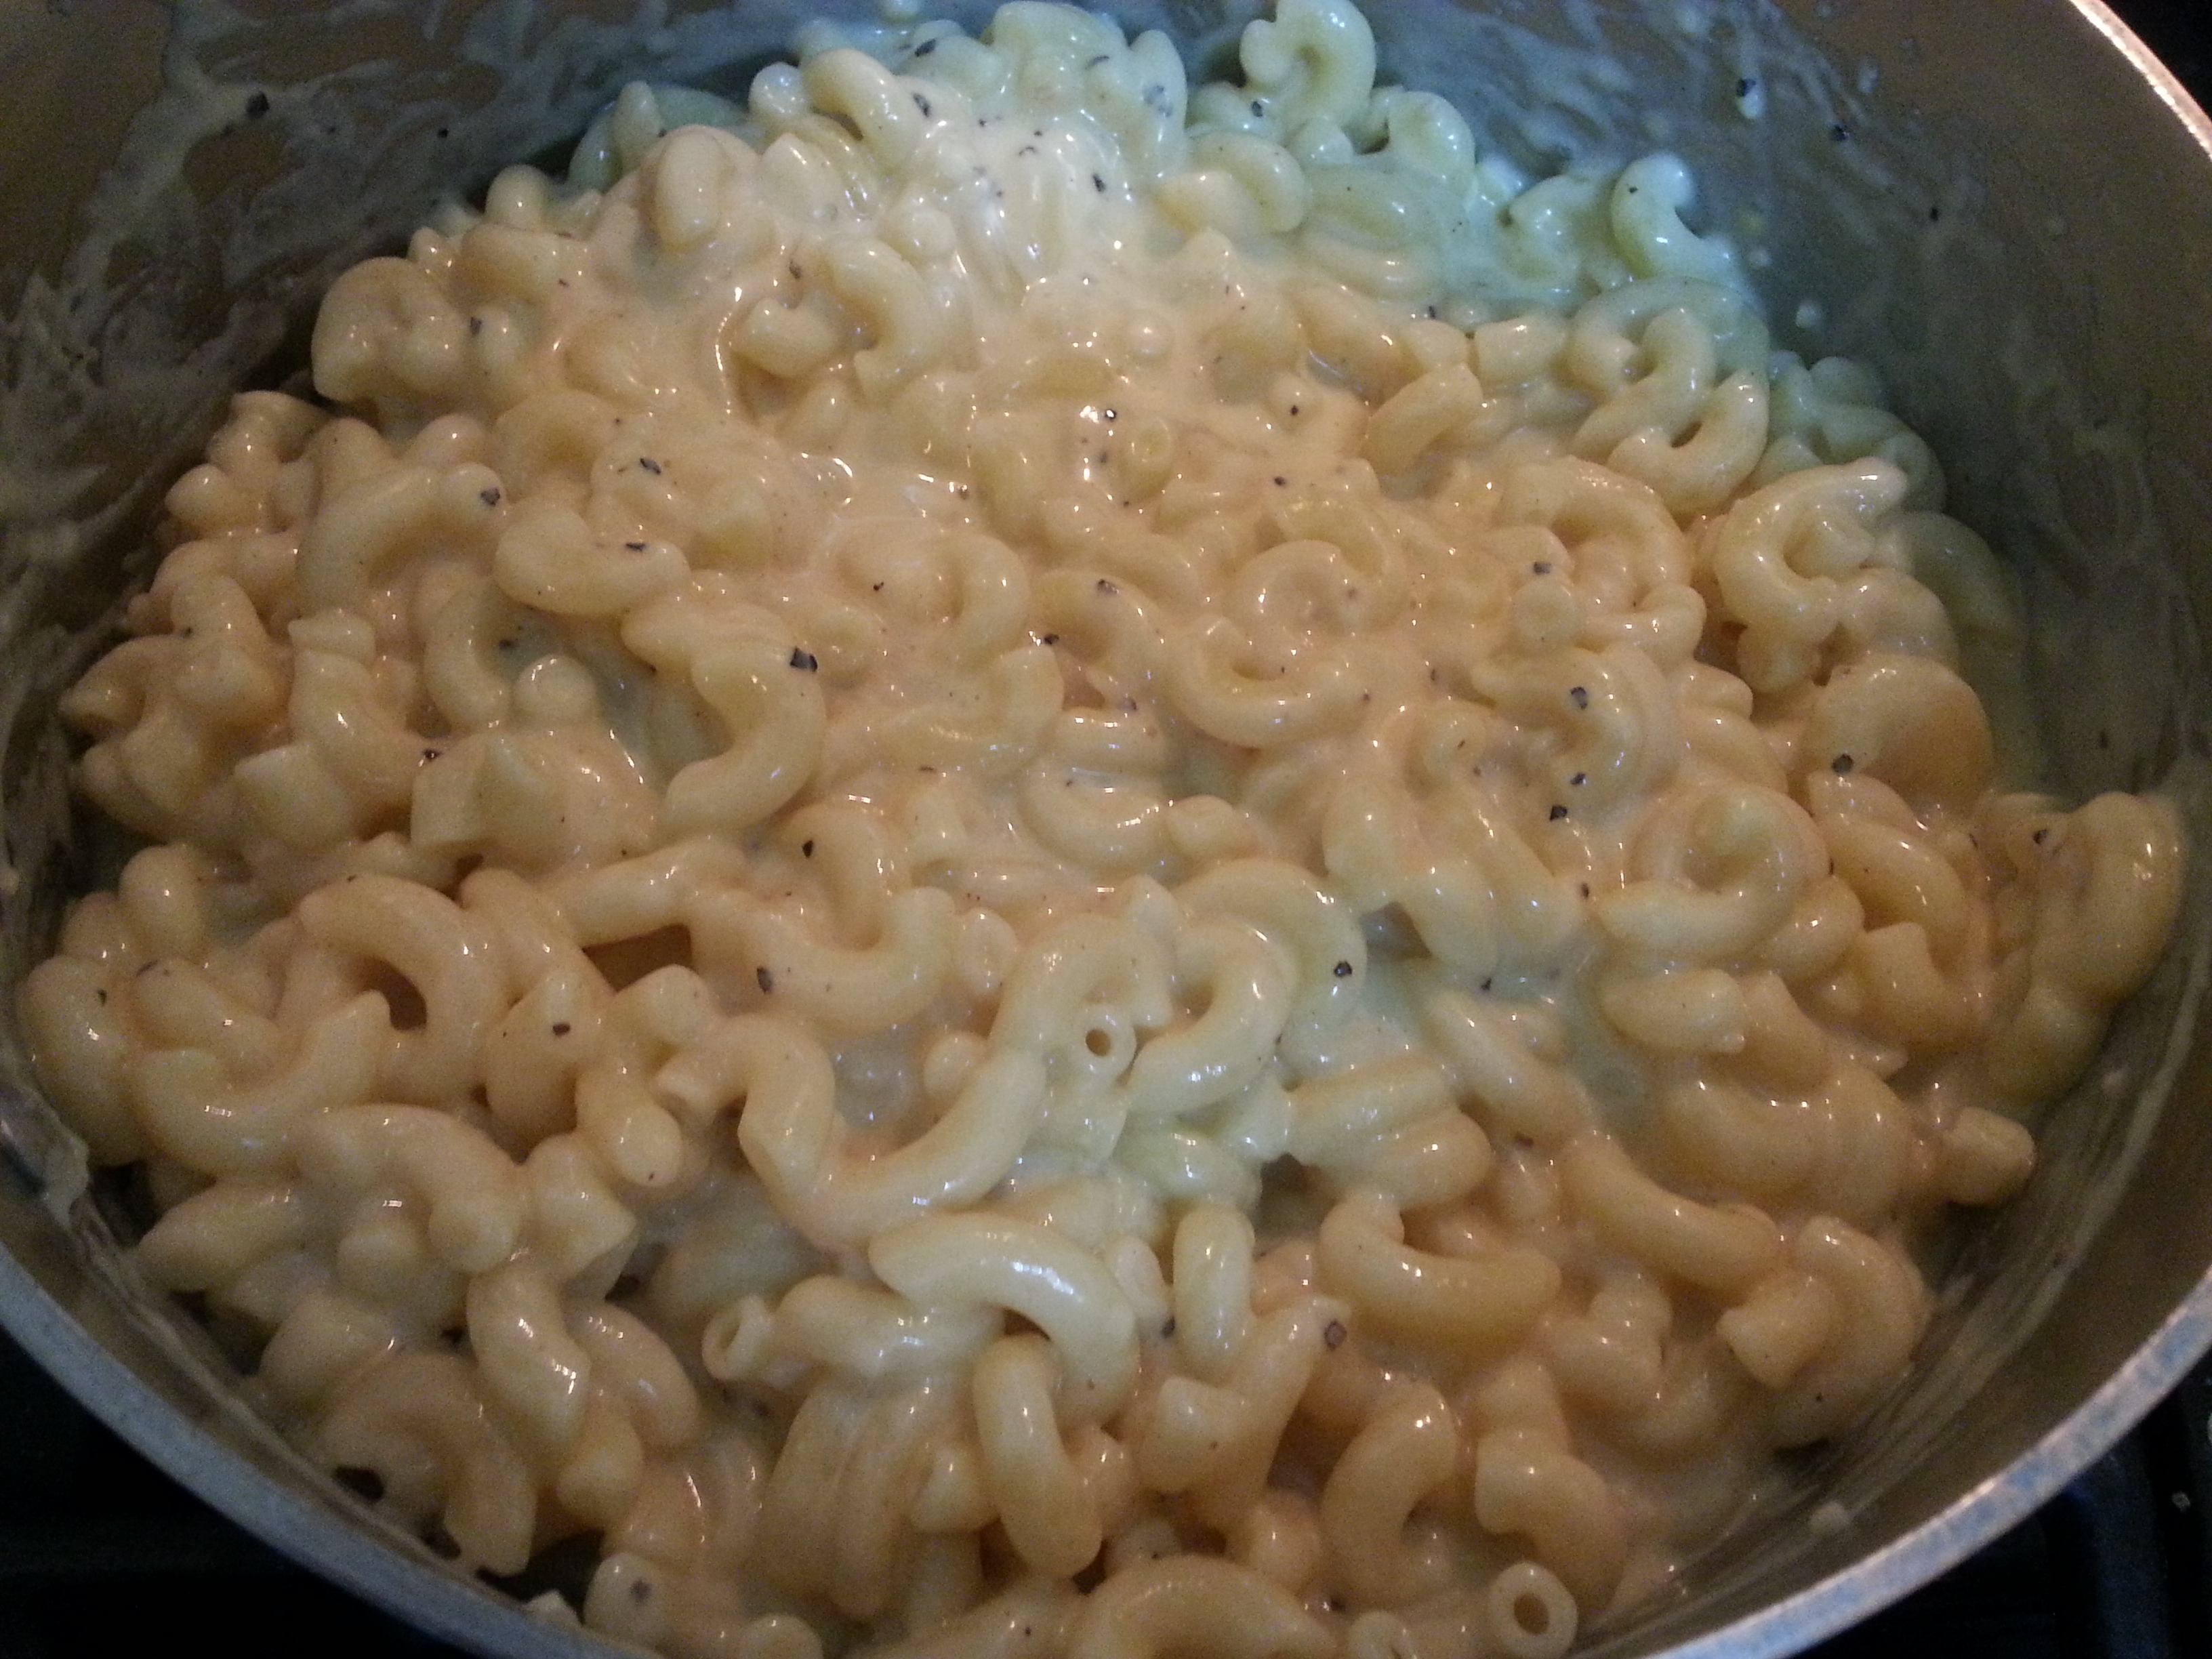
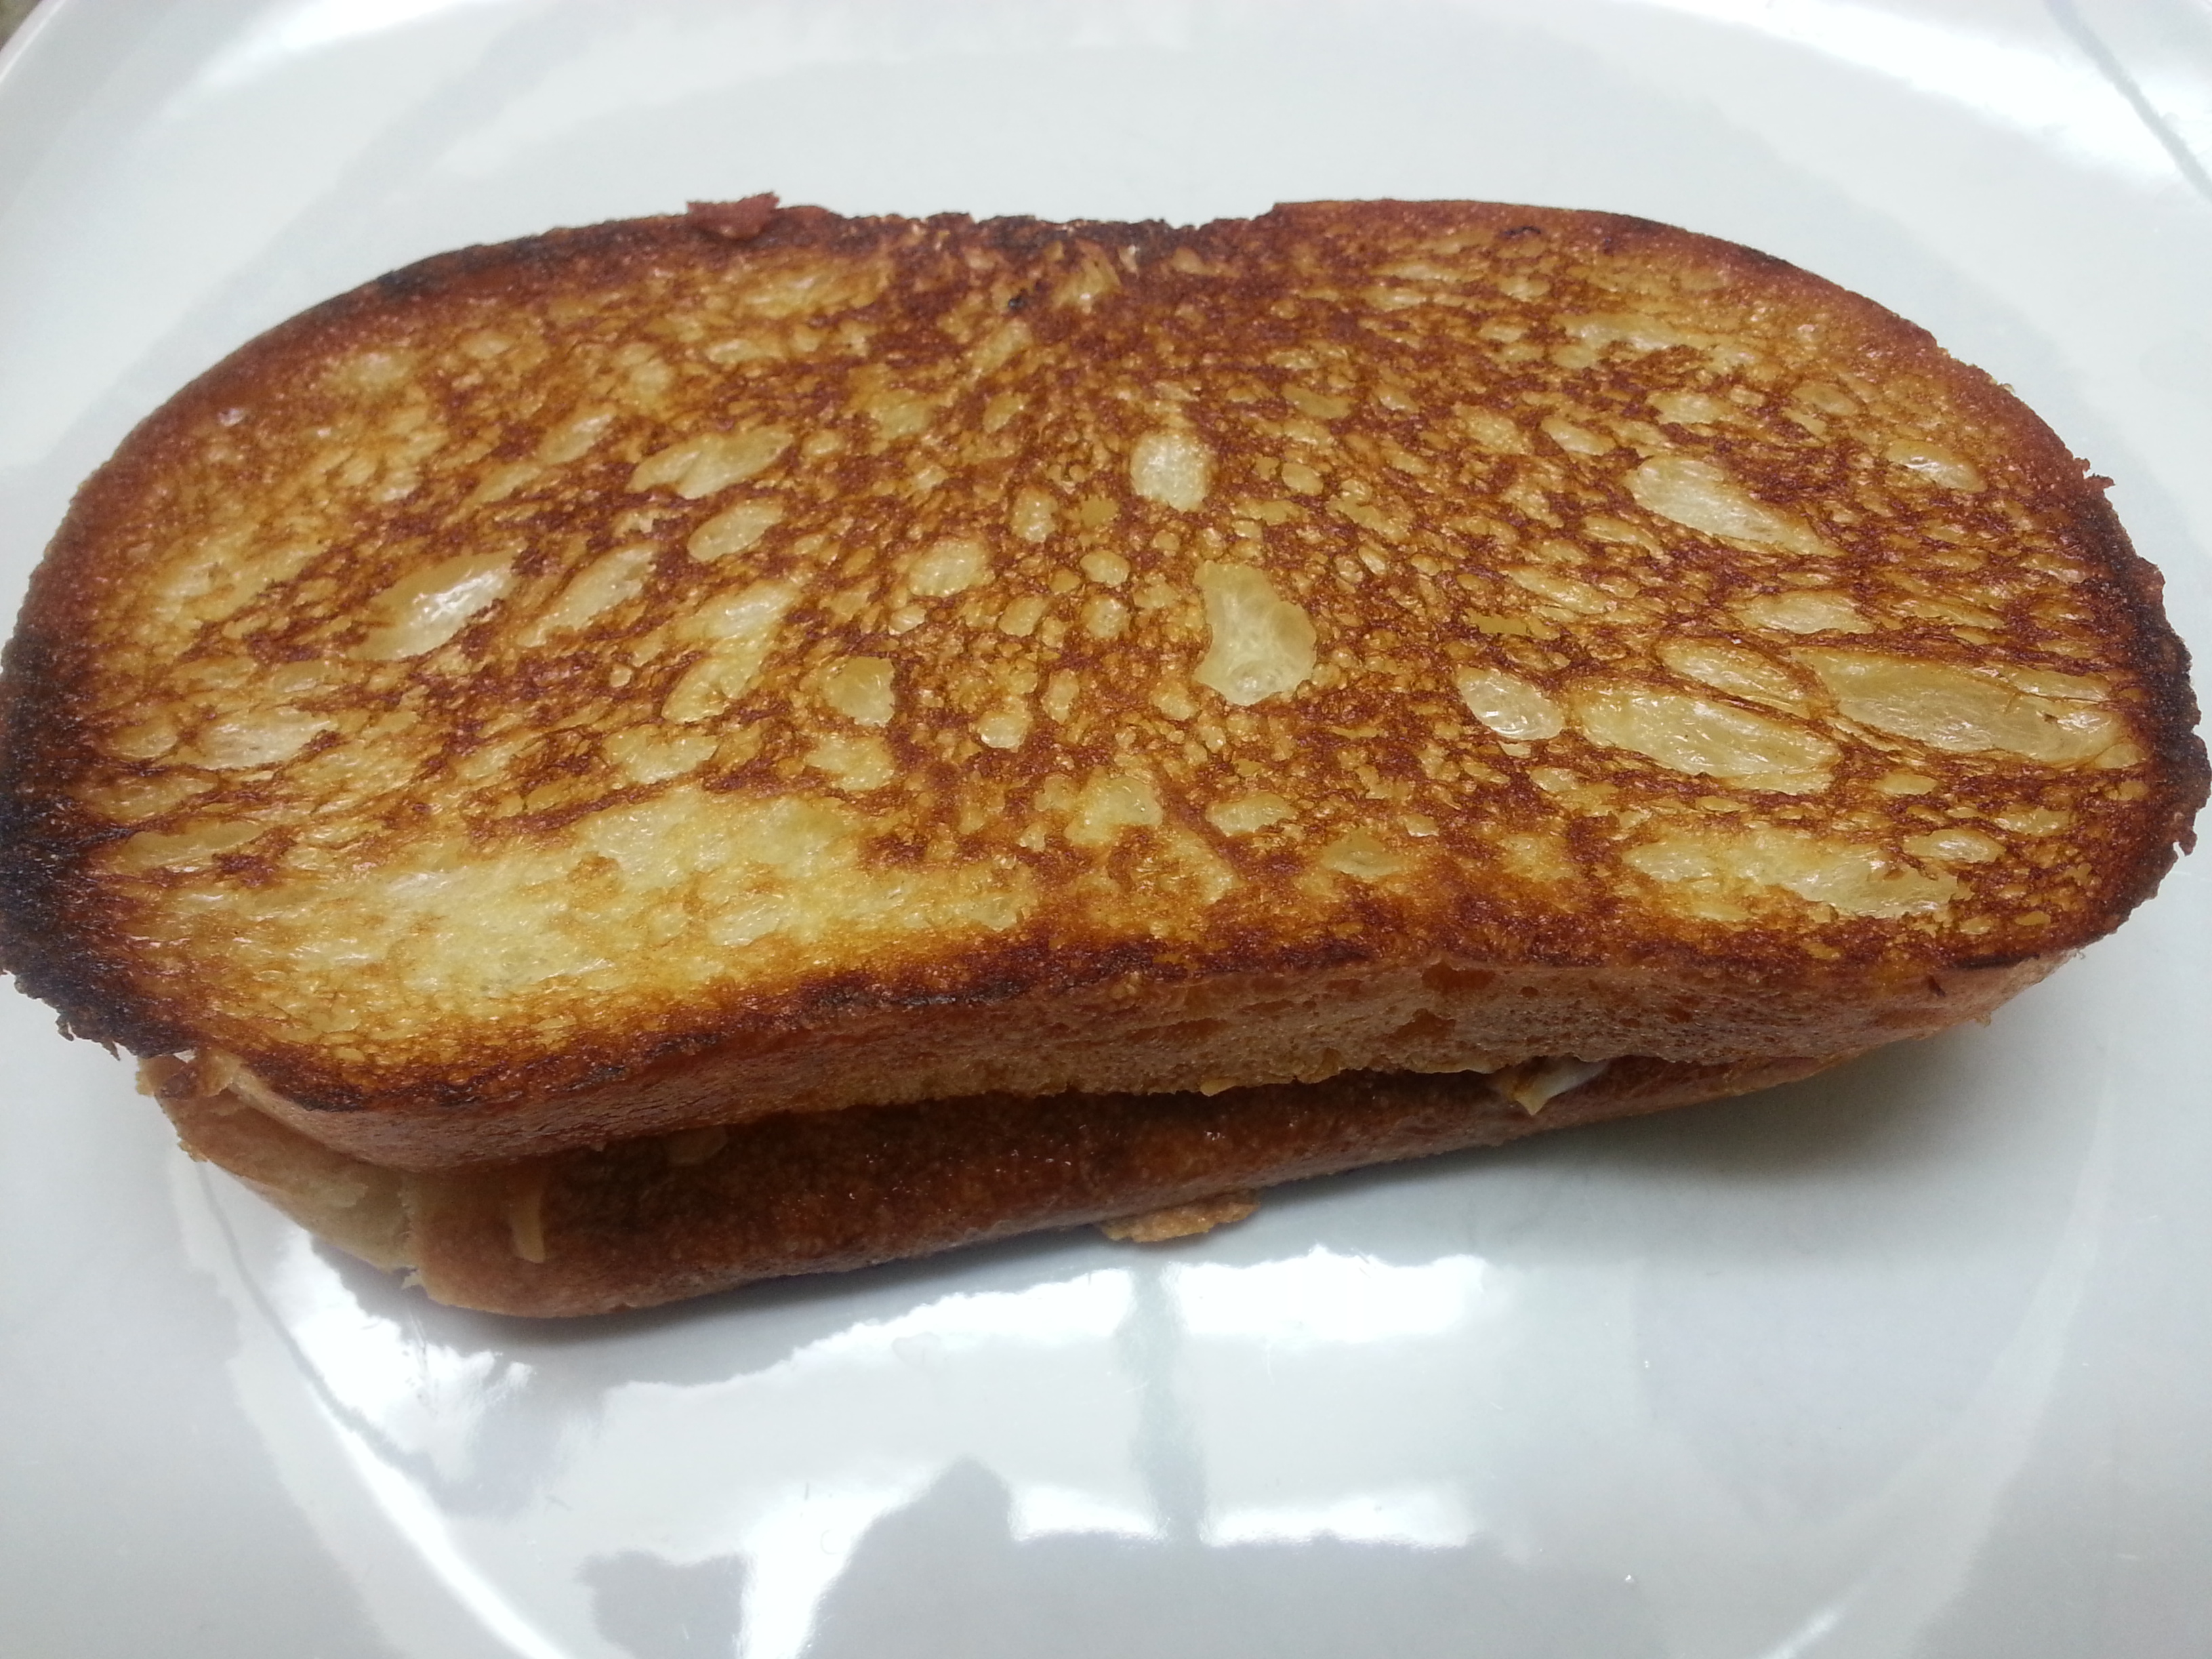
I used this sauce over steamed broccoli, which was very yummy. I’ve also made it and used as a sauce in a casserole of shredded chicken, rice, broccoli and almonds. YUM. In that case, I didn’t tell my husband I used nutritional yeast (he HATES the name and sound of it) and the whole time, he thought it was a cheese sauce over the casserole. Until I burst his bubble! 🙂 But I don’t want to give you the wrong impression. The nutritional yeast has a reminiscent “cheese” like taste, however, the actual flavor is very unique and hard to describe. If you don’t want to go all out and buy a large quantity like I did, you can typically pick up a very small amount in the bulk section at your market. It also comes in powder form or in flakes. I went with flakes as I heard that they dissolve quicker.
 Not-Cho “Cheese” Sauce
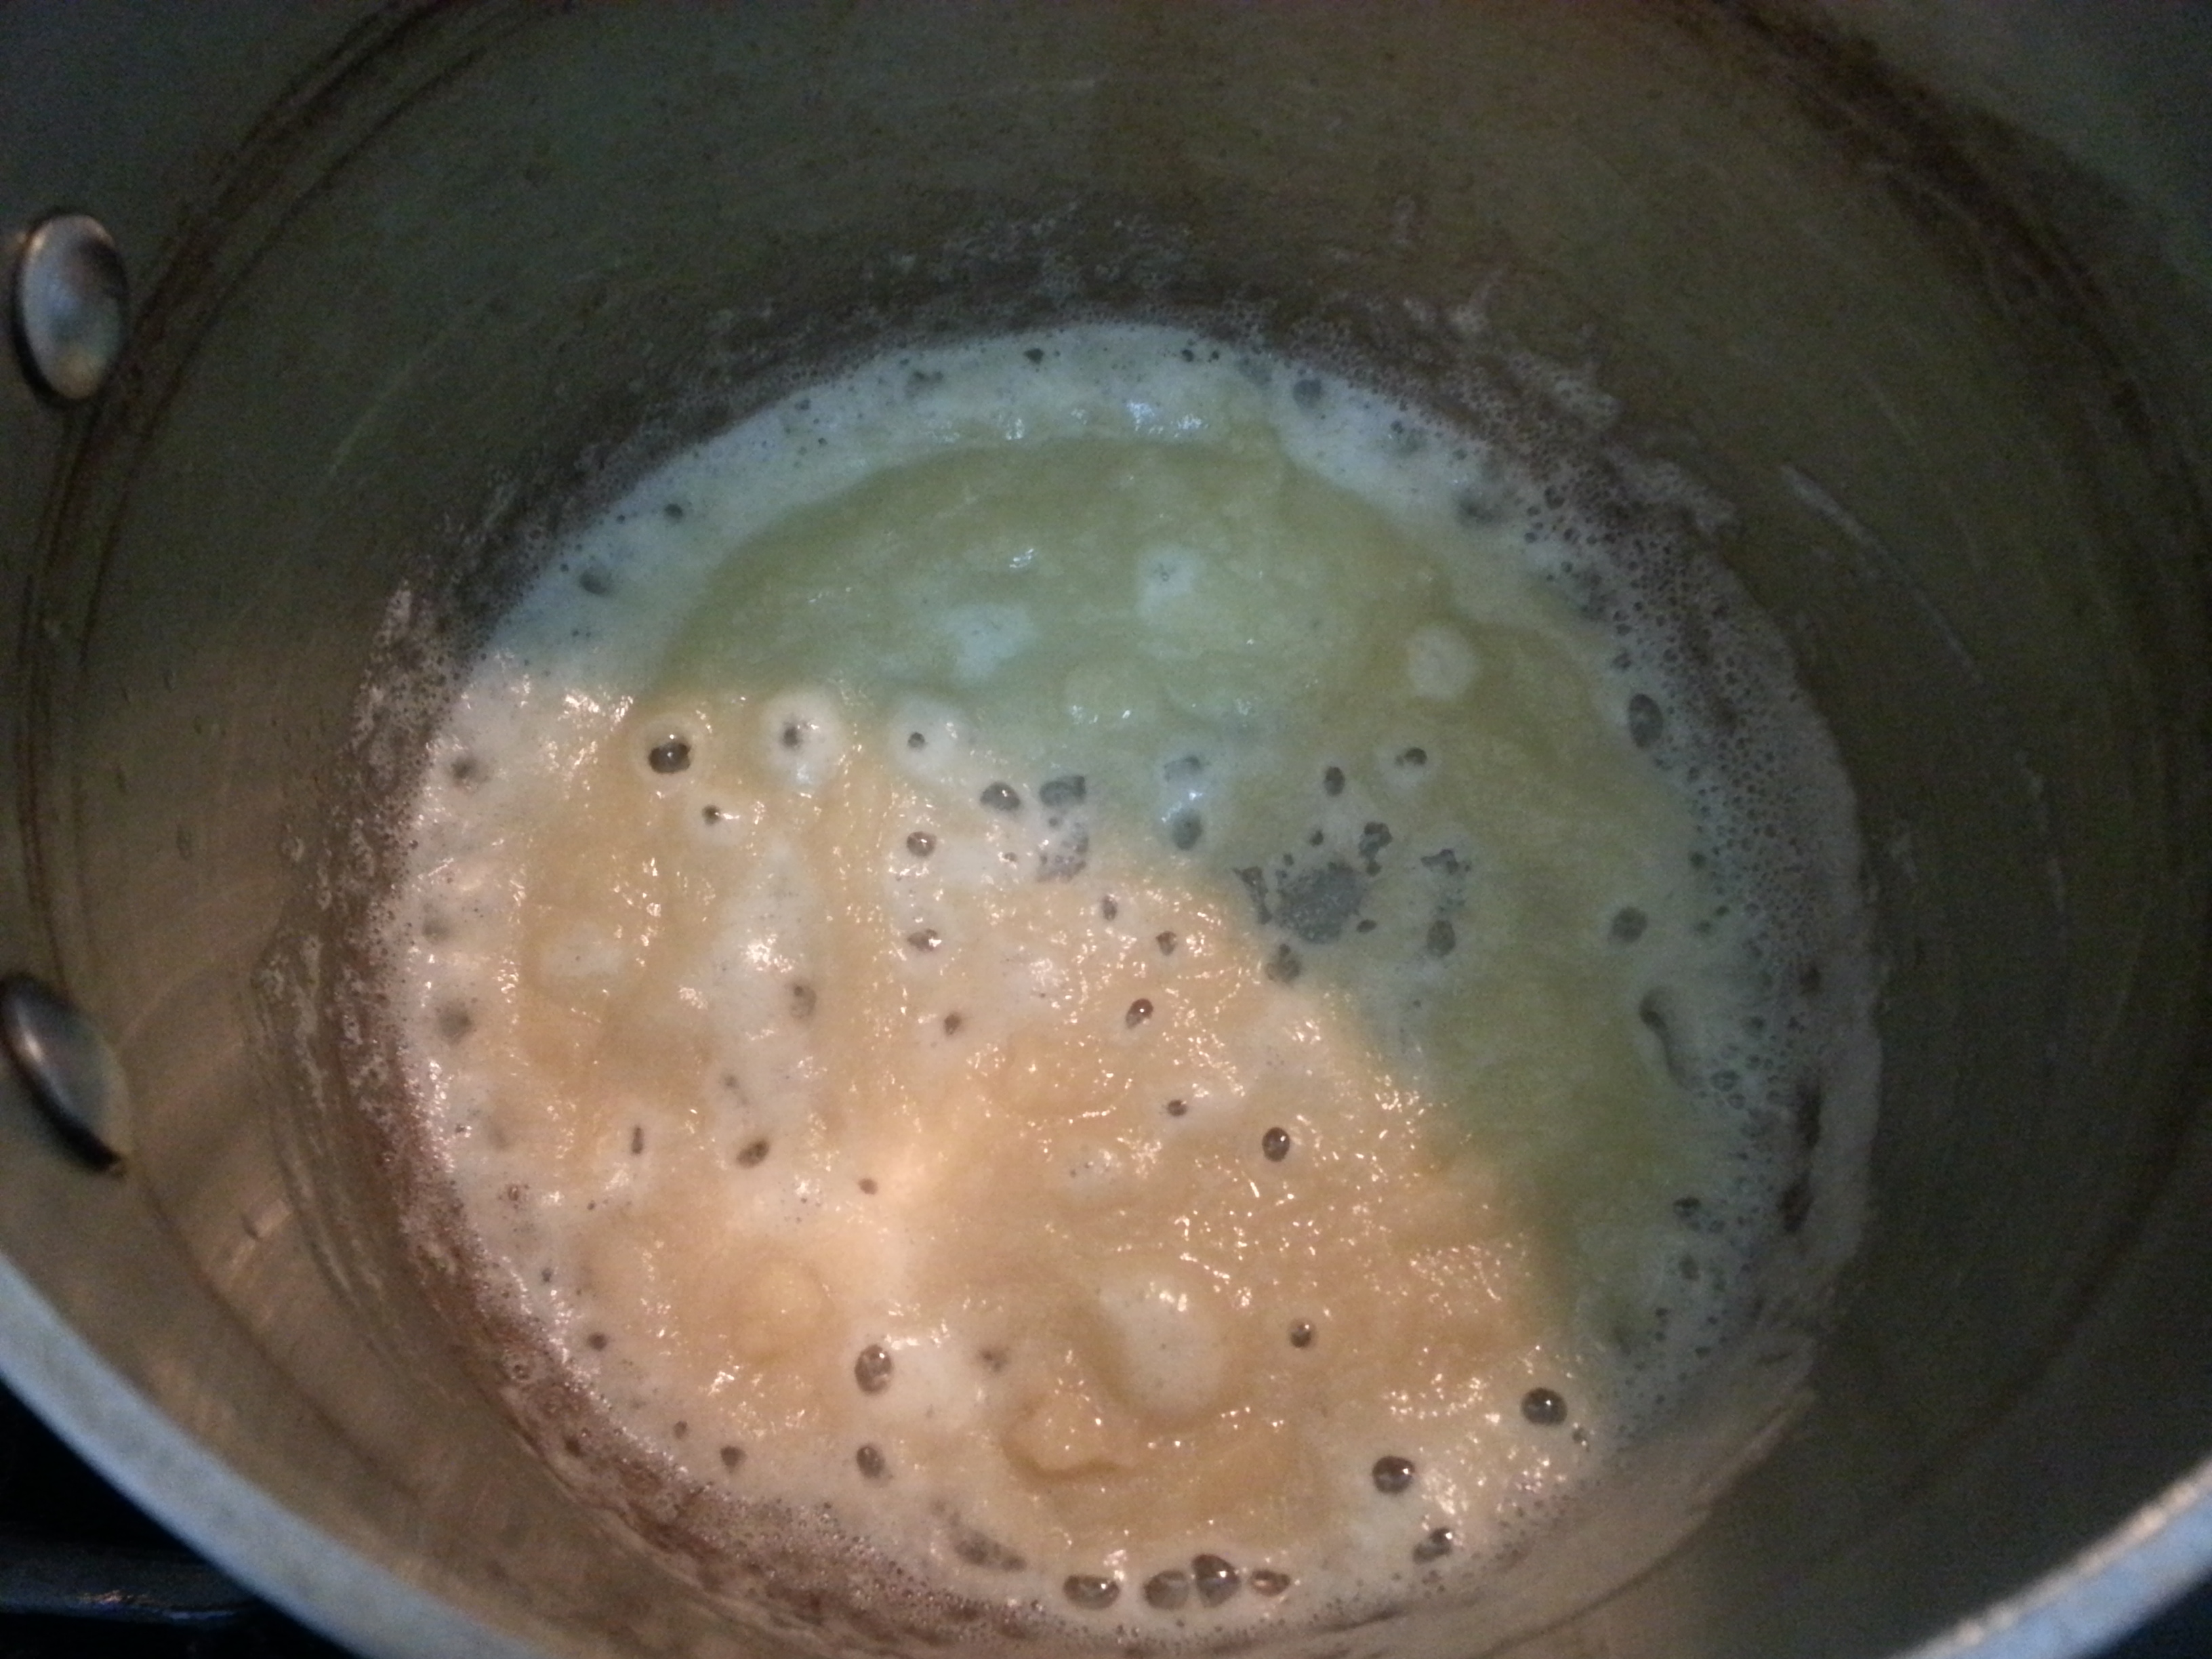
- 1 1/2 tbsp. butter substitute (I used real butter since I’m not vegan!)
- 1 1/2 tbsp. flour
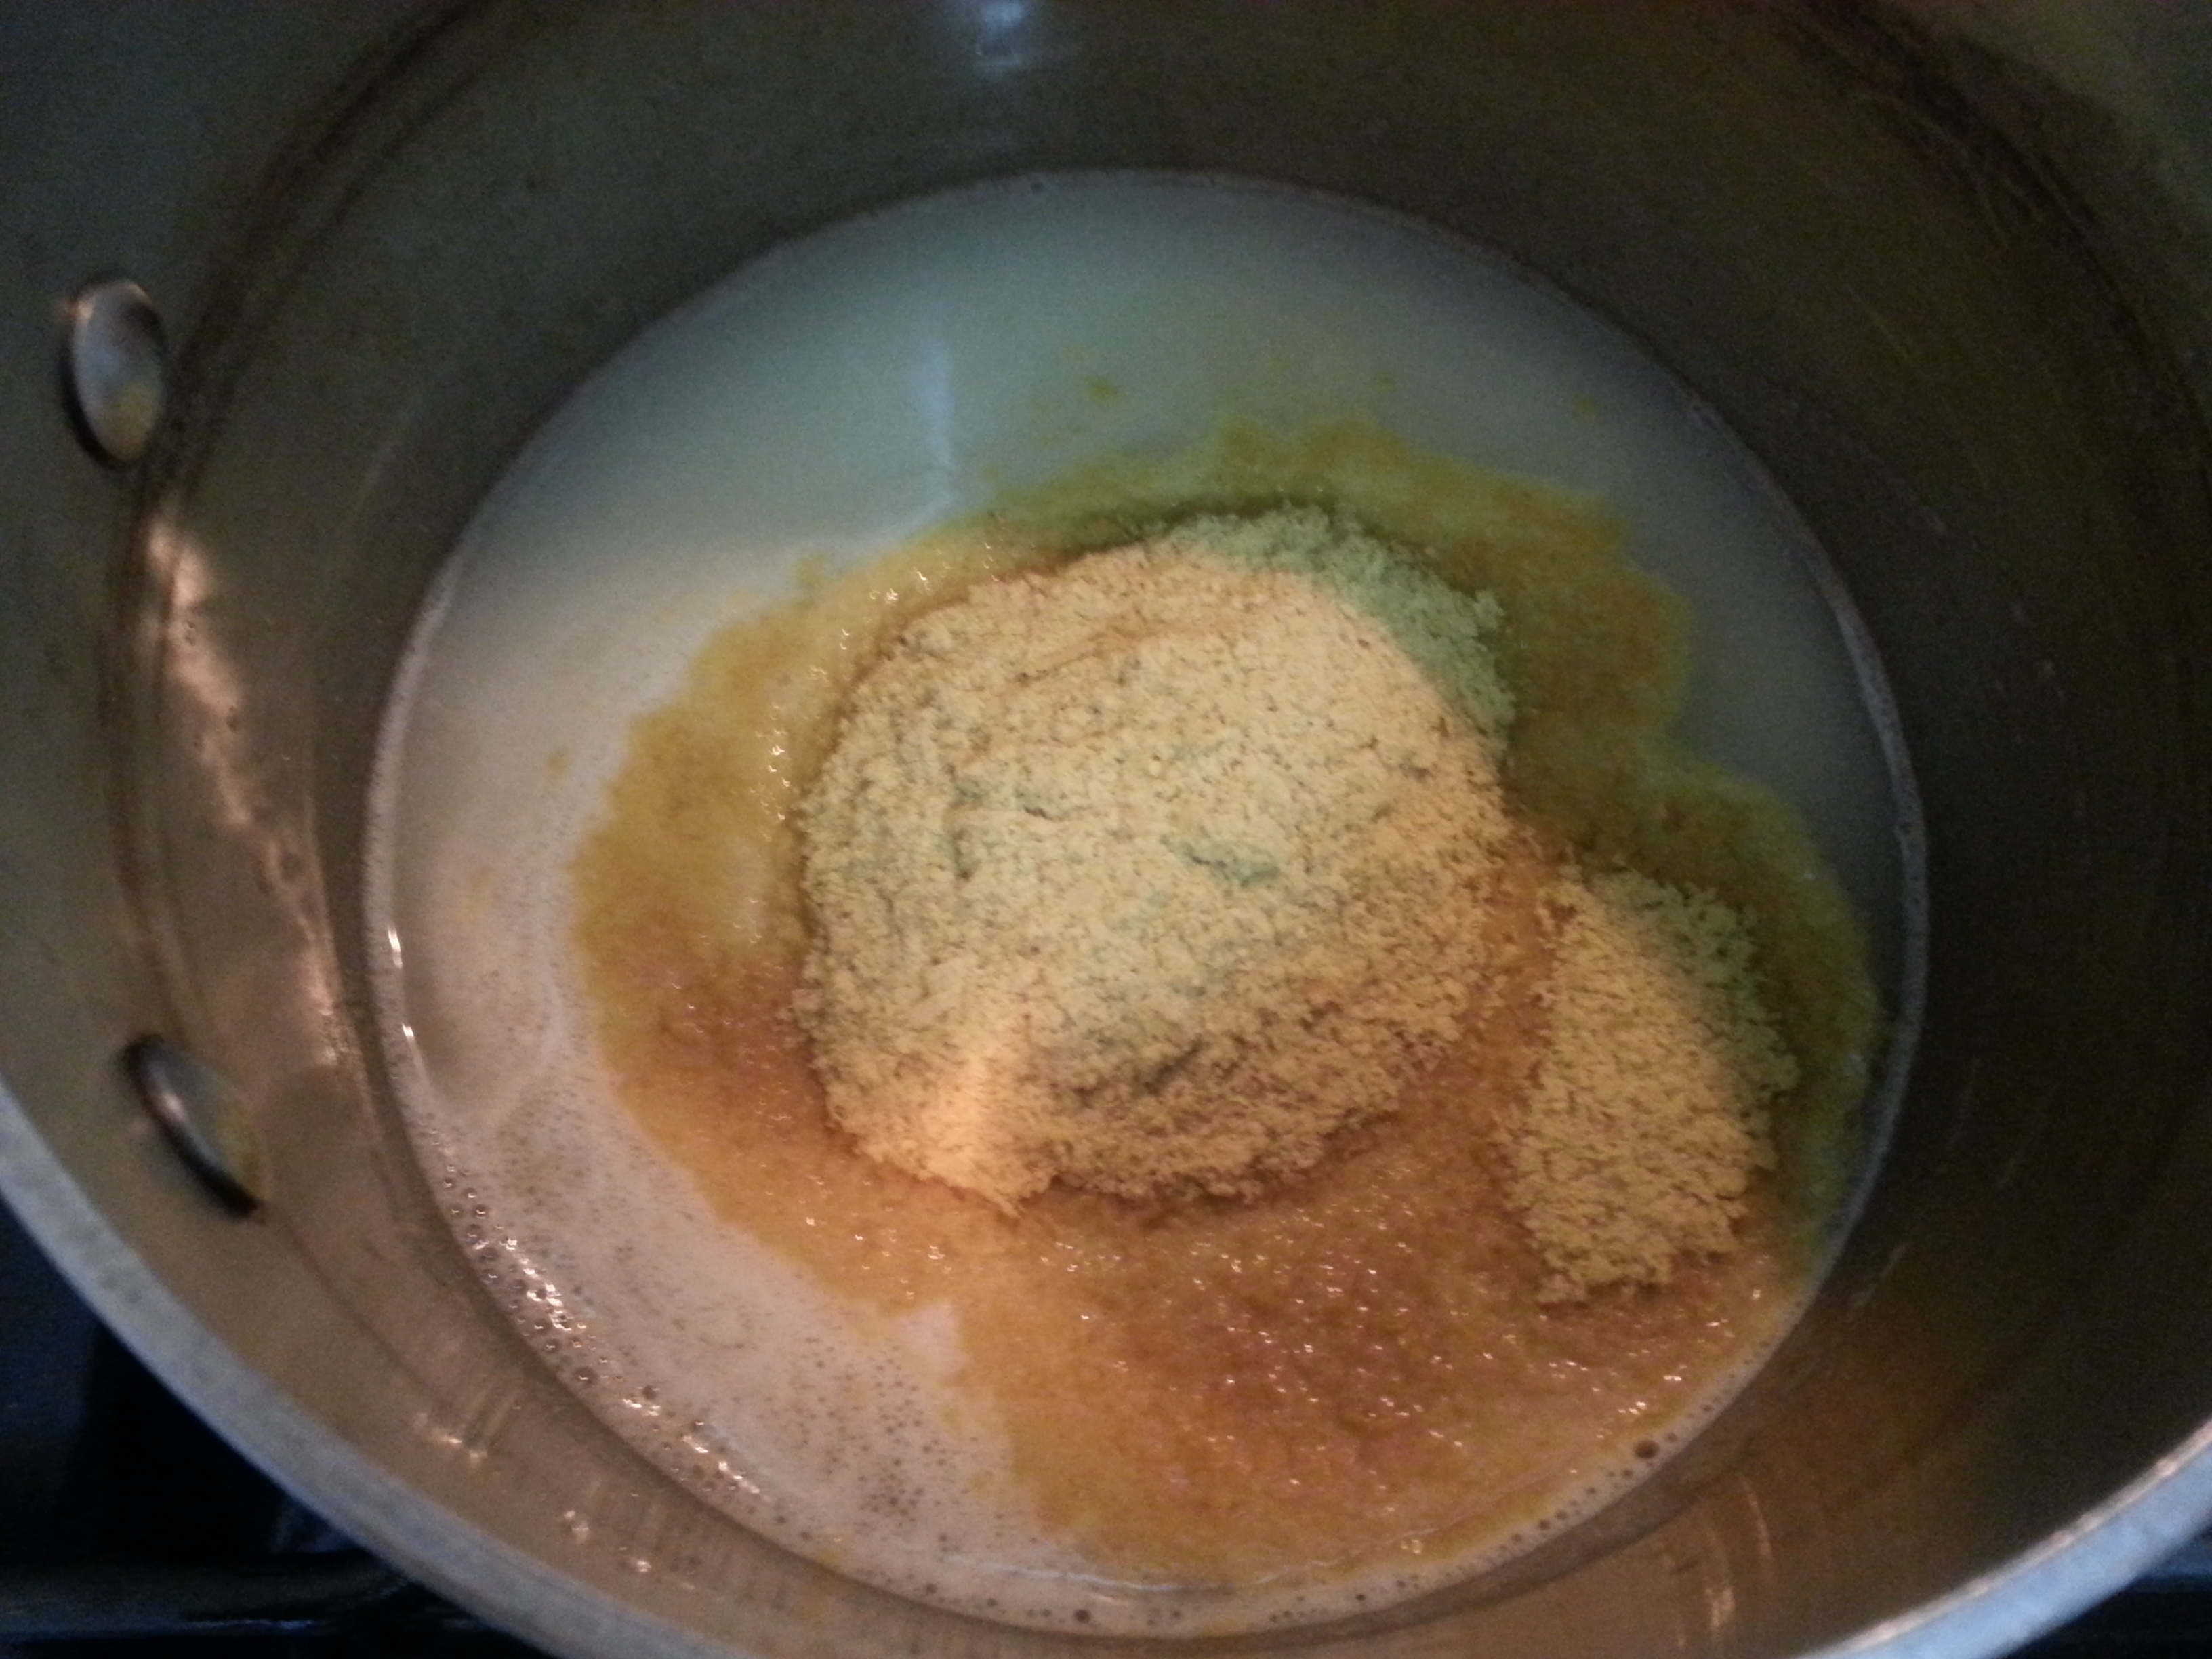
- 1 1/4 c. warm water
- 1/4 tsp. each paprika, garlic powder, chili powder, and salt
- 1/2 tsp. ground cumin
- 1/4 c. nutritional yeast flakes
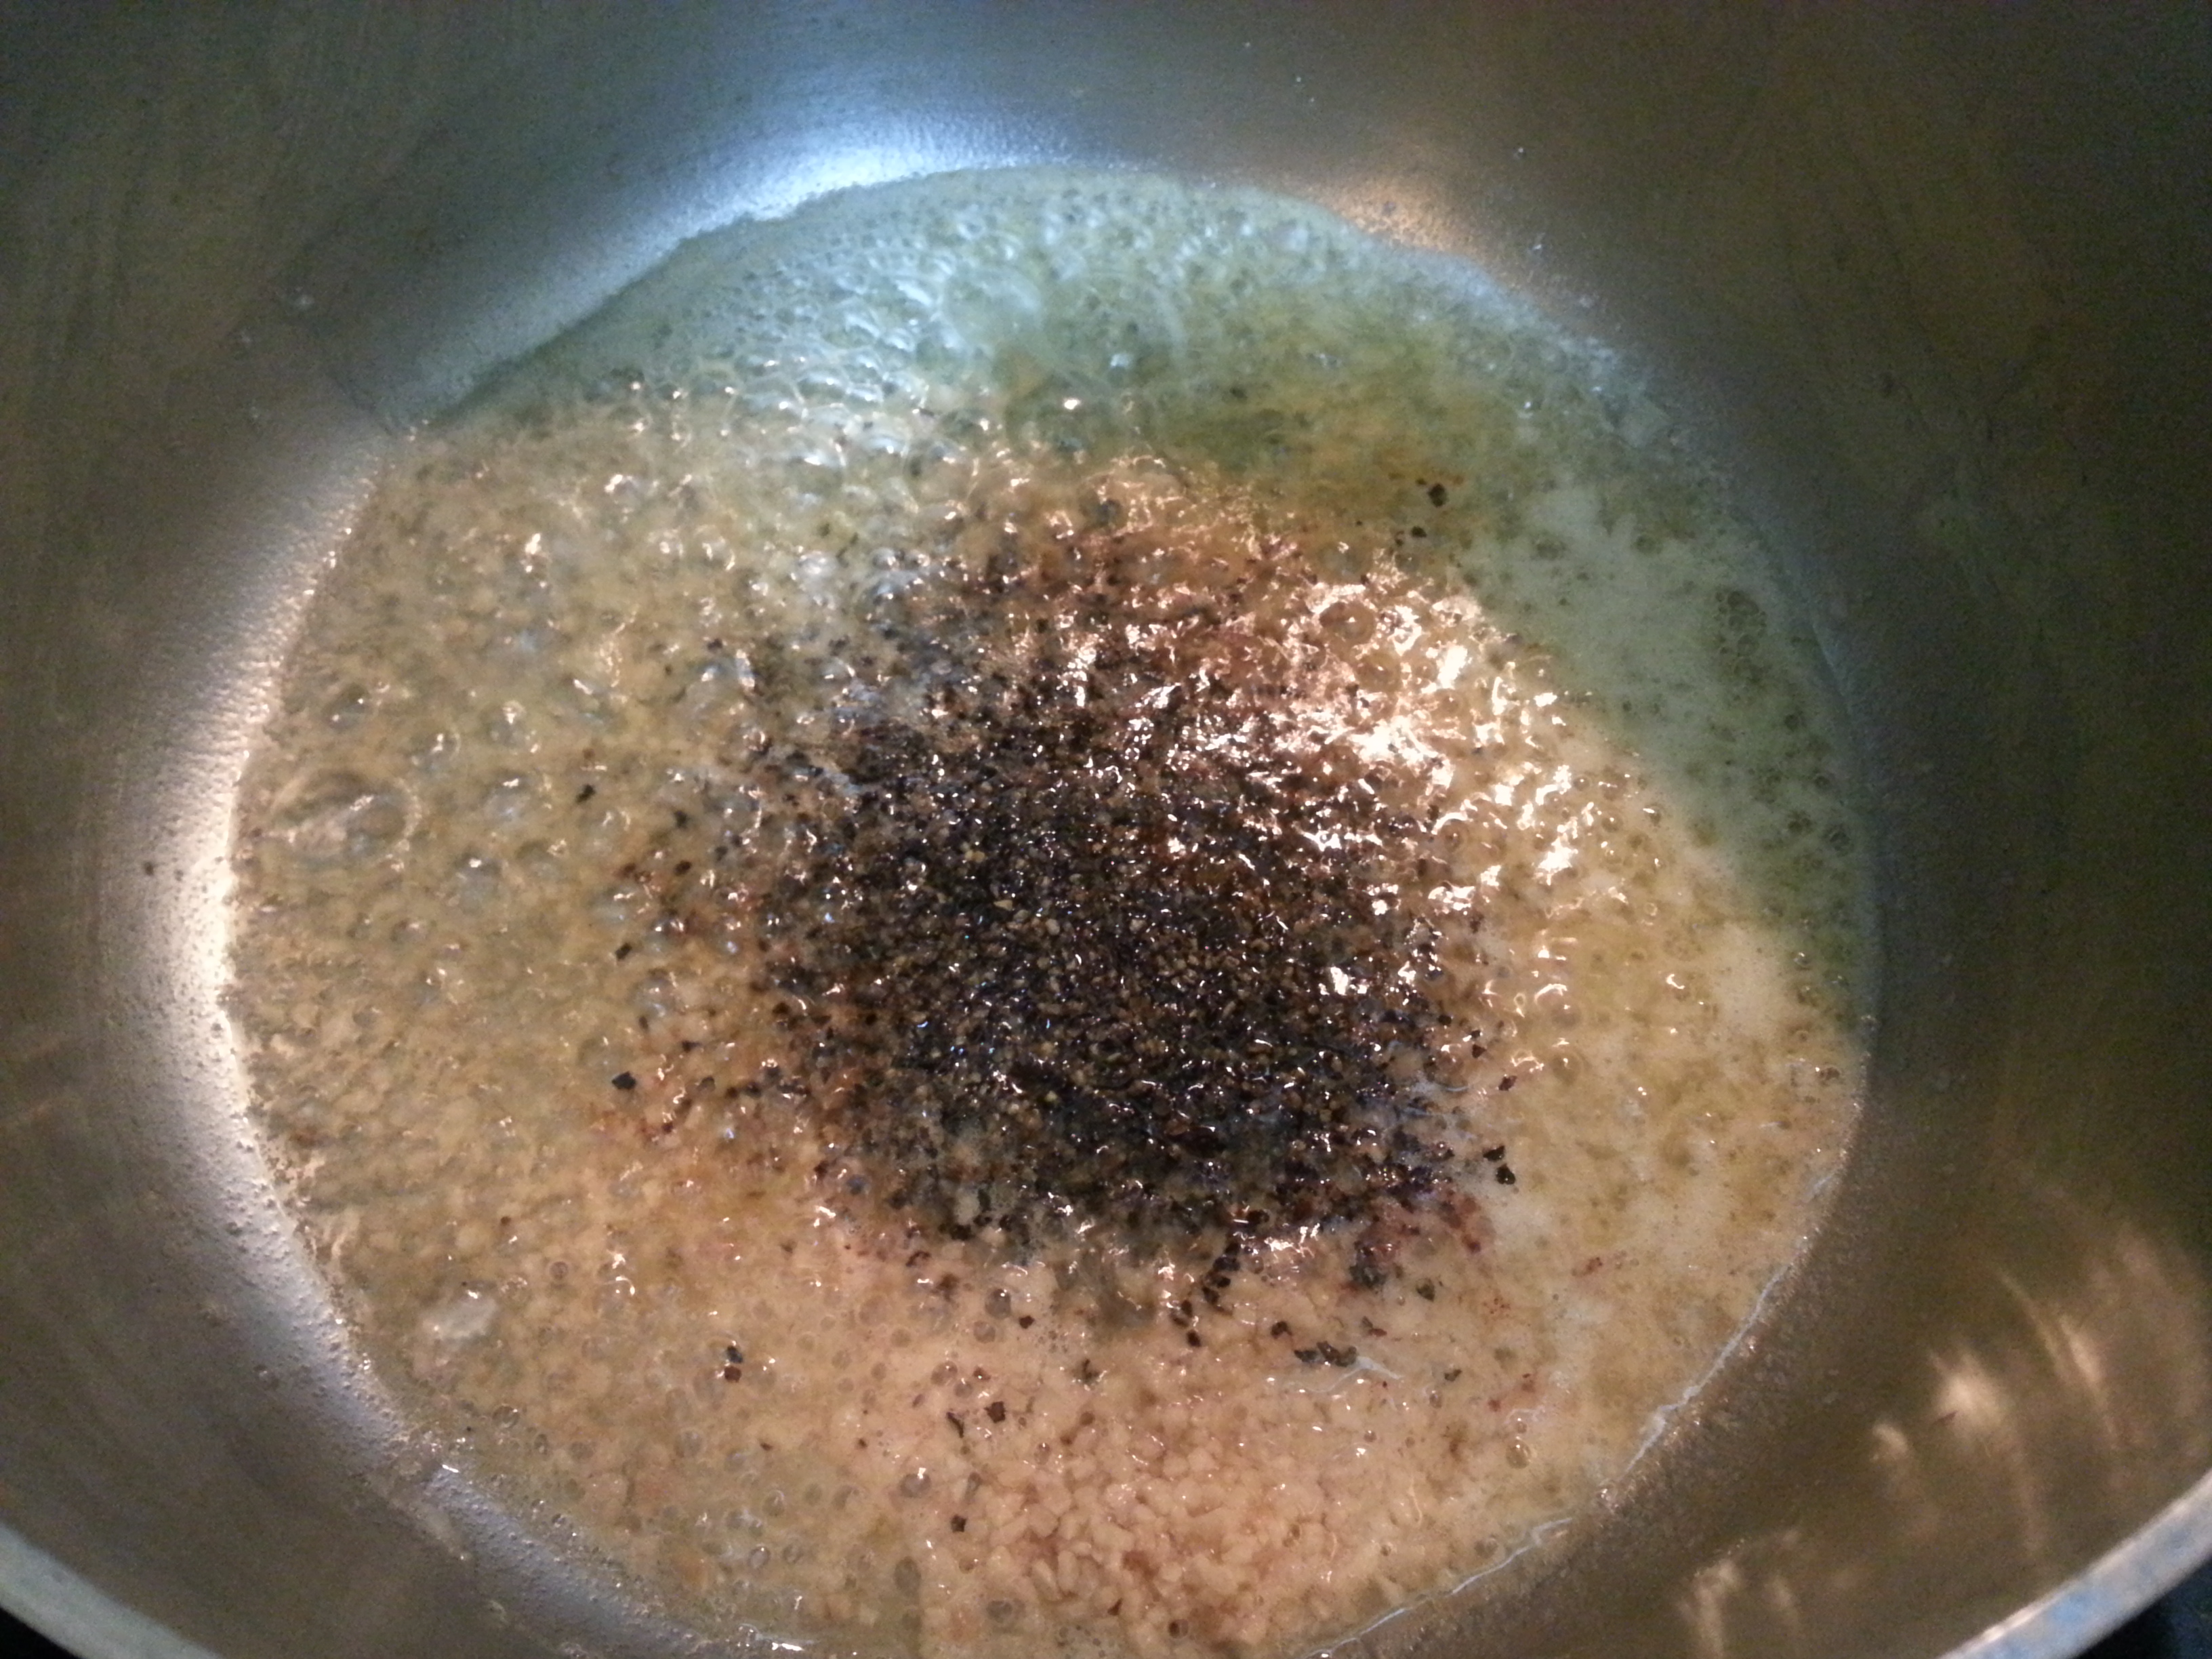
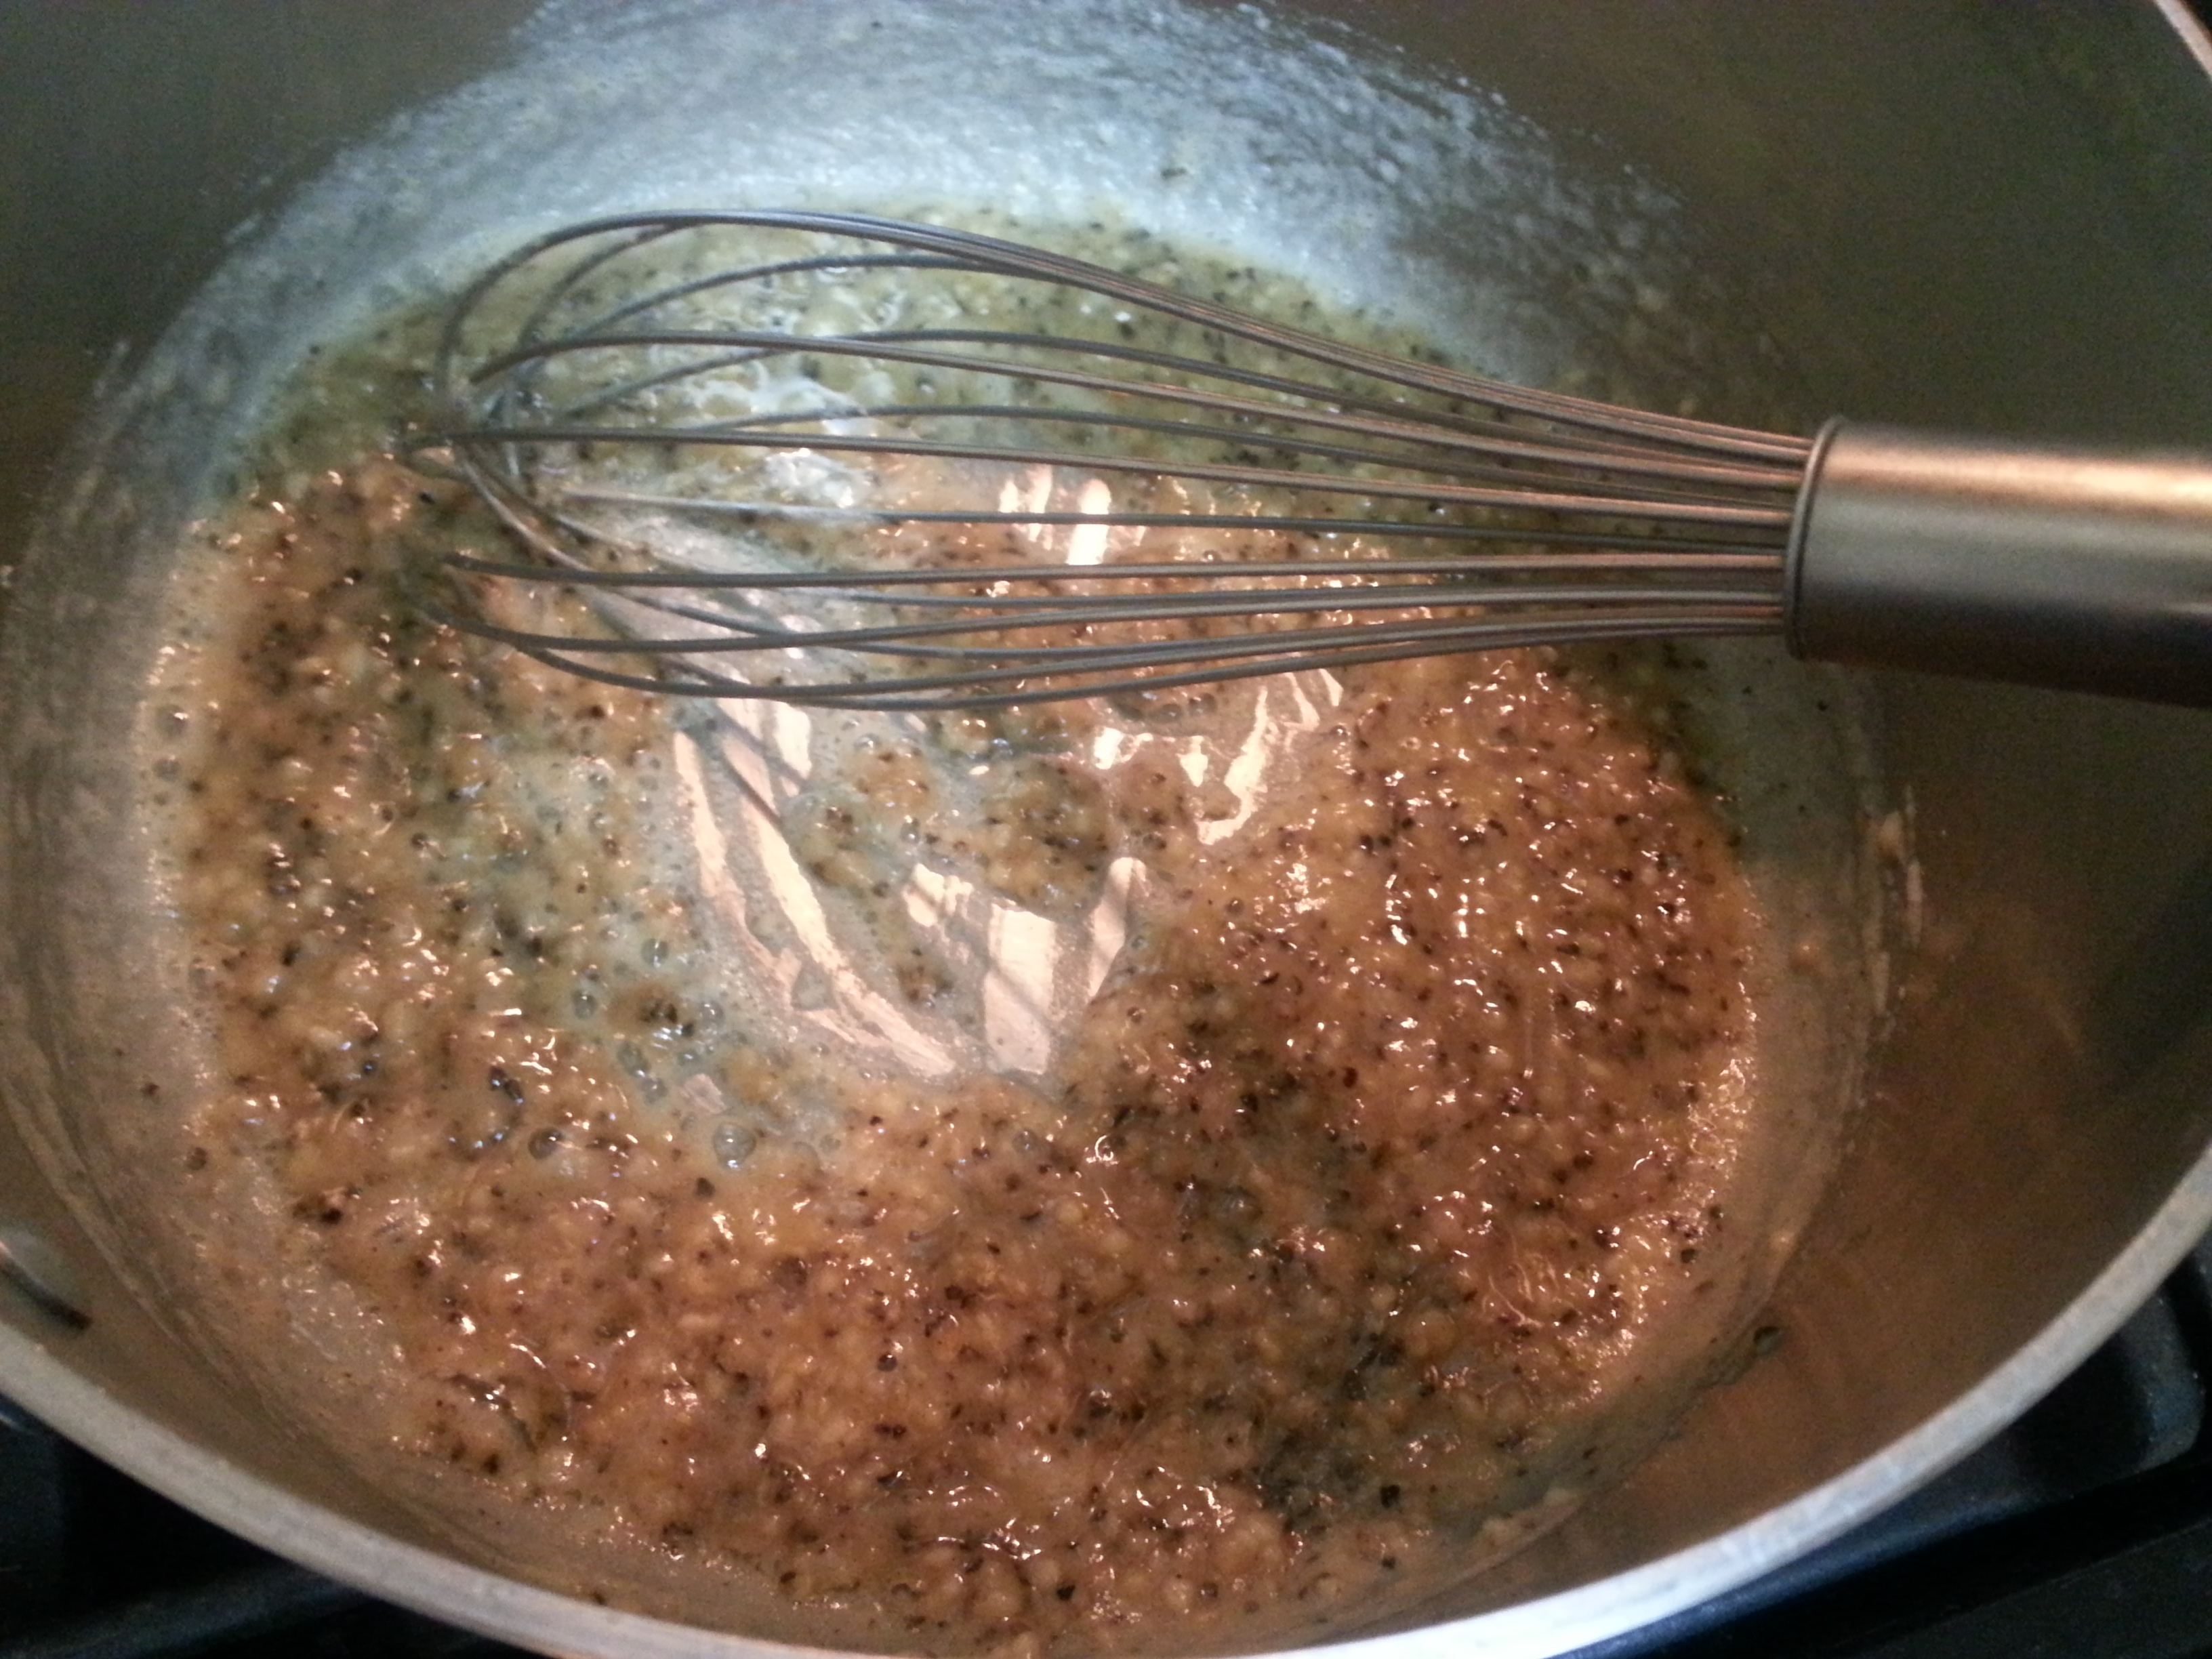
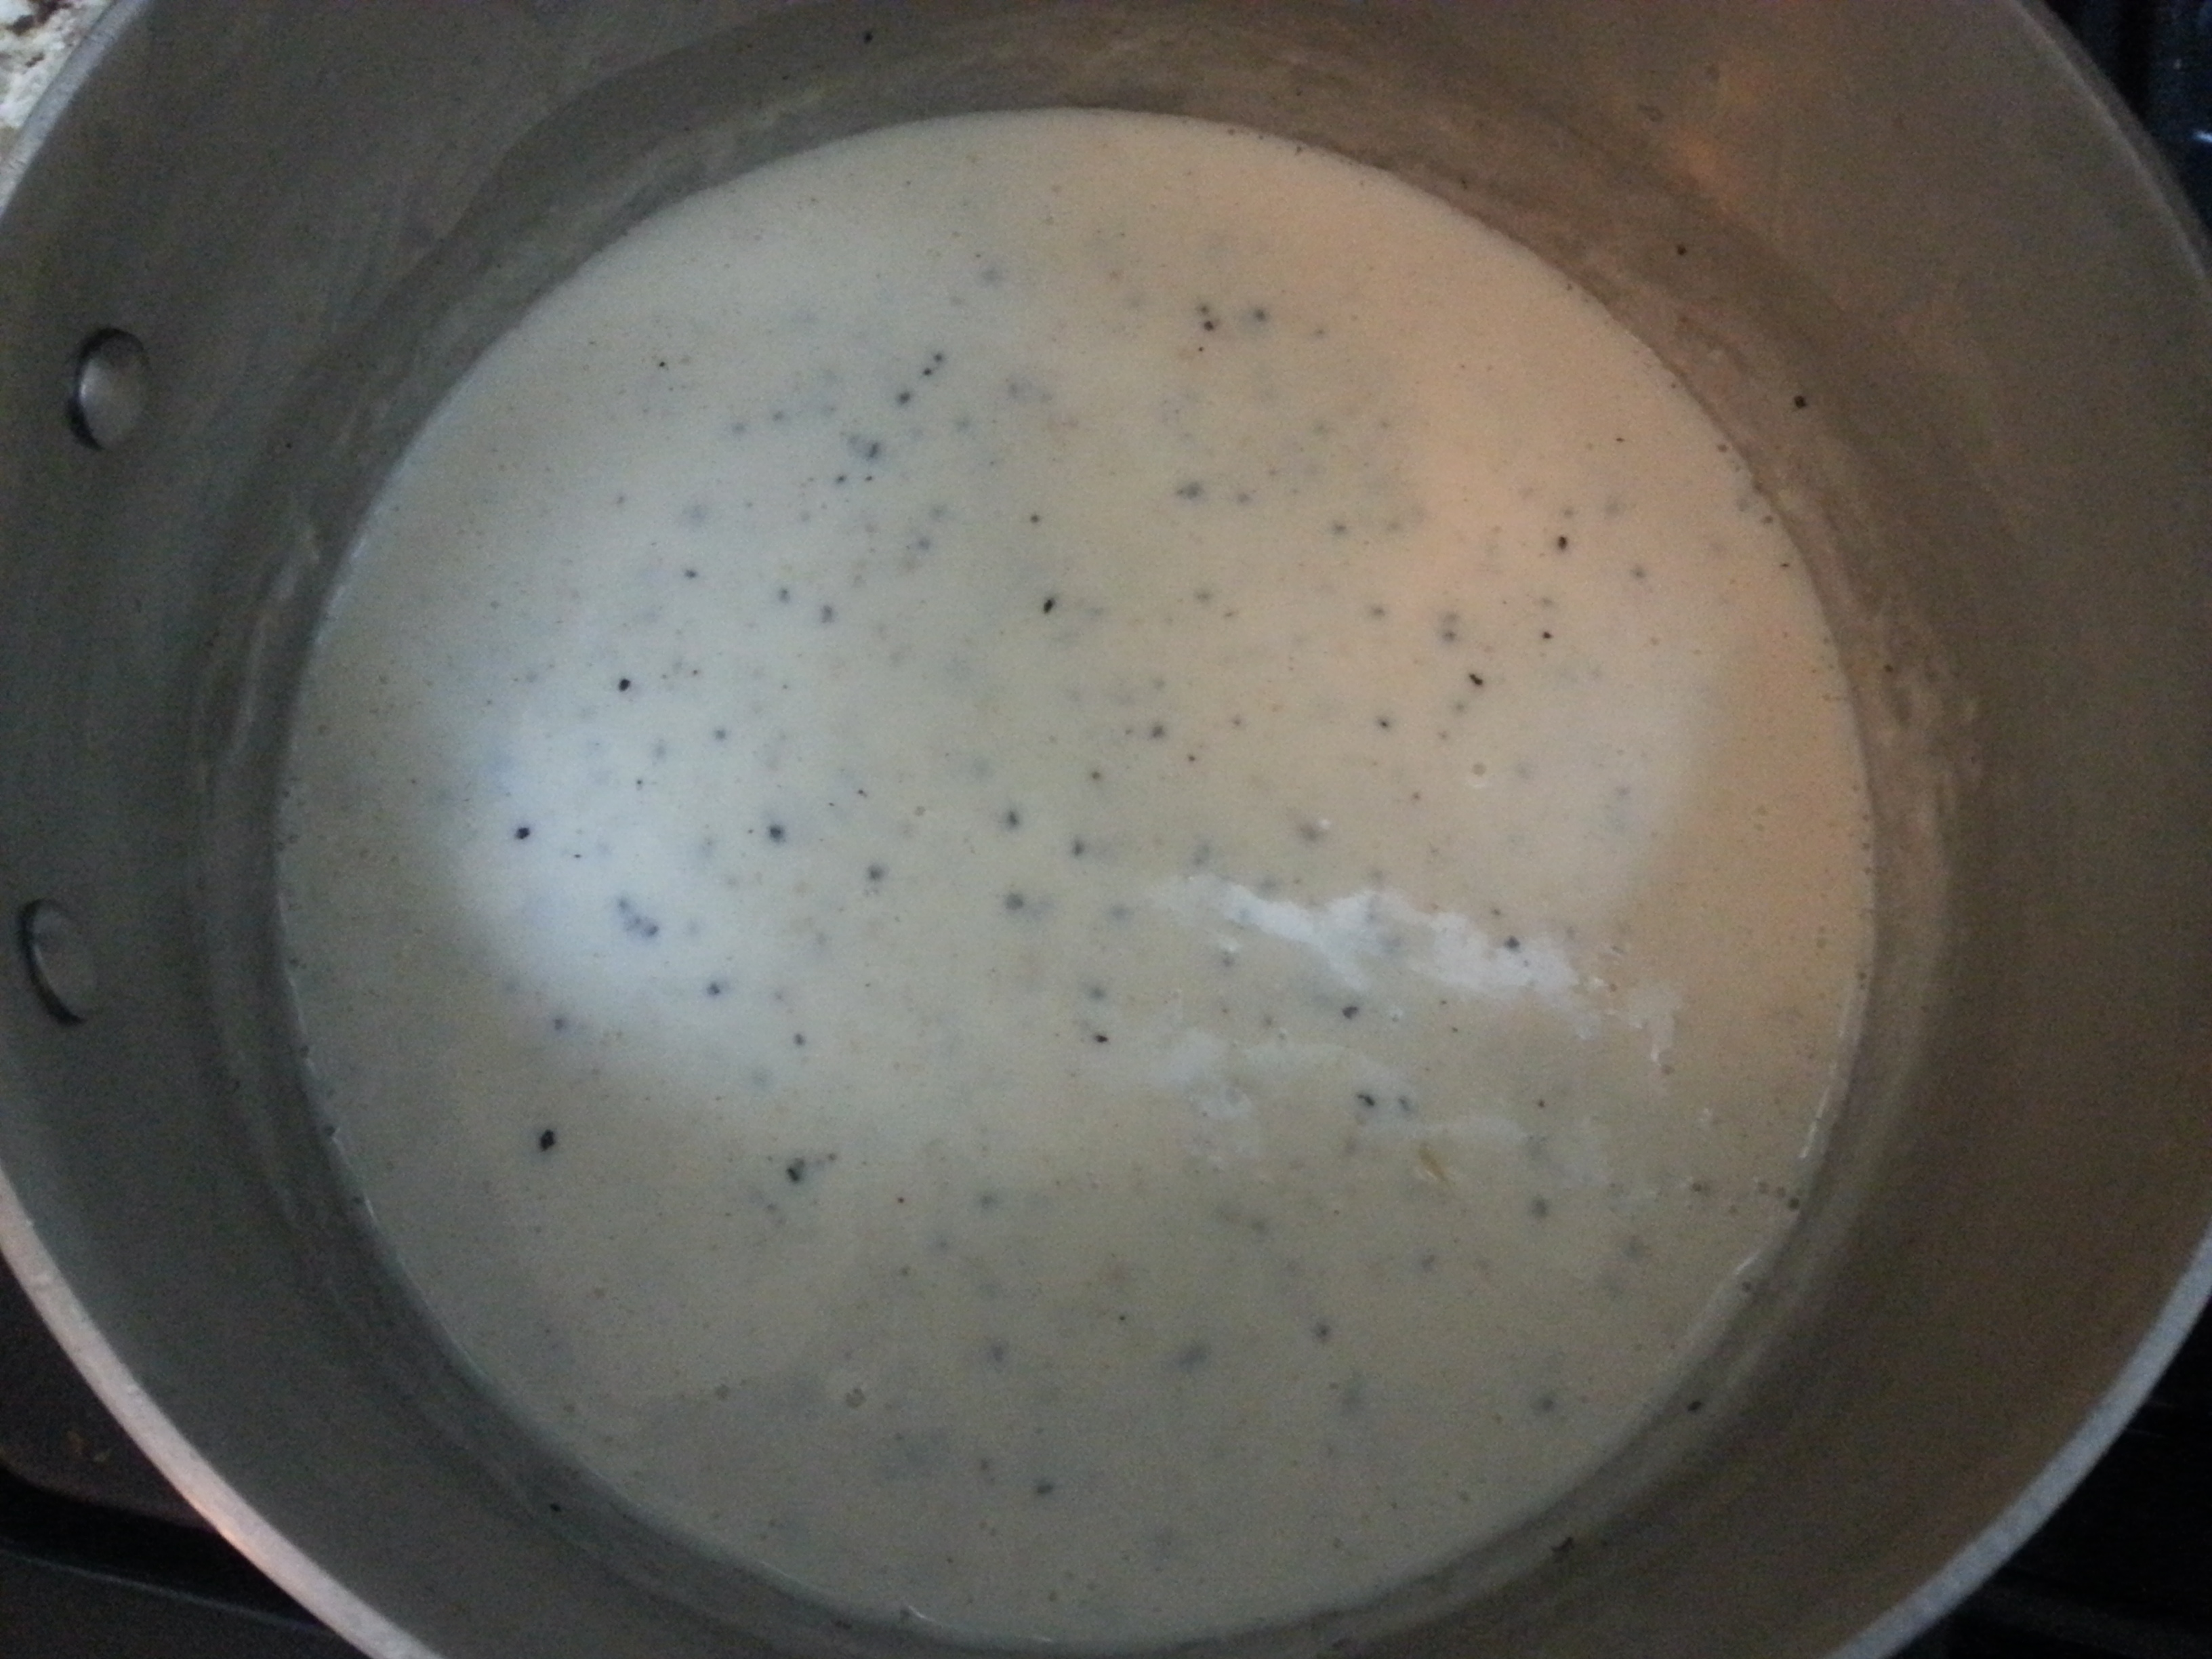
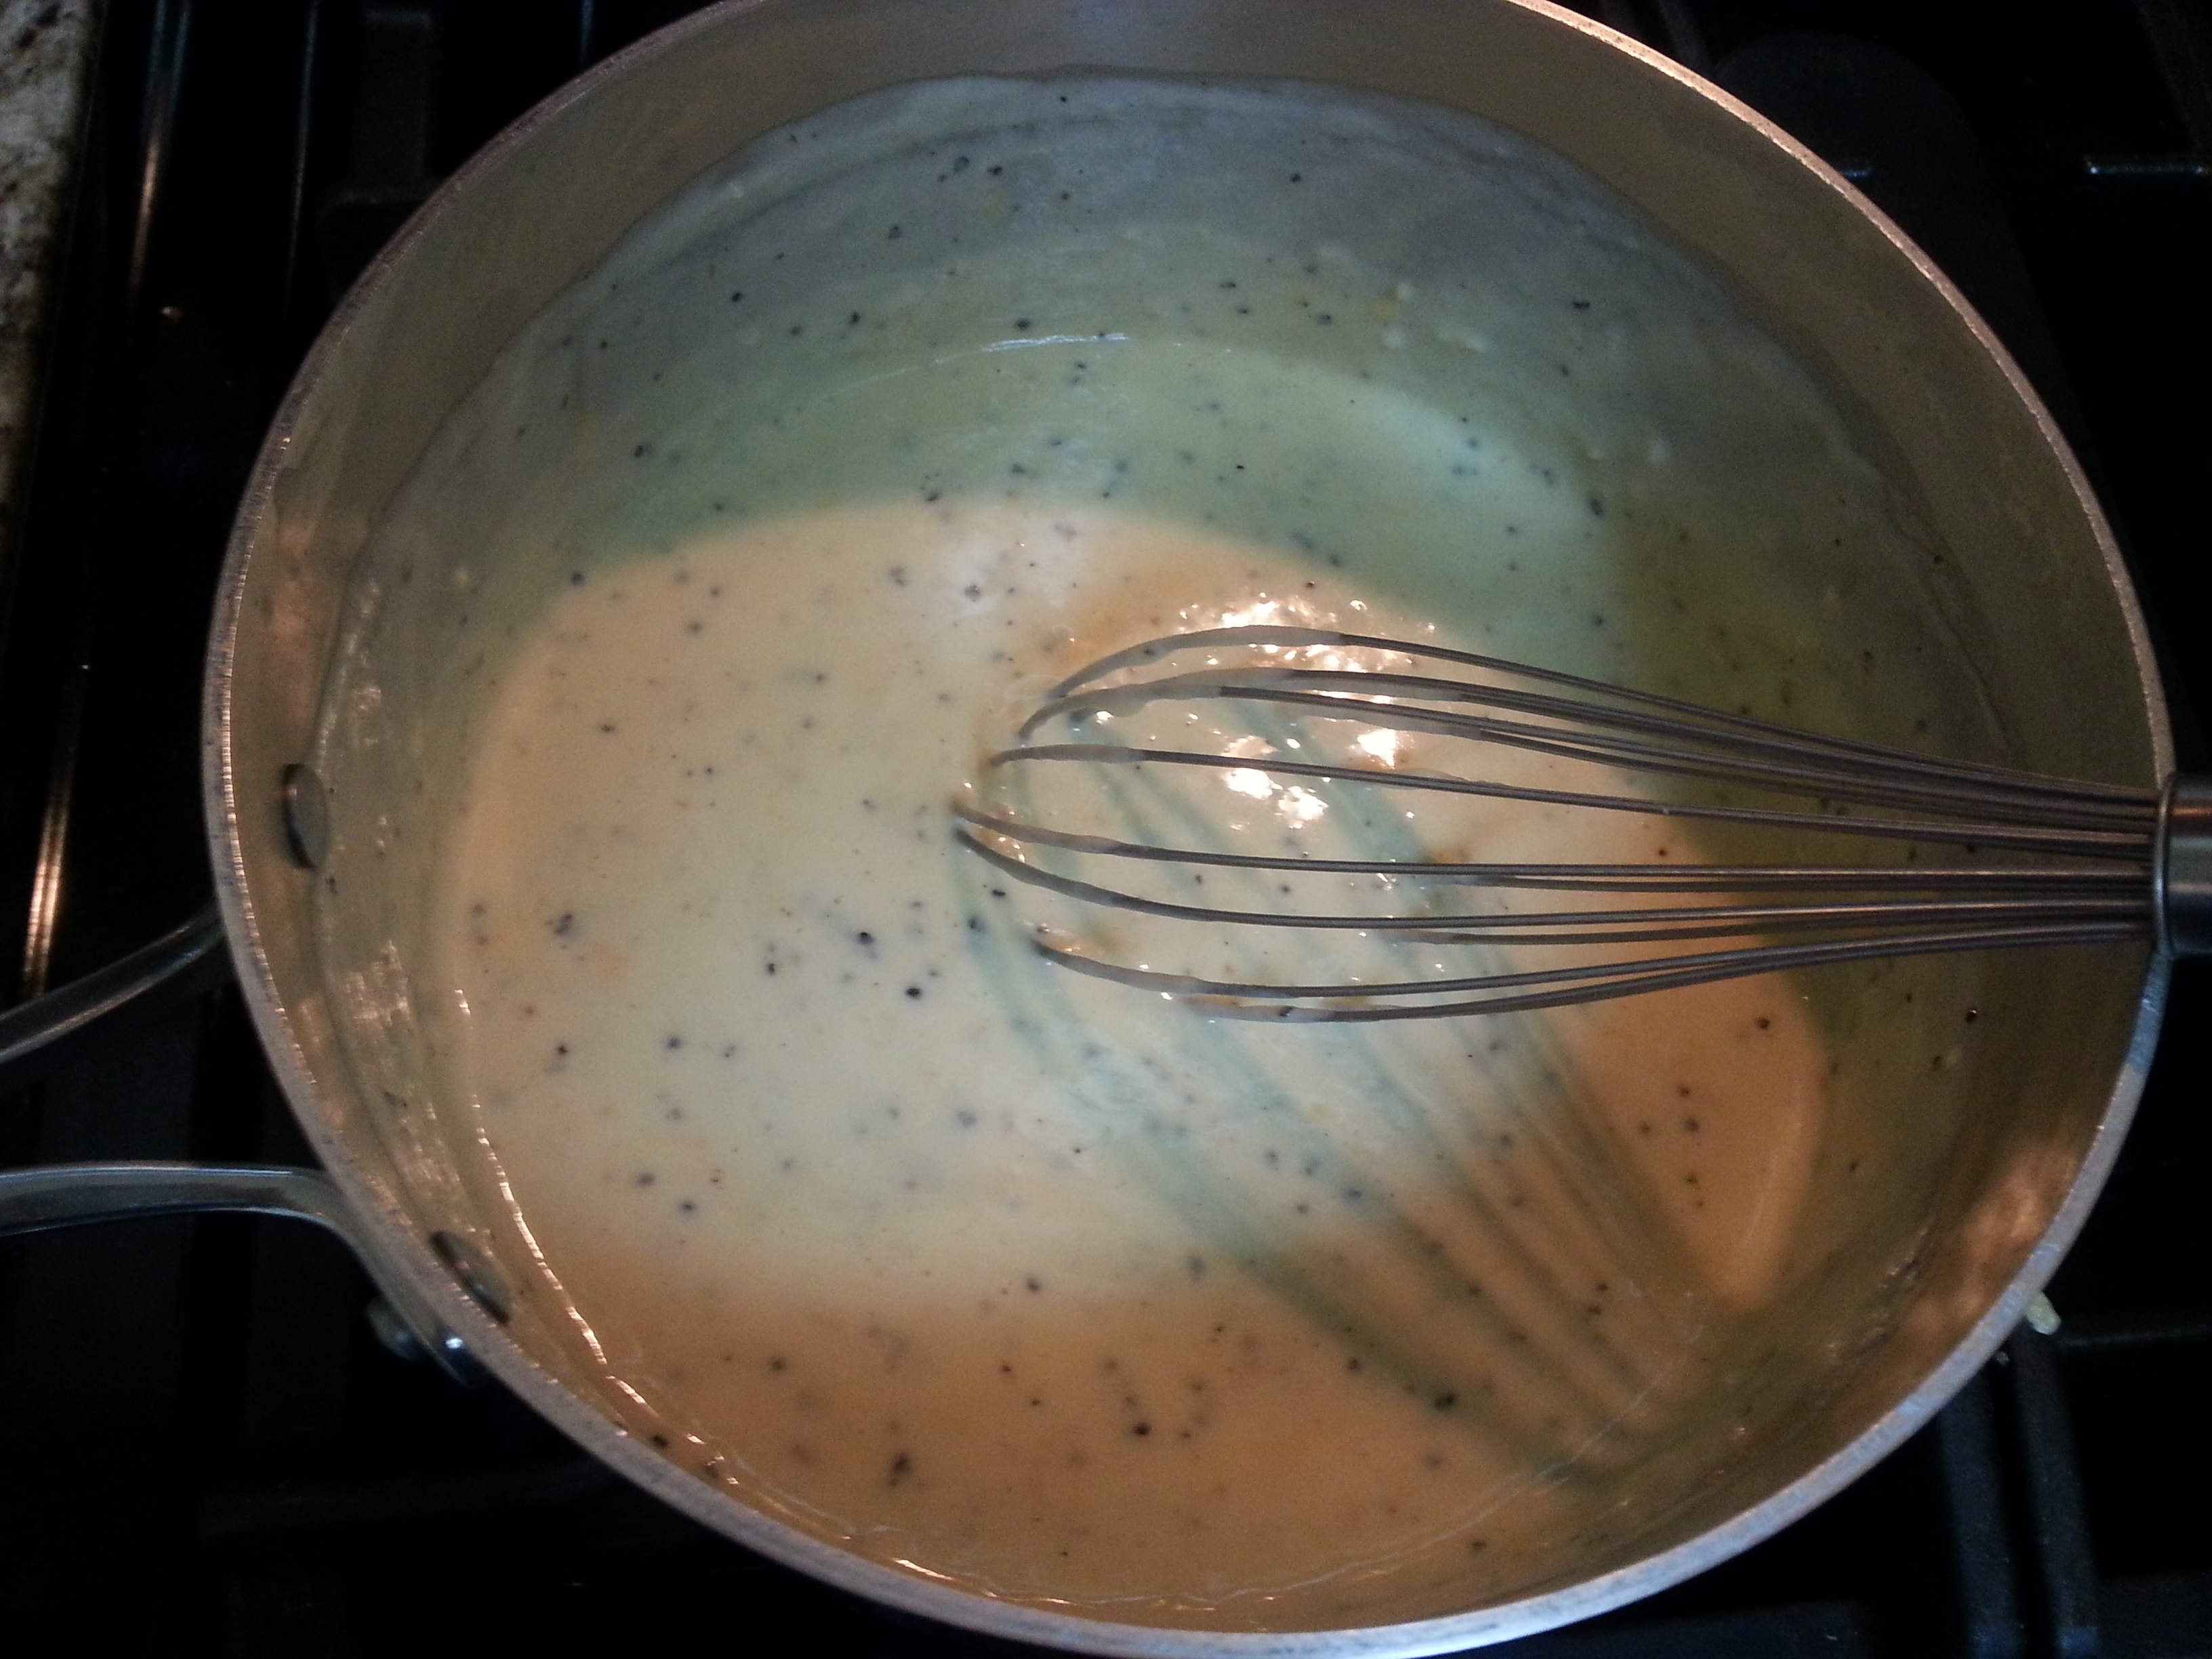
Heat a small saucepan over medium heat. Add the butter/butter substitute and let melt. Add in the flour and whisk together, letting cook for about 30 seconds. Add in the rest of the ingredients and let come to a bubble. Simmer for a few minutes until sauce has thickened. Serve over steamed veggies. It also goes great with Mexican food too!
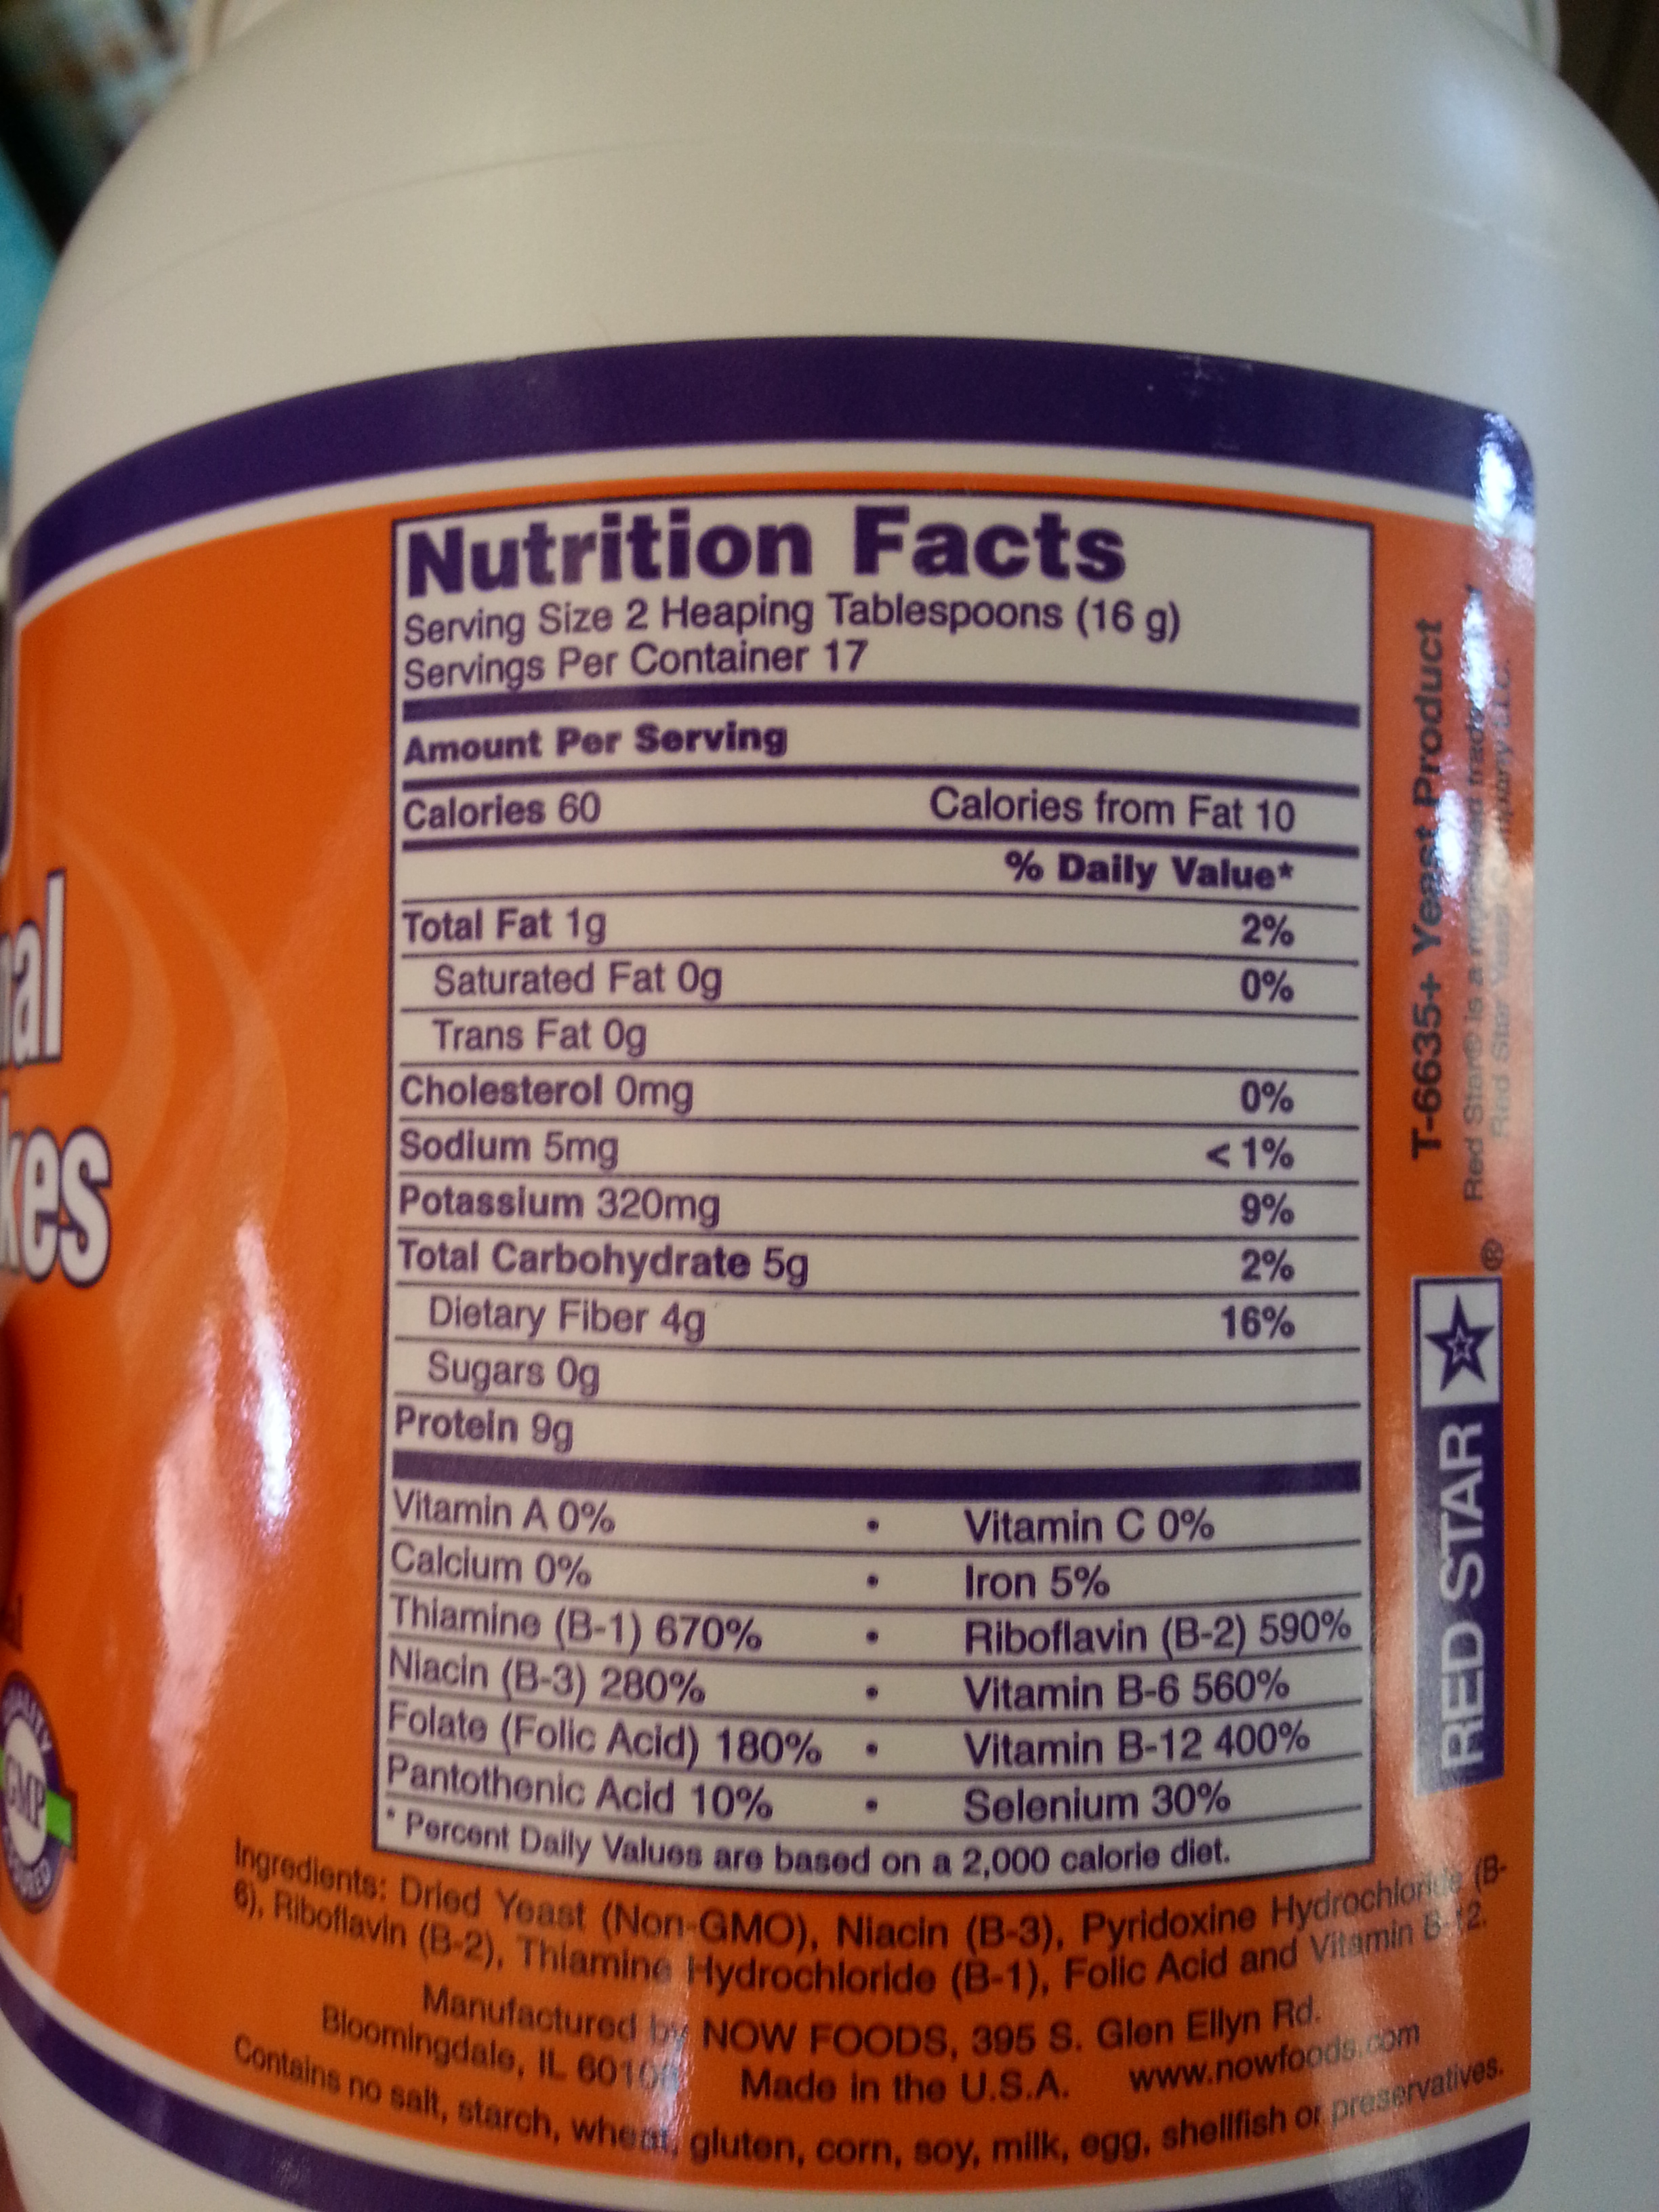
 And check out the nutrition facts. This stuff has got some great healthy benefits!!