Homemade Dryer Sheets

dryer sheets 2I’ve been waiting to post this to decide on the verdict of my homemade dryer sheets. Well, after about a month, I’m pretty happy with them!

So why did I decide to make my own dryer sheets? I read something online about the regular Bounce sheets being absolutely horrible for you. Now, who knows if this is scientifically backed and true because nowadays it seems like everything is bad for you. But I did a little research online about making my very own re-useable dryer sheets and decided to give it a go.

But for this homemade dryer sheet to be successful, it had to eliminate static cling. I absolutely hate static! And sinceĀ I have long hair, static cling means my hair makes that staticky sound against clothes. So that was my biggest concern of switching to a homemade alternative. But like I said, I’ve given it a month and don’t see any store bought chemical laden dryer sheets in my future!

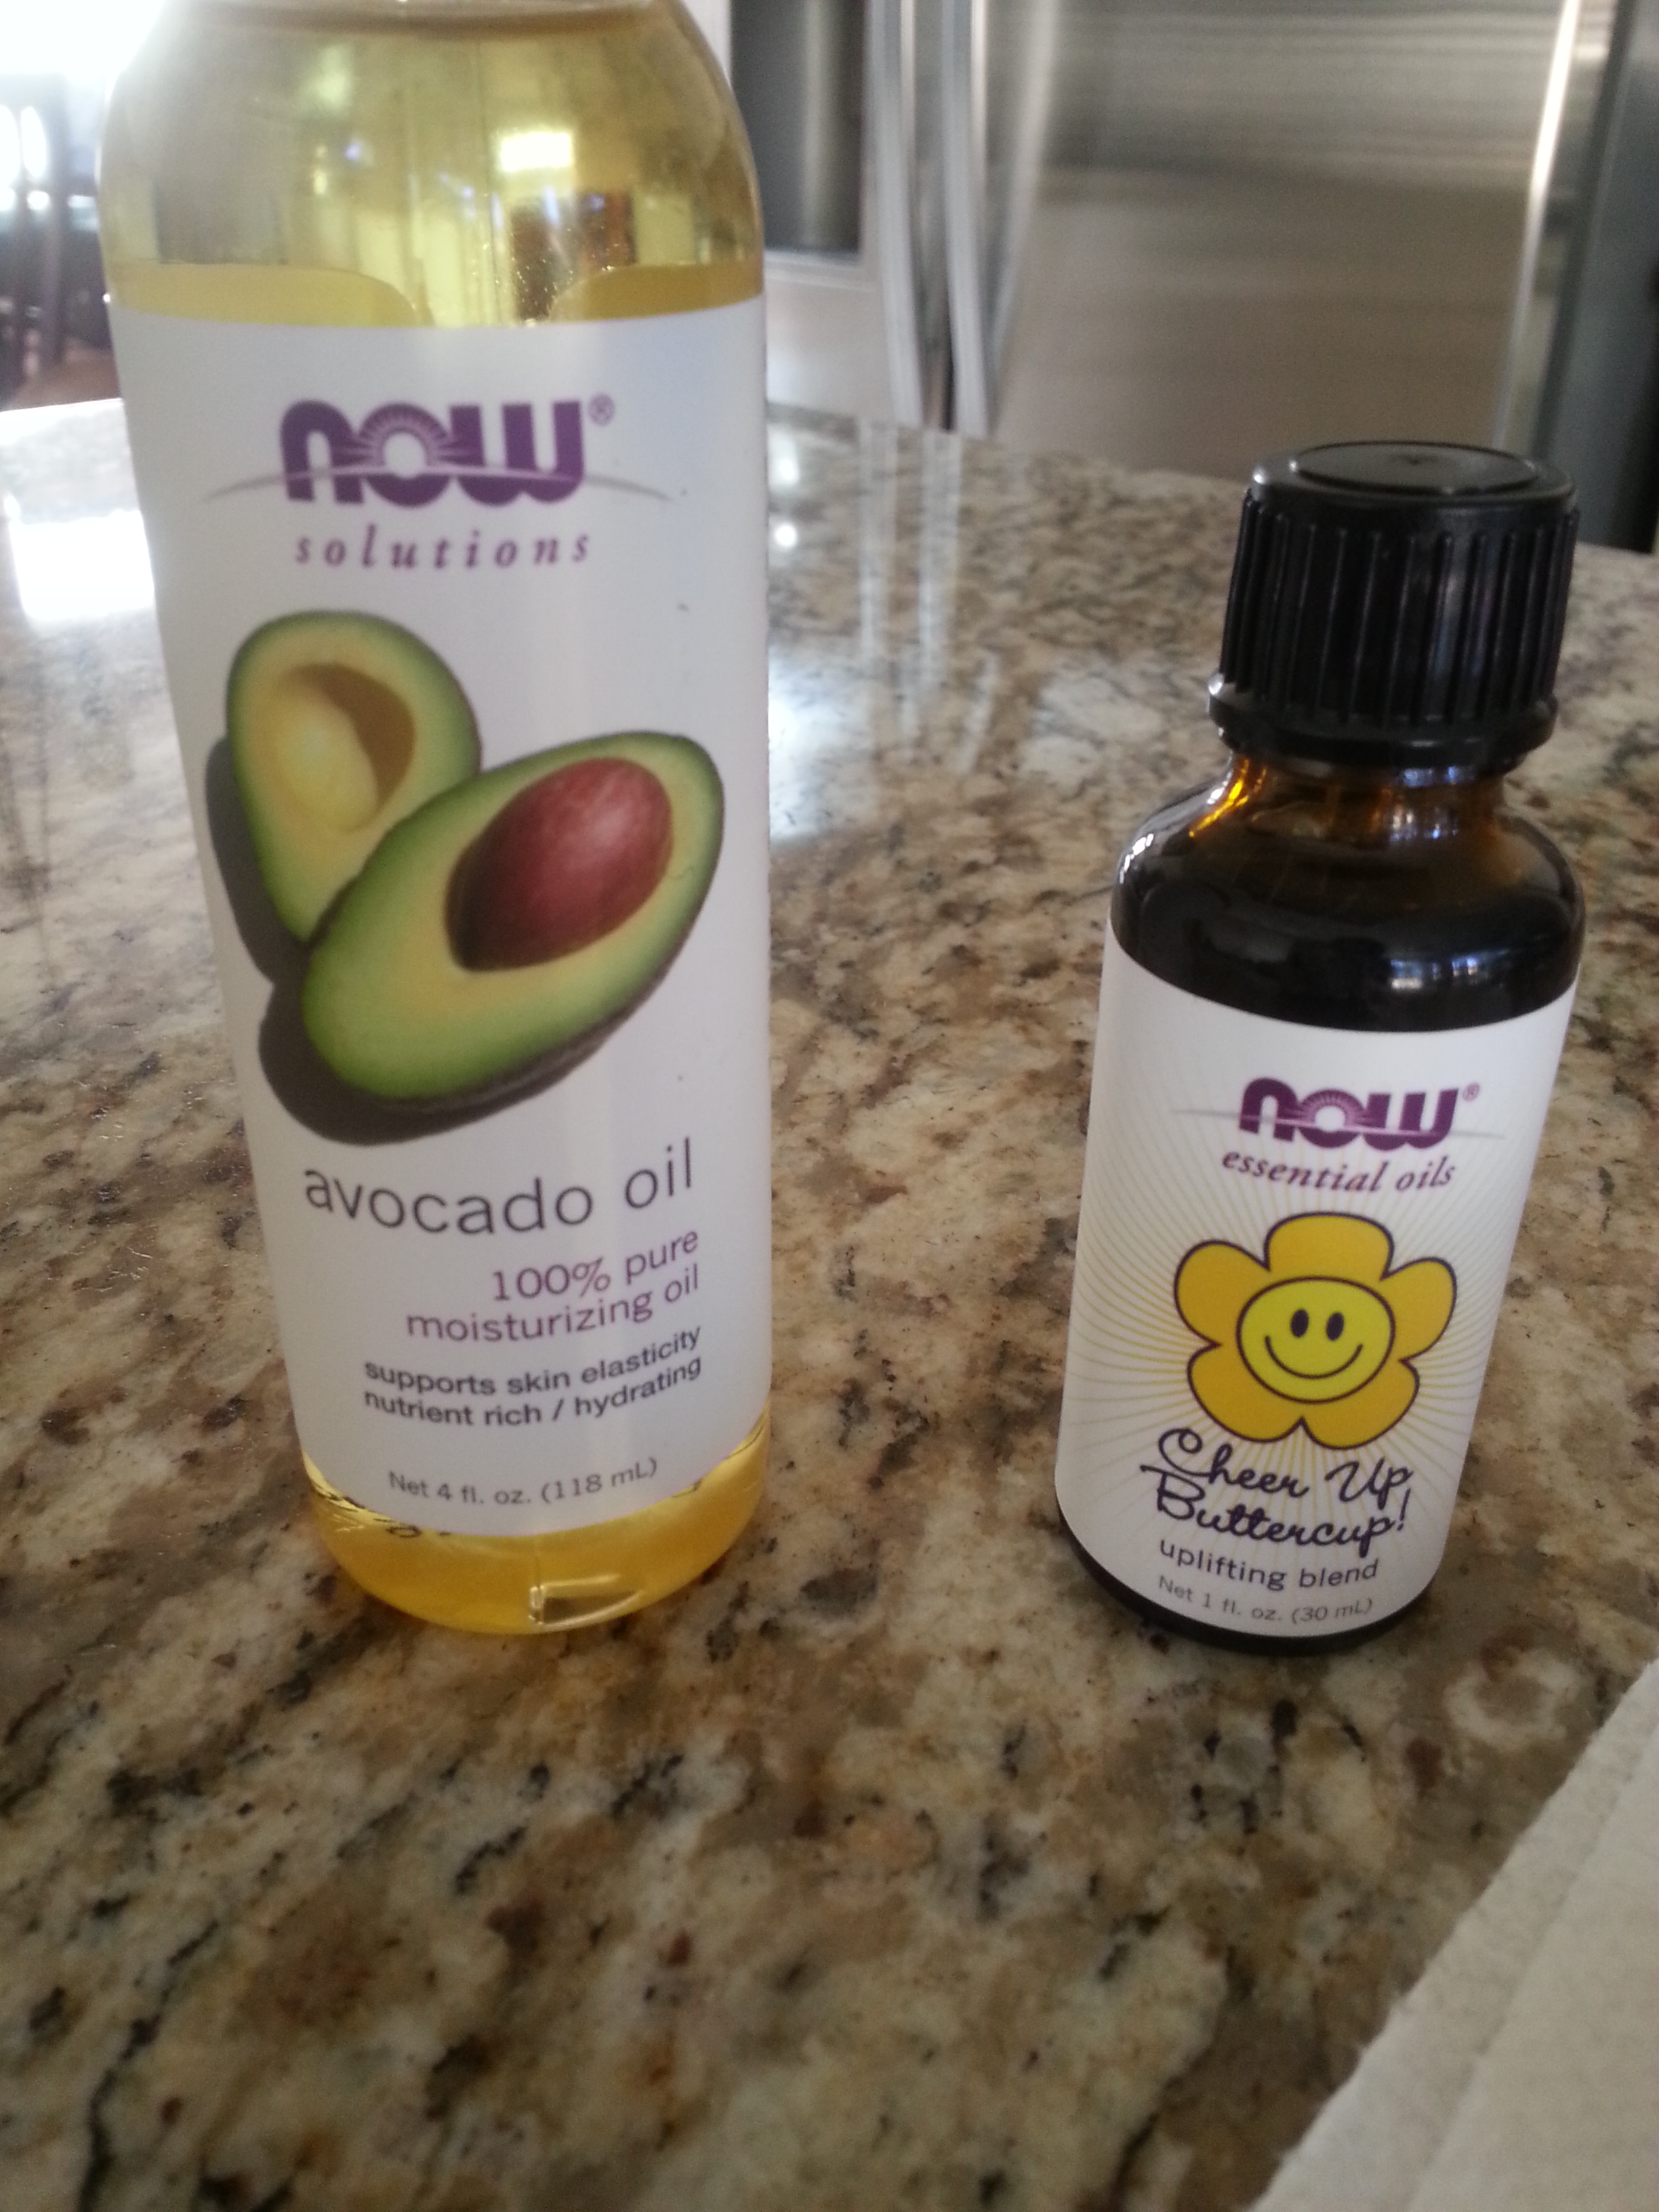
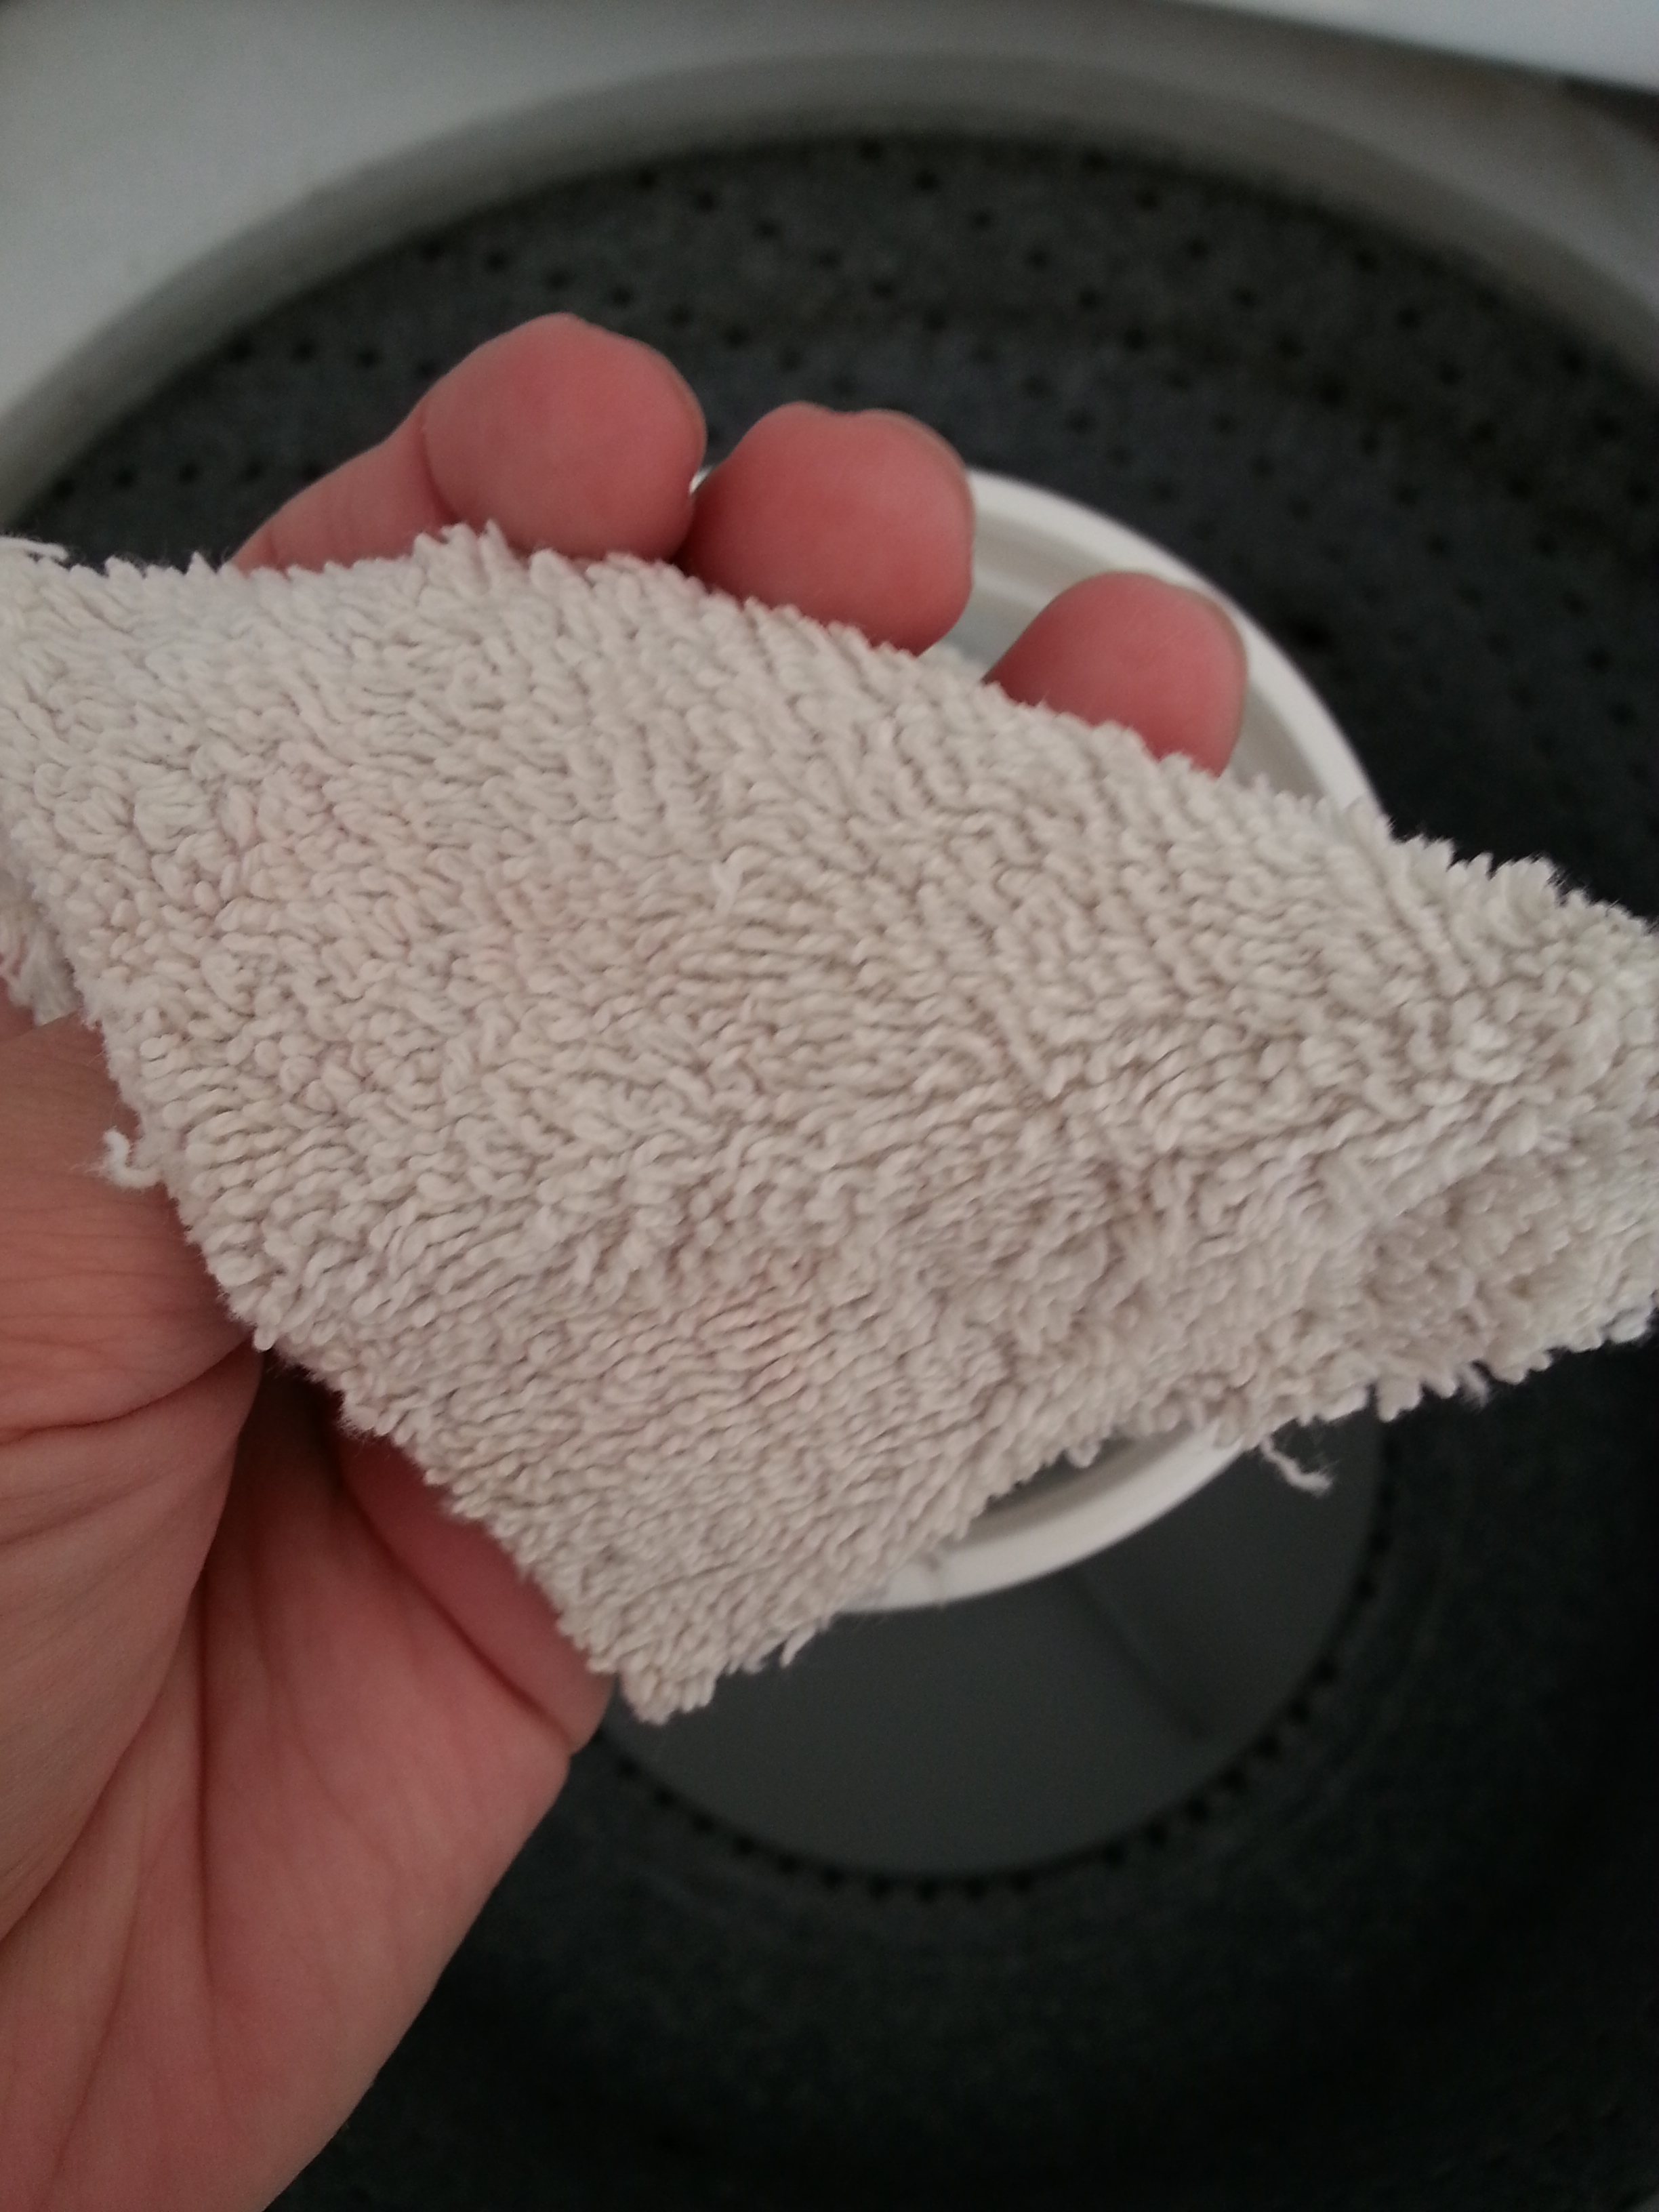
All I used was an old white towel that I cut into smaller rectangular type shapes. Then I used an old large yogurt container (I save those! They can be used for lots of stuff!) and added in some good old fashioned white vinegar, tea tree oil and a citrus blend essential oil I had laying around from my body butter disaster! Remember that? 😦 It doesn’t need the citrus oil but I added it for additional scent. I swirled that around, added in the towel pieces and tried to stir all around to get as much of the towels soaked as I could. My towels didn’t get really all that soaked, just the ones on the bottom that really sucked up that vinegar mixture but after awhile of sitting inside the yogurt container with the lid on, all of them were damp. During my “research” some people said you needed to squeeze out all the liquid onto the other sheets in the container and then toss your sheet in the dryer. I didn’t have that problem since my sheets weren’t all that wet.

dryer sheets dryer sheets 3
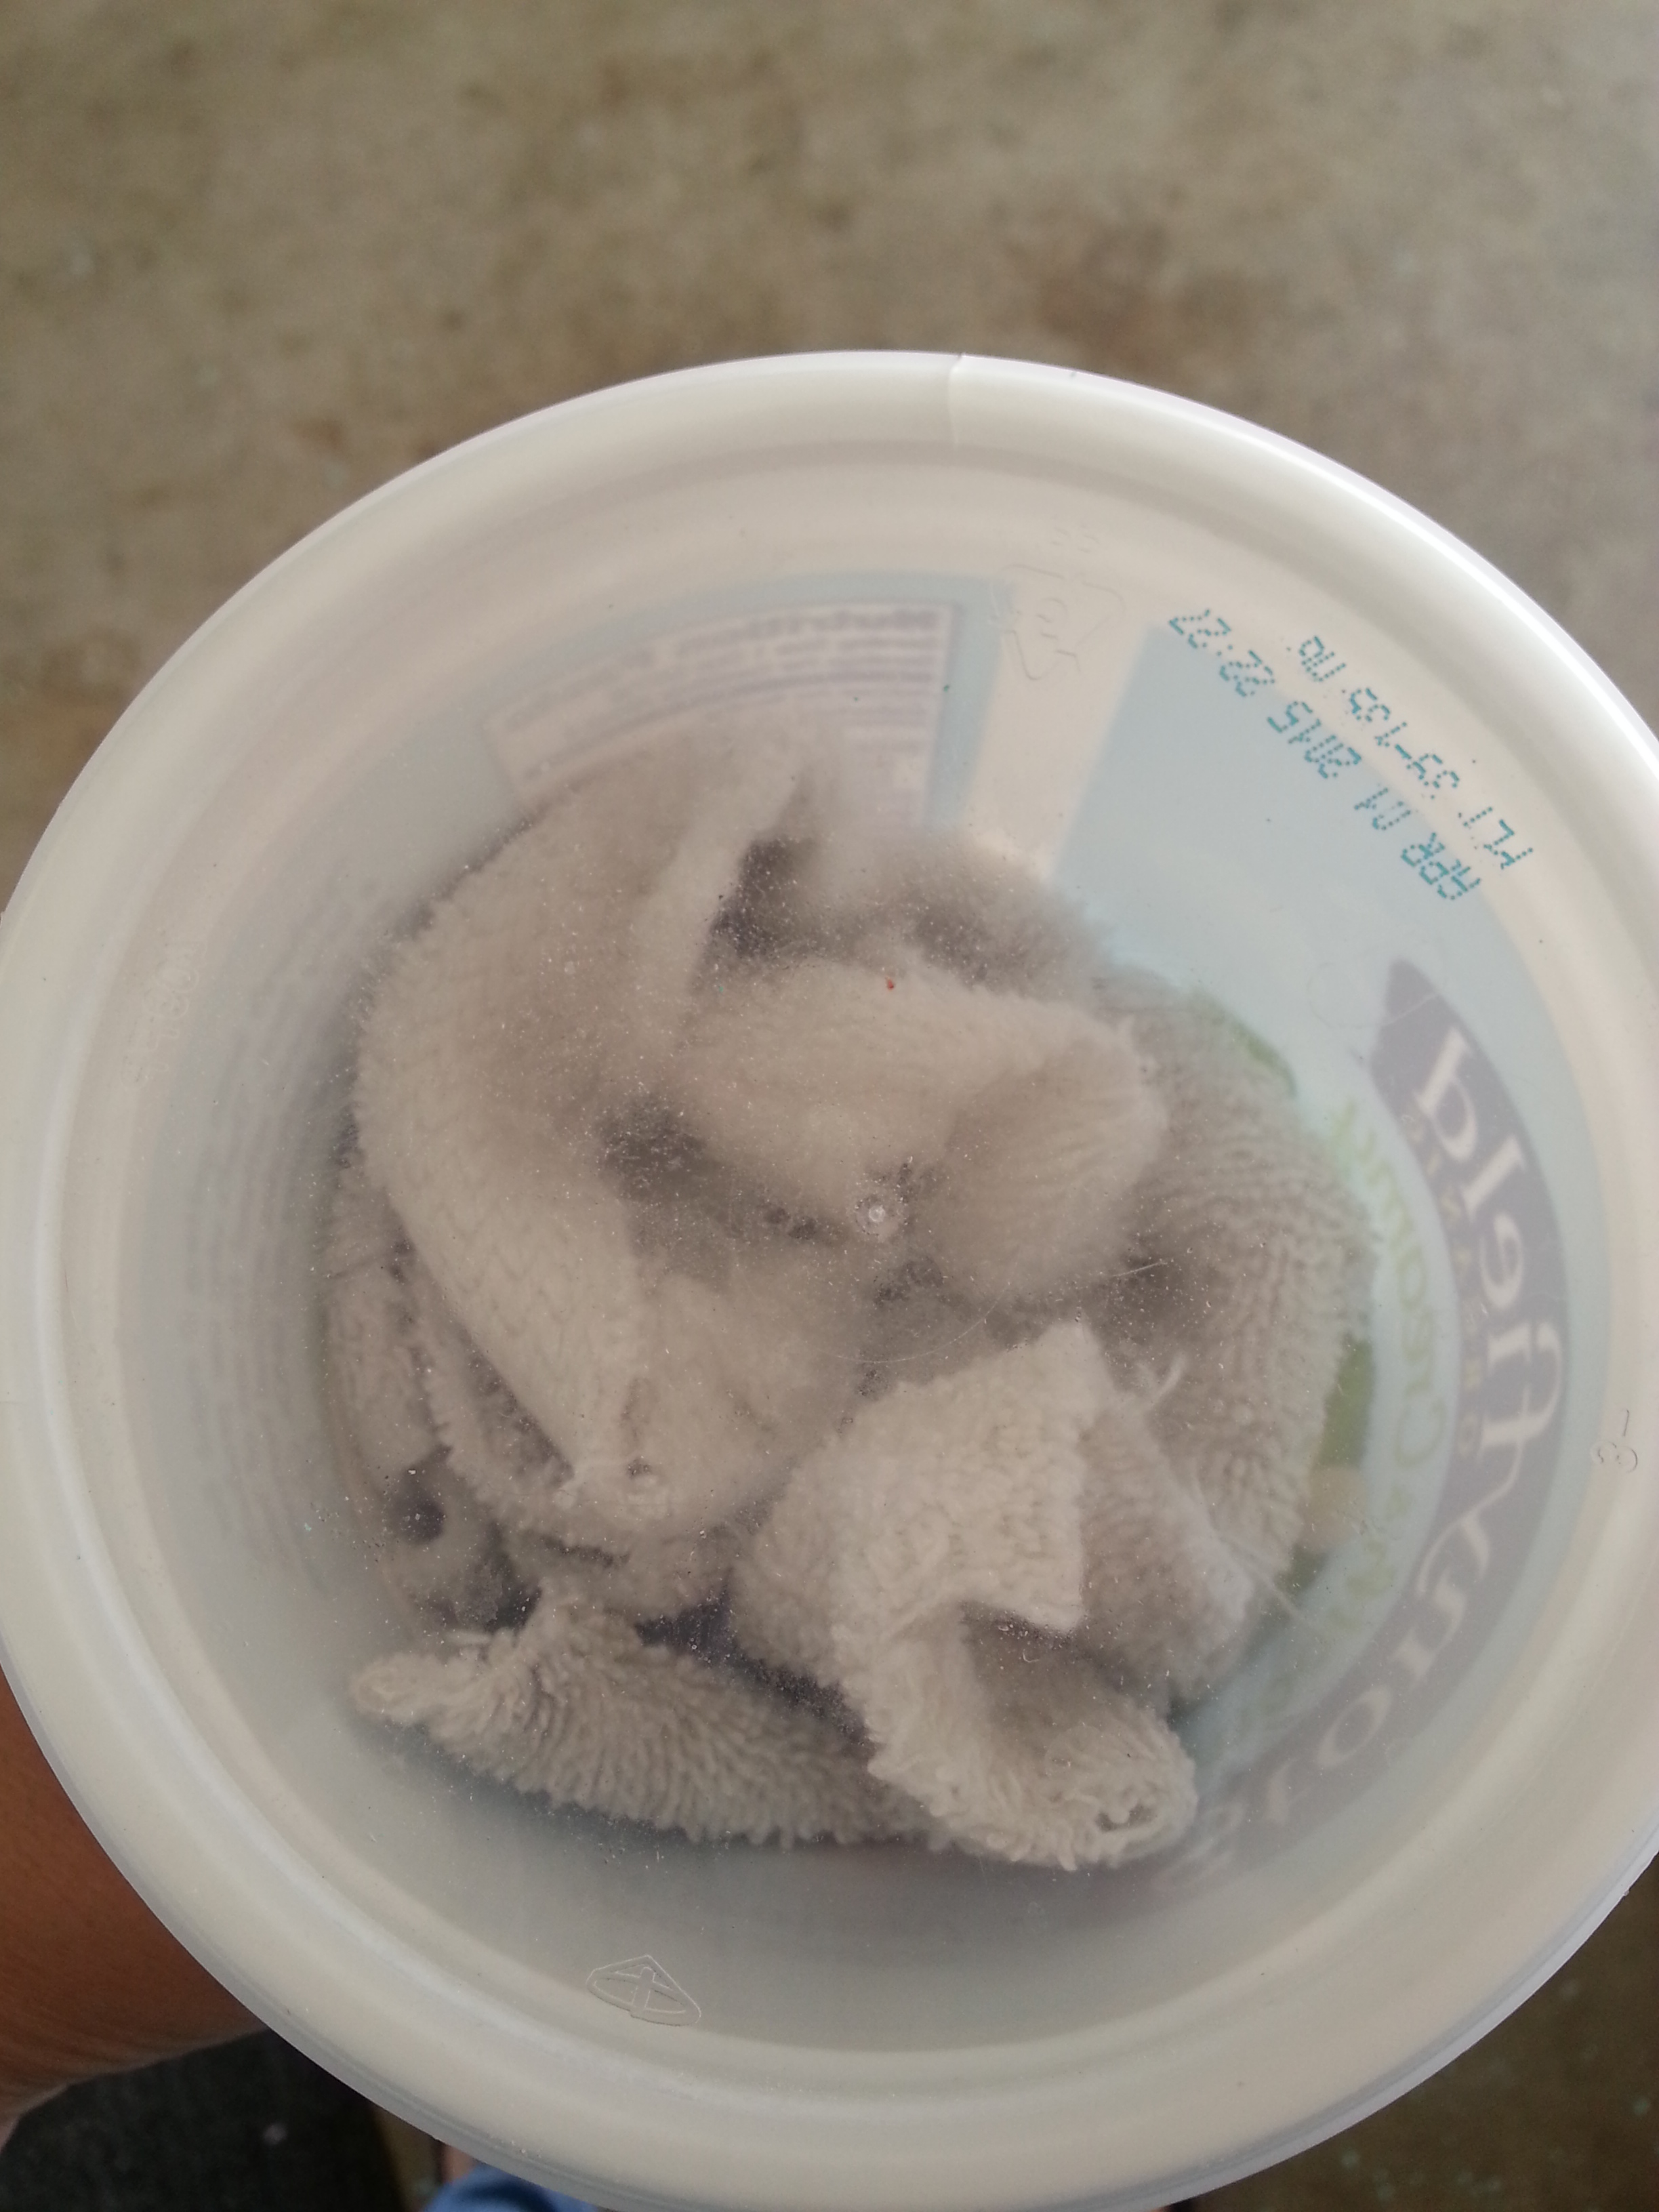
I put one “sheet” in with each load in the dryer and when it’s all done, I just take that sheet out, stuff it into the bottom of the container to try to get as much liquid on it as possible and close the lid.

Have I had any static? No. Do the clothes smell weird from the vinegar? No. In the last month, have I had to make another vinegar batch? No. Do I like my re-useable sheets? YES! So here’s the “recipe”.

  • 1/2 c. white vinegar
  • 10 drops tea tree essential oil
  • 5 drops citrus blend essential oil (optional, for an added scent)

If you’d prefer your sheets to be more saturated, just double the recipe.

P.S. If you don’t have tea tree oil, GET IT! I started using it almost 4 years ago when lice started going around school. I heard that tea tree keeps those buggers away. And since there’s three girls and myself in this house, all with long hair, the last thing I wanted was a lice infestation. Every day before school, my kids dab a little tea tree oil around their hairline on the back of their necks and ears. Have we ever had lice? No! Knock on wood….

Advertisement

DIY FAIL

I’d love to say that every recipe and DIY experiment turn out exactly as I hopedĀ it would. But if that were true, I just wouldn’t be human. That’s a hard pill to swallow because for me, I take pride in what I do and when it doesn’t turn out the right way, well, I get a little on the ANGRY side. This is very true. Just ask my husband.

bbbb2Well, my recent DIY was whipped body butter. I ordered this huge block of Shea butter, imported from Ghana, Africa. All the reviews raved about this stuff and how great it was for your skin, and blah, blah, blah. So when it arrived, I knew I wanted to make whipped body butter and I was super psyched and pumped for the end result.

bb4bb3bb5Everything started off fine. I melted my Shea butter in a double boiler, let it cool, added essential oil (that I had specifically ordered for this DIY), put it in the freezer to firm up aĀ bitĀ and then put it in my stand mixer to get that butter whipped!

bb7

This is when I should've called it quits and stopped.

This is when I should’ve called it quits and stopped.

Well, I started the mixer and lo and behold, it whipped right up. It looked like beautiful white frosting. Creamy with perfect peaks. But it didn’t have enough scent for me, so I stopped the mixer, added more essential oil and proceeded to keep up the whipping. I obviously got overzealous. I was really excited to be making my own whipped body butter you see and I figured, if I kept whipping, it’d be even better. And then disaster struck. It suddenly turned into butter. Those awesome peaks disappeared and it turned into a hard yellow chunk.

I tried to melt it down again and do the process over which really didn’t help much at all. Although it didn’t look pretty, I figured it still had the same properties and would still have the same end result. Soft skin.

The man of the house said it looked weird although it melted instantly on the skin. He used it for a couple of weeks and was not convinced of the African Shea butter’s amazing qualities. And it was thick. And greasy. But my youngest daughter, who tends to have pretty dry skin proclaimed one night, “It makes my butt soft!” At least my DIY fail helped someone.

Traditions

cookie time 3We have a tradition in our house. Close to Christmas, I bake a batch of sugar cookies and my girls decorate them. We’ve been doing this for the past few years and it’s just me and the three of them. They asked this year if daddy was going to help and I told them “It’s a girl thing”. And I’ll admit, it can be trying at times during the process because I happen to be a bit neurotic when it comes to my kitchen, i.e. I don’t like messes. But luckily, they’re pretty good about keeping it fairly clean. Plus, they like being able to do it on their own and it’s something they look forward to. And, they get to eat the fruits of their labor. So it’s a win/win for them.

I always let each kid pick out what cookie cutter they want and this year they chose a Christmas tree, a snowman and a gingerbread man. And although they really like decorating the cookies, I think their favorite part is actually when I roll out the dough, and they get to cut out the cookies.

cookie timecookie time 2cookie time 4I think they turned out pretty cute. And they taste really good too!

If you’re still on the hunt for the perfect sugar cookie recipe, click here. I’ve tried a few different ones and this one is a definite keeper. I haven’t altered or changed a thing about it. I follow it to a T and they turn out perfect every time!

DIY Christmas Decor

As far as Christmas decorating goes, that pretty much fallsĀ on the man of the house. At least, the outside of the house.Ā He’s very into the lights being just so and all that. Tight and straight, no sagging lights. For a couple years, he even decorated the street light in front of our house. The whole entire thing! Yes, the enormous concrete pole. It took a huge ladder propped against the pole and layingĀ halfway into the street, with our neighbor watching and making sure a car wouldn’t run right into it. Last year I insisted he NOT do that again, since I’m pretty sure I lost a few years of my life watching him do that.

This year, I decided to change things up a little bit from the standard indoor decorations we usually have. But decorations are expensive (unless you get them AFTER Christmas) so I went the semi-homemade route. And I’m very simple about holiday decorating. Kudos to you people out there that switch out everything! The bathroom, the kitchen, EVERY ENTIRE THINGĀ IN YOUR HOUSE! I’m not up for that kind of work, nor do I have room to store everything. So simple it is! Here’s some mason jars that I filled with sand (from my very own backyard) and holly that I got on sale at Michaels. The ribbon was leftover from Christmas last year.

decor 3I also saw this Christmas card holder on a boutique website that they were originally selling for $12.99 but was marked down to $5.99, not including shipping. And all you got was twine and clothespins. Well, that stuff was sitting in my garage for $0.00, so it got strung up across the mantle. Now I need some more Christmas cards to hang up there!

decorI got these pinecones at the park on my street a few years ago. I brought them home and Adam spray painted them for me.

decor 2So there you go! Simple, rustic, inexpensive Christmas dĆ©cor made mostly out of things laying around my house. And I love it all!! But if you don’t happen to have this type of stuff laying around, any kind of dollar store will most likely have some things to get you started. P.S. Dollar Tree is my favorite!

And this Christmas tree is planted in my front yard. We bought it three years ago because we wanted a live, uncut tree that we could plant and watch grow over the years. When we got it, it was only about a foot and a half tall. Now, it stands about 7 feet tall!!! If I had a bigger yard, I’d buy a live tree and plant it every year.

tree

Cold Leftovers Suck

thermos 2With cooler weather ahead, and it may have already cooled down for some of you, but still, we’ve experienced hot weather here. It’s finally cooling down a little but I’m just waiting for Mother Nature to say PSYCH! and out comes the 85 degree weather again. In November…. Anyways, as I was saying, with cooler weather, a nice hot lunch hits the spot! Especially for the kids who have to eat outside at school. Here, there is no cafeteria for the kids to sit in. Nope, they sit outside on benches and the only time they eat inside is when it’s exceptionally hot out, or raining. On those colder days, I like to send my kids leftovers in their thermos. Soup, spaghetti, macaroni and cheese, I’ve even sent teriyaki chicken and rice. And they are always so excited when they get to take their thermos to school!

When my oldest first started taking her thermos, she’d come home and tell me the food was not very warm. Hmmm… there went the happy thought that she was able to have a hot, homemade lunch. So a little trial and error came up with this tip to keep your thermos lunch nice andĀ hot until lunchtime….

Let your kitchen sink water run on HOT for a few minutes. Until it’s super hot. Then fill up your thermos with the hot water, put the lid on and let sit for about 10-15 minutes. Heat up your leftovers in the microwave until they are also very hot. Dump out the water, add in the hot food and quickly screw on the lid. There you go. Hot leftovers for whatever time your kids take lunch. And my oldest doesn’t have lunch until 1:00 this year, so that’s awhile to sit in the thermos. But she swears it’s nice andĀ hot by the time she eats.

thermosthermos 3And don’t think thermos lunches are only for kids at school. I used to send my husband leftovers for his lunch when he was a truck driver. He was so busy he barely had time to eat so opening up that thermos and having a homemade, hot lunch was a lifesaver for him.

But really, any way you put it, kids or adults, cold leftovers suck. Not a problem anymore though. At least not in a thermos.

“Fried” Zucchini Coins

fried zucc One of my favorite foods is fried zucchini! For many years, I was on the hunt for the perfect burger and fried zucchini. Because of course, they’re an awesome combo. I’ve found many I like, but let’s just say my quest still continues.

So of course I’ve resorted to making my own at home. Minus the fry. But not minus the crunch! If these weren’t crisp, they wouldn’t be worth making in my opinion. “Fried” zucchini has to be crispy and have that special crunch. And although this recipe is a little time consuming (but hey, anything that has to be dredged and breaded is!) it’s totally worth the time it takes. My family inhales this every single time I make it. There’s the proof that it’s worth the time. And we’ve taken a vote in my house and it’s unanimous that we all prefer the “coin” shape as opposed to “sticks”. Why is that? Just because…

“Fried” Zucchini Coins

  • 2 large zucchini (or 3 small) cut into 1/4″ coins
  • 3/4 c. flour
  • 2 eggs plus 2 tbsp. milk, whisked together
  • 3/4 c. Italian seasoned bread crumbs
  • A heaping 1/2 c. panko crumbs
  • Pinch of garlic powder and black pepper
  • Grated parmesan cheese, optional

Preheat oven to 400 degrees. Spray a cooking sheet generously with cooking spray. I used a tray that fit into the cooking sheet but after trying it once, I prefer to just lay the zucchini directly onto the sheet. In three separate bowls, add flour to one. Then add the eggs & milk to another, whisking together. And in the last bowl, add both types of bread crumbs, along with the seasonings. Stir to combine. Then set up your dredging bowls as shown in the picture.

fried zucc 5Take one piece of zucchini, roll it in the flour and then gently shake the excess off. Add the zucchini to the egg wash, making sure to coat the entire piece. Then take out of the wash and add to the bread crumbs, pressing to adhere the crumbs to the zucchini. Lay on the sheet and then continue this process with each piece of zucchini.

When completed breading, spray generously with cooking spray and put in the oven for 10 minutes. Flip each zucchini coinĀ over and then continue cooking for another 7-10 minutes. This really depends if your oven cooks fast or slow. When zucchini is done, place on a plate and sprinkle with grated Parmesan cheese if you’d like. Serve immediately.

fried zucc 4fried zucc 3fried zucc 2Since this is baked and not fried, you will not get the traditional brown fried look. This zucchini slightly browns but still has that amazing crunch. Serve it with ranch dressing to dip it in. There is literally no other way to eat “fried” zucchini. I think it’s illegal to eat it without ranch.

Refried Beans

refried beansSomething that used to intimidate me? Dried beans. Yes, dried beans. As silly as it sounds! I’ve always been a canned bean kind of girl and it wasn’t until a couple of years ago that I decided to give dried beans a go.

I knew they were time consuming (soaking them and cook time). But what I didn’t was that they are actually incredibly easy to make. And so much better tasting than their canned counterparts. And even though you’re supposed to soak them, it’s not a requirement.

Truth be told, I’ve had quite the trials with my refried beans. There have been many a time where I’ve added way too much salt and they were basically inedible. Or I didn’t let them cook long enough, and they really weren’t as tender as they needed to be. But lo and behold, here’s a recipe that works.

These “refried” beans taste pretty authentic. I use quotes because they are not traditional (no lard involved) however, if you can get that authentic taste at home, I consider it a win. I’ll say it before and I’ll say it again, getting authentic international flavor at home is hard to accomplish. I think that’s why so many people go out to eat, because you can’t get that same flavor at home. But here you go. Make this and you’ll feel like you’re at a Mexican restaurant. That’s in your very own kitchen.

Refried Beans

  • 2-2 1/2 cups dried pinto beans
  • 1 smoked ham hock
  • 1/2 white or yellow onion, chopped
  • 3 garlic cloves, minced
  • 1 tsp. salt
  • 1 tsp. ground cumin
  • 1/4 tsp. ground pepper
  • 1 tomato, chopped
  • 1 tbsp. bacon grease

Rinse the beans. Add to a large pot (I use my Dutch oven) and fill with water to just about 1″ above the beans. Let soak. If you don’t have the time or you just simply don’t remember this, that’s okay. I think the longest I’ve ever let my beans soak is about 4 hours.

Add the ham hock to the pot. Heat the pot on high until it comes to a boil. Cover with a lid, and reduce to a simmer for 3 hours if beans were soaked, about 4 hours if beans were not soaked. Make sure to check on these a couple times throughout the cooking time to make sure the water hasn’t evaporated. If you feel the water level is too low, you can add a little more water to the pot.

Remove lid andĀ stir in the rest of the ingredients, except the bacon grease. Cover with a lid and let simmer for an additional hour.

After the hour is up, mash lightly (I use a potato masher) until your desired consistency and stir in the bacon grease until it melts. You can leave the ham hock in and mash around it or remove and discard. My dad loves them so when he’s over, the ham hock is his. But I just use it to flavor the beans. Also, if you feel the beans are too runny, you can let them simmer a little bit longer with the lid off until they thicken further.

This recipe makes a large amount. Enough so that I can usually freeze the other half which in my opinion, is so worth it so we can have beans at the ready for the next time we want Mexican. refried beans 6refried beans 5refried beans 4refried beans 3refried beans 2

Chorizo Quesadillas

cq 5This is a quick dinner (or lunch) that’s aĀ nice change from your regular ole’ cheese quesadilla. And even thoughĀ this recipeĀ only has a few ingredients, I consider these quesadillas unique since I veered away from the standard cheddar cheese and instead used queso fresco. It’s crumbly, mild and goes great with the chorizo.

I recommend making your own chorizo but if you don’t have the time, store bought works in a pinch. But seriously, don’t let my chorizo recipe scare you off. It’s really easy! And for awhile there, I was scared of store bought chorizo since someone told me it was full of nodes and lips and all kinds of parts I wasn’t interested in eating. BBBUUUTTT, I’ve found that certain markets make some pretty clean and straight forward versions (minus the nasty parts) right there in the store, so ask your meat guy if you don’t have the time, or inclination,Ā to make your own.

Chorizo Quesadillas (makes 3)

  • 1 poundĀ chorizo, homemade or store bought (see my recipe below)
  • 6 flour tortillas
  • 1, 12 ounce package queso fresco, crumbled
  • 1 large green onion, sliced
  • 1/4 c. cilantro, chopped

Homemade Chorizo

  • 1 lb. ground pork or ground dark meatĀ chicken
  • 3 New Mexico dried chilies (ancho or guajillo chilies can also be used)
  • 1/4 c. apple cider vinegar
  • 2 tbsp. water or chili water
  • 1/4 c. onion, roughly chopped
  • 2 garlic cloves, sliced
  • 1/2 tsp. each of chili powder, paprika, ground oregano
  • 1 tsp. each of cumin and salt

Preheat your oven to 300 degrees. Pull off the stems and remove the seeds from the chilies. Bake in the oven for approximately 5 minutes. Place chilies in a bowl and pour hot water over them. Let sit for 20-30 minutes.

Remove the chilies from the water, reserving the water, and place chiliesĀ into a blender, along with the vinegar, onion and garlic. Add 2 tbsp. of the leftover chili water as well. Blend until smooth. Pour the chili mixture over the meat, and add the seasonings. Mix well and refrigerate. This can be made ahead of time or right before it’s time to eat.

To make the quesadillas:

In a skillet over medium to medium high heat, cook the chorizo until crumbly and no longer pink. Drain off grease and set aside.

In a non stick pan or a griddle (I prefer using the griddle since I can fit way more food on it) lay a tortilla down. Add some queso fresco, then chorizo, green onions, cilantro and more queso fresco. Make sure to divide all the ingredients evenly among the three tortillas. Lay another tortilla on top and turn the heat on medium. Let cook for several minutes or until the underside of the tortilla is brown and crisped up. Flip over and cook for a few more minutes. Remove to a plate. Cut and eat! This is yummy with sour cream and salsa on the side.

cqcq 2cq 3cq 4*Quick tip: I do not butter my tortillas at all. I know some people do this when they make quesadillas but I don’t. If you’re using non stick cookware, the quesadillas won’t stick and the heat is enough to crisp and brown them without the added calories of butter. If you don’t have non stick cookware, then use some cooking spray so the quesadillas won’t stick.

Italian Sausage Lasagna

sausage lasagnaI’ve made this lasagna two weeks in a row!Ā So that alone should tell you it’s good. But here’s a few more reasons why you should make this:

  1. This is homemade! After you make it and eat it, you’ll be proud of yourself.
  2. It’s not too cheesy but just cheesy enough.
  3. It’s easy to make.
  4. This is better than restaurant lasagna. Yes, true statement.

I have to tell you that the last time we had this, we almost went out to eat instead. My husband had broken his glasses and he needed new ones ASAP so we figured it would be easiest to grab dinner while we waited for his new glasses. He told me to pick a restaurant. I really couldn’t think of anywhere I was dying to go so in the end, I just suggested I go with my original plan of making lasagna. And it couldn’t have been a better decision! We saved money (especially after spending an arm and a leg on new glasses) and our meal of lasagna, garlic bread and salad was delicious and filling.

So make the same decision as me and get your butt in the kitchen. You know you want to try out a new lasagna recipe!

Italian Sausage Lasagna

  • 1 lb. mild Italian sausage
  • 1 tbsp. olive oil
  • 1/2 onion, chopped
  • 2 cloves garlic, minced
  • 1, 15 ounce can each of diced tomatoes and tomato sauceĀ *see note below
  • 2 tsp. fresh basil, chopped or 1 tsp. dried basil
  • 1 cup water
  • Dash of salt & pepper
  • 1, 15 ounce container of ricotta cheese
  • 2 cups of frozen chopped spinach, thawed and squeezed of water
  • 1/4 cup grated parmesan cheese
  • 1 egg
  • 1 tsp. dried Italian seasoning
  • 2 1/2 cups shredded Italian blend cheese or mozzarella
  • 6 lasagna noodles, uncooked

*The canned diced tomatoes and tomato sauce can be substituted with a large 26 ounce can of crushed tomatoes.

Cook the Italian sausage in a skillet until cooked through and brown. Set aside.

To make the marinara sauce: In a saucepan, heat the olive oil over medium heat. Add the onions and sautƩ for about 5 minutes. Add the garlic and continue cooking for about 30 seconds. Then add in the diced tomatoes and tomato sauce (or crushed tomatoes), water, basil and salt and pepper. Bring to a boil and then let simmer. I only let mine simmer about 10 minutes and then remove from the heat.

While the sauce is simmering, mix the ricotta, egg, parmesan cheese, spinach, Italian seasoning, and a dash of pepper in a bowl until combined.

Preheat the oven to 350 degrees. In a lasagna pan (or large, deep rectangular dish) pour in just enough marinara sauce to cover the bottom of the pan. Then lay 3 lasagna noodles on top of the sauce. Use half of the ricotta mixture and spread over the noodles. Add half of the Italian sausage and spread over the ricotta mixture. Then add half of the shredded Italian blend or mozzarella cheese. Add half the remaining marinara sauce over the top. Then go in this order for the remaining layers:

  1. lasagna noodles
  2. ricotta mixture
  3. Italian sausage
  4. marinara sauce
  5. Italian cheese or mozzarella blend

Cover the pan with foil and bake for 1 hour, covered. Then remove the foil and bake for an additional 15 minutes. Remove from oven and let stand for at least 10 minutes. Cut and serve!

sausage lasagna 4sausage lasagna 5sausage lasagna 6sausage lasagna 8sausage lasagna 7sausage lasagna 9sausage lasagna 3sausage lasagna 2

Chinese Eggplant & Ground Pork

pork & eggplant 2So maybe you’ve had a similar type dish at a Chinese restaurant? Well, no need to go out now when you can make it at home!

I love cooking Asian style at home because I think you can get really great authentic flavors. And this recipe is very flavorful and super easy to make. Plus, it’s a little different than your typical teriyaki chicken. If you’re not a pork person, feel free to substitute the pork with ground chicken.

Chinese Eggplant & Ground Pork

  • 1 lb. ground pork
  • 2 Chinese eggplants, halved & then cut into half moons
  • 1/2 white onion, chopped
  • 1 tbsp. canola oil
  • 2 garlic cloves, minced
  • 2 tbsp. rice wine vinegar
  • 1 tbsp. soy sauce
  • 1 tbsp. sriracha
  • 1/2 c. hoisin sauce
  • 1/8 tsp. white pepper
  • dash of salt
  • pinch of dried crushed red peppers
  • 2 green onions, sliced
  • 1 tsp. sesame oil

Heat a wok or skillet over medium heat and add canola oil. Add in the ground pork making sure to break it up as you cook it. Let pork cook for a few minutes, and then add in the onions. Once pork is almost cooked through, add the eggplant. While that cooks, mix together the garlic through the crushed red peppers in a separate bowl. When the pork is cooked (no longer pink) add in the sauce and stir together to combine. Let cook for a few more minutes to absorb the saucy goodness. Turn off heat and add in the green onions and drizzle the sesame oil. Stir and then serve immediately.

chinese eggplant 2chinese eggplantpork & eggplant 3pork & eggplantI like this served along side some rice while my husband likes this served on TOP of his rice. This would also be great in a lettuce wrap. Enjoy your homemade take out!

P.S. Sorry for missing pics of the actual cooking process. Must’ve been very hungry and slightly delirious. But at least you know what a Chinese eggplant looks like!