One word to describe these fried shrimp? Yummy. Wait! Another word? Crunchy! Okay so that’s two words, but if you like yummy and crunchy shrimp, then TRY THIS. I seriously cannot wait to eat this again.
Panko Fried Shrimp
- 1 lb. jumbo shrimp (21-25 count) peeled, deveined and butterflied (tails off)
- 1 c. flour
- 1 tbsp. cornstarch
- 1 tsp. sugar
- 1 1/2 c. very cold water
- 2 c. panko crumbs
- 1/8 tsp. white pepper
- 1/8 tsp. garlic powder
- Canola oil
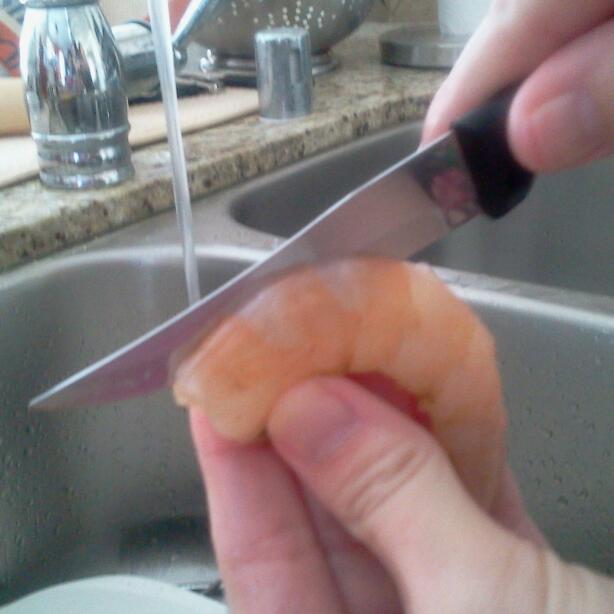
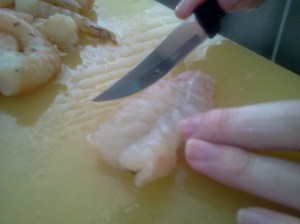
Peel, devein, butterfly and rinse the shrimp. If you’ve never done this before, it’s easy but takes time. Don’t know how? I’ll try my best to help you out. Slip your finger under the shell and gently pry off. Take a small knife, run it down along the length of the entire top of the shrimp, cutting about halfway into the shrimp.

My 8 year took this for me because my hands were in use, as you can see
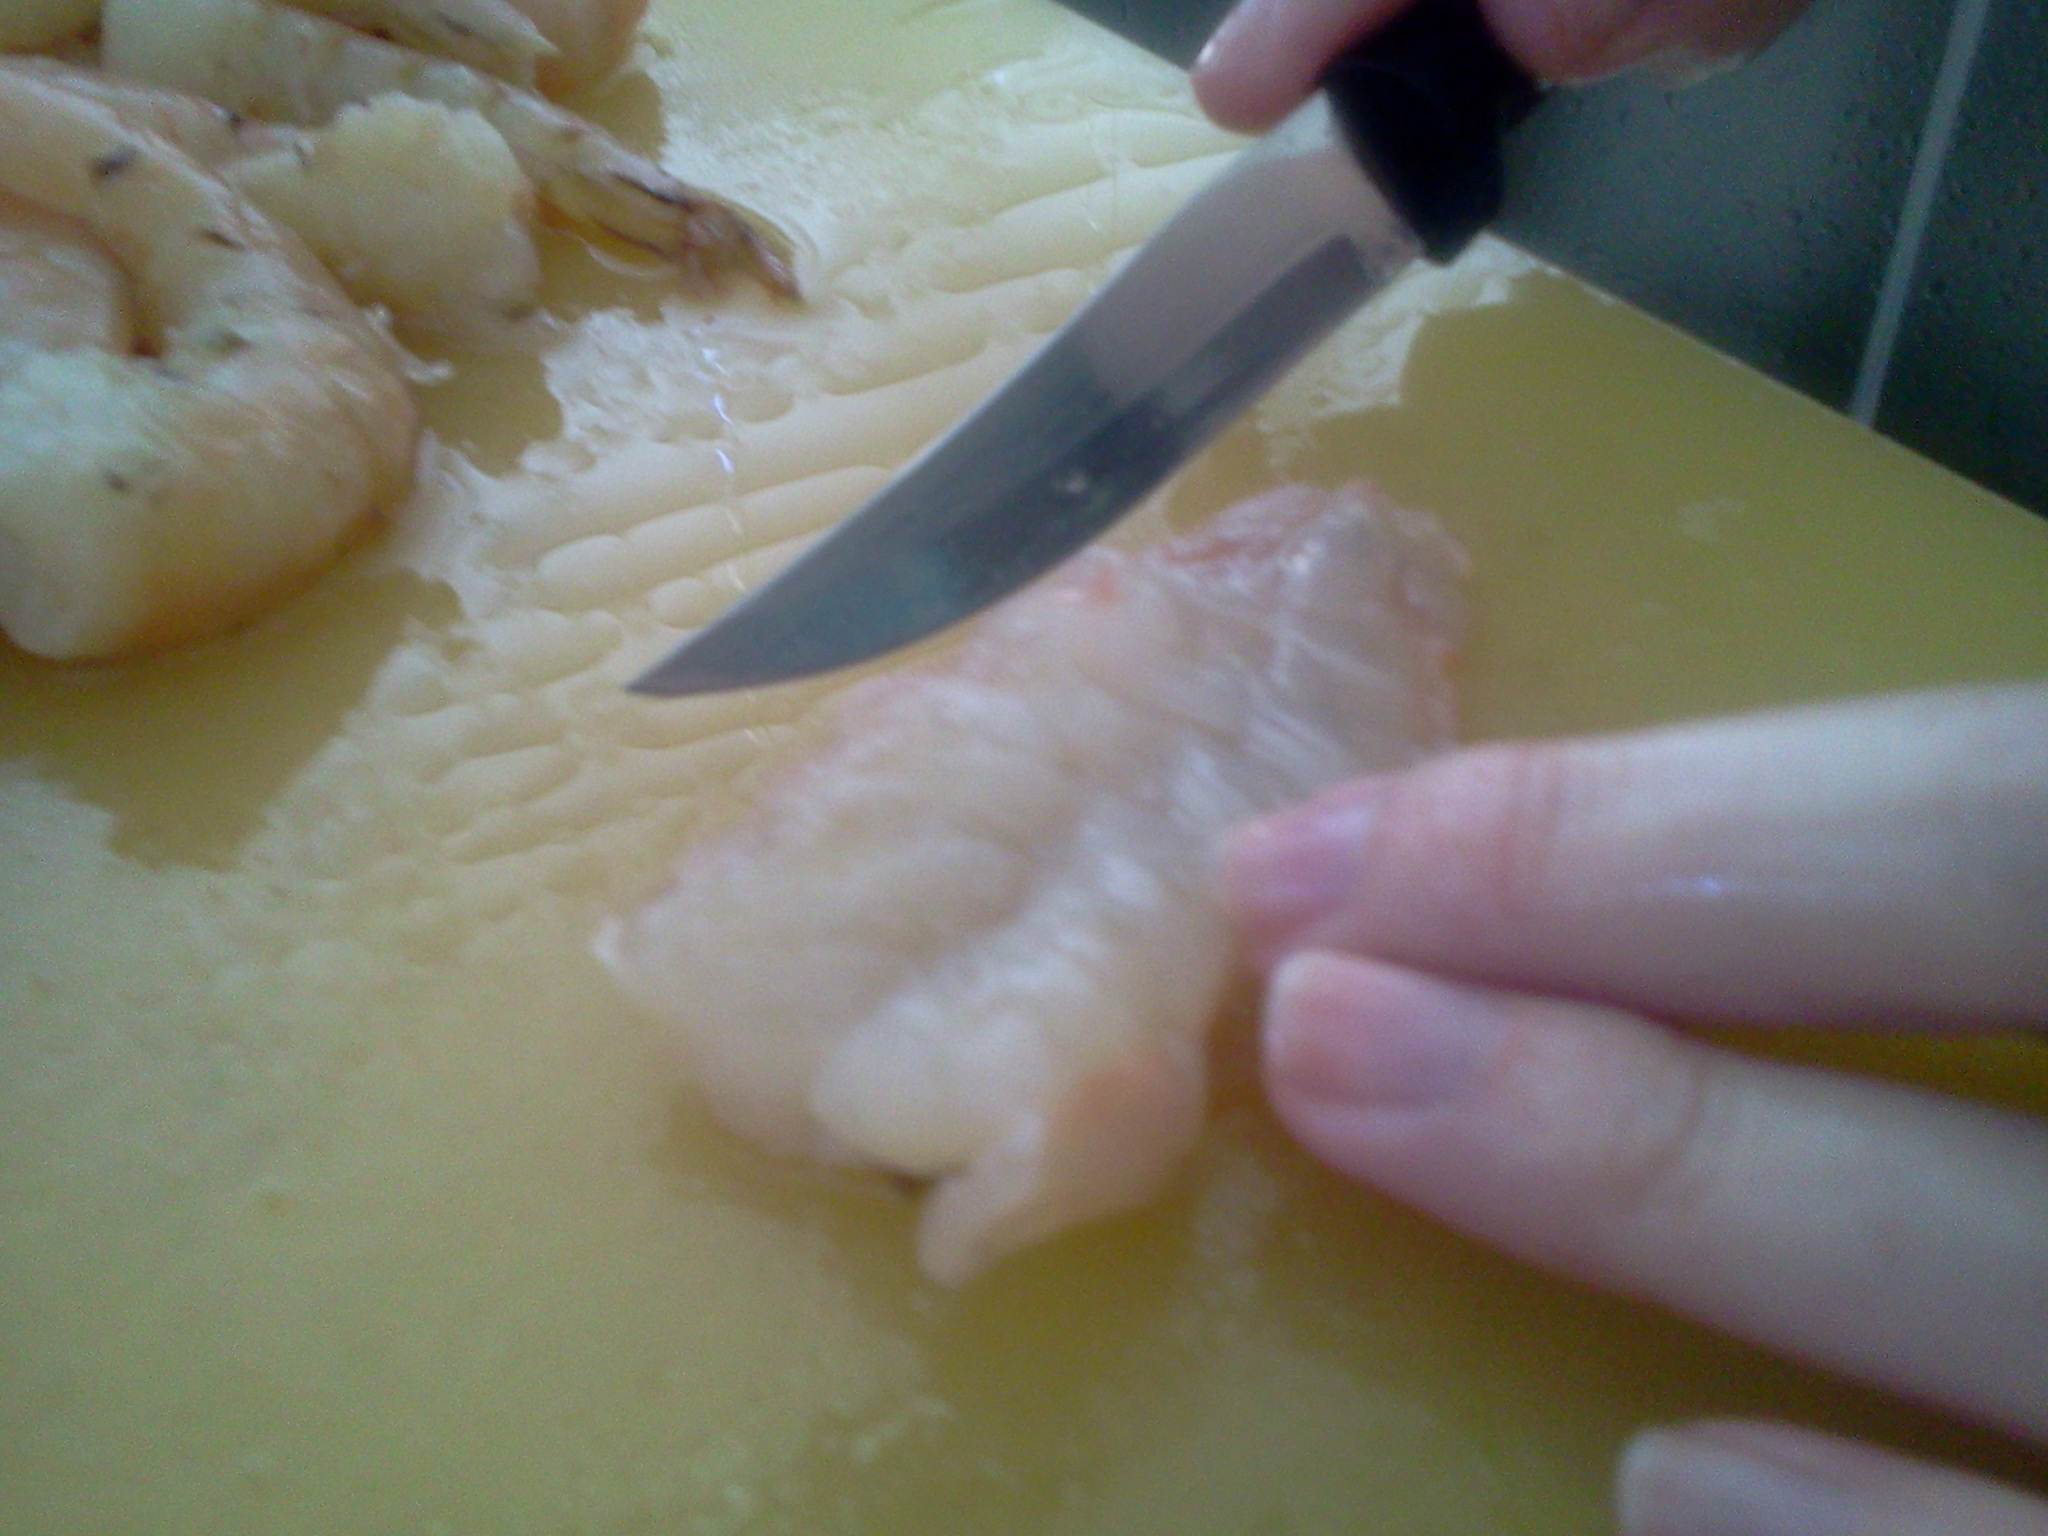
Scrape out the nasty stuff. You’ll see it, sometimes it’s a pale peach color, brown or black. After you take that out, you can lay the shrimp on the cutting board and gently press it down to flatten it.
Child photographer at work
Just make sure you don’t cut all the way through or else it won’t be butterflied, it will be in two pieces and that’s what you don’t want. Rinse and dry the shrimp.

This is what the shrimp should look like when you’re done
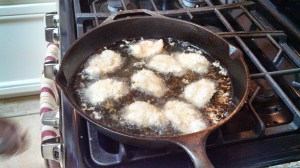
Heat a skillet (again I used my cast iron) filled with oil on medium to medium high (about an inch up the sides). This is a shallow fry. While this is heating up, mix together your batter.
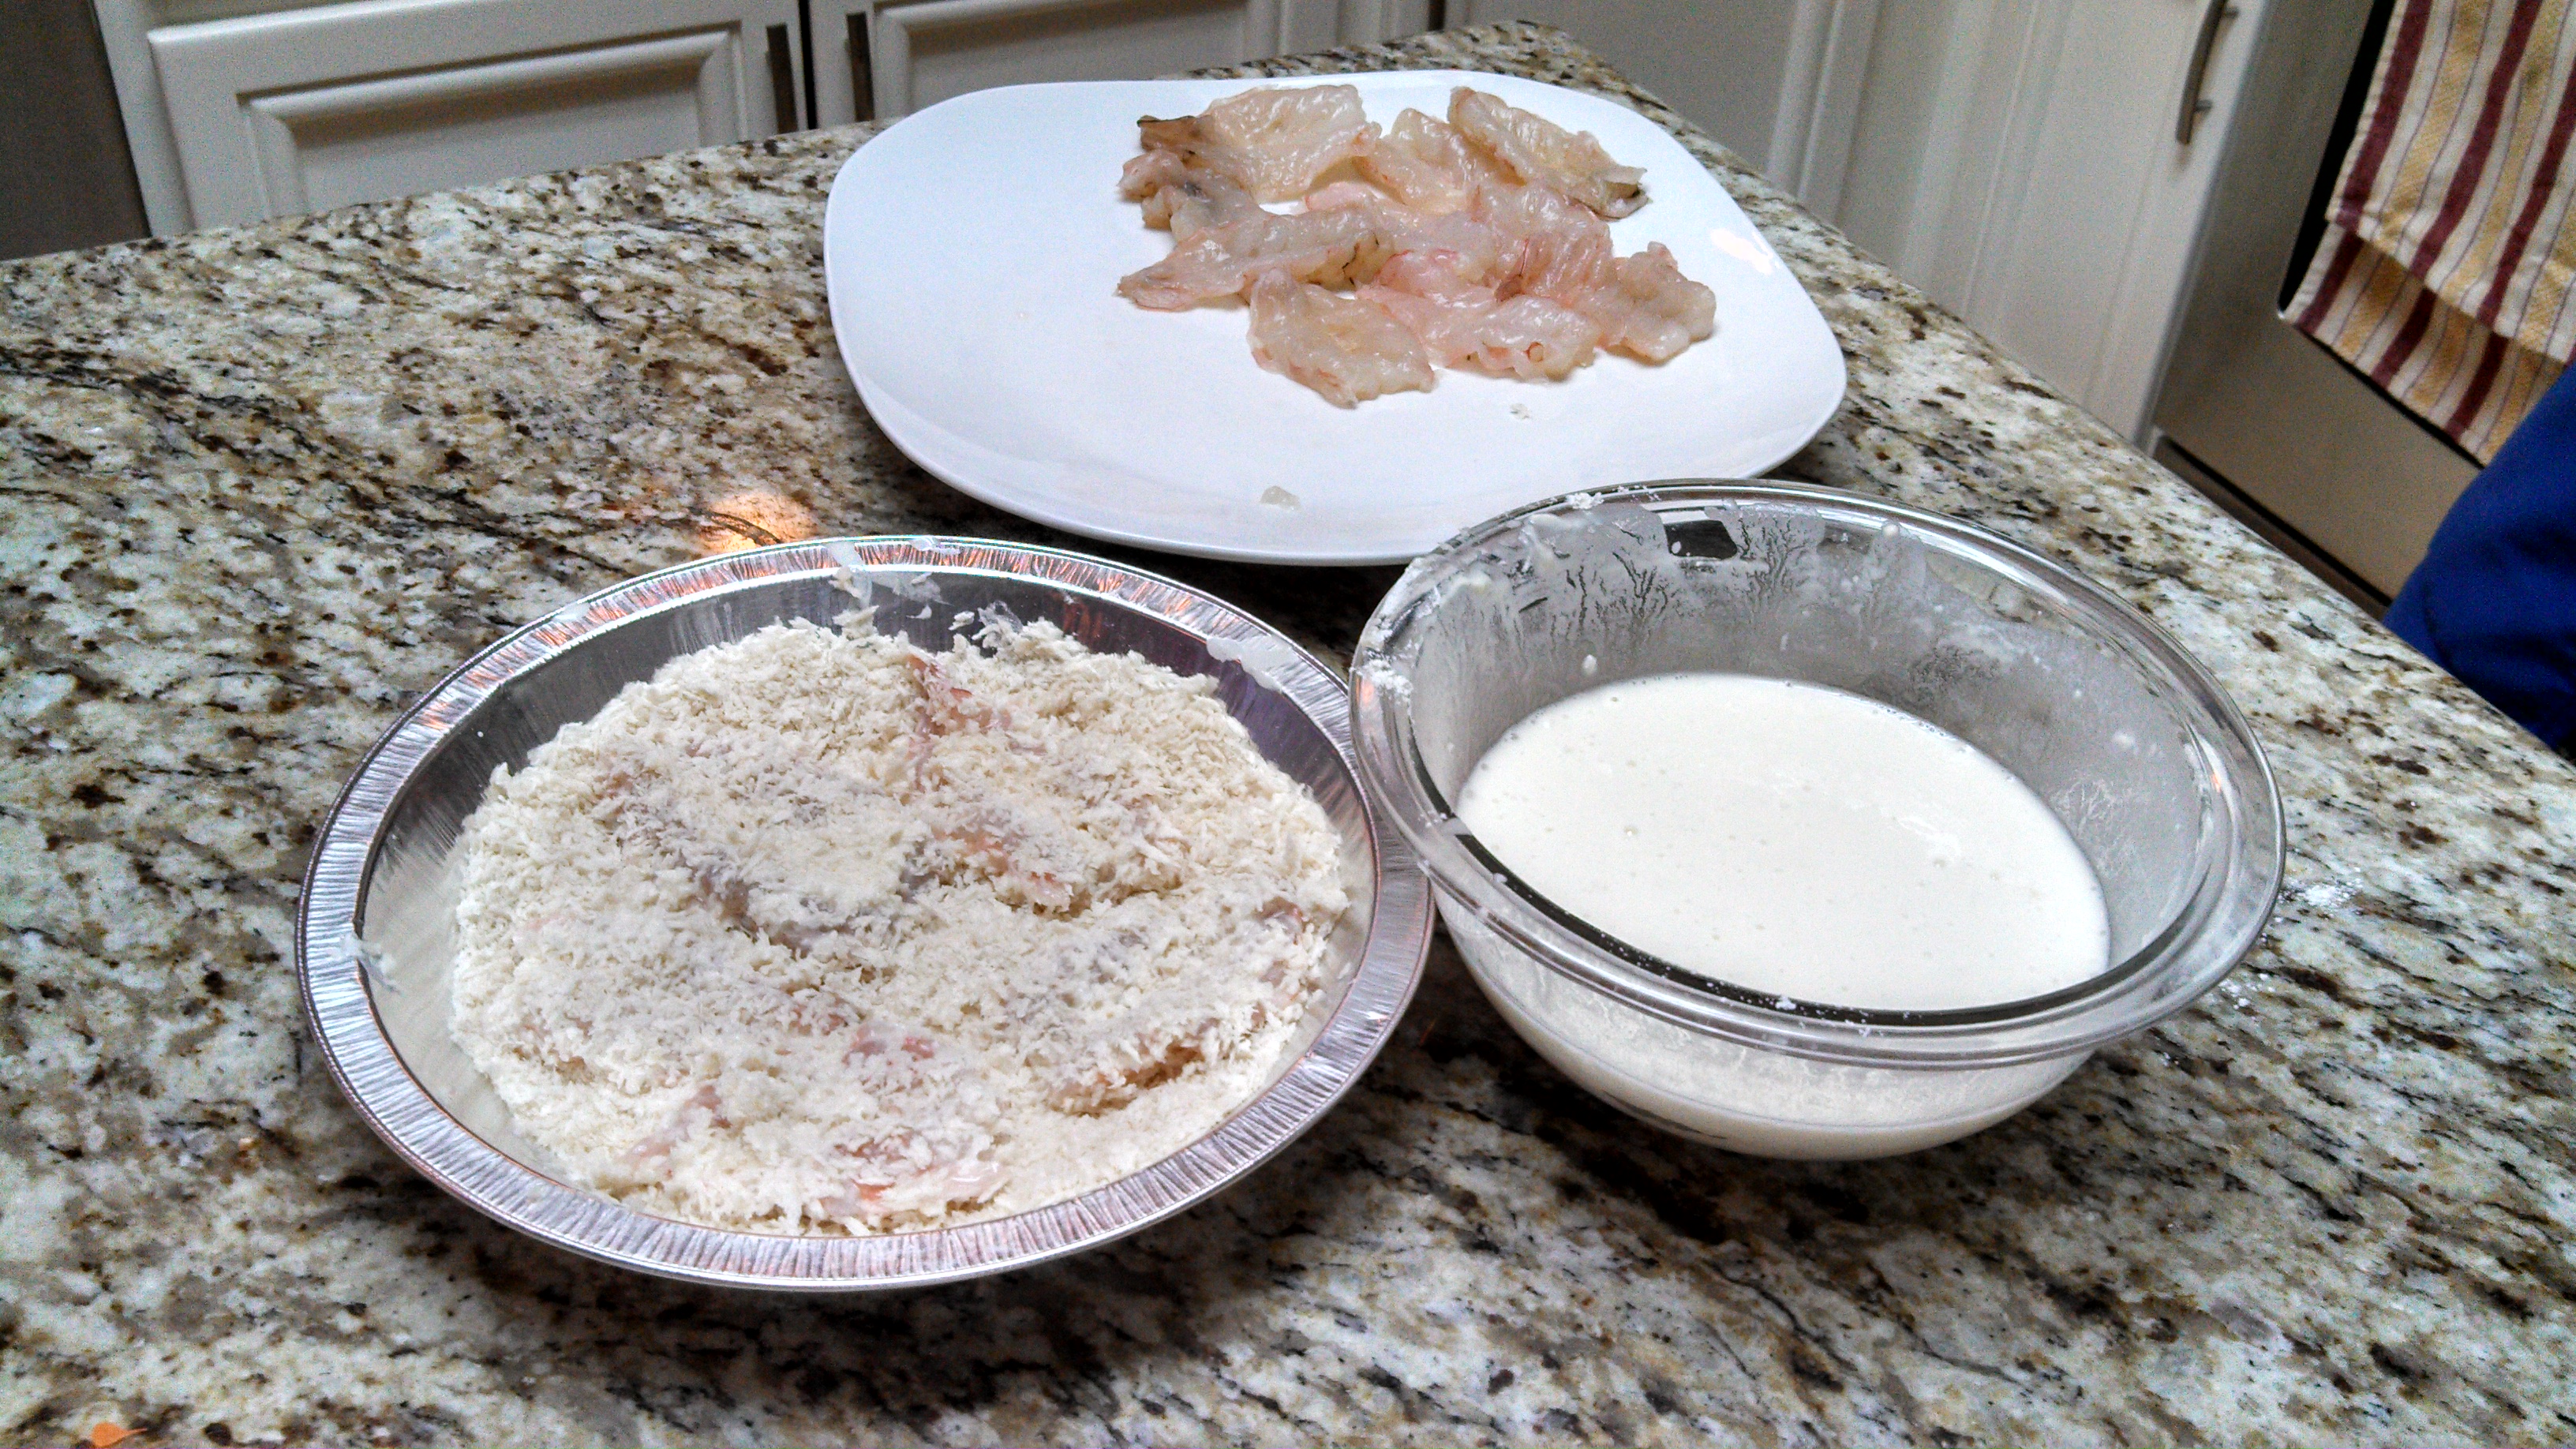
Add the flour, sugar, cornstarch and cold water to a bowl. Using a fork or whisk, stir until combined. In a shallow dish, mix together the panko, white pepper and garlic powder.
 Here’s how it goes. Take a butterflied shrimp and dip it into the batter. This is a loose batter so not much will stick. Then press the shrimp into the panko, making sure to coat both sides. That’s what you will do for each shrimp. When the oil is ready you can start frying. To make sure oil is hot enough, you can drop some panko crumbs in there and if they sizzle and brown up, it’s ready. If the oil is smoking, it’s way too hot. If you’ve fried before, you’re familiar with how it works.
That little blur to the left? I think that’s a puppy face in motion.
Gently lay the shrimp into the hot oil. It only take 2-3 minutes per side. Turn the shrimp over when the underside is a nice golden brown. The other side will fry up even quicker. Drain shrimp on paper towels and serve immediately.
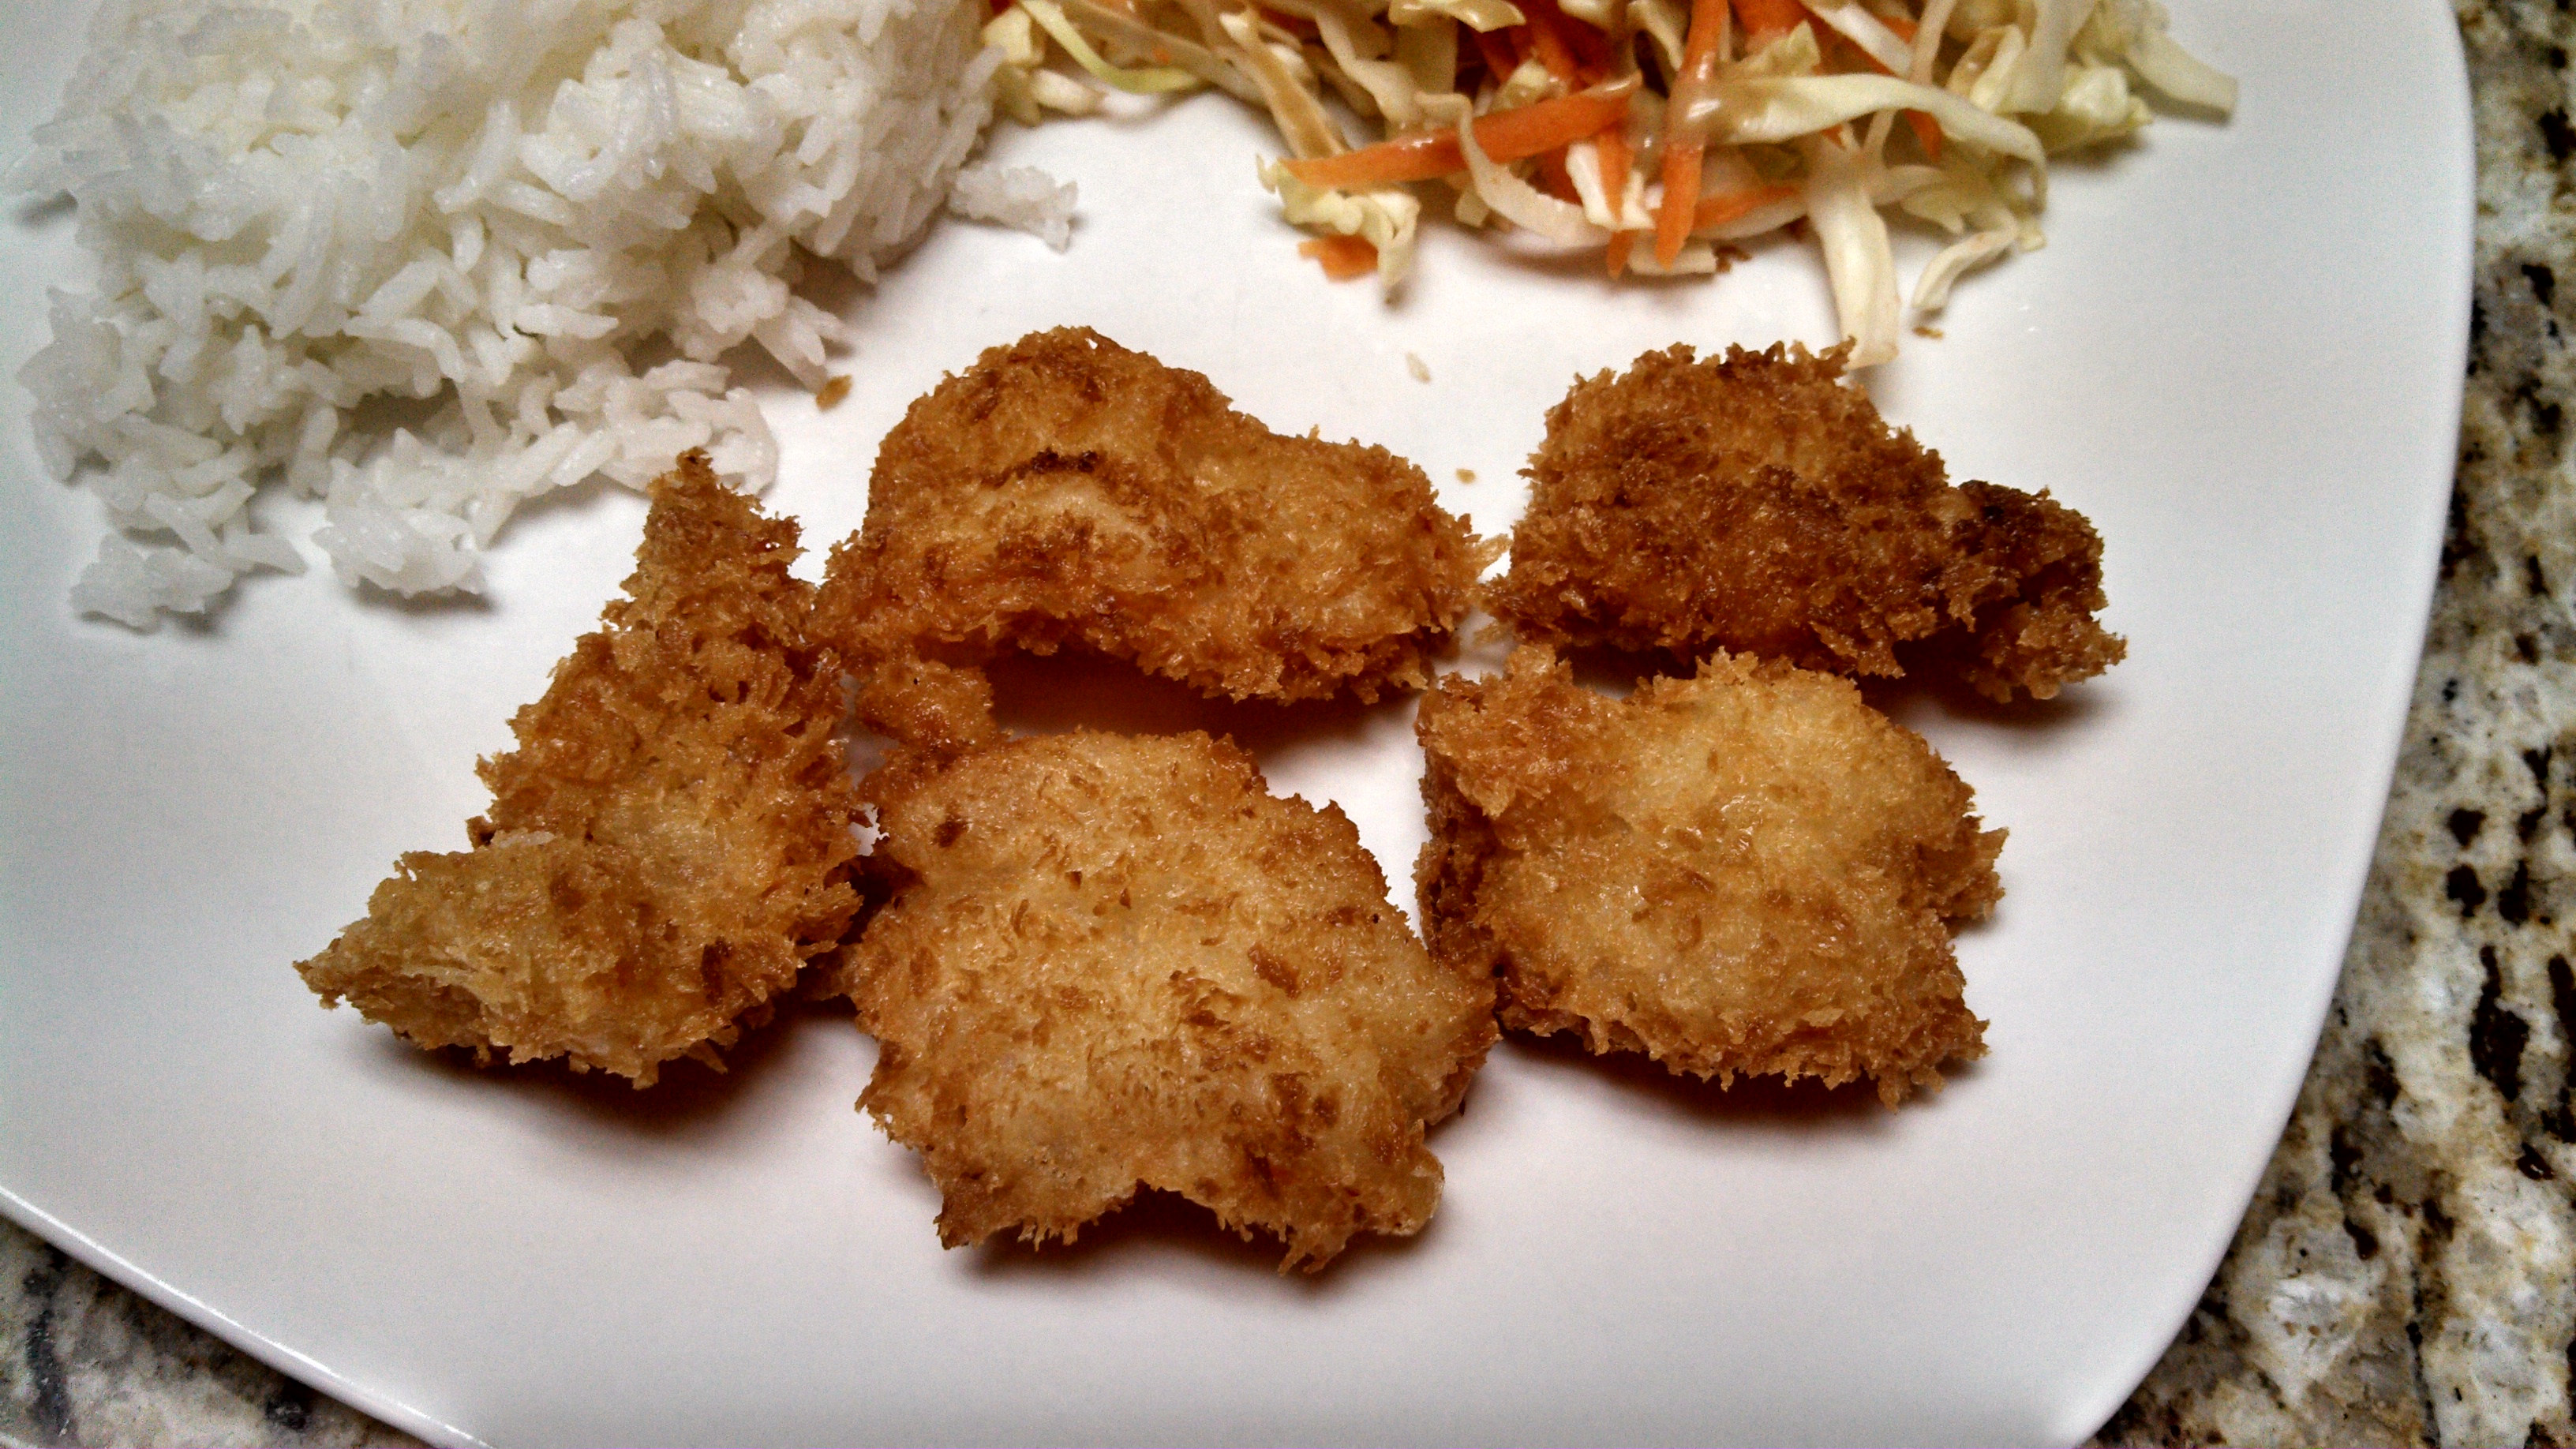
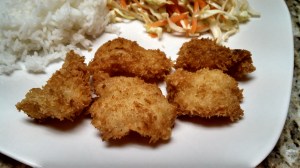
I served this with sweet chili sauce and it was in my opinion (and my husband’s) the perfect compliment to the shrimp. I also think sweet and sour would be a great choice as well.
This shrimp was served along side some white rice and cabbage salad with peanut & sesame dressing. OMG. Yes, it was that good.
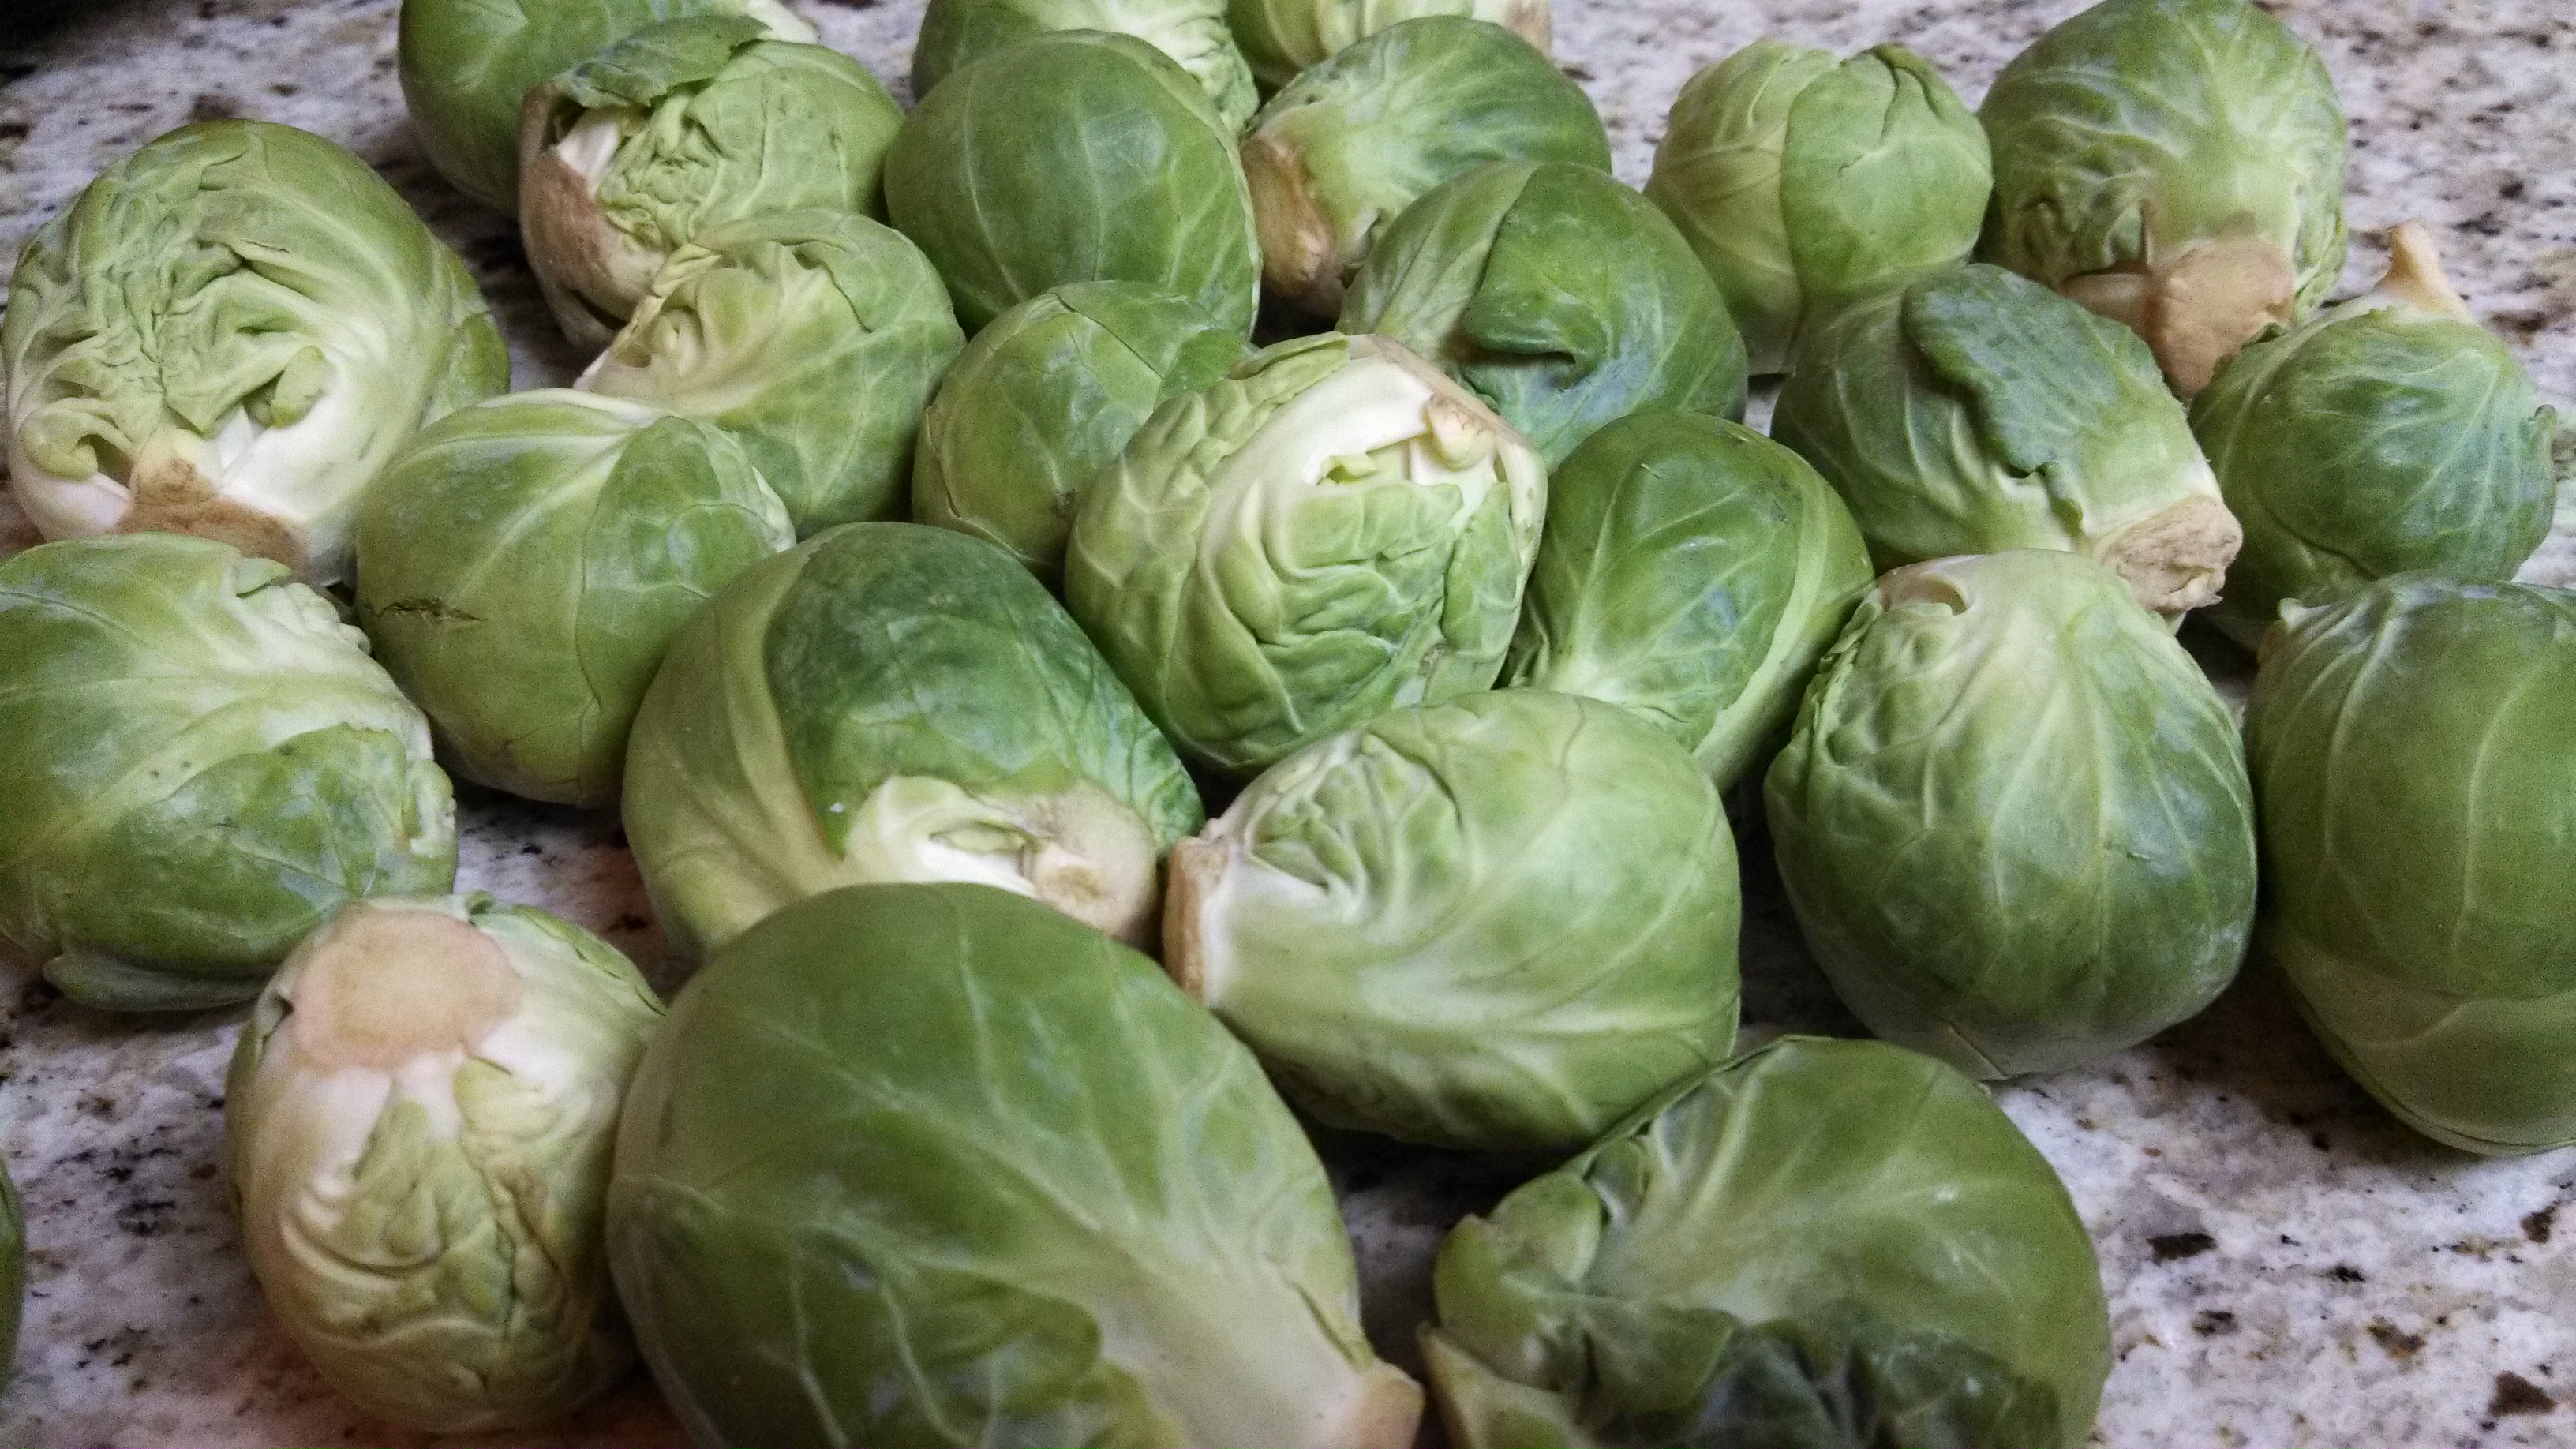 Brussel sprouts are little gems of deliciousness. They have quickly become one of my family’s favorite veggies. So I was really excited when I saw my brother-in-law making them as a side for Christmas dinner. And they were really tasty. I’ve always baked them in the oven and although very yummy, that recipe takes 45 minutes and requires me to shake the pan every 5-7 minutes. This recipe is so much quicker and so very good that it’s a must try.
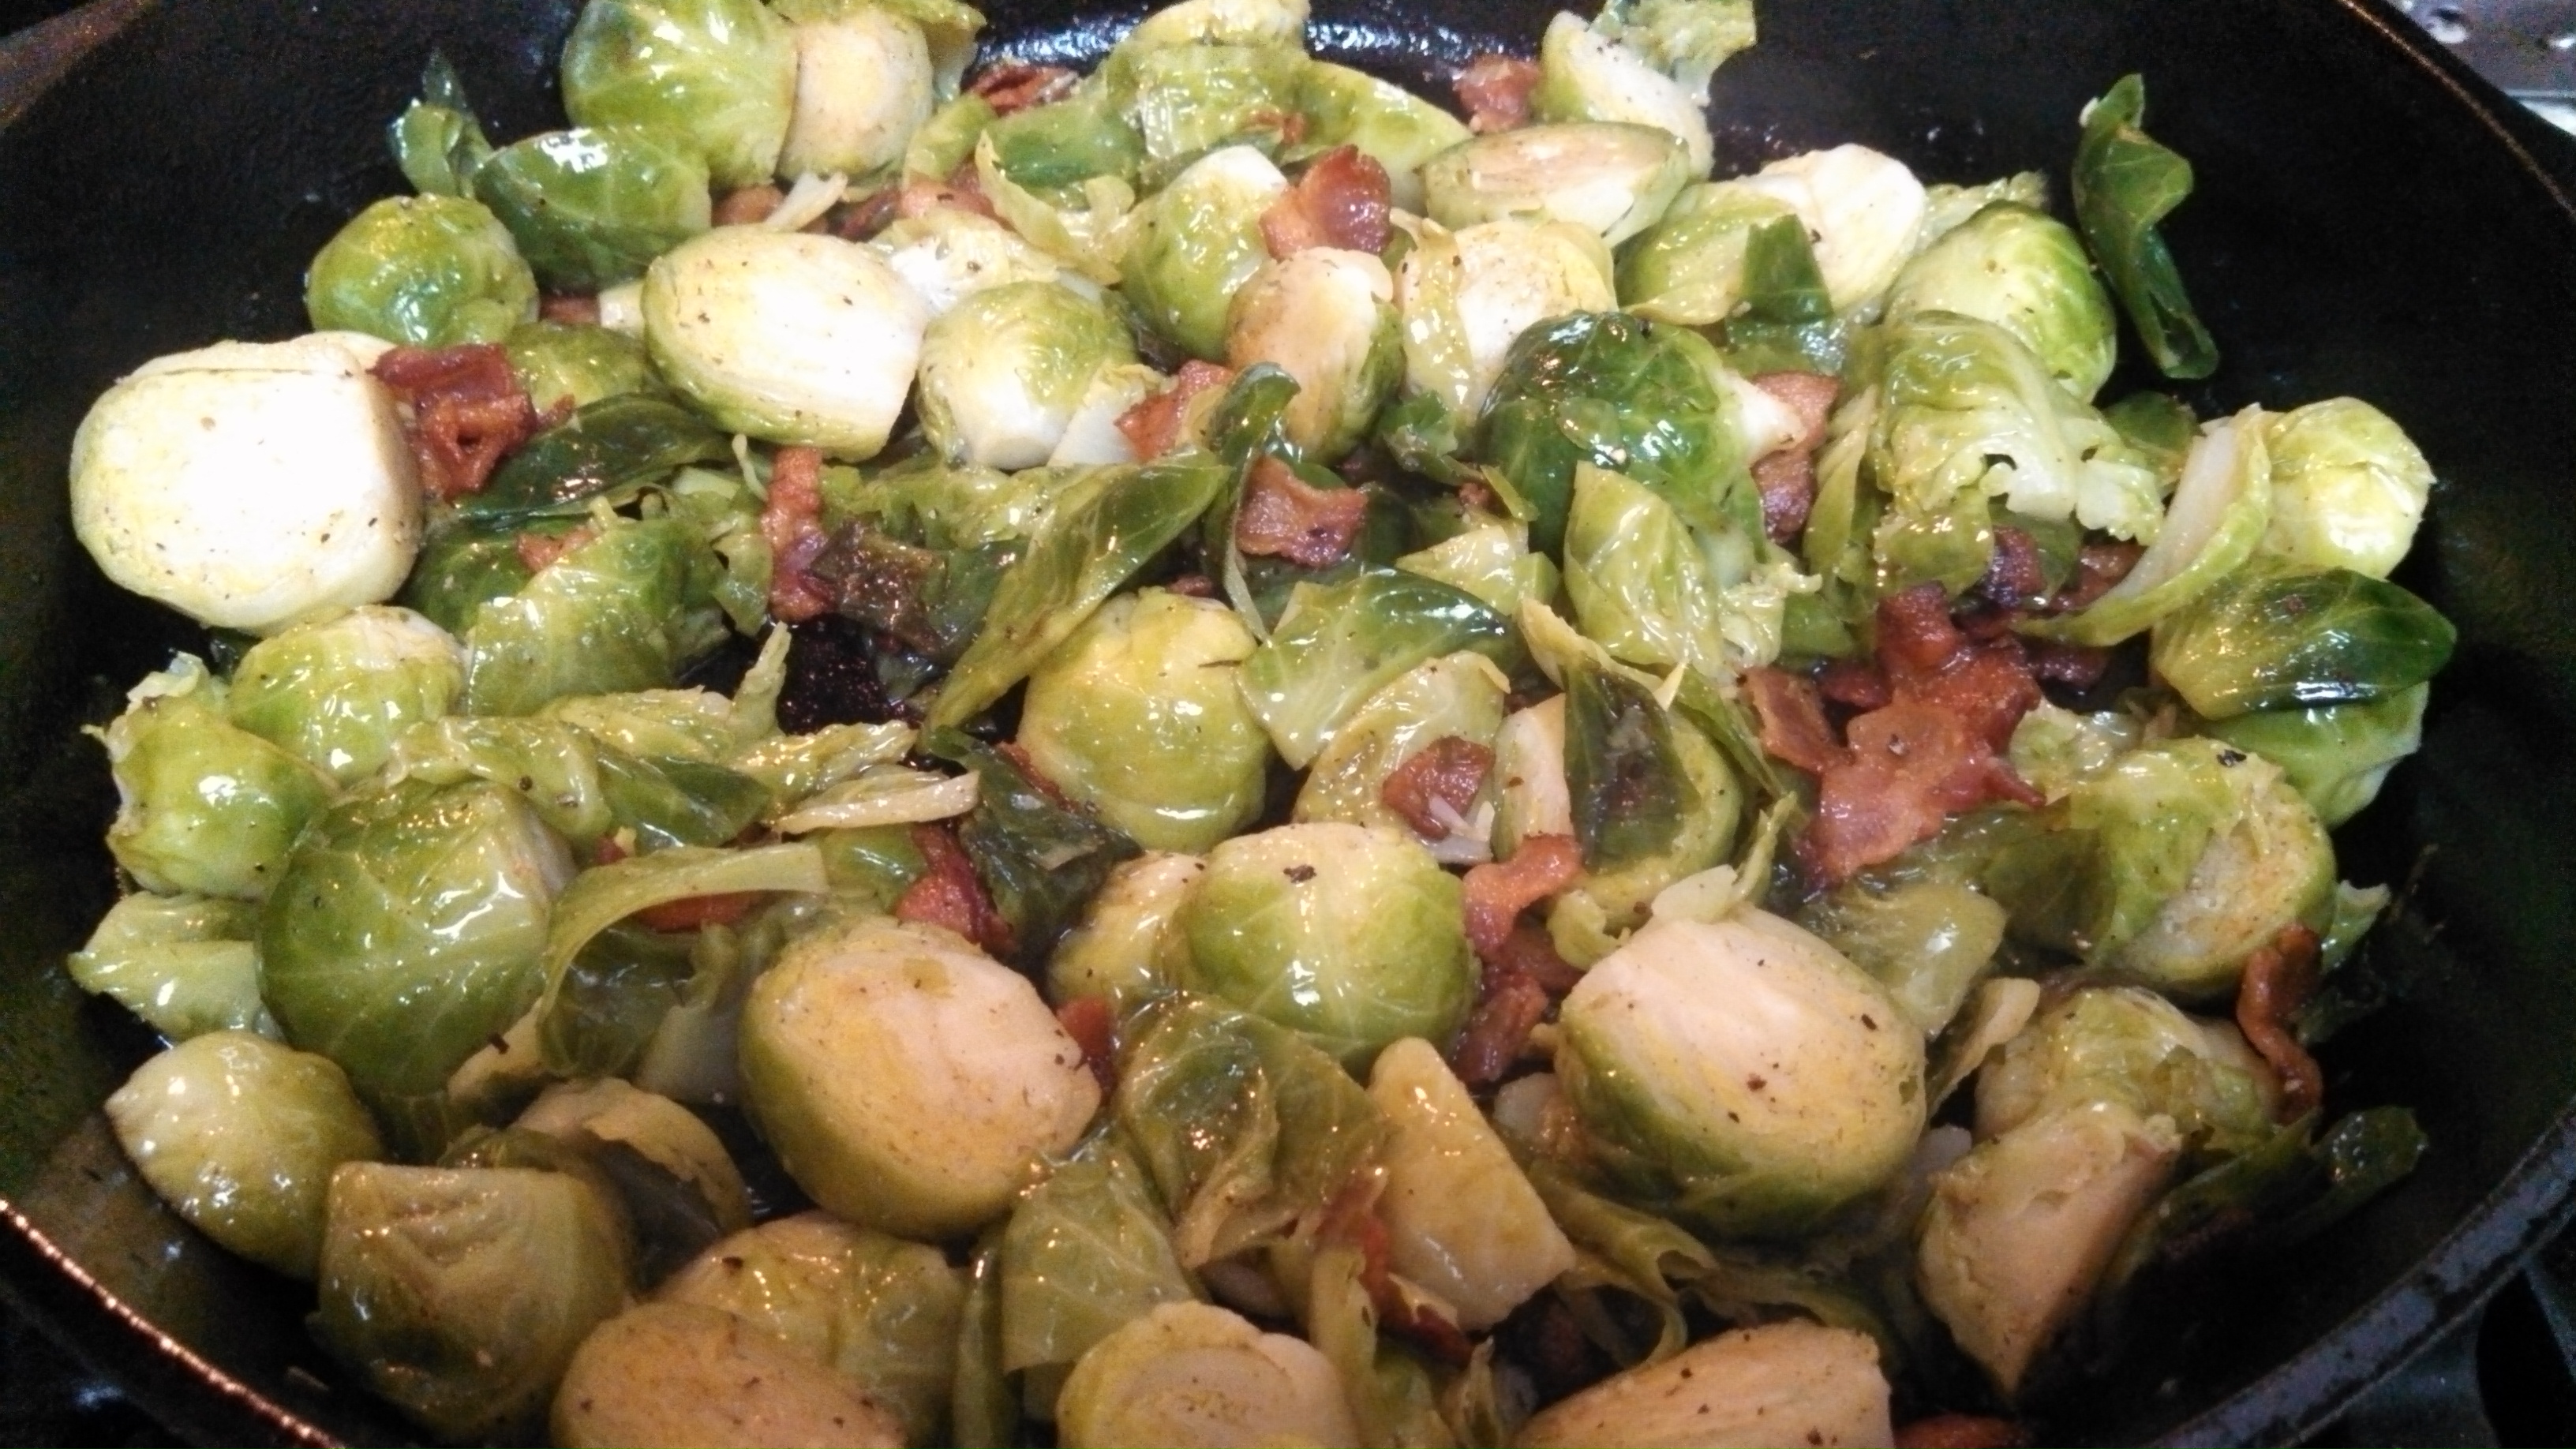 I’m pretty sure you will inhale these scrumptious brussel sprouts!!