Shrimp Stuffed Poblano Peppers

stuffed peppers 2I’m so fancy, you already know….. Or at least that’s how this recipe will make you feel! 🙂 This dish may look fancy and time consuming, but looks can be deceiving.

I made these peppers after spending most of the day at the beach, which is an hour away. After the drive, lugging around beach equipment and tending to my three beasts lovely children, I was feeling a wee bit tired when I got home. But the beauty of this recipe is that it’s easy! So even if you’ve had a busy day, this dish can be done!!!

So the hardest part about this recipe is roasting the peppers. It’s not really hard, but it’s just the longest step in the process. And the final outcome? Creamy with a nice pop of texture from the shrimp. It all blends so well together. Totally worth it! And you can easily make this recipe ahead of time if you’re having company. Just pop in the fridge until you’re ready to bake and serve. I know I’m all about doing things ahead of time.

Shrimp Stuffed Poblano Peppers (serves 5)

  • 5 large poblano peppers, also known as pasilla peppers
  • 1 pound shrimp, peeled, deveined and tails removed (31-40 count)
  • 1 tbsp. olive oil
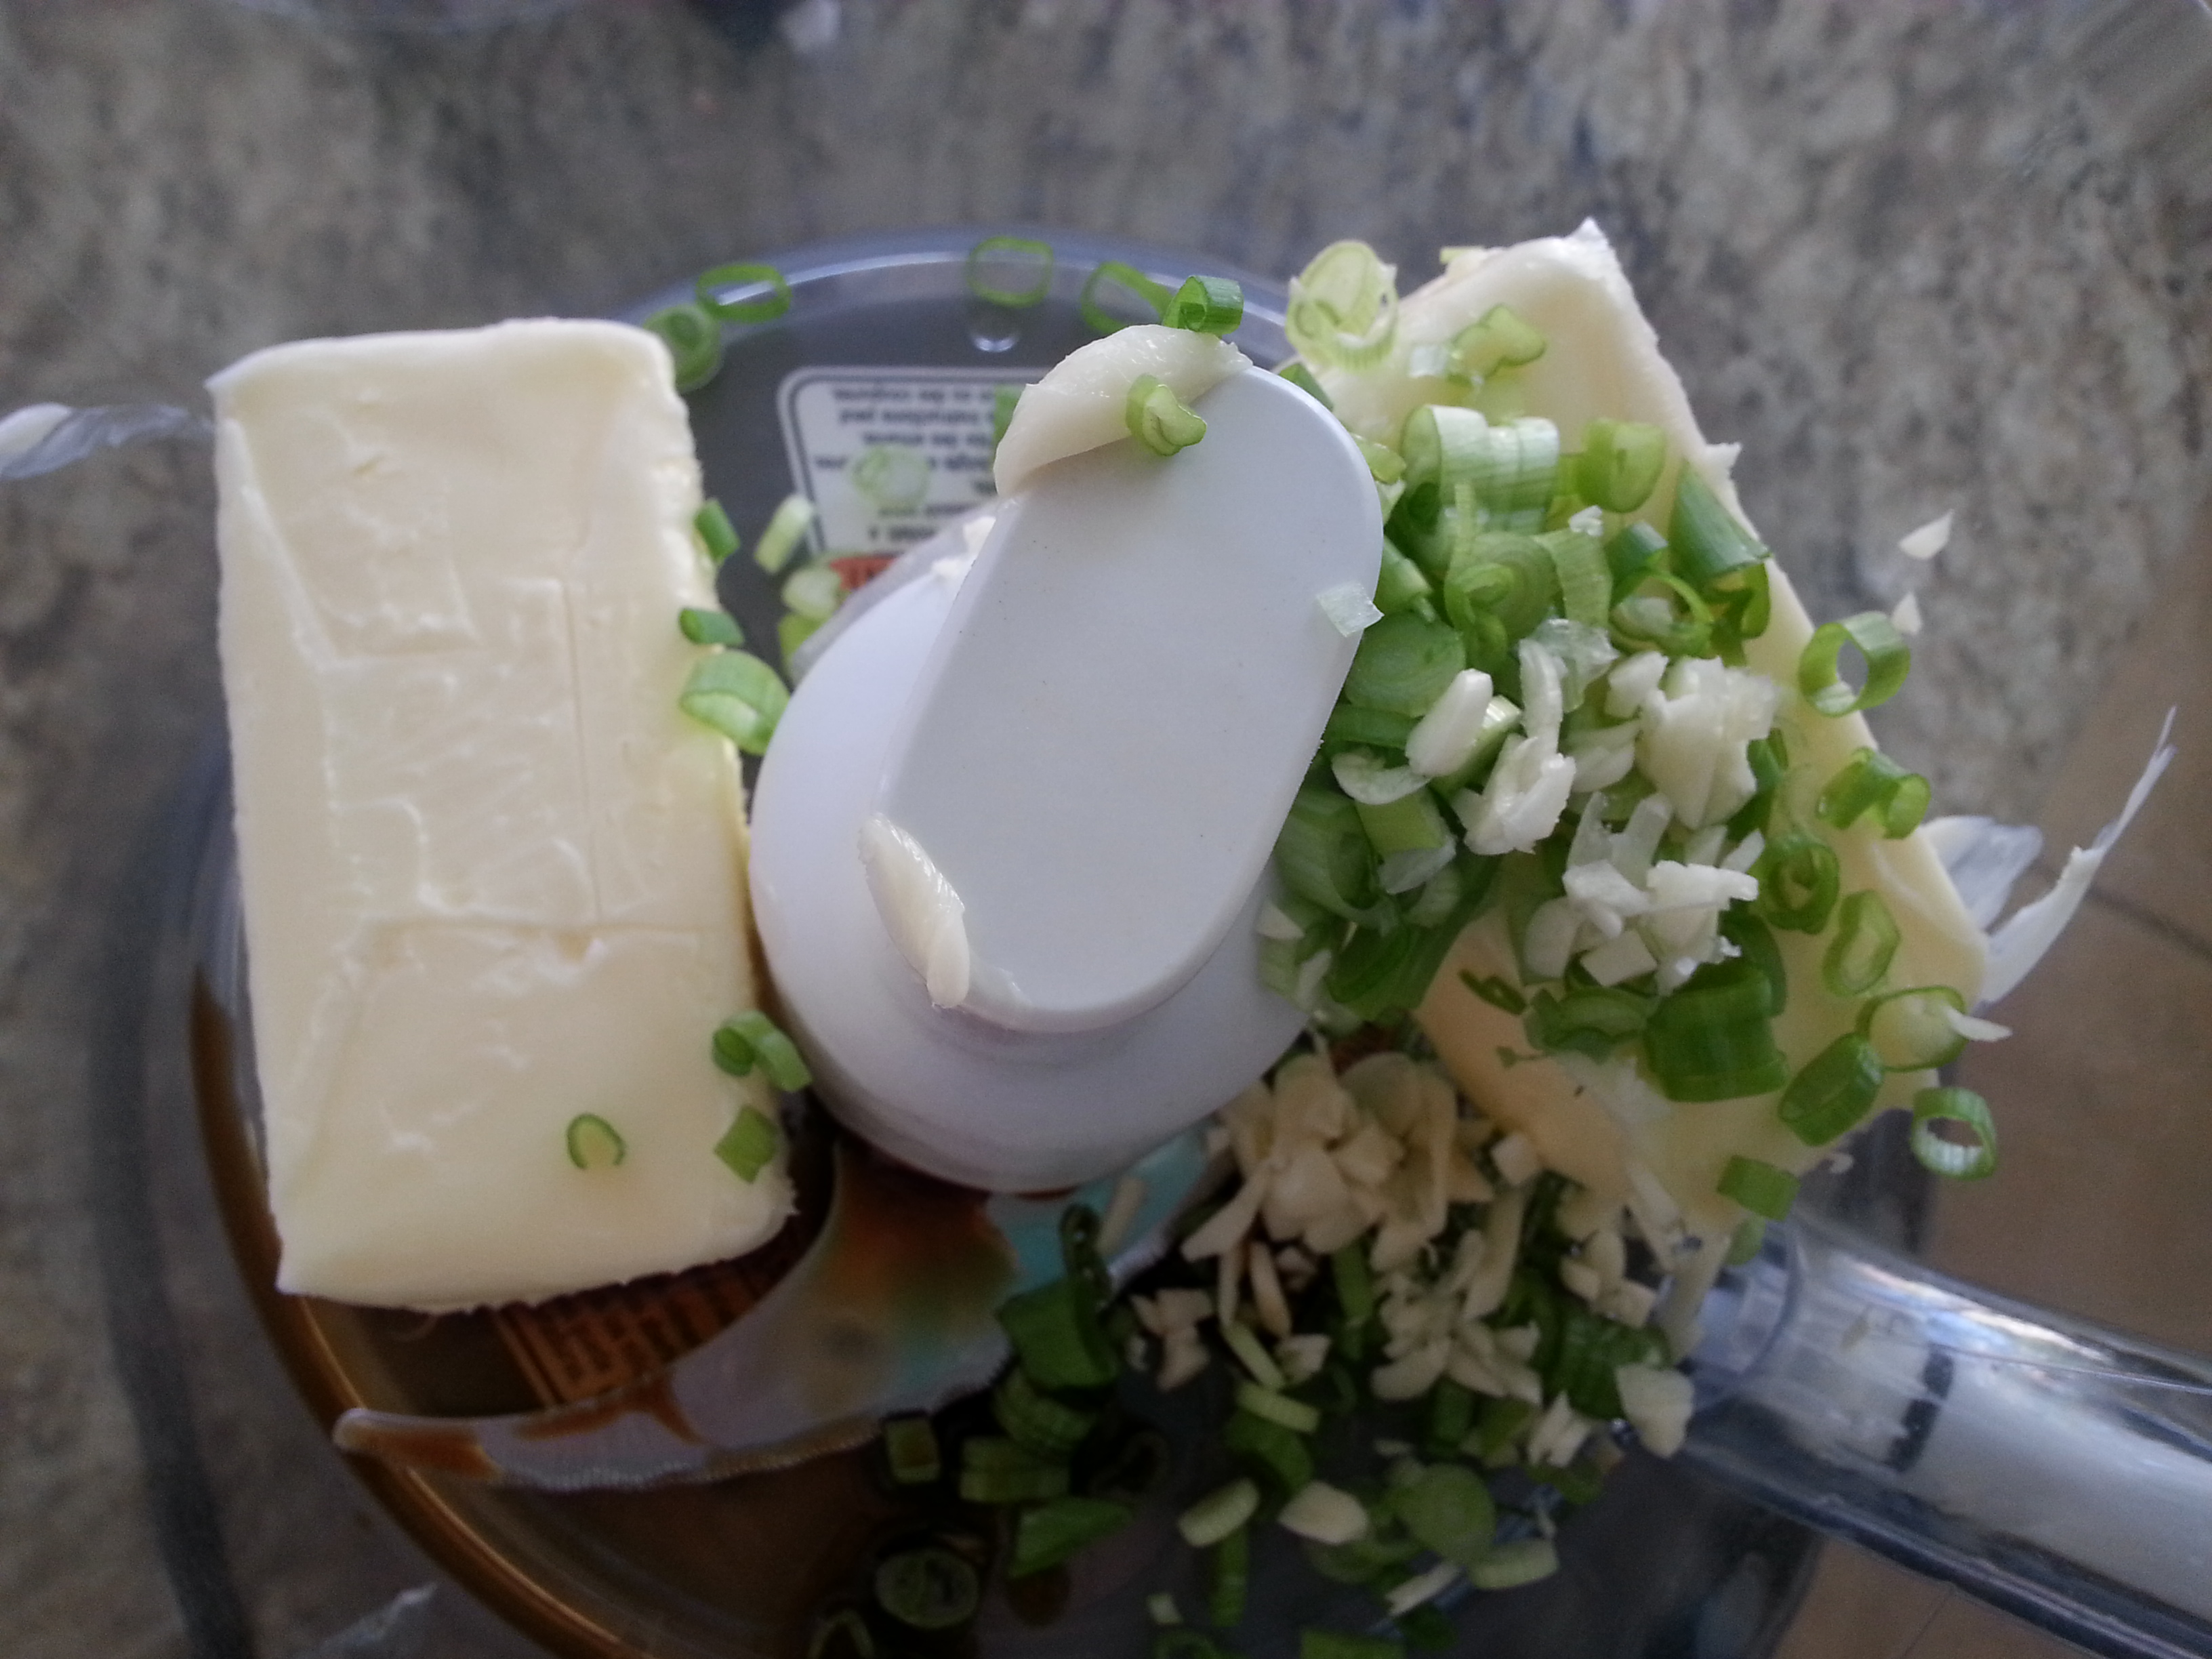
  • 1/2 small onion, chopped
  • 1 jalapeno, seeded and chopped
  • 1 c. shredded Monterey jack cheese
  • 1 8 ounce block cream cheese or Neufchatel (softened)
  • 1/4 tsp. each of ground cumin and chili powder
  • Sliced green onions and chopped cilantro (for garnish)

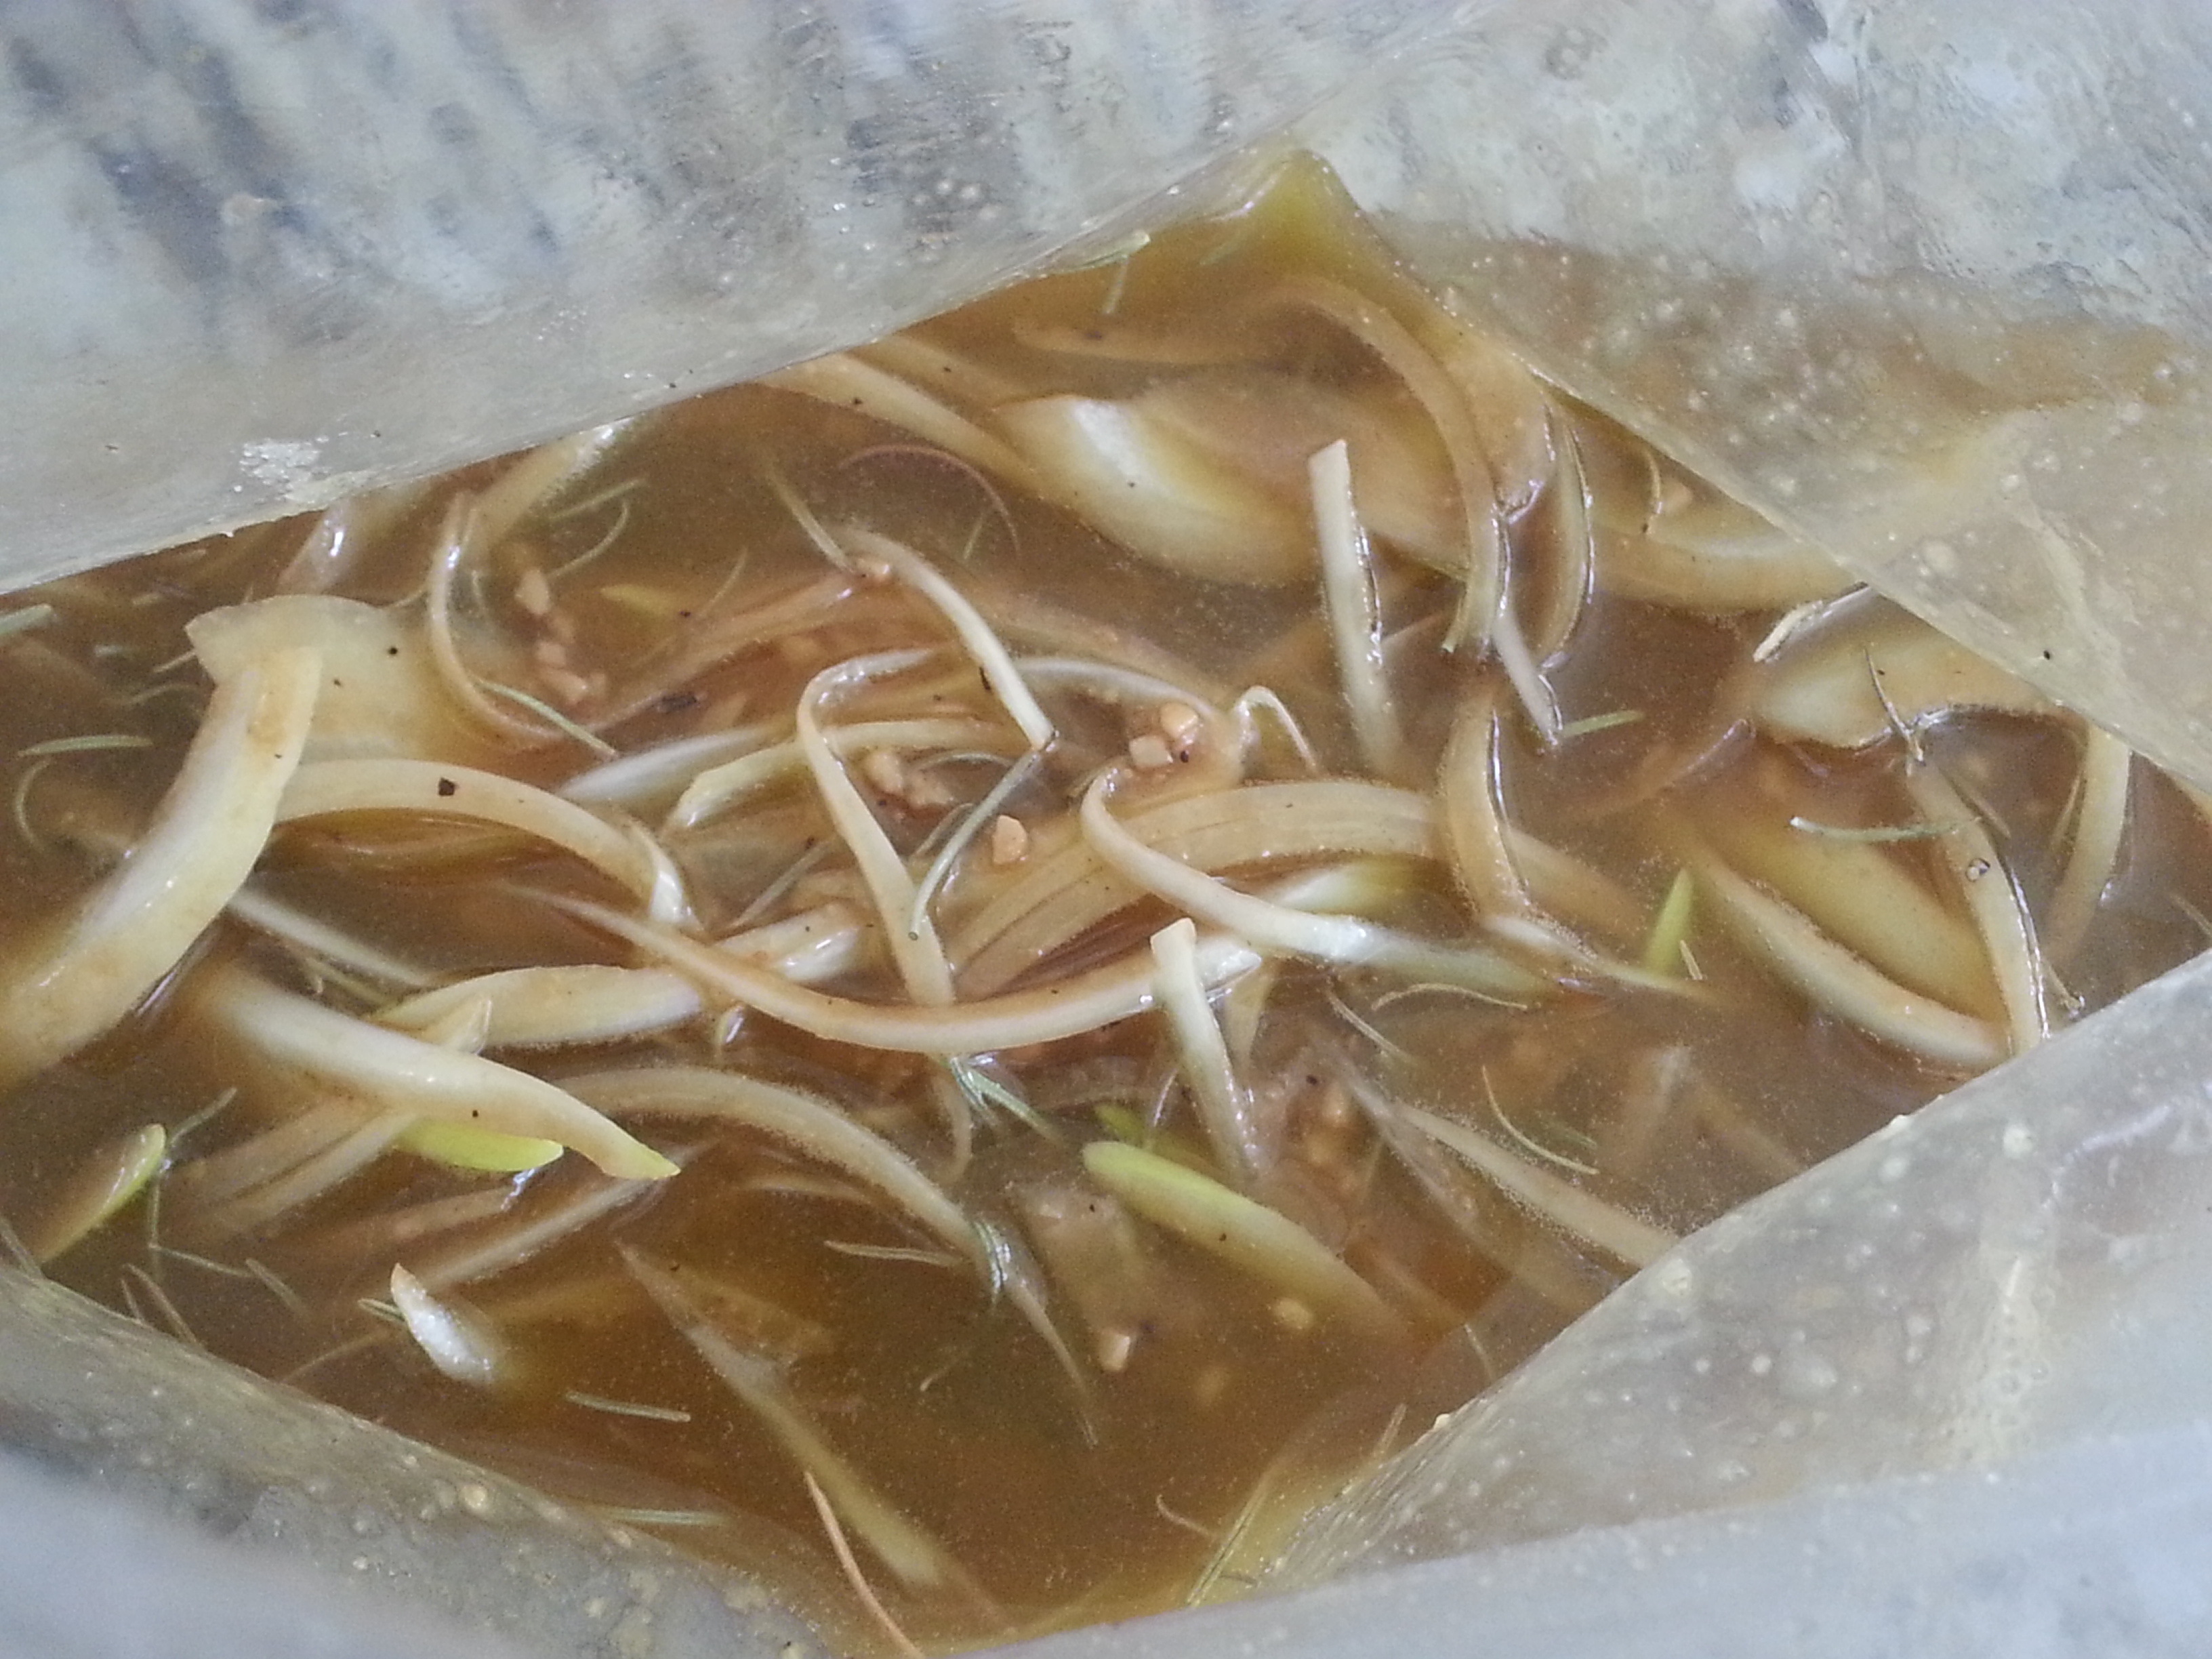
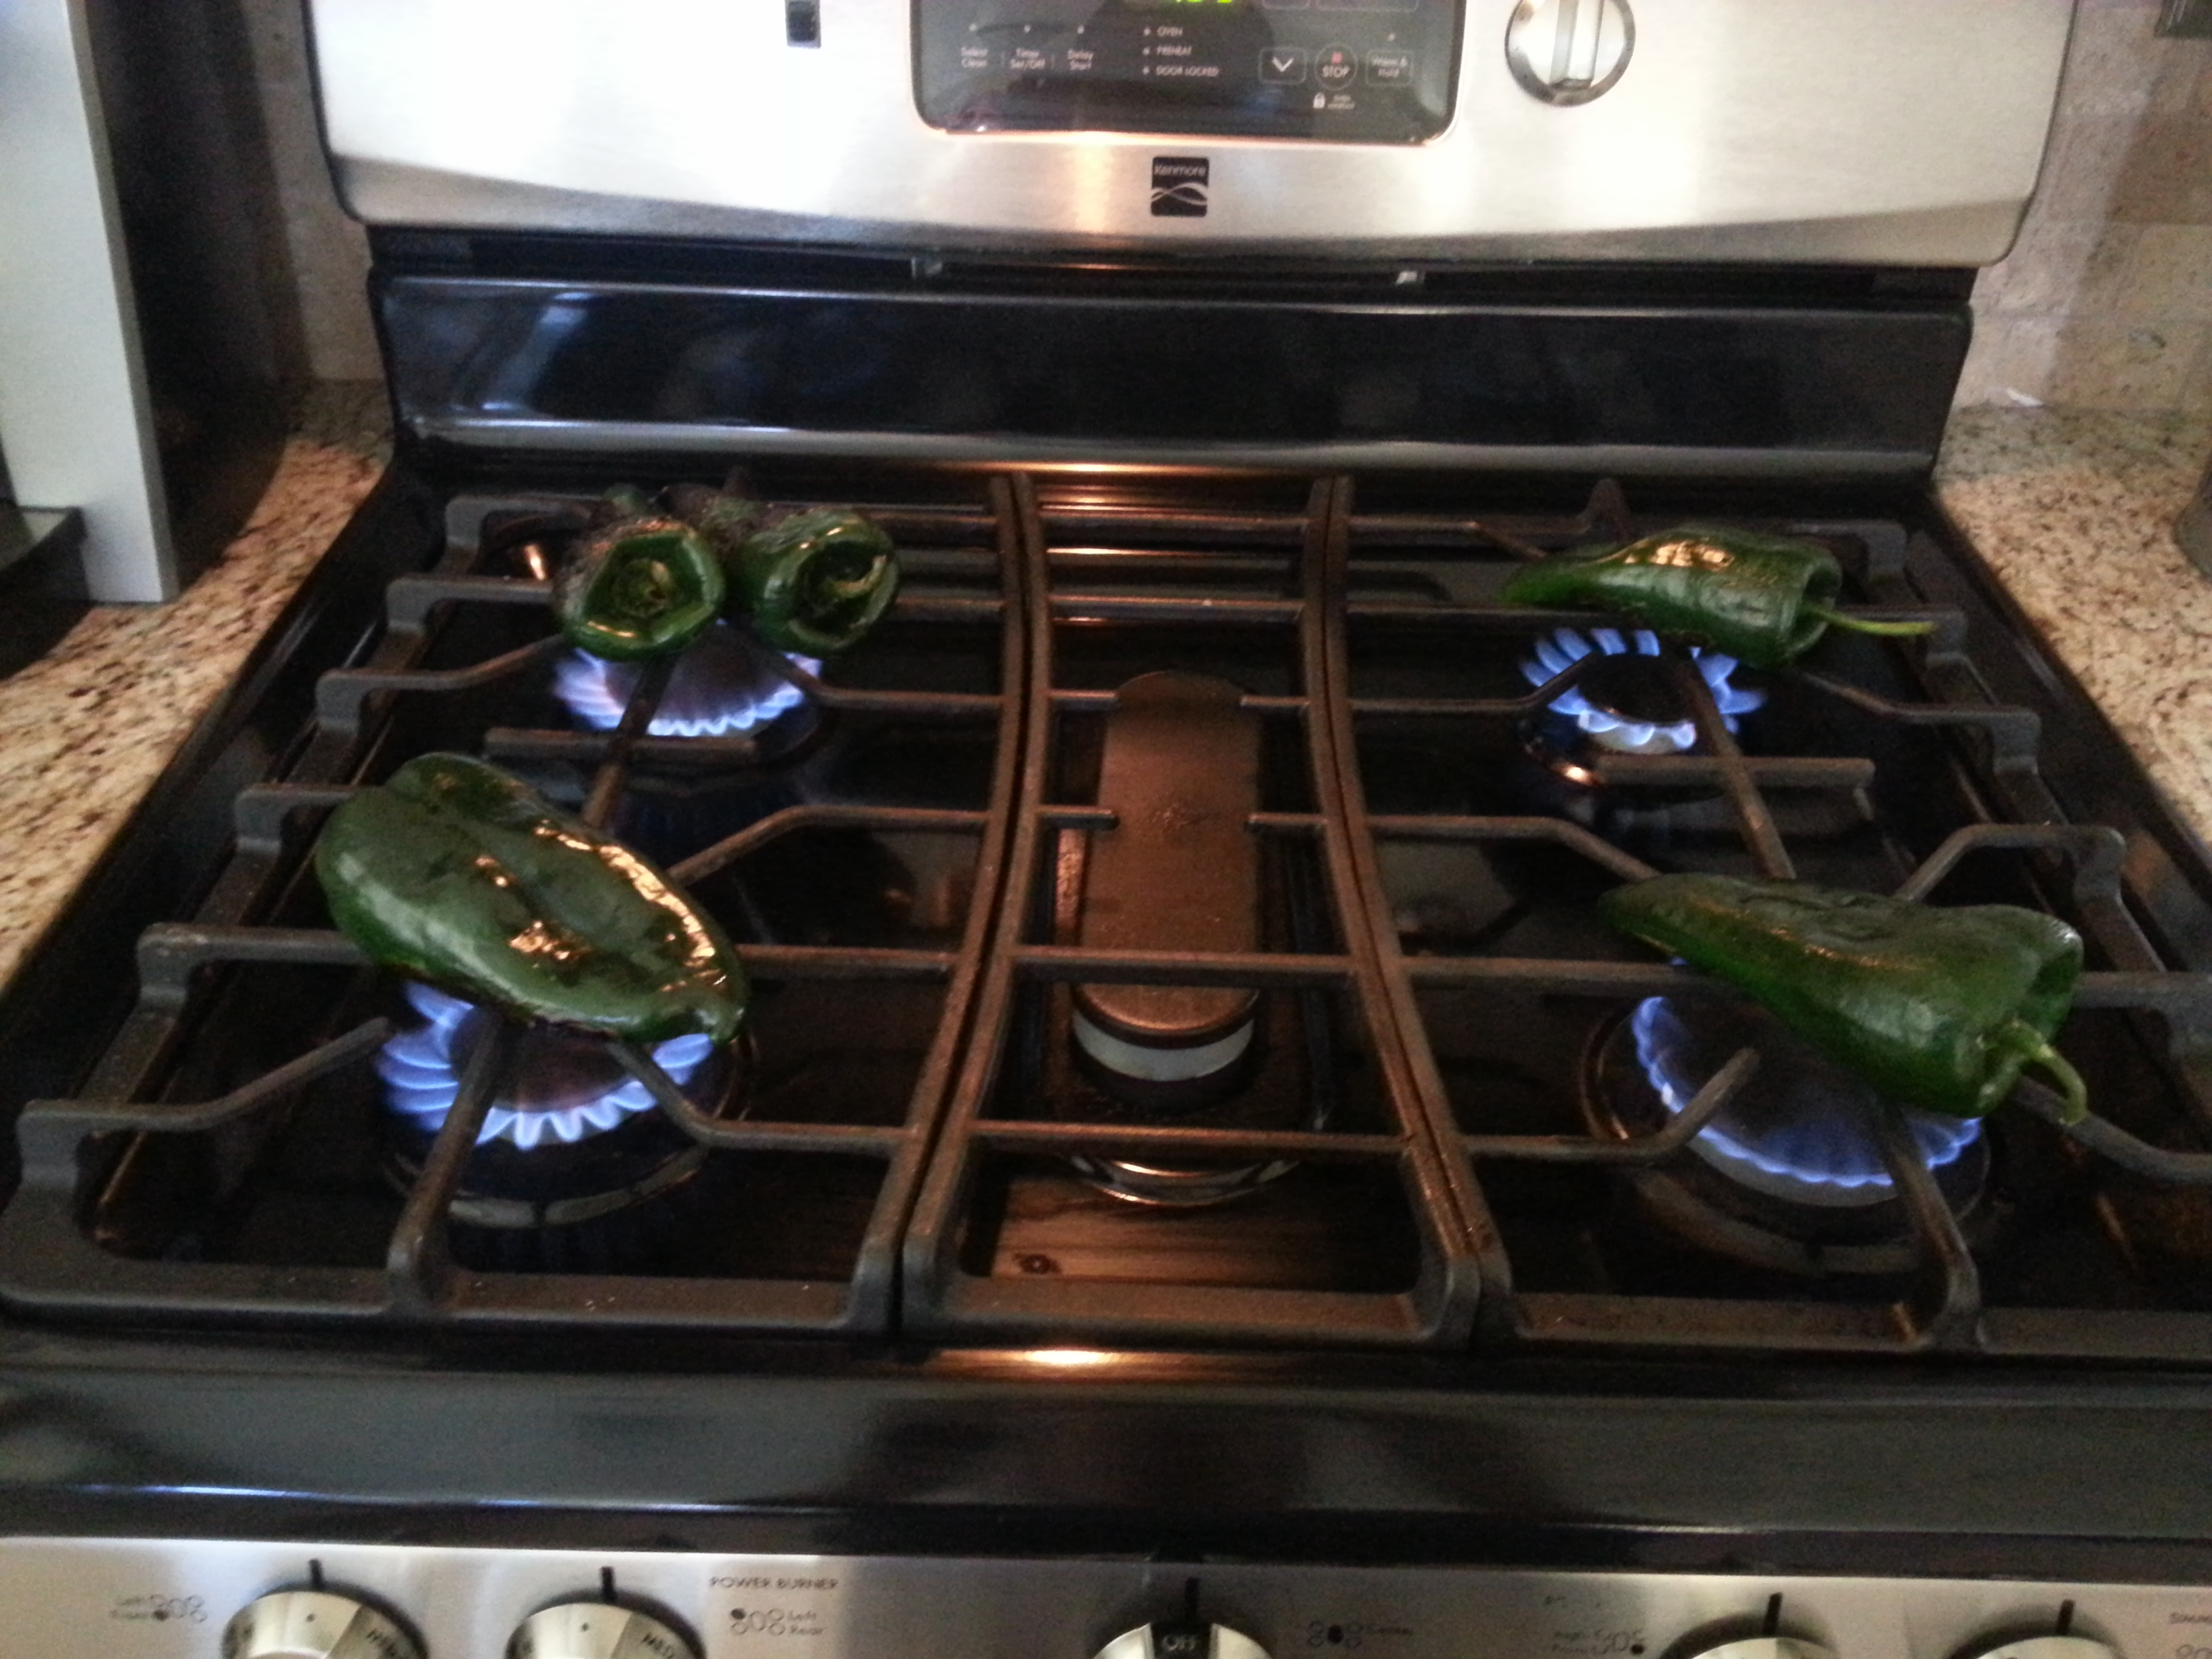
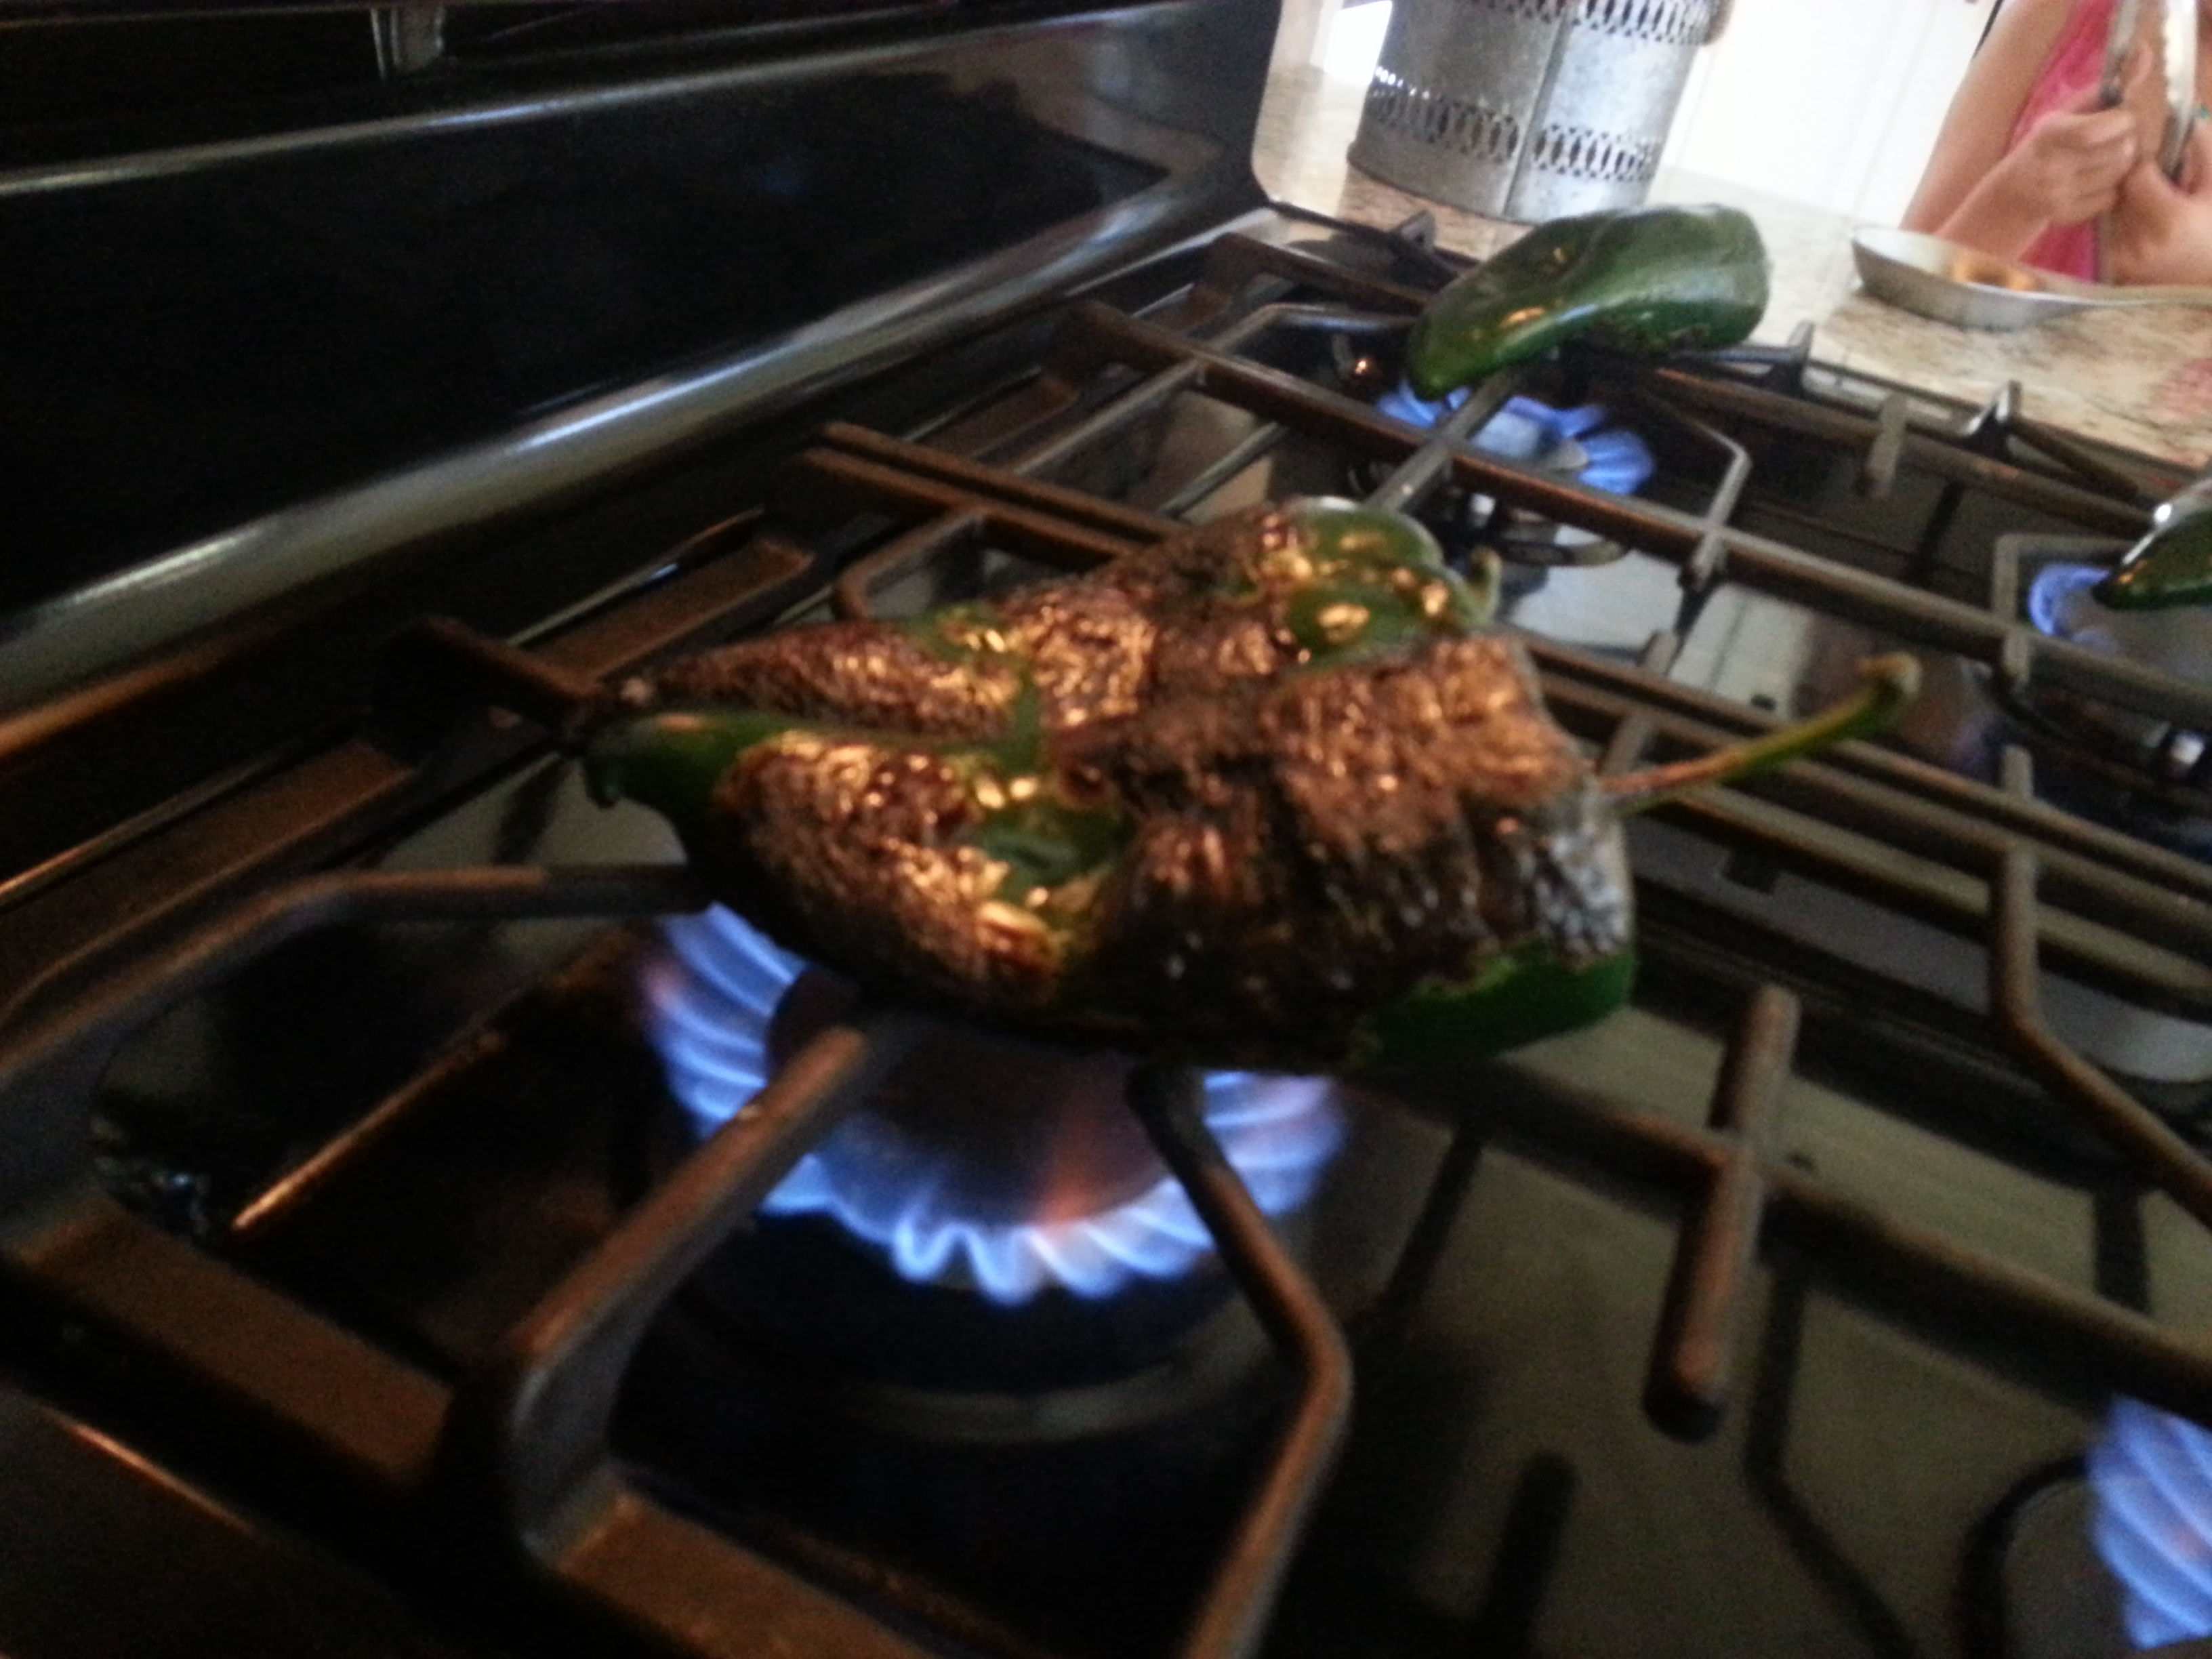
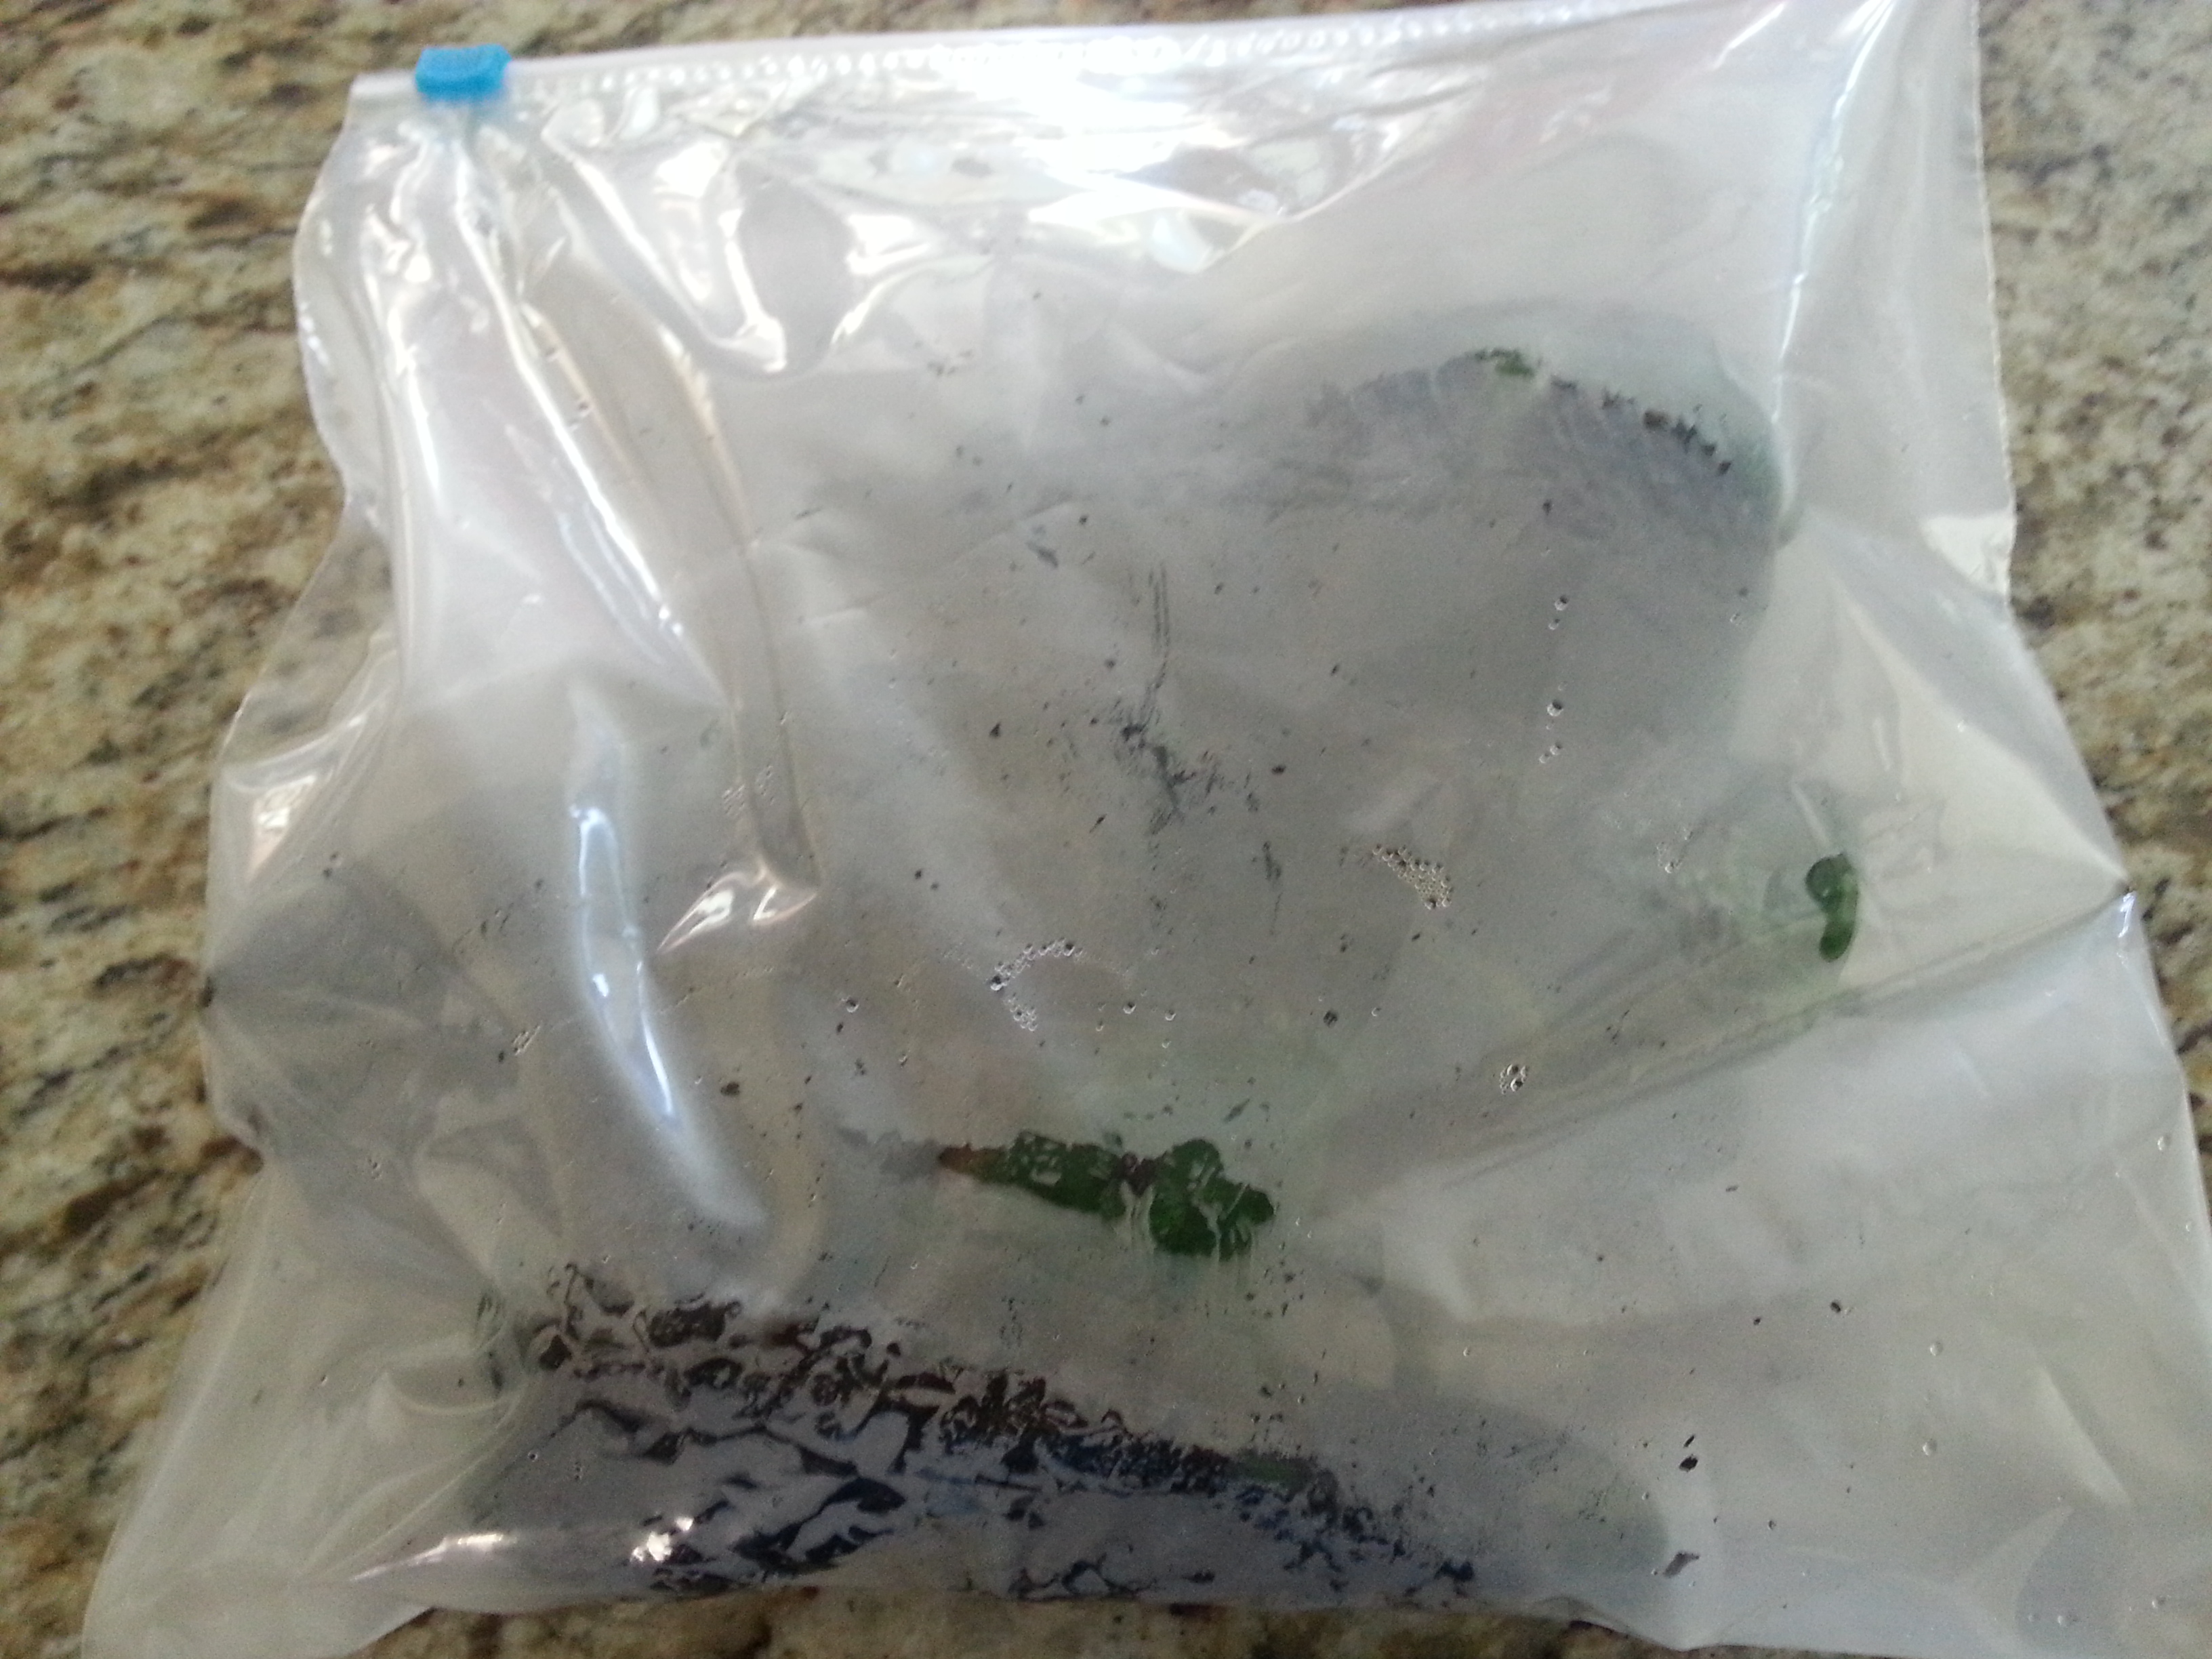
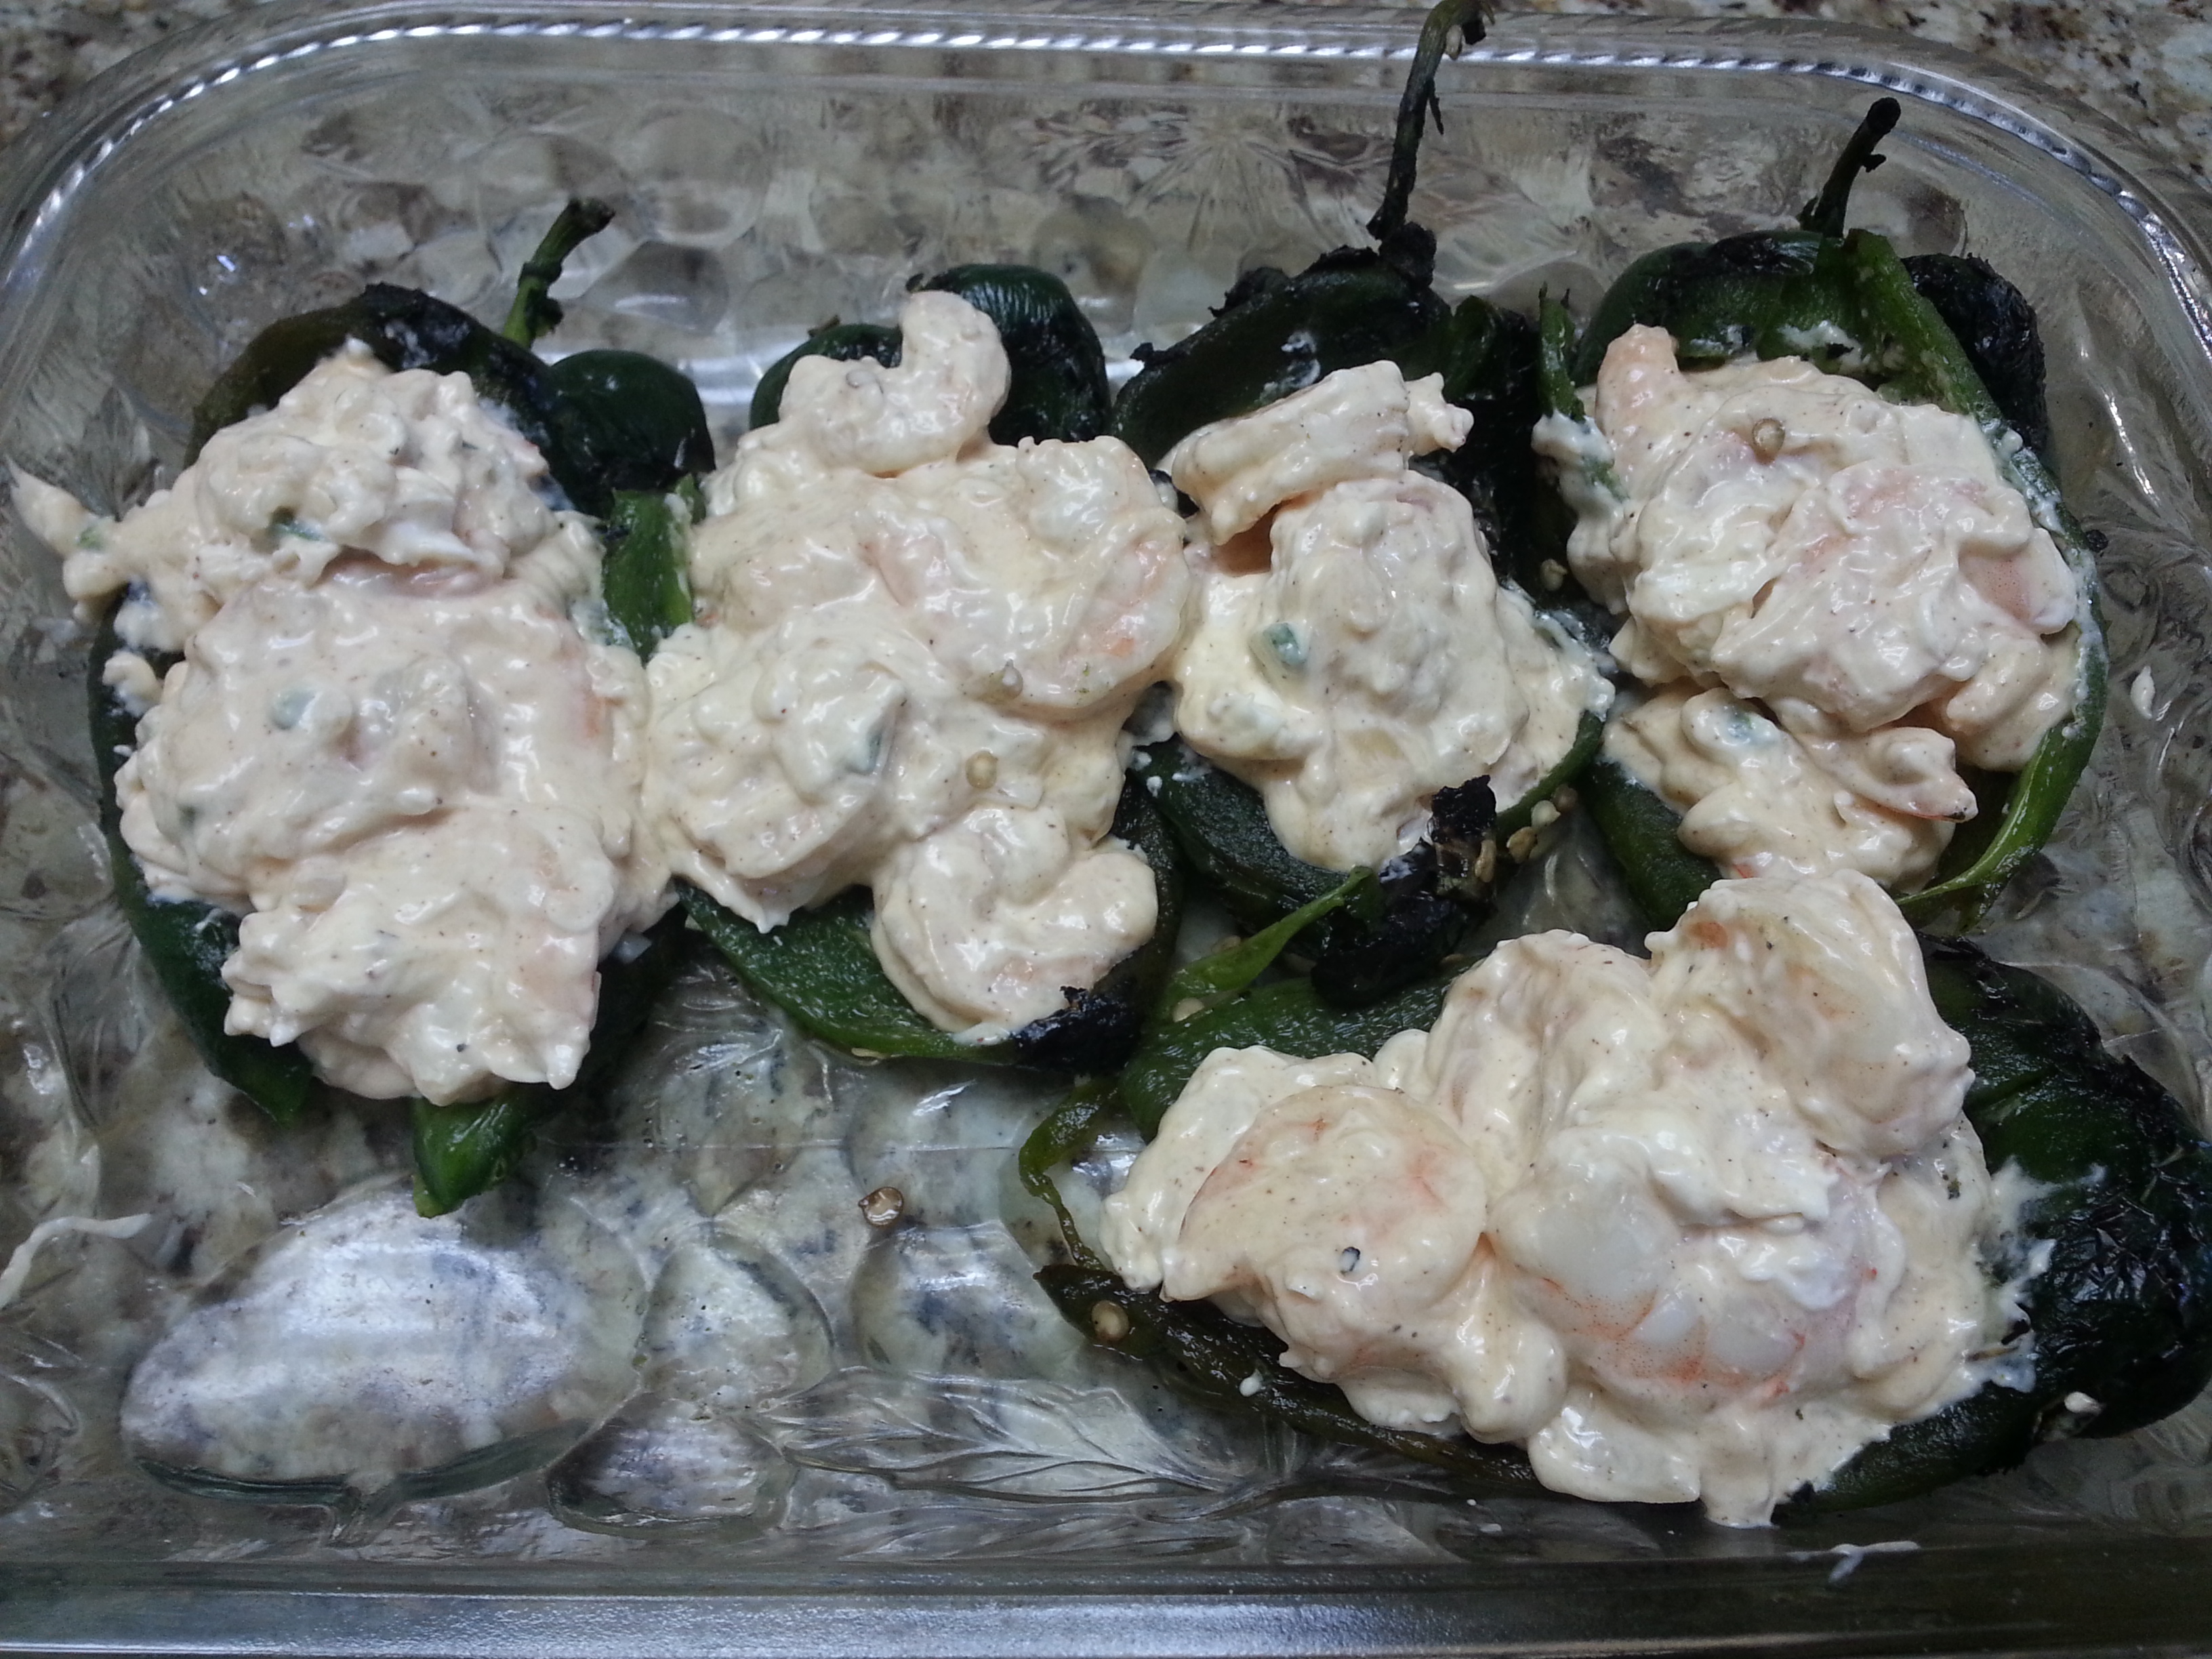
First, roast the peppers. If you have a gas range, this makes things a lot easier! Just crank that heat up and place those peppers on the flame. As the pepper blackens, turn and continue to roast until the whole pepper is charred. Place into a gallon Ziploc bag and close. I let mine sit in there for over an hour but you can probably do it within a half hour. Just take the peppers out and with a knife, scrape off the skin. They’ll have sweated inside that bag, making it a lot easier for the skin to slide off. Once all the skin is off, slice lengthwise down the middle of the pepper and remove the seeds, leaving the stem intact. Rinse the peppers and pat dry. If you don’t have a gas range, an outdoor BBQ will work or you can put the peppers in the oven and turn the broiler on high, making sure to leave the oven door cracked while doing so.

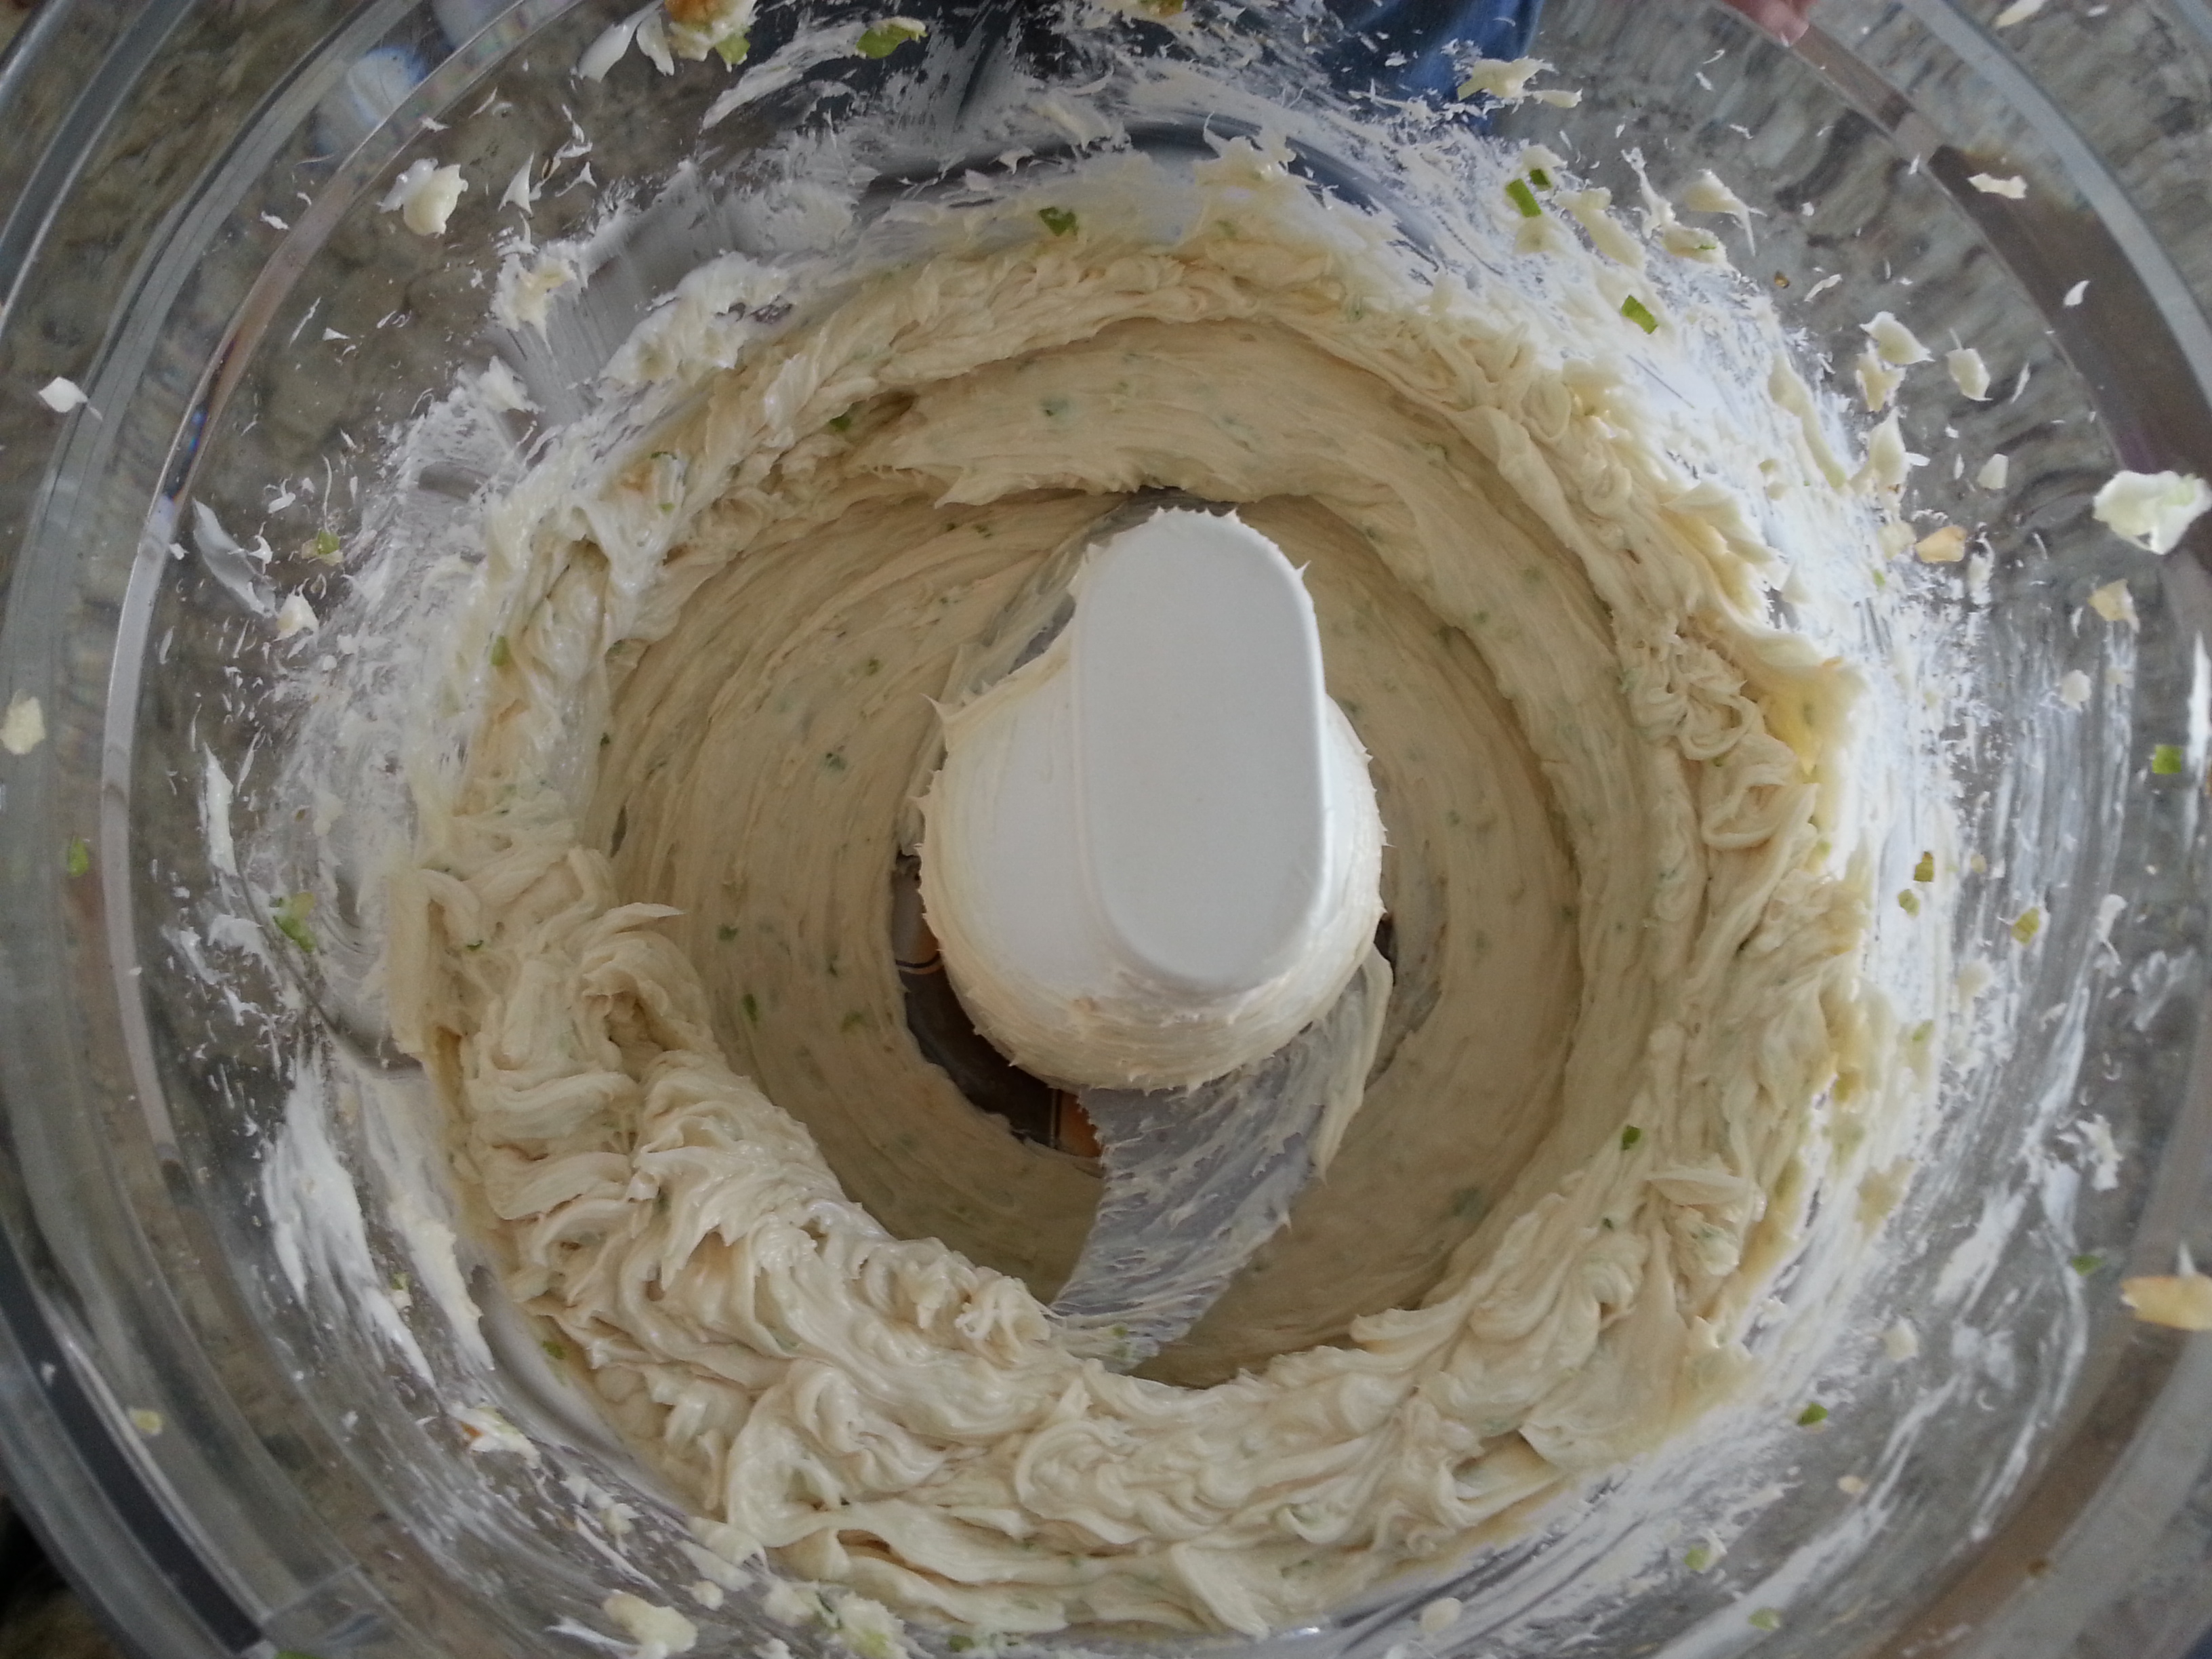
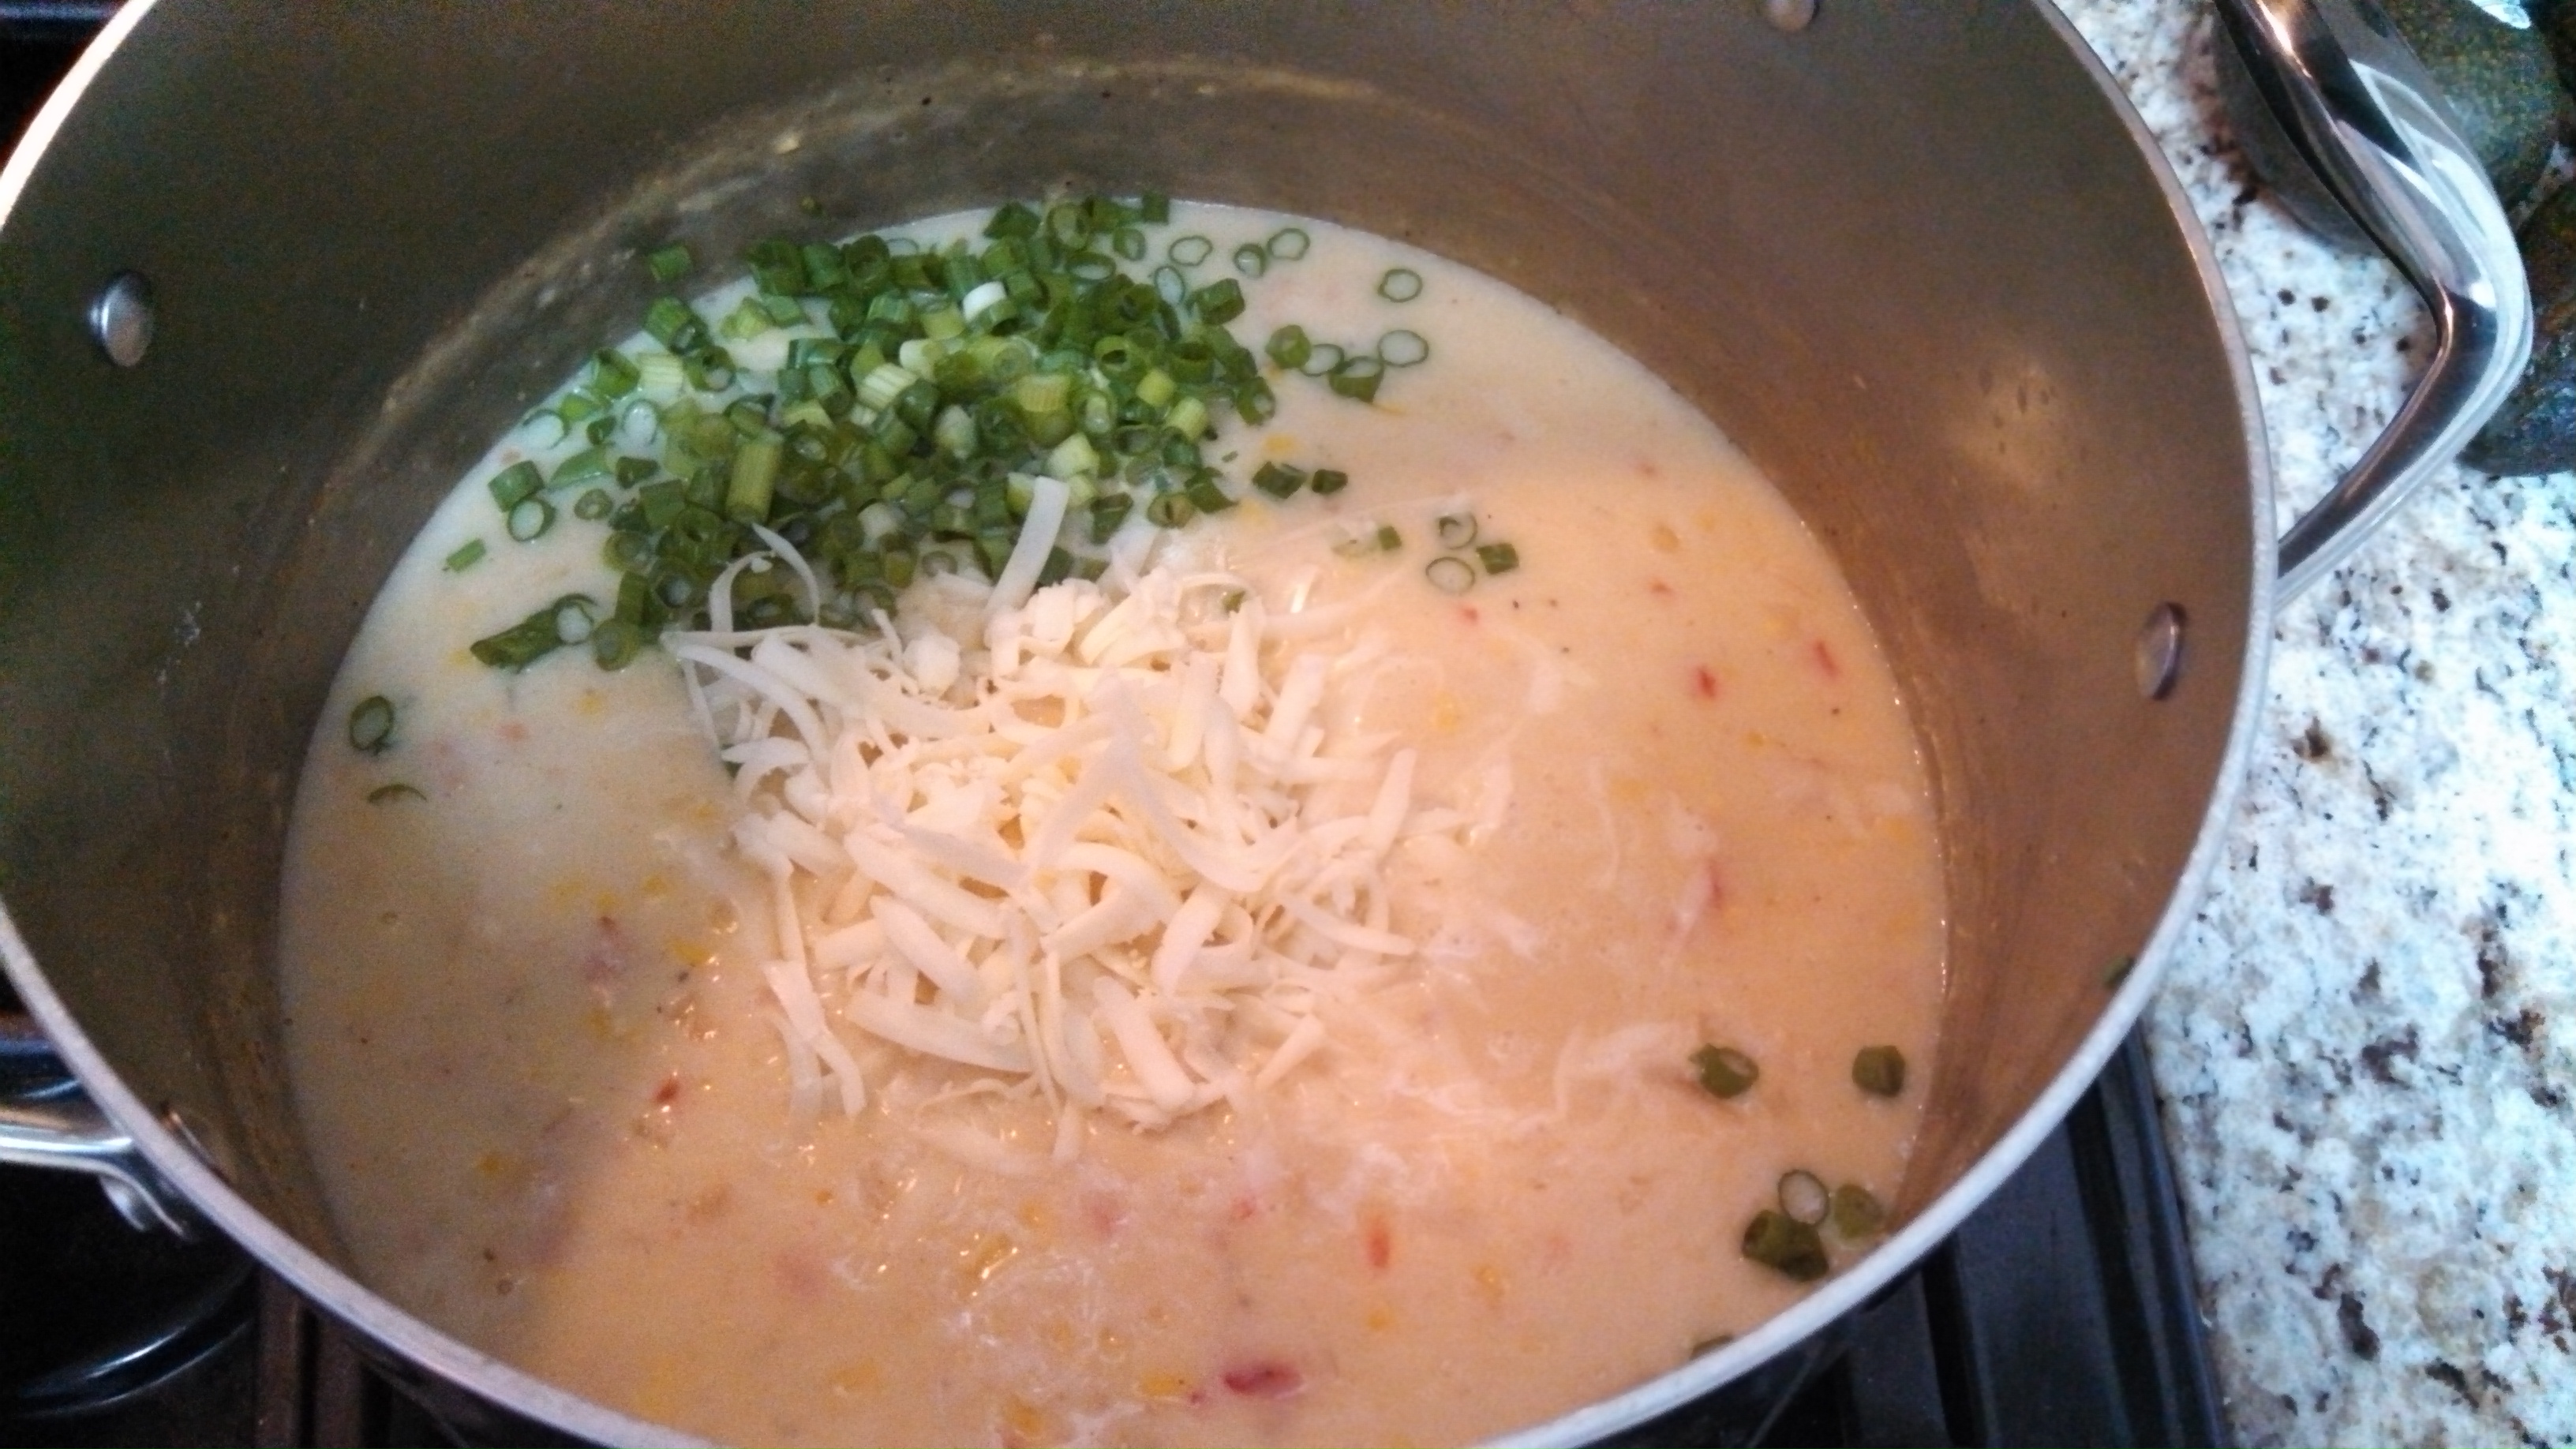
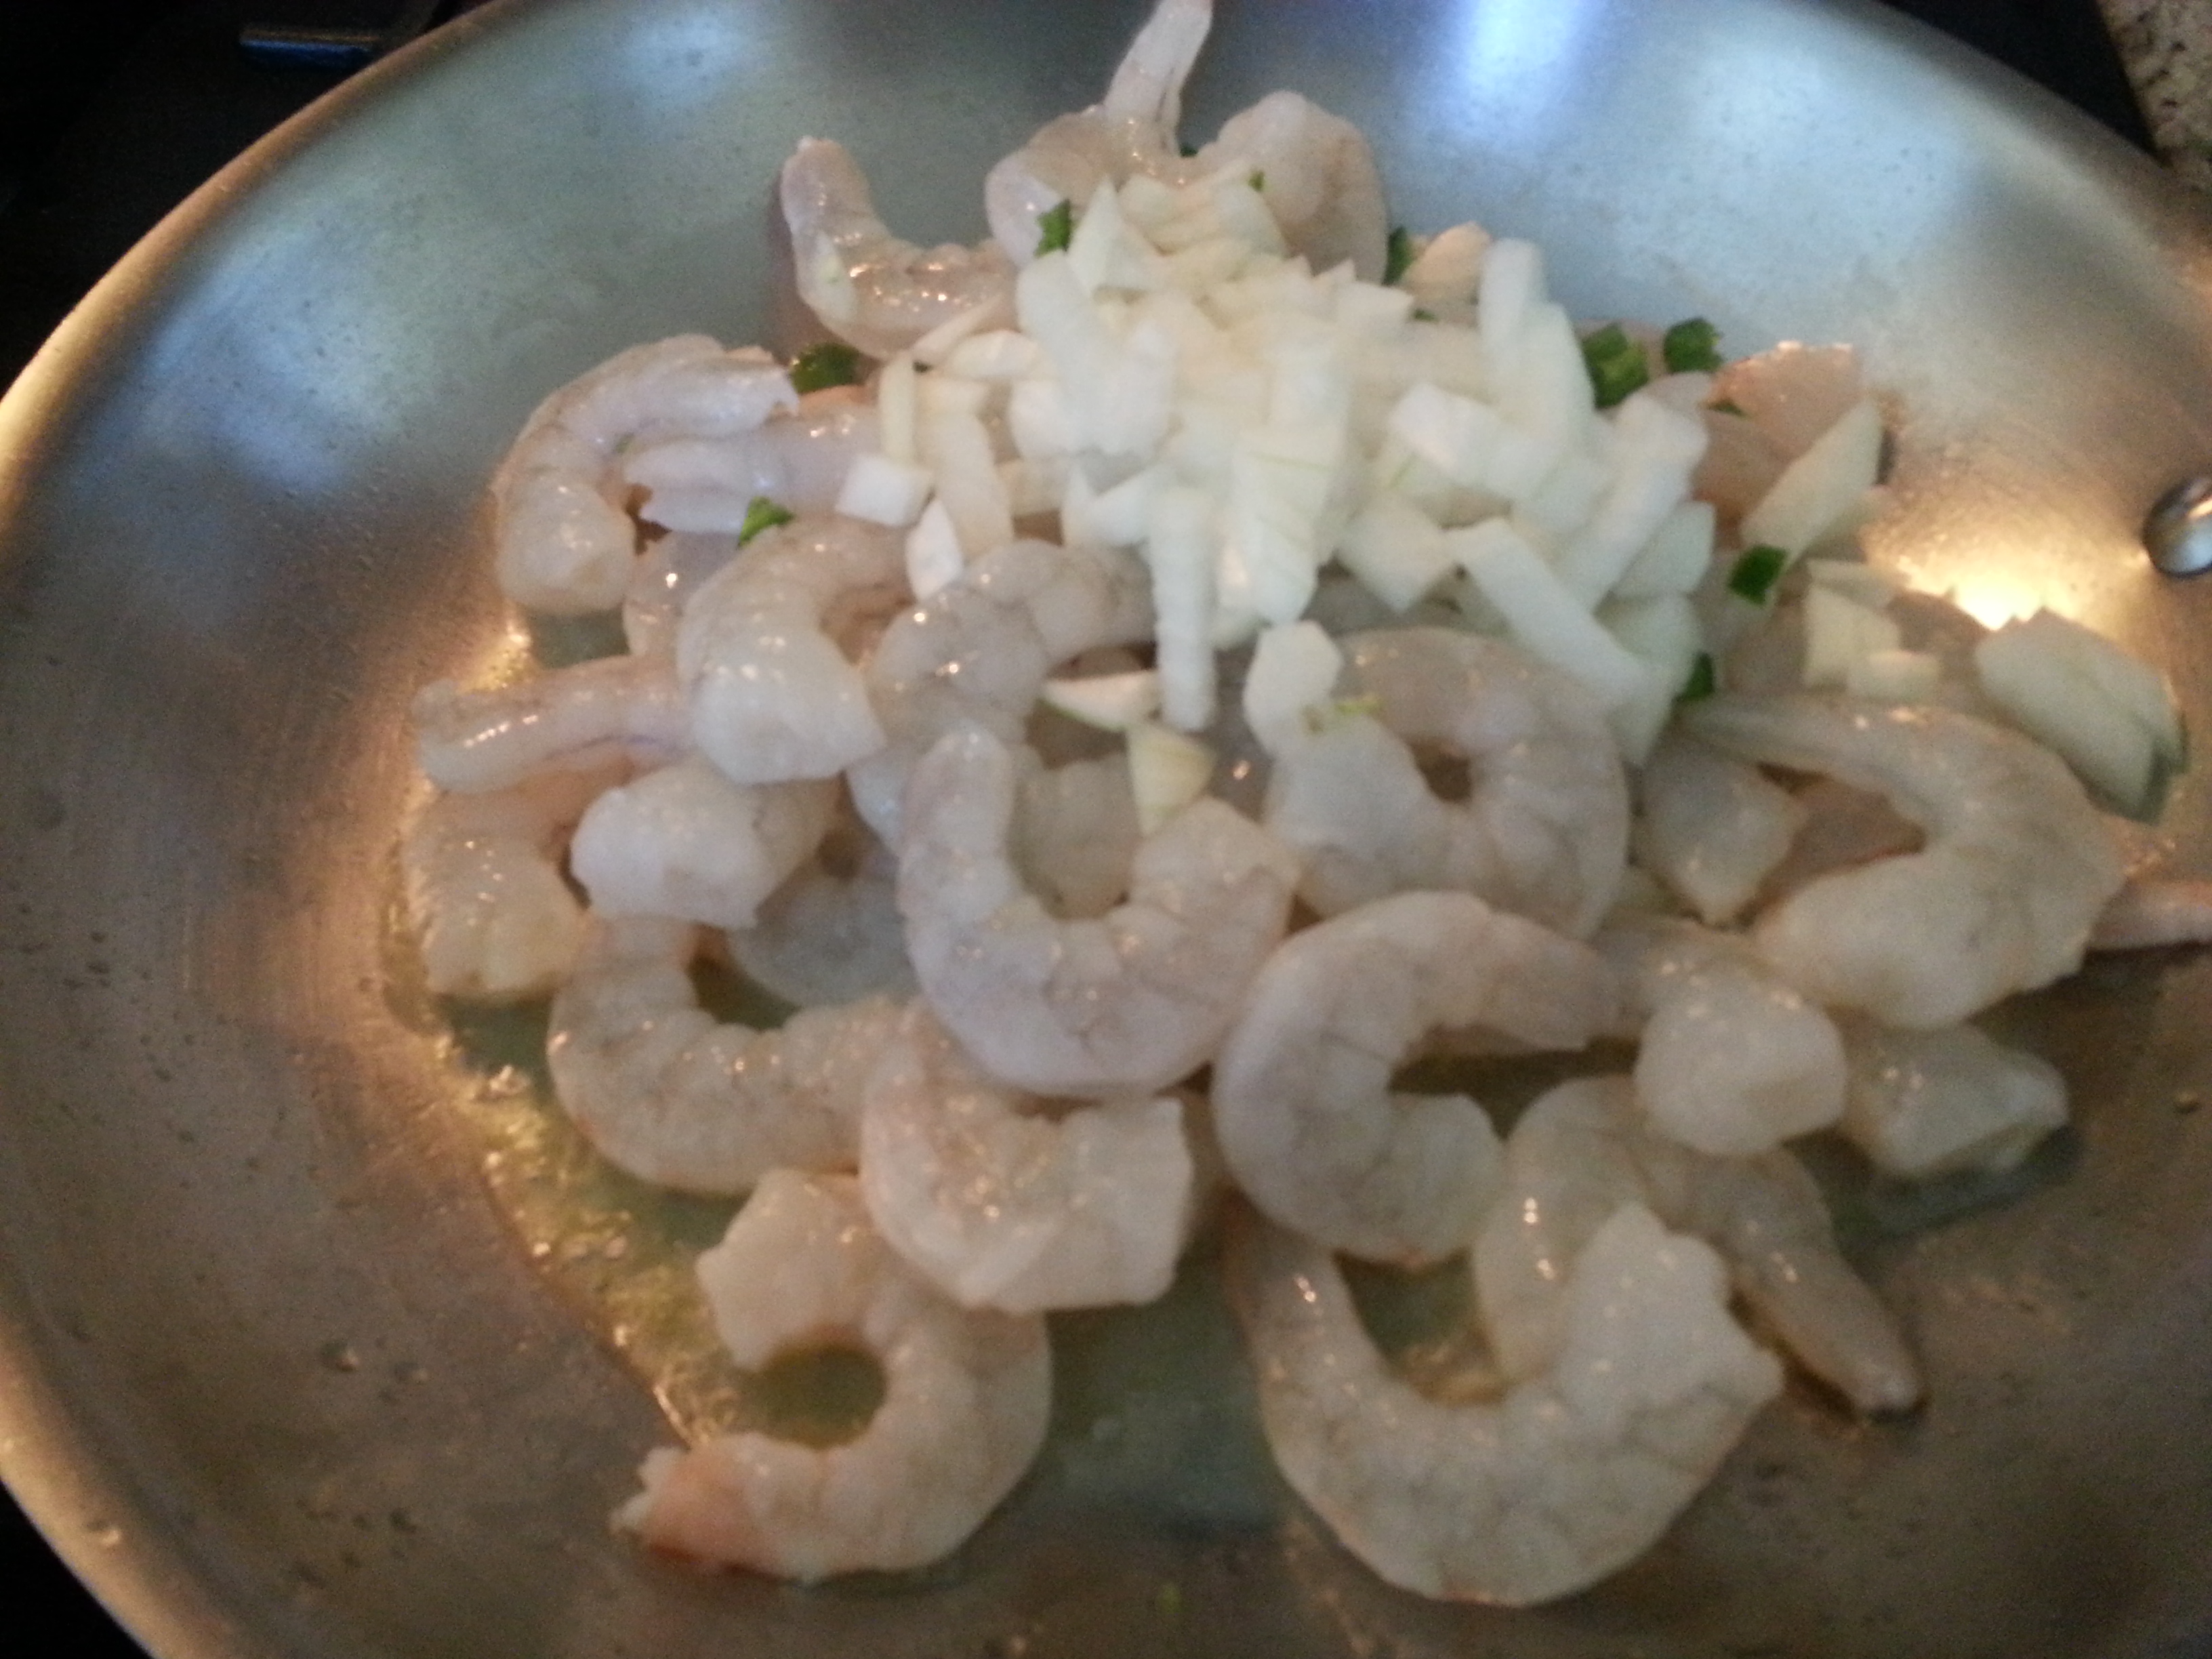
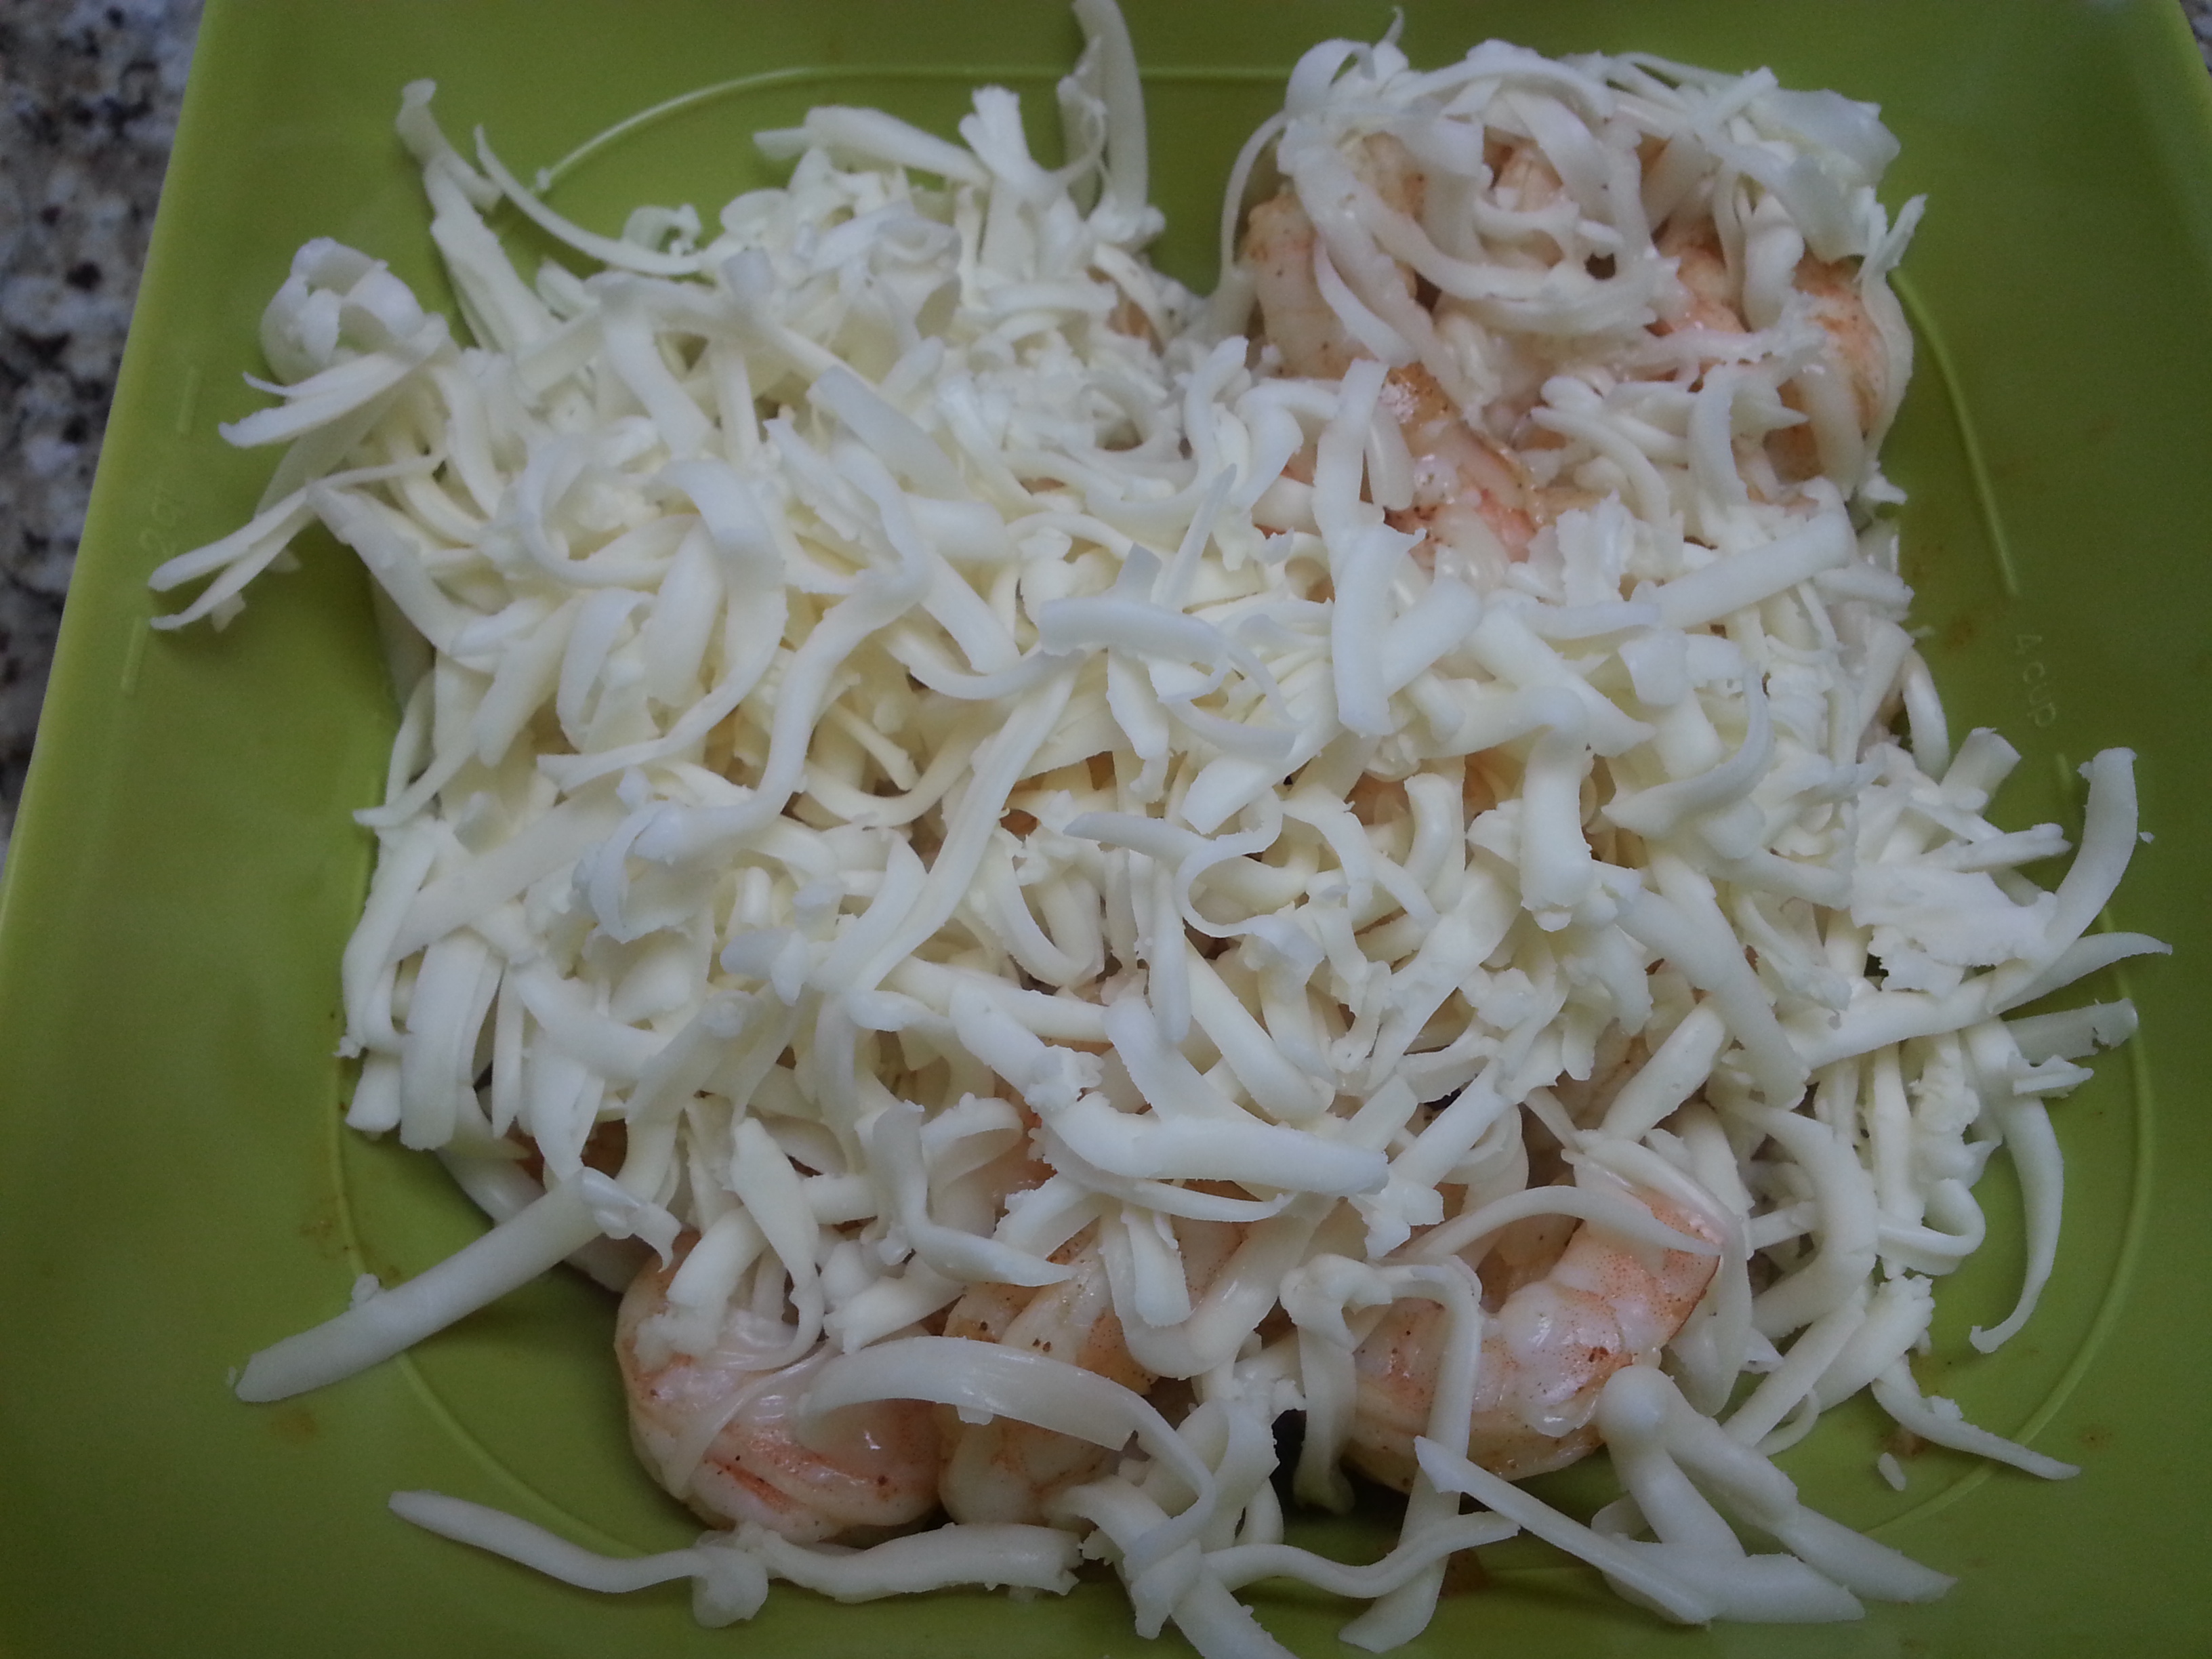
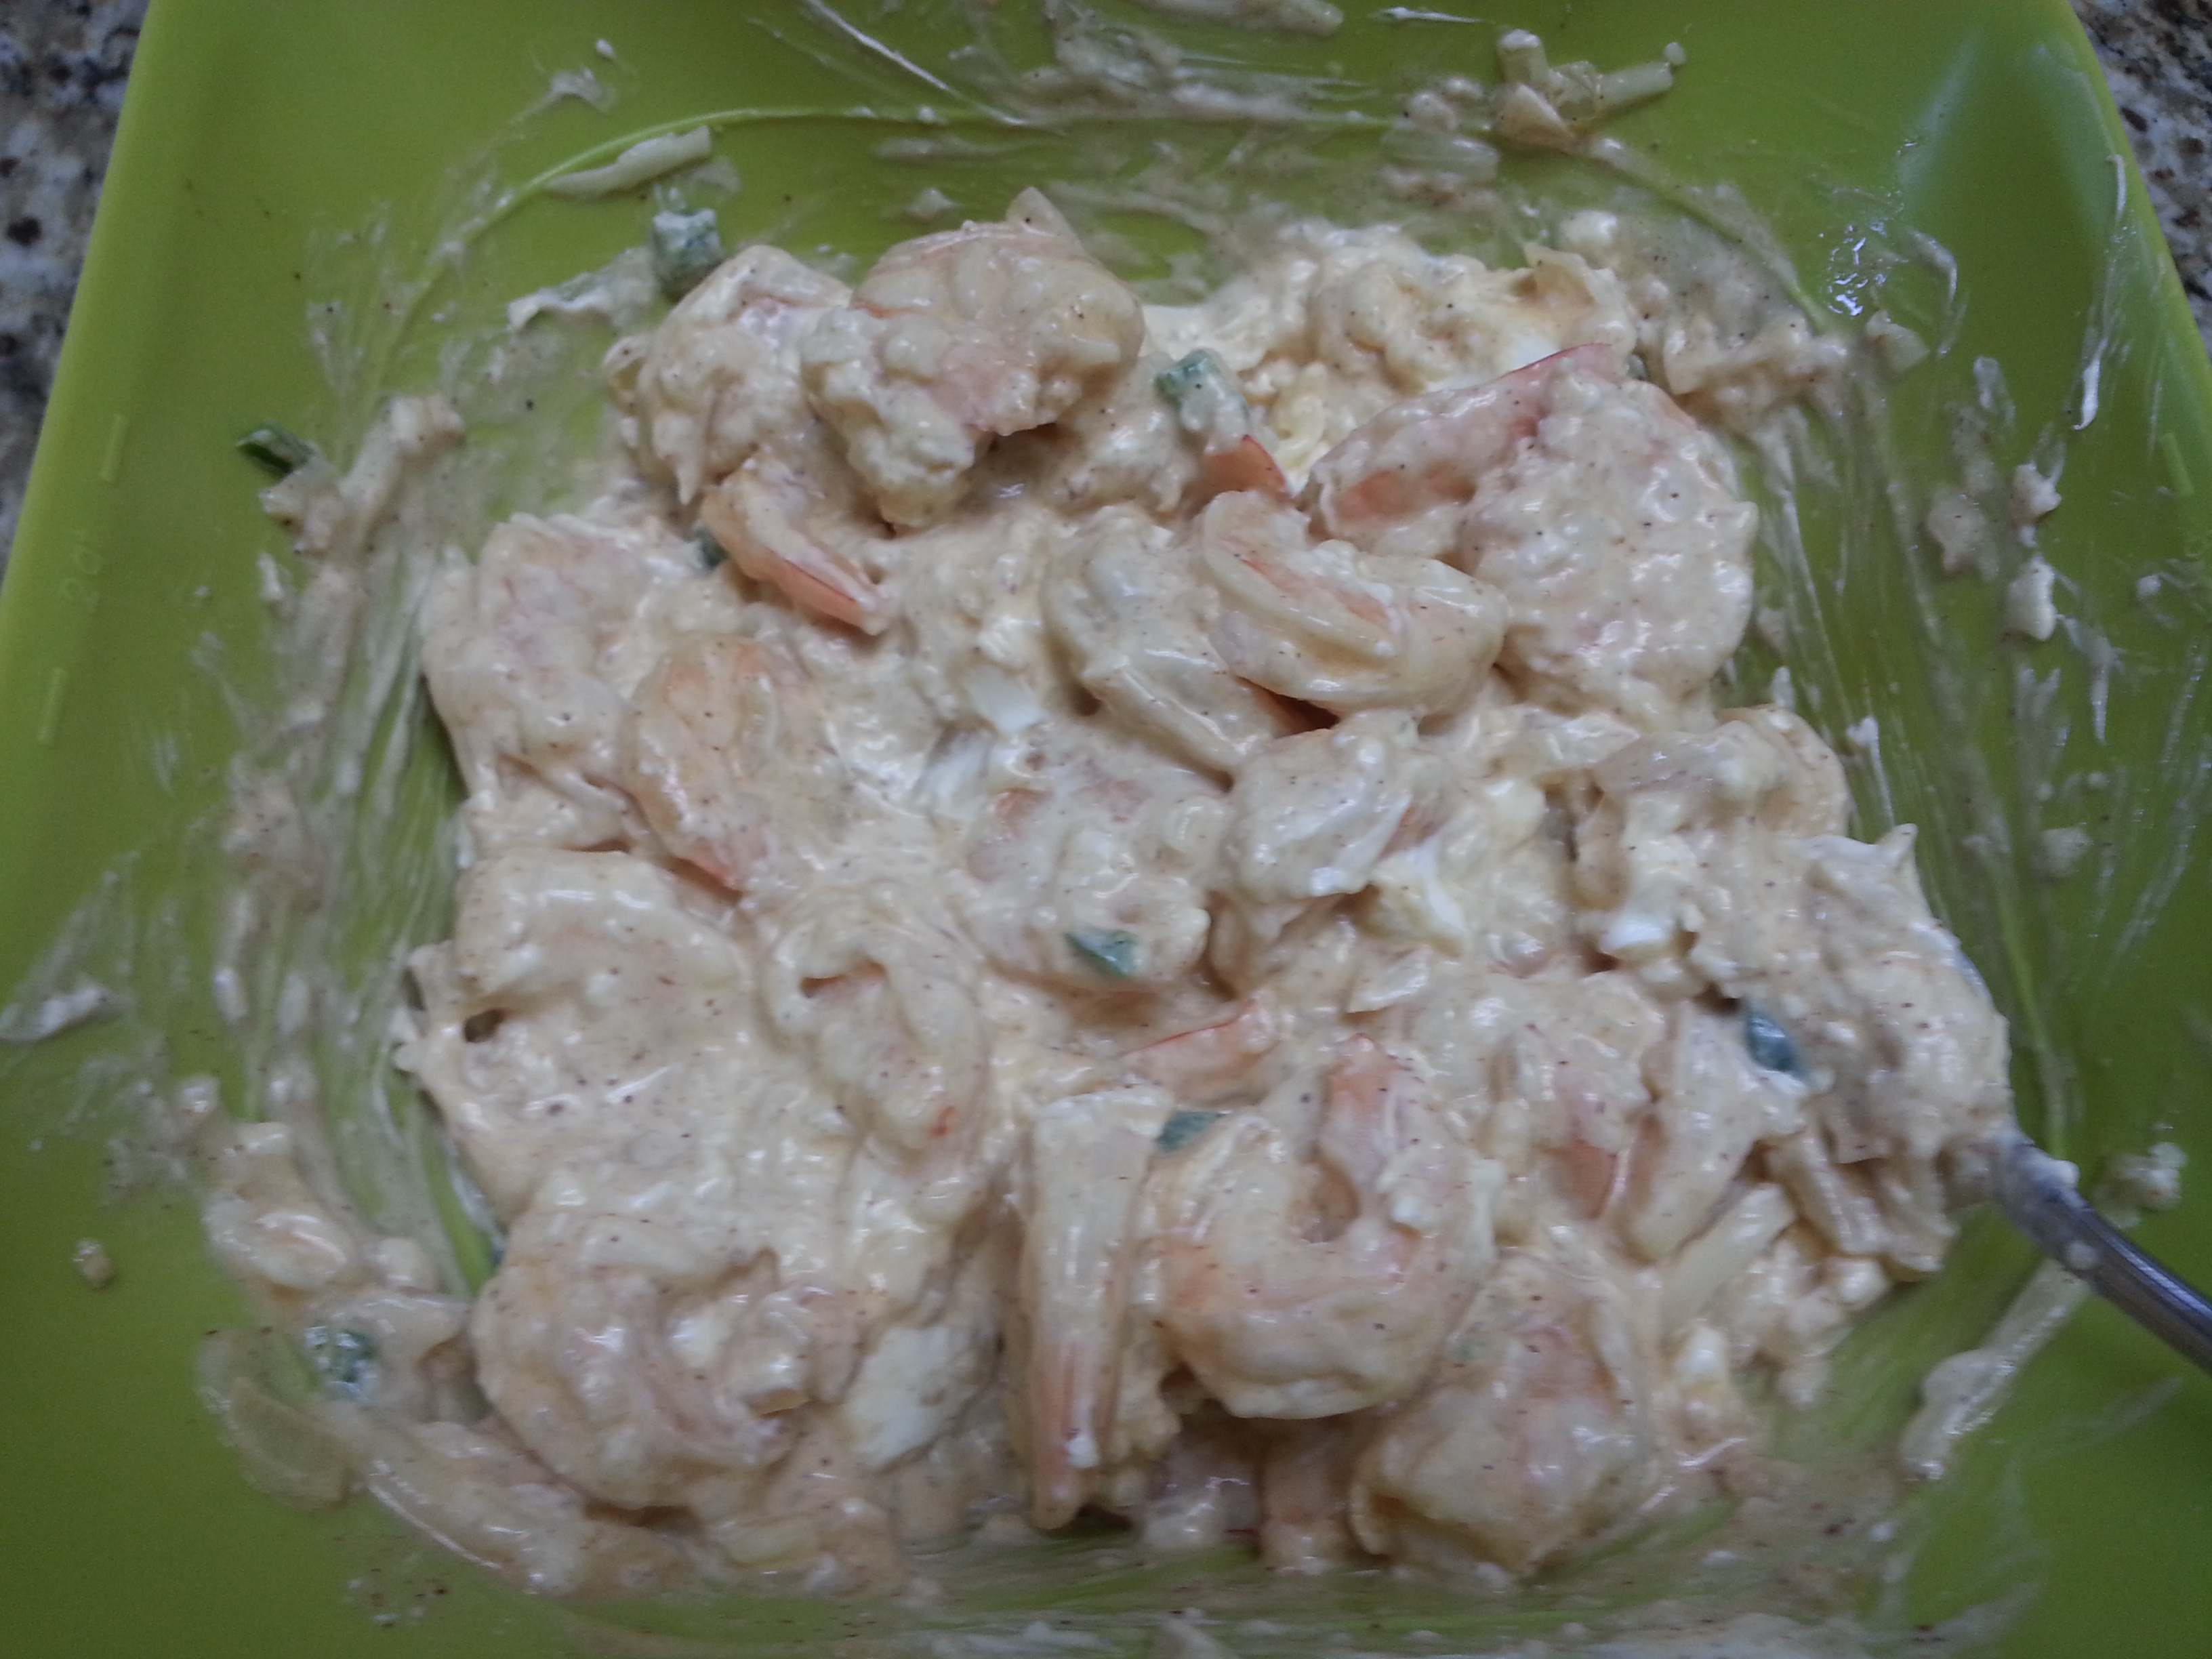
Preheat your oven to 400 degrees. Next, heat a pan on medium high and then add olive oil once hot. Add the shrimp, onions and jalapenos and sauté for a few minutes until the shrimp are ALMOST done, (done is when the shrimp is completely pink). Try not to cook all the way through though. While the shrimp is cooking, put the cream cheese into a bowl, along with the cumin and chili powder. Add the cooked shrimp mixture to the bowl, along with the Monterey jack. The warm mixture will help to further soften the cream cheese, making it easy to stir and combine. Then divide the shrimp/cheese mixture evenly among the peppers, stuffing them. Place all peppers into a dish and bake in the oven for 20 minutes.

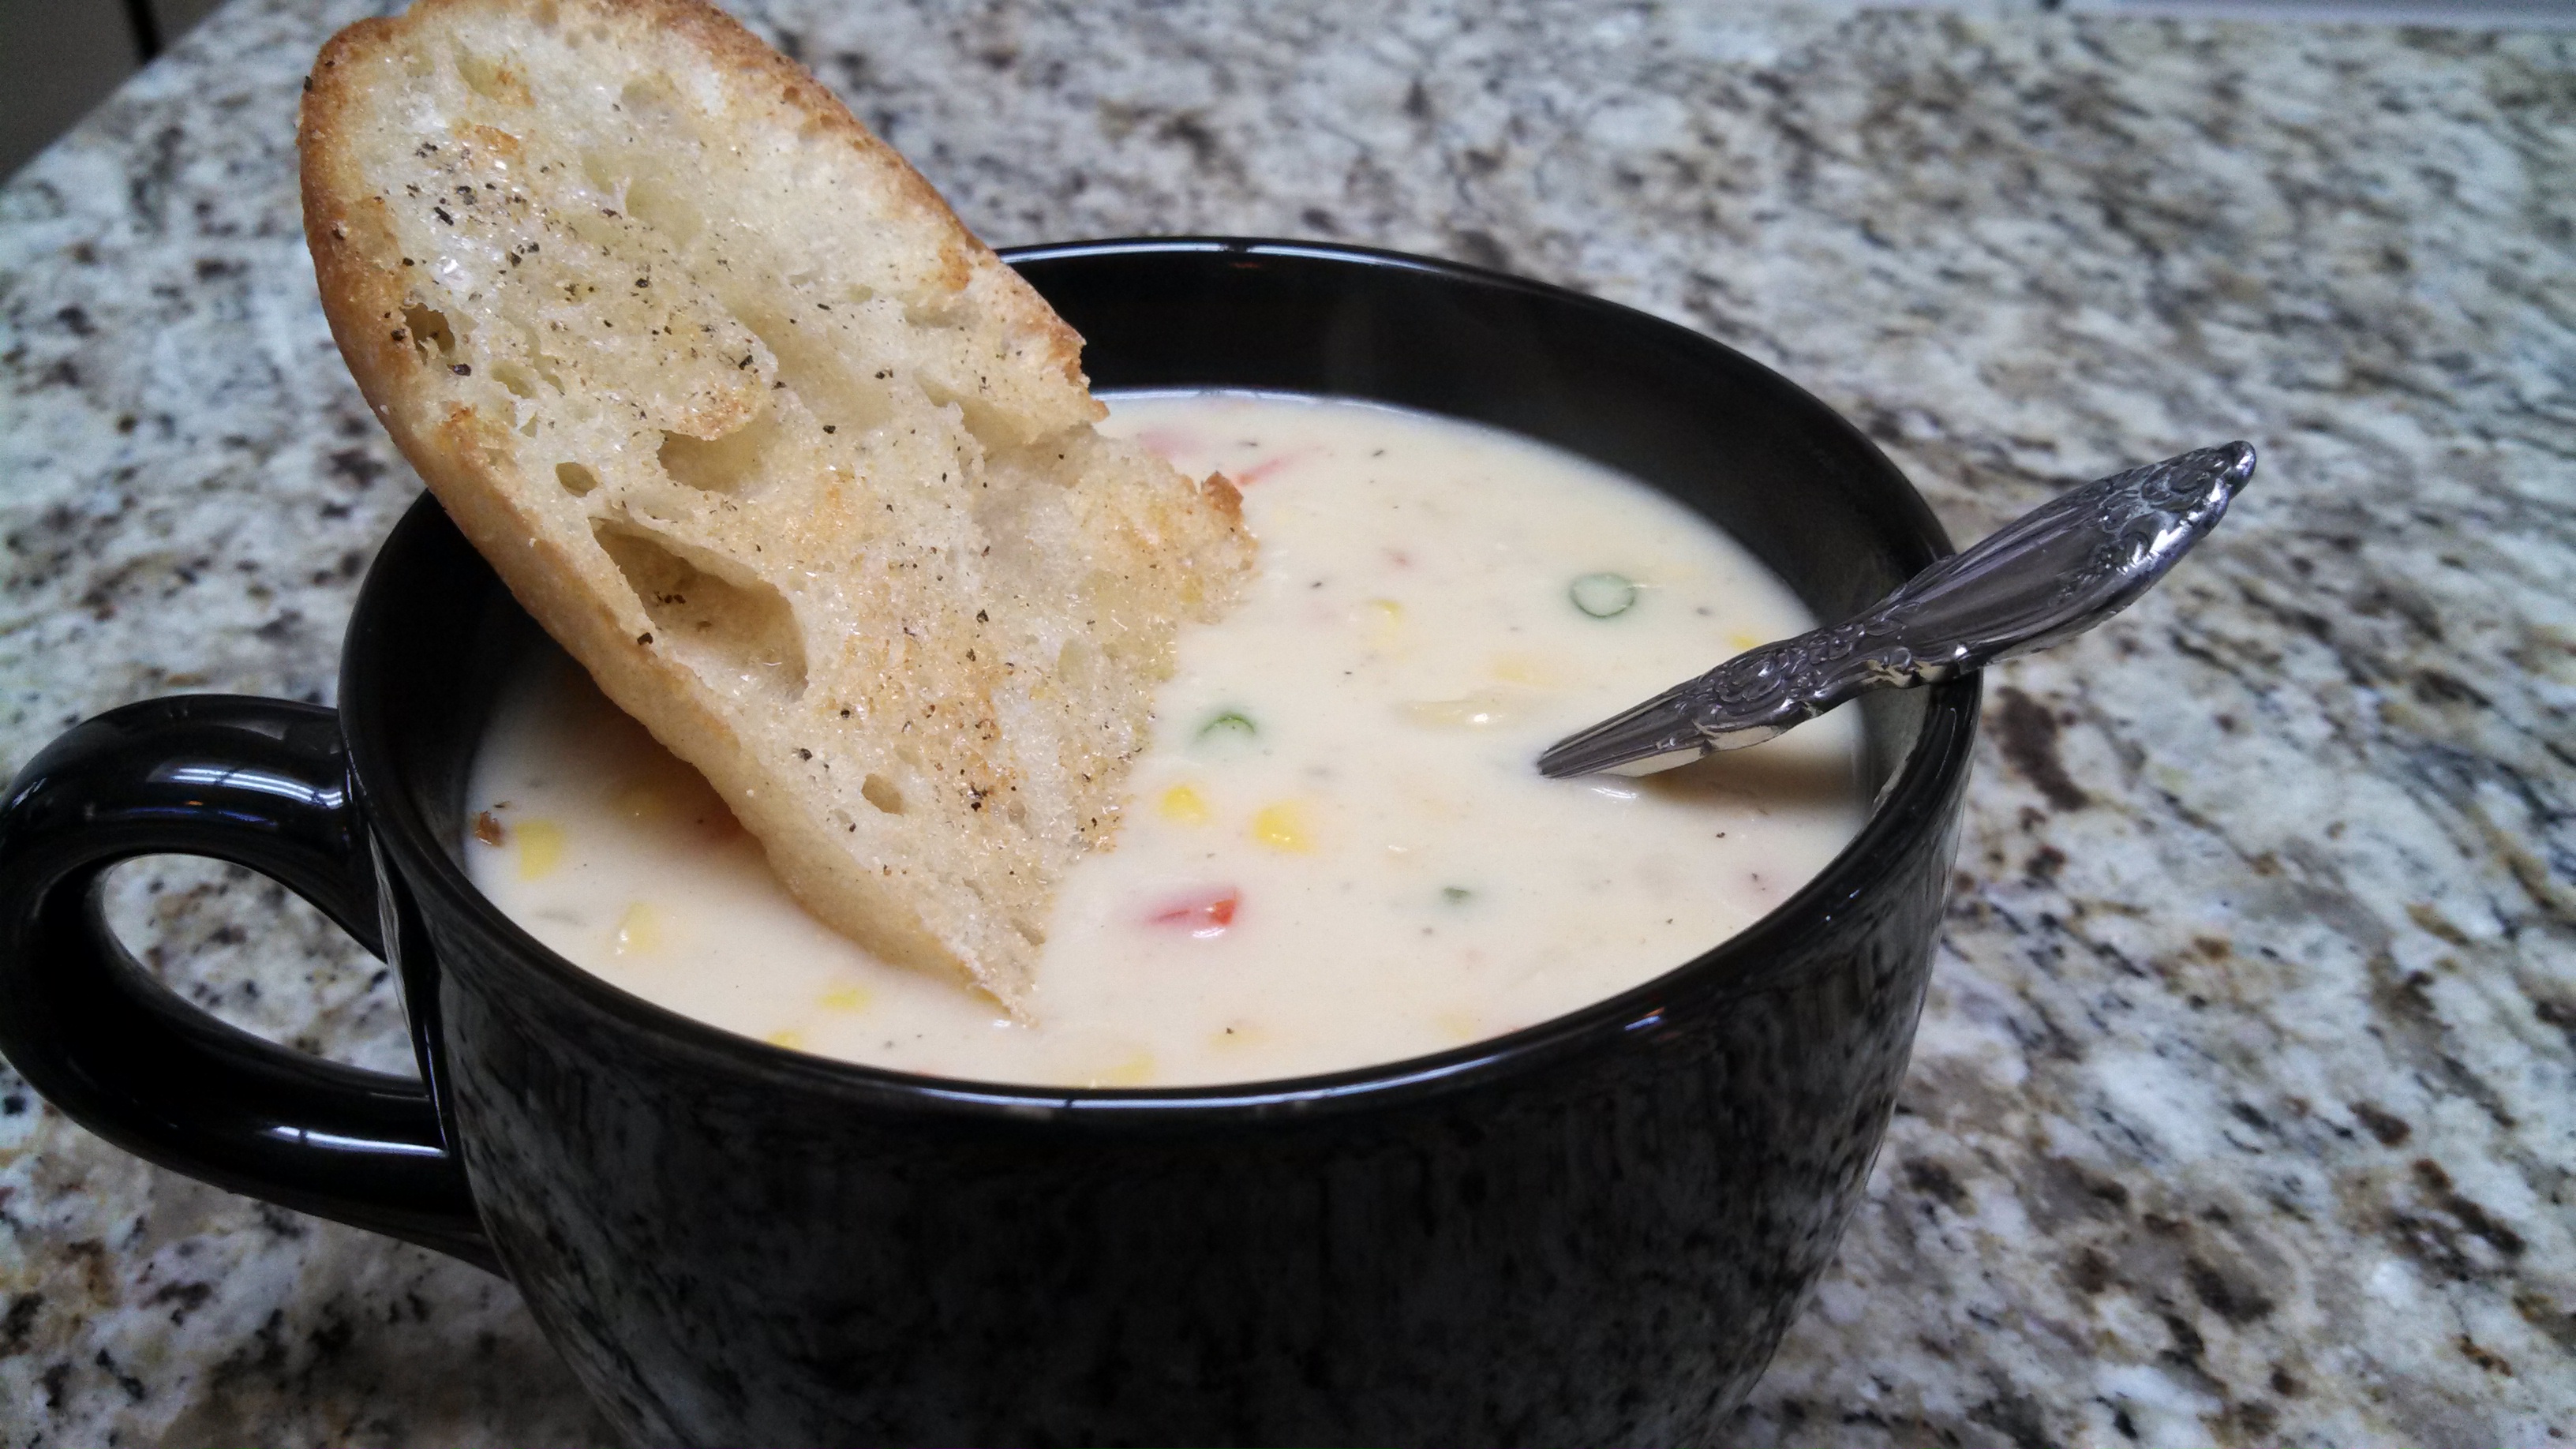
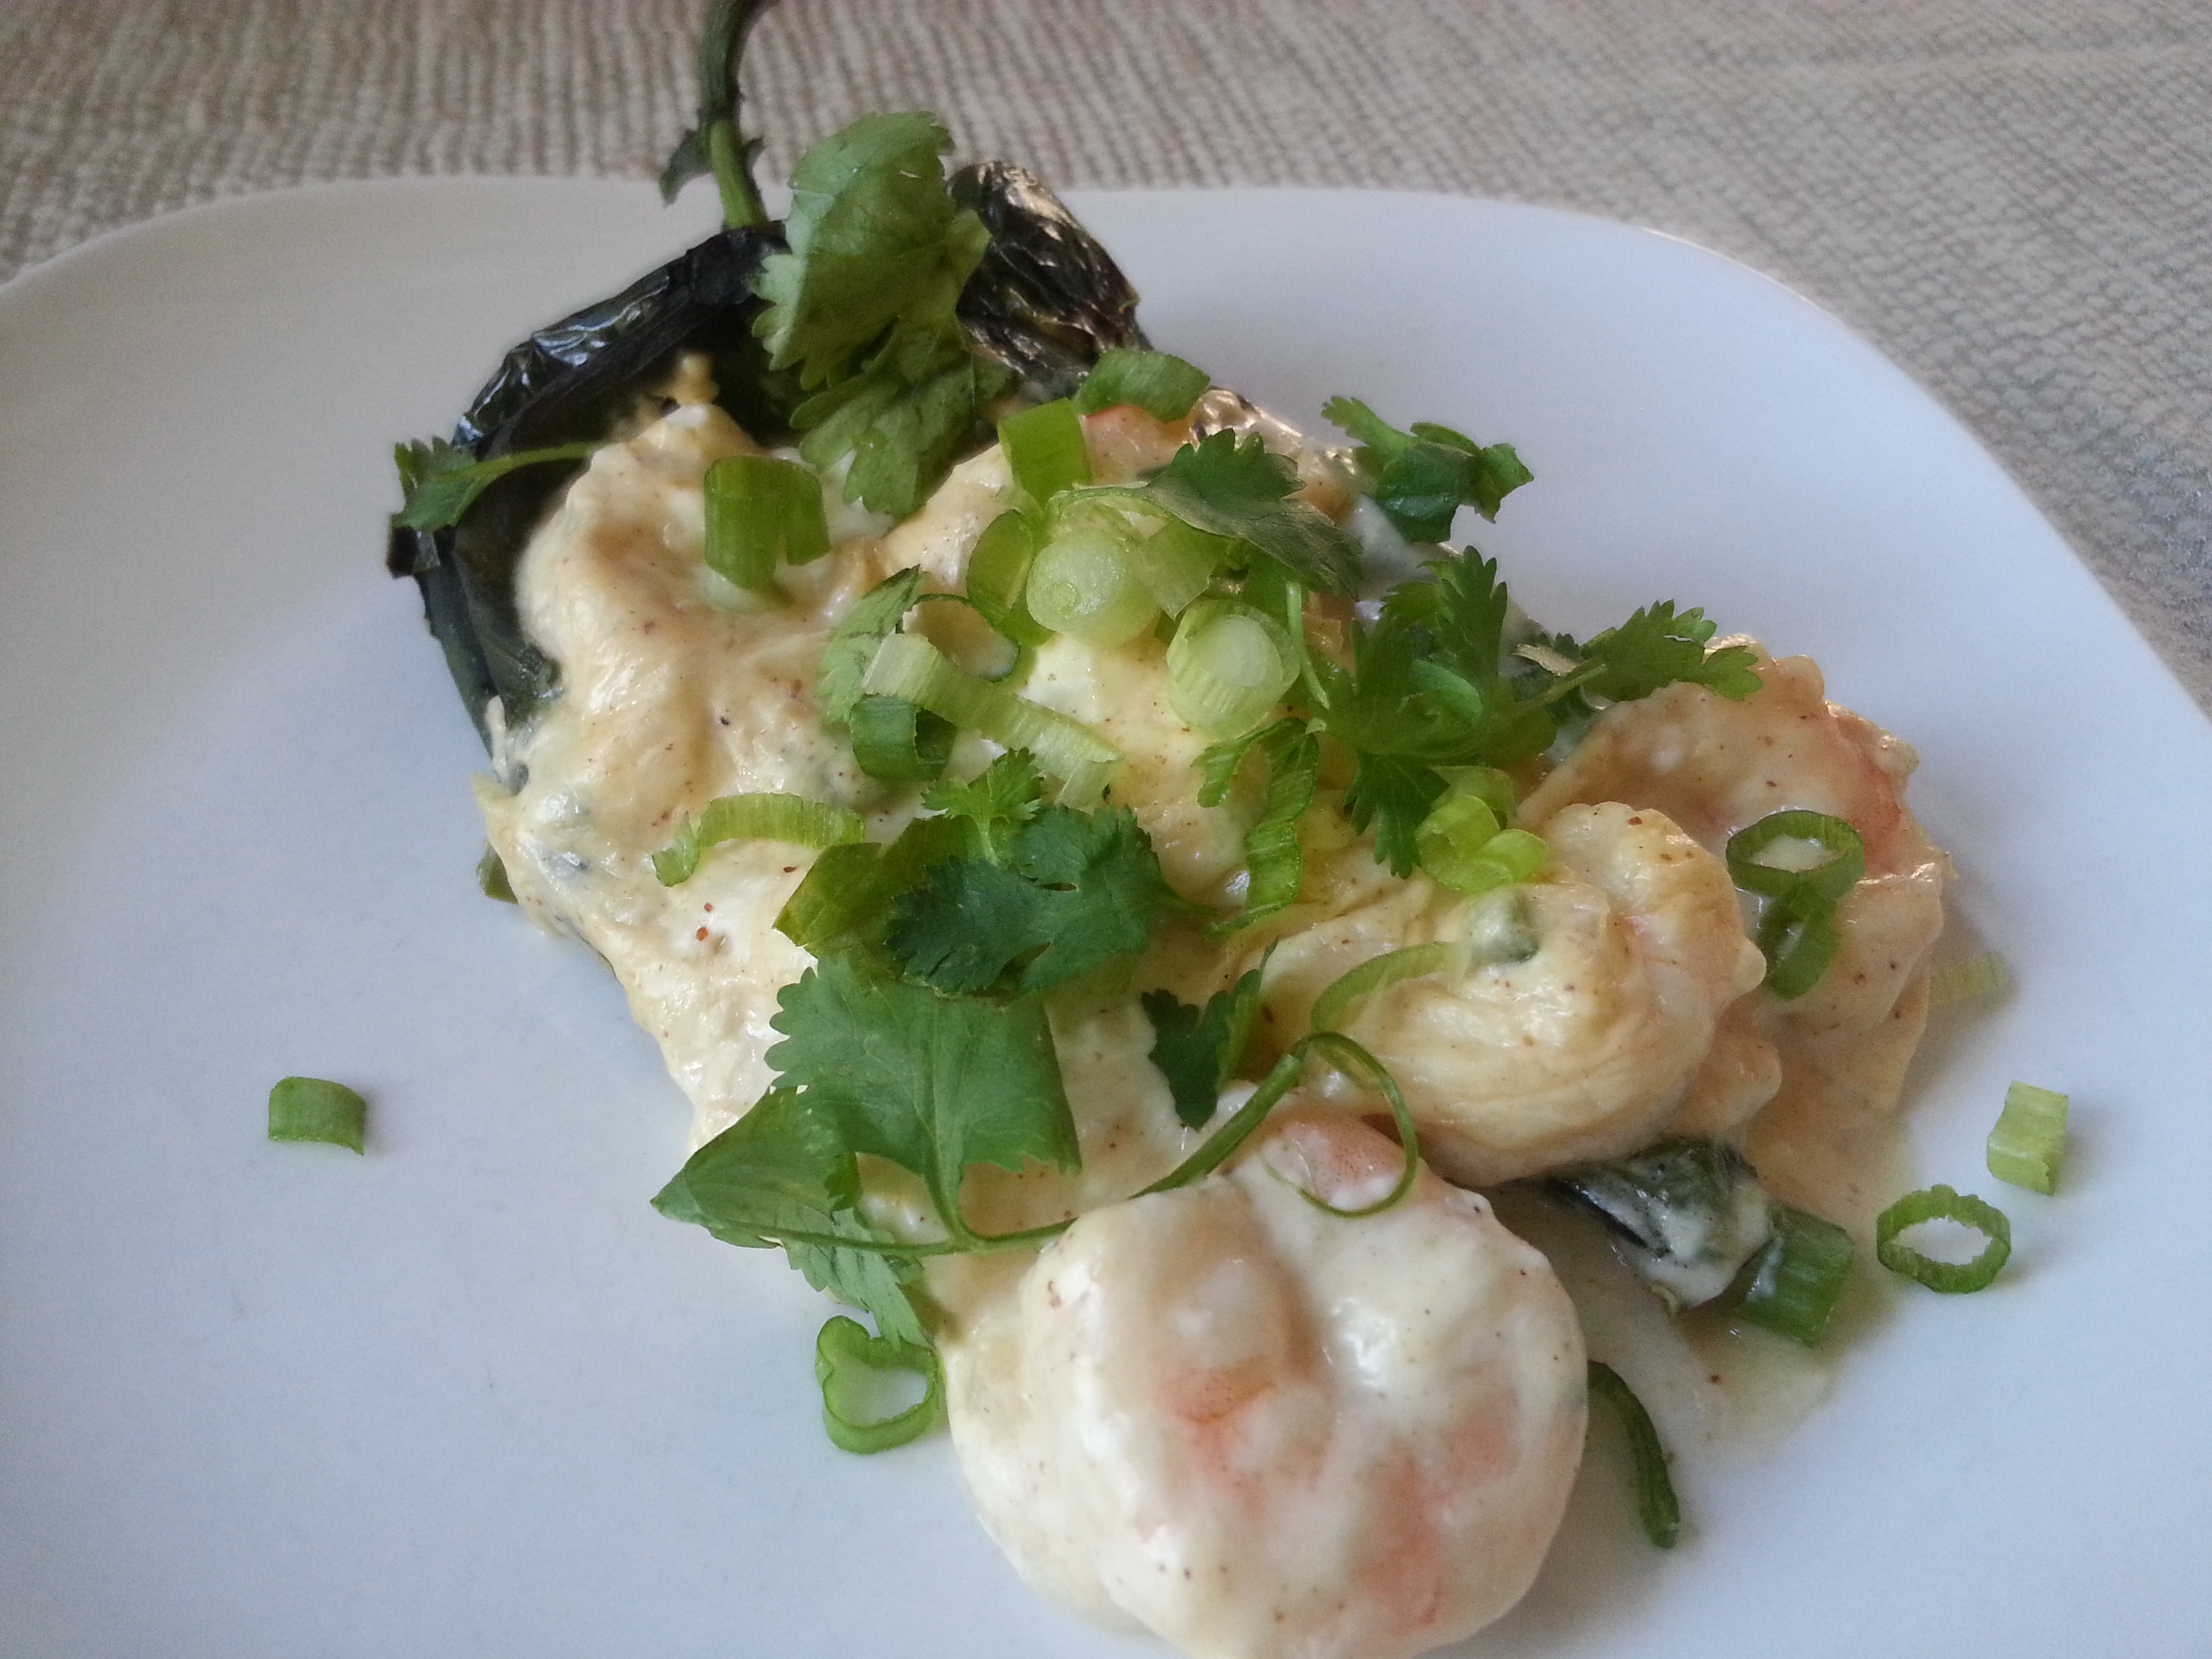
When peppers are done, garnish with sliced green onions and chopped cilantro.

stuffed peppers 9stuffed peppers 8stuffed peppers 7stuffed peppers 6stuffed peppers 5stuffed peppers 4stuffed peppers 3stuffed peppersMy hubs said these peppers were “fabulous”. He’s not the type of man that usually uses that word. So I took it as a huge compliment.

Hope this recipes knocks the socks right off of you!

Advertisement

Spice Rubbed Roasted Chicken Legs

spice rubbedSo here’s a new recipe I tried out on my guinea pigs family the other day. I had picked up some chicken quarters at the grocery store for $.99 a pound. What a steal! When I saw that price, I knew I couldn’t pass it up. I mean, that is really freakin cheap inexpensive. And considering that my oldest daughter now eats like a full grown woman, a big chicken leg sounded like a good plan.

In case you’re not familiar with chicken quarters (also known as a whole chicken leg) it’s the thigh and the leg/drumstick together, bone in, still attached, connected, as one….You get it. And it’s dark meat. In case you’re a white meat, chicken breast lover, please don’t automatically dismiss this recipe. The thigh meat (in my opinion) is the best meat on the chicken. Tender, juicy and full of flavor. Also, with this recipe, we’re leaving the skin on. And that skin is going to be crispy! Let the drool commence NOW!

FYI, since the skin does get seared, be prepared for a smoky house. My husband walked in and wanted to know what the hell was going on. But luckily, I didn’t set off any smoke alarms.

Spice Rubbed Roasted Chicken Legs (makes 4-6 servings)

  • 4-6 chicken quarters (also known as whole chicken legs)
  • 4-6 tbsp. butter
  • 1 tsp. each cumin and chili powder
  • 1/2 tsp. each of paprika, onion powder & garlic powder
  • 1/4 tsp. each of salt and pepper
  • 2-3 tbsp. olive oil

Mix together all of the dried spices in a small bowl. Place 1 tbsp. of butter underneath the skin of each chicken leg (on top of the thigh). Drizzle a little bit of olive oil over the top of the chicken. Then sprinkle the spice rub all over the skin as well as lifting the skin on the thigh up and rubbing the spice mix under the skin too. Place in an airtight container in the fridge for 6 hours (or more).

Take chicken out of the fridge and let come to room temperature, approximately 20 minutes. Preheat oven to 425 degrees. Then heat a cast iron skillet over high heat. When nice and hot, add in 1-2 tbsp. olive oil and place chicken skin side down in the skillet. Do not move it, and let it sear for 3-4 minutes. This is when it’s going to get all smoky! With the butter melting under the skin and the hot oil, it’s going to get hot up in your house. So make sure to turn that fan on! Turn over, and let sear for about 2 minutes on the other side. Then place on a foil lined tray (or a dish big enough to hold all these legs). I was able to do 2 chicken legs at a time. So you most likely will have to work in batches too. You don’t want to overcrowd the pan as you want the skin to sear and crisp up, not steam and get rubbery.

When all chicken legs have been seared, place in the oven and cook for 45 minutes. When the legs are all done, let rest about 10 minutes and then drizzle with your favorite barbeque sauce.

spice rubbed 7spice rubbed 6spice rubbed 5spice rubbed 4spice rubbed 3spice rubbed 2So I did 6 chicken legs for my family and we had leftovers. And since I’m all about leftovers and re-purposing, I suggest removing the skin and pulling that chicken off to make some chicken salad. Might I suggest my recipe for Almond Chicken Salad? 🙂

Chinese Eggplant & Ground Pork

pork & eggplant 2So maybe you’ve had a similar type dish at a Chinese restaurant? Well, no need to go out now when you can make it at home!

I love cooking Asian style at home because I think you can get really great authentic flavors. And this recipe is very flavorful and super easy to make. Plus, it’s a little different than your typical teriyaki chicken. If you’re not a pork person, feel free to substitute the pork with ground chicken.

Chinese Eggplant & Ground Pork

  • 1 lb. ground pork
  • 2 Chinese eggplants, halved & then cut into half moons
  • 1/2 white onion, chopped
  • 1 tbsp. canola oil
  • 2 garlic cloves, minced
  • 2 tbsp. rice wine vinegar
  • 1 tbsp. soy sauce
  • 1 tbsp. sriracha
  • 1/2 c. hoisin sauce
  • 1/8 tsp. white pepper
  • dash of salt
  • pinch of dried crushed red peppers
  • 2 green onions, sliced
  • 1 tsp. sesame oil

Heat a wok or skillet over medium heat and add canola oil. Add in the ground pork making sure to break it up as you cook it. Let pork cook for a few minutes, and then add in the onions. Once pork is almost cooked through, add the eggplant. While that cooks, mix together the garlic through the crushed red peppers in a separate bowl. When the pork is cooked (no longer pink) add in the sauce and stir together to combine. Let cook for a few more minutes to absorb the saucy goodness. Turn off heat and add in the green onions and drizzle the sesame oil. Stir and then serve immediately.

chinese eggplant 2chinese eggplantpork & eggplant 3pork & eggplantI like this served along side some rice while my husband likes this served on TOP of his rice. This would also be great in a lettuce wrap. Enjoy your homemade take out!

P.S. Sorry for missing pics of the actual cooking process. Must’ve been very hungry and slightly delirious. But at least you know what a Chinese eggplant looks like!

OMG Banh Mi!

banh mi 2Have you ever had a banh mi sandwich? I hadn’t tried one up until a few months ago. I’d seen them on menus and heard about them on cooking shows. I’d always been curious but wasn’t quite sure. Well, I tried one at a local café and OMG banh mi! Delicious! What had I waited so long for?!?!

So I’m no banh mi authority but it’s basically a Vietnamese sandwich (supposed to be served on a baguette) with some pickled veggies, cucumbers and cilantro. All those flavors together equal a symphony in your mouth!

I’ve made turkey banh mi sandwiches at home as of late, but I wanted something a little heartier for dinner. This recipe is not “traditional” (I didn’t use daikon and I used a bun, not a baguette) but has those delightful banh mi flavors. In chicken burger form. My mouth is watering just thinking about it.

Instrument of torture

Instrument of torture

As for making this scrumptious burger, if you have a mandolin, NOW is the time to use it. I am terrified of this kitchen tool, as we all should be. But I didn’t experience true fear until I took a piece of my thumb off with it. It was major in my opinion. I whined (yes, I know, I’m ashamed I whined as an adult) and told my husband I thought I needed to be taken to the hospital. He thought I was exaggerating. But it really hurt and bled for what felt like FOREVER. At least I didn’t cry like the time when a glass blender fell out of the top cabinet and onto my head. Anyways, I almost always use the guard and am very careful with this instrument of death now. But it came in handy for this recipe as I used it to cut all the veggies. If you don’t have one, that’s okay. Just eyeball your cuts and try for thin slices.

Chicken Banh Mi Burger (makes 6 burgers)

  • 1/2 c. rice wine vinegar
  • 1/4 c. water
  • 1/4 c. sugar
  • 2 small carrots, peeled and julienned (1/8″ setting on mandolin)
  • 1/4-1/2 of a small white onion, thinly sliced (1/8″ setting on mandolin)
  • 6 buns (I used my favorite Hard Rolls from Walmart)
  • 1 3/4 pounds ground chicken (I used dark meat)
  • 2-3 green onions, sliced
  • 3 garlic cloves, minced
  • 2 tbsp. soy sauce
  • 1/4 c. panko crumbs
  • dash of white pepper
  • 1 jalapeno, thinly sliced (1/8″ setting on mandolin)
  • 1-2 baby cucumbers, thinly sliced (1/8″setting on mandolin)
  • Small handful of cilantro
  • Mayo

Add the first three ingredients to a small pot and stir over medium heat until sugar has dissolved. Cool slightly and then add onions and carrots. Set aside and let pickle for at least 30 minutes. After the veggies have pickled, drain off liquid and refrigerate until ready to use.

In a large bowl, mix together the ground chicken, green onions, garlic, soy sauce, white pepper and bread crumbs. You can use immediately or set in the fridge (which I did) to let the flavors come together. Divide into 6 equal size patties. Preheat your outdoor grill to about 350, or you can use a cast iron skillet or pan sprayed with cooking spray on your stovetop. Cook burgers about 5 minutes on each side, depending on your stove or grill. You can tell the chicken is cooked through when you touch the meat and it’s firm. Remove from grill and set aside.

Slice buns in half and slather each side with mayo. Place the burger patty on the bottom bun and add enough cucumber slices to cover the patty. Add a little bit of the pickled veggies on top. Place some jalapeno slices and cilantro on top of the veggies and cover with the top bun.

banh mi 6banh mi 5banh mi 4banh mibanh mi 3Enjoy your banh mi burger. Or should I say BOMB mi burger?

Almond Chicken Salad

almond chicken salad 5With this beautiful weather we’ve been enjoying, I thought it would be nice to spend a family evening at the pool and have some dinner while we were down there. Luckily for us, our community pool is just 10 houses down from us and is usually pretty quiet. We ended up having the place to ourselves during our dinner and after dinner swim. I wanted to have something that wasn’t too heavy for dinner and would be easy to transport too, so….

BOOM! Chicken Salad. This recipe turned out really good. I’m proud of it 🙂 It will definitely be my go to chicken salad from now on. My friend told me she never makes chicken salad because it doesn’t turn out as good as she was hoping for and I felt that same way about it too. Until now. This time, it turned out just as I had expected.

This is the long version. It took me almost 2 hours from start to finish. Don’t be scared! That was just the chicken cooking (and mine was frozen) that took up most of the time. But if you need a shortcut, I recommend buying a pre-cooked rotisserie chicken from your local grocery store. However, I am going to emphasize that the way this chicken cooks, REALLY, and I mean REALLY, adds such a good flavor. And while the chicken cooks, it makes your house smell like Thanksgiving. That’s a good thing!

Almond Chicken Salad

  • 6 boneless, skinless chicken thighs (approximately 1 1/2 pounds)
  • 1 tbsp. olive oil
  • 2 cloves garlic, minced
  • 1 tsp. each salt, ground pepper, dried thyme and dried rosemary
  • 1/2 c. water
  • Juice of 1/2 lemon
  • 1/4 c. onion, finely chopped
  • 2 celery stalks, chopped
  • 1 c. frozen green peas, thawed
  • 3/4 c. slivered almonds
  • 1 3/4 c. mayo
  • Salt and ground pepper, to taste

Heat a Dutch oven or a pot over medium heat. Add oil. Once heated, add garlic and sauté for approximately 30 seconds. Add chicken, water, salt, pepper, thyme and rosemary. Bring to a boil and reduce heat to a simmer. Cover and cook for 1 hour if the chicken has been thawed. 1 1/2 hours if the chicken is frozen.

Once cooked, remove chicken to the bowl of a stand mixer. Let cool for a few minutes. Using the paddle attachment, turn your stand mixer onto stir. This will shred your chicken for you perfectly. If you don’t own a stand mixer, no worries. You’re just going to have to go about it the good ole fashioned way! Just put your chicken in a bowl, use two forks and shred away.

Once chicken has completely cooled, add the rest of the ingredients and stir until combined. Refrigerate until ready to eat.

almond chicken salad 2almond chicken saladalmond chicken salad 3almond chicken salad 4I served this chicken salad as a “salad”. I did romaine and red leaf lettuce mixed together and scooped some of the chicken salad and placed on top. I also added some cucumbers to my lettuce to give it an extra crunch and garnished with extra slivered almonds. The chicken salad would also be great on a sandwich roll, or in a tortilla wrap.

So yummy, and such a great summertime meal!

P.S. Don’t throw away that leftover liquid. I skimmed the fat, strained it, put it in the freezer and now I have 1 1/2 cups of homemade chicken broth. Lucky me 🙂

Addicted to Mexican Food? Carnitas will satisfy the craving!

carnitas 2I have an addiction to Mexican food. I want to eat it all the time. I could eat it all the time. But the problem with making homemade Mexican food (at least for me) is that it doesn’t always taste super authentic. Well, I found this recipe on Pinterest and it has solved my problem. This recipe is perfect so I don’t ever change a thing.

To get the directions for these delicious carnitas, and check out other amazing recipes, please head over to My Kitchen Escapades.

I think this dish will ABSOLUTELY satisfy that craving. Give it a try!

Marinated Rib Eyes with Garlic Butter

ribeye 2I’m going to keep on, keeping on. A grill post, AGAIN! But yes, the weather is right and when it is, we GRILL! This is my go to marinade for rib eyes. Which happens to be my favorite steak, besides filet mignon of course. I have to tell you that my dad is a butcher and has been my whole life. So I’ve had a love for steak since childhood!

This marinade may sound like it has a lot of ingredients but most likely, you should be able to find these items inside your pantry and fridge. Nothing too special but oh my, does it really flavor the meat! If that wasn’t enough, I made a compound butter to melt over the top of the steaks after they came off the grill. Is your mouth watering now??

Just a quick note about flavored butter/compound butter. Make this at home! I’ve seen commercials lately for this one specific brand in particular and I’ve also seen it at the store. And it’s expensive. Compound butter is so incredibly simple and easy to make at home and you can completely make it your own. So please do try it. This butter is also amazing on shrimp and chicken. Potatoes too. And roasted veggies. Well, mostly anything. It’s that good.

ribeye 3

HUGE steaks!

marinade for ribeyes

Marinade for the Rib Eyes

Marinade for Rib Eyes (makes enough for 2-3 LARGE steaks)

  • 3/4 c. olive oil
  • Juice from half a lemon
  • 1-2 tbsp. worchestire
  • 1 tbsp. rosemary, dried
  • 1/4 tsp. salt
  • 1/2 tsp. pepper
  • 2 garlic cloves, chopped
  • 1/2 small onion, sliced
  • 1 tbsp. soy sauce
  • 2 tbsp. Dijon mustard
  • 1 tbsp. sugar

Place all ingredients in a gallon sized Ziploc bag. Whisk together until combined and then add steaks. Place in fridge for at LEAST 6 hours, turning over once.

Time for the next component in the dish. Butter. And with goodies in it.

garlic butter 4

All ingredients in the food processor

garlic butter 3

Pulse it!

garlic butter 2

Try to make a log shape. Key word, TRY!

garlic butter

No that’s not a cigar, that’s delicious flavored butter

Garlic Compound Butter

  • 2 sticks butter, softened
  • 1 green onion, sliced
  • 2 large garlic cloves, chopped
  • 1 1/2 tbsp. soy sauce

Place all ingredients in a food processor and pulse until nicely blended together. Spoon butter onto plastic wrap and roll up into a log/cylinder shape. Put in fridge until ready to use. This butter keeps really well in the freezer too.

To make the steaks : 30 minutes before you want to grill, take those steaks out and let come to room temperature. Preheat your grill or grill pan to medium or around 325 degrees. We cooked our steaks about 5 minutes per side, but they were really huge steaks! Like I’ve said before, I typically don’t time how long we cook our steaks so this is approximate. But we like our steak medium rare.

ribeye

Delicious cow goodness

After steaks are cooked, place on a plate and slice off some of that butter and put over the top. Cover with foil and let rest about 15 minutes. That butter will melt beautifully on that meat, making for a spectacular steak!

Steak+butter=LOVE


Grilled Flank Steak

flank and brussel sproutsMy last couple of posts have been about grilling and I’m keeping it going! It’s supposed to be beautiful out this weekend. So you know what that means. Fire up the grill! But this post is going to be more about a method rather than a recipe. And that’s how I cook a lot of times. I usually throw things together and most times, they end up tasting pretty good. I typically don’t follow recipes but just do my own thing in the kitchen. So this blog thing has been quite an adventure because I now have a little notebook where I write down my “recipes” and ratios and all that good stuff. Something I’ve never done before!

If you’re a stickler for following recipes, that’s okay too. But if you have a busy lifestyle like myself, sometimes it’s easiest to fly by the seat of your pants in the kitchen. Now, onto the main course.

Flank steak is a tasty cut of meat! We eat it pretty often in my house. And this is how I do it. I like to use a rub. We have a favorite here. But you can use whatever brand you like. Or, you can create your own spice rub. Need ideas?

  • Chili powder
  • Cumin
  • Garlic powder
  • Onion powder
  • Salt
  • Pepper
  • Paprika

flank steakTake a little bit of each of those spices and pour them into a little bowl. Mix them around and then liberally sprinkle onto your meat and rub it in. Want the flavor to penetrate? Wrap that piece of meat in plastic wrap. And wrap it up tight! Then put in your fridge until ready.

Another great suggestion for flank steak is teriyaki sauce. An awesome tip passed on to me from one of my neighbor’s was to place the meat in a large Ziploc bag, pour teriyaki sauce over, zip up and put in the freezer. That way when you’re letting it thaw out, it has all that time to penetrate and really flavor the meat. It’s a great tip and I do it all the time.

flank steak grilledNow to cook the flank steak. Make sure your grill is heated and please remember to take your meat out and let sit at room temperature for at least 30 minutes. A cold piece of meat on the grill isn’t a good thing. Cook on each side until your desired doneness. I don’t ever time how long I have the meat on each side for, but I press on the meat with my finger. If it’s firm with a little tiny bit of give, it’s about medium. We like it medium rare in this house so I take it off before it reaches that point. Place on a plate and cover loosely with foil. Let the meat rest for about 20 minutes. And then slice across the grain. If not, there’s no point in eating flank because it will be super tough and icky. ALWAYS make sure to cut across the grain. Don’t know what that means? Well, there’s these lines running through the meat. You don’t want to cut on those lines but across them. Pretty easy!

flank steak cutNow you know my method. So get out there and fire up that grill!


Momma J’s Bolognese

bolognese 2I have a confession to make. I’m not a big tomato fan. But I like ketchup. I like sliced tomatoes on sandwiches and burgers. I like salsa. I like pico de gallo. But I’m not a big “red sauce” fan. As in spaghetti sauce and the likes. I like spaghetti though. Confusing, I know! I just don’t like big chunks of tomato. Canned tomatoes specifically. Yet, every time I go to Costco, I buy the huge box of diced tomatoes. Seriously.

So this recipe, created by me (Momma J) :), is just right because it has crushed tomatoes in it. Hallelujah! No big chunks that I have to pick out and push off to the side. This sauce is a definite nice change from regular spaghetti sauce. Super simple, but I just love the flavor because it doesn’t taste simple. And it’s budget friendly, which is always a plus in my book.

Momma J’s Bolognese

  • 2 tbsp. each of olive oil & butter
  • 1/2 onion, diced
  • 1 large carrot, peeled and diced
  • 2 celery stalks, diced
  • 1 lb. each of ground pork & ground beef
  • 3/4 c. white wine (I used Chardonnay, surprise, surprise!)
  • 1 c. whole milk
  • 2, 28 ounce cans of crushed tomatoes
  • 2 tsp. ground nutmeg
  • 1 tsp. each of salt & pepper (if you feel the need, add more)

Heat a Dutch oven (or a stockpot) over medium heat. Add olive oil and butter, let melt. Add onion, carrots and celery. Saute for about 5 minutes.bolognese 5 Add both meats and cook until browned. bolognese 3Add wine and let cook for 2 minutes. Reduce heat and add tomatoes, milk, salt, pepper and nutmeg. Bring up to a boil, and then reduce heat to a simmer. Let simmer covered for 1 hour, and then uncover and let simmer for 1 hour or until sauce has thickened.bolognese sauce Serve over your favorite pasta (I used linguine) and freshly grate some nutmeg over the top, along with some fresh cracked pepper.

This recipe made enough for my family to have TWO meals. The other half is in my freezer and begging to be eaten every time I open that freezer door. I love having sauce in the freezer like that, but if you don’t, just cut the recipe in half.

bologneseBon appetite!

It’s the Best Soup Ever!!!

corn chowder 3So if you replace the word “soup” with “day” in the title of this post, do you know which kids’ show that’s from? If not, it’s from SpongeBob! And I am as happy as SpongeBob is when he sings “It’s the best day ever….” when I think about this soup. By far, this is MY favorite when it comes to soup. And I have Pioneer Woman to thank for that. So thank you PW!

Corn & cheese chowder. She had me at chowder. It’s comforting, creamy, filling and delicious. Great served with a French baguette. Just typing this makes me crave this soup. And it comes together so fast, but has so much flavor, you’d never know how quick it was to make. In case you couldn’t tell, I’m passionate about this soup!!!

I have adjusted this recipe slightly to cut down on calories and to work with what I usually have on hand. However, if you want full fat and to see how PW does it, check out the original recipe. Of course, she has amazing step by step pictures.

Corn & Cheese Chowder (original recipe at Pioneer Woman)corn chowder 4

  • 3 15.25 ounce cans of corn, drained
  • 1/2 stick of butter (4 tbsp.)
  • 1 small onion, chopped
  • 3 slices bacon, chopped into pieces
  • 1 red, yellow or orange bell pepper, finely diced or a small jar of pimientos, drained
  • 4 cups chicken broth
  • 2 cups milk (I use 1%)
  • 1/2 c. flour
  • 1 c. Monterey jack cheese, shredded
  • 1 c. pepper jack cheese, shredded
  • 3 green onions, sliced
  • Salt & pepper to taste
  • Dash of cayenne pepper

In a large pot or Dutch oven, melt butter over medium-high heat. Cook onions for a couple of minutes. Add bacon and cook until almost crisp.Then add diced bell peppers or pimientos and cook for a couple of minutes. Finally, add corn.

Sprinkle flour evenly over the top and stir to combine. Pour in broth and stir well. Allow this to thicken for 3 or 4 minutes, then reduce heat to low. Stir in milk and allow to simmer/thicken for 15 minutes or so.

Stir in cheeses and green onions. When cheese is melted, add salt and pepper to taste, with a dash of cayenne. It’s now ready to eat!

corn chowder 2And you should seriously make this. TONIGHT!!!!!!