“Fried” Drumsticks

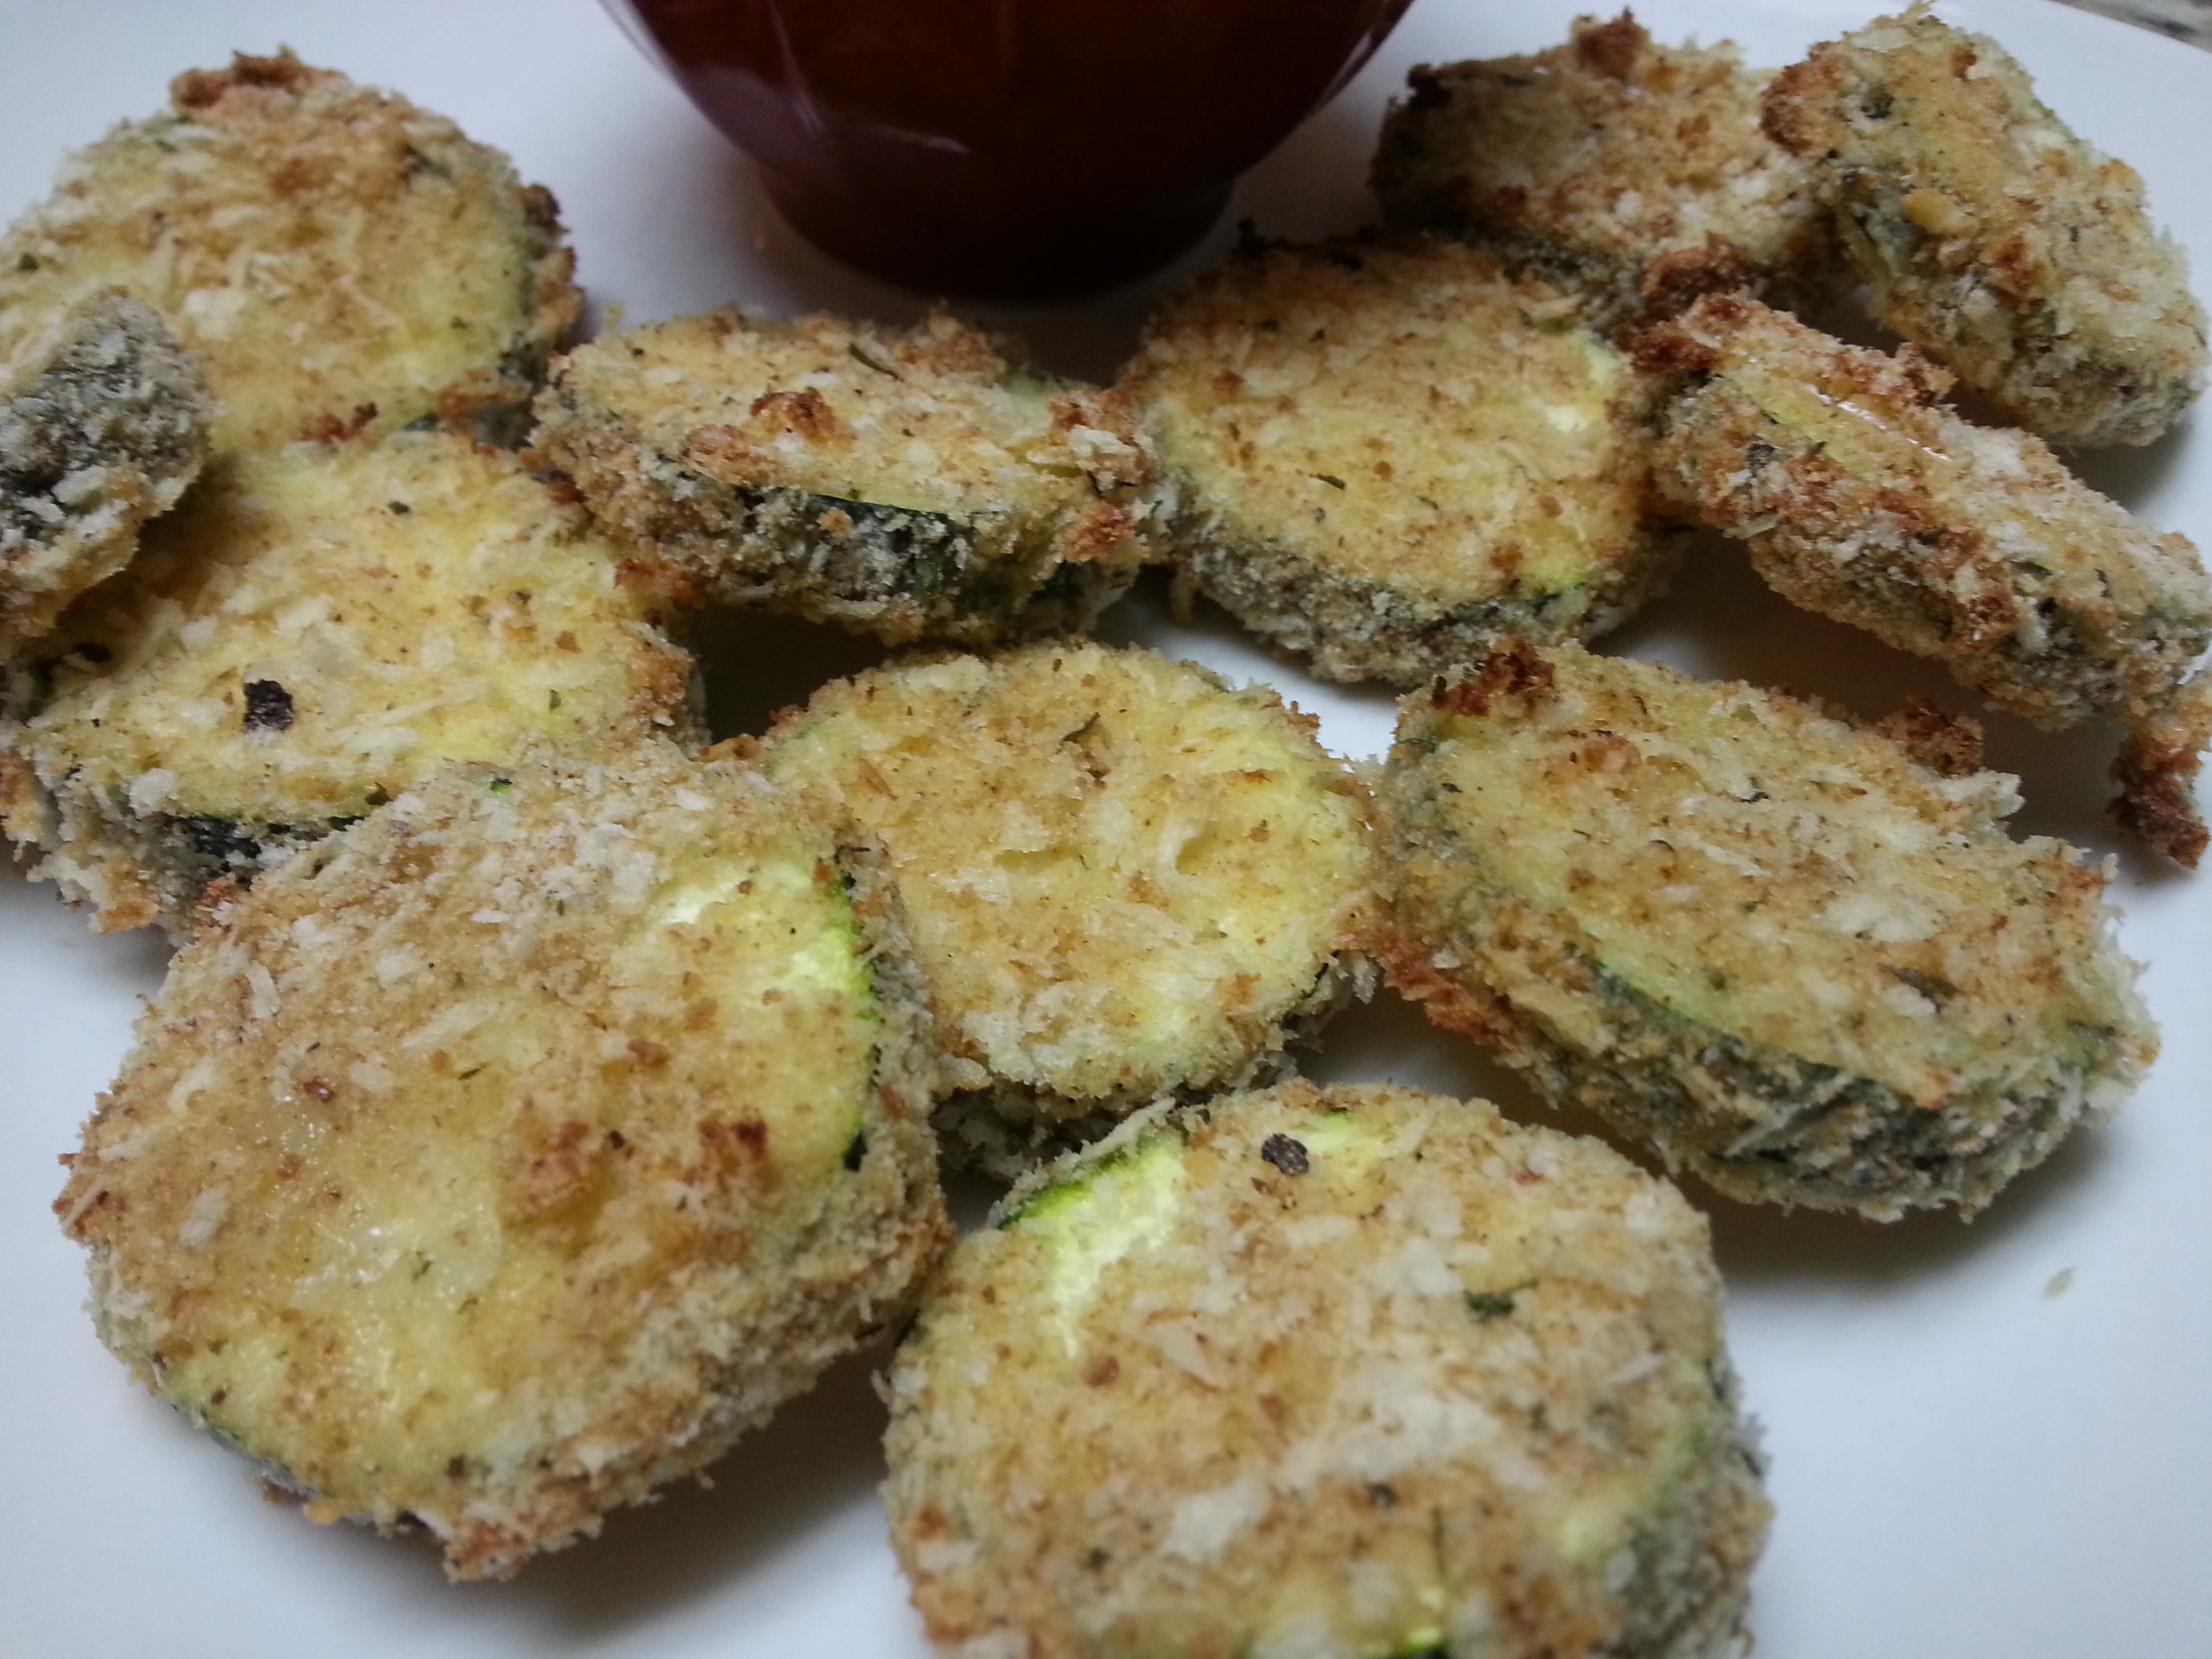
Well, so much for winter. After our New Year’s Eve snow, (which actually hung around for a few days in the shady spots of our yard and the neighbor’s) the weather forecast has shown that it will be in the 80’s tomorrow. THIS is one of my gripes about living in Southern California. It just shouldn’t be 80 in January, a week after it snowed. It’s absolutely ridiculous. I just refuse to wear shorts in January! Anyways, now that I’ve gotten that complaint out of my system, onto the food. January means it should be cold, and cold weather means comfort food. So there.

I made these “fried” drumsticks awhile back and this is the way to make them. Although I love traditional fried chicken (your U.S. citizenship is taken away if you don’t), this is easier and makes for quicker cleanup. And you can completely customize this to suit your tastes. You just need to know the method to do it.

“Fried” Drumsticks

  • 8-10 drumsticks
  • 1 cup flour
  • Seasonings of your choice (I used paprika, garlic powder, onion powder, salt & pepper)
  • Cooking spray

Preheat your oven to 375 degrees. In a large bowl, add flour and generously sprinkle the seasonings of your choice into the bowl as well. Stir to combine. Dredge the drumsticks in the flour mixture and place on a baking sheet that’s been sprayed with cooking spray. Once all the drumsticks have been dredged, completely spray them with cooking spray. Place in the oven and cook for 35-40 minutes. You can tell they’re done when the meat starts pulling away from the bone.

fried chicken 3fried chickenfried chicken 2
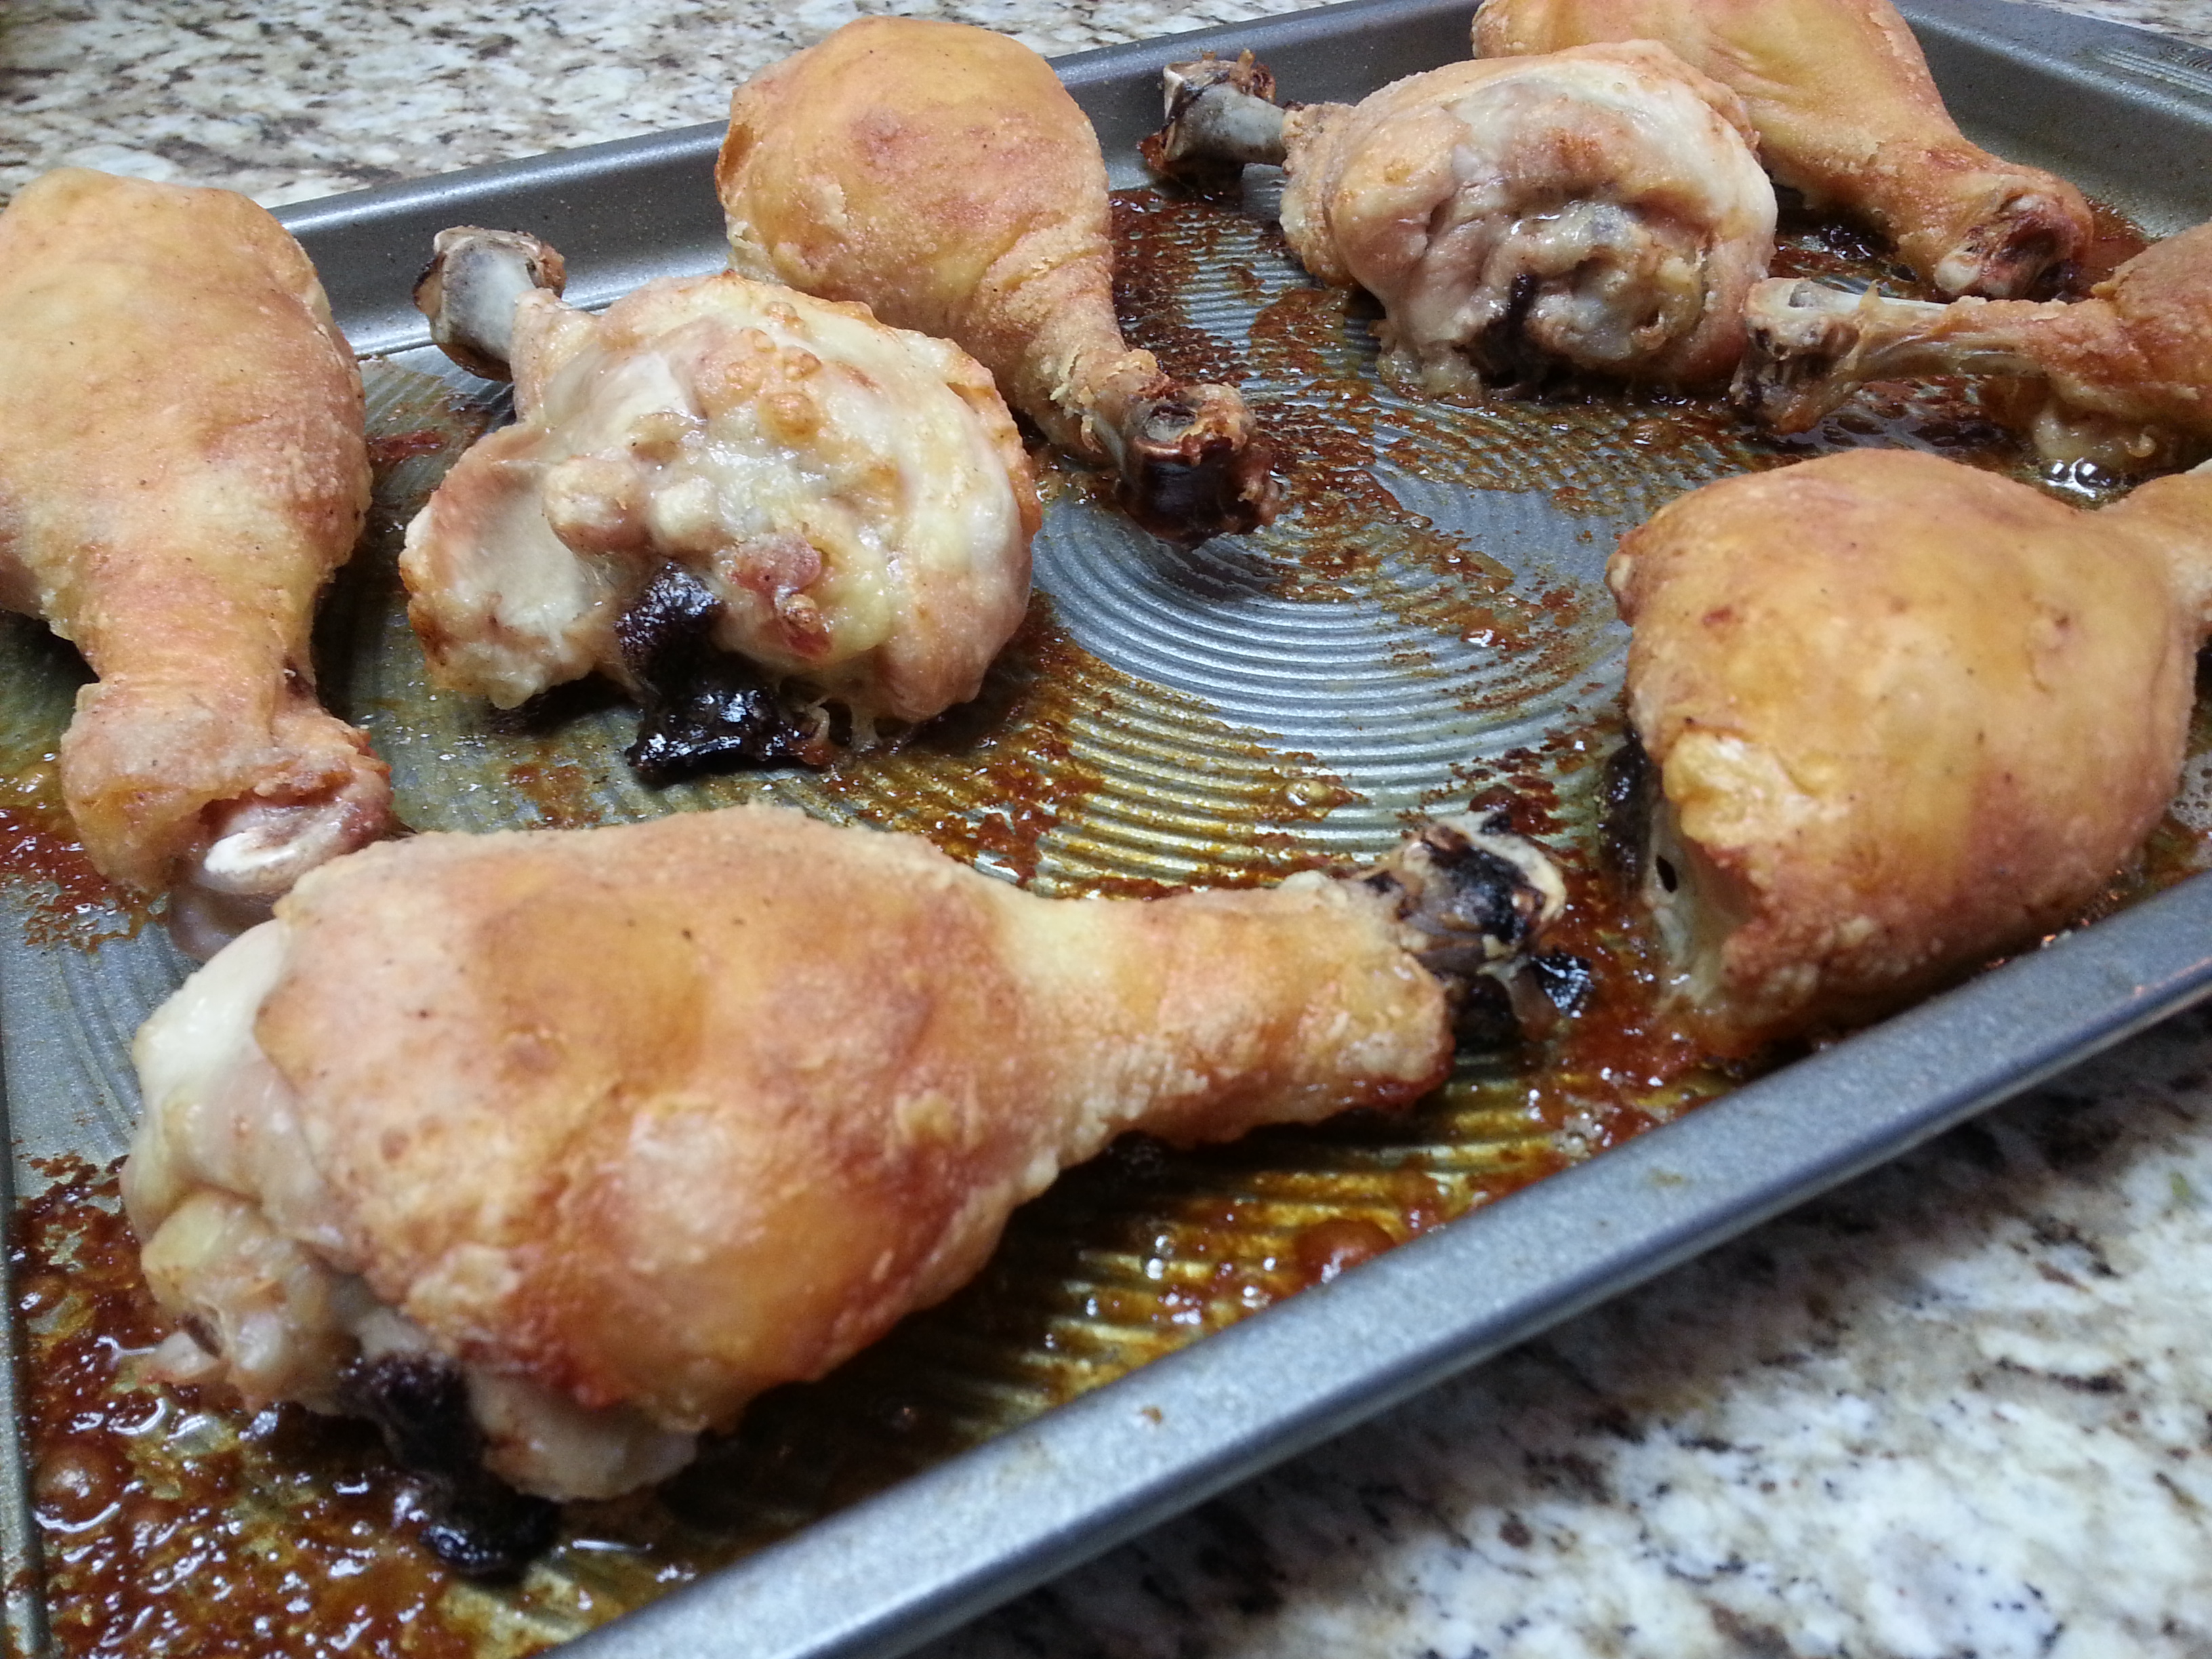
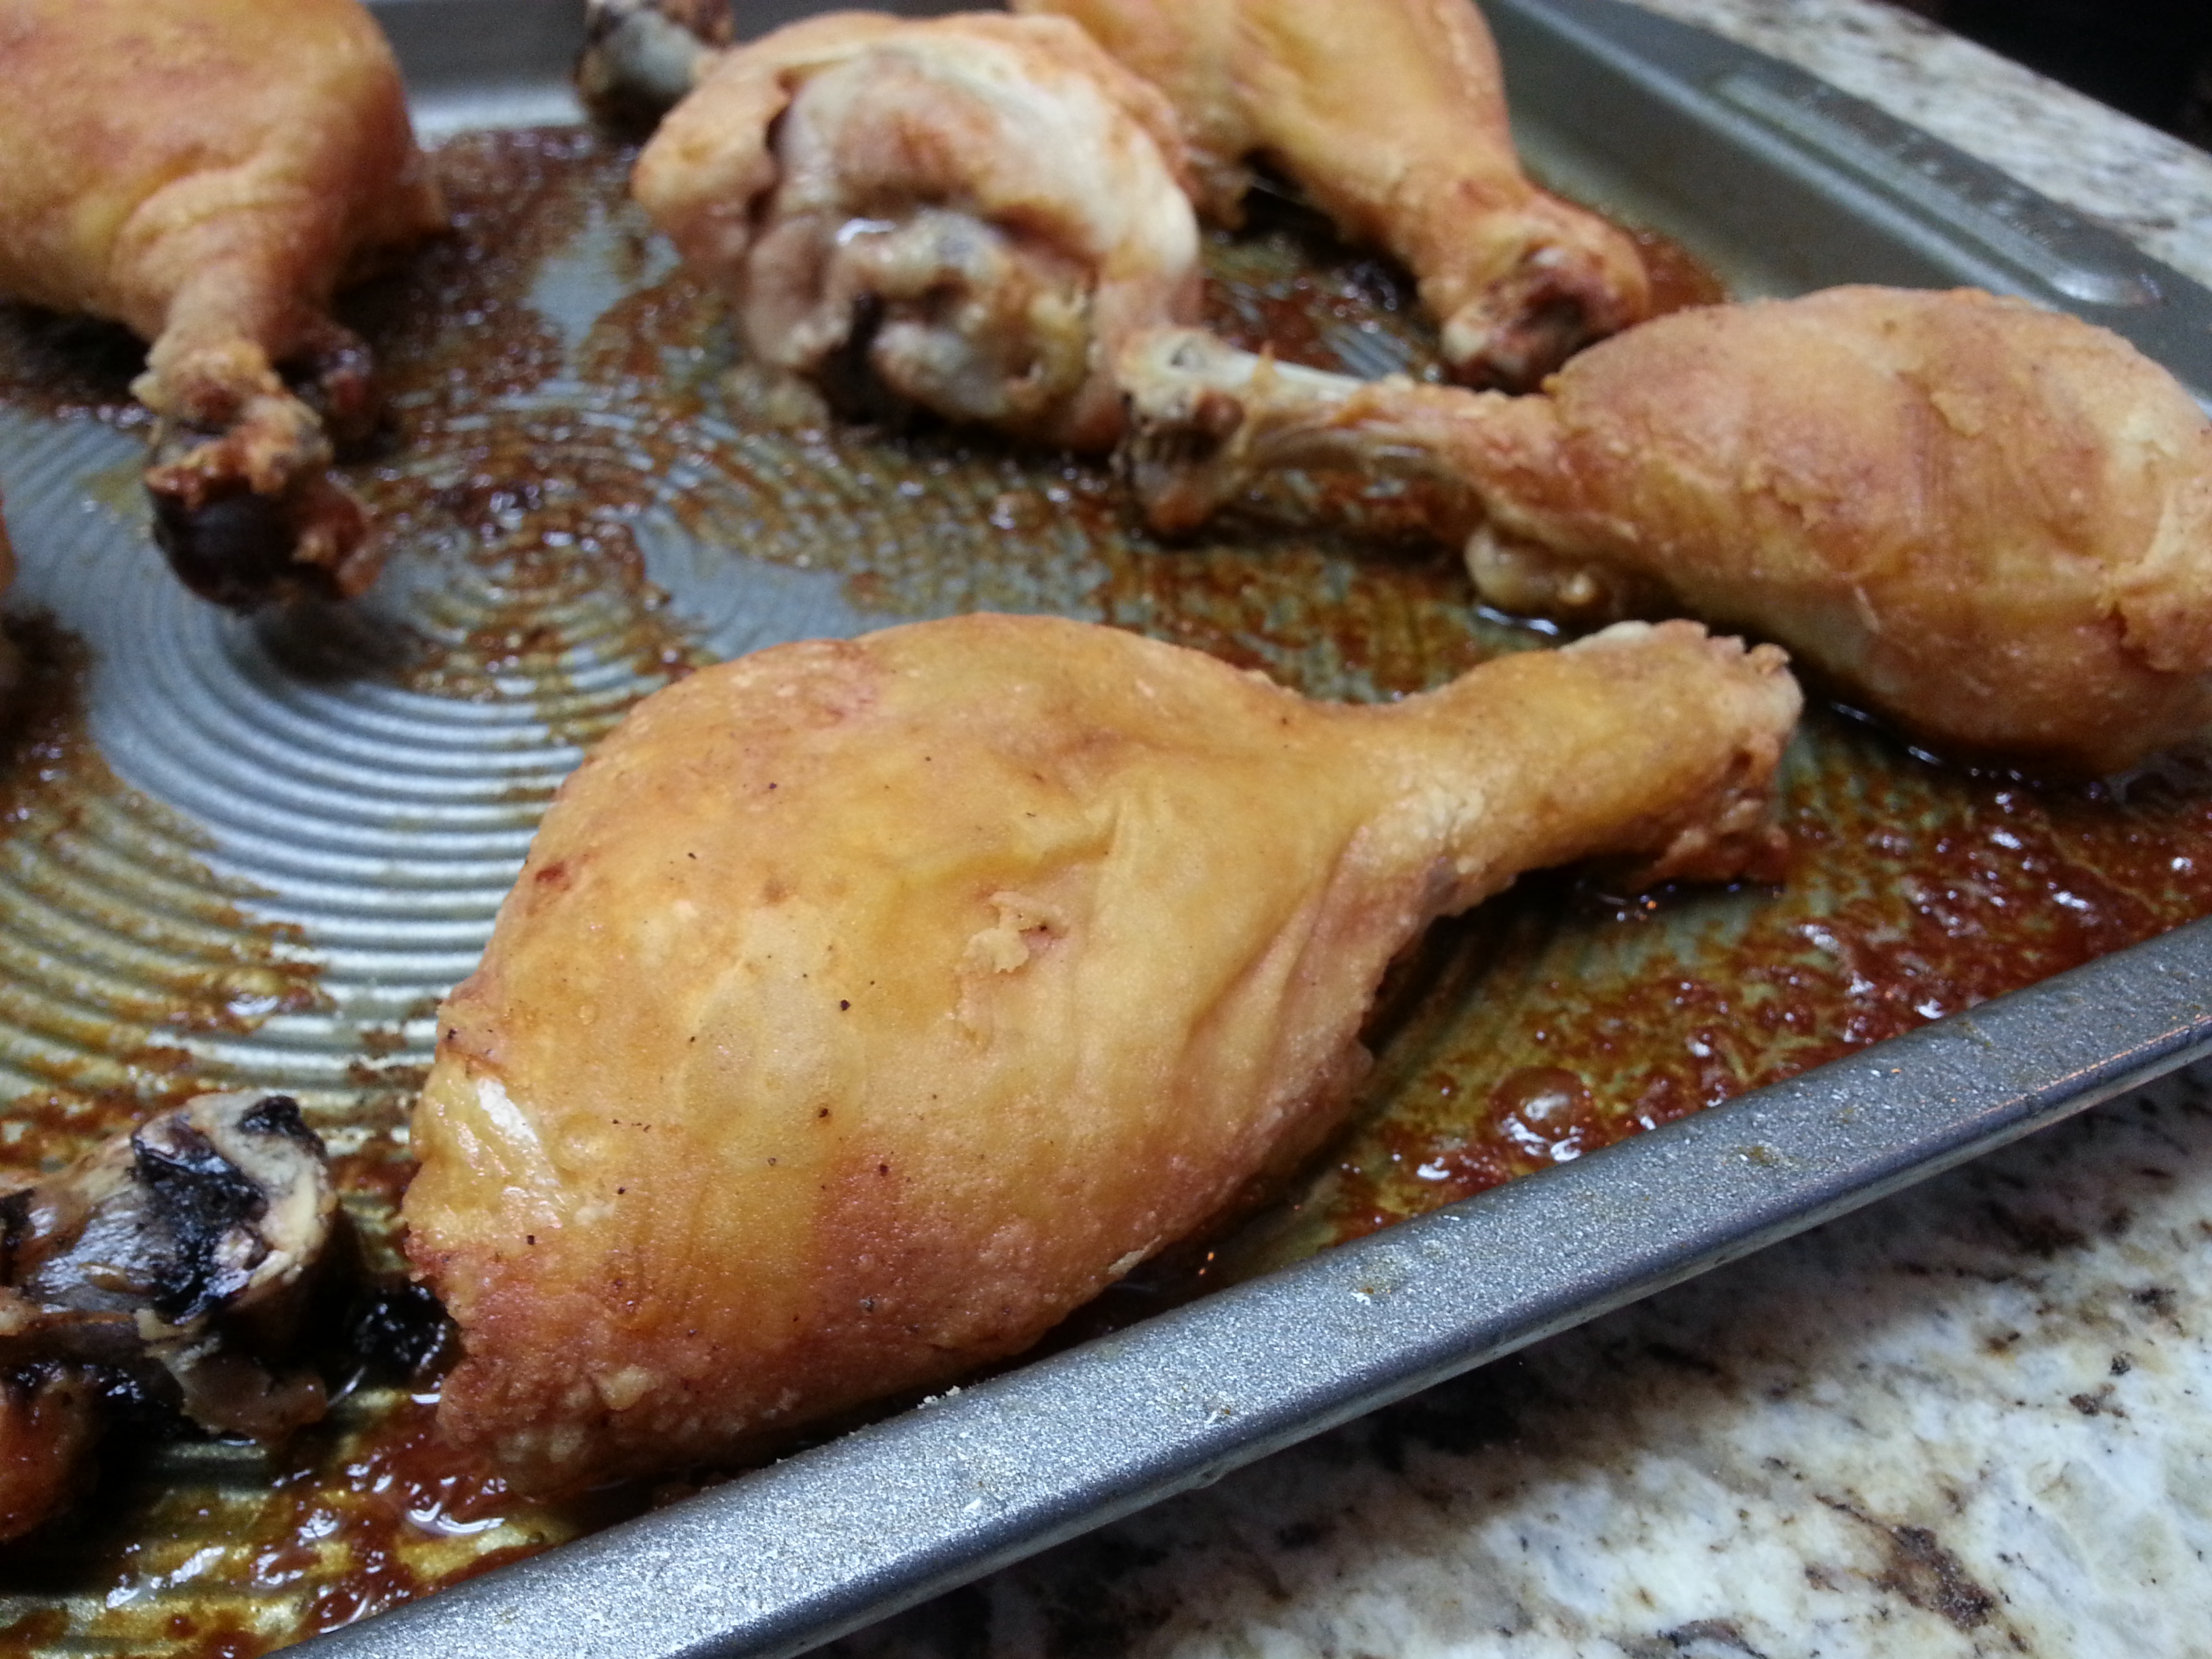
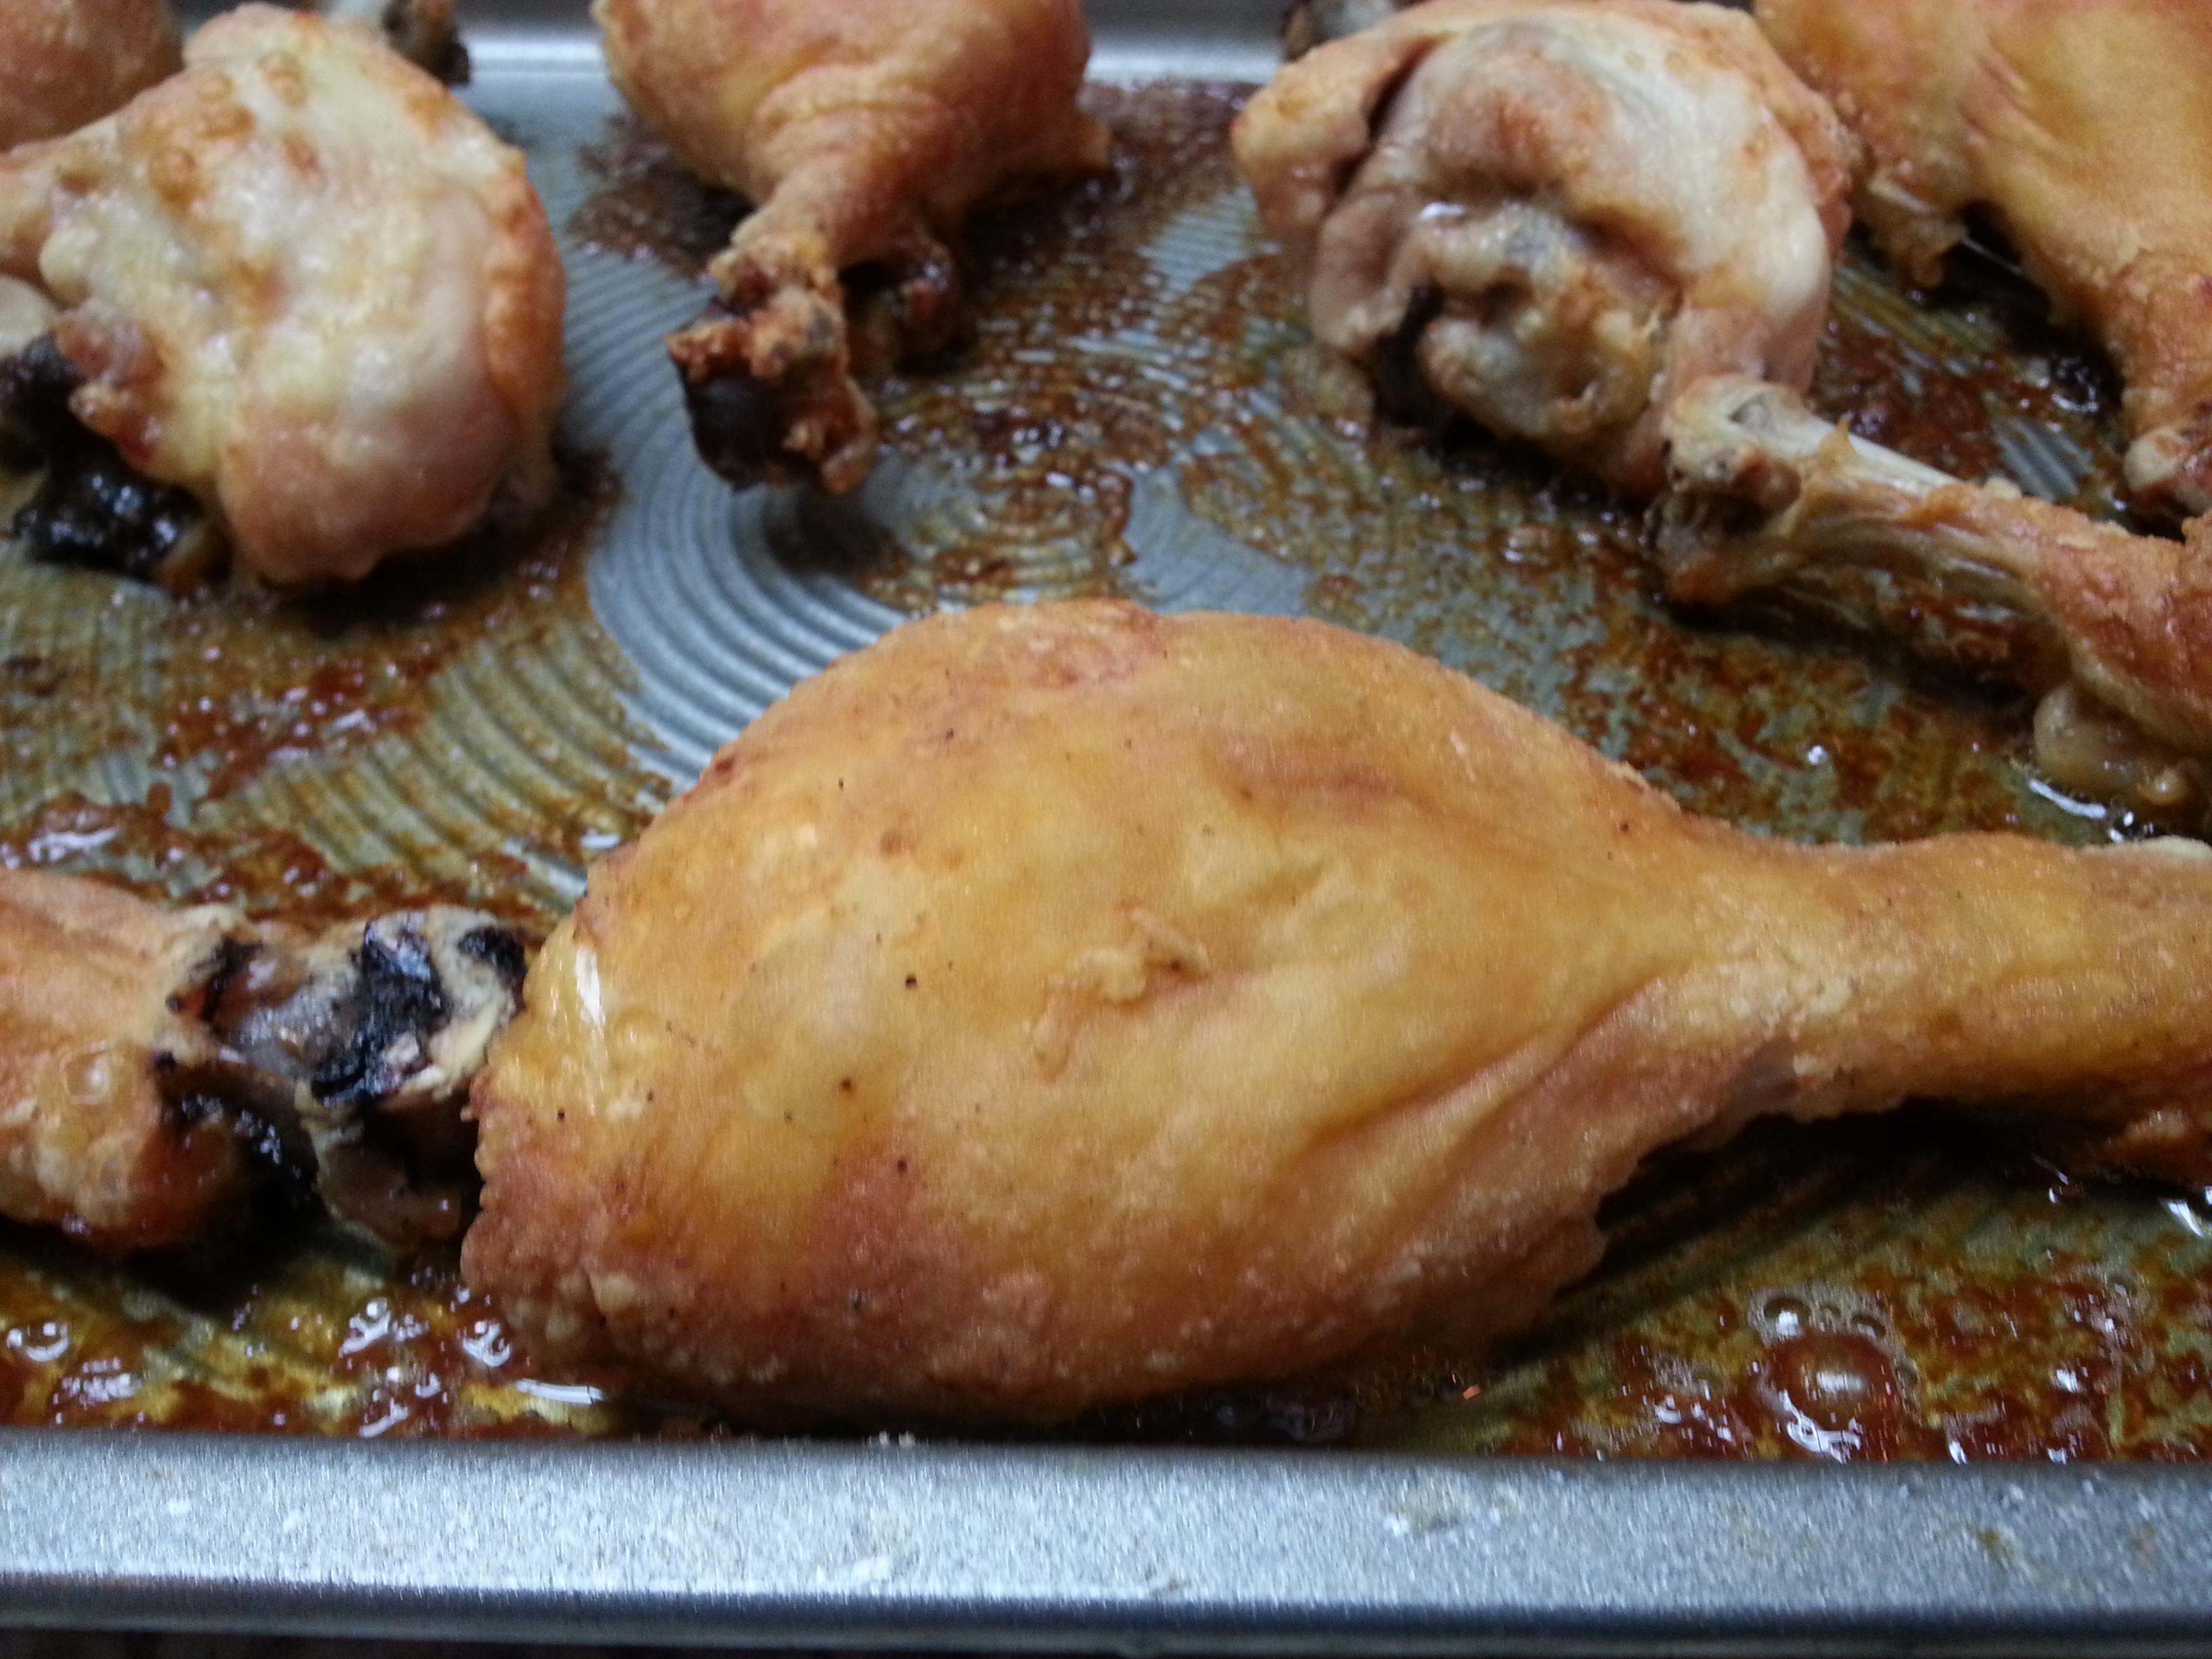
And there you have it! These drumsticks come out with a crunchy skin and are moist and flavorful. Like I said, customize it to suit your tastes and use what seasonings you like.

Even though winter seems to have come and gone (please come back), you can’t take comfort food from me!

Advertisement

“Fried” Zucchini Coins

fried zucc One of my favorite foods is fried zucchini! For many years, I was on the hunt for the perfect burger and fried zucchini. Because of course, they’re an awesome combo. I’ve found many I like, but let’s just say my quest still continues.

So of course I’ve resorted to making my own at home. Minus the fry. But not minus the crunch! If these weren’t crisp, they wouldn’t be worth making in my opinion. “Fried” zucchini has to be crispy and have that special crunch. And although this recipe is a little time consuming (but hey, anything that has to be dredged and breaded is!) it’s totally worth the time it takes. My family inhales this every single time I make it. There’s the proof that it’s worth the time. And we’ve taken a vote in my house and it’s unanimous that we all prefer the “coin” shape as opposed to “sticks”. Why is that? Just because…

“Fried” Zucchini Coins

  • 2 large zucchini (or 3 small) cut into 1/4″ coins
  • 3/4 c. flour
  • 2 eggs plus 2 tbsp. milk, whisked together
  • 3/4 c. Italian seasoned bread crumbs
  • A heaping 1/2 c. panko crumbs
  • Pinch of garlic powder and black pepper
  • Grated parmesan cheese, optional

Preheat oven to 400 degrees. Spray a cooking sheet generously with cooking spray. I used a tray that fit into the cooking sheet but after trying it once, I prefer to just lay the zucchini directly onto the sheet. In three separate bowls, add flour to one. Then add the eggs & milk to another, whisking together. And in the last bowl, add both types of bread crumbs, along with the seasonings. Stir to combine. Then set up your dredging bowls as shown in the picture.

fried zucc 5Take one piece of zucchini, roll it in the flour and then gently shake the excess off. Add the zucchini to the egg wash, making sure to coat the entire piece. Then take out of the wash and add to the bread crumbs, pressing to adhere the crumbs to the zucchini. Lay on the sheet and then continue this process with each piece of zucchini.

When completed breading, spray generously with cooking spray and put in the oven for 10 minutes. Flip each zucchini coin over and then continue cooking for another 7-10 minutes. This really depends if your oven cooks fast or slow. When zucchini is done, place on a plate and sprinkle with grated Parmesan cheese if you’d like. Serve immediately.

fried zucc 4fried zucc 3fried zucc 2Since this is baked and not fried, you will not get the traditional brown fried look. This zucchini slightly browns but still has that amazing crunch. Serve it with ranch dressing to dip it in. There is literally no other way to eat “fried” zucchini. I think it’s illegal to eat it without ranch.

Not-Cho “Cheese” Sauce (Vegan)

cheese sauce 2I am not a vegan. Not even close to being a vegetarian. I’m a die hard carnivore! However, I bought some nutritional yeast because it was called for in another recipe and since the container is so big, I knew I had to find other ways to use it. A little dash of this, a little dash of that, and this vegan “cheese” sauce was the result.

When I had my oldest daughter give it a taste, she told me she thought it was queso. Score! I have not divulged to any of my kids that this sauce actually has no cheese in it whatsoever. And my very creative husband came up with the name of it, since it in fact reminds us of cheese. I think it looks like hollandaise sauce with a cheese like taste.

I used this sauce over steamed broccoli, which was very yummy. I’ve also made it and used as a sauce in a casserole of shredded chicken, rice, broccoli and almonds. YUM. In that case, I didn’t tell my husband I used nutritional yeast (he HATES the name and sound of it) and the whole time, he thought it was a cheese sauce over the casserole. Until I burst his bubble! 🙂 But I don’t want to give you the wrong impression. The nutritional yeast has a reminiscent “cheese” like taste, however, the actual flavor is very unique and hard to describe. If you don’t want to go all out and buy a large quantity like I did, you can typically pick up a very small amount in the bulk section at your market. It also comes in powder form or in flakes. I went with flakes as I heard that they dissolve quicker.

cheese sauce 3Not-Cho “Cheese” Sauce

  • 1 1/2 tbsp. butter substitute (I used real butter since I’m not vegan!)
  • 1 1/2 tbsp. flour
  • 1 1/4 c. warm water
  • 1/4 tsp. each paprika, garlic powder, chili powder, and salt
  • 1/2 tsp. ground cumin
  • 1/4 c. nutritional yeast flakes

Heat a small saucepan over medium heat. Add the butter/butter substitute and let melt. Add in the flour and whisk together, letting cook for about 30 seconds. Add in the rest of the ingredients and let come to a bubble. Simmer for a few minutes until sauce has thickened. Serve over steamed veggies. It also goes great with Mexican food too!

cheese sauce 6cheese sauce 5cheese sauce 4And check out the nutrition facts. This stuff has got some great healthy benefits!!cheese sauce

Healthy Oatmeal Banana Smoothie

oatmeal banana smoothie 2I’m going to start off by saying it’s the first day of my kids’ summer vacation. Yay! And with the morning sun streaming in through the windows and me sweaty after my morning exercise, I do not want to cook breakfast. My kids are typically happy with cereal, oatmeal, you know, that kind of stuff. But if I’ve worked out, I prefer to have a protein shake for breakfast. Unfortunately, I had recently run out of protein powder and I just could not gag down the alternative (yogurt). Yes, I’ve talked about yogurt quite a few times recently and I’m disappointed to say I bought a different brand, and I highly DO NOT recommend it.

Gag me with a spoon!

Gag me with a spoon!

Desperate times call for desperate measures. I thought I could disguise this yogurt if I could put it in a smoothie. And luckily, it worked pretty well. But if you use yogurt you actually like to eat, then this smoothie should be even more yummy than mine was.

As you should all know by now, if you’re following my blog, I make an assortment of food. Ranging from pretty okay for you, to downright sinful. This is a “pretty okay” for you recipe. Look out for my upcoming artery clogger coming up. But like I said, with this being the first day of summer vacation, I thought this was a good one to share to start your summer off right!

Healthy Oatmeal Banana Smoothie (makes a 16 ounce smoothie)

  • 1 banana
  • 1 cup unsweetened vanilla almond milk
  • 1/3 c. Greek vanilla yogurt
  • 2 heaping tbsp. quick cooking oats
  • 1 tbsp. flax meal
  • 1 tbsp. chia seeds
  • 3 ice cubes, if you like it especially cold (I do not)

Put all ingredients in a blender and blend on high until smooth. *A dash of cinnamon would really kick this up a notch!

oatmeal banana smoothieDrink quickly or else your 4 year old child will notice you have something that you specifically made for yourself. Which will make her want it more. Which means you will have to share. So again, I insist you drink quickly and quietly. Enjoy!

Ch, ch, ch, CHIA!

chiaThese tiny crunchy little seeds pack a healthy punch! If you’ve never tried them, give it a shot. According to research, they were a diet staple of the Aztecs and Mayans and are supposed to provide sustained energy. Not to mention, only 1 tablespoon has 150% of your daily recommended value of Omega-3! The suggested serving size per day is only 1 tablespoon and it’s so easy to find ways to sneak them into your food.

My personal favorite way to eat them (Monday-Friday this is my go to breakfast) is oatmeal! I’ve tried to cut back on sugar consumption in the morning time (at least during the week), even though I love a sugary breakfast. If you absolutely cannot live without it, you can add sugar to this but it’s totally optional, and the dried cranberries have sugar in them and add just the right amount of sweetness. And I swear this breakfast starts my day off right.

Oatmeal with Chia Seeds (makes one serving)oatmeal ingredients

  • 1/2 cup quick oats
  • 1 c. water
  • 1 tbsp. chia seeds
  • 1-2 tbsp. almond milk
  • 1 tbsp. sliced almonds
  • 1-2 tbsp. dried cranberries
  • 1 tsp. sugar, (brown, white, turbinado) optional

Put oats and water into a microwave safe bowl and stir. Heat in the microwave for one minute. Add the rest of the ingredients and stir.

Another great way to incorporate chia seeds into your diet is in smoothies. This is a recipe that is definitely kid approved.

smoothie ingredientsMango & Chia Smoothie (makes approximately 3 1/2 cups, or two smoothies)

  • 1 c. plain greek yogurtblender
  • 1 c. coconut water
  • 1 tsp. honey
  • 1 tbsp. chia seeds
  • 1 banana
  • 1 mango, cut into chunks (no skin)
  • 1 pear, cut into chunks (optional if you want to leave the skin on)

Put all ingredients into a blender and blend on high until smooth.

mango smoothie

Feel the power of Chia course through your body and start your day like a super hero!