Spanish Rice

spanish rice 3I haven’t posted in over a week, which isn’t like me! But, as you hopefully read a little while back, our new little venture, Hanky Planky, has been keeping us super busy. And that’s a good thing. But between that, my daily transcription job, a three week cold that turned into bronchitis, my three kids and one of them starting softball (I’m team mom, again!), I’ve been a tad bit occupied. Aside from that though, here’s a good one for you.

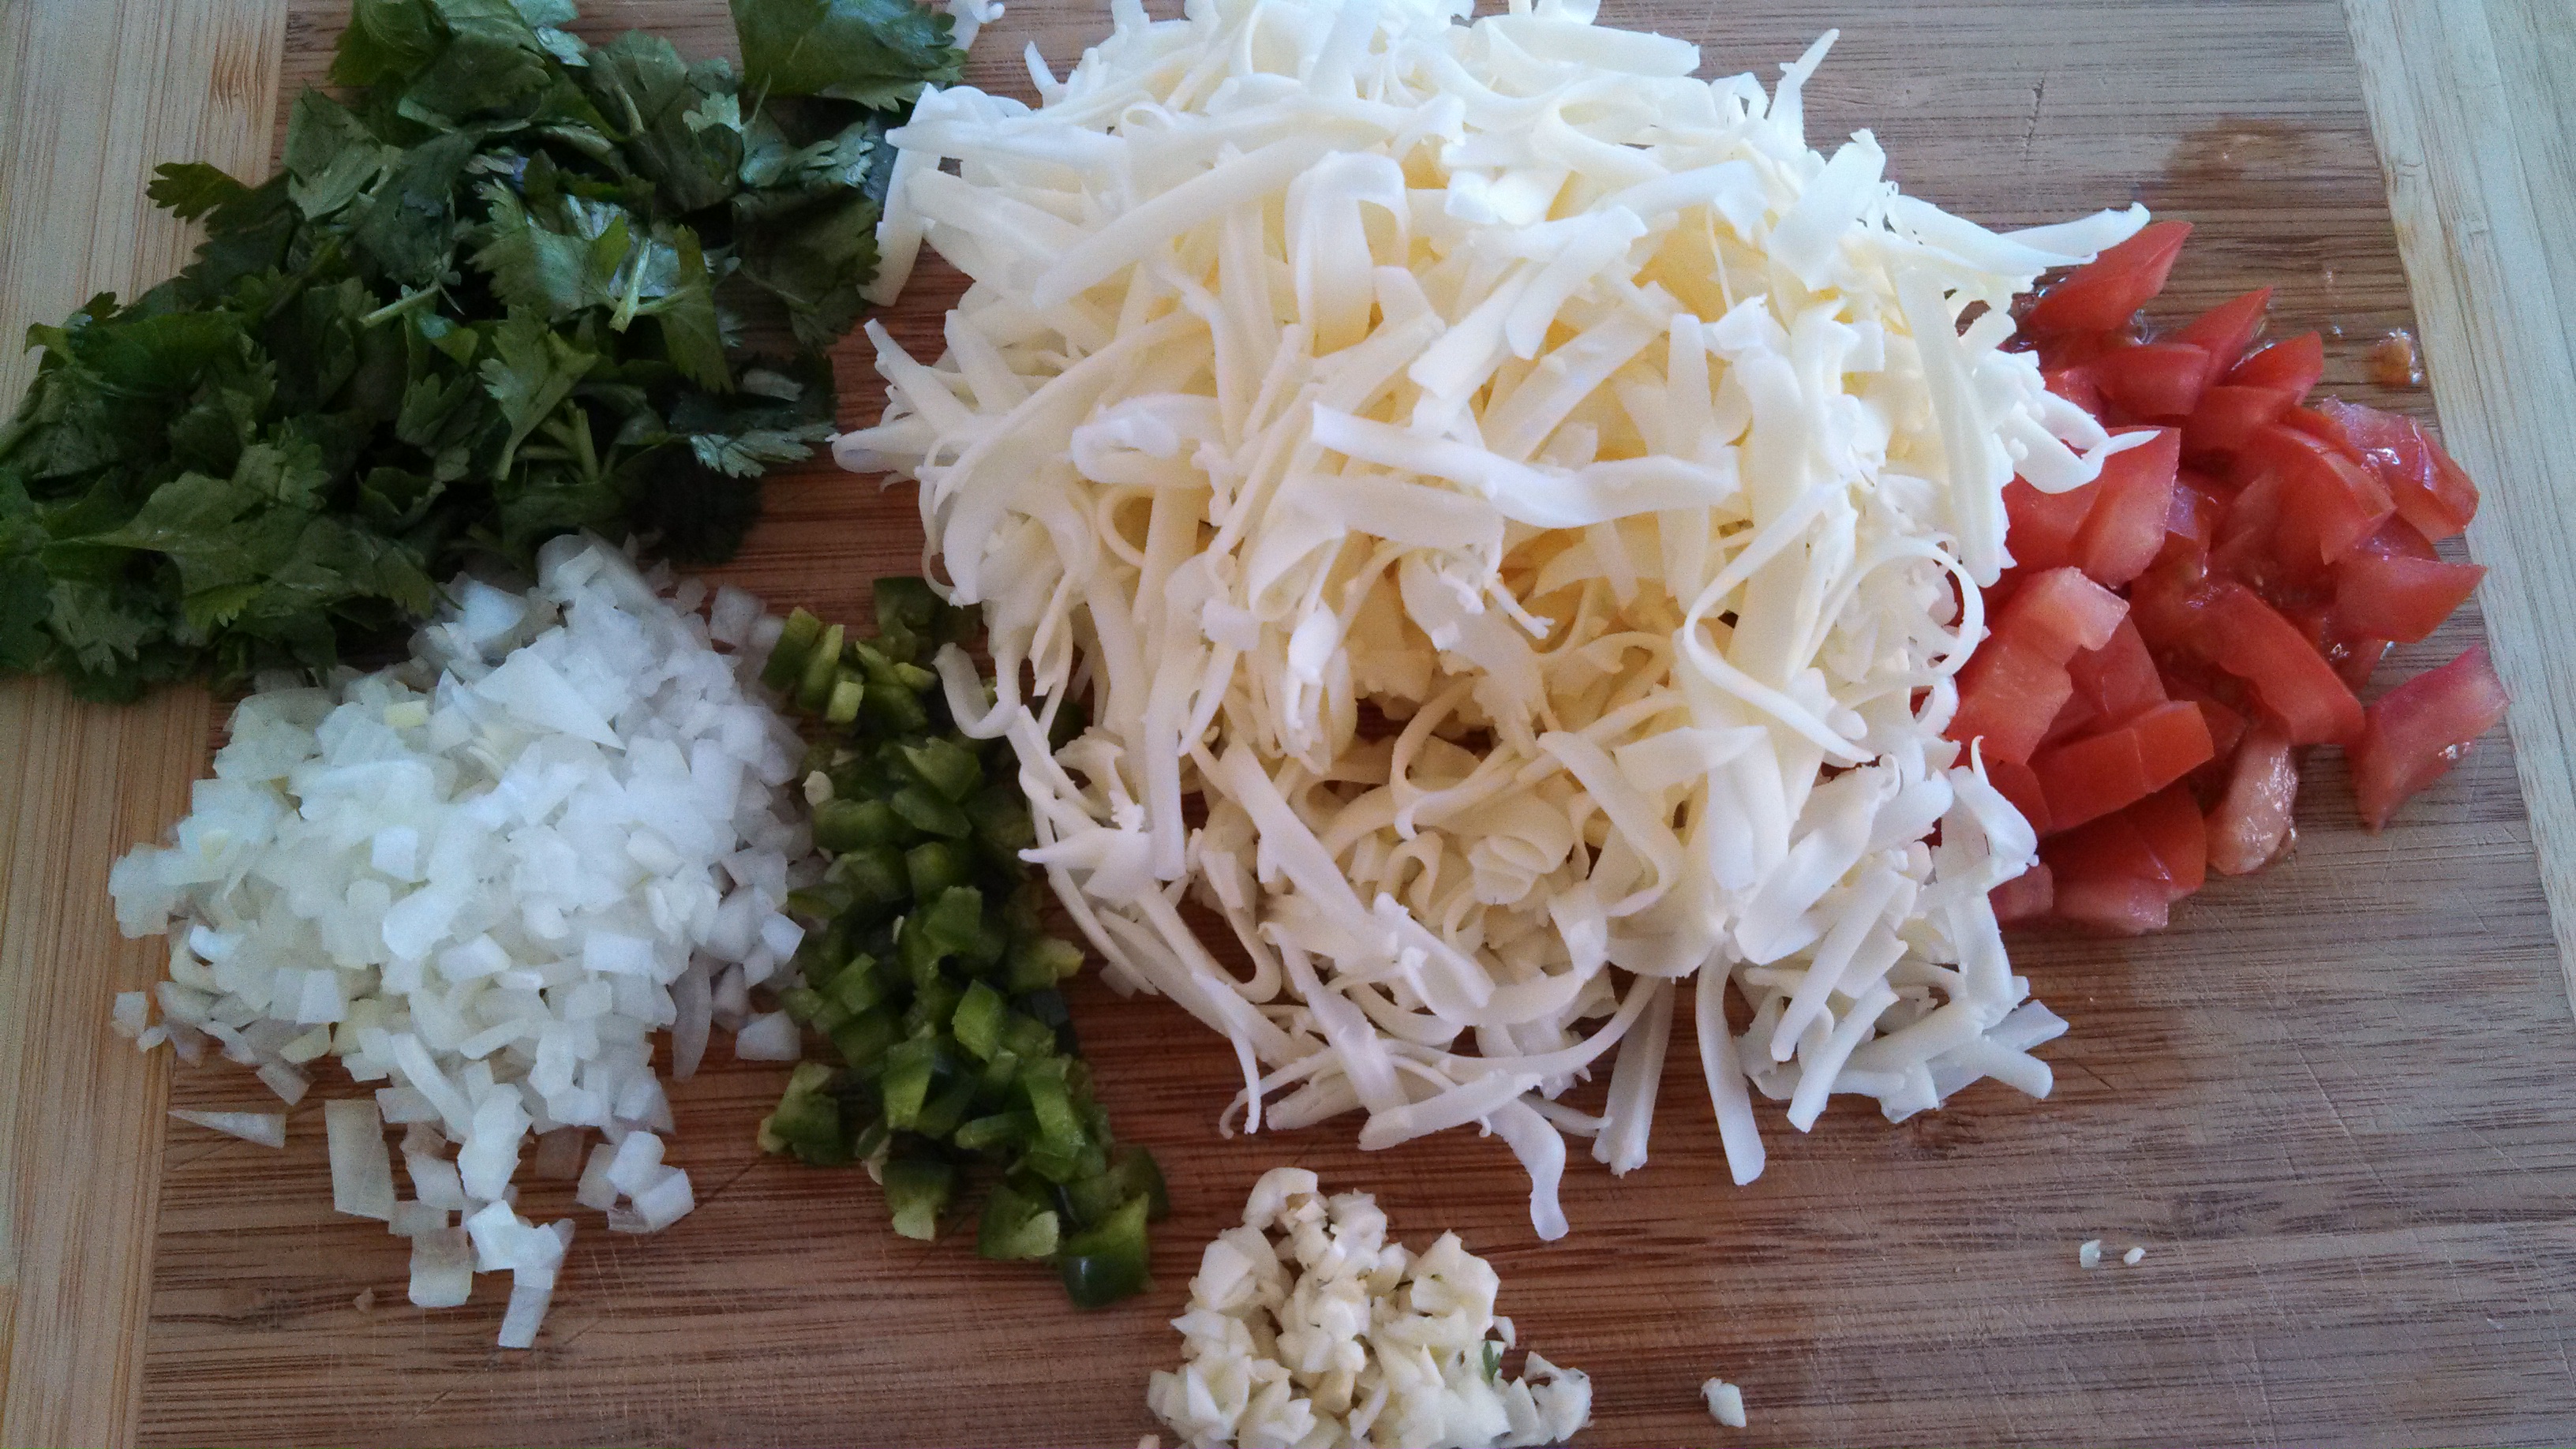
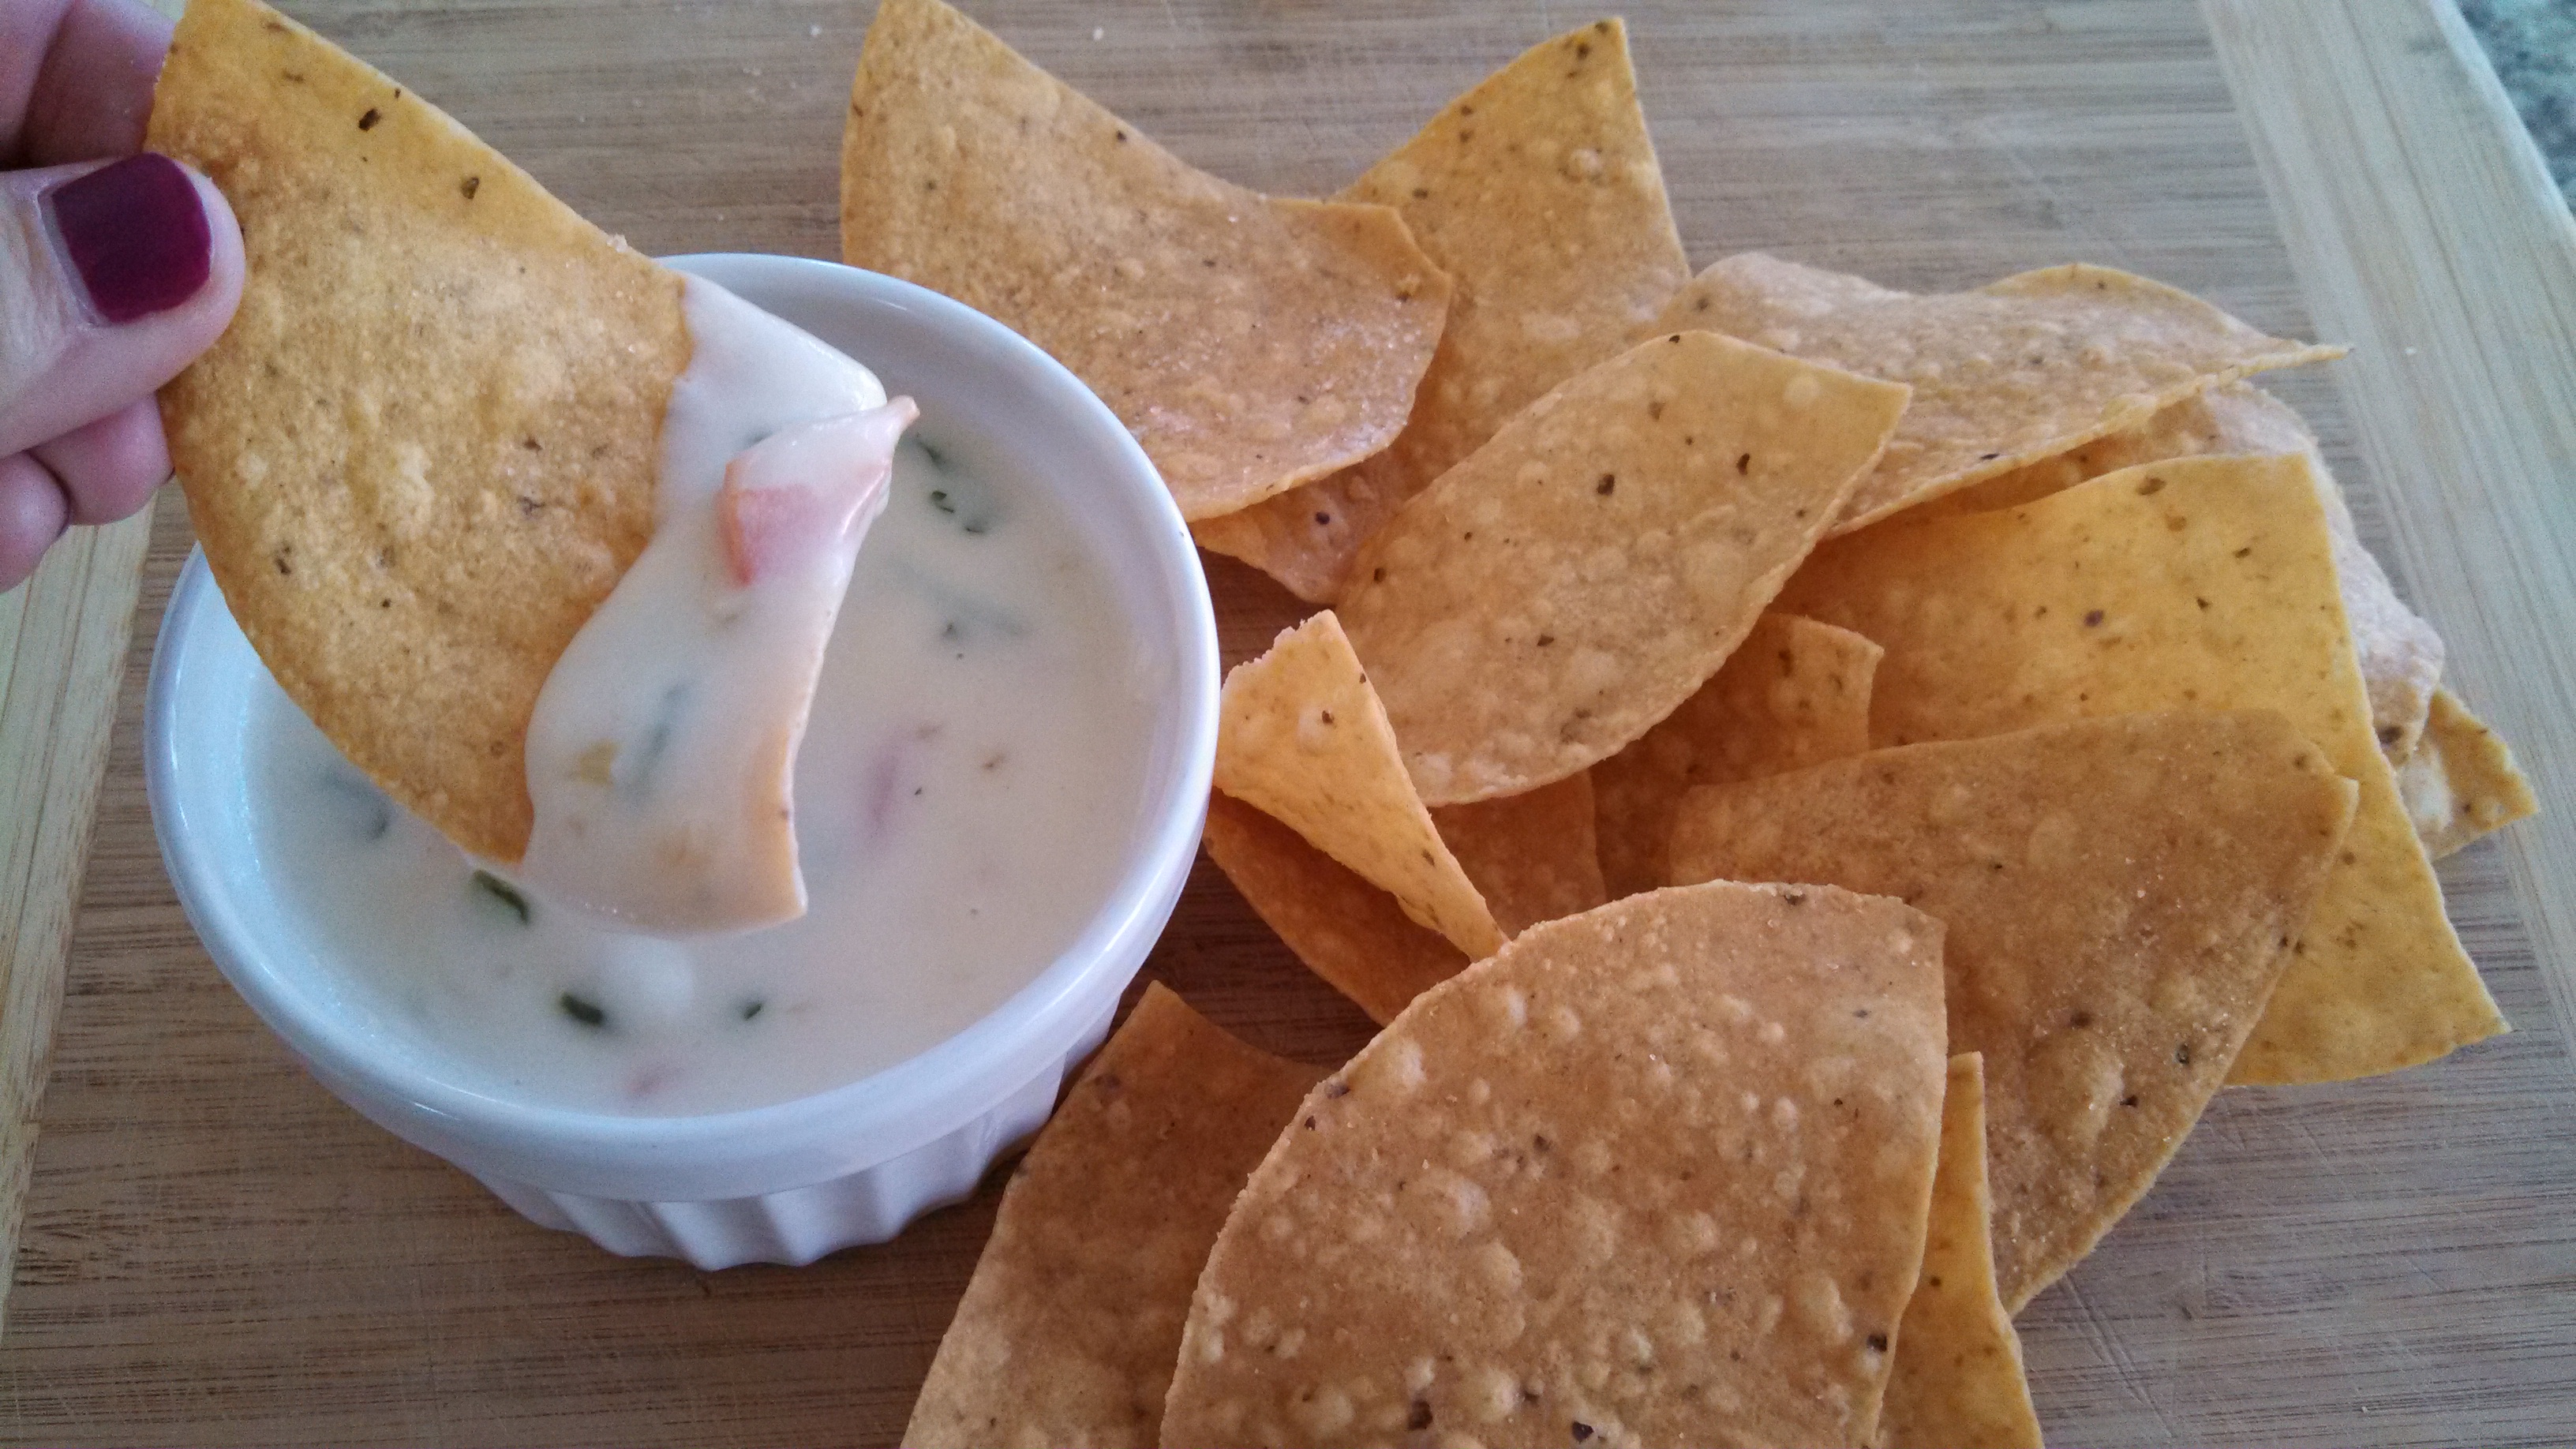
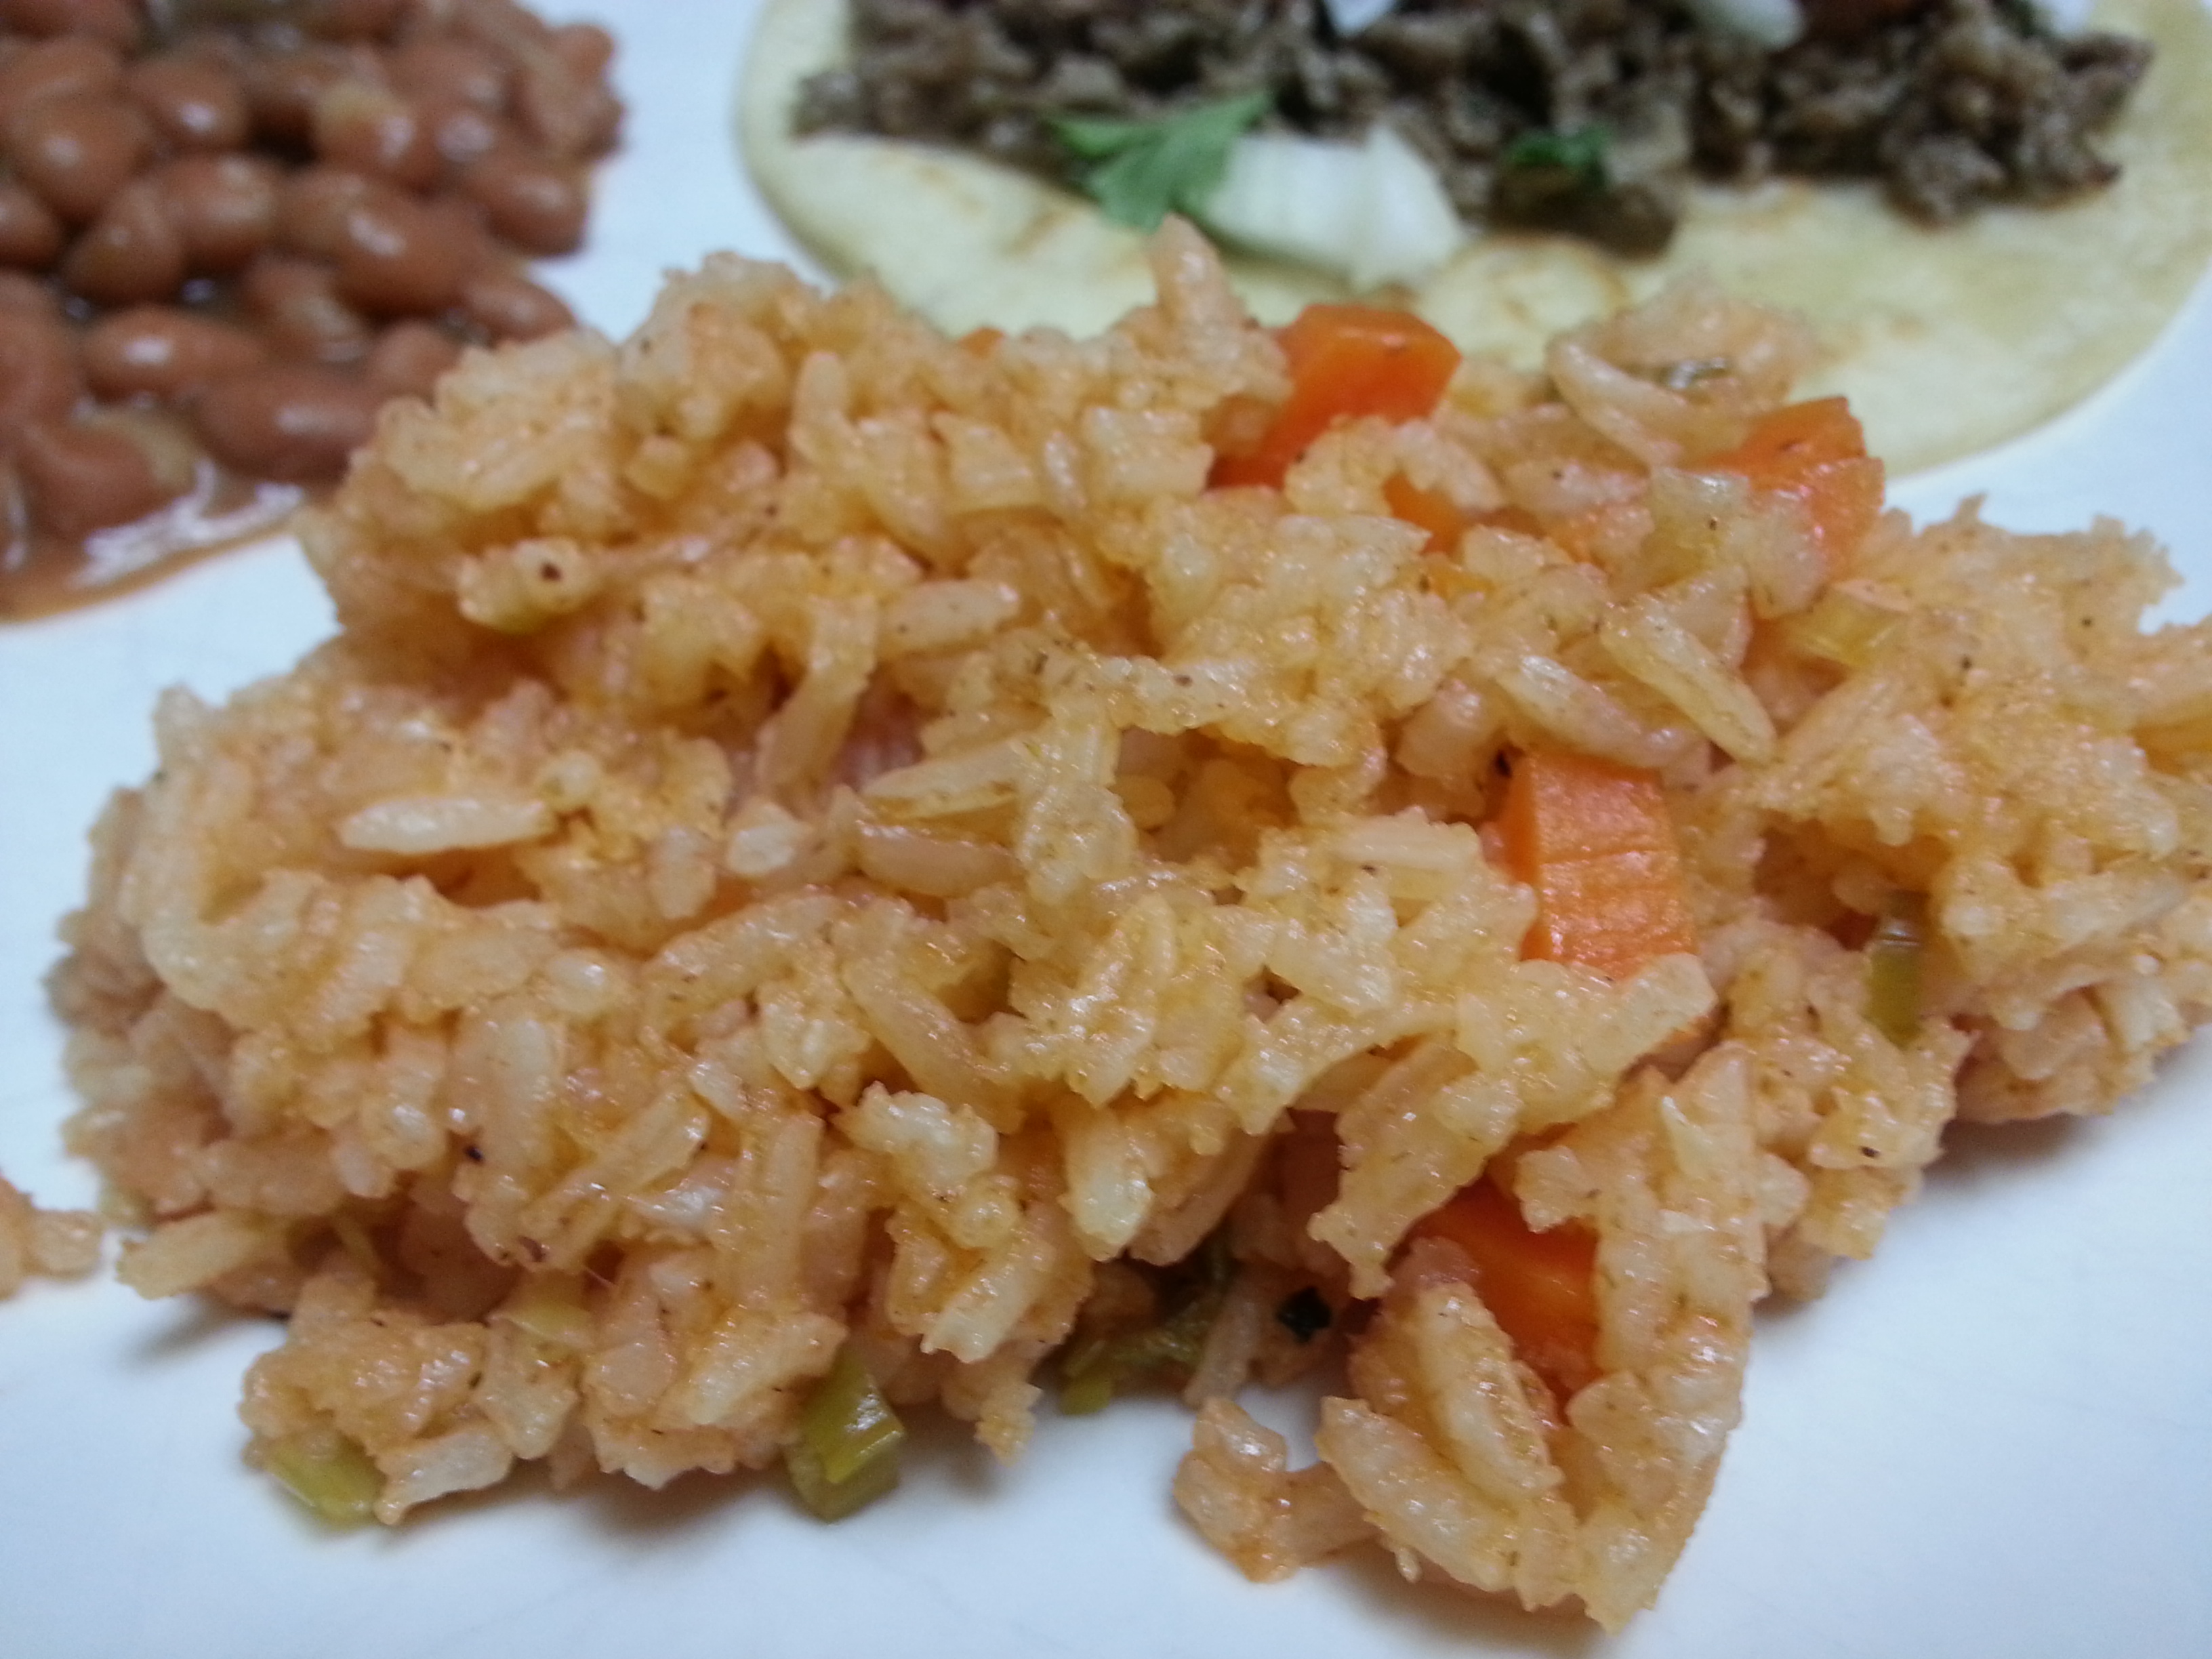
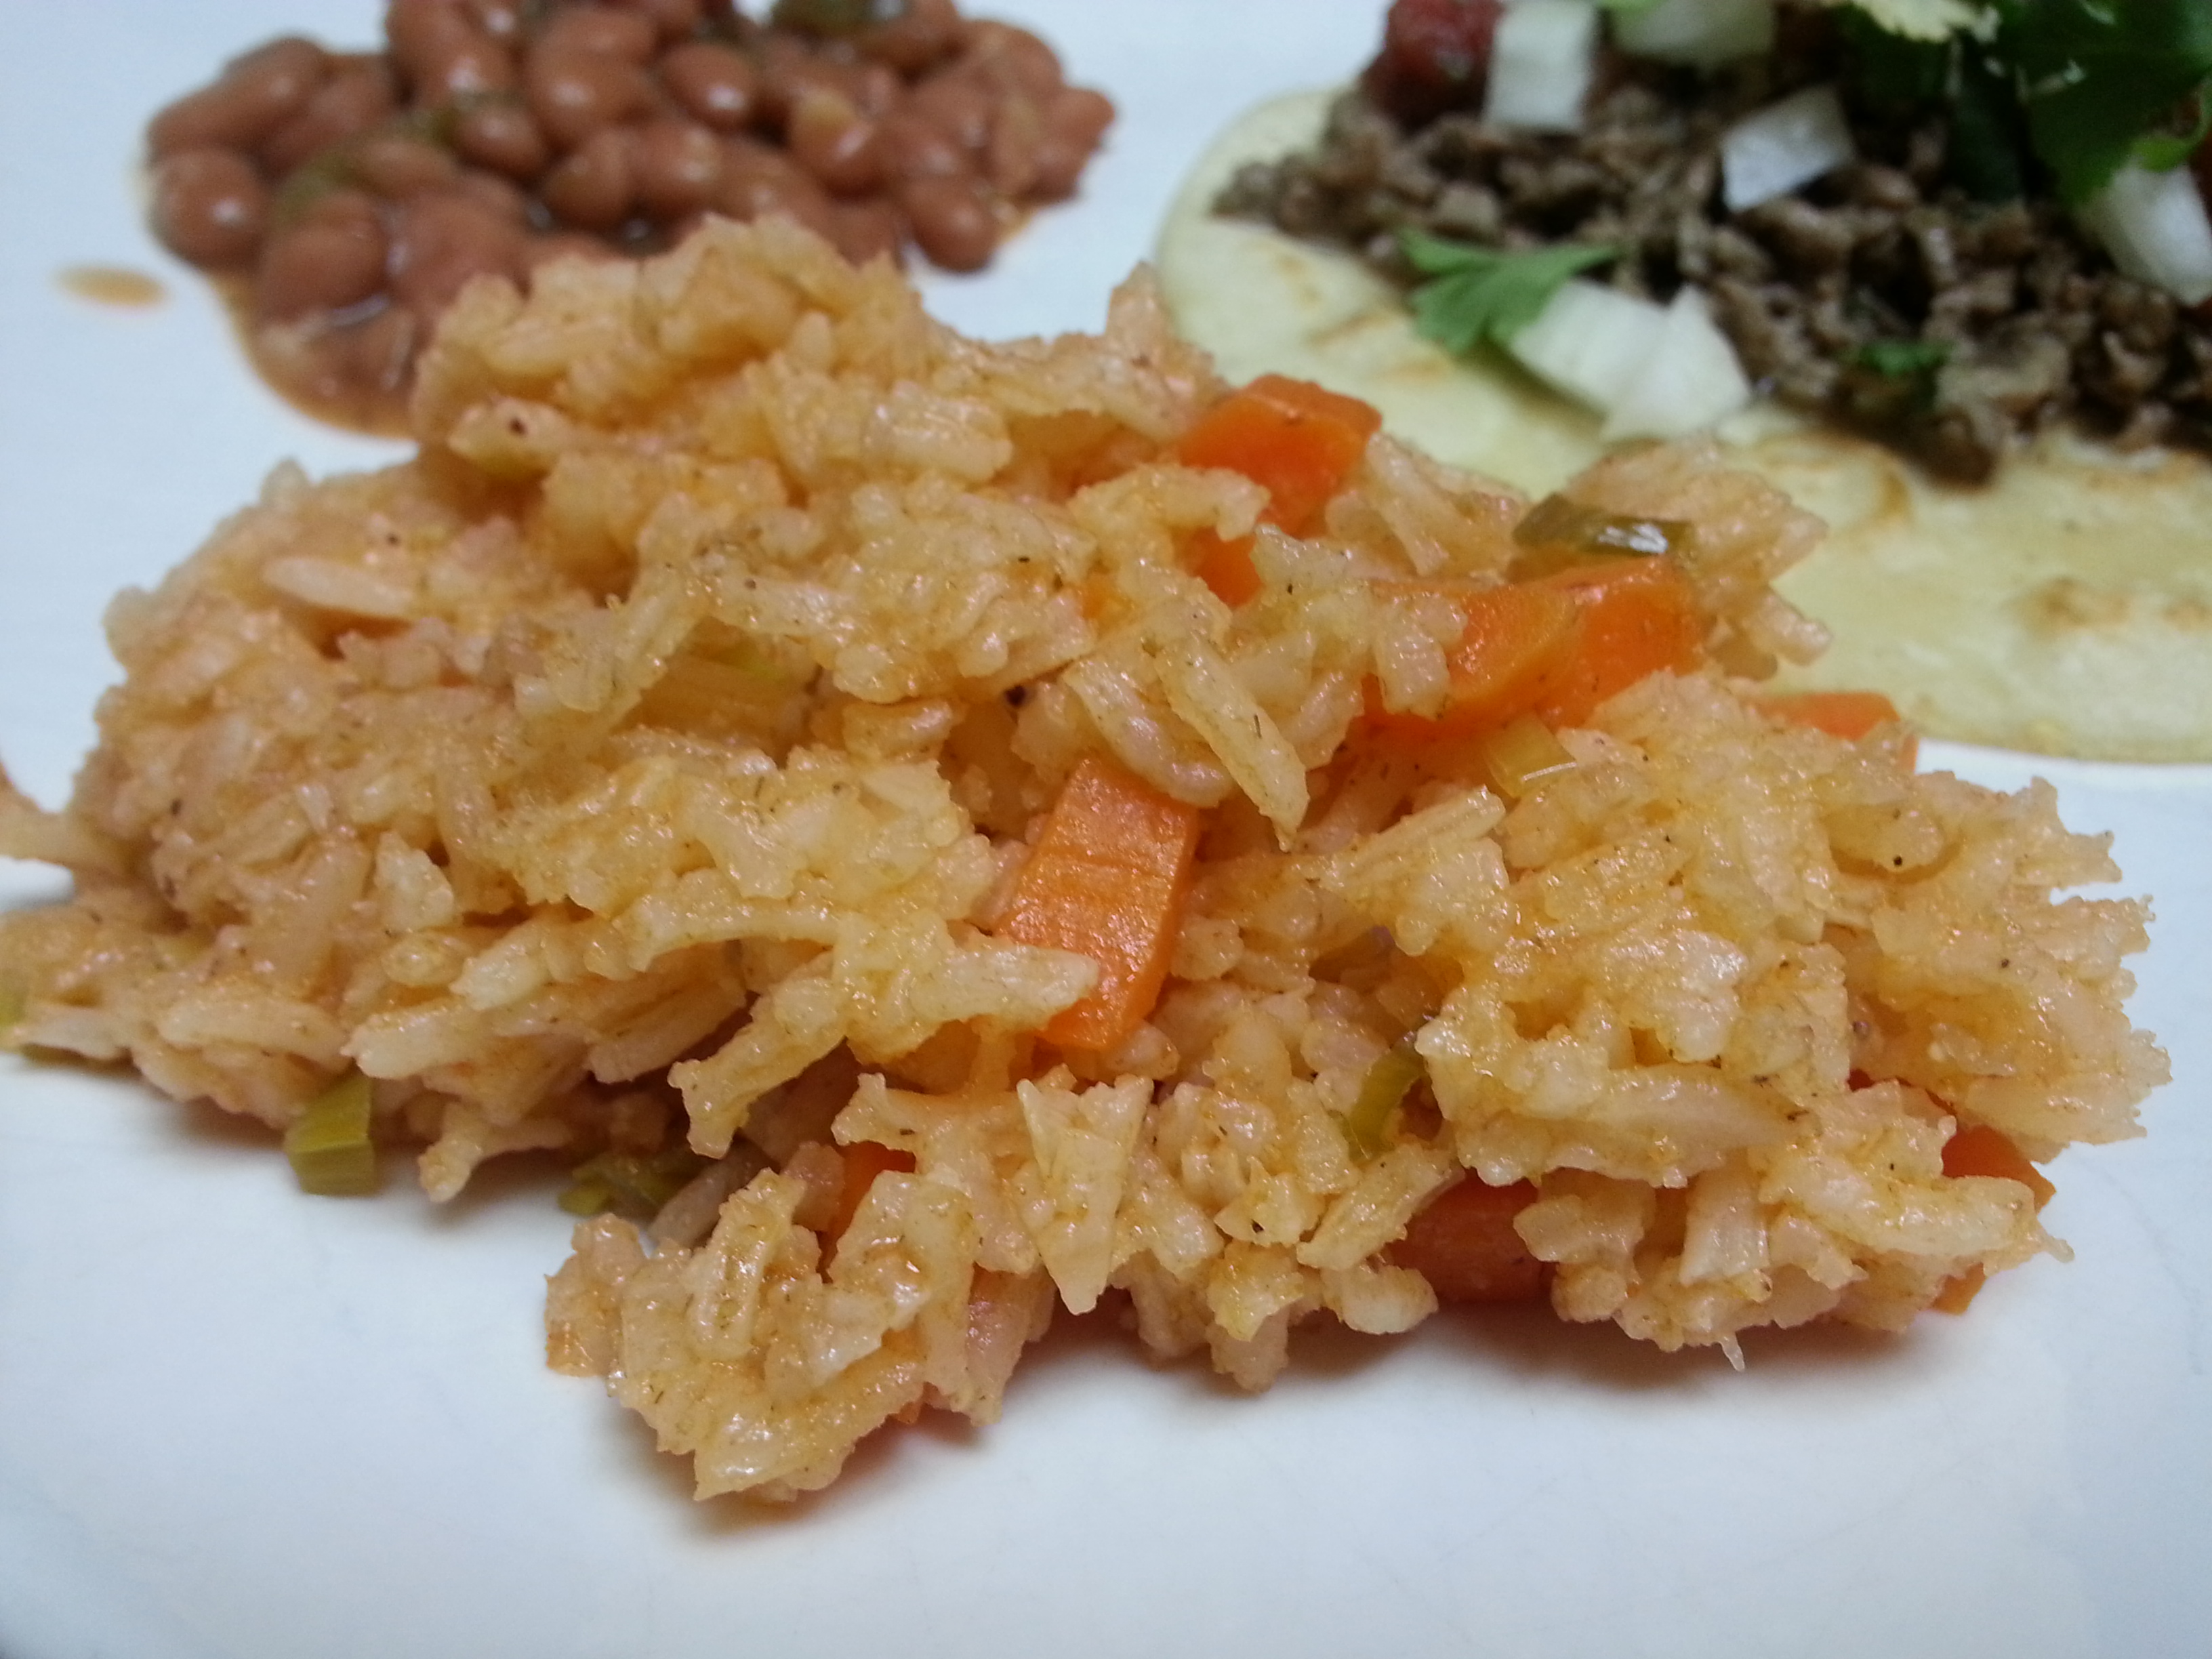
You all know my love for Mexican food runs deep. It’s a craving that can never truly be satisfied because I could literally eat Mexican food every day. And with this rice recipe, your international meal will be complete!

My mom has made this recipe for as far back as I can remember. She’s always called it Spanish Rice, but since it’s always served with Mexican food, maybe it’s actually Mexican rice? Whatever it is, it’s so, so good! But, and I haven’t told her this yet (Hi Mom!), I changed her recipe. Just slightly though! And it was out of convenience that turned into a blessing in disguise. That change is the carrots. Our favorite Mexican restaurant serves their rice with carrots in it, and they’ve got some pretty good rice. So since the original recipe called for tomatoes and I didn’t have any, I opted to add in carrots in their place instead. And yep, this is the way I’ll make it from now on. Try it Mom!!!

Spanish Rice

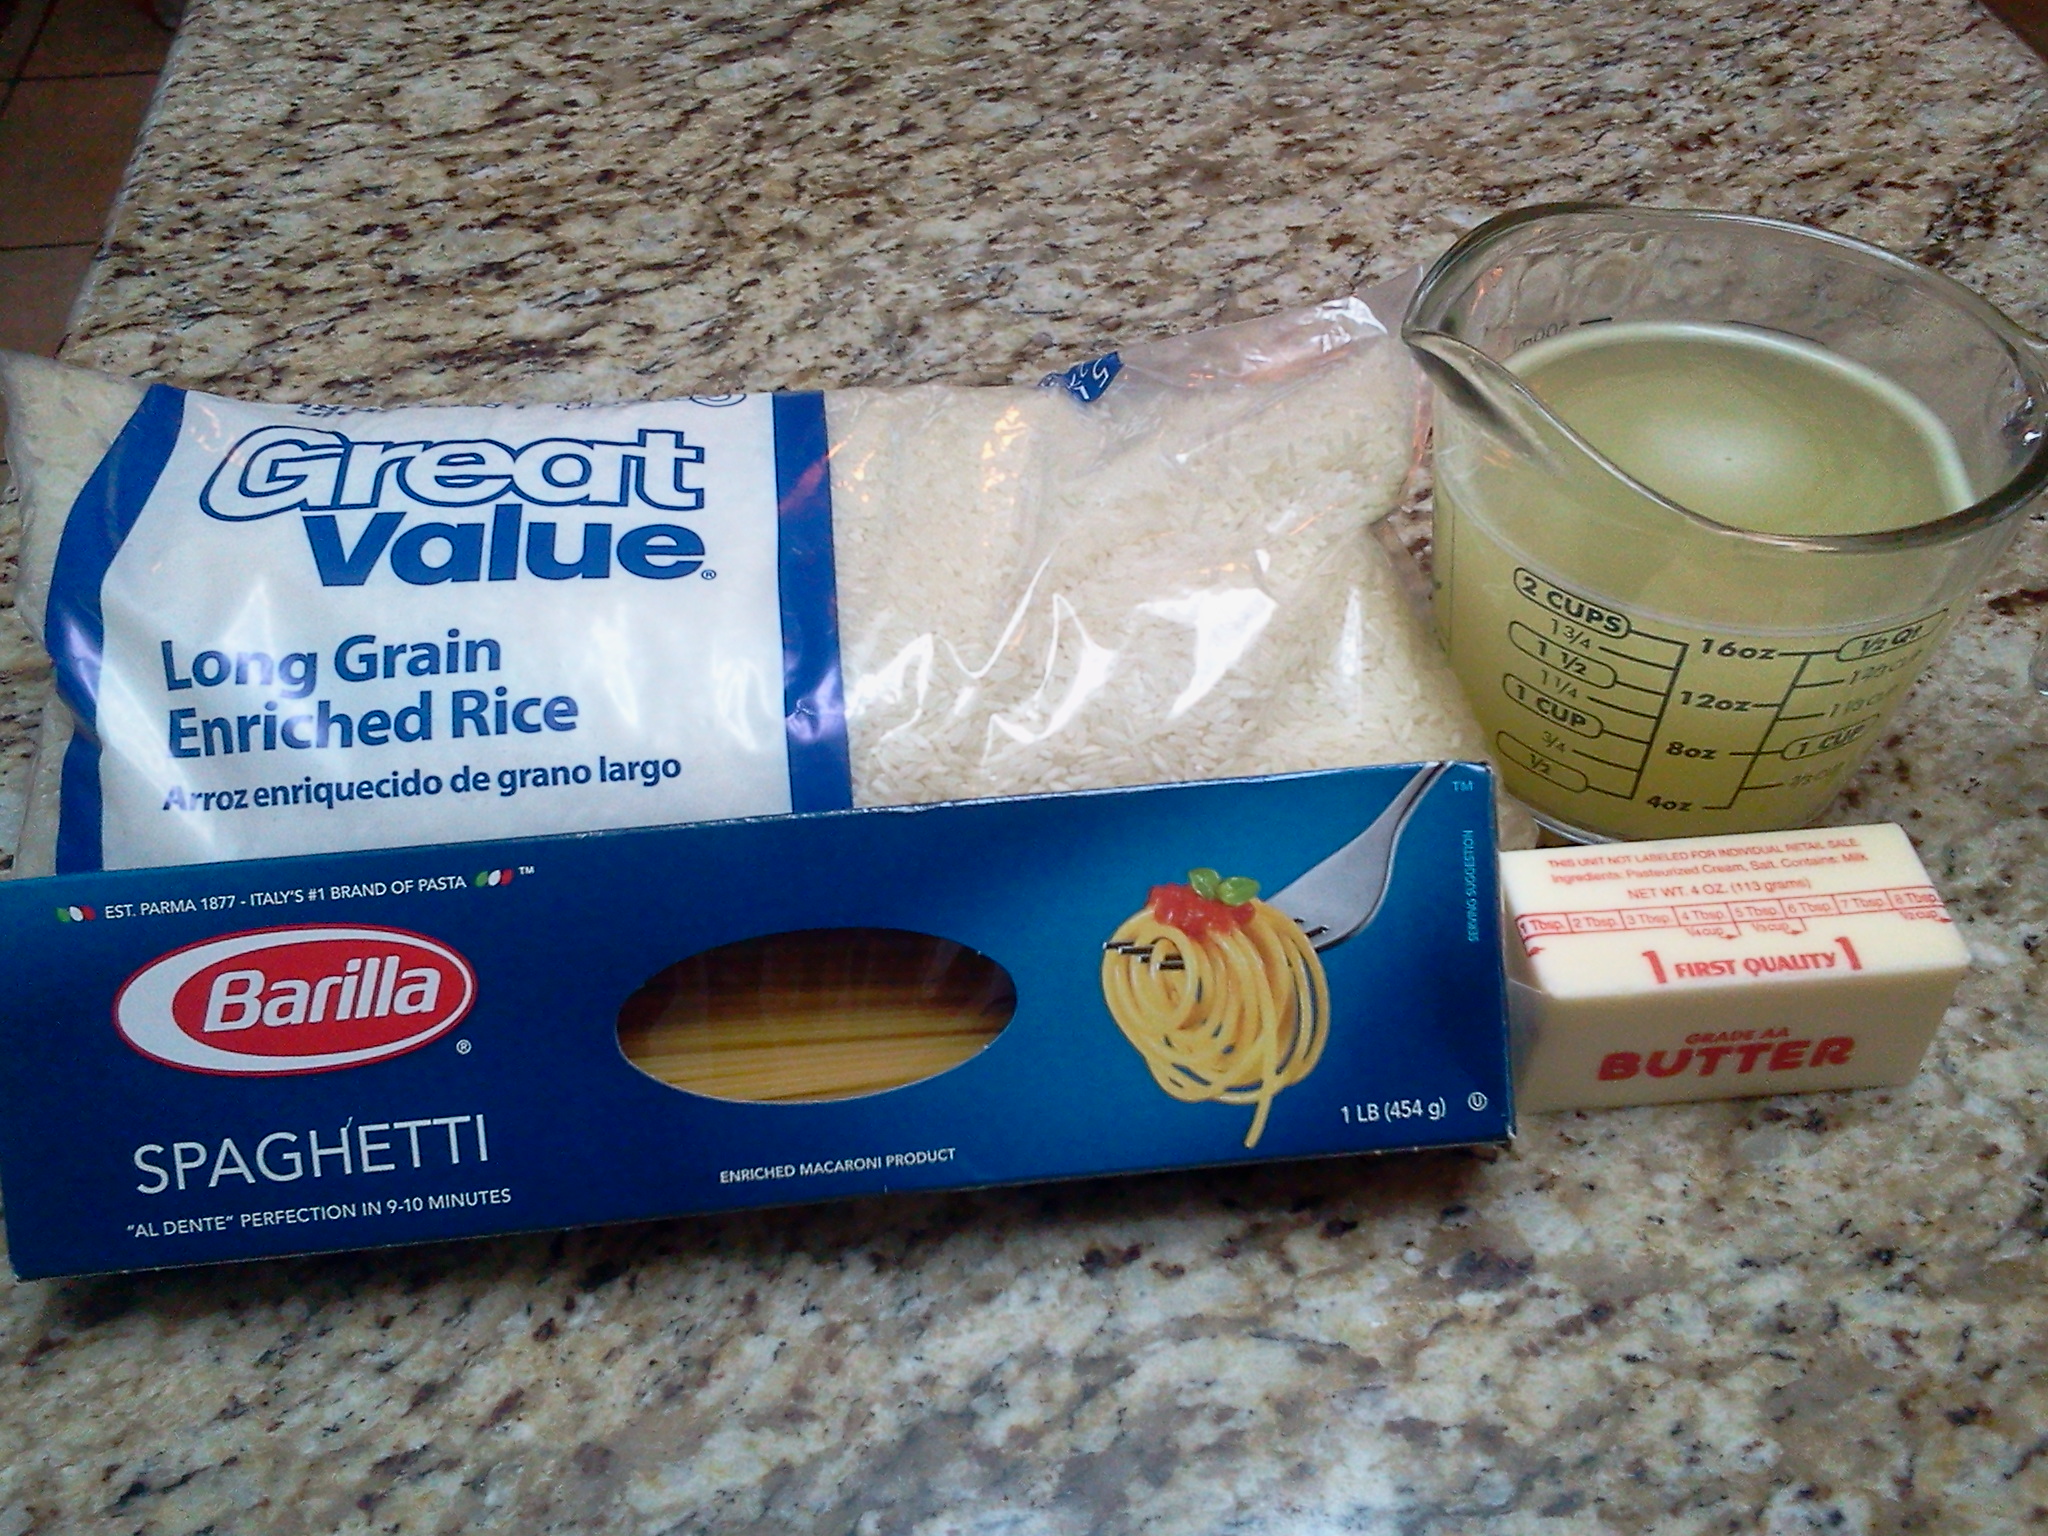
  • 1 tbsp. bacon drippings or canola/vegetable oil
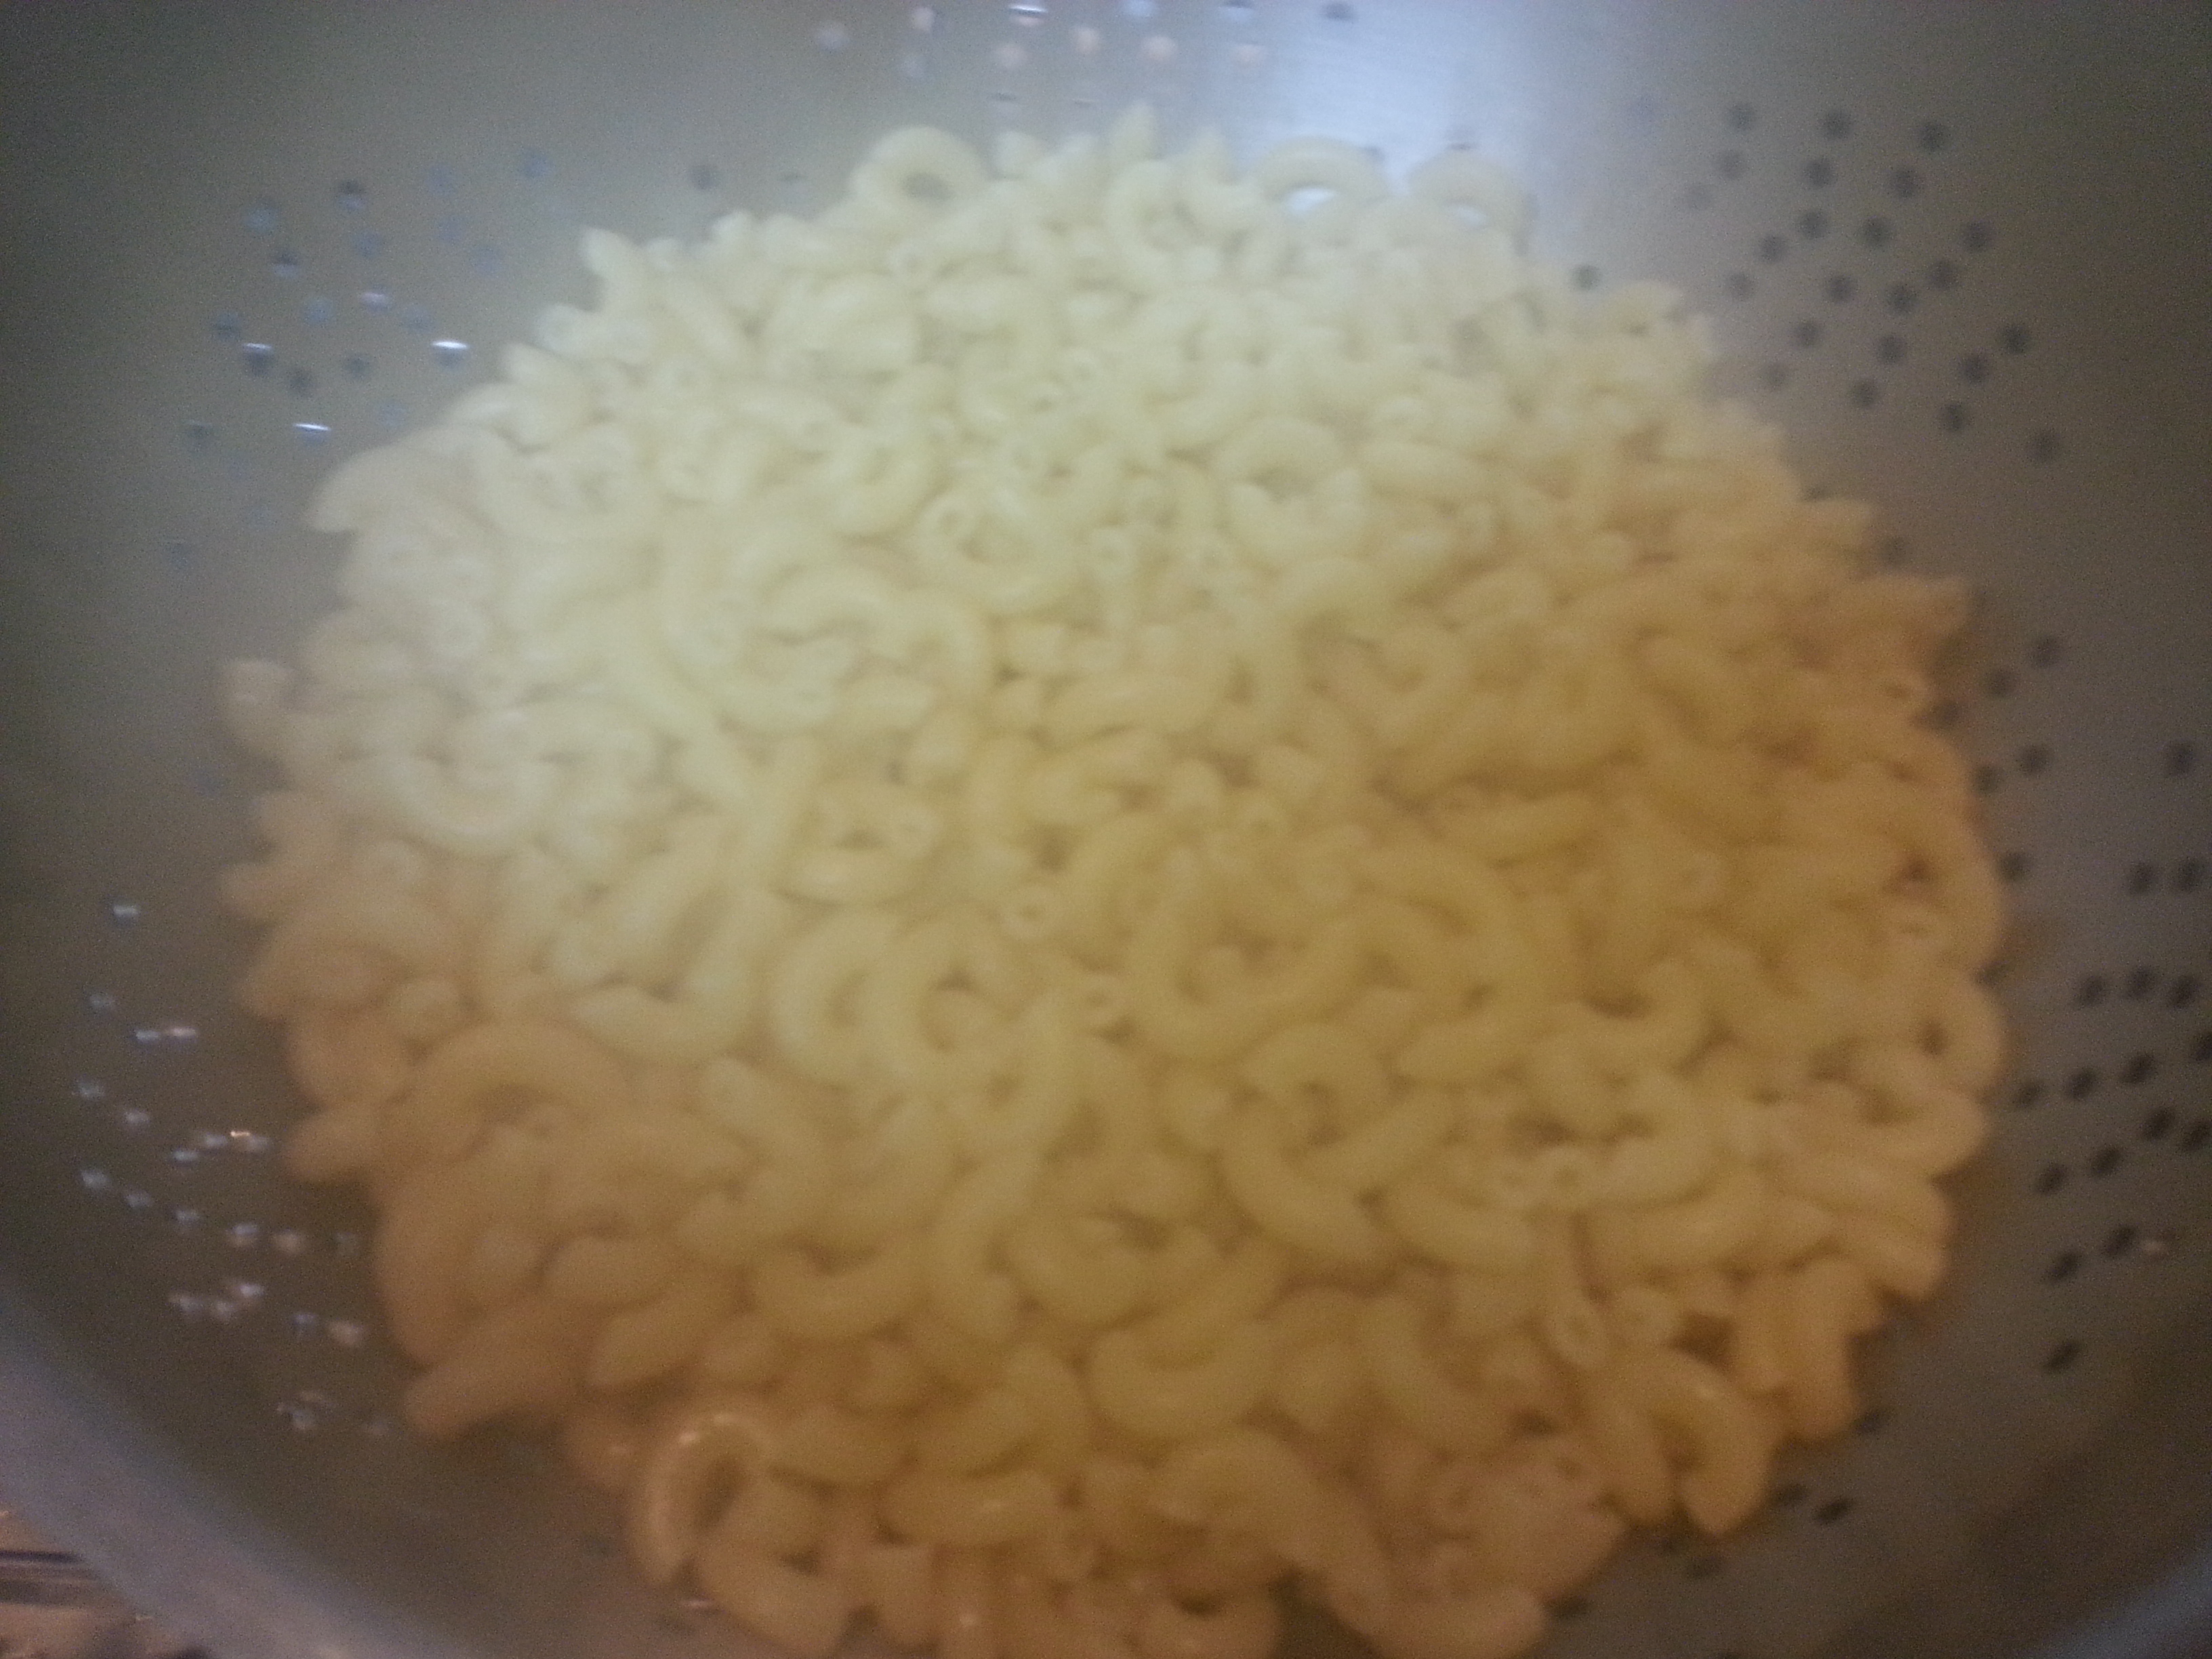
  • 1 c. white rice
  • 1 garlic clove, minced
  • 1/2 tsp. salt
  • 1 1/2 c. water
  • 1/4 c. tomato sauce
  • 1 green onion, sliced
  • 1/4 c. carrots, chopped
  • 1/4 tsp. each cumin & ground black pepper

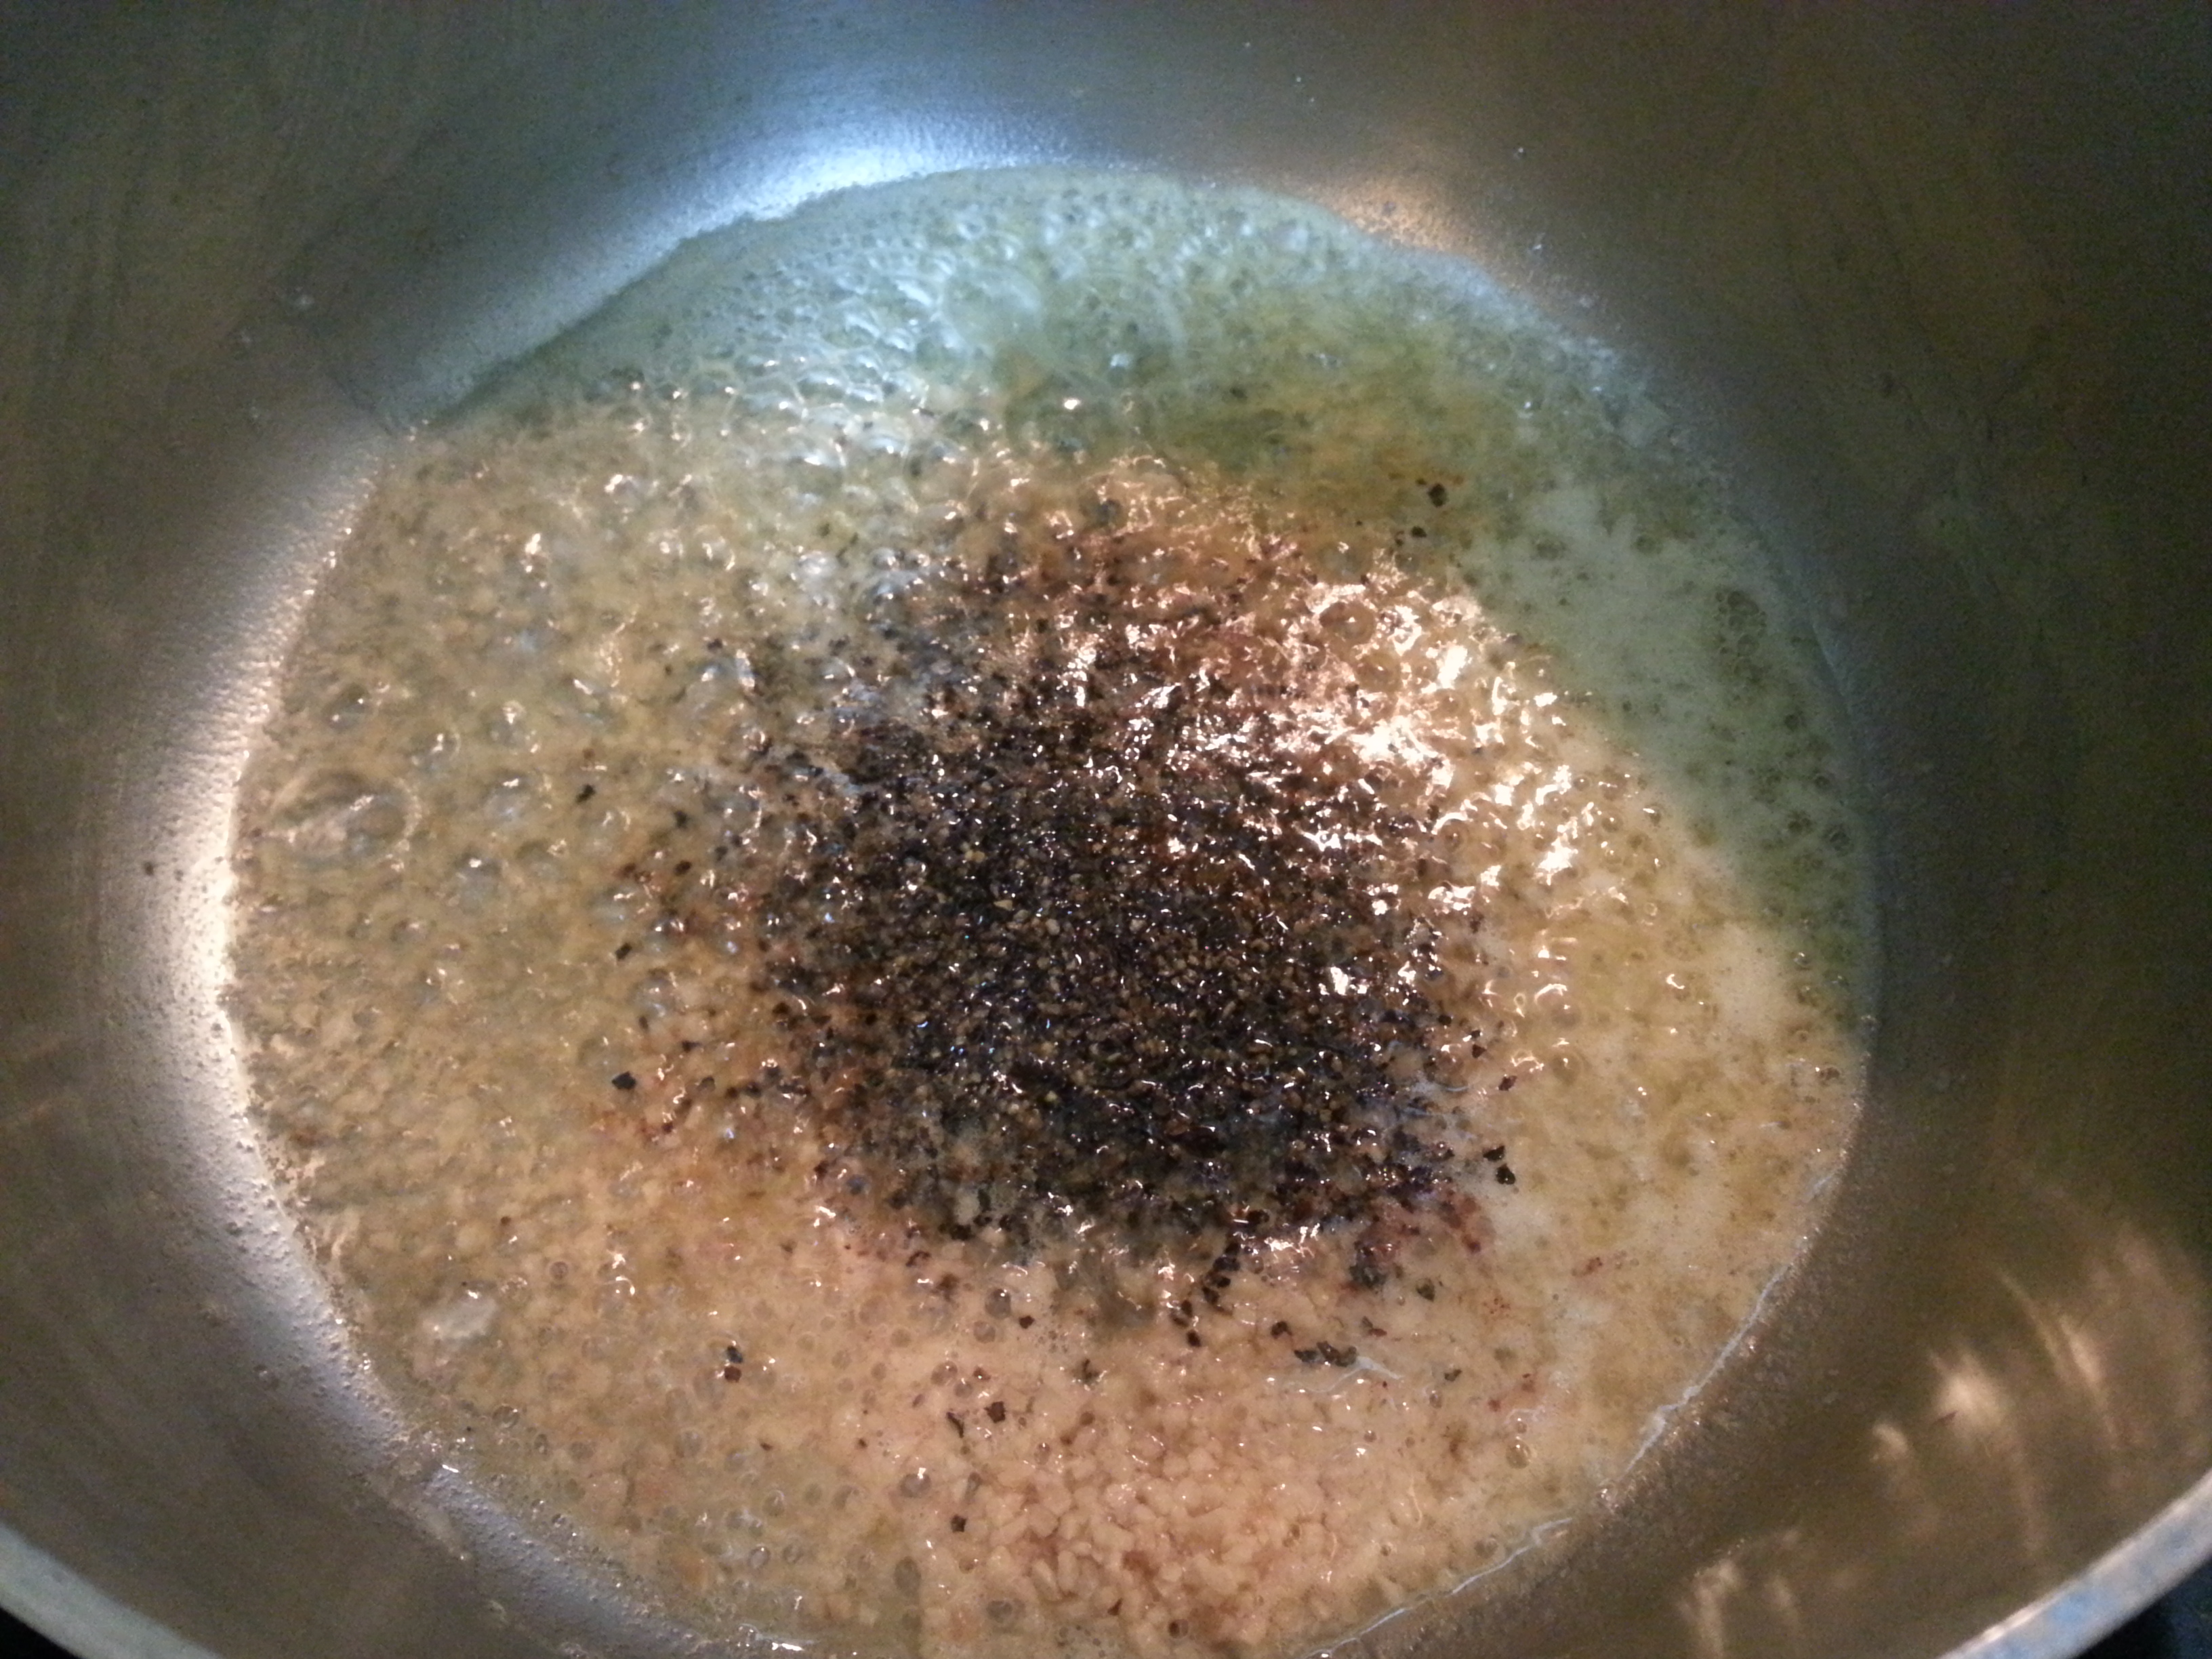
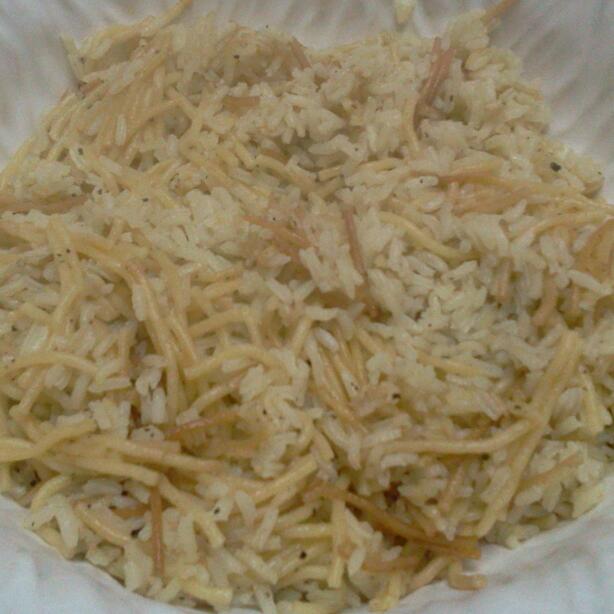
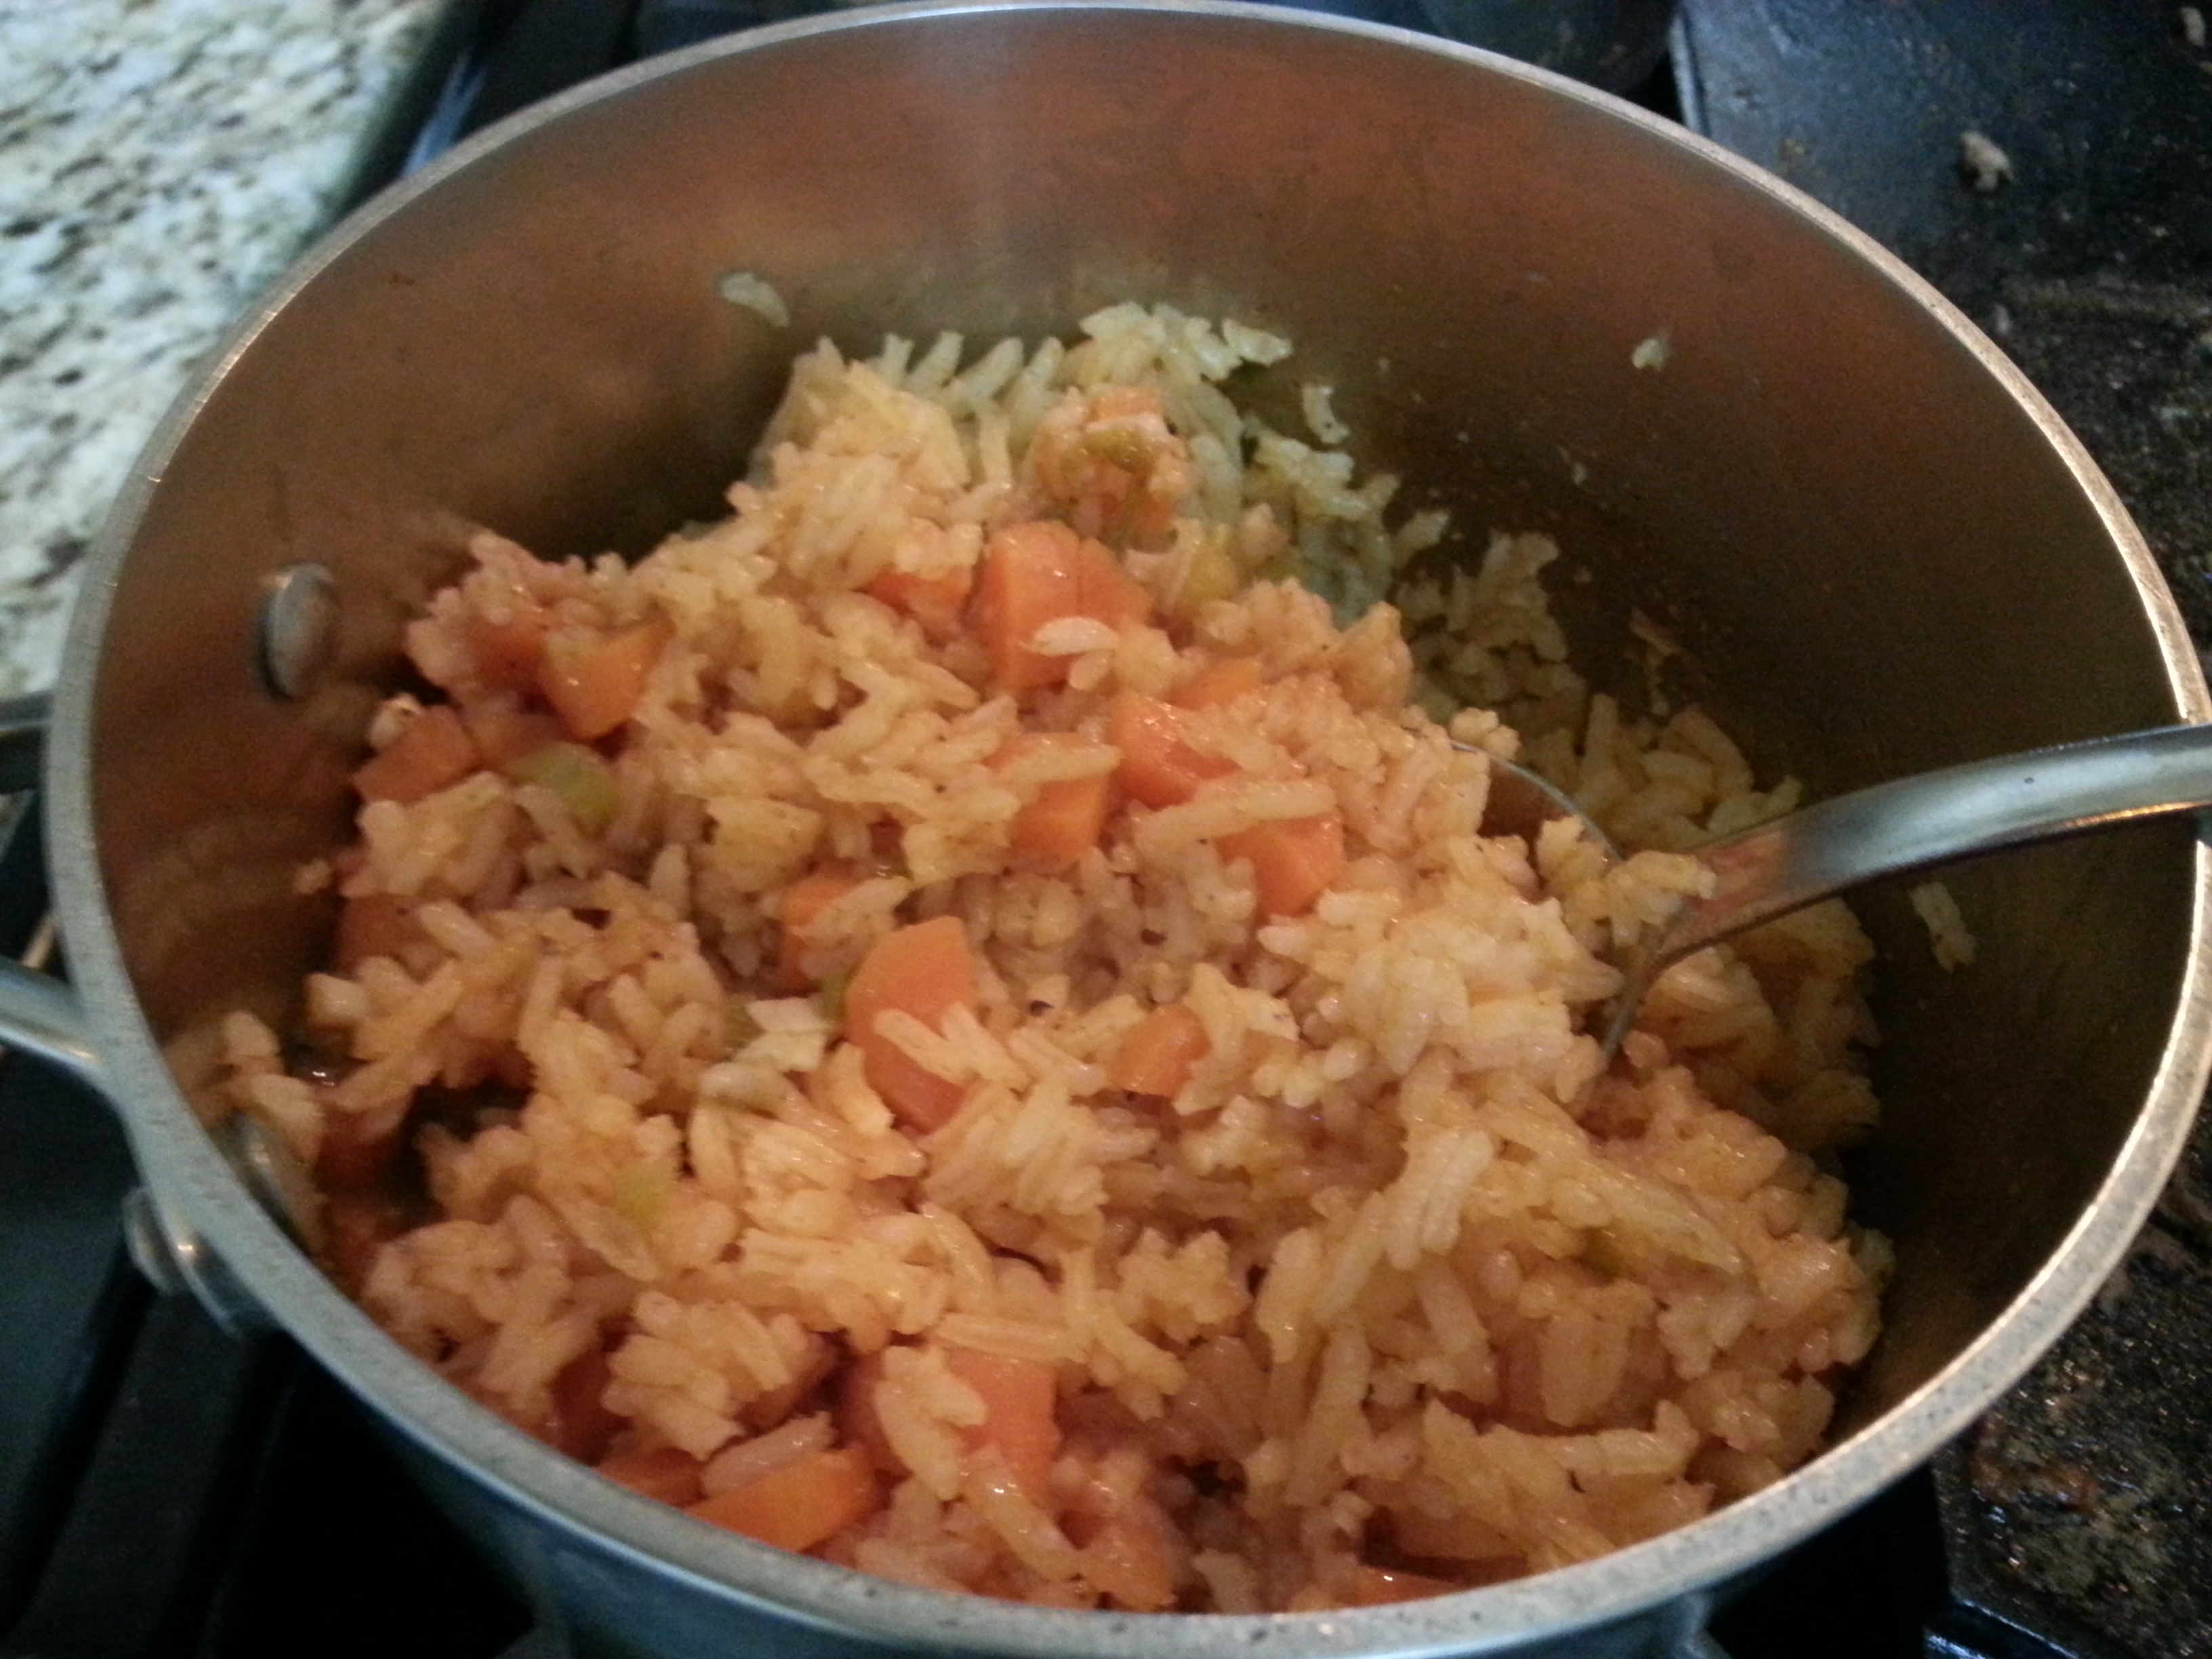
In a small to medium pot, heat on medium low. Add the bacon drippings or oil. Once melted, add in the white rice. Stir to coat the rice with the oil. Continue to stir the rice occasionally to keep it from burning. Make sure to keep heat on low, and do this for about 5 minutes.

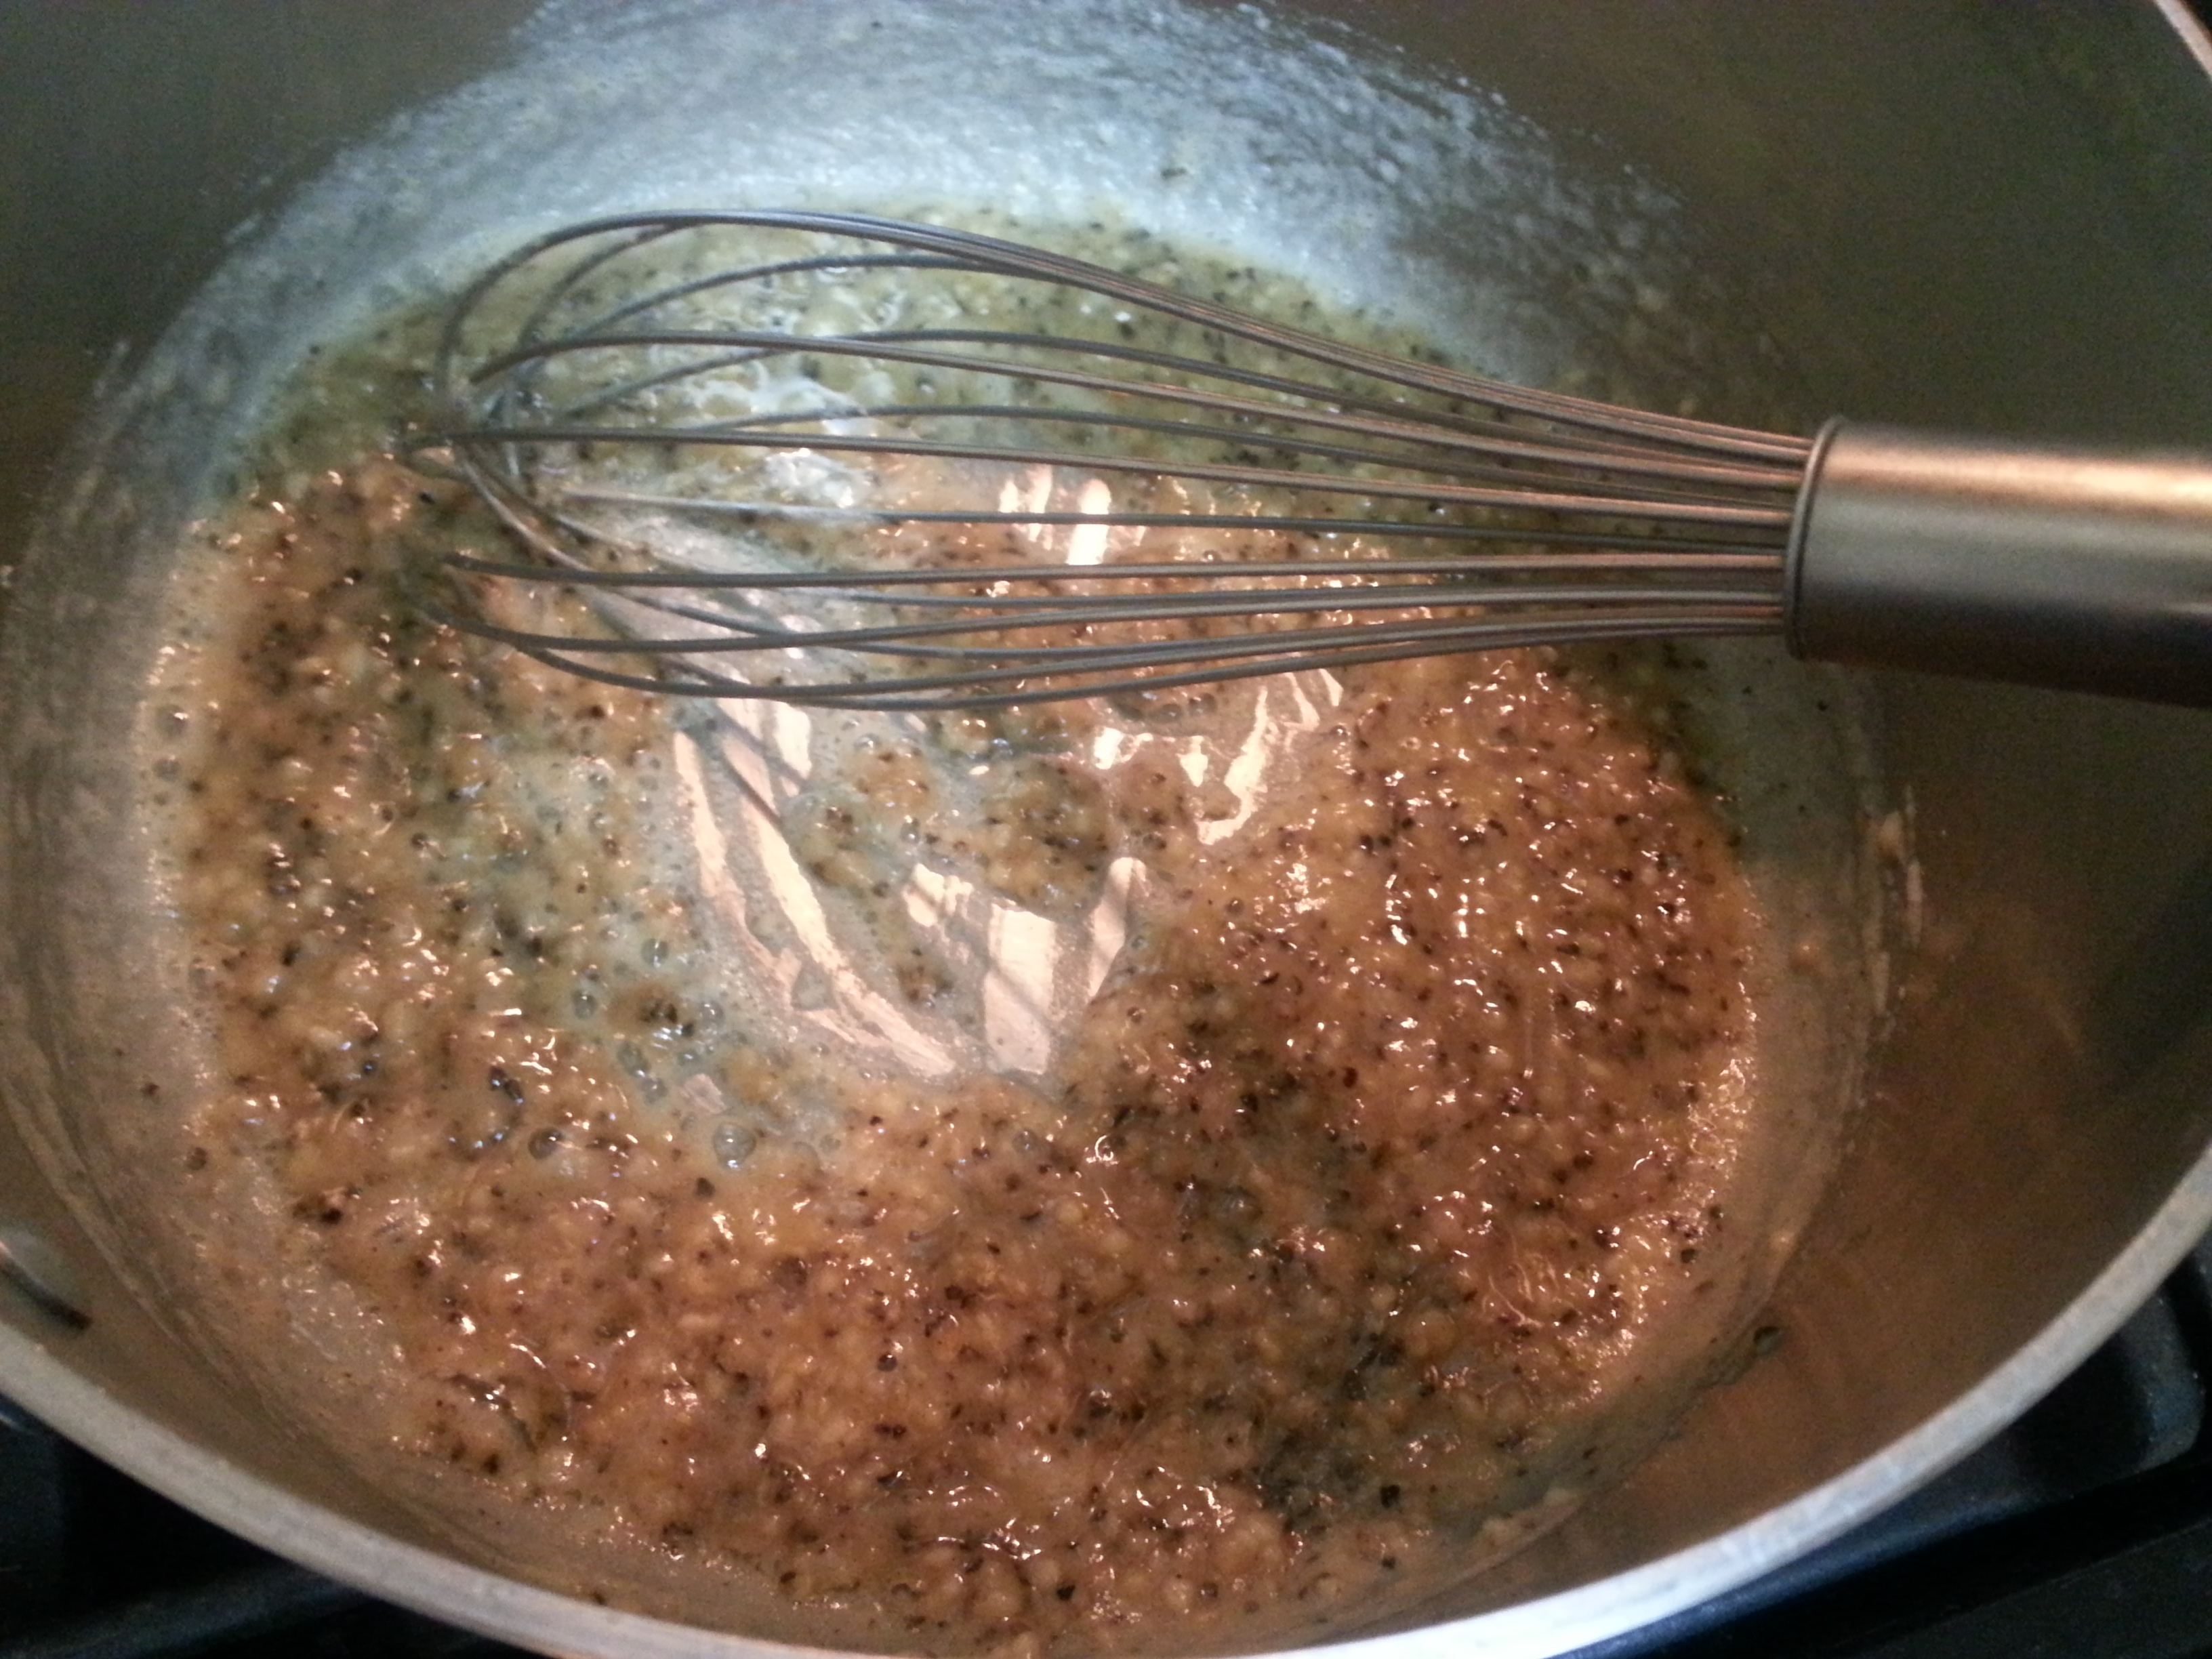
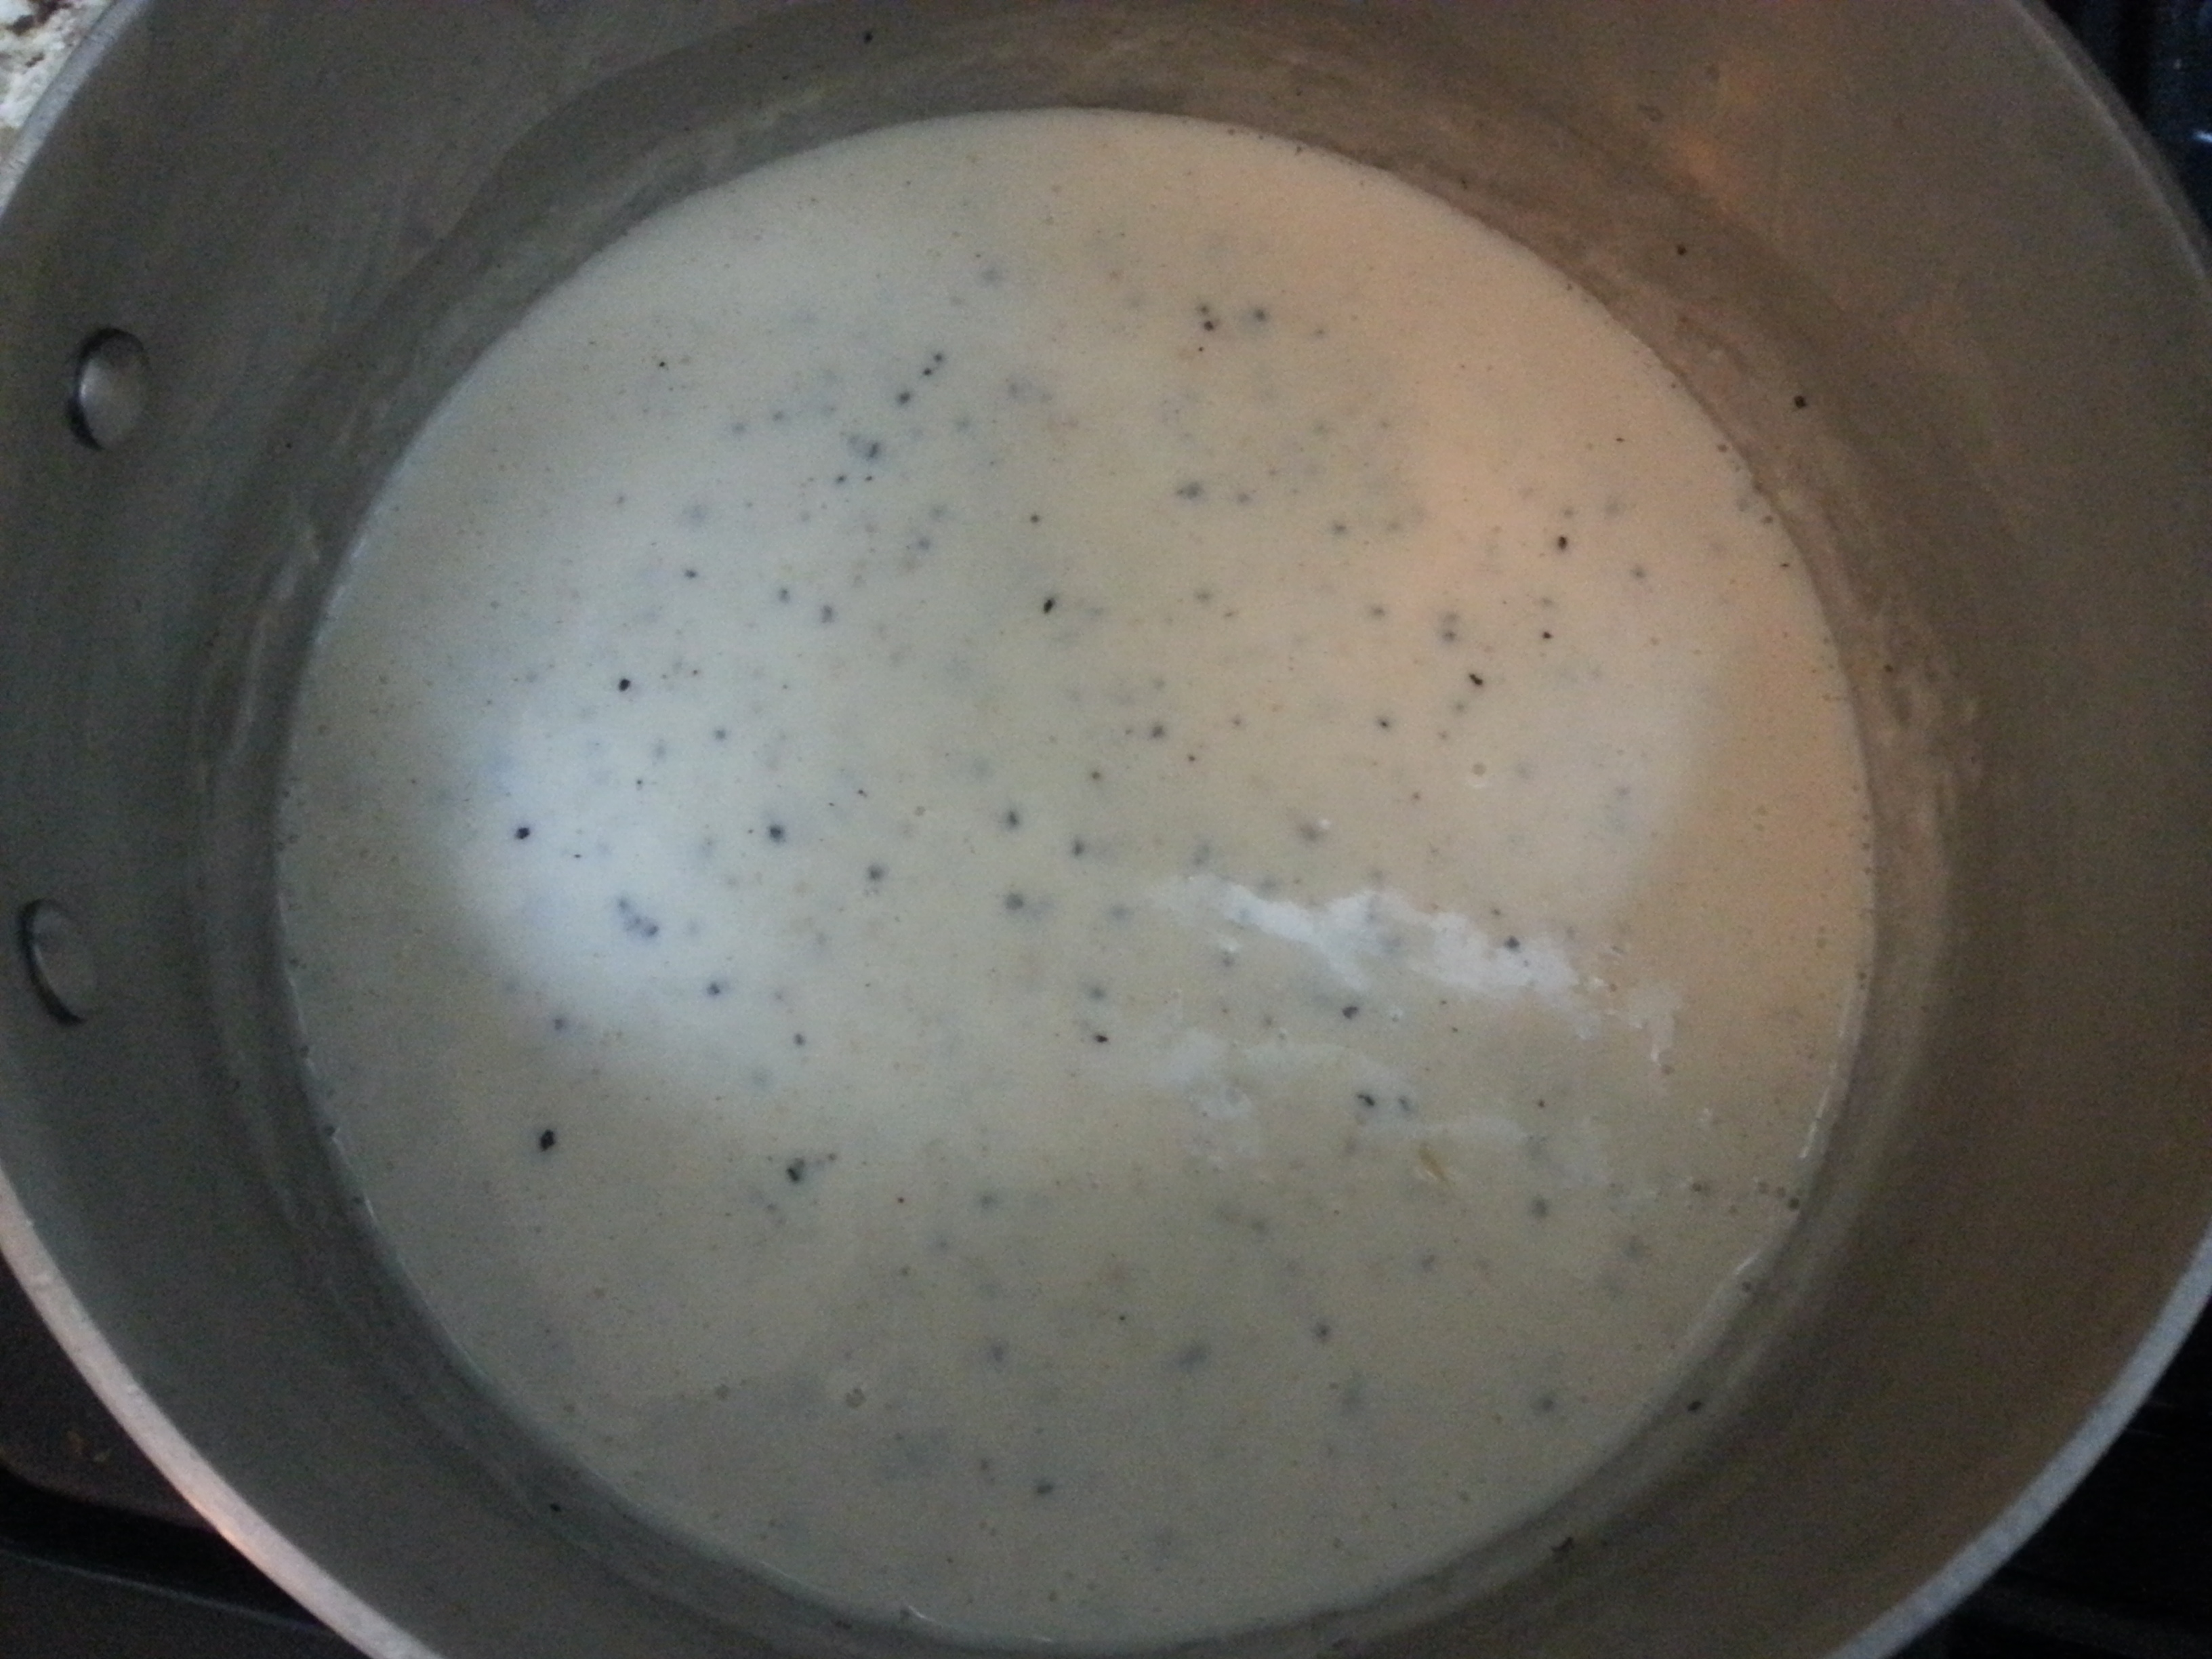
Add in the garlic and salt. Stir together. Then add in the rest of the ingredients. Stir and turn heat up to medium/medium-high. Once it comes to a boil, put a lid on it and reduce heat to low (simmer). Cook for 22 minutes. Stir and serve.

spanish ricespanish rice 2Now that you have this recipe and my refried bean one too, what’s stopping you from making an authentic Mexican meal at home? Nothing, so get in that kitchen!

Advertisement

Corn Salsa

corn salsa 4I don’t know about you, but texture means something to me when I’m eating. As in, I don’t want to eat a bunch of soft, mushy food. In my opinion, it’s always nice to have that little crunch or something to offset the food and add texture!

So this recipe (if you can call it that) will add just that the next time you have tacos. Especially if you’re going more traditional and having soft tacos. I love the crunch of fried shells but lately, I’ve really been digging warm, soft tortillas when it’s taco time. When I pulled out this corn salsa, my husband kind of turned his nose up at it. He’s not one for trying something different and veering away from what he’s used to but he did give it a try, and he agreed. The crunch was much appreciated and the flavor of the corn salsa added that special something. We enjoyed this on green chili pulled pork tacos but it would be great on beef, chicken or even for veggie tacos.

Corn Salsa

  • 1, 15.25 ounce can of corn, drained
  • 1 large green onion, sliced
  • 1/2 jalapeno, finely chopped
  • Pinch each of salt and ground cumin
  • A squeeze of lemon or lime juice

corn salsa 3Add all ingredients to a bowl and mix well. Refrigerate until ready to serve on your tacos of choice. And it’s also yummy in burritos!

corn salsa 2corn salsa

Macaroni & Cheese

mac n cheeseThere are so many mac and cheese recipes out there! So why make this one? Simply put, it’s GOOD! Very creamy, easy to make, and it doesn’t require baking time in the oven. Plus, it doesn’t call for any special fancy ingredients. Look in your pantry and fridge and I’m sure you’ll have everything you need to make this side dish. Annnndddd…. no heavy cream. Yet, it’s delectably creamy. Yes, it’s possible to have that consistency WITHOUT all that fat. Your thighs just thanked me!

P.S. If you’re having a BBQ this holiday weekend, this is the side dish to make!

Macaroni & Cheese

  • 10 ounces elbow macaroni noodles
  • 2 1/2 tbsp. butter
  • 2 tbsp. flour
  • 2 cups of milk (I use 1 %)
  • 1 c. shredded Monterey Jack cheese
  • 1 c. shredded sharp cheddar cheese
  • 2 garlic cloves, minced
  • Dash of cayenne powder
  • Dash of ground nutmeg
  • Salt & pepper to taste (I used an 1/8 tsp.- 1/4 tsp. each)

Heat a pot full of water to boiling. Cook noodles according to package directions and drain. In the same pot, add butter over medium heat. Melt the butter and then add in the garlic, as well as the rest of the seasonings. Saute for a few minutes and then add in the flour. Stir using a whisk and let cook for about 1 minute. Add in milk, whisking as you pour. As the sauce heats up, it will start to thicken and bubble. Make sure to stir occasionally during this. When the mixture just comes to a bubble, add in the cheeses, stirring until the cheese melts. Add the noodles back into the pot and stir together. Turn off heat and taste, adding more salt and pepper if necessary. Serve immediately.

mac n cheese 8mac n cheese 7mac n cheese 6mac n cheese 5mac n cheese 9mac n cheese 4mac n cheese 3mac n cheese 2This stuff also reheats pretty well, so if you have leftovers, don’t throw them away!

Sauteed Cabbage & Onions

sauteed cabbageOkay, so maybe my title didn’t grab you. But hopefully my picture did??? I’m getting a little bit better at photography. With my phone.

Anyhow, I like cabbage. Some of you may prefer it in slaws and not cooked, but this recipe will change your mind about eating cooked cabbage. It’s really a great side dish. My secret ingredient to make this recipe lethal? In more ways than one….. Bacon grease! So it’s not the healthiest, but it’s essential to me. Like I said in a previous post, I keep my bacon drippings in a jar in the fridge. (I got this idea from my mom who has always had a jar of bacon drippings in her fridge and of course, still does to this day.) And I pull that puppy out when I want to make some gravy or sauté the occasional vegetable. Defeats the purpose of the veggies maybe, but flavor, flavor, flavor! And indulging occasionally is perfectly all right in my opinion. If you do not have bacon grease or do not partake in that particular ingredient, butter will do just fine.

Sautéed Cabbage & Onions

  • 1/2 head of a large green cabbage, roughly shredded or chopped
  • 1/2 red onion, sliced
  • 1 garlic clove, chopped
  • 2 tbsp. bacon grease (or butter)
  • Salt & pepper, to taste

In a large skillet, (medium heat) melt the bacon grease. Add the onions and then the cabbage and sauté for approximately 7 minutes. Add the garlic in and stir around. Add salt (not too much salt, remember, you used BACON grease, which already has a lot of salty flavor) and pepper to taste. Stir to combine and serve.

sauteed cabbage 3I like my cabbage tender but still with a bite. I can tell it’s ready when it’s soft but hasn’t completely lost it’s form. Does that make sense? If not, comment and I’ll help you out as best I can.

sauteed cabbage 2Enjoy!!!!

Corn Salad

corn saladThis, my friends, is a summer staple! It goes great with Mexican food as well as good ole’ American BBQ food. With bright colors and fresh flavors, it’s the perfect side dish to serve at your next gathering.

Corn Salad

  • 2, 15 ounce, cans of corn, drained
  • 2 medium sized tomatoes, chopped (or 4 romas)
  • 2 tbsp. red onion, chopped (I used white because I didn’t have any red)
  • 2 avocados, chopped
  • 1/4 c. chopped cilantro
  • half a lemon
  • 2 tbsp. prepared teriyaki sauce
  • 1 tbsp. red wine vinegar
  • 1 tbsp. olive oil
  • fresh cracked black pepper
  • pinch of salt

Add the first five ingredients into a bowl and squeeze some lemon over the top. In a separate bowl, add the remaining ingredients and whisk until blended. Pour the dressing over the salad and mix together. Refrigerate until ready to eat.

corn salad 4corn salad 3corn salad 2Now, I know it’s not summer just yet. But where I live, it’s already starting to feel that way. Hope you’re enjoying the weather, wherever you may be!

Yo Quiero Queso

quesoI really like queso. A lot. And this recipe uses real cheese. Not that other stuff. I’m not going to talk smack, but I’ll just say that I don’t cook with it.

We eat this in my house, often. It’s very easy to make and eat straight out of the pot, or you can transfer to a small crockpot, keep on low and serve to guests. It’s also versatile as far as using different types of cheese. And I bet if you make this once, you won’t go back to that orange-ish block of expensive “cheese”.

queso ingredientQueso Blanco

  • 2 tbsp. butter
  • 1/4 c. onion, chopped
  • 1/2 jalapeno, chopped (if you like it spicy, leave the seeds and membrane)
  • 2 small garlic cloves, minced
  • 1 small tomato, chopped
  • 1/8-1/4 c. cilantro, chopped
  • 2 tbsp. flour
  • 2 c. milk (I use 1%)
  • 1 1/2 c. shredded Monterey Jack cheese *see note below

Melt butter in a saucepan or small pot on medium heat. Add onions and jalapeno and sauté for approximately 3 minutes. Add garlic, stir, then sprinkle with flour and stir together. Add milk, cilantro and tomato. Bring to a boil, and then reduce heat. It should be a thicker consistency. Add cheese a little bit at a time, making sure to stir and let it melt before adding more cheese. *If you like a little kick, half Monterey Jack and half pepper jack is a great choice. Or half sharp cheddar and half Monterey Jack makes for a sharper flavor. Serve with your favorite tortilla chips.

queso 2

You want to eat just this for lunch? Go ahead. I’ve done it myself.

Rice, Rice, Baby

rice pilaf 4Good side dishes can be hard to find. So if you’re stuck in a rut and wanting to try something new, here it is. This came from my mom and she’s made it my entire life. And I’ve always loved it. It’s quick, easy, and not just your regular plain white rice. I make it on a regular basis and it’s a family favorite.

Mom’s Rice Pilaf

  • 1 cup of long grain white rice
  • 3/4 c. vermicelli broken up (spaghetti & angel hair are what I usually use)
  • 2 cups chicken broth
  • 1 tbsp. butter
  • Salt & pepper to taste

rice pilaf 3Add butter to a smaller pot. Let melt on medium heat and add in the broken up pasta. Cook and stir for a few minutes until it starts to toast up. Don’t let it burn!

rice pilaf 2Add in the white rice and stir together. Pour in the chicken broth and add salt and pepper. Bring to a boil and then reduce heat to simmer (low), covering with a lid. Let cook for 20-25 minutes. 23 minutes on my stovetop is the magic number! Stir together and serve immediately. rice pilaf

Bacon Brussel Sprouts

brussel sproutsBrussel sprouts are little gems of deliciousness. They have quickly become one of my family’s favorite veggies. So I was really excited when I saw my brother-in-law making them as a side for Christmas dinner. And they were really tasty. I’ve always baked them in the oven and although very yummy, that recipe takes 45 minutes and requires me to shake the pan every 5-7 minutes. This recipe is so much quicker and so very good that it’s a must try.

Bacon Brussel Sprouts

  • 1 lb. brussel sprouts, rinsed, trimmed, halved & dried as much as possible
  • 4 bacon slices, cut into pieces
  • 1/2 c. chicken broth
  • 2 tbsp. brown sugar
  • Ground pepper, to taste

Heat a sauté pan on medium. When heated, add bacon pieces and cook until crisp. Using a slotted spoon, remove bacon to a paper towel to drain. Very important, LEAVE all that wonderful bacon grease in the pan. Add the brussel sprouts and sauté for a few minutes, until they are browned. Pour in the chicken broth and reduce heat to medium low. Put a lid on, leaving it a little to the side for steam to escape. Let cook for 5-7 minutes. Remove lid and sprinkle with brown sugar and pepper. Add the bacon back in. Stir to melt the sugar and eat!

bacon brussel sproutsI’m pretty sure you will inhale these scrumptious brussel sprouts!!

Spicy Mexican Style Marinated Carrots

marinated carrots 5Ever had those carrots at a taco shop? If you have, then you know what I’m talking about. If you haven’t, WHY NOT?!? They are so good! And you’ve been missing out. Spicy, tangy, and at some places, crunchy. Most taco shops I’ve had them at lean towards the softer side, but I prefer them to have a slight crunch. If you plan on having Mexican food at home, you must make these to have on the side.

Spicy Mexican Style Marinated Carrotsmarinated carrots

  • 1 lb. carrots (approximately 6 medium sized), peeled, and cut on the diagonal about 1/4″ thick
  • 1/2 of a small onion, sliced into 1/8″ rings (I used a mandolin to slice the onions)
  • 3 garlic cloves
  • 3 cups warm water
  • 2 tbsp. canola oil
  • 1/4 c. pickled jalapeno slices
  • 1/4 c. pickled jalapeno juice from the jar
  • 3/4 c. apple cider vinegar
  • 1 tsp. dried oregano
  • 3 bay leaves
  • 2 tsp. peppercorns
  • 1/2 tsp. crushed red peppers

Saute garlic, carrots, onions in a pot on medium high heat for 2-3 minutes. Add the remainder of the ingredients and bring to a roiling boil. Turn off the heat and let cool for 2-3 hours. Put into a jar/container and refrigerate for up to 1 week. *If you like your carrots on the softer side, let boil for up to 5 minutes, then turn off the heat.

marinated carrots 2Do I think these will last a week in your house? Absolutely not!