Make Ahead Smoothies

Yes, you can make smoothies ahead of time! Why you ask? Well, here’s the predicament I was in. Or I should say, my husband. He recently started jogging in the morning before going to work. And after his jog, he wanted a healthy breakfast. But depending on his work schedule, he’s up anywhere from 4am to 6am, which is prime sleeping time for everyone else in our house. And I know the last thing I want waking me up is the obnoxious sound of a blender. Enter make ahead smoothies.

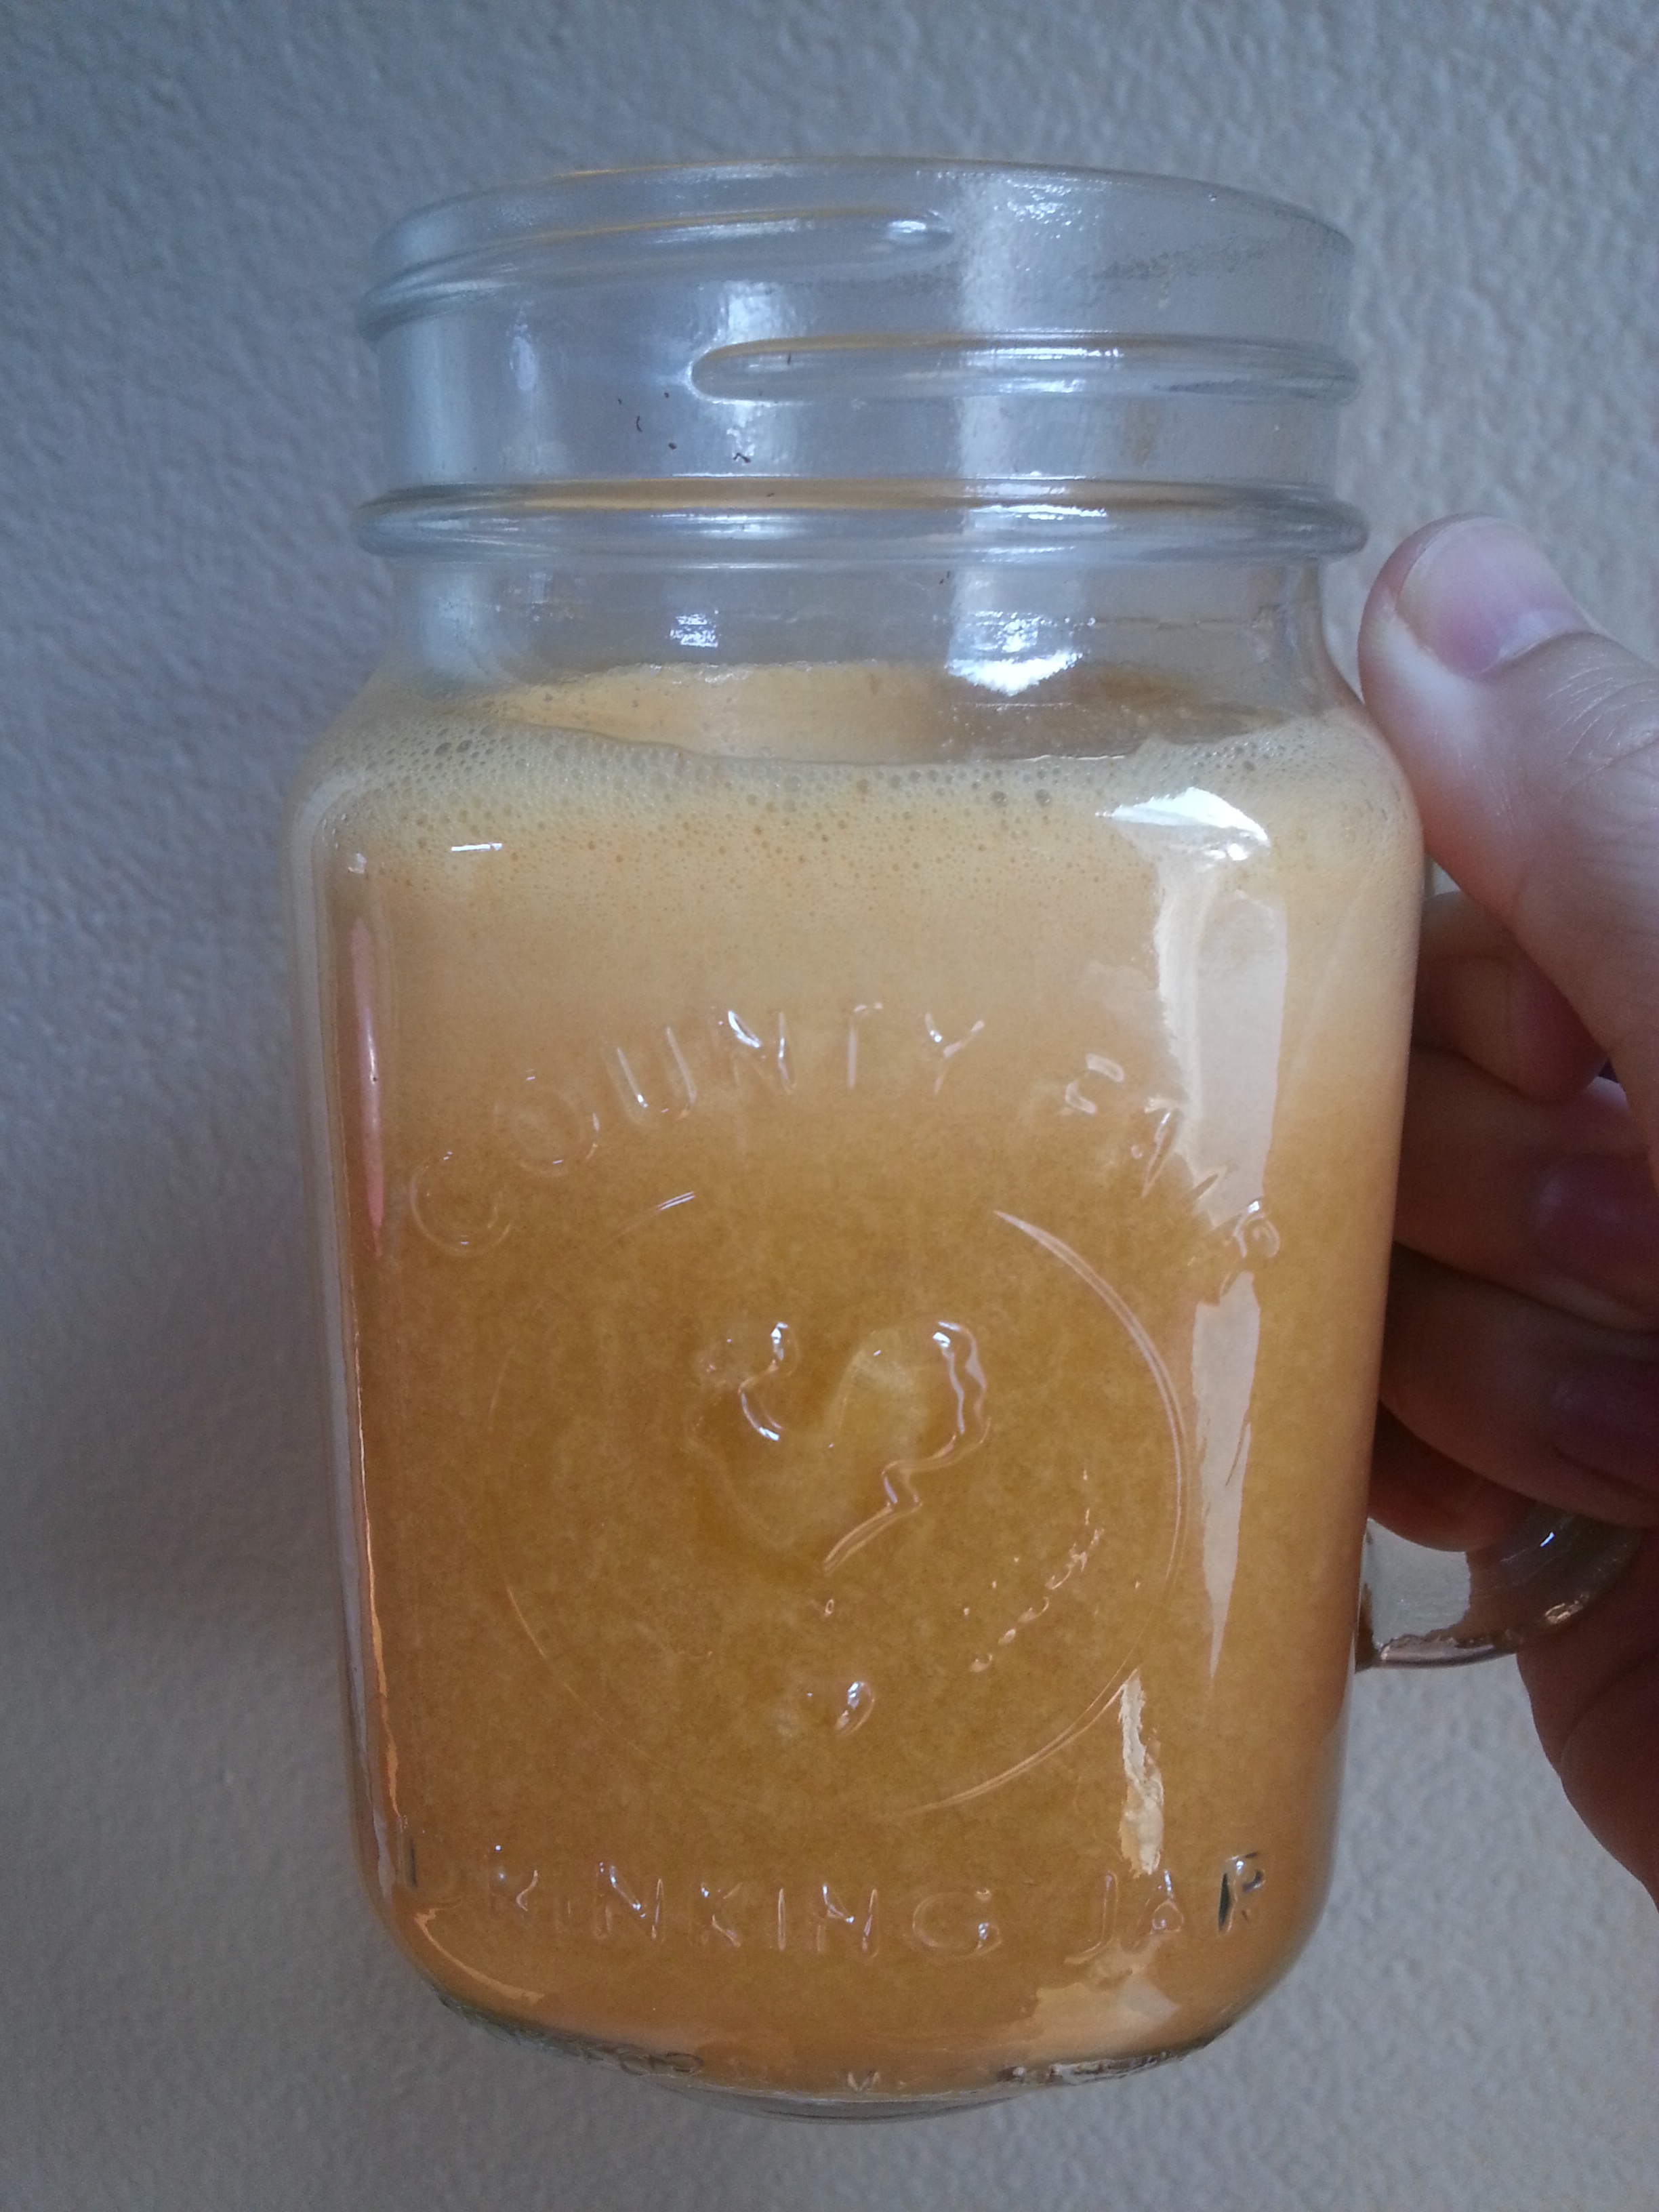
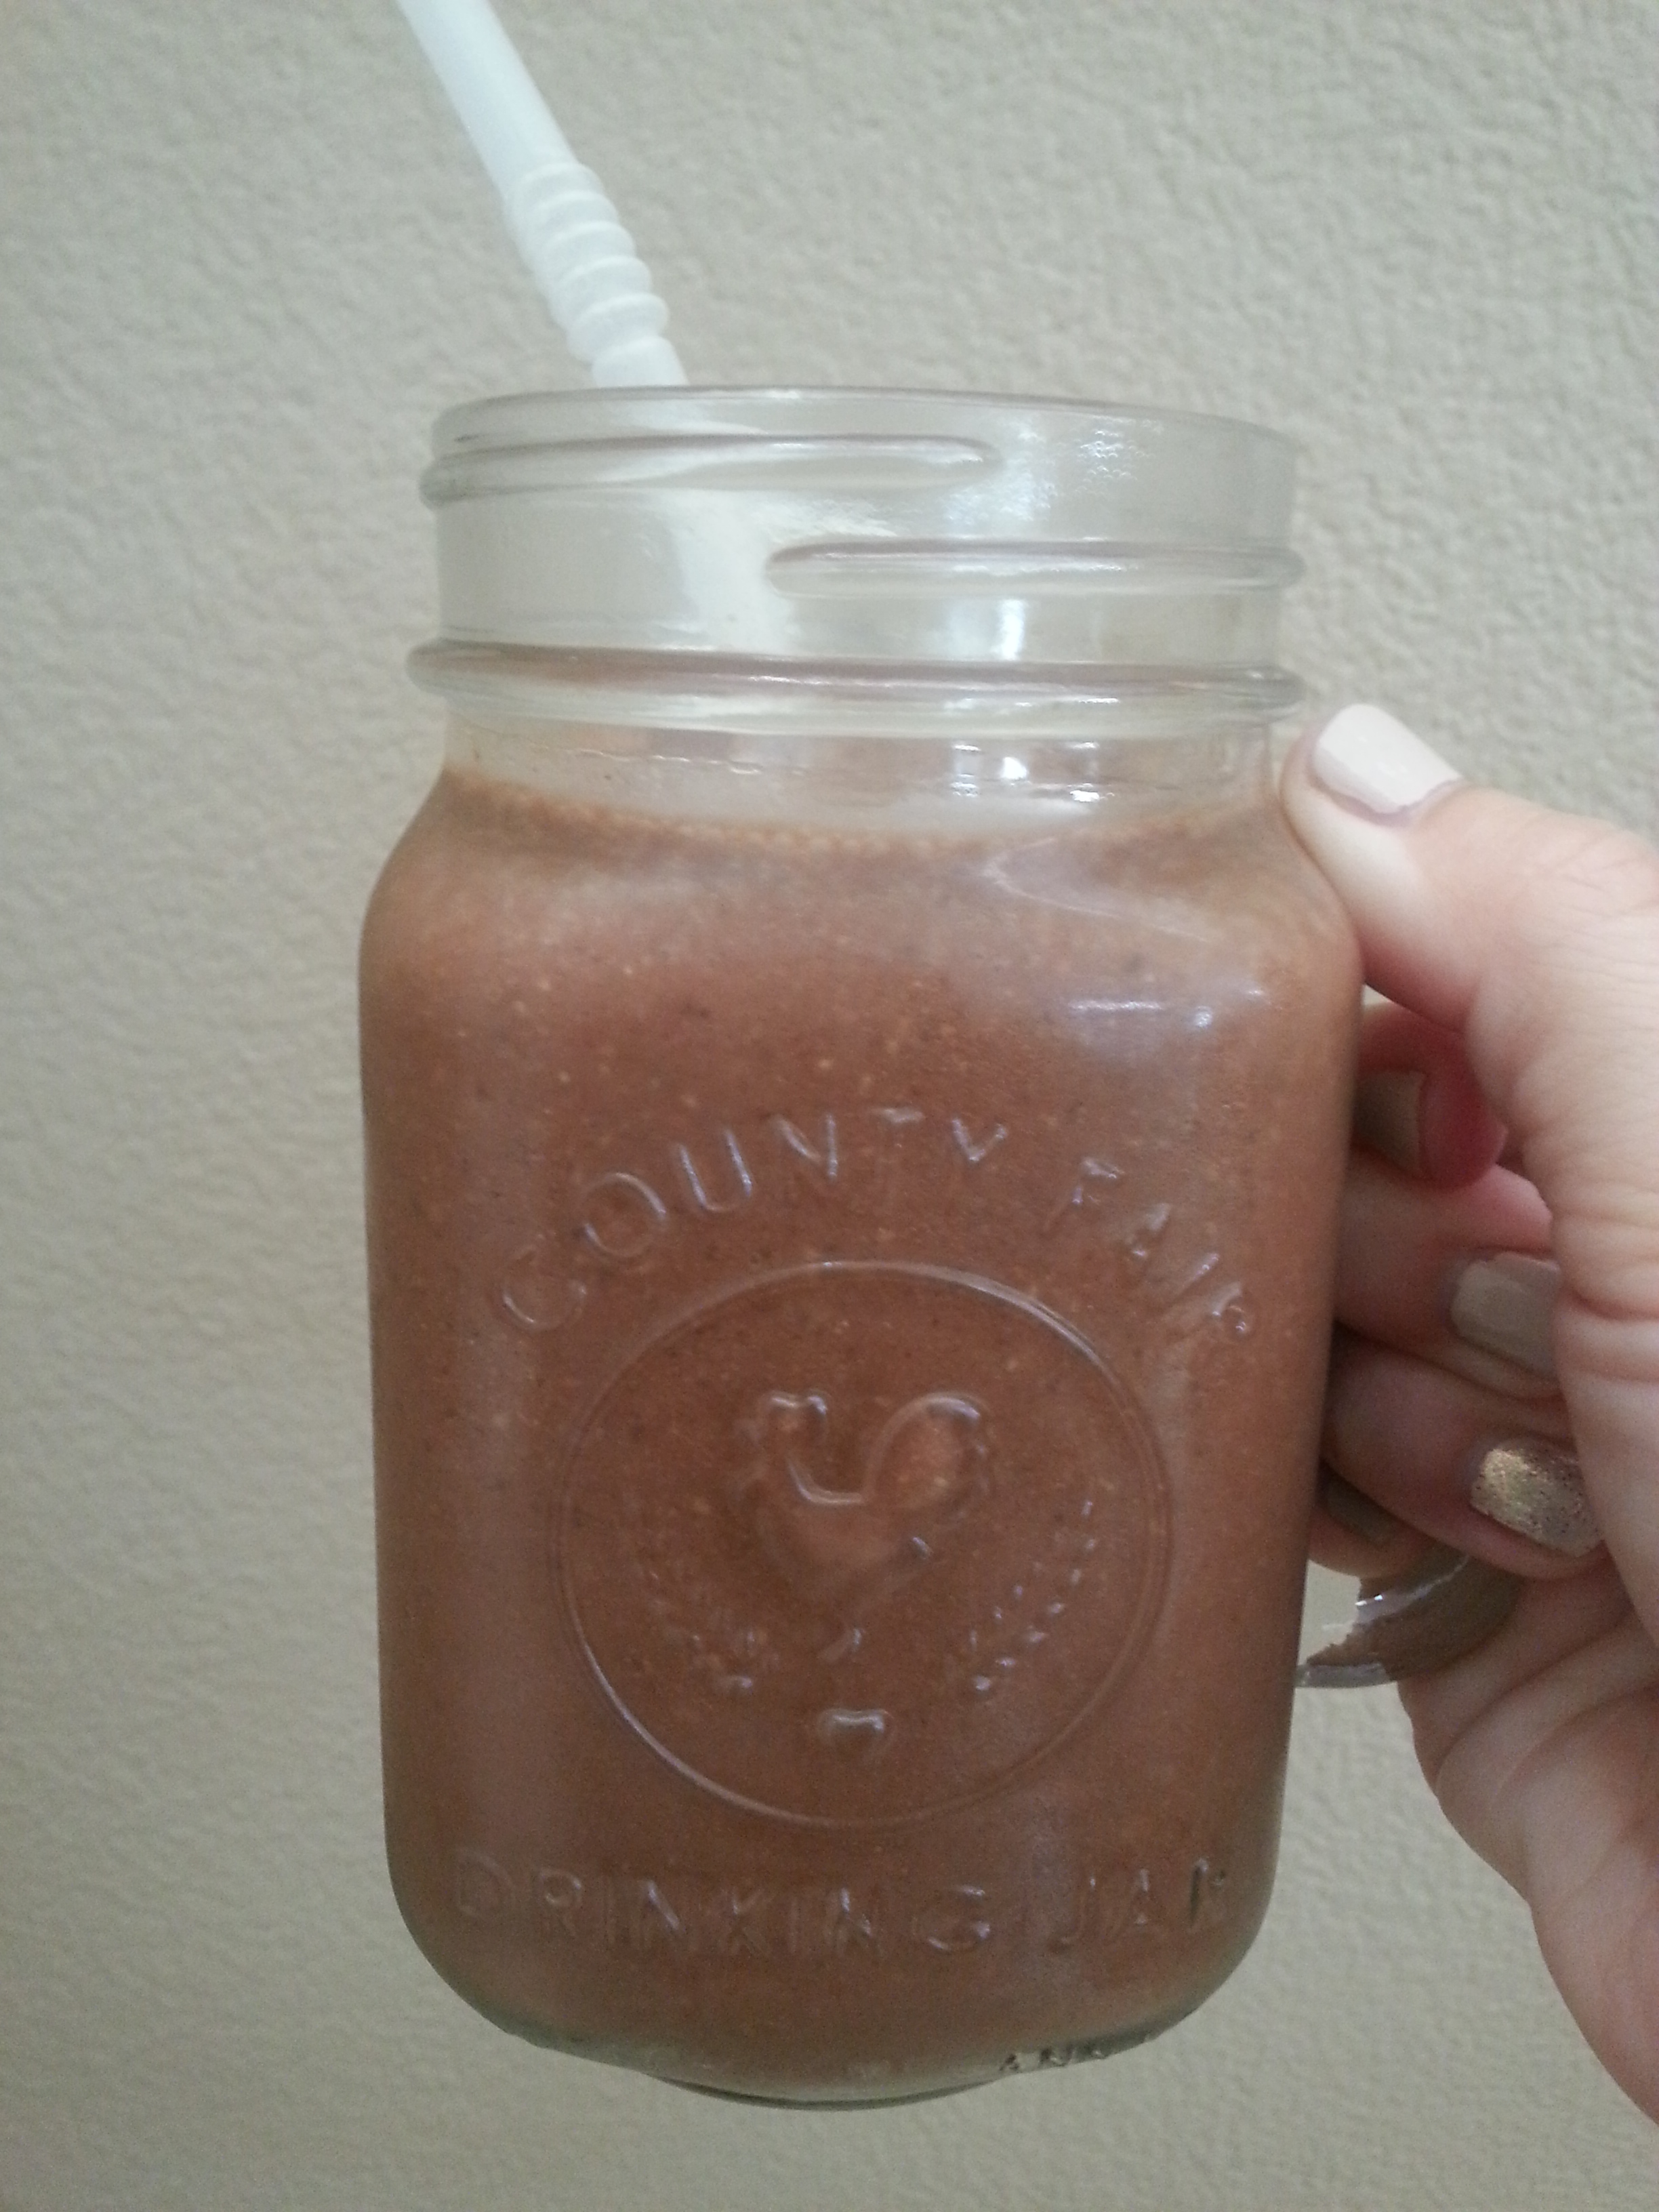
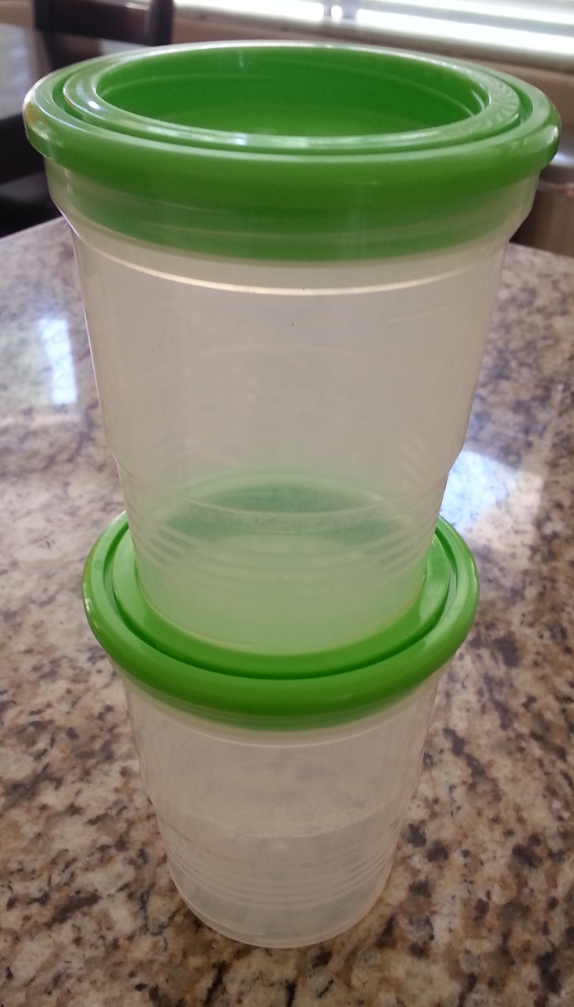
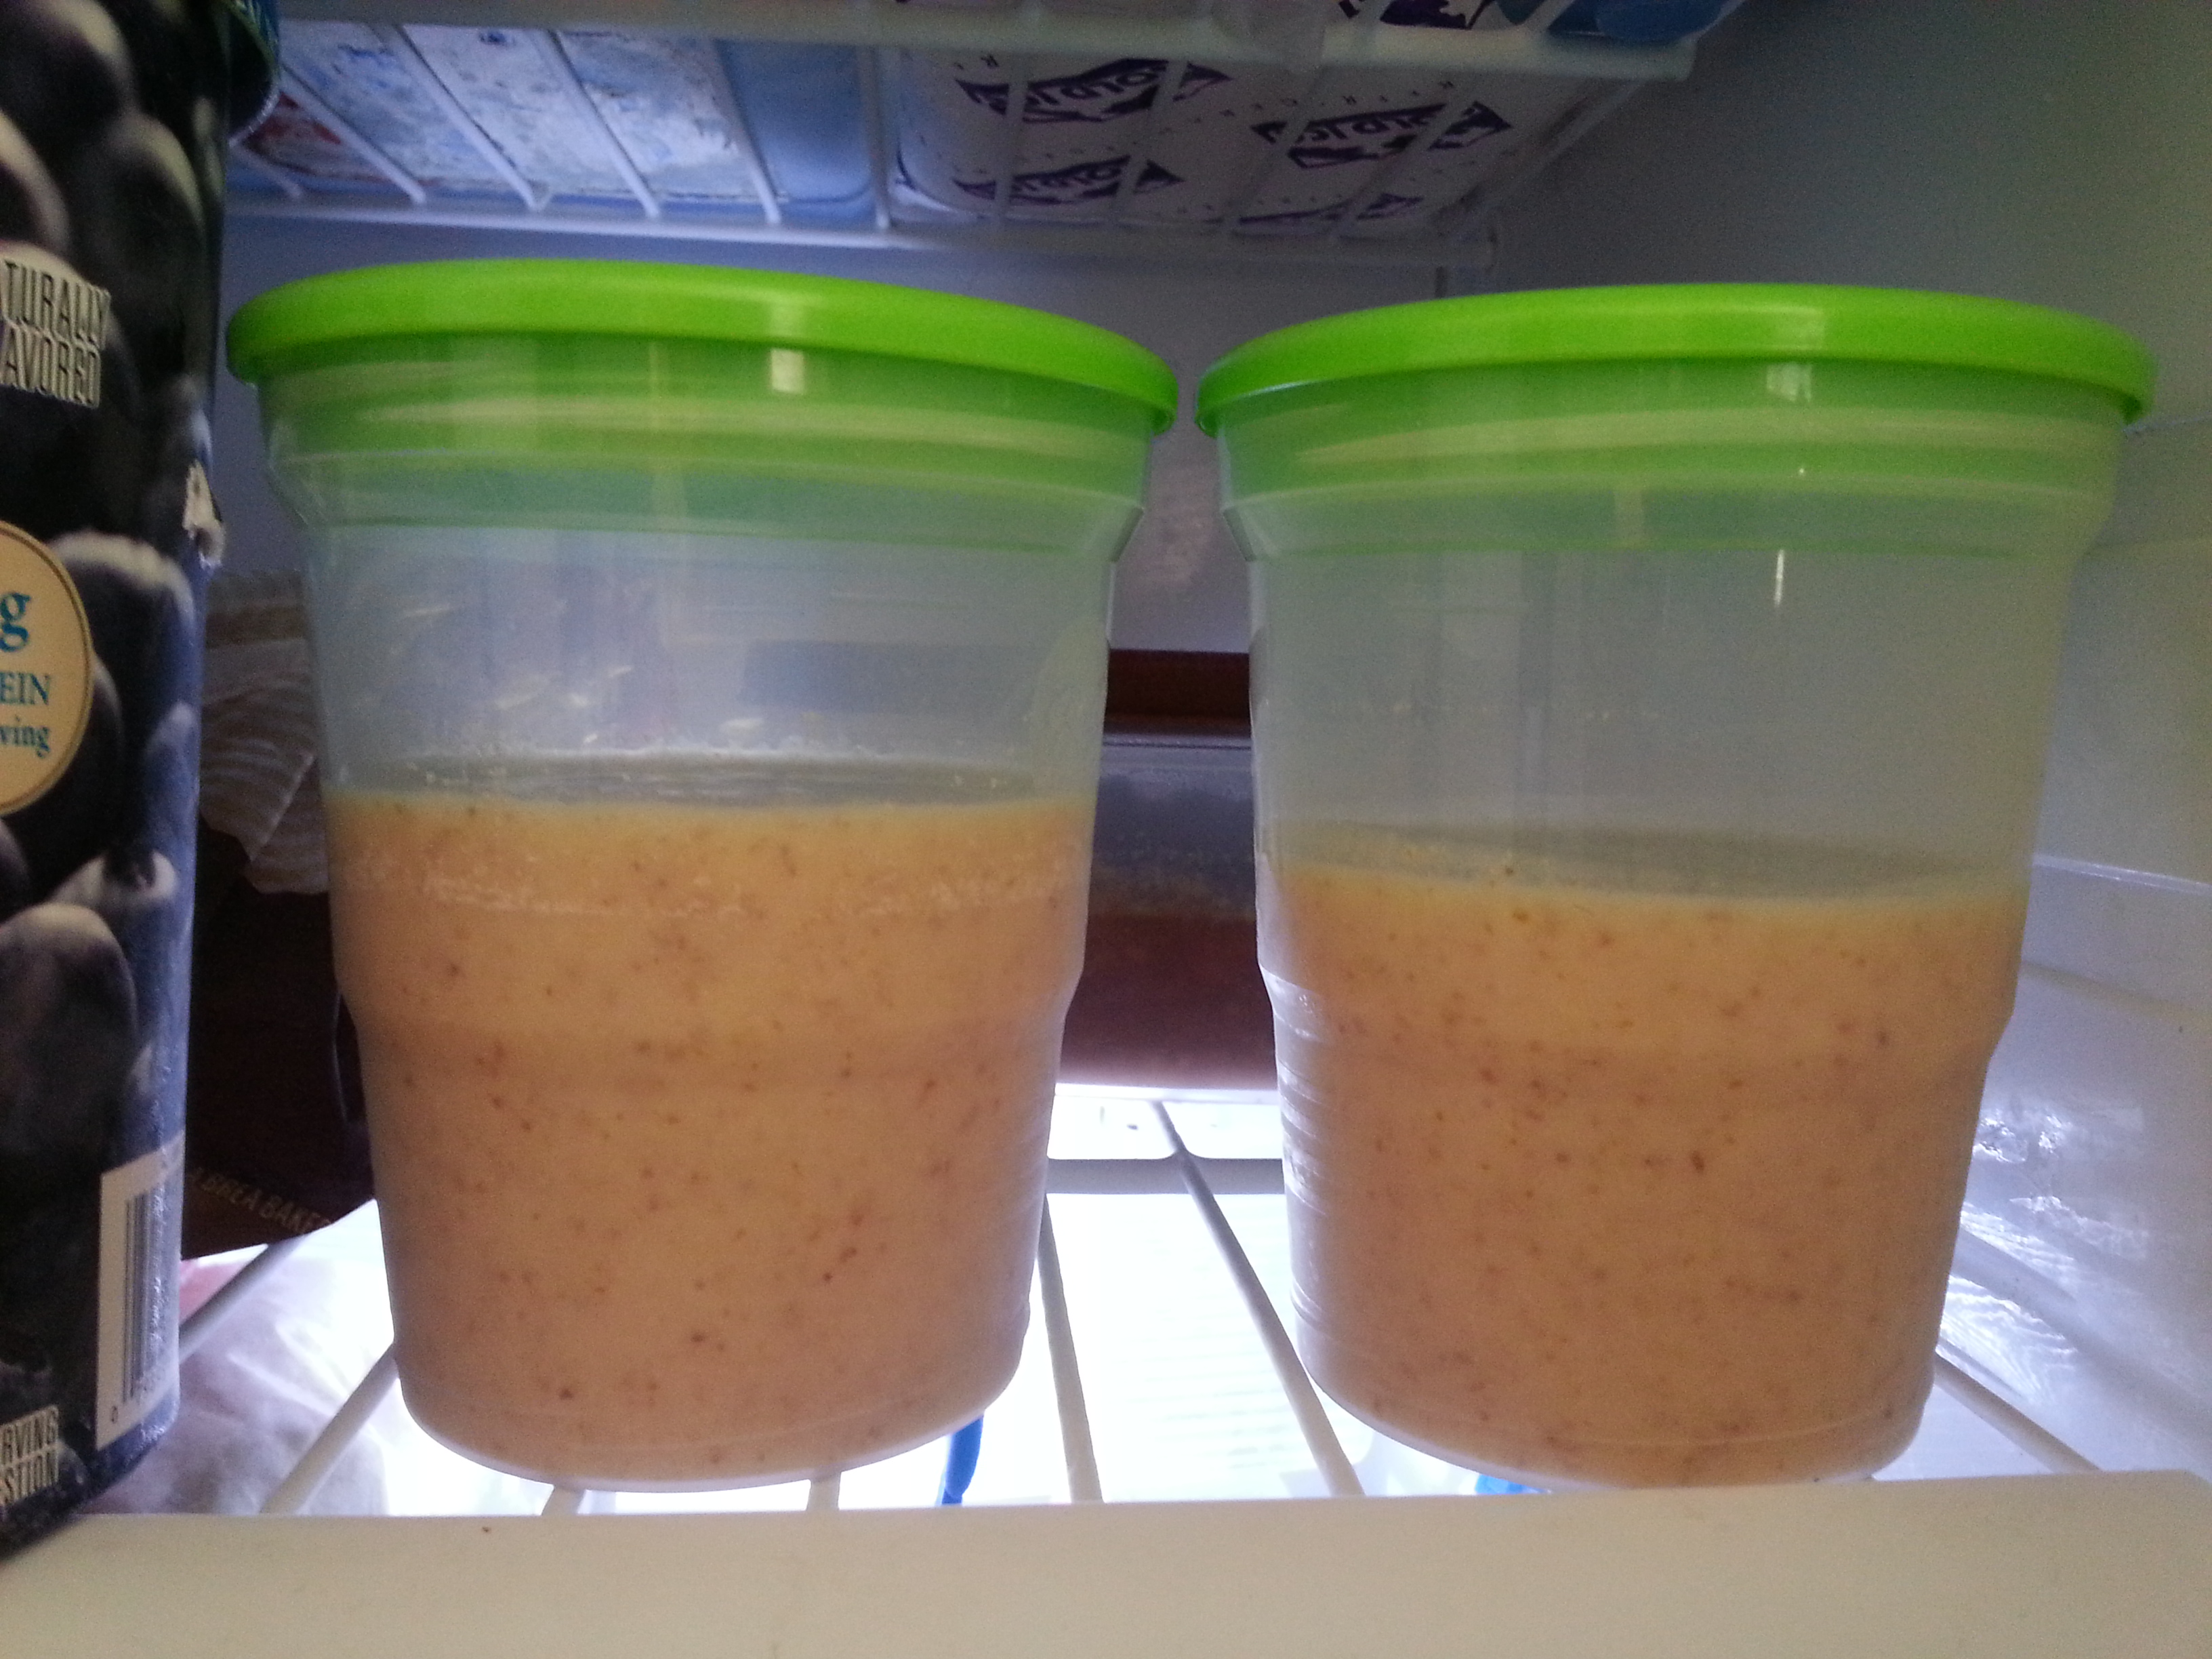
So you can make the smoothies just as you normally would and put them in a freezer safe container. I love my Ball plastic salsa freezer jars. I’ve had them for a couple of years and picked them up at Walmart. I use them all the time, and not necessarily for salsa. They are perfect for these make ahead smoothies. I found some plastic freezer jars over at Amazon and although they’re not the same exact ones I have, I think these are just the updated version.

smoothie jars 2
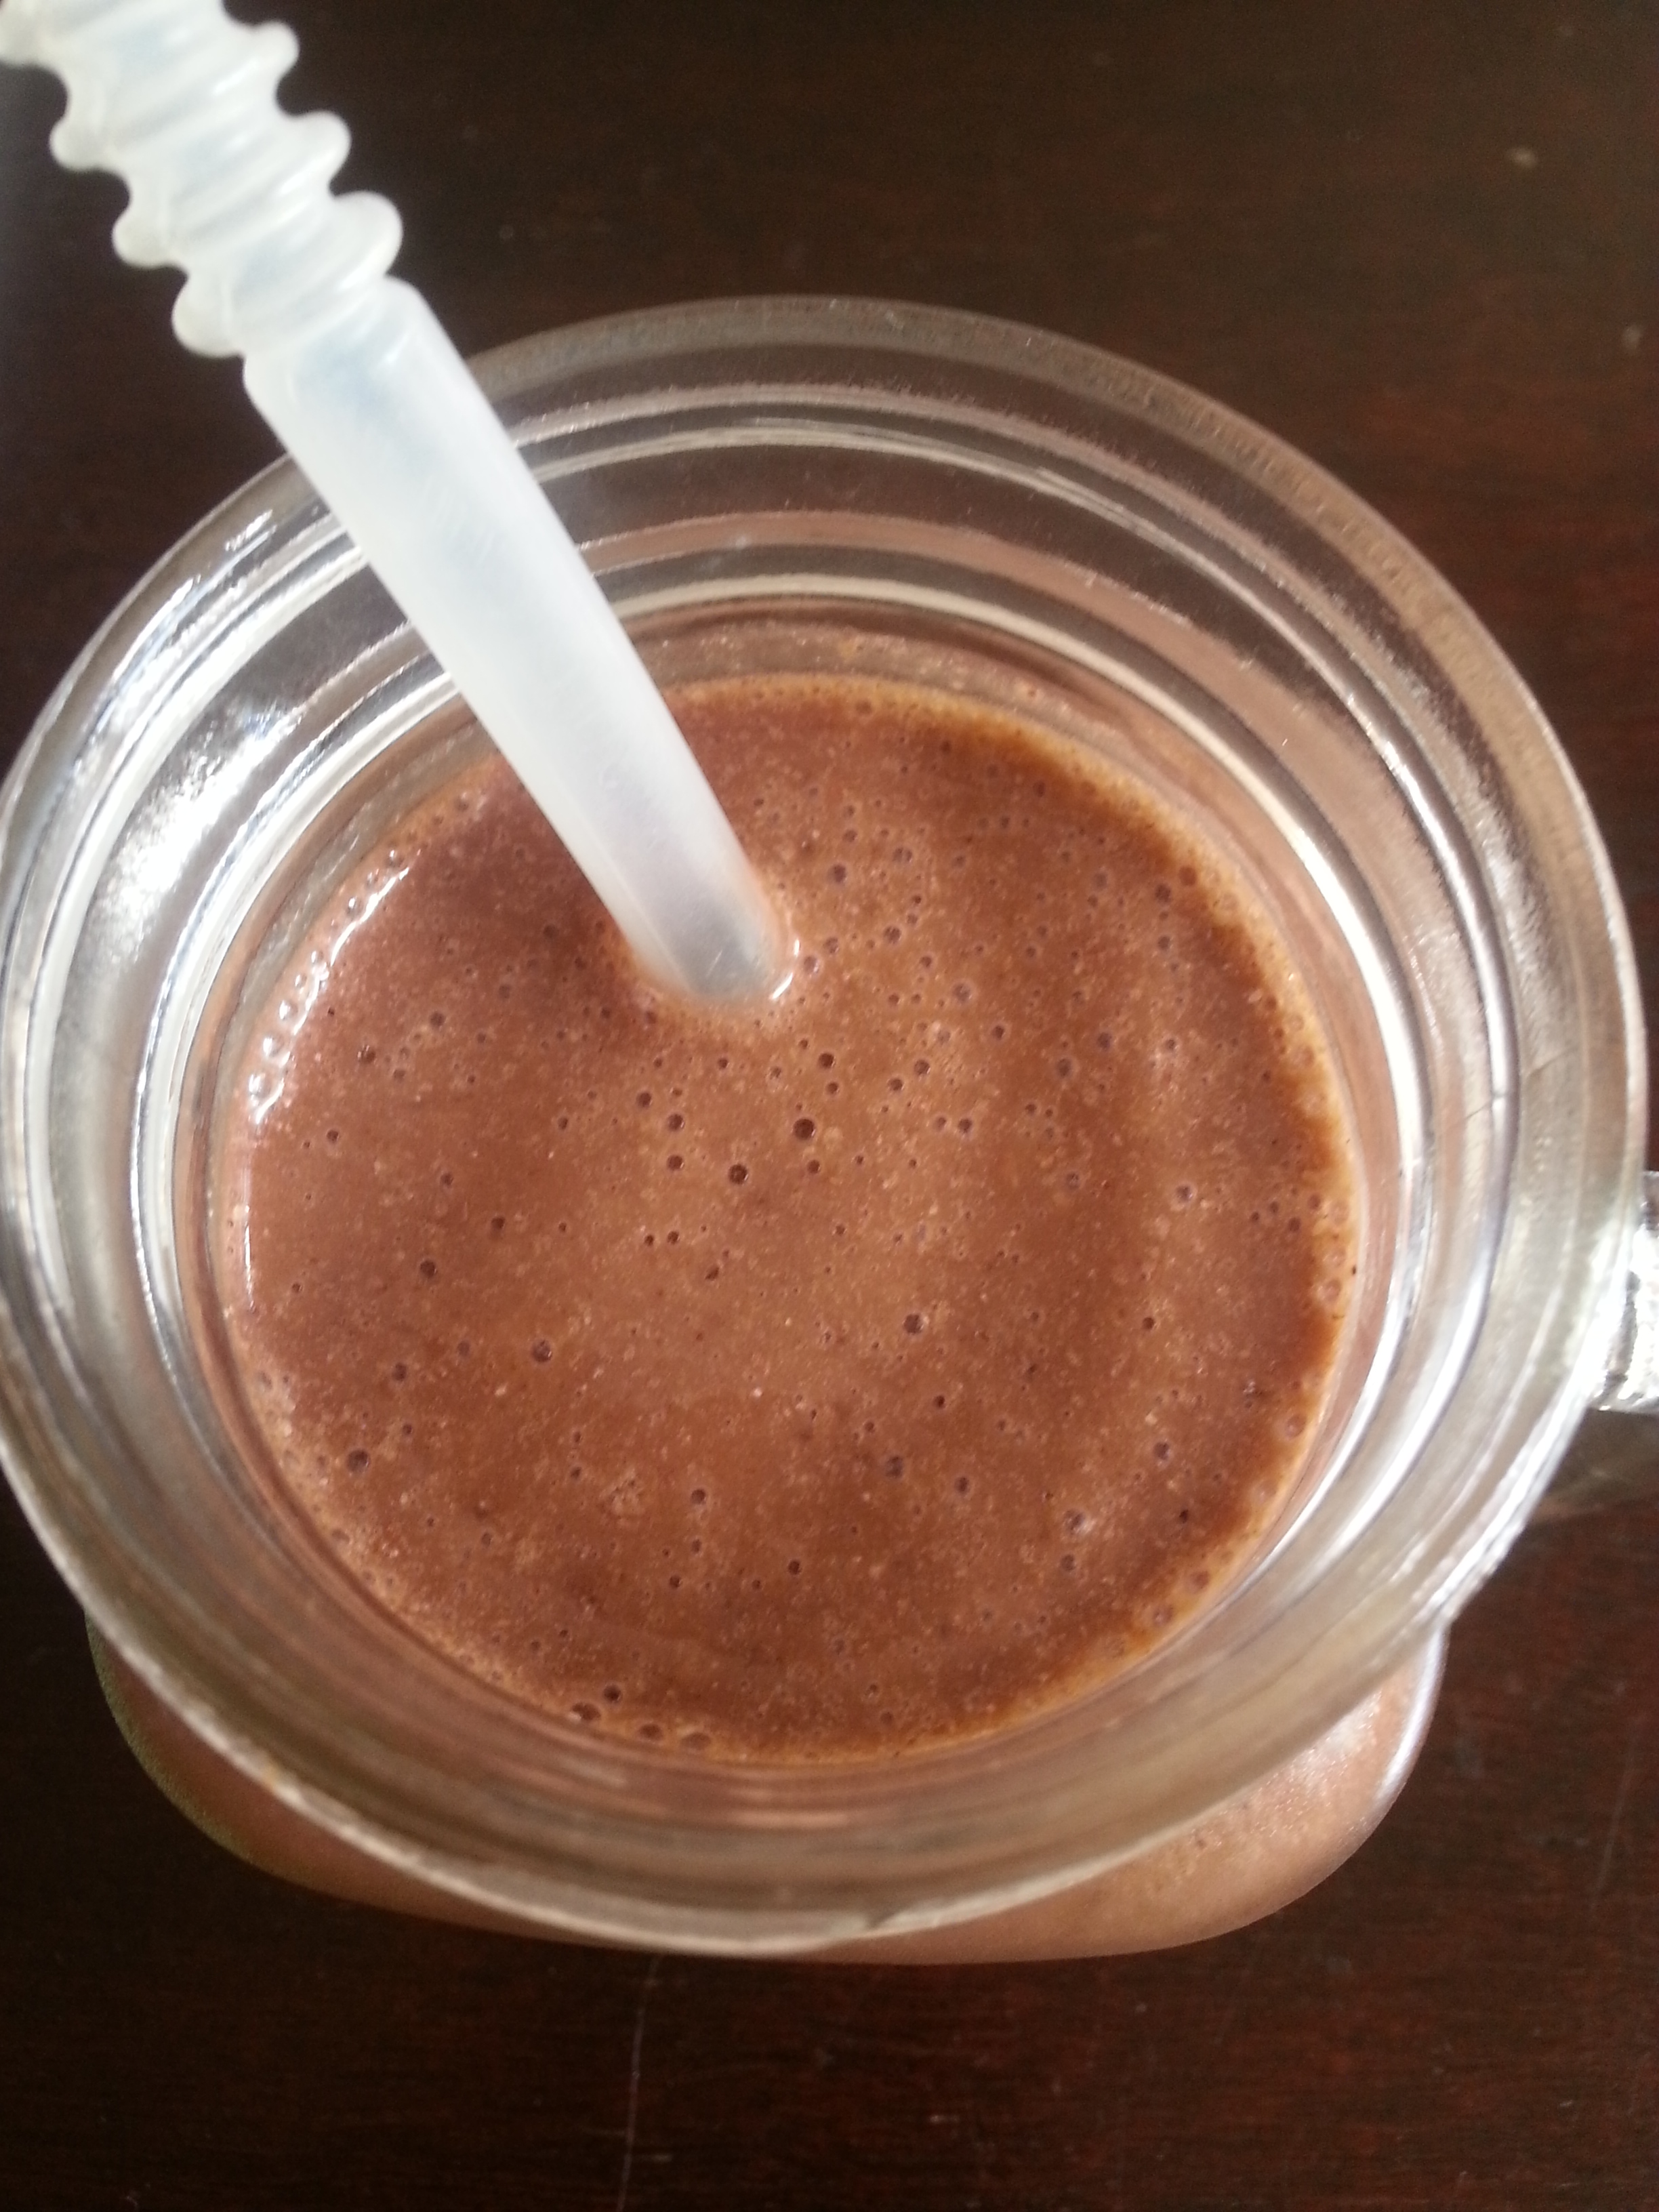
Since the smoothies are frozen solid, my husband takes them out of the freezer right when he wakes up. He fills a larger cup with hot water and sets the smoothie jar inside. And when he’s back from his jog, he says they’re still a little slushy but have melted enough for him to eat AND they taste good. Make ahead smoothie success!

Use whatever smoothie recipe you like, or try out one of mine:

Strawberry Banana Smoothie

Healthy Oatmeal Banana Smoothie

Mango & Chia Smoothie

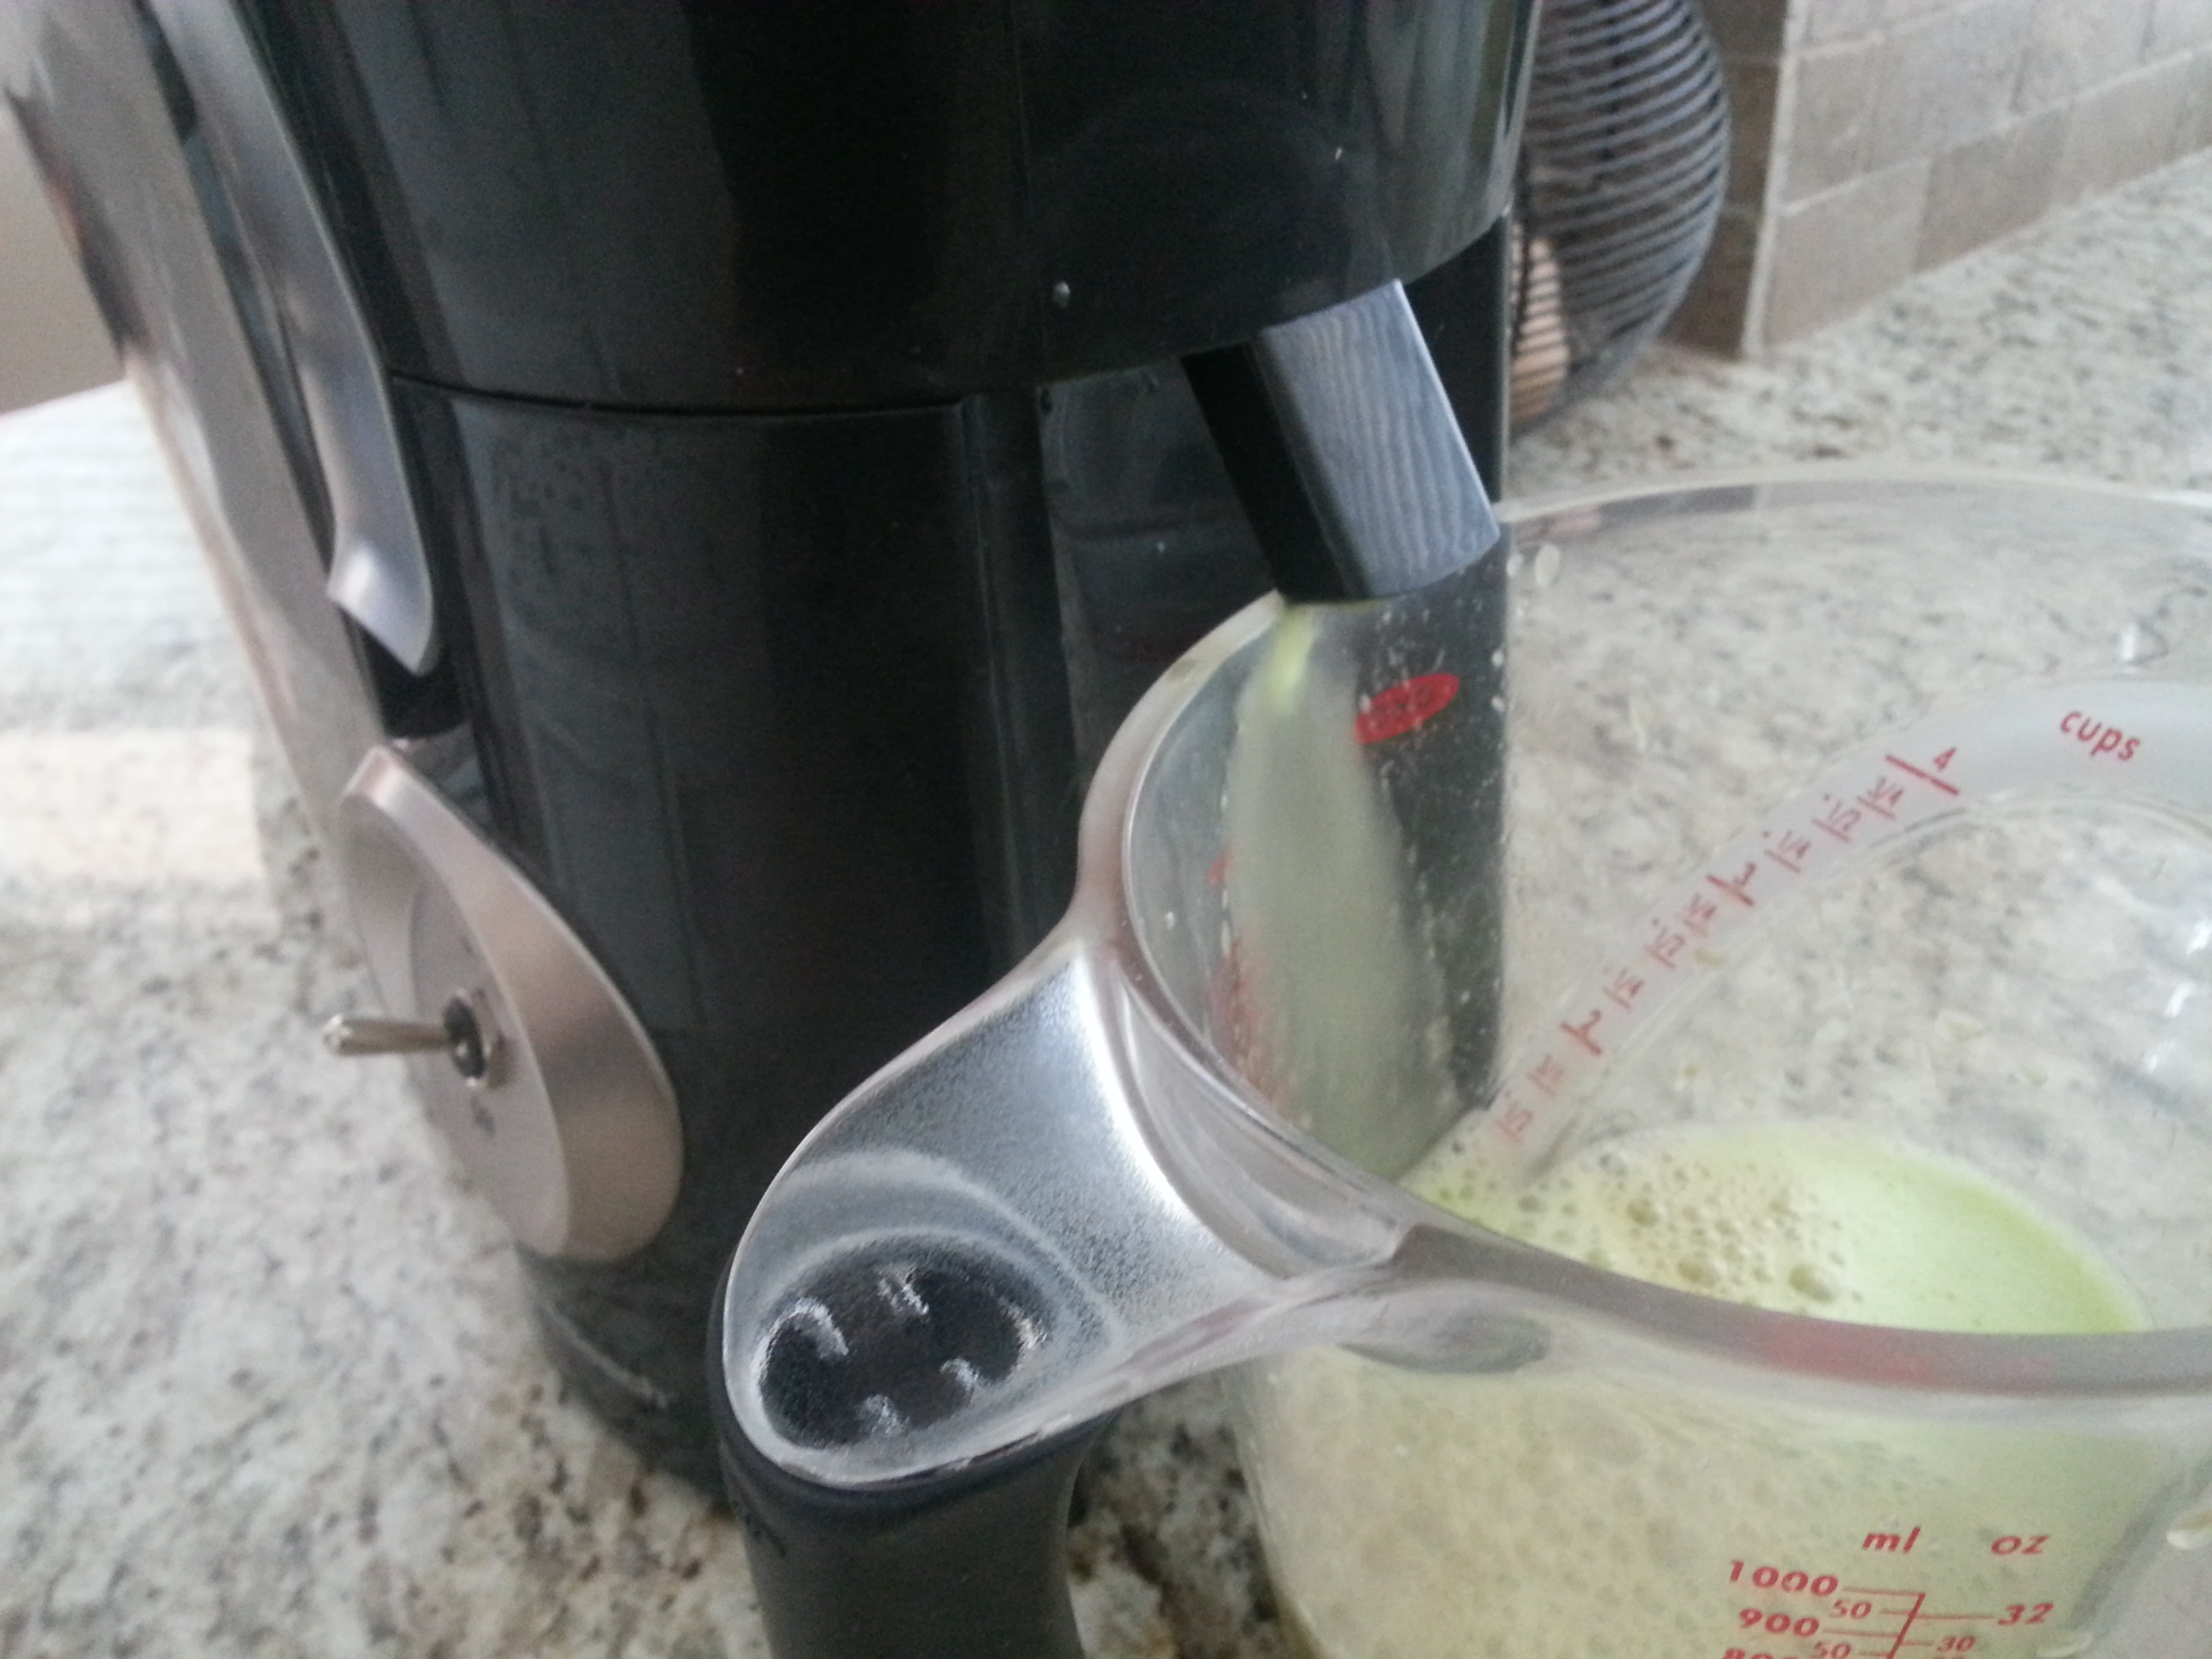
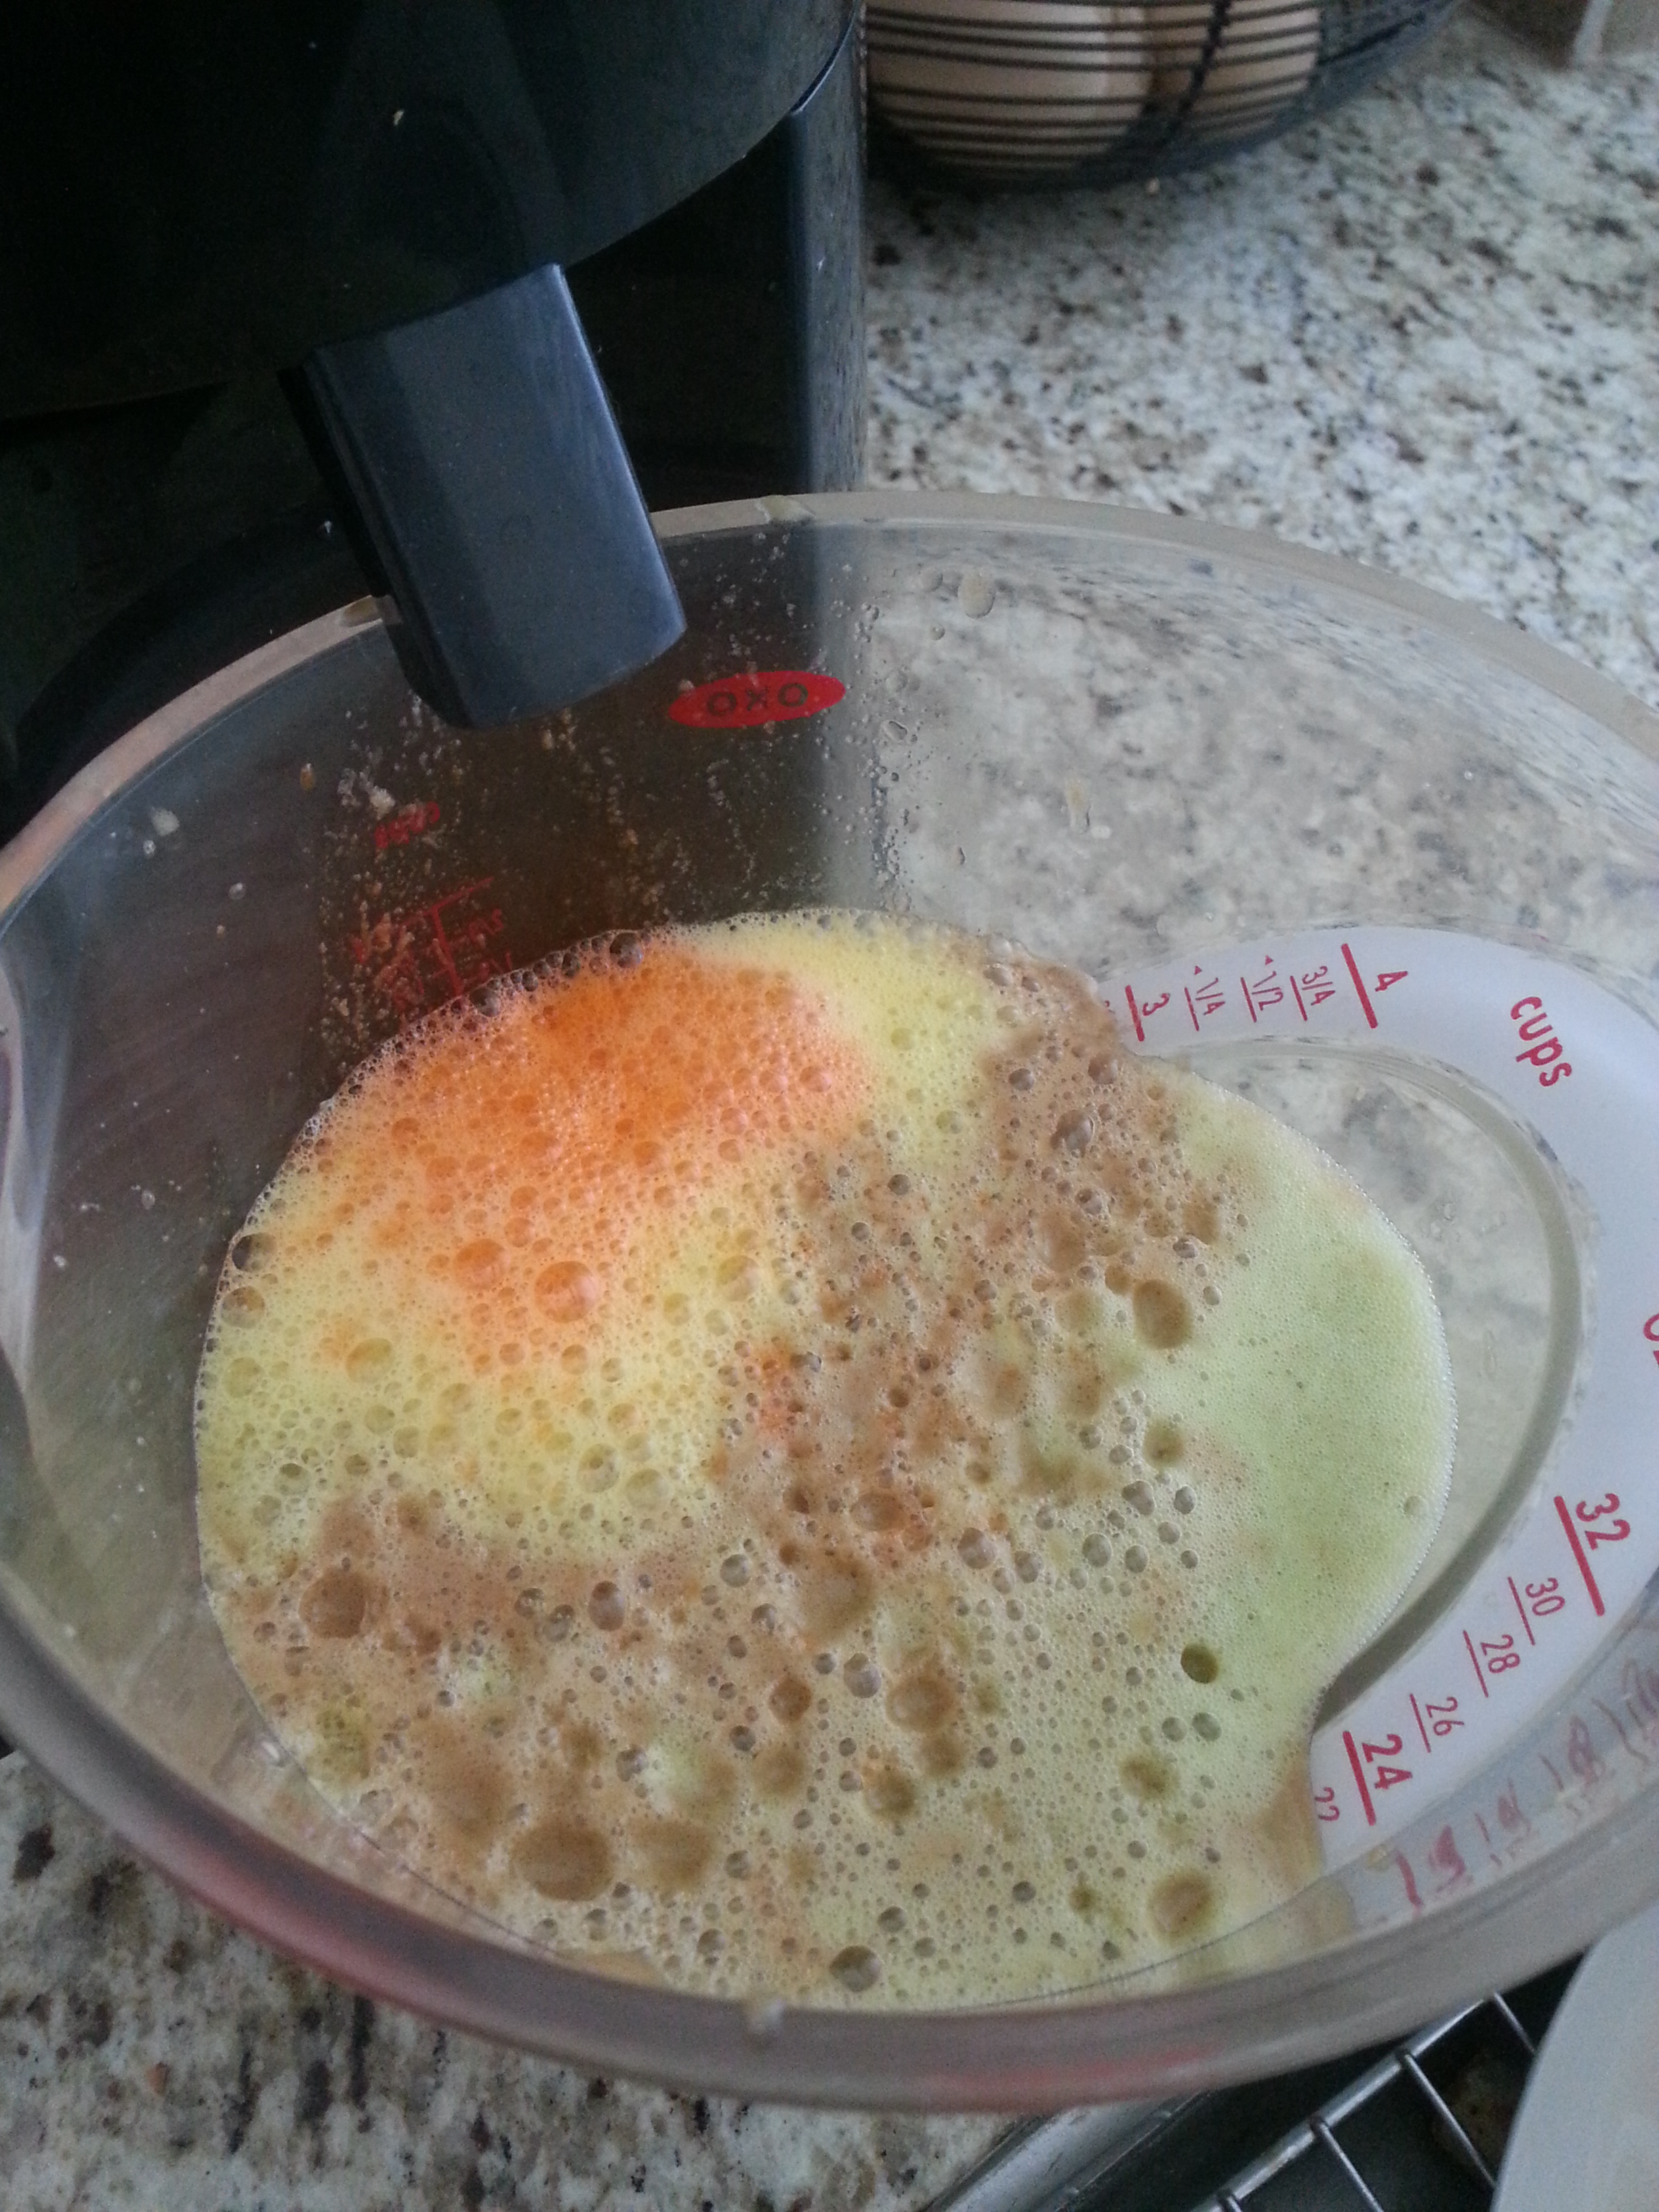
My husband’s favorite smoothie has peaches in it so that’s usually what I make him. I happened to have a fresh pineapple so I decided to throw that in there this time around.

Tropical Peach Smoothie (makes approximately 20 ounces)

  • 1 fresh or frozen banana
  • 1/2 c. frozen peaches
  • 1/4 c. fresh pineapple
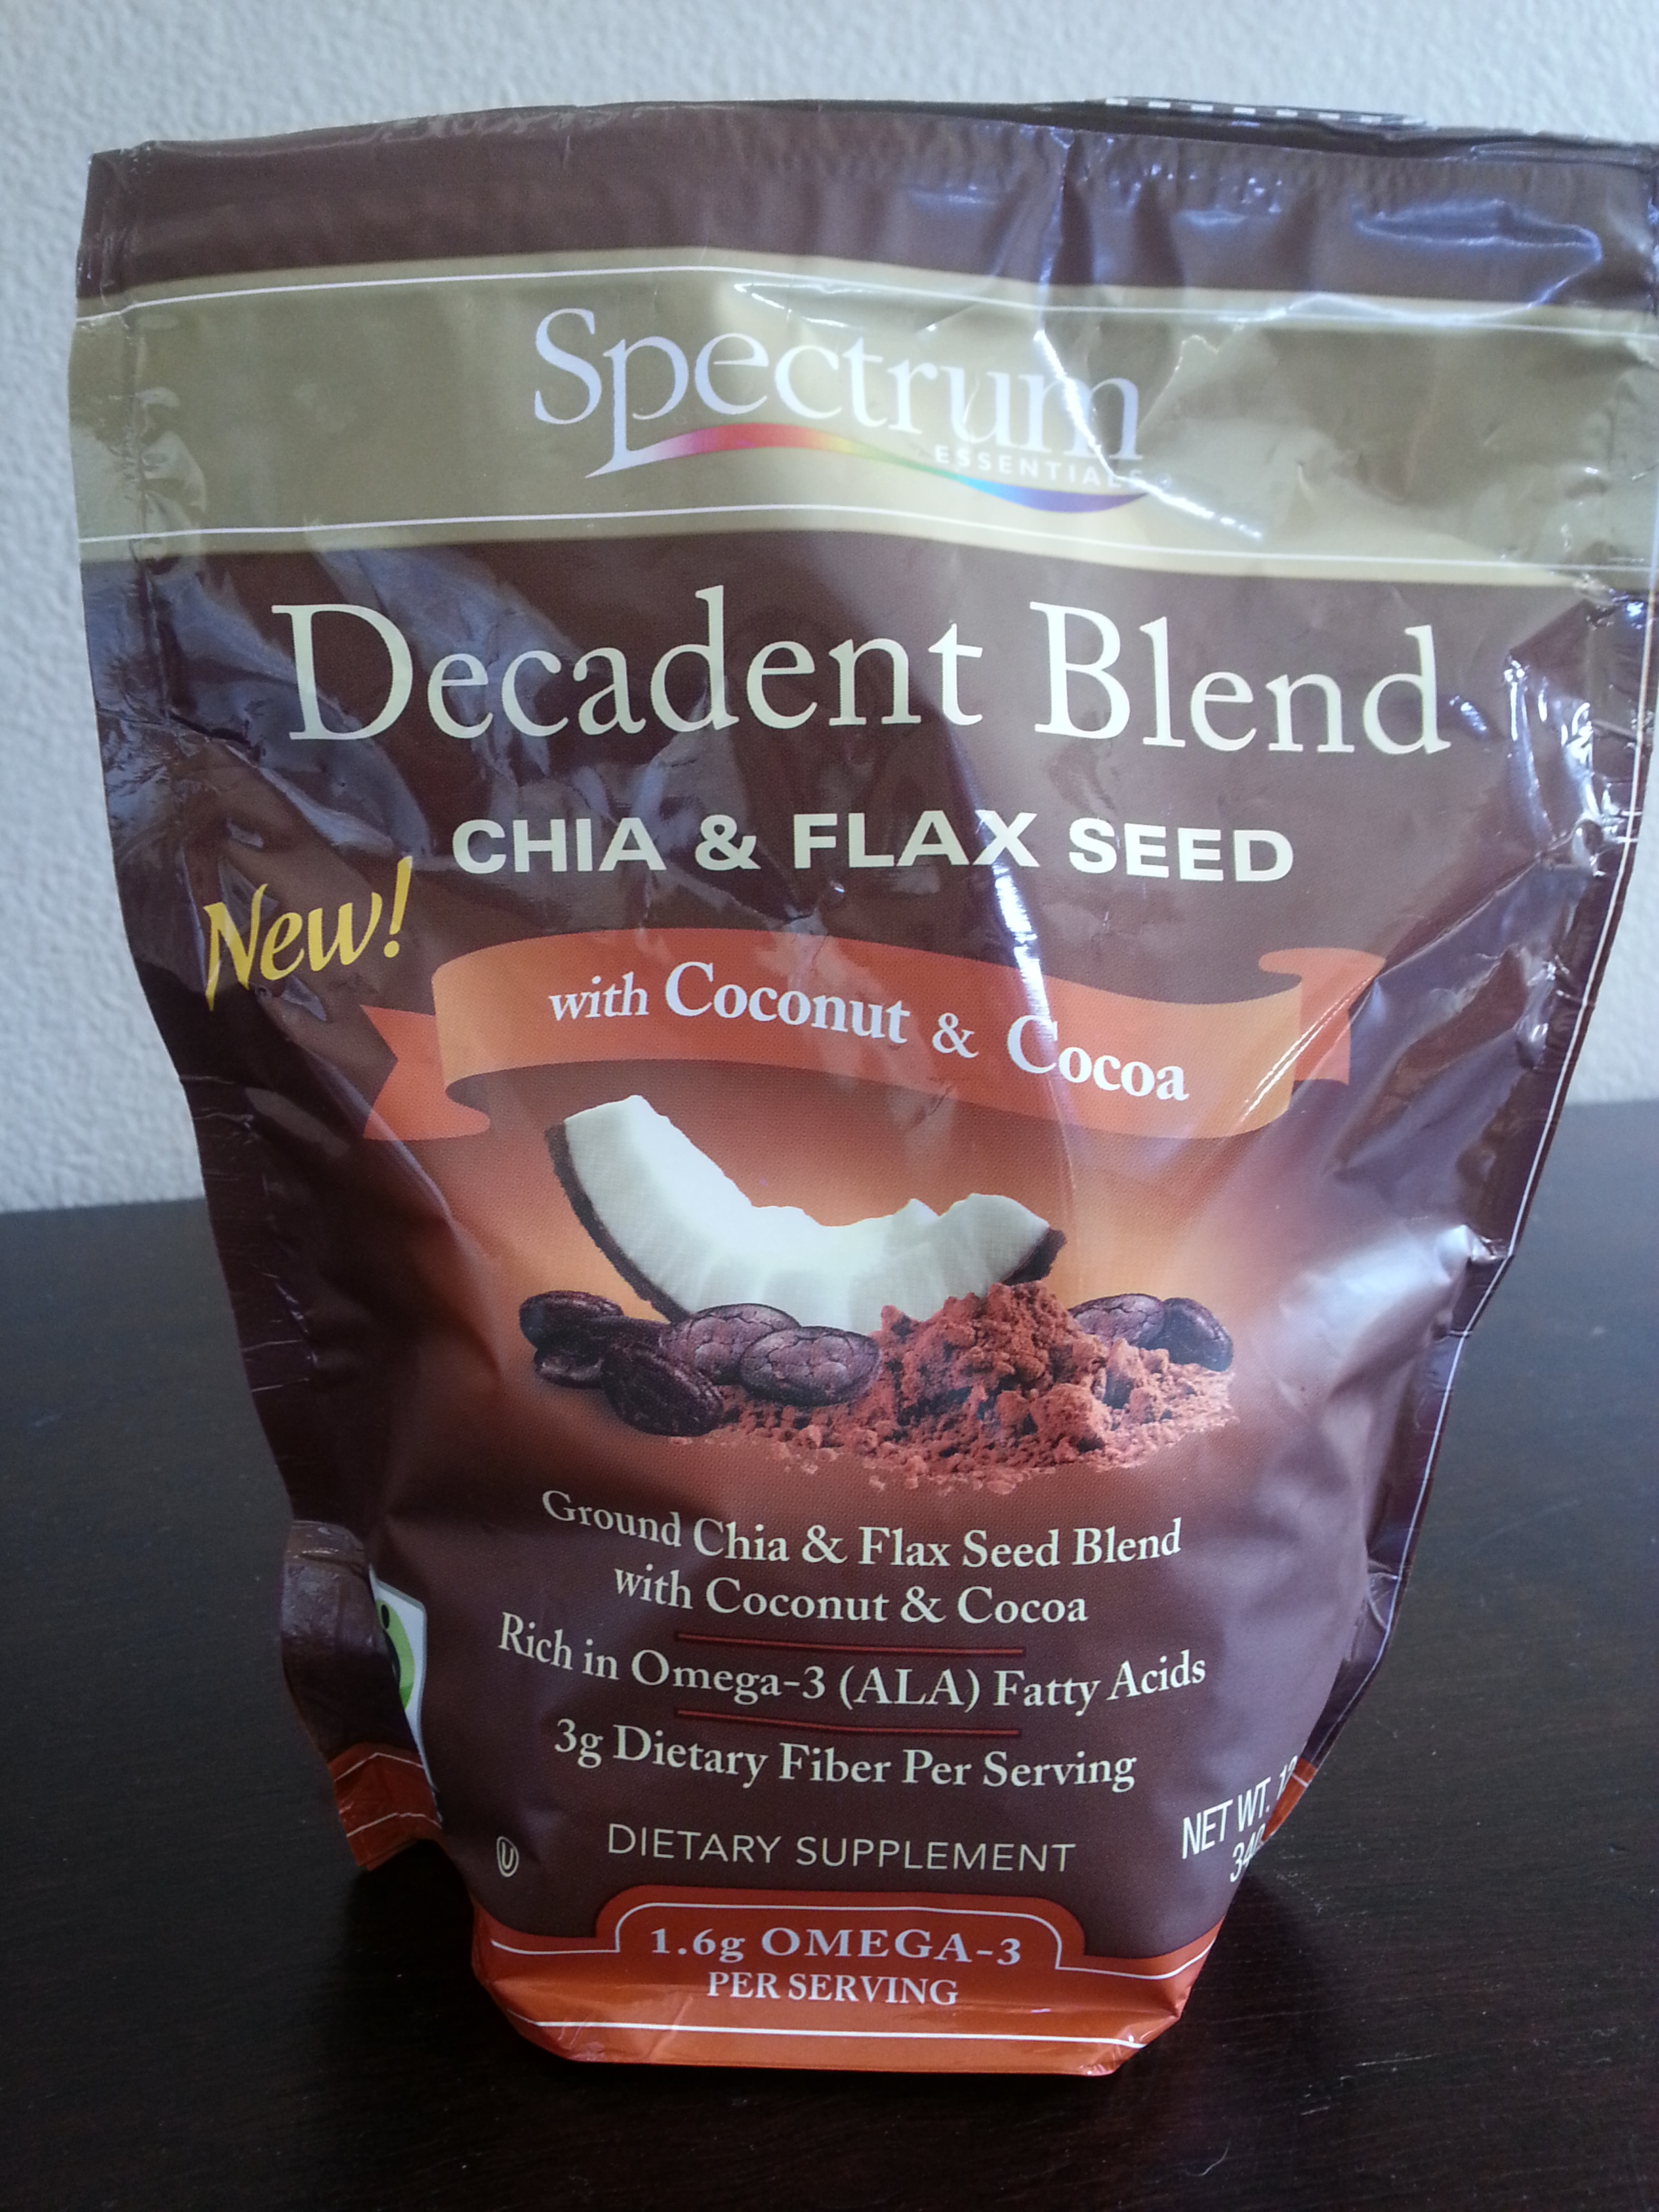
  • 2 tbsp. ground flax
  • 1 1/2 c. almond milk
  • 1/3 c. vanilla yogurt

Blend all ingredients on high until smooth. Divide between two freezer container jars and store in the freezer.

smoothie jarsNow if you don’t have a jogging husband that you need to make these for, these would be great for family picnics. Just place them in your cooler and by the time you’ve eaten your food and the kids have played, a healthy dessert has thawed out and is ready and waiting for them. I also recommend the YP Sport pouches, shown below. They also hold smoothies or shakes very well, are freezer safe and fun for the kids. You can find them by clicking on this link at Amazon. I know my kids think they’re pretty cool.


Spice Rubbed Roasted Chicken Legs

spice rubbedSo here’s a new recipe I tried out on my guinea pigs family the other day. I had picked up some chicken quarters at the grocery store for $.99 a pound. What a steal! When I saw that price, I knew I couldn’t pass it up. I mean, that is really freakin cheap inexpensive. And considering that my oldest daughter now eats like a full grown woman, a big chicken leg sounded like a good plan.

In case you’re not familiar with chicken quarters (also known as a whole chicken leg) it’s the thigh and the leg/drumstick together, bone in, still attached, connected, as one….You get it. And it’s dark meat. In case you’re a white meat, chicken breast lover, please don’t automatically dismiss this recipe. The thigh meat (in my opinion) is the best meat on the chicken. Tender, juicy and full of flavor. Also, with this recipe, we’re leaving the skin on. And that skin is going to be crispy! Let the drool commence NOW!

FYI, since the skin does get seared, be prepared for a smoky house. My husband walked in and wanted to know what the hell was going on. But luckily, I didn’t set off any smoke alarms.

Spice Rubbed Roasted Chicken Legs (makes 4-6 servings)

  • 4-6 chicken quarters (also known as whole chicken legs)
  • 4-6 tbsp. butter
  • 1 tsp. each cumin and chili powder
  • 1/2 tsp. each of paprika, onion powder & garlic powder
  • 1/4 tsp. each of salt and pepper
  • 2-3 tbsp. olive oil

Mix together all of the dried spices in a small bowl. Place 1 tbsp. of butter underneath the skin of each chicken leg (on top of the thigh). Drizzle a little bit of olive oil over the top of the chicken. Then sprinkle the spice rub all over the skin as well as lifting the skin on the thigh up and rubbing the spice mix under the skin too. Place in an airtight container in the fridge for 6 hours (or more).

Take chicken out of the fridge and let come to room temperature, approximately 20 minutes. Preheat oven to 425 degrees. Then heat a cast iron skillet over high heat. When nice and hot, add in 1-2 tbsp. olive oil and place chicken skin side down in the skillet. Do not move it, and let it sear for 3-4 minutes. This is when it’s going to get all smoky! With the butter melting under the skin and the hot oil, it’s going to get hot up in your house. So make sure to turn that fan on! Turn over, and let sear for about 2 minutes on the other side. Then place on a foil lined tray (or a dish big enough to hold all these legs). I was able to do 2 chicken legs at a time. So you most likely will have to work in batches too. You don’t want to overcrowd the pan as you want the skin to sear and crisp up, not steam and get rubbery.

When all chicken legs have been seared, place in the oven and cook for 45 minutes. When the legs are all done, let rest about 10 minutes and then drizzle with your favorite barbeque sauce.

spice rubbed 7spice rubbed 6spice rubbed 5spice rubbed 4spice rubbed 3spice rubbed 2So I did 6 chicken legs for my family and we had leftovers. And since I’m all about leftovers and re-purposing, I suggest removing the skin and pulling that chicken off to make some chicken salad. Might I suggest my recipe for Almond Chicken Salad? 🙂

Check out my Facebook page!!

Hey everyone!! I just wanted to let you all know that I created a Facebook page for this here blog. Yep, that’s right. Just did it today so bear with me! I’ll be putting up more pictures as time goes on. But please head over, check it out, like me and I hope I get your thumbs up.

Click here! <—————–

And thanks to everyone who reads my blog. Whether it’s one person or thousands who visit my blog (who knows!), I’m just happy to have my own online personal “cookbook” (as I call it). And I hope it’s a “cookbook” you can reference and like looking at!!!

-Jenny

Sun Dried Tomato Pasta Salad

pasta salad 3This is a copycat recipe. And it’s all in the name of saving money! There’s this fancy grocery store/market around the corner from me and they sell the inspiration for this sun dried tomato pasta salad. We had it from their salad bar before and it’s delicious. But the catch? I think they want my firstborn child to pay for it! It’s so incredibly expensive! For a large container, it’s like almost $20! It’s really tasty, but not $20 tasty! So I wrote down all the ingredients that were in it, (lo & behold, I had a lot of them in my fridge/pantry already) and gave it a whirl. Bingo! It’s pretty close. And it didn’t cost me $20 to make a cup of pasta salad. And it’s now my husband’s favorite pasta salad. Can’t beat that!

Sun Dried Tomato Pasta Salad (this will serve a crowd)

  • 1 lb. penne rigate pasta
  • 1, 8 ounce jar sun dried tomato pesto (Classico is my fav)
  • 1 small green bell pepper, chopped
  • 1/2 c. kalamata olives, chopped
  • 1/3 c. sun dried tomatoes, chopped
  • 1/2 c. crimini mushrooms, chopped
  • 1/4 c. pepperoncinis, chopped
  • 1/2 c. cubed/chunked mozzarella cheese
  • 3/4 c. extra virgin olive oil
  • 2 tbsp. mayo (optional)*

Cook pasta according to package directions. Drain and let cool. When pasta is cool, add to a large bowl. Add the rest of the ingredients and stir well to combine. Refrigerate until ready to serve. Just before serving, stir together and drizzle with a little more olive oil if pasta has become dry.

*Of course I had to add mayo into this. It adds a tad bit of creaminess but if you prefer, leave it out. I’ve done it both ways and they’re both delicious in my opinion.

pasta salad 2pasta saladpasta salad 4Serve this at your next BBQ. Steaks, chicken, burgers, hot dogs….. it goes with just about anything.


Chinese Eggplant & Ground Pork

pork & eggplant 2So maybe you’ve had a similar type dish at a Chinese restaurant? Well, no need to go out now when you can make it at home!

I love cooking Asian style at home because I think you can get really great authentic flavors. And this recipe is very flavorful and super easy to make. Plus, it’s a little different than your typical teriyaki chicken. If you’re not a pork person, feel free to substitute the pork with ground chicken.

Chinese Eggplant & Ground Pork

  • 1 lb. ground pork
  • 2 Chinese eggplants, halved & then cut into half moons
  • 1/2 white onion, chopped
  • 1 tbsp. canola oil
  • 2 garlic cloves, minced
  • 2 tbsp. rice wine vinegar
  • 1 tbsp. soy sauce
  • 1 tbsp. sriracha
  • 1/2 c. hoisin sauce
  • 1/8 tsp. white pepper
  • dash of salt
  • pinch of dried crushed red peppers
  • 2 green onions, sliced
  • 1 tsp. sesame oil

Heat a wok or skillet over medium heat and add canola oil. Add in the ground pork making sure to break it up as you cook it. Let pork cook for a few minutes, and then add in the onions. Once pork is almost cooked through, add the eggplant. While that cooks, mix together the garlic through the crushed red peppers in a separate bowl. When the pork is cooked (no longer pink) add in the sauce and stir together to combine. Let cook for a few more minutes to absorb the saucy goodness. Turn off heat and add in the green onions and drizzle the sesame oil. Stir and then serve immediately.

chinese eggplant 2chinese eggplantpork & eggplant 3pork & eggplantI like this served along side some rice while my husband likes this served on TOP of his rice. This would also be great in a lettuce wrap. Enjoy your homemade take out!

P.S. Sorry for missing pics of the actual cooking process. Must’ve been very hungry and slightly delirious. But at least you know what a Chinese eggplant looks like!

“Orange” Juice

orange juice 4I realized that I’ve only ever posted one juice recipe and figured it was time to put up another one. I have really slowed my roll on juicing but decided to bust my juicer out so the kids could have some fresh juice with breakfast.

I have to admit, juicing is really a serious hassle. But if you’ve got the time, it’s totally worth the result, which is crisp, fresh tasting juice! Now, I call this “orange” juice because of the color. There are oranges in it, but it’s not just plain ole’ orange juice. This is a great recipe for a virgin juicer who’s not willing to jump into the green juice pool just yet, or for picky kids.

“Orange” Juice (yields approximately 3 cups)

  • 5 small green apples, core removed (2 large red delicious make a great substitute)
  • 2 large oranges, peel removed
  • 1 large carrot

Turn your juice extractor on and add ingredients in the order listed. Stir and pour over ice.

orange juice 3

I tried to get an action shot. It was difficult.

orange juice 2

Yes the color looks a bit off now, but wait!

orange juice

Check out that gorgeous ORANGE color!

I just wanted to mention that if you have the time, I highly recommend trying the aforementioned plain ole’ orange juice. It’s so much better in a juice extractor than in a traditional citrus juicer. Frothy and almost creamy. Very time consuming to cut off all the peels but if you’re hankering for some O.J. and have the time, give it a try.

Soft Chocolate Chip Cakies

cc cakies 11What are cakies you ask? Something like a small cake like cookie. Hence, cakies. Well, I don’t know about you but I have a preference when it comes to cookies. I like them soft and chewy. I’m not a crispy cookie eater, AT ALL. And although I love chocolate chip cookies, I do not love baking them. I basically have a love/hate relationship with baking. I love sweets. I hate baking. Yes, you’re reading my food blog. I know…. But in case you haven’t noticed, dinner is my forte. Despite my past baking disasters, I still chug along and continue to bake every so often. Usually, with it ending in frustration. However, after making these chocolate chip cakie creations, I finally achieved sweet success. Literally!

Here’s my problem with my typical cookie baking. My cookies are never uniformly the same size. Even though I use a cookie scooper and they’re the same size when they go into the oven, they aren’t the same size as each other when they come out of the oven. They spread too much. They get crisp after cooling. And the list could go on. So you can see what I was aiming for in creating the cakies. None of that nonsense basically!

These cakies are chewy, soft, spread very little, are uniformly the same size and lastly…. yummy. And although they are a little taller than your average cookie, they TASTE just like a cookie.

Soft Chocolate Chip Cakies (makes approximately 3 dozen cakies)

  • 1 cup butter, room temperature
  • 1/2 c. brown sugar
  • 1/2 c. white sugar
  • 2 eggs, room temperature
  • 1 tsp. vanilla extract
  • 1 1/4 tsp. baking powder
  • 1/2 tsp. salt
  • 3 c. flour
  • 1 10 ounce bag of mini semi-sweet chocolate chips (only use 3/4 of the bag)

Preheat your oven to 350. In a stand mixer, add the butter and sugar and mix until fully combined. Add the eggs and vanilla and mix together. Then add the baking powder and salt. Mix. Add the flour 1 cup at a time, mixing just until combined. Stir in the chocolate chips. Using a cookie scooper, scoop the dough and place the cakie dough balls onto a baking sheet. (I used 3 baking sheets and I sprayed them with cooking spray. Except the one with the Sil Pat on it.) Bake for 10-12 minutes, or just until the underside of the cakie turns slightly golden. These cakies do not get golden on top. Only the bottom please! Leave on the baking sheets for a few minutes, then transfer to a cooling rack. When cakies are completely cooled, place in an airtight container.

cc cakies 10cc cakies 9cc cakies 8cc cakies 7cc cakies 6cc cakies 5cc cakies 3cc cakies 4cc cakiesThese cakies will stay soft for days! If they last that long….

P.S. They’re delicious with a glass of milk or as they’re eaten in our house, IN a glass of milk.

Choco-Coffee Shake

choco coffee shake 2Sometimes you just have those mornings when you don’t have time to enjoy a cup of coffee and a protein shake. And I love my coffee!! Especially with my favorite creamer (Bailey’s Chocolatini, to die for!). But there are days when I’m rushed. Or it’s already hot out and I feel like I’ve missed my window of opportunity to drink a hot cuppa joe. On those types of days, I turn to this shake to incorporate my favorite morning beverage.

I’ve made this recipe a protein shake simply because if I’ve been a good girl, then that means I got up and worked out in the morning. I’m also not the biggest breakfast person so if I can throw everything into a blender and drink my brekkie, I’m happy to do so. If you prefer to not have a protein shake, then the protein powder can easily be substituted with something yummy like Ovaltine. But I have a favorite protein powder that’s specifically geared towards women and I think it’s great tasting. Nature’s Bounty Optimal Solutions Complete Protein & Vitamin Shake Mix in Naturally Flavored Decadent Chocolate.

protein powderI also threw in Spectrum Decadent Blend Chia & Flax Seed with Coconut & Cocoa that gives it that extra healthy kick. I really like this product but if you don’t have it, just omit that ingredient.

chia & flax

Choco-Coffee Protein Shake (makes one 16 ounce shake)

  • 1 c. almond milk
  • 1/2 c. coffee
  • 1 banana, frozen (a fresh banana works too, just add a few ice cubes)
  • 2 scoops chocolate protein powder (or Ovaltine)
  • 1 tbsp. chia & flax coconut/cocoa blend

Put all items in a blender and blend on high until smooth.

Drink up!choco coffee shake 3


OMG Banh Mi!

banh mi 2Have you ever had a banh mi sandwich? I hadn’t tried one up until a few months ago. I’d seen them on menus and heard about them on cooking shows. I’d always been curious but wasn’t quite sure. Well, I tried one at a local café and OMG banh mi! Delicious! What had I waited so long for?!?!

So I’m no banh mi authority but it’s basically a Vietnamese sandwich (supposed to be served on a baguette) with some pickled veggies, cucumbers and cilantro. All those flavors together equal a symphony in your mouth!

I’ve made turkey banh mi sandwiches at home as of late, but I wanted something a little heartier for dinner. This recipe is not “traditional” (I didn’t use daikon and I used a bun, not a baguette) but has those delightful banh mi flavors. In chicken burger form. My mouth is watering just thinking about it.

Instrument of torture

Instrument of torture

As for making this scrumptious burger, if you have a mandolin, NOW is the time to use it. I am terrified of this kitchen tool, as we all should be. But I didn’t experience true fear until I took a piece of my thumb off with it. It was major in my opinion. I whined (yes, I know, I’m ashamed I whined as an adult) and told my husband I thought I needed to be taken to the hospital. He thought I was exaggerating. But it really hurt and bled for what felt like FOREVER. At least I didn’t cry like the time when a glass blender fell out of the top cabinet and onto my head. Anyways, I almost always use the guard and am very careful with this instrument of death now. But it came in handy for this recipe as I used it to cut all the veggies. If you don’t have one, that’s okay. Just eyeball your cuts and try for thin slices.

Chicken Banh Mi Burger (makes 6 burgers)

  • 1/2 c. rice wine vinegar
  • 1/4 c. water
  • 1/4 c. sugar
  • 2 small carrots, peeled and julienned (1/8″ setting on mandolin)
  • 1/4-1/2 of a small white onion, thinly sliced (1/8″ setting on mandolin)
  • 6 buns (I used my favorite Hard Rolls from Walmart)
  • 1 3/4 pounds ground chicken (I used dark meat)
  • 2-3 green onions, sliced
  • 3 garlic cloves, minced
  • 2 tbsp. soy sauce
  • 1/4 c. panko crumbs
  • dash of white pepper
  • 1 jalapeno, thinly sliced (1/8″ setting on mandolin)
  • 1-2 baby cucumbers, thinly sliced (1/8″setting on mandolin)
  • Small handful of cilantro
  • Mayo

Add the first three ingredients to a small pot and stir over medium heat until sugar has dissolved. Cool slightly and then add onions and carrots. Set aside and let pickle for at least 30 minutes. After the veggies have pickled, drain off liquid and refrigerate until ready to use.

In a large bowl, mix together the ground chicken, green onions, garlic, soy sauce, white pepper and bread crumbs. You can use immediately or set in the fridge (which I did) to let the flavors come together. Divide into 6 equal size patties. Preheat your outdoor grill to about 350, or you can use a cast iron skillet or pan sprayed with cooking spray on your stovetop. Cook burgers about 5 minutes on each side, depending on your stove or grill. You can tell the chicken is cooked through when you touch the meat and it’s firm. Remove from grill and set aside.

Slice buns in half and slather each side with mayo. Place the burger patty on the bottom bun and add enough cucumber slices to cover the patty. Add a little bit of the pickled veggies on top. Place some jalapeno slices and cilantro on top of the veggies and cover with the top bun.

banh mi 6banh mi 5banh mi 4banh mibanh mi 3Enjoy your banh mi burger. Or should I say BOMB mi burger?

A Kitchen Catastophe

*A quick little note. I’ve updated my about me with a little more personal info. Check it out to know more about yours truly. Now onto the matter at hand…..

Ever had a kitchen nightmare? I’m talking cooking disaster. I’m sure we’ve all been there. Worked really hard on a meal, only for it to end up being inedible? Yep. That’s happened to me too. Well, this recent incident was slightly different but for me, a kitchen catastrophe of epic proportions!

My hubs requested pizza. No problem. I’ve made it dozens of times! My dad, who often times gives me kitchen appliances that he’s found on sale, had recently given me a pizza oven. It looks like a little U.F.O. that you set on your counter top and you can cook your pizza in it. I decided to make a pizza using that newfangled space ship, and another pizza in our oven using my trusty pizza stone. So into the U.F.O. went a veggie pizza. Onto the pizza stone? A BBQ pulled pork pizza. I’d made pulled pork the night before and wanted to use my leftover meat for a good cause. I took my sweet time with that pizza especially. It looked gorgeous.

My oven was set at 425 and it was HOT. So as I slid my pizza stone into the oven, I let go a little too early, for fear of burning my fingers on the oven rack. But that stone just wasn’t in far enough. And to my horror, I watched as the pizza stone tipped back toward me and flipped over. Landing with the pizza face down on the oven door. I looked at my husband who had been standing there talking to me, and he looked at me. Both of us just sat there for a few seconds with our mouths hanging open. And then I screamed. LOUD. Not even a word, but an angry shriek. I probably sounded like a wild animal. He grabbed the stone, I grabbed the dough and threw it onto the nearest cutting board. All the while, I was yelling some very un-lady like words. The cheese had instantly melted and adhered to the window. It was a mess. All the toppings had slid off and had fallen between the oven door and were now on the floor and in the warmer drawer below.

My husband, bless his heart, started immediately cleaning it all up. He told me he would run to the store and buy more toppings since I’d used the last of the cheese and we no longer had meat for the pizza. “NOOOOOO!” I screamed. So while he cleaned (and told me over and over that accidents happen), I formed that dough back onto the stone and just added some more veggies and string cheese to the top. There was BBQ mixed into the crust and it wasn’t pretty. It looked like Jim from American Pie had gotten ahold of the thing. But I went ahead and cooked that sucker anyways and we ate it. And luckily, I had the other pizza in the pizza machine thingamajig. That was a life saver!!

So according to my husband, (who said he’d never seen me so mad), I will look back on this one day and laugh. Um, yeah. So not there yet!

Ever had a kitchen catastrophe? I know I’m not alone. I’d love to hear about your disasters!

This is the decimated pizza AFTER my second attempt. Unfortunately, I didn't think to take a picture of the actual crime scene because I was too busy yelling obscenities.

This is the decimated pizza AFTER my second attempt. Unfortunately, I didn’t think to take a picture of the actual crime scene because I was too busy yelling obscenities.

Lifesaver pizza

Lifesaver pizza

I don't think we'll be seeing through the window anytime soon...

I don’t think we’ll be seeing through the window anytime soon…

Oven destruction!

Oven destruction!

P.S. My oven will never be the same again. And I think that’s an understatement.